One of my most commonly asked questions relates to physical conditions.
No, I’m not a physician, but I am a weaver and I do have physical restrictions. I’ve also found ways around the restrictions and I’d love to share some of them with you.
This post contains affiliate links. This means that if you click and purchase, I will receive a small commission at no extra cost to you.
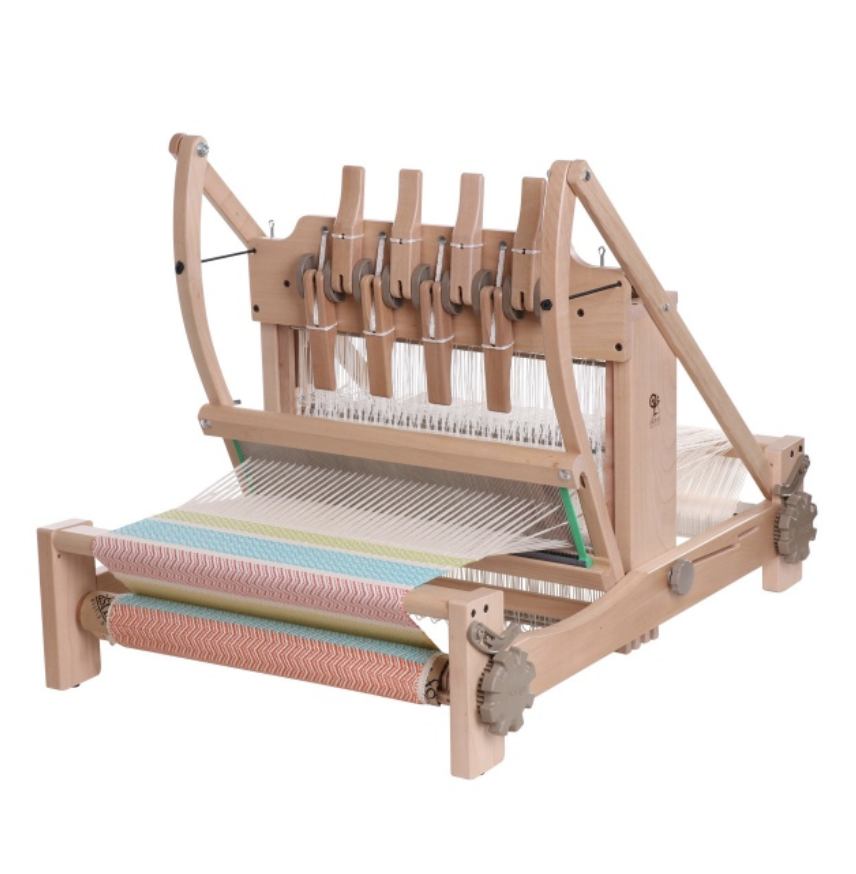
My first multi shaft loom was an 8 shaft, 32″ Ashford Table Loom.
My decision to buy this particular loom was based on a few things.
- My physical capabilities
- What the loom could do
- Price
- Size
Addressing number 1 first. I have a back injury that causes daily pain and discomfort and limits what I can do physically. I desperately wanted a multi shaft loom but thought it probably wasn’t going to be possible for me to physically use one. So I started researching (a lot!) and found that a table loom could be a very good option. And it was! Here is why:

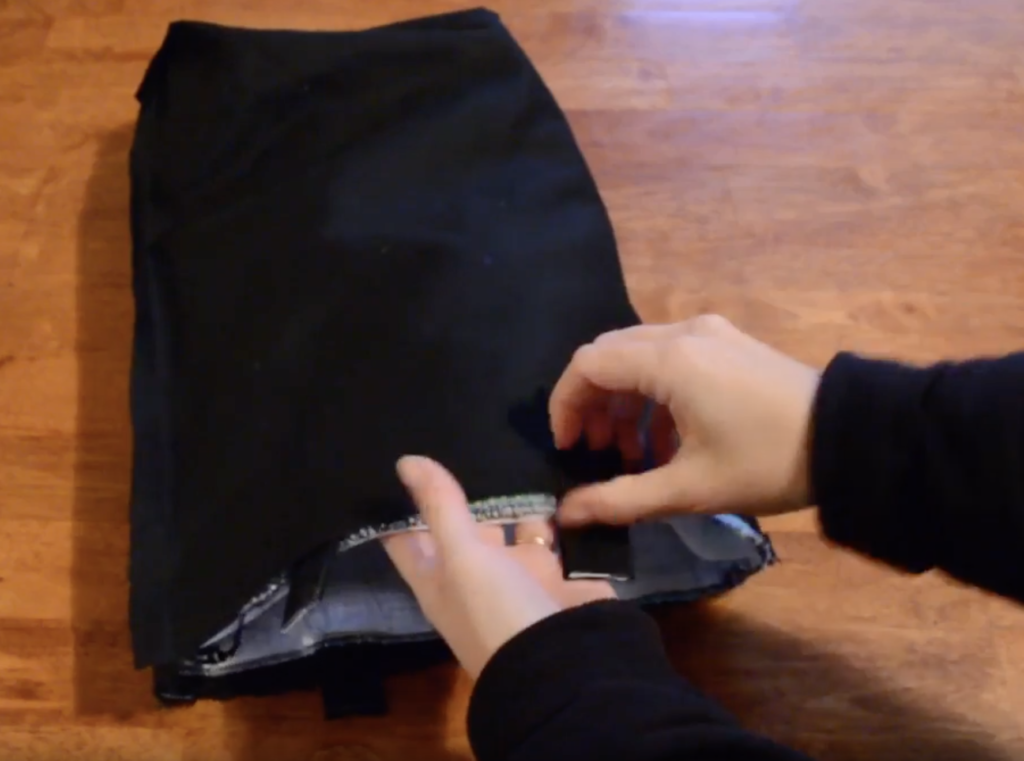
- My table loom was operated by levers rather than treadles. This meant no getting down on the floor to tie up treadles.
- The raddle was separate to the loom. This meant that if I was doing a narrower warp, I could sit at the table, away from the loom to place my warp chain in the raddle ie. less time standing.
- I had my loom on a table rather than a stand. I also had a height adjustable chair on wheels. So I could adjust my chair to the right height, then roll right in under the table and get close to the loom. Many table loom weavers weave standing up, I couldn’t do that, so the adjustable chair was very important.
- The loom had a slung beater. Effortless to use.
- Because the table was at a good height for me, I found warping easy, not having to bend to the height of the loom.
On to number 2 – what the loom could do.
Well, it could do anything that an 8 shaft floor loom could, but there were some differences. I could never achieve as good tension on the table loom as I can on my floor loom. It wasn’t a really huge deal, but could be frustrating at times when my boat shuttle would dive through the weaving. The other thing that bothered me was not being able to remove or add heddles from the shafts once I had a warp on. Once again, not a huge deal, but annoying at times.
The all important number 3 – the price!
Table looms are really affordable considering the abilities they have. If you can find a used one with all the pieces and in good condition, even better! For those who really can’t afford the outlay (which can be massive!) for a floor loom, a table loom can be 1/4 to 1/2 the price. You also have the option of starting out on 4 shafts to reduce the initial outlay. You can either stay with your 4 shafts or upgrade to 8 later on.
Finally, number 4
If you simply don’t have space for a floor loom, a table loom can be the solution. Whether you have it sitting on a table or on a stand, it is more compact than most floor looms.
As I mentioned, I do now have a floor loom. Testing myself on a table loom taught me many things. One thing was that my body could handle it if I was careful and that greatly influenced my final decision to buy a floor loom. It was also the perfect learning ground for weaving with multiple shafts, so that moving up to a floor loom was a short, rather than steep learning curve. I had to sell my table loom in order to finance and make space for my floor loom, but many times I still wish I had the table loom as well.
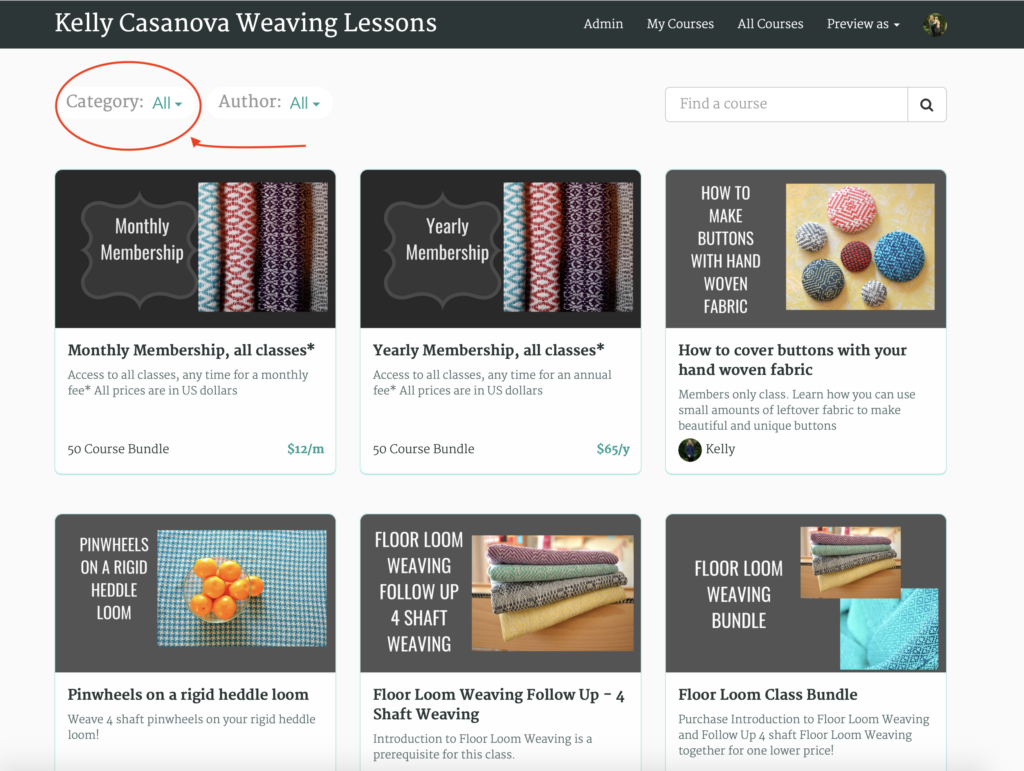
If you are interested in learning more about table looms, I have some Youtube videos that will help.
I have also written about table looms in a previous post where I discuss Which loom to buy?
I hope you found this post informative and helpful. Please let me know by leaving a comment, and be sure to ask any questions you may have.
Until next time…
Happy Weaving!