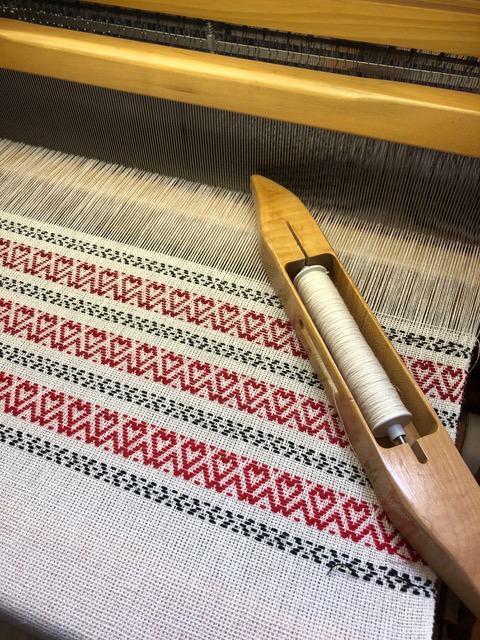
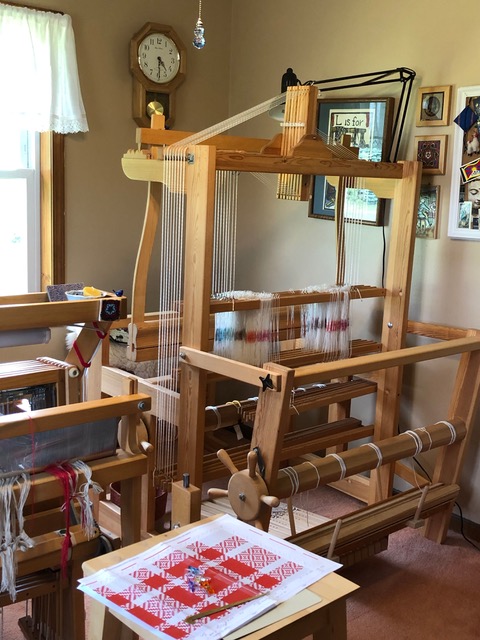
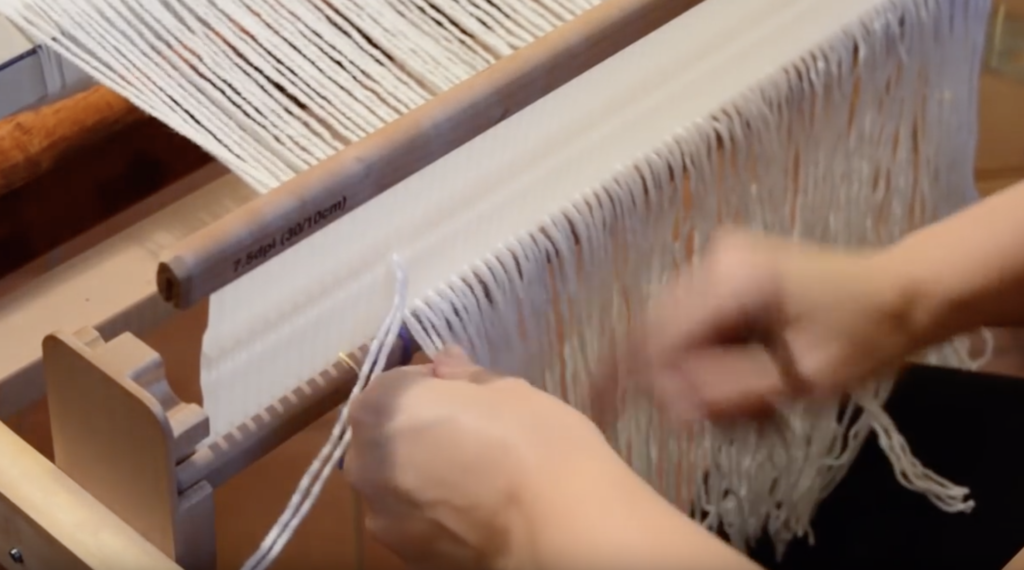
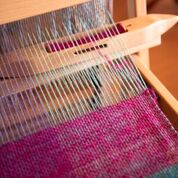
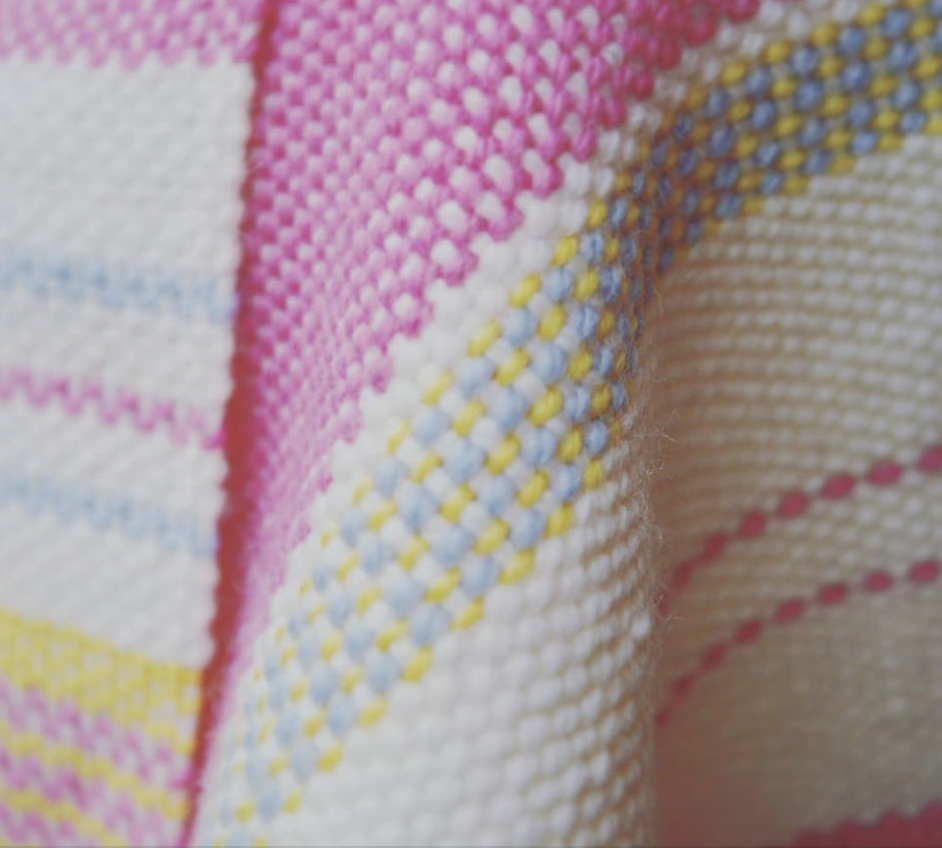
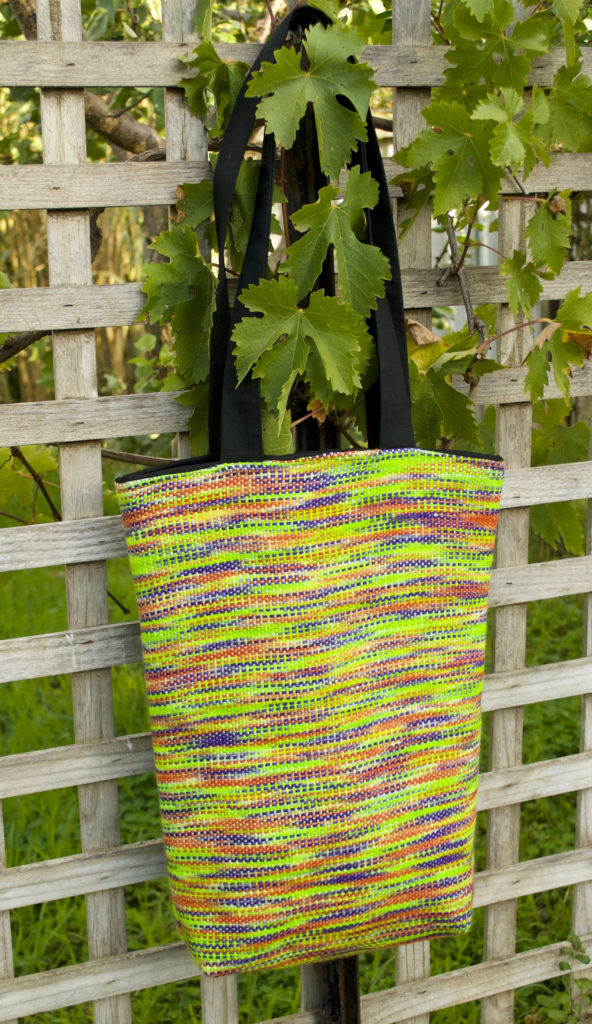
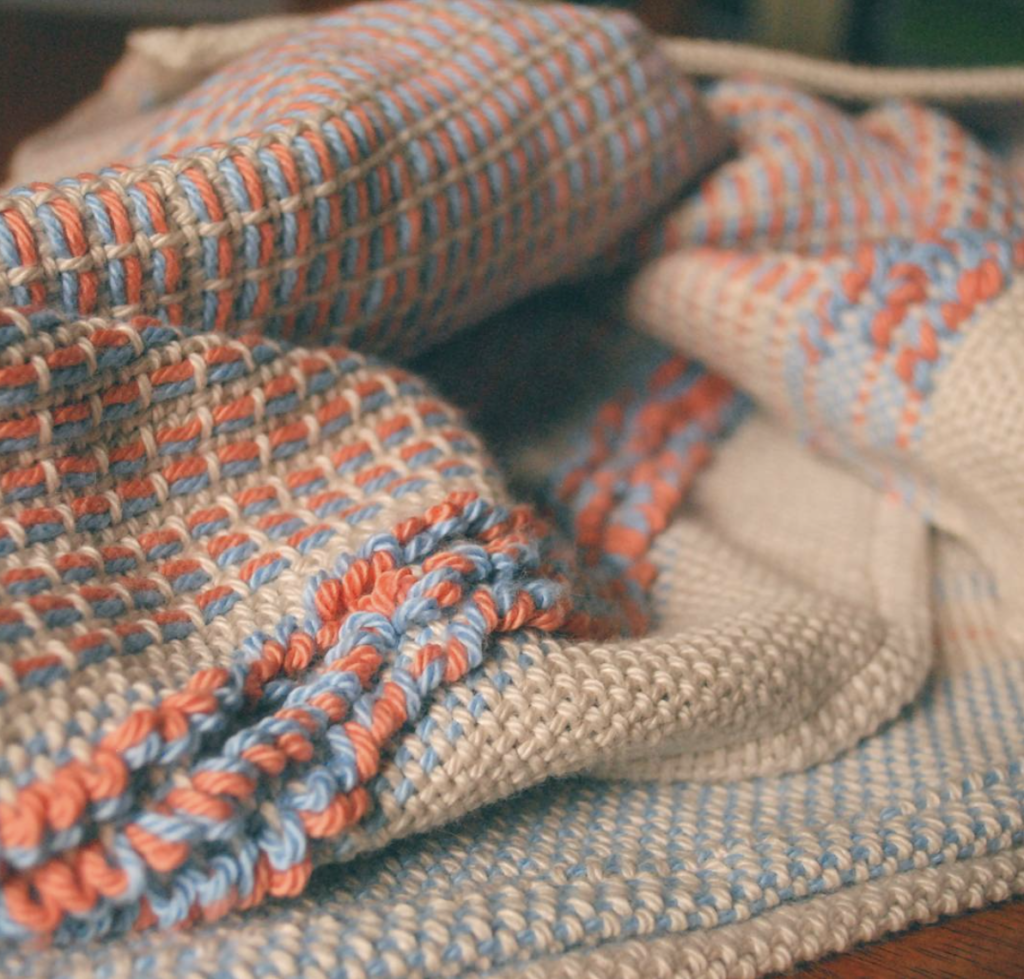
In today’s post we carry on with the weaving of the tote bag panels and also talk about advancing the warp.
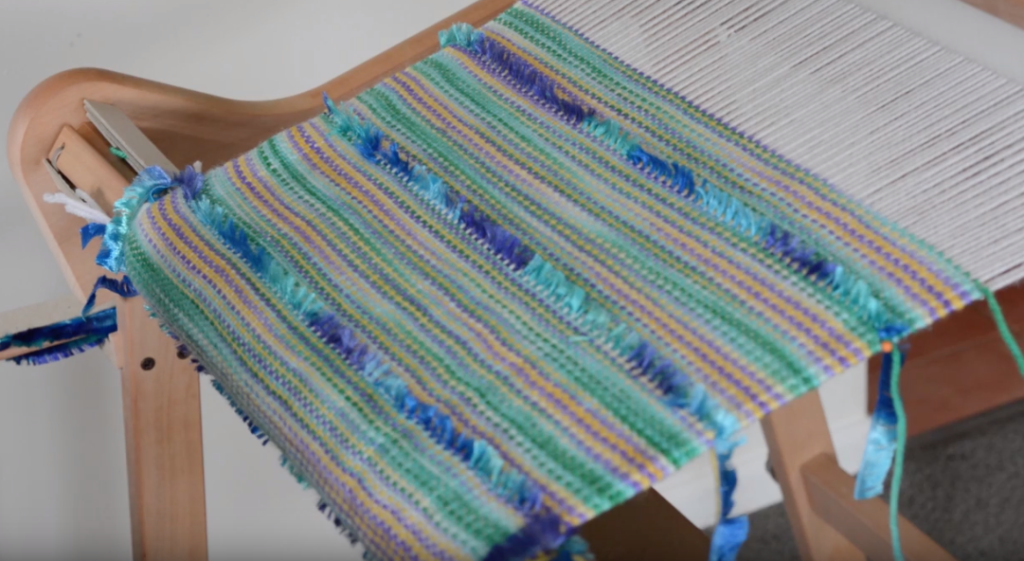
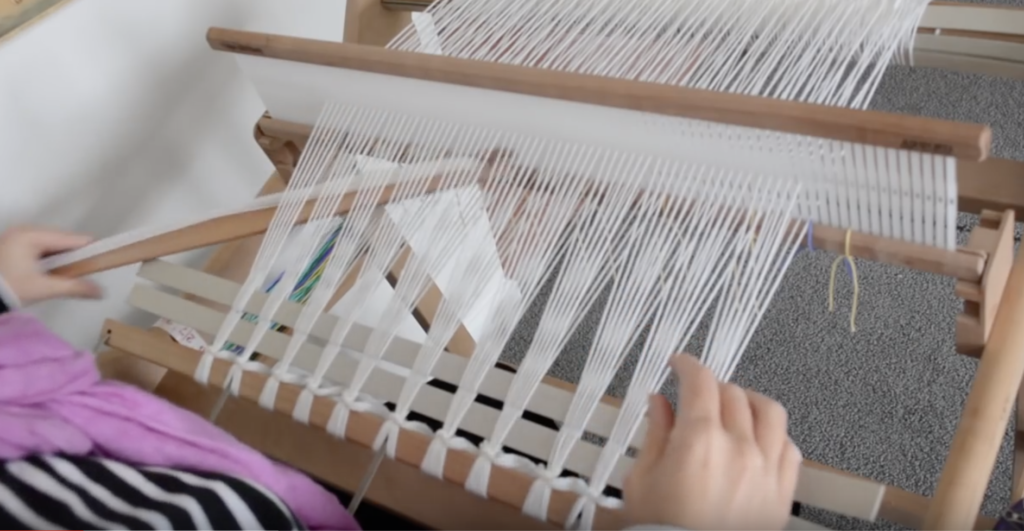
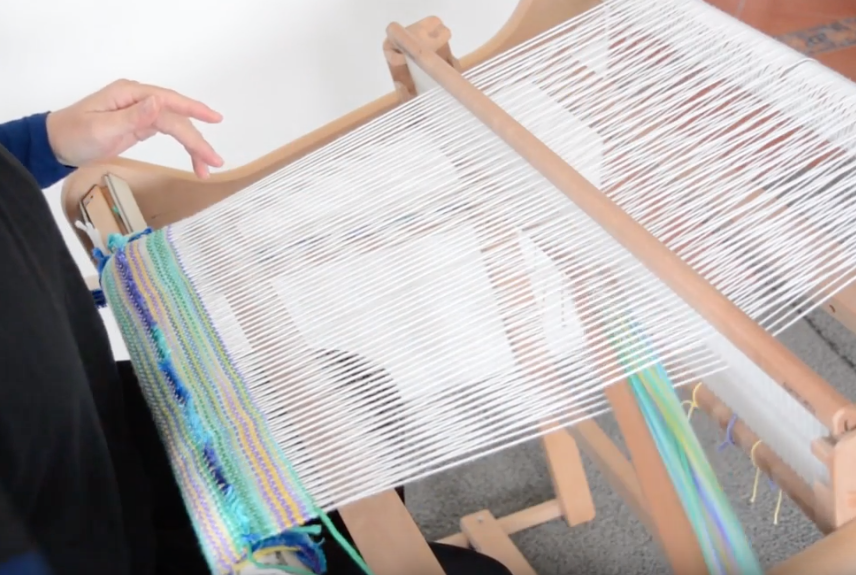
An important aspect of good weaving is advancing your warp. Of course, you can’t actually continue weaving unless you do so, as your weaving will fill right up to the heddle/reed and you won’t be able to weave any further.
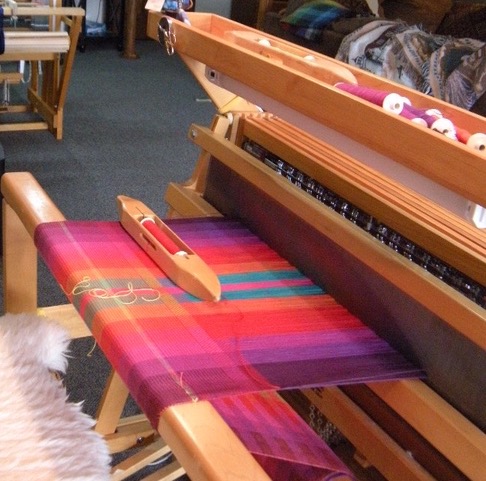
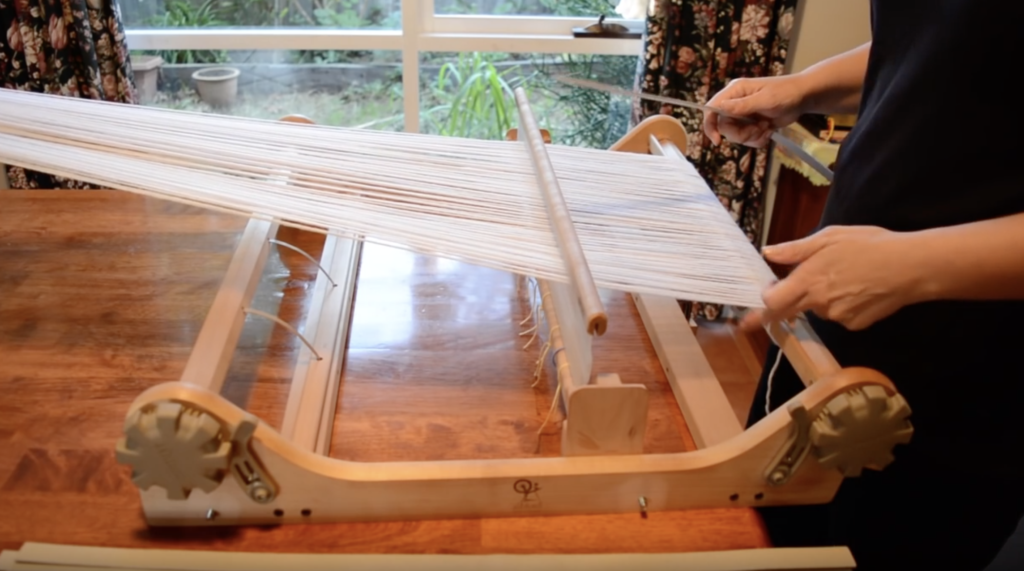
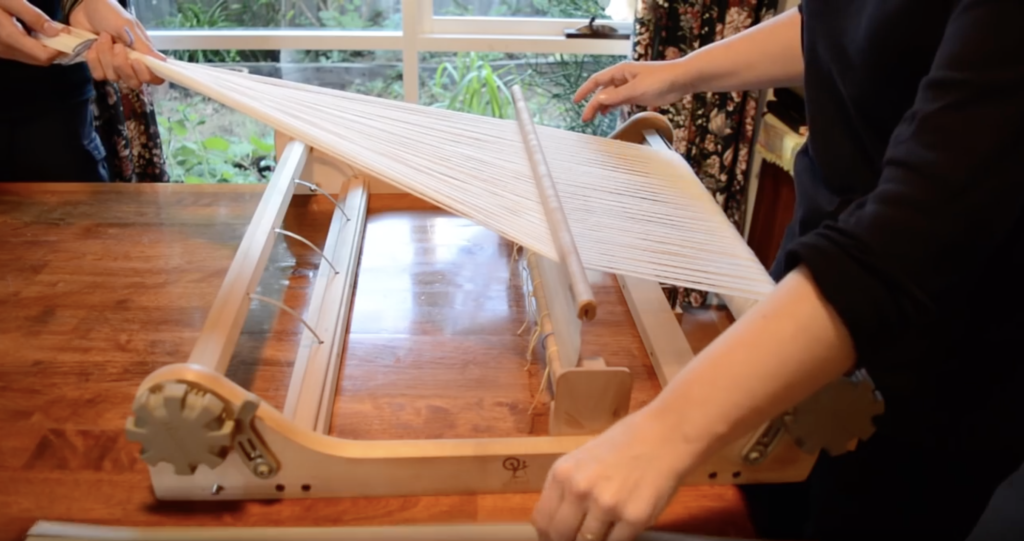
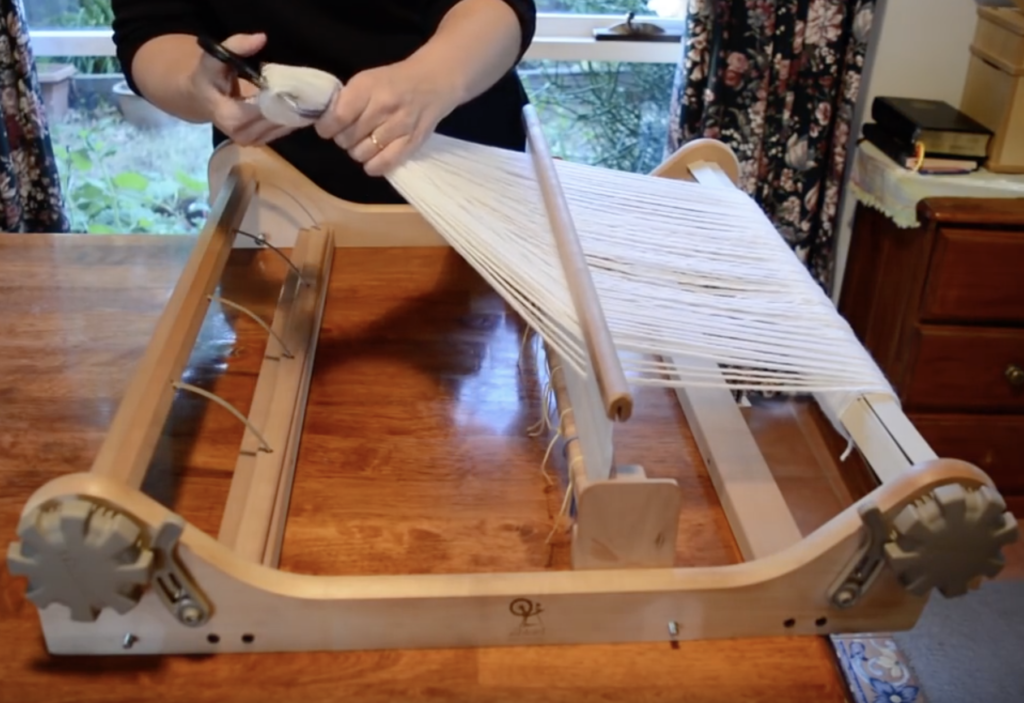
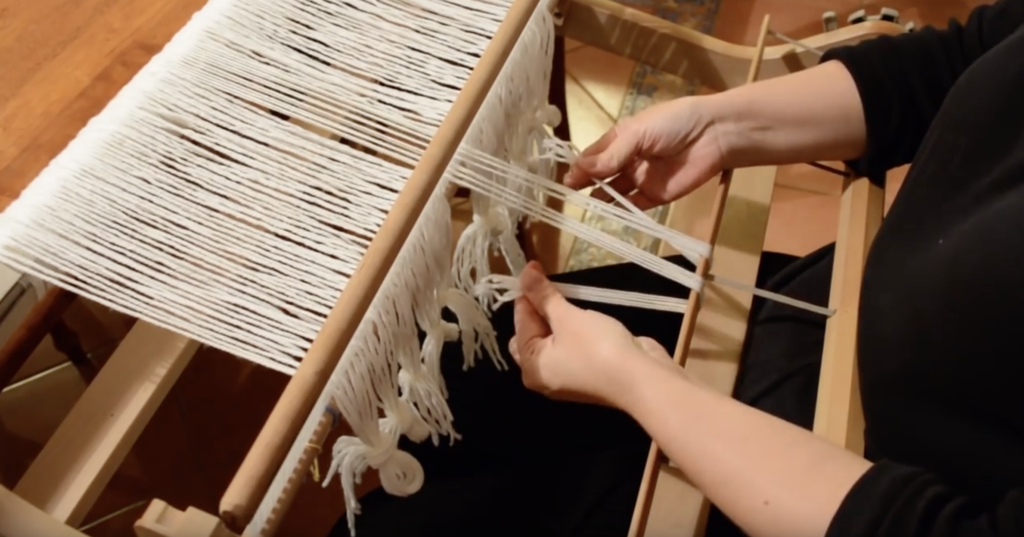
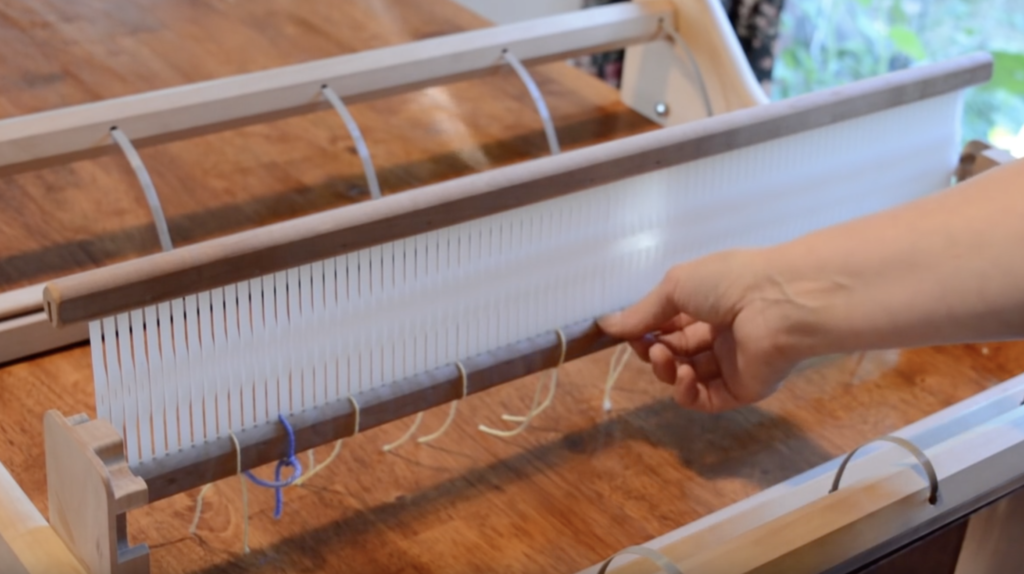
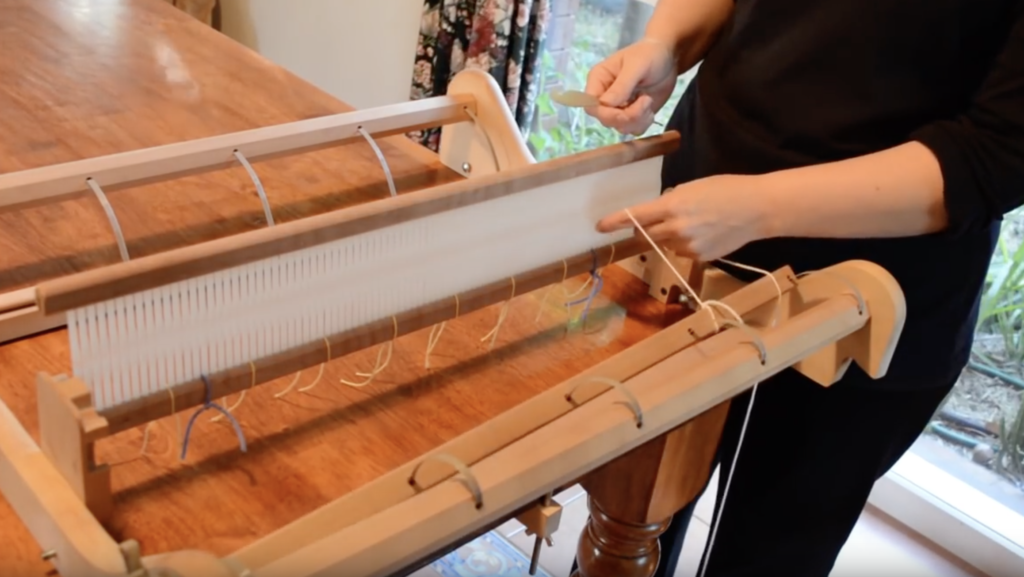
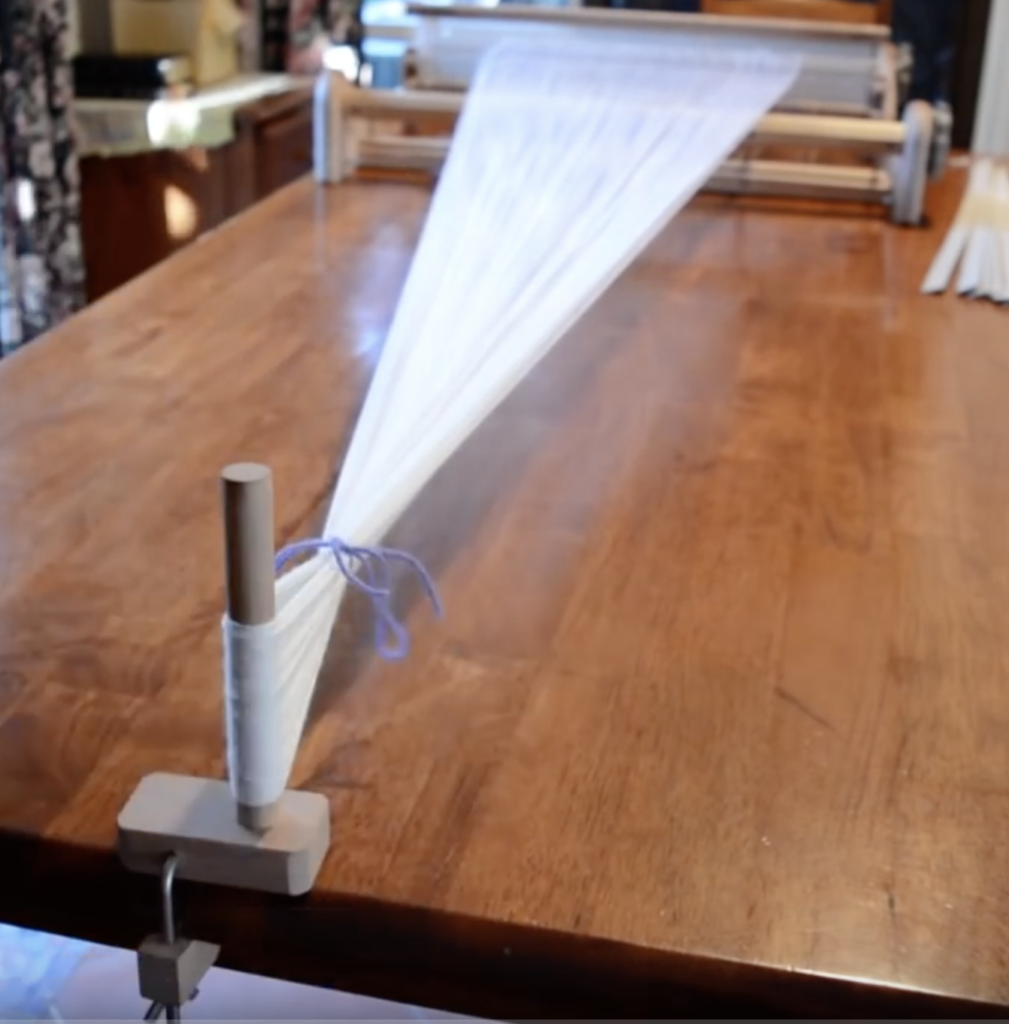
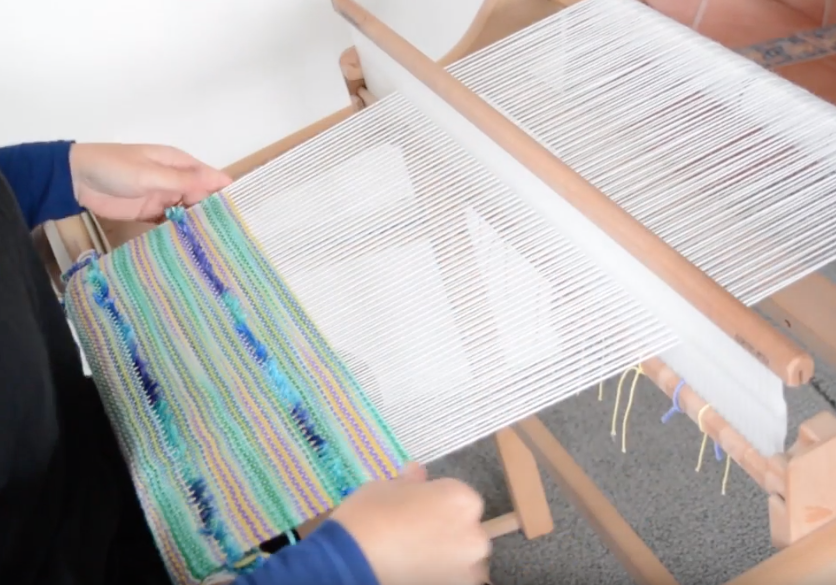
Advancing the warp exposes more of the empty warp threads so that you can keep weaving. It basically involves releasing tension at the back of the loom, rolling the warp forward at the front of the loom, regaining your tension and then continuing to weave.

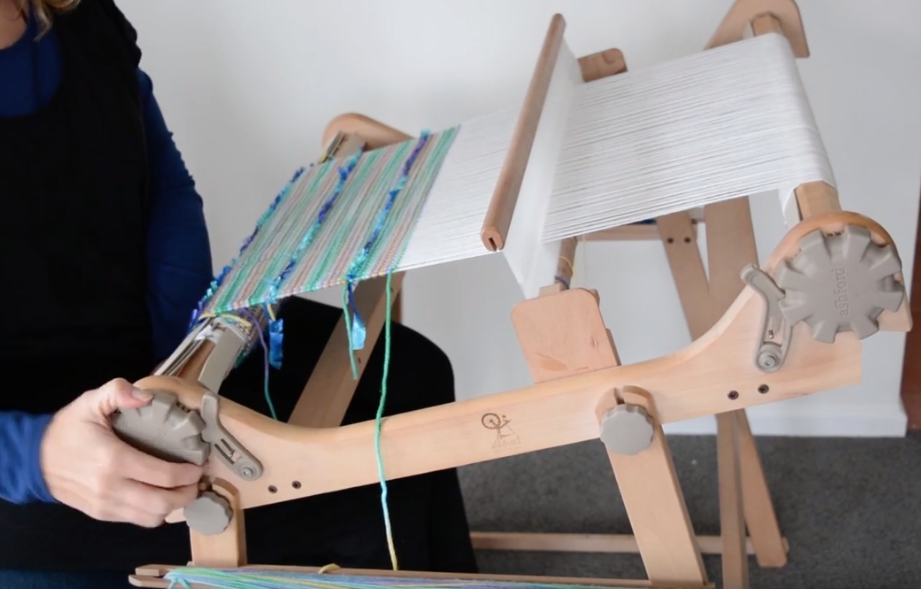
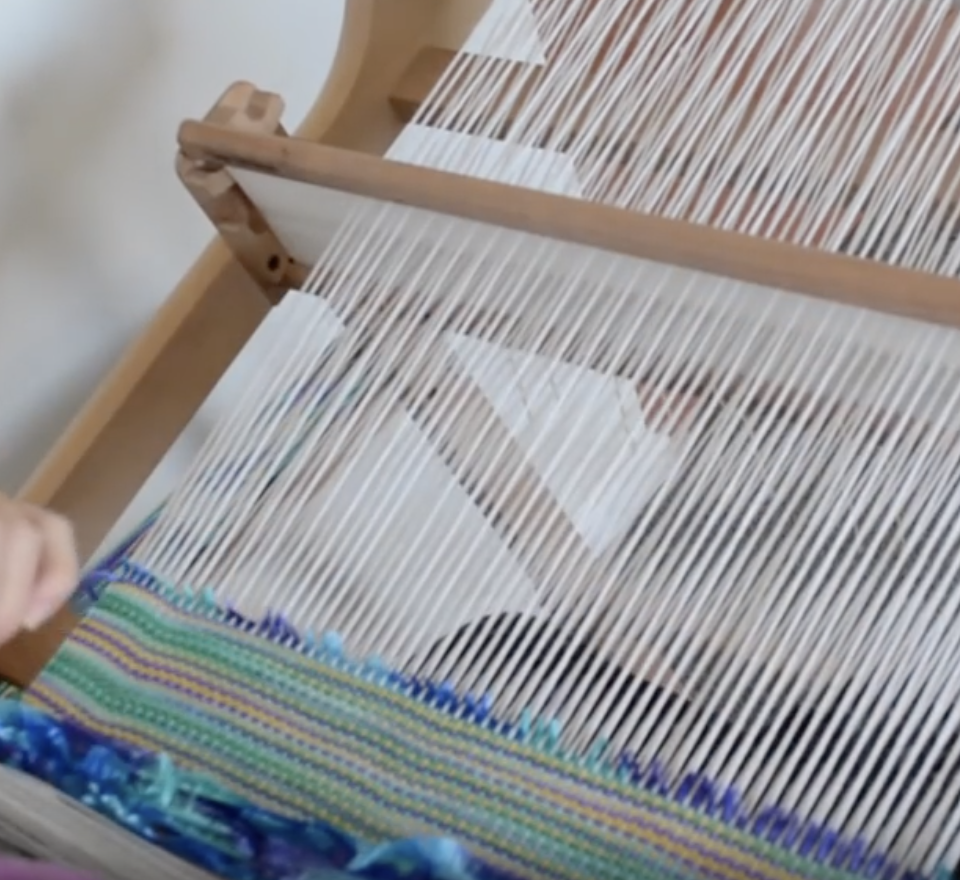
There is always a “sweet spot” for your weaving, the position is where the tension feels right and the beating is easy. If you wind forward too far, when you beat, the reed will touch the cloth beam at the front and the beat will be uneven. It’s also uncomfortable for your body to have to bring the reed so far forward, it puts strain on your wrists and shoulders.
Advancing often, and the right amount also helps you to keep weaving at the same tension.

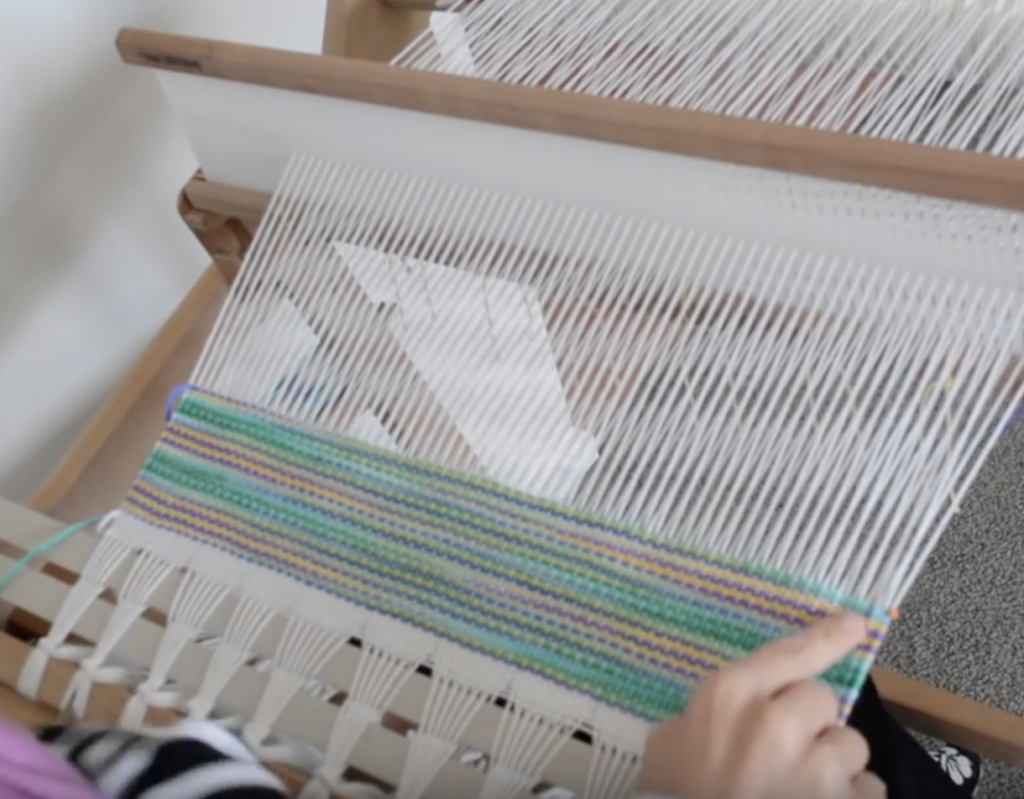
The best tip that I have for advancing the warp is “little and often”.
This video may help you to become more familiar with your loom’s tension system and gain a little confidence for advancing your warp.
I hope this post has been a help to you! Please leave me a comment and let me know, or ask any questions you may have.
The next post will cover removing your weaving from the loom and preparing for wet finishing.
Until next time…
Happy Weaving!