Pinwheels are a bit of an ultimate goal for some of us rigid heddle weavers. I’ve often heard it said that it was a picture of another weaver’s pinwheel project that first excited the interest of some to the rigid heddle loom.
I’ve had many requests for a pinwheels class over the past couple of years, so I finally knuckled down, and as a result “Pinwheels for the Rigid Heddle Loom” is now available.
*This post contains an affiliate link. For further information, please view my disclosure policy.
I really enjoyed making this class, as it’s always a thrill to introduce my students to a project that I know just naturally has the “WOW!” factor in abundance.
Pinwheels can be woven on either 8 or 4 shafts, and are essentially a twill draft combined with colour and weave to produce something really impressive, but not all that difficult. You have to love that!
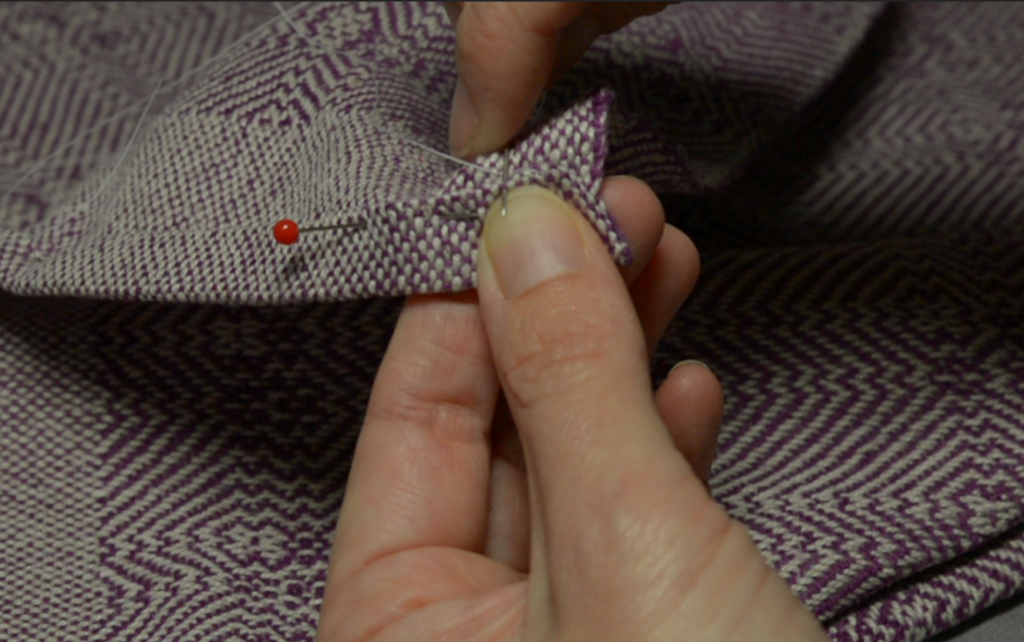
For this class, I chose to weave on 4 shafts (for obvious reasons – 4 shafts is way more achievable on a rigid heddle loom than 8!) using a single heddle/reed and 3 heddle rods. The set up is a little time intensive, but very comparative to the time it would take to set up on a multi shaft loom. And once you start weaving, you are more than rewarded for your efforts.
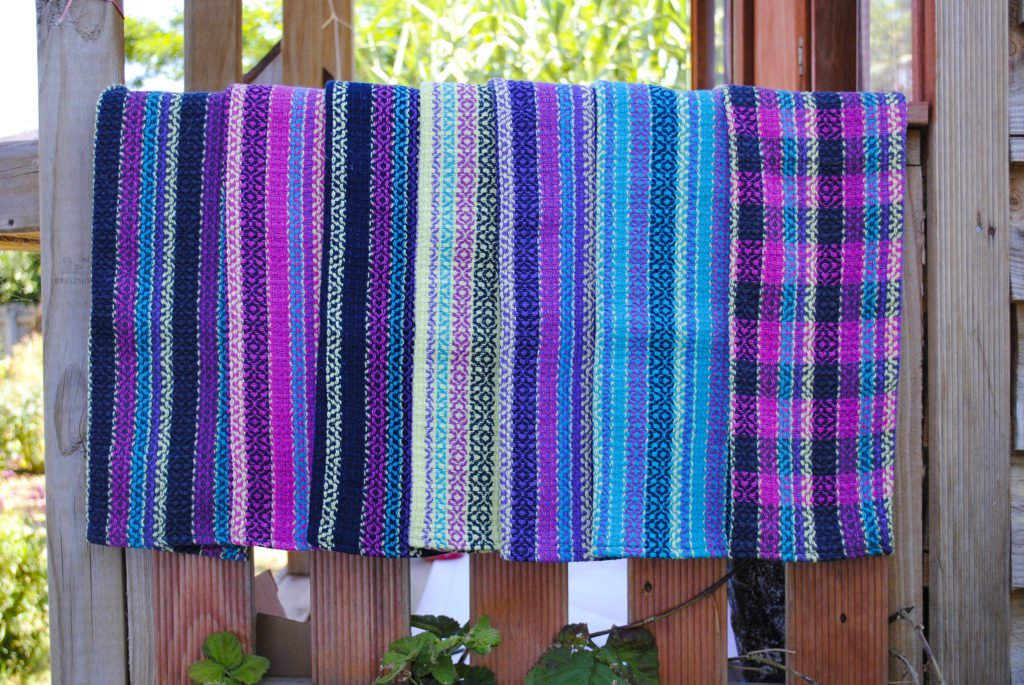
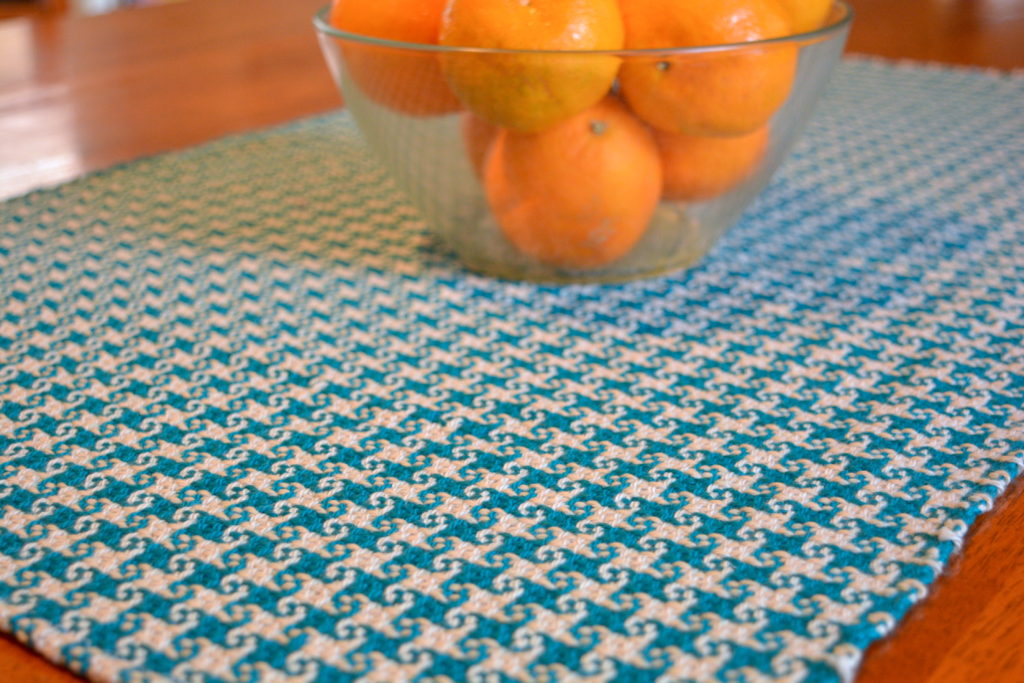
The class demonstrates a Table Topper project (rather like a table centrepiece) but also provides all the calculations for a table runner, if that is your preference. I chose my colours (Latte and Peacock) to co-ordinate with my dining room curtains, which are a greyish coffee colour.
It is important with pinwheels to choose colours that are harmonious yet have enough contrast – you want those pinwheels to pop out at you!
Before undertaking this class, I highly suggest that you complete the “Converting Pattern Drafts to the Rigid Heddle Loom” to gain a good understanding of setting up your loom according to traditional pattern drafts. The Pinwheels class would then build on that knowledge and demonstrate that there are several ways to achieve the same result.
This class is available as a part of any membership to my Online Weaving School, or can be purchased as a single class.
Until next time….
Happy Pinwheel Weaving!