• Skip to main content
  • Skip to primary sidebar

Kelly Casanova Weaving Lessons

  • Hi! I’m Kelly!
    • Affiliates Disclosure
  • Online Weaving School Class Index
    • Common account issues
    • Common technical issues
    • What do I get with a membership?
  • New to rigid heddle weaving? Start here!
    • Never heard of the rigid heddle loom?
    • How to weave neat edges on the rigid heddle loom
    • Rigid heddle weaving
    • Rigid Heddle Weaving Patterns
  • Patterns
  • Subscribe

Inkle Weaving

How is a knitter’s loom different to a rigid heddle loom?

by Kelly 42 Comments

As you probably already know, I’m a big fan of Ashford looms, I have four of them myself. I have found their looms to be reliable, easy to obtain, excellent learning tools and affordably priced.

Ashford make a variety of looms including the rigid heddle, knitter’s loom, inkle looms, table looms and floor looms. They also make a big range of weaving tools, yarns and accessories, as well as all their other supplies for fibre artists.

*This post contains affiliate links. Please see my disclosure for more details.
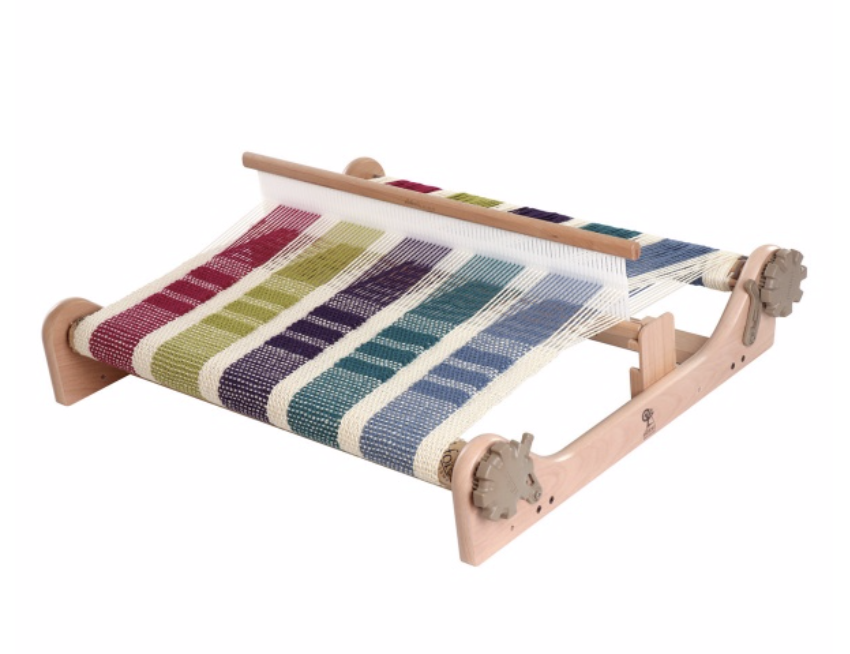
Ashford rigid heddle loom, photo courtesy of Ashford website.

I also love that the Ashford factory is based in New Zealand, my second favourite country (after Australia, of course!) and all the wood used is sourced from there too.

But today I want to focus on two of their looms that are very popular but also cause some confusion among new weavers – the knitter’s loom and the rigid heddle loom.

If you’re interested in knowing more about looms prior to purchasing, or just out of interest, I have a list of articles and videos that will be a big help to you.
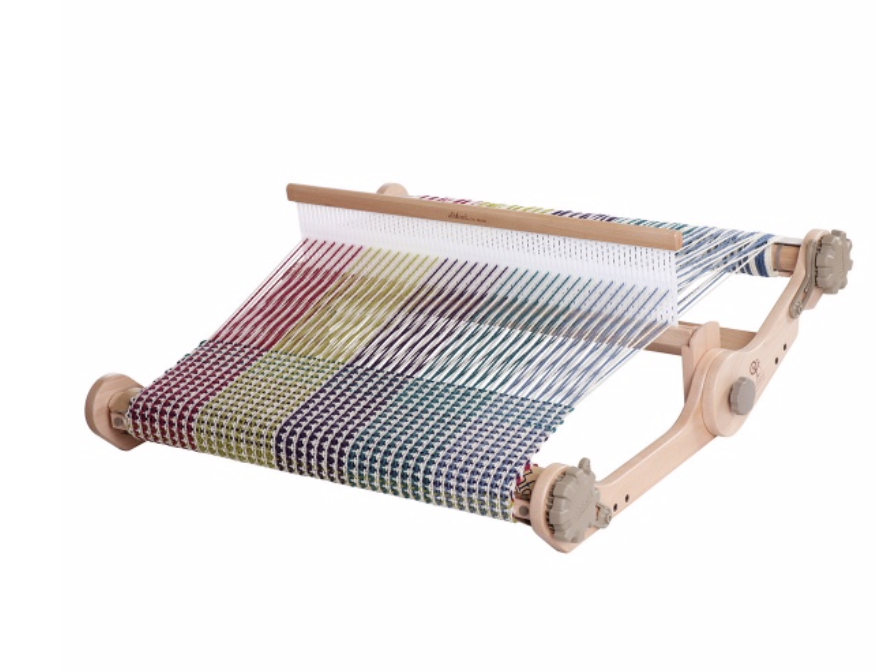
Ashford Knitter’s loom, photo courtesy of Ashford website.

Having never actually used a knitter’s loom myself, I knew it was time to call in some expert knowledge on the subject, and who better to answer my questions than Kate Sherratt from Ashford.

Kate was very generous in not only answering my questions but in giving me extra information for all of us to learn from. Let’s start with a little history of the rigid heddle and knitter’s looms:

Ashford’s have been making Rigid Heddle looms for over 70 years. Pictured below is Richard Ashford’s mother, Joy with one of their early looms.
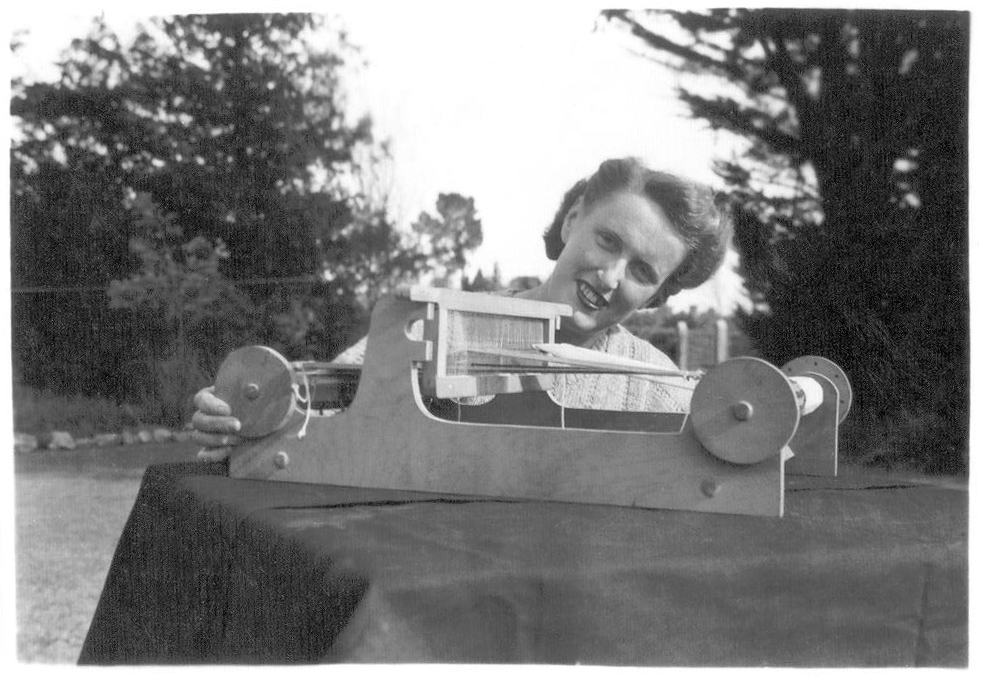
The Knitters looms are a more recent addition and were introduced in 2005. These looms are a type of rigid heddle loom but with some differences.

One of the aims of the knitters loom was to change the mindset that you can only weave with weaving specific yarns. It paved the way for knitters, who already had a healthy stash of knitting yarn, to ease seamlessly into weaving and continue to utilise the yarn they already knew and loved.

The release of the knitter’s loom brought a whole new wave of crafters and fibre artists into the weaving world. It had features that were very attractive to the brand new weaver who wanted to get up and weaving really fast.

It folded with weaving in place, it was lighter and more compact than previous rigid heddle looms, it had the factory lacquer finish and it was assembled.

So, which loom is the right one for you?

Ashford now make three types of rigid heddle looms – The Standard Rigid Heddle looms (RH), the Knitters looms (KL) and the SampleIt looms (SL).

Kate points our that all these looms are exactly the same in the way they function – you warp and weave on them in the same way.

The difference comes down to personal preference:

What size do you prefer? What do you intend to weave the most?

How much money do you want to spend? 

How much space do you have? 

Will you want your loom to be as portable as possible? 
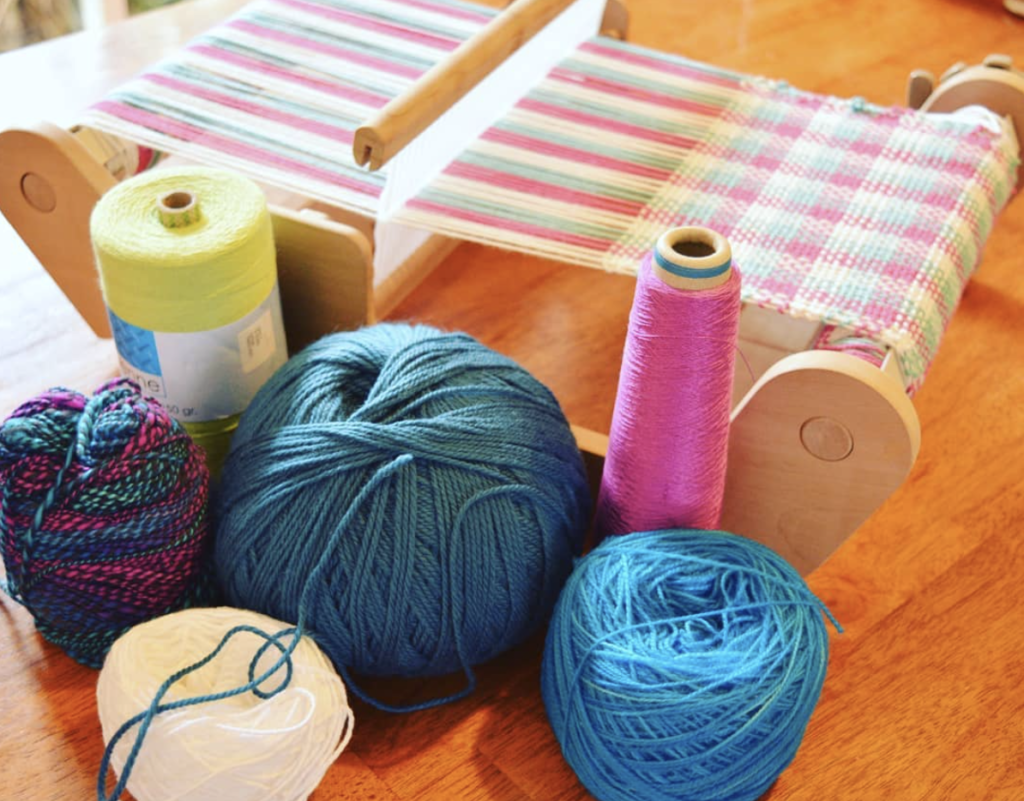
Let’s take a look at the differences between the three types:

RH come in four weaving widths 40cm (16″), 60cm (24″), 80cm (32″) and 120cm (48″).

KL come in three weaving widths 30cm (12″), 50cm (20″) and 70cm (28″)

SL come in two weaving widths 25cm (10″) and 40cm (16)

KL come assembled and have a factory lacquered finish and include a carry bag, making it very convenient to take to a class or outing.

RH come kitset and unfinished timber. This means you need to do your own lacquering, painting or waxing and assembling.

SL come kitset and unfinished.

KL fold in half for storage and transportation, can fold with weaving in place. Are made of the lighter timber.

RH are made of thicker more solid timber and do not fold.

SL are smaller, lighter and more compact – the most prominent difference is the depth of the loom – which will only effect the weaving when using non elastic yarns like cotton.

RH have more accessories available – the freedom roller, the table stand, and the warping pegs are exclusive for the standard rigid heddle looms.

What these three looms have in common:

6 different dpi reeds are available for all.

Vari dent reeds are available for all.

Stands are available for all.

They all can be warped the same.

They all can be woven on the same ways.

They all are affordable. 

They all work extremely well, are well designed and do what they are supposed to do.
I also had some specific questions for Kate. These are things I am often asked by students.

*Can you use two heddles on a knitter’s loom?

All our rigid heddle looms come standard with the double heddle sideposts – as far as using three heddles go, I cannot personally comment as I have not tried it myself but I have seen people using three heddles on all our rigid heddle looms – including the SampleIts (see Amy McKnight’s recent posts).

I will also add here that I have several classes available on using more than one heddle. The most popular classes are Three Heddle Adventures and Weaving with Two Heddles

* Students have told me they have trouble when weaving the down shed on their knitter’s loom. They say that the heddle slips out of place.

On the Knitters loom the reed is held in the bottom position by the warp tension. It does not click into place or stay there when there is no warp on it, it is not supposed to. (the standard rigid heddle reed does not either, it only hangs from the upper rail, and as the KL has to fold the rails needed to be different).

*Students have also mentioned that they need to angle the back of the knitter’s loom in order to weave. Can you explain this?

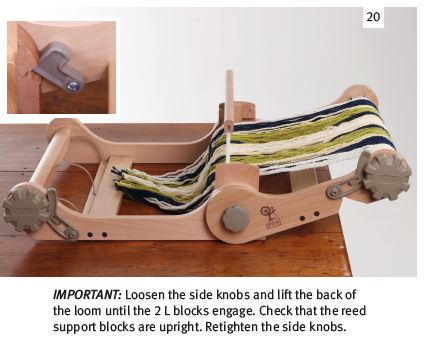
See the attached snippet from the Learn to Weave on the Knitters loom booklet (that comes with the loom)  – the design of the loom, so it could fold etc, requires the back half of the loom to be angled up when weaving. This is probably the number one issue people have when starting out “help I have no shed” – to which the simple answer is lift the back up into the correct position. 
     *Are the heddle positions the same on each loom?   

   The heddle position are actually the same on all the looms – the distance is the same from the top to the bottom and to the neutral positions – it has to be the same as our reeds (the distance from the top rail to the eye and to the bottom rail) are all the same. And the sheds are the same…..

*How long a warp can you fit on each of these looms?

This does depend on a few things – yarn type, sett, warp separators etc. The limiting factor is the distance the cross rails are from the rollers – which varies from 7cm to 10cm. So you can fit quite a length!

*Is there anything else you think is important that people know about the looms?

You can do the same things on all the looms – there is not one that performs better technically – it really does come down to personal preference – and my personal preference is the good old work horse – the standard rigid heddle.

The question when buying a rigid heddle loom should not be ā€œwhat can I do on a rigid heddle loom?ā€ it should be what can’t you do!  And although I do have Jack and Katie (and a couple of table looms) – my Rigid heddle looms (of course there are several) hold a special place in my heart – my love of weaving came not only from being taught to weave on a rigid heddle loom but more from all the possibilities there was from a simple piece of equipment – I know it sounds corny but there really are unlimited possibilities! 

I get a little cranky when I here people say ā€œoh you are limited on what you can do on a rigid heddleā€  ā€“ because really when you control the type of yarn (or fibre) you use, the colour you use, the texture you use, the sett you use, the patterns you create – the limits don’t really come from the loom they come for your imagination. And as 75% of the woven fabric in the world is plain weave – do you really need something else?
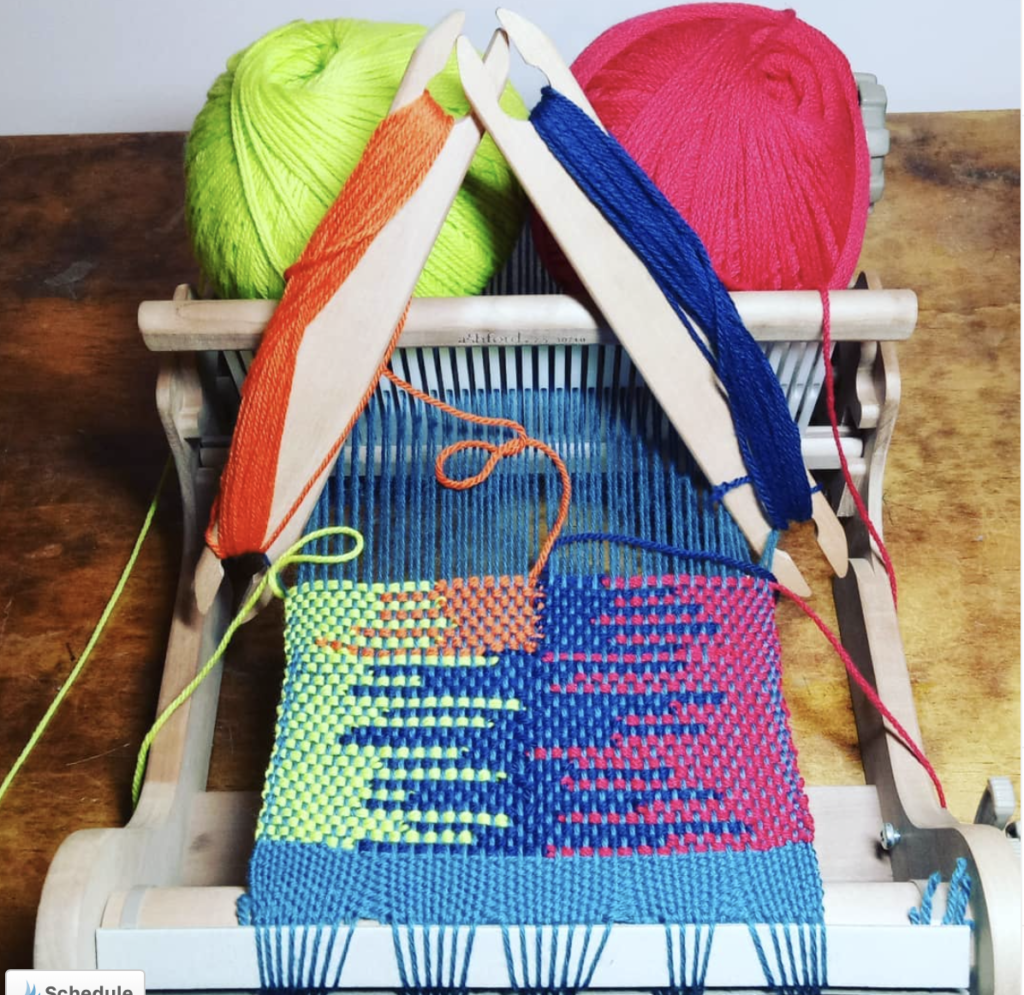
3 Colour Clasped Weft – free tutorial

Wise words, thank you Kate!

One more thing I want to clear up is how to clamp the knitter’s loom to a table. This can confuse new weavers, because although clamps do come with the knitter’s loom, there are no holes present to insert the clamps into, like there are with other RH looms.

The answer is very simple, as you can see here:
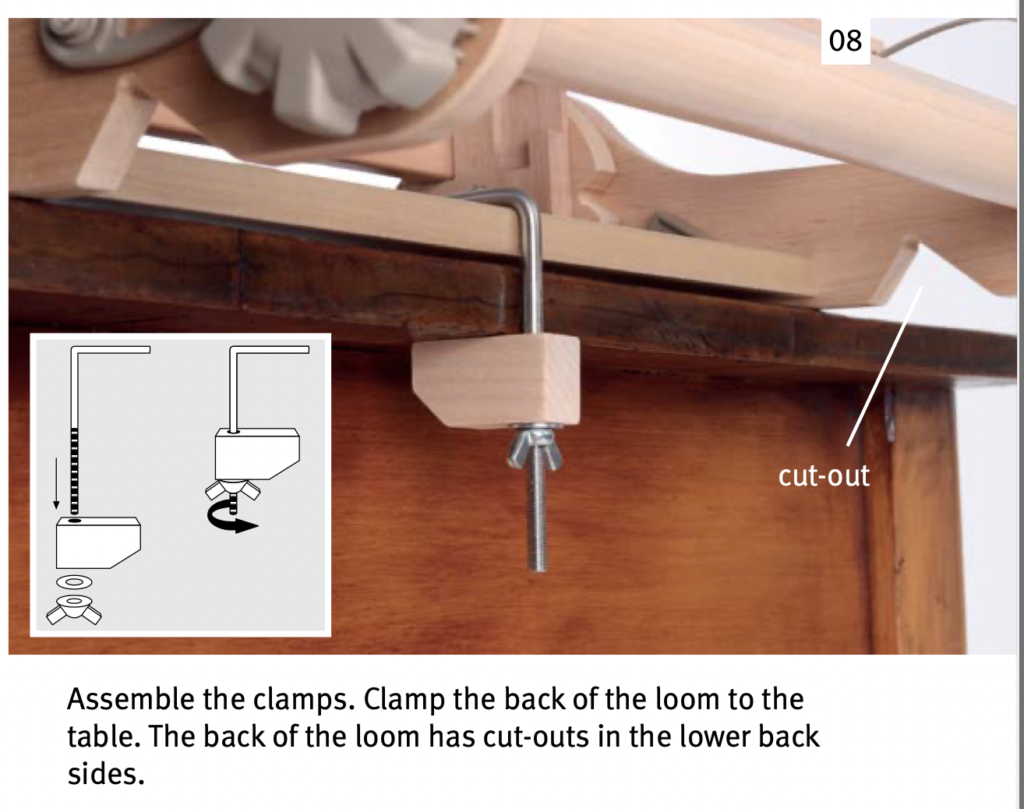
These instructions, and more, are available from the Ashford website.

I hope this post has helped to clear up any confusion and answer some of your burning questions. Of course, you are welcome to leave any additional questions in the comments.

Do you own a knitter’s loom? A rigid heddle loom? A Sampleit? Was it a difficult decision for you? What helped you decide? Let’s keep the conversation going!

Until next time…

Happy Weaving!
Filed Under: All about looms, Inkle Weaving, Reviews, Rigid heddle weaving, Table loom weaving, Weaving Tagged With: ashford, Kate sherratt, knitters loom, rigid heddle loom, sampleit loom, table loom, which loom

7 Tips for weaving on an Inkle loom plus free pattern!

by Kelly 25 Comments

Inkle loom weaving is so fun, easy to learn and affordable to begin.

If you’ve been thinking about starting to weave on an inkle loom, I strongly encourage you to have a go. Inkle looms are simple devices that won’t take up much space and won’t break the bank either.

For an absolute beginner weaver, an inkle loom is the perfect way to test the waters without making a big investment. My favourite inkle loom available is the Lojan Inkle. It’s available in the standard size, the smaller size (Inkeltje) or if you want some tablet weaving accessories as part of the package, the Complete Edition.

As a reseller for Lojan wheels and looms in Australia, you can contact me for further details.

*This post contains affiliate links. For further information please see my disclosure policy here.

What Is An Inkle Loom?

There are only two sheds on an inkle loom – up and down. In the warping process, you alternate between heddled and unheddled warp threads. When you are ready to weave, you an either push down on the warp threads to achieve a shed or lift them up to achieve the other shed.

If you’ve never seen an inkle loom in action, my Youtube series in which we weave a lovely floral band, from start to finish is an excellent place to start:

If you want to learn more about the basics of inkle looms, I wrote a blog post about it here.

First we will go through the tips I want to share to help you weave better inkle bands, and then we will talk about all the details of the free project.

Tip 1- Use a Warping Stand

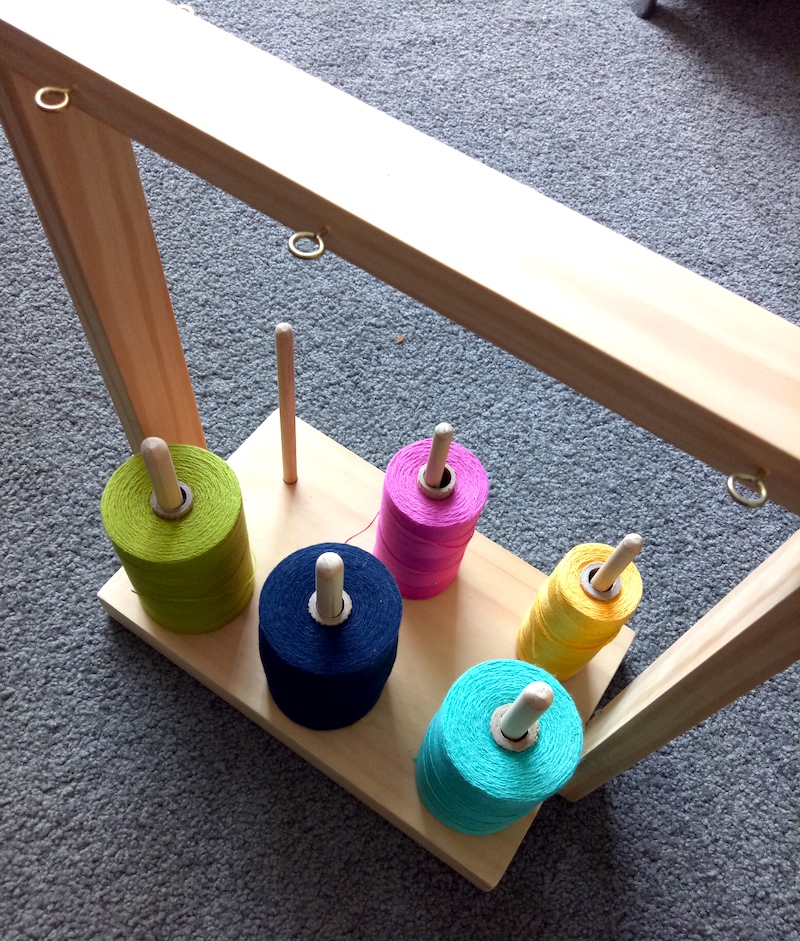
This is not essential but it just makes the warping process so much easier. I don’t have to worry about yarn cones toppling over or not feeding off the cone smoothly.

It also helps to keep the cones separate and far enough apart that the threads won’t tangle with each other as you’re changing colours. I just pop the warping stand underneath the table that I have the loom sitting on for warping and away we go.

You can purchase warping stands complete and ready to go, but if you want to save some cash, you could make one yourself like my husband and I did. We have the instructions for you to follow here.

Tip 2: Get Comfortable

One of the bonuses of an inkle loom is that you can take it anywhere. But it’s still important to think about your posture and find the most comfortable ways to weave, especially if you’re going to be at it for a while.

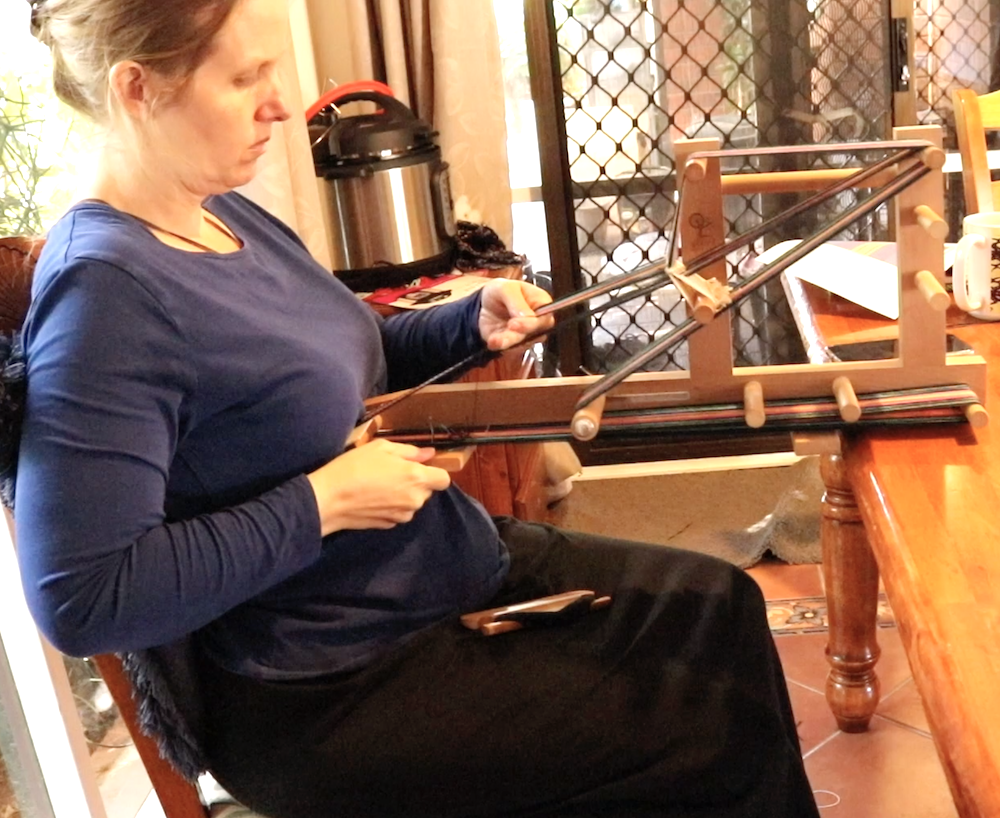
Some inkle weavers will clamp the loom to a table to keep it sturdy but I like to have it close to my body where I can comfortably reach to change sheds and beat. I also like to rest the loom against my body to keep it sturdy, as I find that feels most natural to me. If I’m using a table to rest the back of the loom on, that position would look something like this:

Note the comfortable, high backed chair with additional cushion to keep my back comfy. The loom rests on the edge of the table by placing the horizontal wooden bar against it, and the front of the loom rests at about the bottom of my bra level (sorry, couldn’t think of a better description – sternum maybe?!)

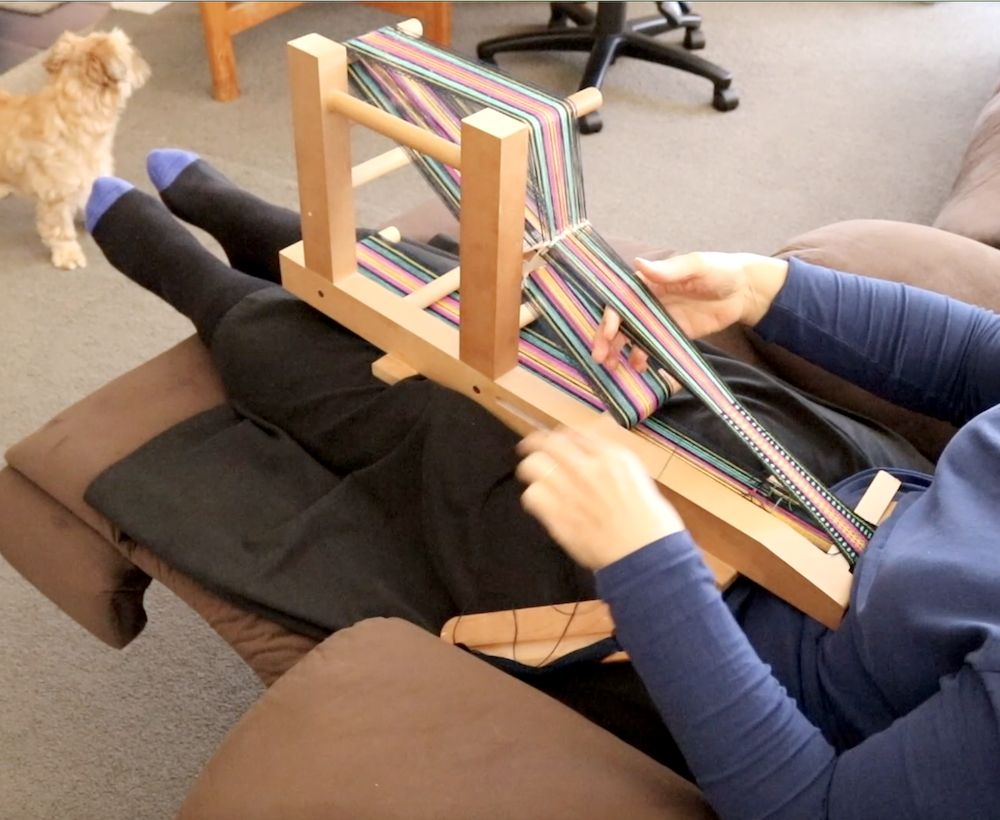
My favourite position is sitting in my recliner with my feet up. That’s my idea of relaxation!

Once again, the front of the loom is pressed against my body for sturdiness and ease of beating.

Tip 3 – Additional Warp Tensioning

You should do your best to achieve really good tension using your tensioning peg, but if you feel you are lacking a little, you can take a small section of cardboard separator and wedge that in at the starting peg, underneath your band.

You can also wedge an additional piece at the top back peg if needed. It really does make a difference!

Tip 4 – Weft tensioning is different to other weaving.

If you come from rigid heddle weaving, you will be used to fixing up your edges as the weft travels around the warp threads, especially if you use my neat edges technique. But inkle weaving is different.

Your warp threads are under high tension and the weave is warp faced, not balanced. If I’m asked how much tension to place on your edges with your weft thread, I would say probably more than you think.

You want to really pull each weft pick into place and feel it move to create a very firm band. This is something that each inkle weaver needs to find a sweet spot for, but a hint is that you need enough tension so that your weft thread is not looped, bubbled or otherwise really visible at the edges, but not so much that your edges end up bumpy, lumpy or wavy rather than nice and straight.

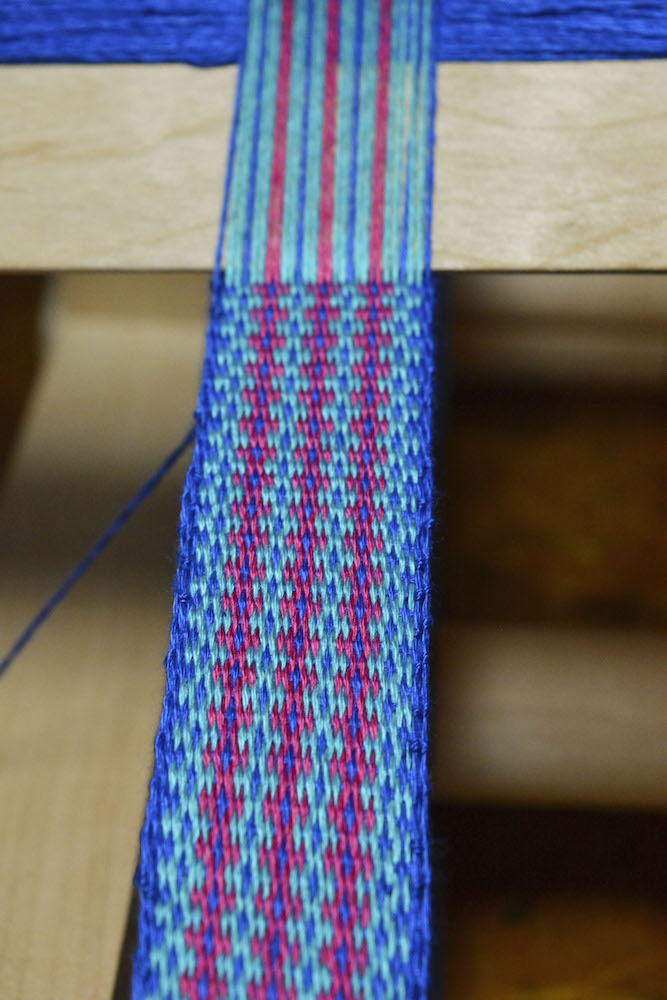
Tip 5 – Use the first 2 inches as practice

To be honest, your first 1.5 – 2″ is probably not going to be so pretty. It takes a little time for the warp to come together and for you to find the right amount of weft and warp tension, as well as a suitable beat.

Don’t worry about those first couple of inches, I generally cut that part off and don’t use it.

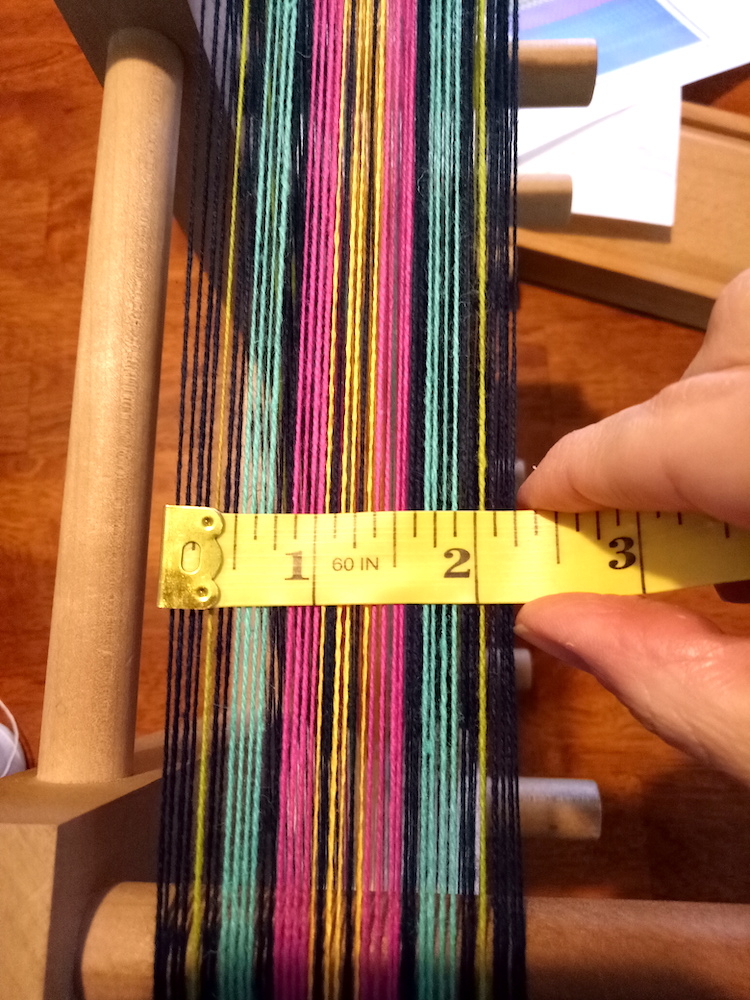
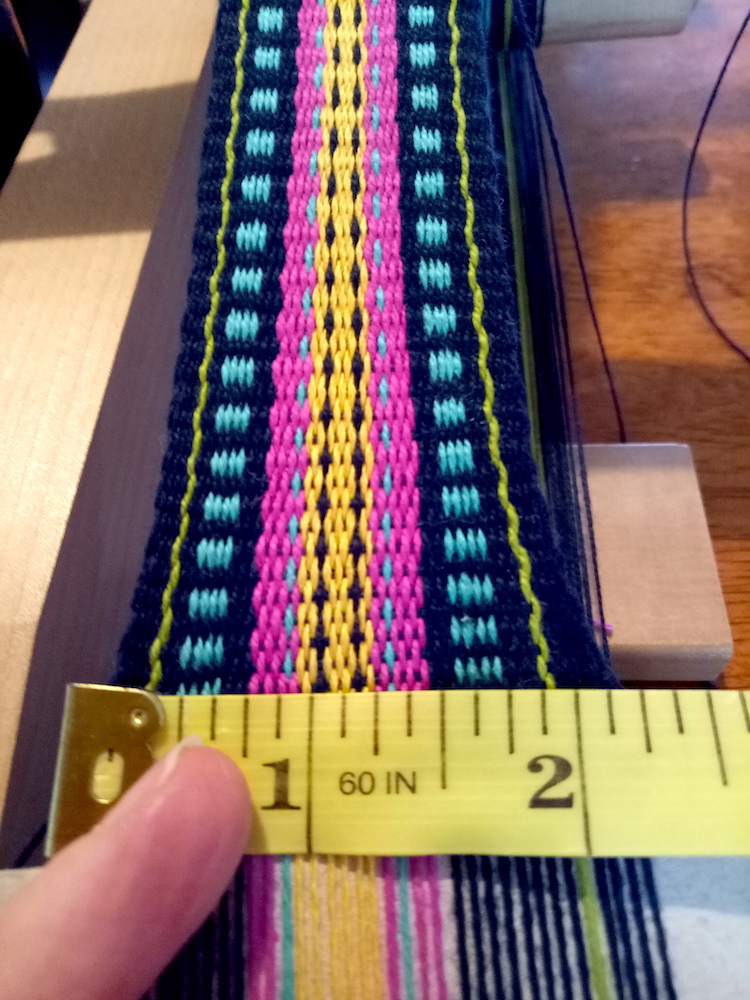
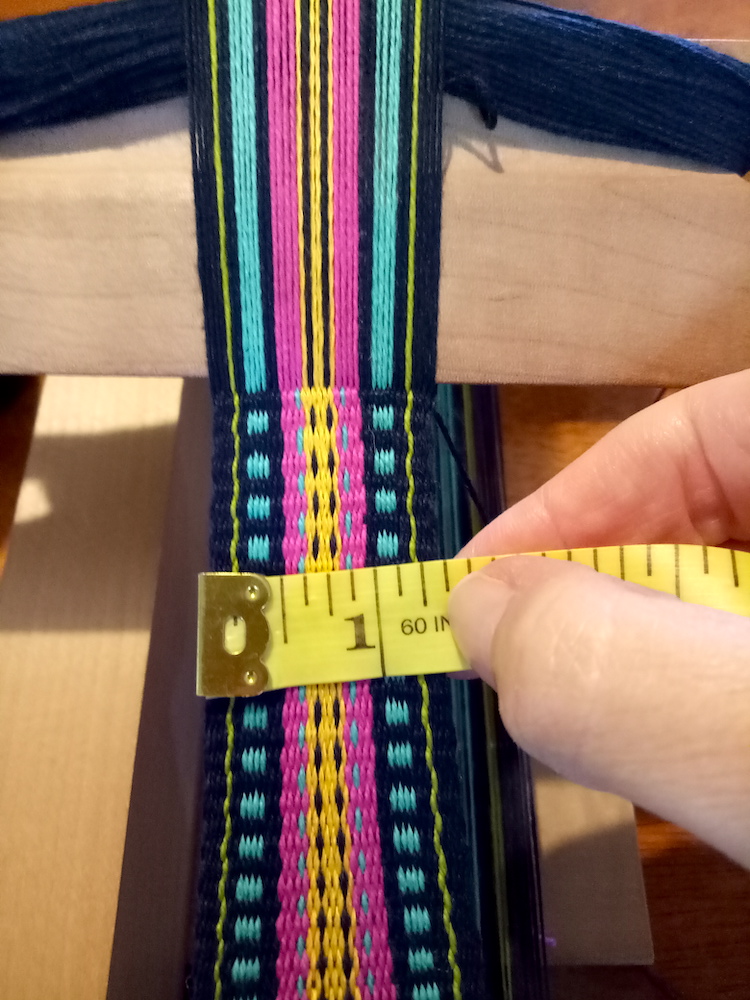
Tip 6 – Your woven band will be much, much narrower than your warp

I have some measurements here to demonstrate just how much narrower.

Here is my warp before I began weaving and the threads are all sitting in order. They are not pushed really close together or anything, so there is a little bit of natural spacing.

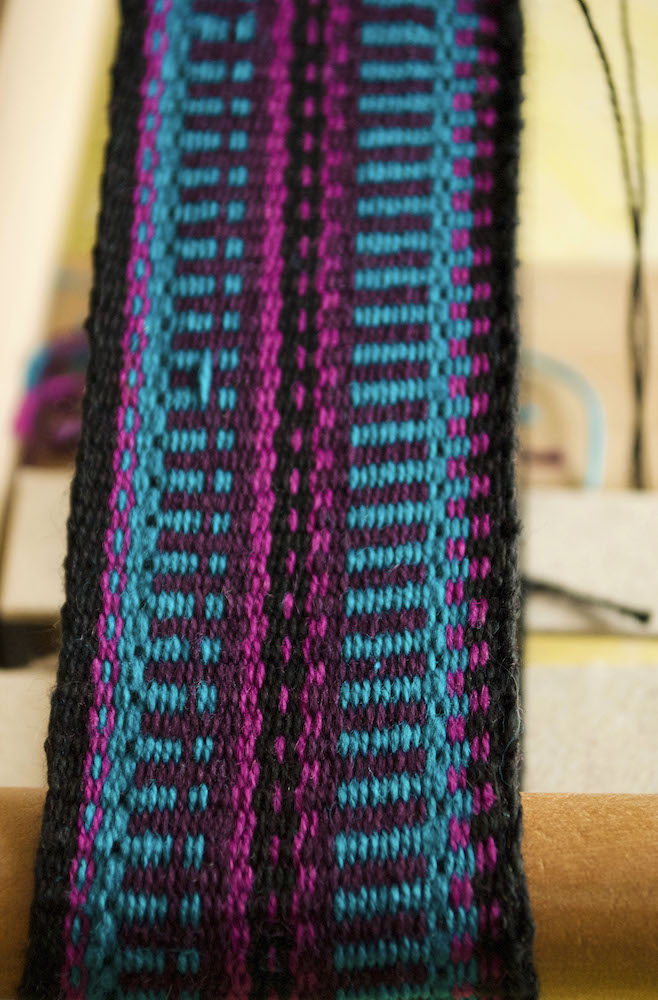
As soon as I start to weave, the band begins to narrow and draw in. It’s up to me to practice and find the right amount of draw in and tension to make a firm, consistent band.

And, by this stage I’m in my happy place with tension and the band remains a consistent width as long as I keep tensioning in the same way.

Tip 7- Your tension will improve

At the very beginning of your band, you may find it hard to get as tight a tension as you would wish for. If that is the case, try tip 3, but also know that when you have woven a little and can advance your warp for the first time, your tension will improve dramatically.

Actually, the same can be said of all the looms I own. The initial weaving is a little “getting to know you” session and once you are over the first hump (advancing the warp) everyone becomes much more settled and happy.

The Free Inkle Pattern

OK, that was the last tip I have for you today, so let’s get onto the free project discussion!

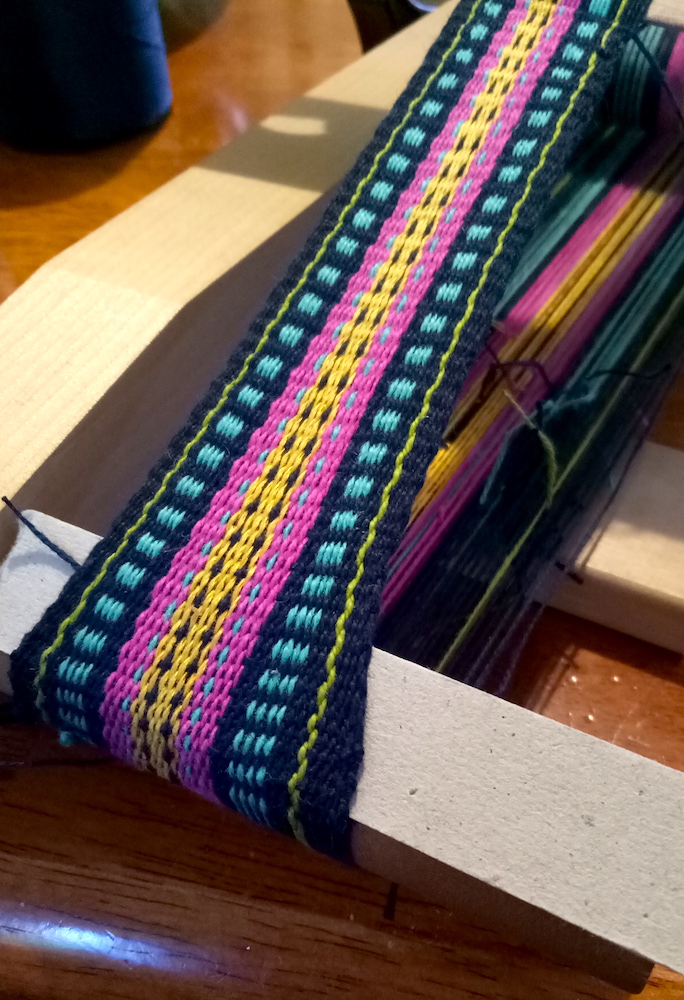
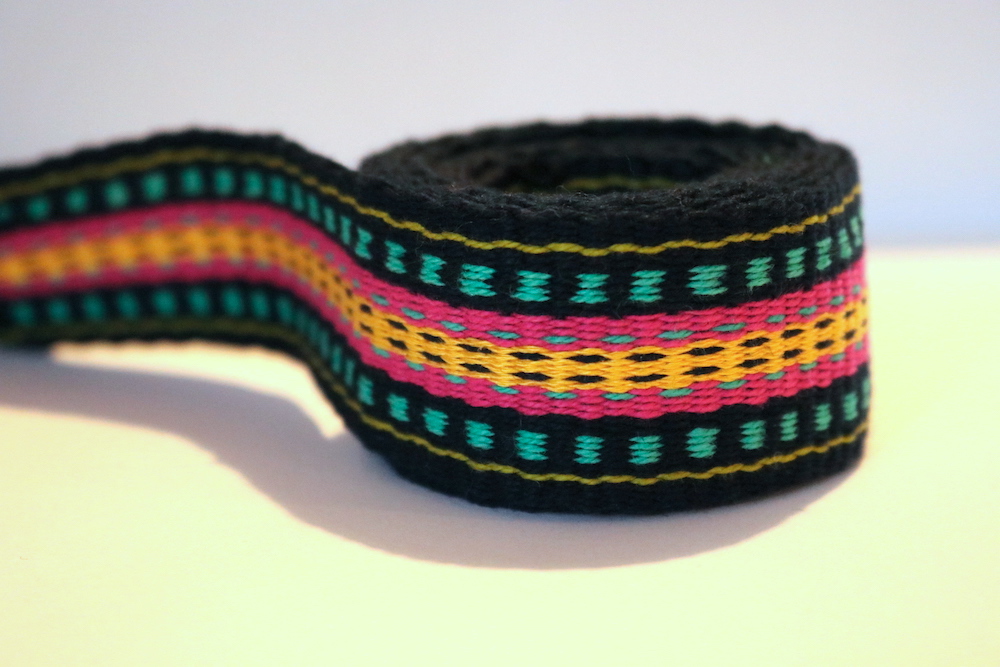
I must admit that I’m quite smitten with this inkle band and that’s why I knew I had to share it with all of you.

I have included the pattern draft I designed in the PDF, but if that is a bit beyond you, don’t worry, I’ve also included the colour order so that you can weave this band, regardless of your level.

You can download and print out the pattern here:

Free-Inkle-band-patternDownload

Yarns For This Project

If you are interested in using the exact same yarns that I have for this project, here are the details:

8/2 Maurice Brassard unmercerised cotton in Navy

8/2 Maurice Brassard unmercerised cotton in Fuchsia

8/2 Maurice Brassard unmercerised cotton in Limette pale (green)

8/2 Maurice Brassard unmercerised cotton in Peacock

8/2 Maurice Brassard unmercerised cotton in Jaune Fonce (yellow)

I’m not going to give exact quantities, but this band does not use an awful lot of yarn and is a great way to use up smaller quantities of leftovers.

I made the shortest warp that my inkle loom takes. I used navy as the weft, as it is best to use the same colour as your warp edges, it helps to blend it in and make neat looking edges.

My band measurements when finished and off the loom were about 59 x almost 1.5 inches.

I hope you enjoy weaving your own band! If you are interested in increasing your knowledge or want access to a lot of pattern examples and types for your inkle loom, I highly recommend Anne Dixon’s wonderful book The Weaver’s Inkle Pattern Directory.

Be sure to check out my Inkle weaving tips video on Youtube to see some of the tips in action:

If you’re looking for comprehensive, step by step Inkle instruction, check out my Inkle Weaving Course online.

Until next time…

Happy Weaving!
Filed Under: Free Pattern, Free tutorial, Inkle Weaving, Weaving Tagged With: free pattern, inkle weaving tips, inkle weaving tutorial

How to weave on an inkle loom

by Kelly 33 Comments

Have you ever wondered how to weave on an inkle loom—what it is, how it works, and what kinds of beautiful bands you can create with it? You’re in the right place!

An inkle loom is a simple, portable loom that’s perfect for beginners and experienced weavers alike. It’s designed for weaving strong, narrow bands that can be used for everything from belts and bag straps to decorative trims. In this post, I’ll walk you through what an inkle loom is, how to set it up, and what you can weave on it—so you can start your own inkle weaving journey with confidence!

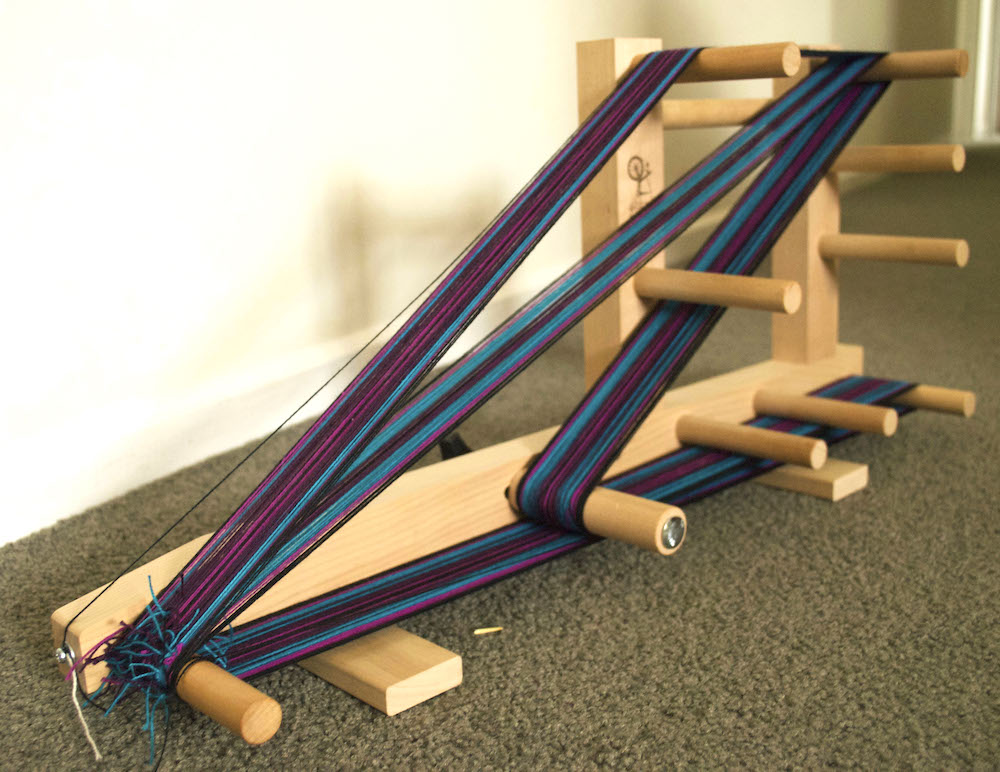
An inkle loom is basically a wooden frame with pegs for your warp to wind around and be tensioned on. There is also an adjustable tensioning peg to release or increase tension.

*This post contains affiliate links. For more information please see my disclosure policy.

Once you’ve wound on your warp, you create an extra shed for plain weave by using heddles to pick up threads. By the time you’re ready to weave, you will have shed 1 and shed 2 or heddled and unheddled threads. Pretty simple!

The weave structure that you use on an inkle loom is warp faced plain weave. This means that, although you are weaving plain weave, you place your warp under very tight tension and beat each pick down hard with a belt shuttle so that the warp colours remain visible but the weft threads do not. The warp threads become very condensed together, forming a thick, tight fabric, or band.

Now I’m going to address some commonly asked questions about inkle loom weaving:

What do I get when I purchase an inkle loom?

Whichever brand of inkle you choose, it should come standard with certain pieces. Firstly, the loom itself, commonly made of strong wood and usually requiring some basic assembly, comes with a built in tensioning peg.

You should also receive a belt shuttle, a clamp (this gives you the option of clamping the loom to a table or similar) and an instruction booklet.

You may or may not receive some string heddles, but you will need these, so check before purchasing if they are included. Of course, you an always make your own with some tapestry warping thread or seine twine.

What can I make on an inkle loom?

An inkle loom is for weaving bands. What you can then use the bands for is up to your own imagination!

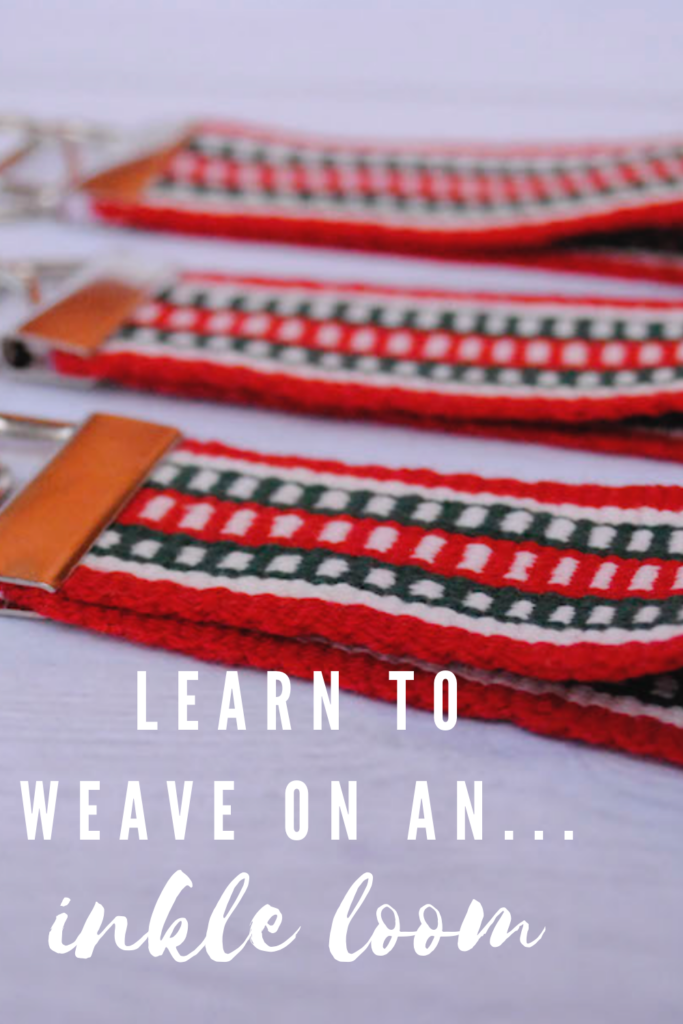
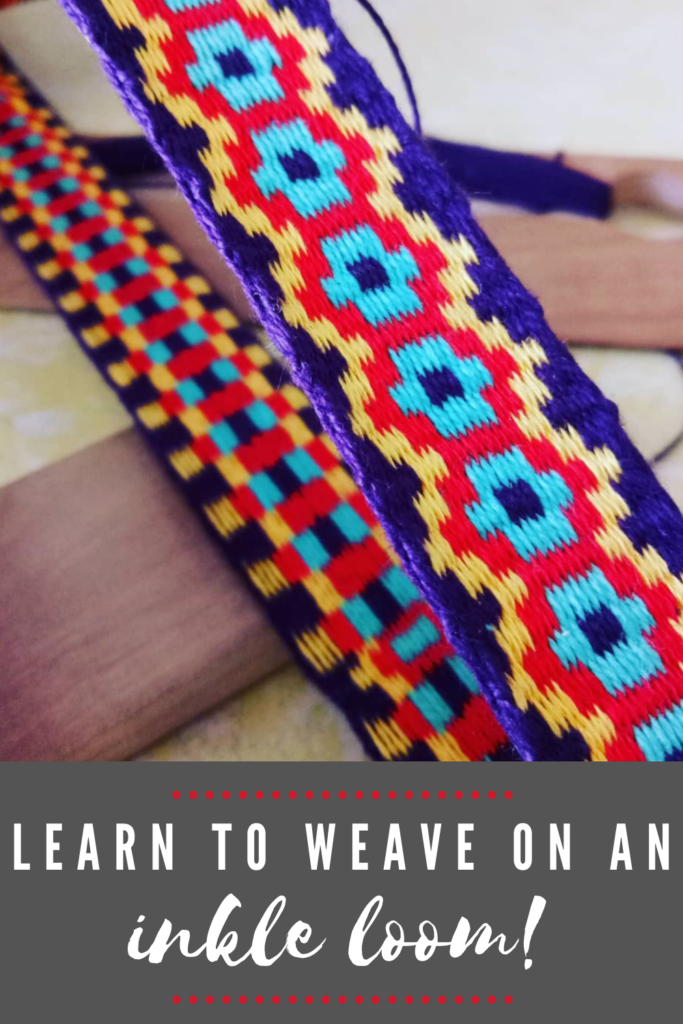
Some ideas are: key fobs, dog leads, shoelaces, bag handles, decorative trim for other craft or sewing projects, tabs to sew onto your handwoven towels to hang them, stitched together to make a larger project like a bag or purse, bracelets, lanyards, belts, guitar straps… lots of possibilities!

What width and length can I weave on an inkle loom?

I will talk about Ashford inkle looms, as that is what I own and know best. There are 2 sizes available:

Ashford Inkle loom. (just over $100USD)

This is the inkle loom that I have. You can warp it to a length of 110″ and achieve a weaving width of up to 3″.

Ashford Inklette loom (under $100USD)

This is a smaller alternative. You can warp up to a length of 72″ and a weaving width of 2″.

Why is an inkle loom a good option?

You may find the thought of an inkle loom limiting because you can only weave bands on it. However, there are so many variations for the actual bands possible that inkle weaving can keep you very busy for a very long time.

I’ve had my inkle for a few years and feel like I’ve only just scratched the surface. For example, last year I experimented with krokbragd on my inkle. I hear you saying “but you said an inkle is a 2 shaft loom!”

Indeed, it is, just like a rigid heddle loom is, but by doing pick up and adding extra heddles, we can make those extra shafts we need for more intricate patterns.

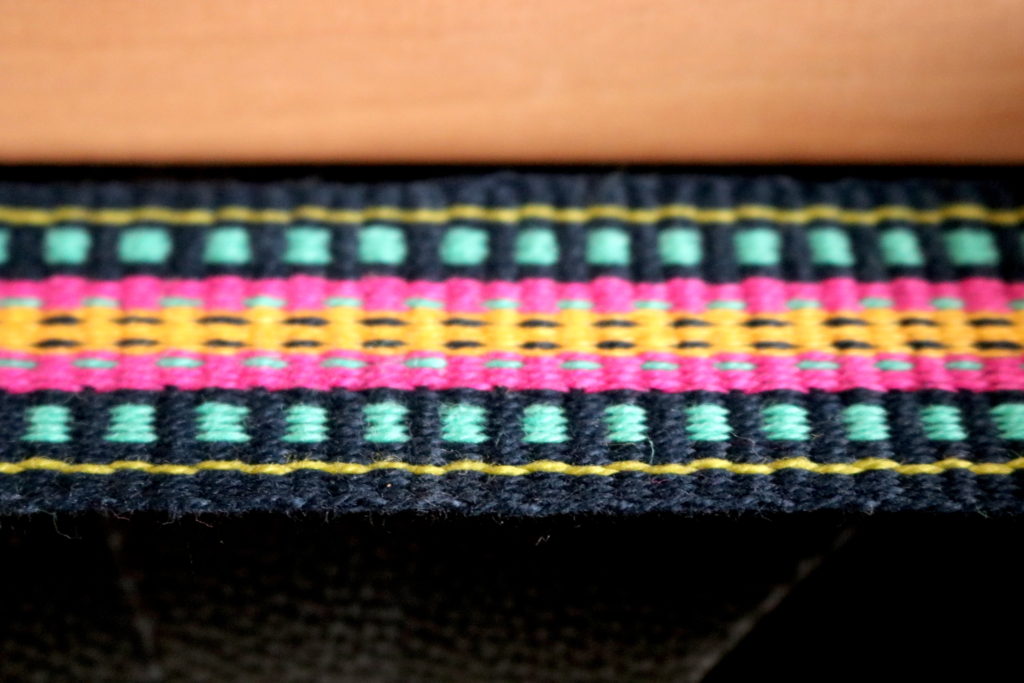
Weaving this krokbragd band was a fascinating exercise in taking a normally weft faced pattern draft and turning it to produce a warp faced pattern draft. And look at how gorgeous it is! If you want to know more about this project, I wrote a blog post about it here.

It is also such a light and portable loom. I like to sit in a recliner and weave on the inkle in the evenings while watching a movie with my family or chatting with someone. It’s small enough to take just about anywhere.

And of course, in the world of looms, this has to be one of the most affordable. Some weavers make their own, so make friends with google if that idea interests you.

Which yarns are best for inkle weaving?

I have mostly used 8/2 cotton. If you are familiar with me, you will know that I’m not a huge fan of mercerised cotton, aka Perle cotton, but for inkle weaving I have used it many times. It gives a lovely sheen to the bands.

I have also used unmercerised cotton a lot on my inkle. Both are perfect for the task. The colours of your band are all made in the warping process (remember, it’s a warp faced weave).

Here is a little tip – choose your weft colour according the colour of the edges of your warp, that way when you take the weft around the selvedges at the shed change, it will blend in nicely.

Where should I start?

The instruction booklet that comes with your inkle loom should help you a lot to get set up for your first project, however it won’t be long before you want to branch out and learn more. The best book that I have found on inkle weaving is Anne Dixon’s The Weaver’s Inkle Pattern Directory, which is extremely comprehensive and useful for both beginners and experienced levels.

Anne has over 400 patterns to try in all different styles and variations of difficulty. It’s quite an amazing book!

You will also find my Youtube series on weaving a floral inkle band invaluable, as it takes you right through from how to set up your loom to finishing your band after weaving. You will definitely want to check it out and be sure to watch all the videos so that you don’t miss any crucial steps:

You can download and print out this free floral pattern here:

Floral-band-inkle-patternDownload

Also, be sure to check out my article 7 Tips For Weaving on an Inkle Loom which includes yet another gorgeous and free downloadable pattern for you to weave on your inkle loom.

If you’re ready to get more serious about learning to weave on your inkle loom and also delve into tubular weaving, baltic pick up and all the tips and tricks, check out my online Inkle Weaving Course.

Product image

Inkle Weaving

Learn the fun and fascinating art of band weaving on your inkle loom!

4200 students enrolled

Last updated Sep 15th, 2026

Select a Pricing Plan
Buy now

I hope this article has peaked your interest in inkle weaving and helped you to see the many benefits of this little loom.

I love to weave on my Lojan Inkle Loom! I am a reseller for Lojan products in Australia, if you are interested in ordering please get in touch.

If you have any questions or comments, please leave them below, I love to hear from you (and it helps me to not feel like I’m talking to myself here šŸ˜†)

Until next time…

Happy Weaving!
Filed Under: Inkle Weaving, Tutorials, Weaving Tagged With: how to weave on an inkle loom, inkle loom, inkle weaving tutorial

  • « Go to Previous Page
  • Page 1
  • Page 2

Primary Sidebar

About Kelly Casanova

Join Kindred Creatives!

Hand crafted boat shuttles

Categories

Archives

Meta

  • Log in
  • Entries feed
  • Comments feed
  • WordPress.org

Copyright © 2026 Kelly Casanova Weaving Lessons on the Foodie Pro Theme