I made a video on this topic during the height of the 2020/21 pandemic, and although it was very relevant to the time period and experience we were all undergoing, it is still very relevant today.
I was inspired to talk about this by watercolour artist, Angela Fehr – a fellow Teachable creator. Although I spend very little time doing watercolour painting these days (thanks to weaving kind of taking over my life!) I am still very inspired by her emails and encouragement.
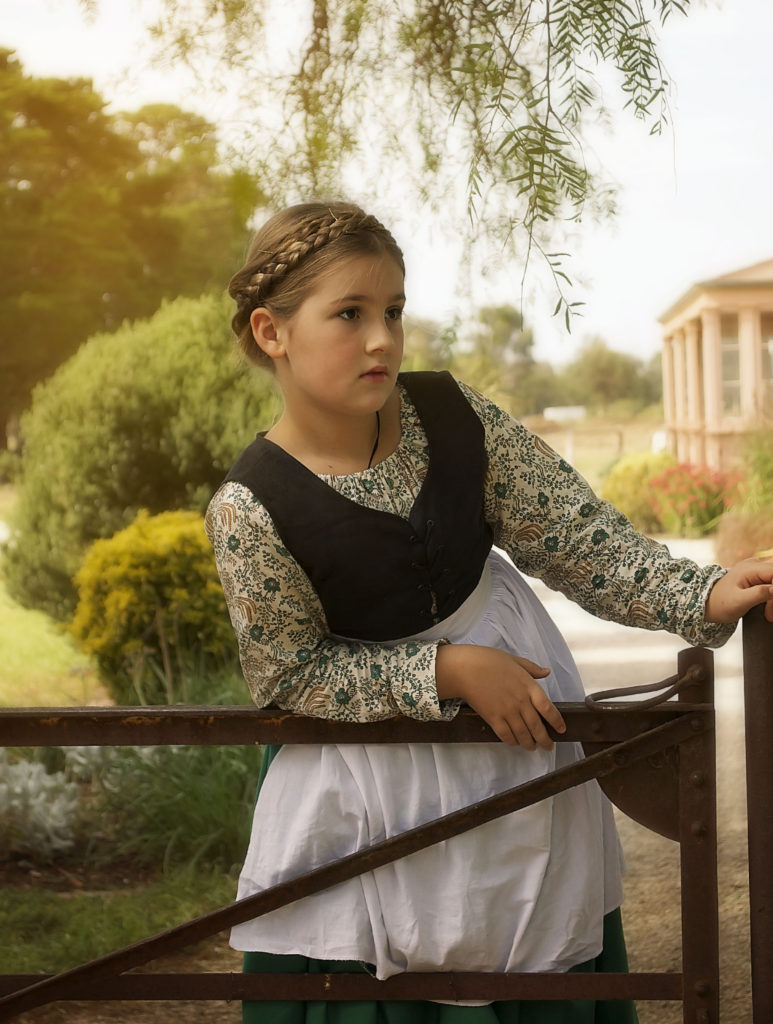
When certain world events come to the forefront (and we have certainly seen a variety of world events in the past 2 years!) it would be easy to say that something like weaving – a hobby for many of us, a career for some, is not all that important in the grand scheme of things.
I have to disagree by saying that it’s more important than ever. I’m going to talk about the reasons why.
- Weaving is a skill
In difficult times, I think it’s those of us who are skilled with our hands and knowledgeable about our craft who will find it easier to be useful. Currently, those of us who sell our woven pieces do so at a luxury level. Our items are priced high, they are unique and special. But, in a time of shortages, recession, or actual depression, the ability to make cloth from yarn could become a valuable and tradable commodity.
In the event of a depression, where no one really has any money, trading or bartering handwoven items could really help your situation.
I’m not saying that I think we’re headed for global financial collapse, but I’m realistic to know that things can change very quickly, and it’s interesting to at least consider ideas for preparedness.
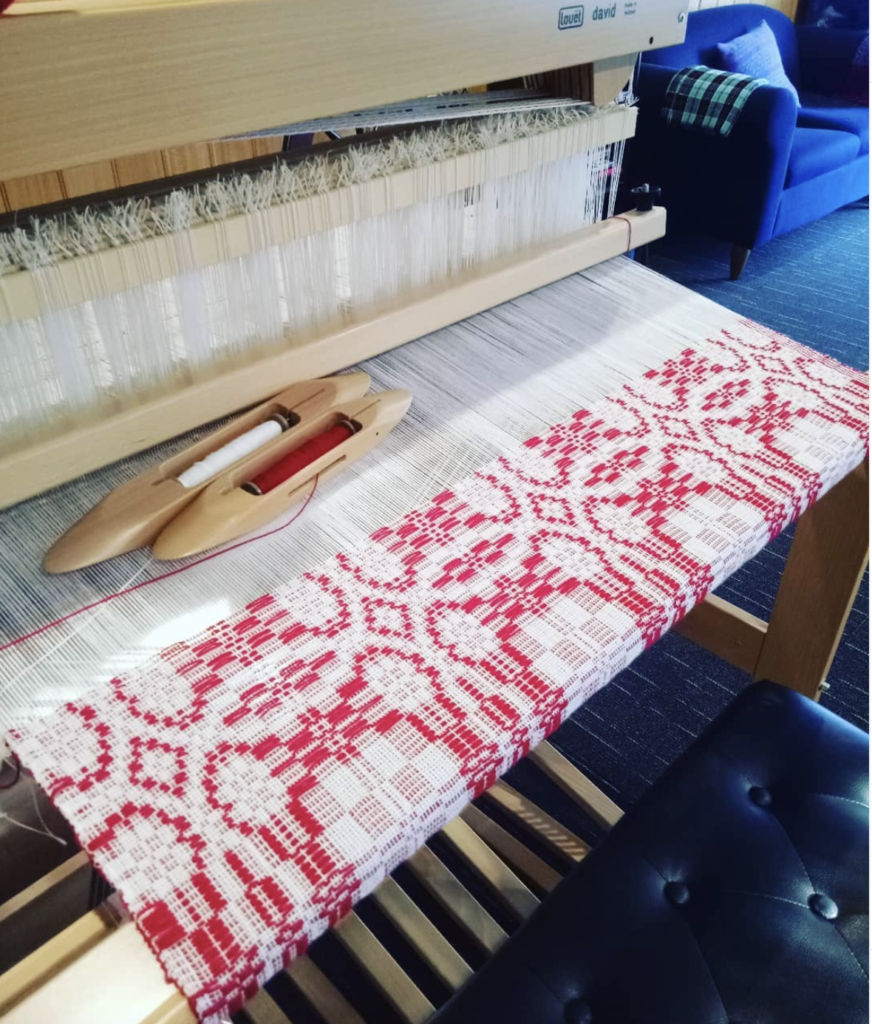
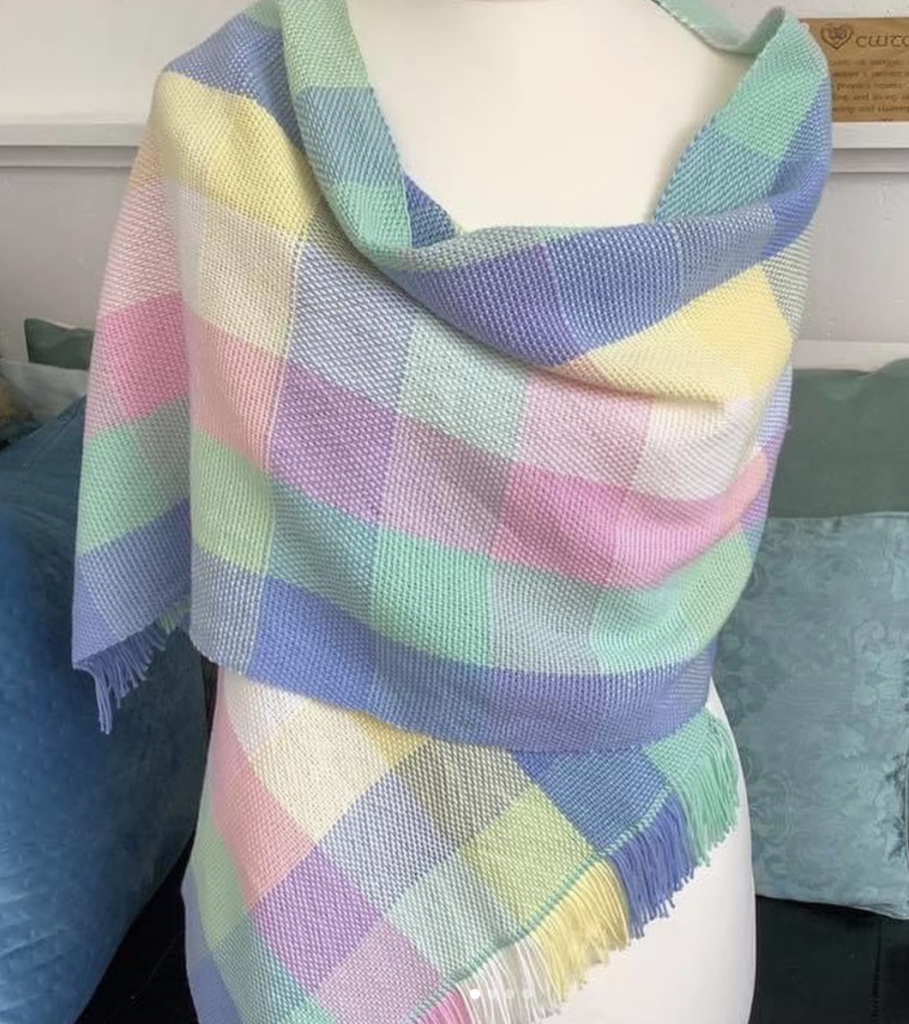
2. Weaving is beautiful
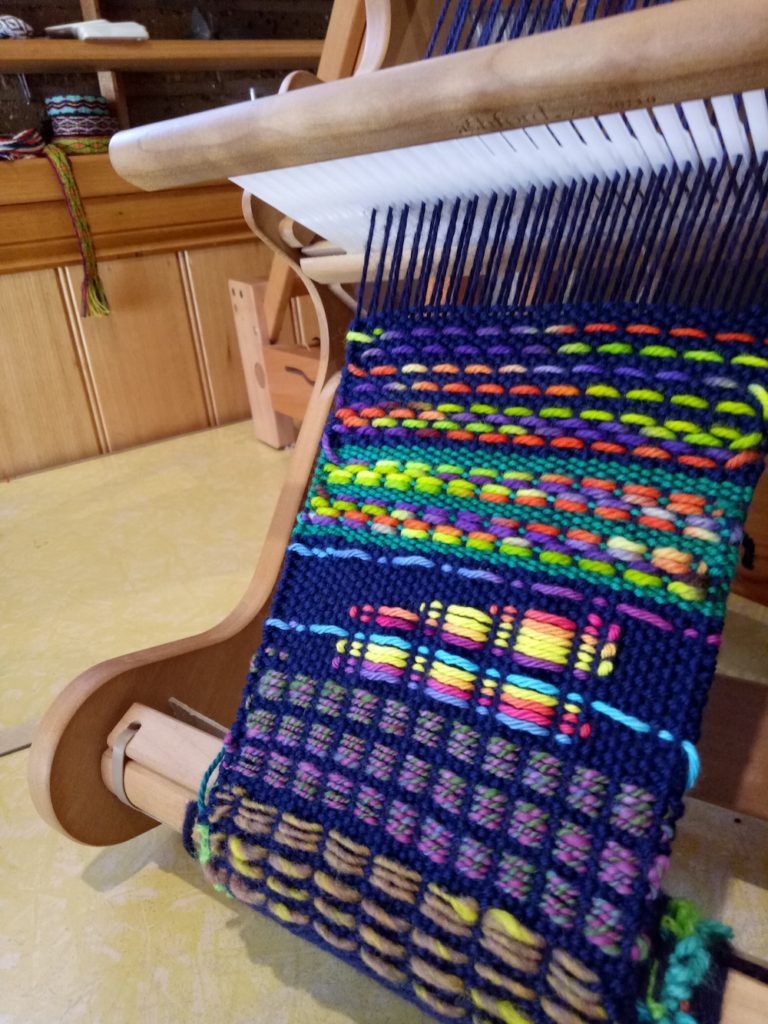
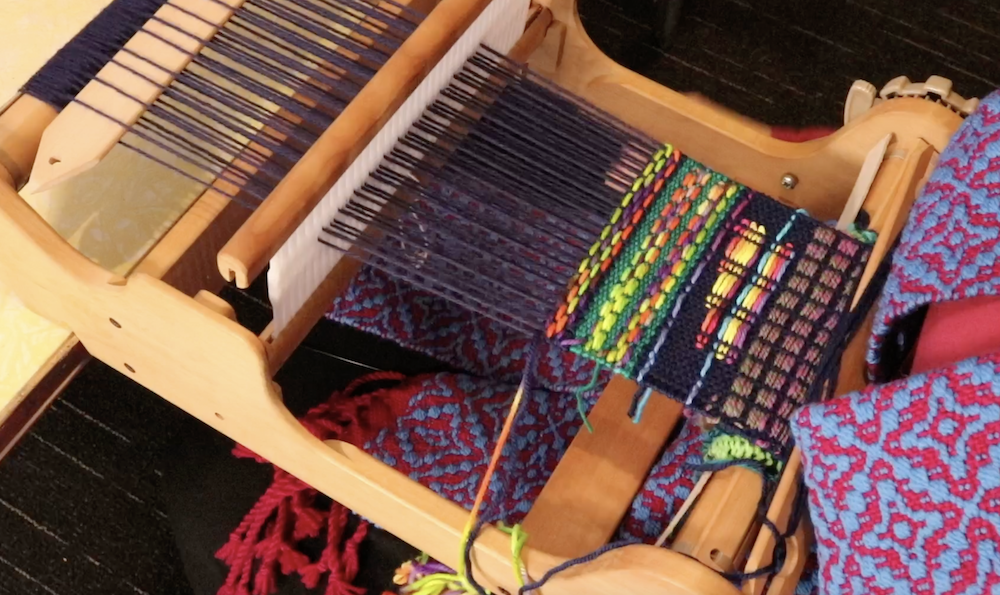
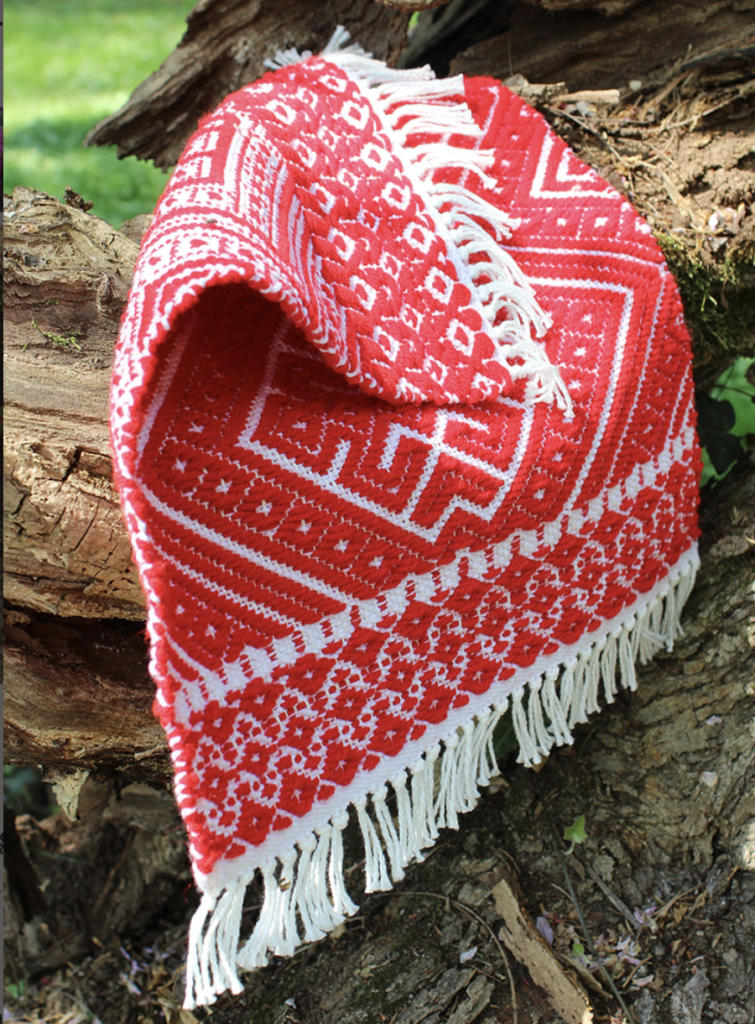
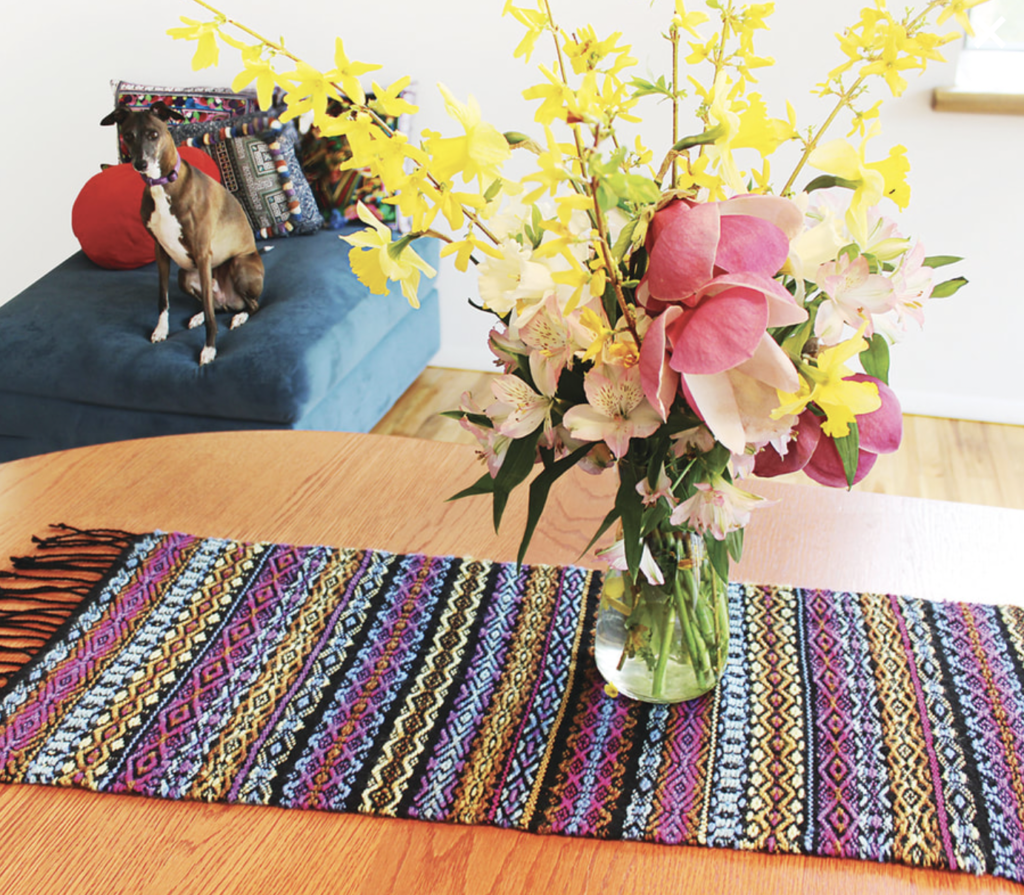
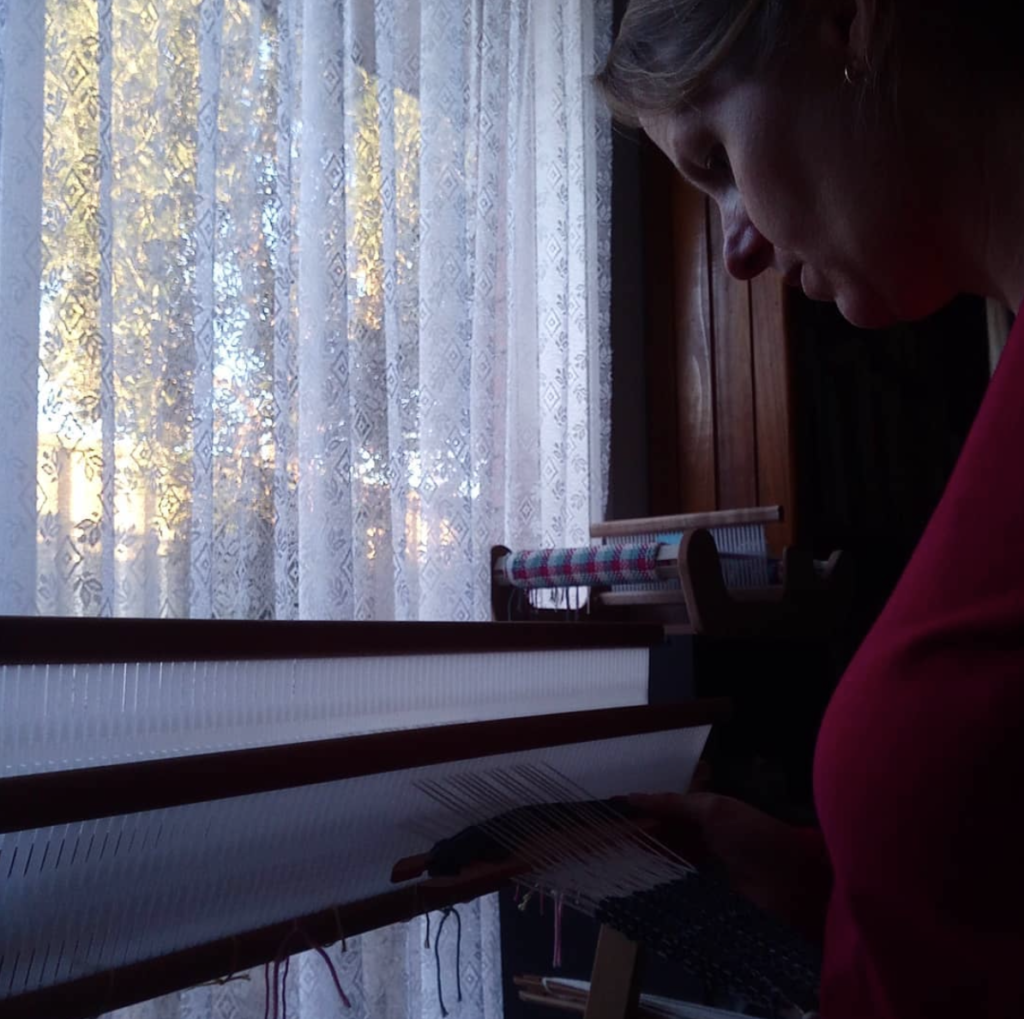
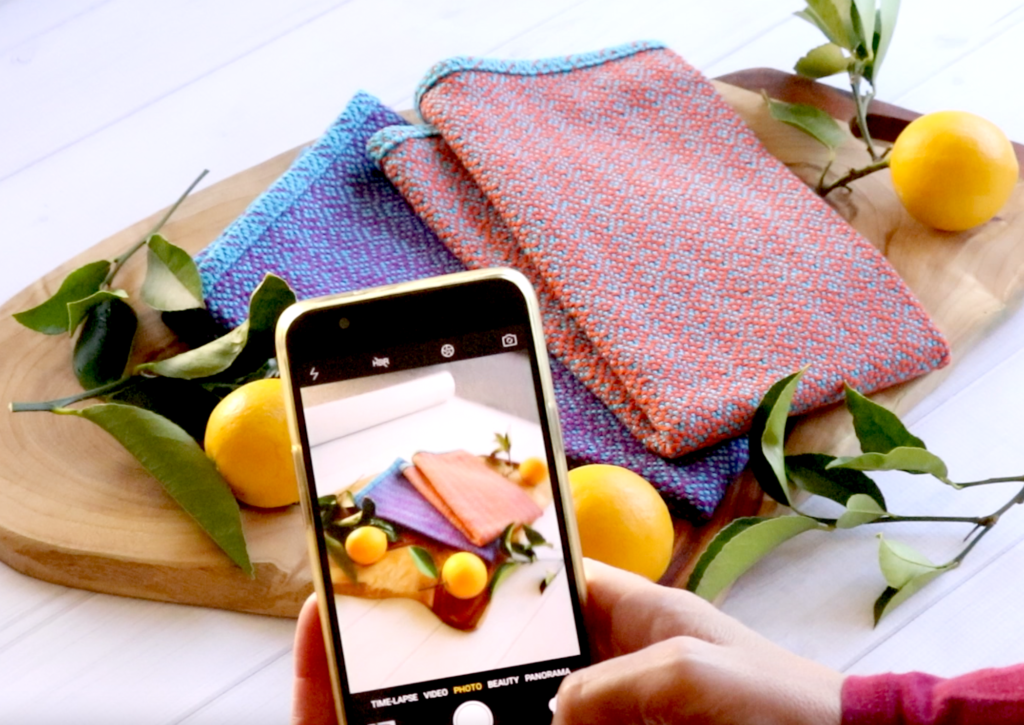
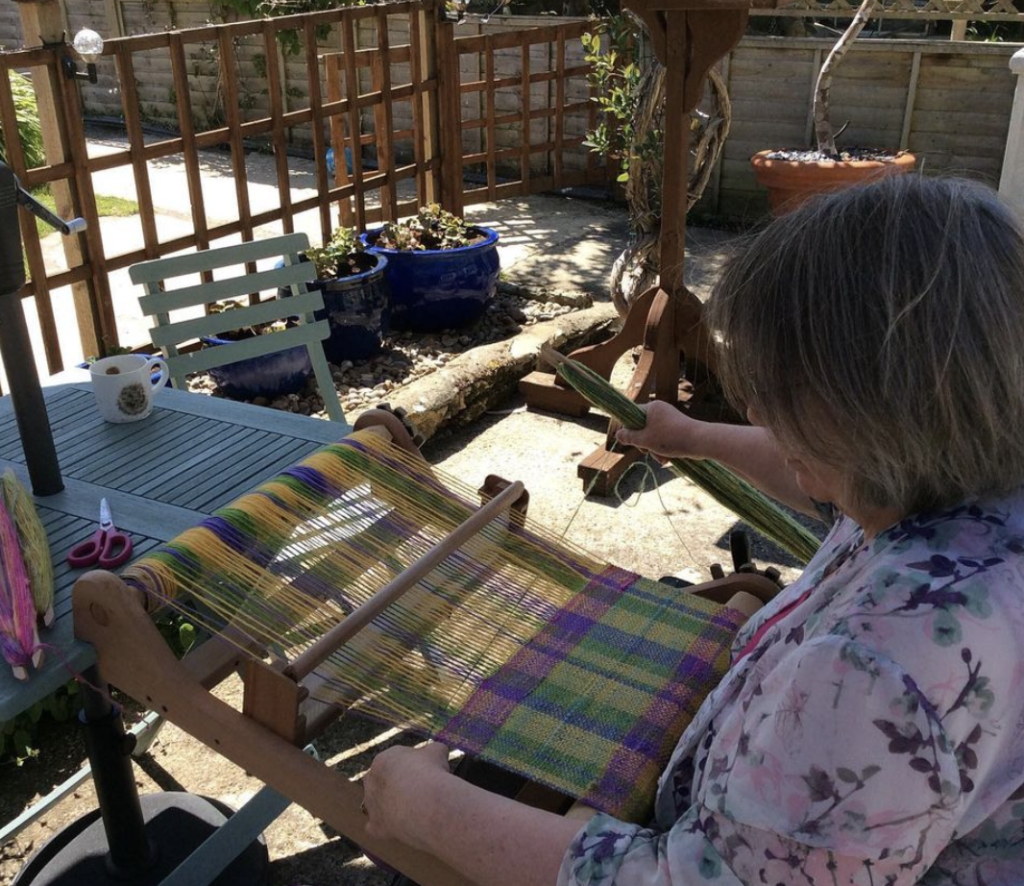
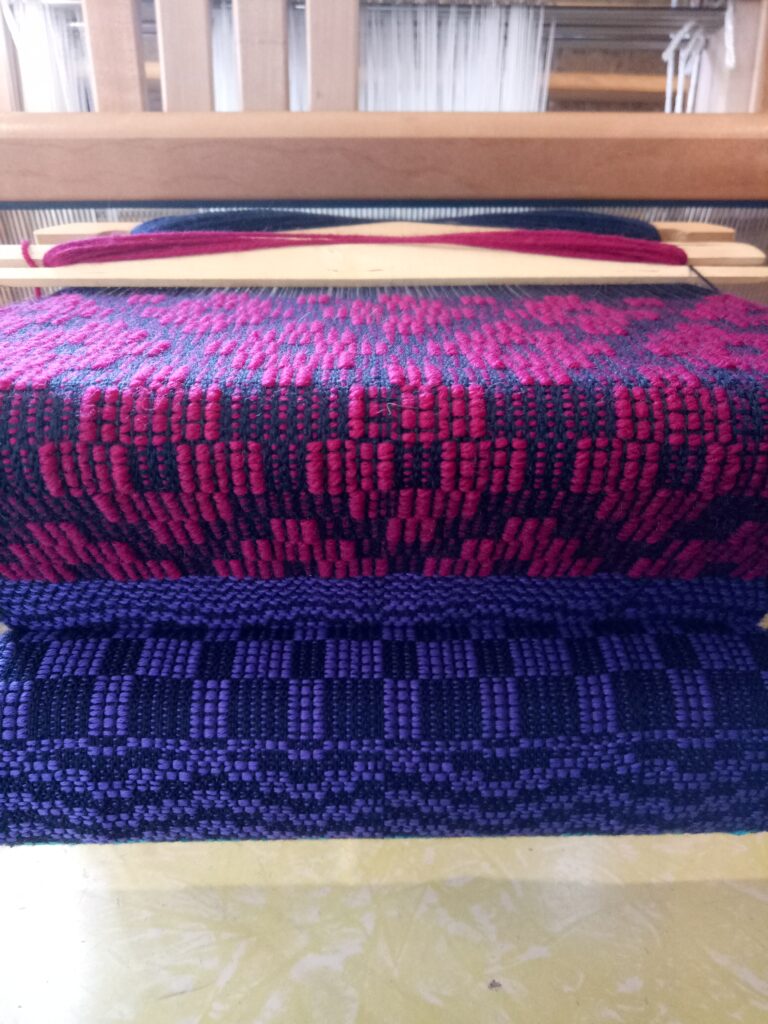
The first thing that attracted me to weaving was the possibility of creating such beautiful items with my hands and some tools. To use beautiful, natural and often locally produced yarns to make unique pieces. To me, weaving is like a beautiful piece of art, it adds something to the world that wasn’t there before, and that has an impact.
In a world that is, on many fronts, increasingly ugly and hostile (been on Facebook lately?) I feel wonderful about quietly sitting at my looms, lovingly preparing warps and projects, and then sharing them with the world.
We can help to bring happiness to others through gifting, selling or otherwise sharing our work and we have the additional joy of being able to help others look through a window into the weaving world. Some of those will be so enamoured by what they see that they too will want to be a part of it. What a privilege to be in a position to share such a gift!
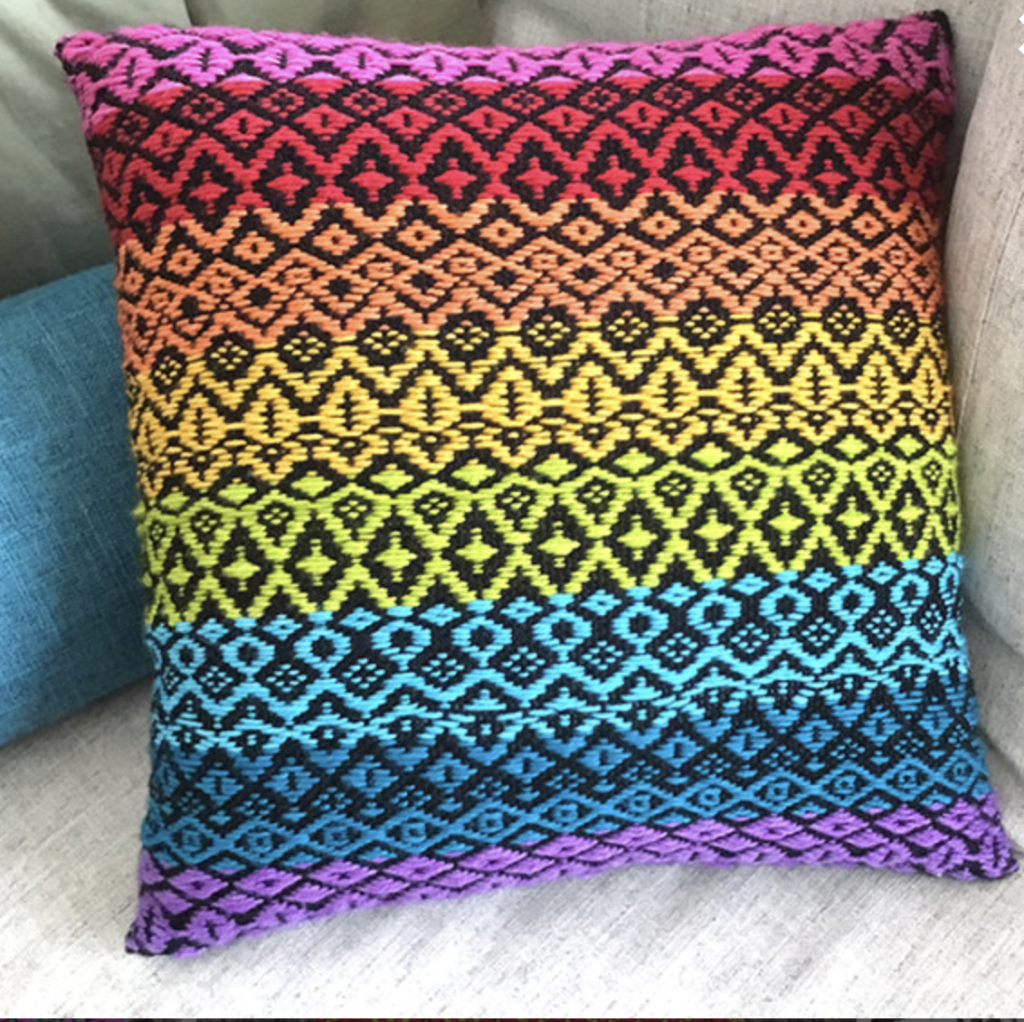
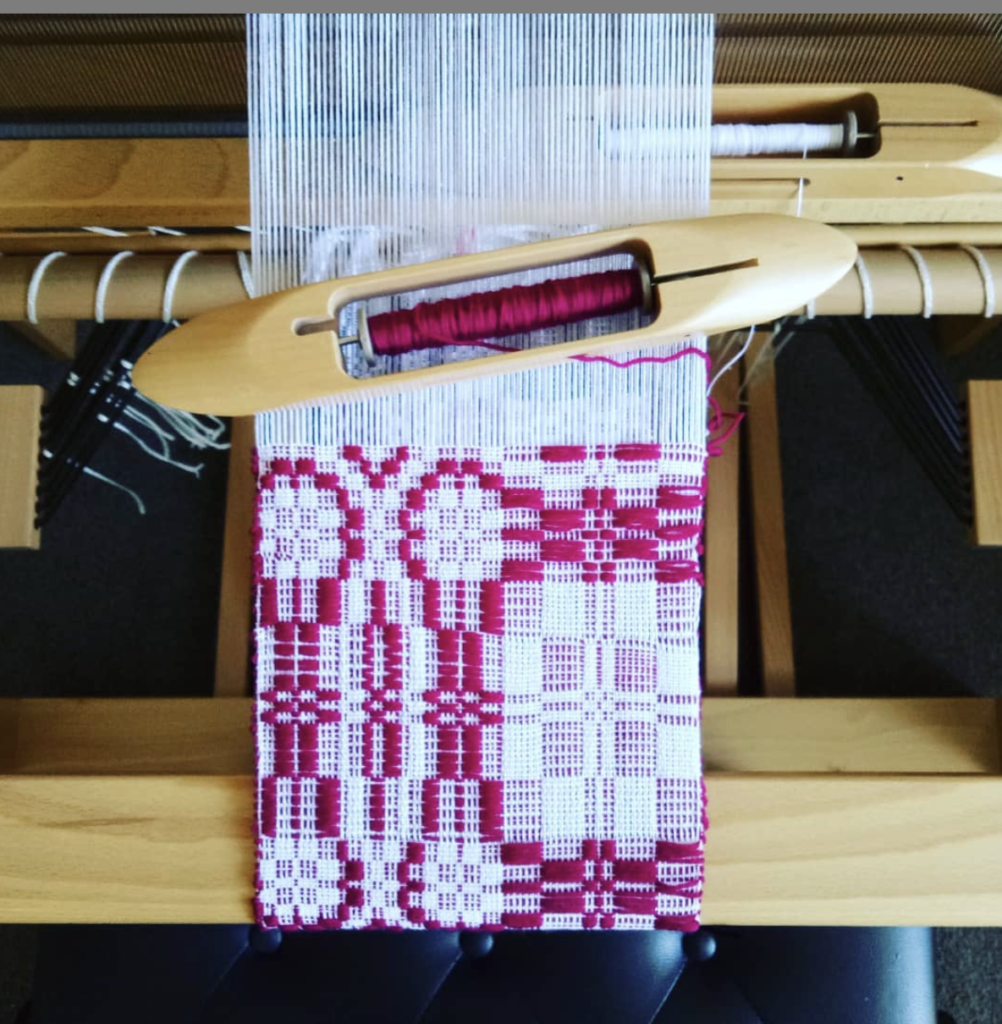
For many of us, the lockdowns allowed us to get to work, weaving beautiful things for others. I wonder if you’ve seen my free projects I put out during that time, in hopes that weavers would bless others by weaving for them?
Wash Your Hands Towels Free Project
3. The world can be crazy
Am I right?! Things have been noisy and unstable for some time, and there always seems to be something new happening. Amidst all this, many are searching for more peace, less stress. How can weaving help bring peace to our lives?
- Purpose
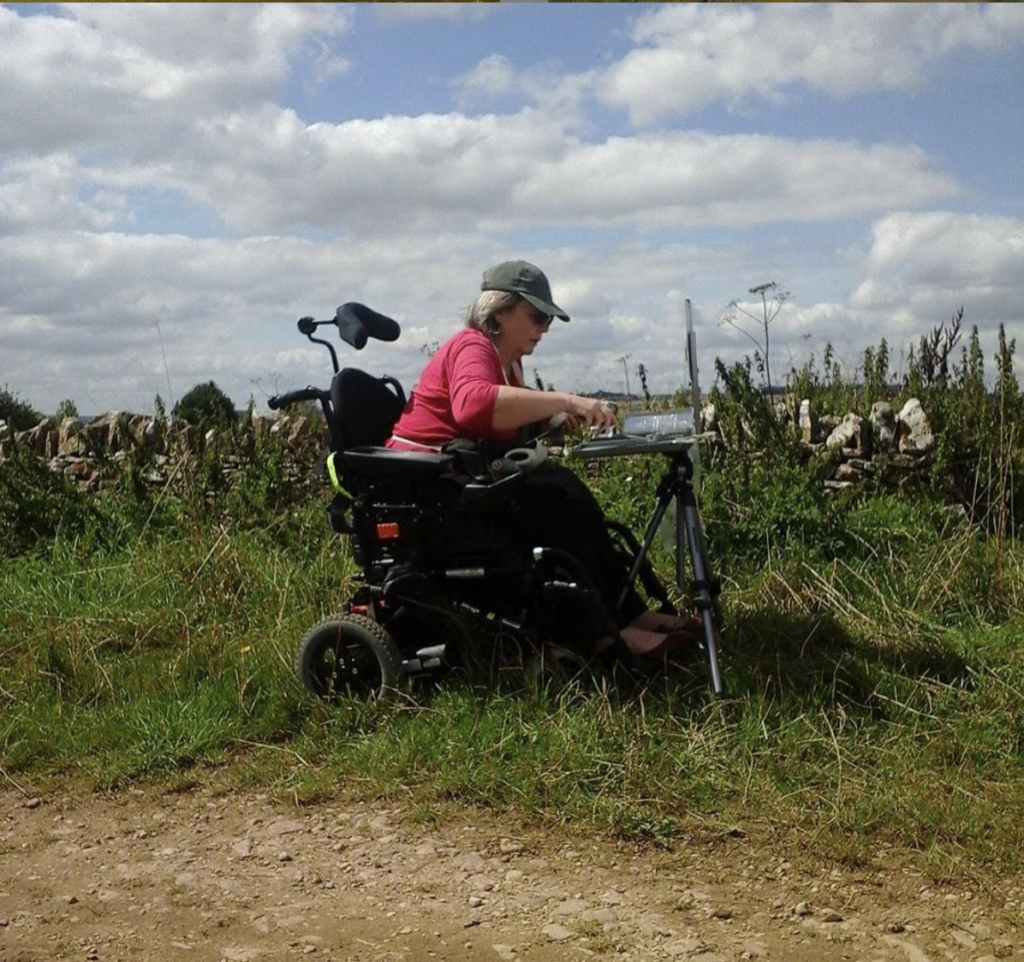
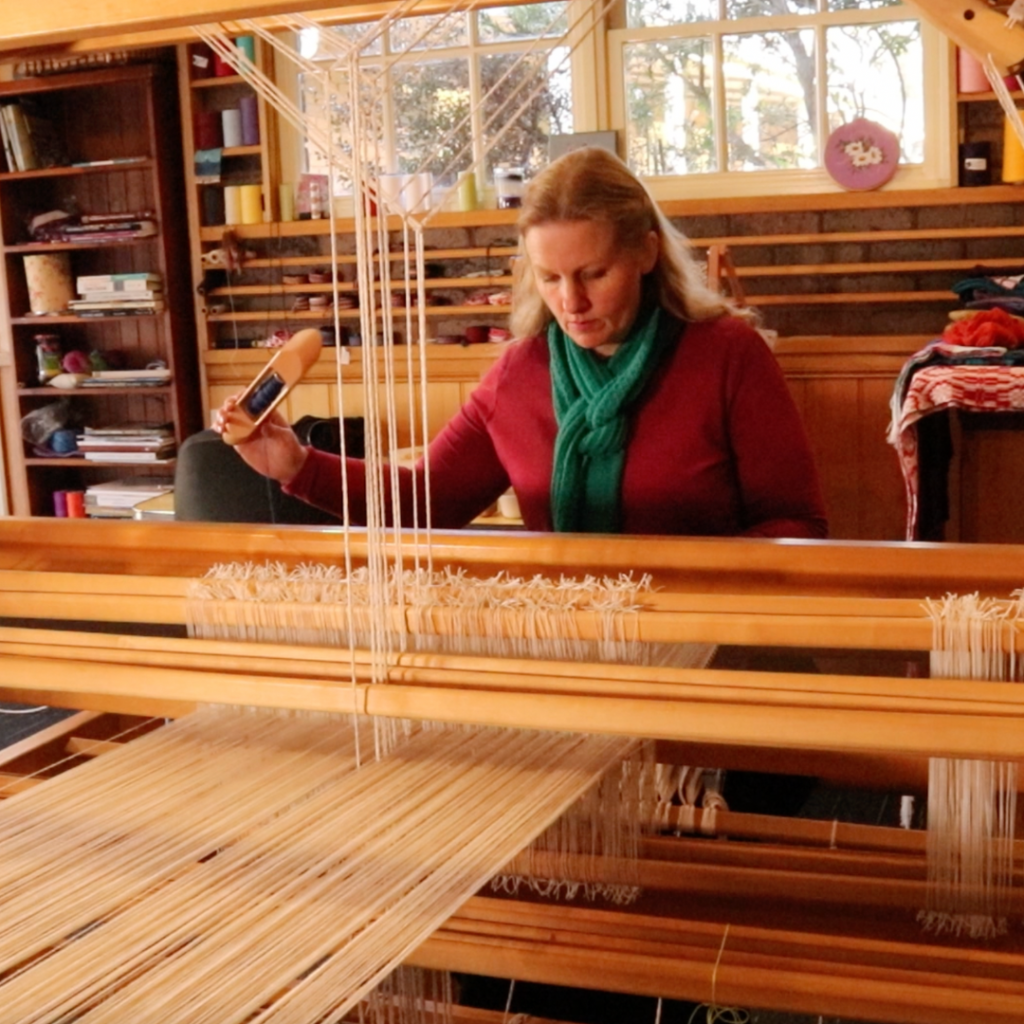
I have been in touch with a great deal of new weavers in the past couple of years. Many of them had been wanting to explore weaving for years (some for most of their lives!) but never had the opportunity. Weaving requires focus, patience, often research for a new project or technique. It can take us away from what is happening externally, at least to some degree, and shift from things we can’t control to something we can. It makes us feel like we are doing something positive and useful.
The research, planning, calculations and sourcing of materials that occurs with every new project is very directed and purposeful. All of these processes can be so calming in turbulent times, and that brings me to my next point.
4. Weaving contributes to our own wellbeing
Weaving is an avenue to express our creativity. I firmly believe that everyone is, and in some respects, needs to be creative. This makes complete sense to me, as we are created in God’s image and likeness (Genesis 1:26-27), and God is VERY creative!
It also contributes to our wellbeing through a sense of accomplishment. How rewarding, and amazing it is to take yarn and turn it into something wonderful. It can take a lot of practice, learning and hard work to accomplish weaving goals, but every time we complete a project successfully, we prove to ourselves that we are capable.
Weaving can be very relaxing. The methodical and repetitive actions allow us to get into a “zone” and just enjoy what we’re doing.
5. You are in control
I touched on this a little back at point 3, but now I will expand further. How many things that happen in our lives do we have control over? We can’t prevent war, certain sicknesses, hard times, beyond hoping and praying. But in weaving, we get to make decisions, plan colours and patterns, and predict the outcome.
The project is yours, and that can be quite empowering!
6. Inspiring others
Inspiration is contagious, and although we might not always feel positive and happy, when we share our passions and interests with others, we ignite something that can take off and have a huge impact. When you inspire another person or people, that will often come back to you in waves.
You never really know the impact you could have on a fellow human by inspiring them. It’s not just about inspiring to take up weaving, it’s so much more than that. For someone who has lost hope and feels like giving up on life, to see somebody else living life with joy and passion and being more than willing to pass that on to others, could make all the difference and shift their focus completely.
One of the reasons I think suicide is so tragic is that I can’t help but wonder whether one more day, or a chance encounter, or a new interest could have changed that person’s mind. I’m not trying to oversimplify the tragedy of suicide, I’m well aware of the very complex factors involved – but I know for certain, that one more day can make all the difference.
7. Connection
Even the most introverted of us (👋) can benefit from connection with others. The easiest way to do this is by sharing a common interest. It can be so much fun to share your projects, have discussions and just chat to other like minded folks and be part of a community.
Thanks to the internet, we can connect to others without having to leave home if we don’t want to, or if it’s not possible. Facebook groups are a great way to interact, or if you want more involvement you may want to join private communities. When you purchase a membership to my Online Weaving School, you also gain access to the private member’s group, which is not just a great learning tool, but also a fantastic support network.
If you would like to watch the original video, here it is:
Until next time…
Happy Weaving!