• Skip to main content
  • Skip to primary sidebar

Kelly Casanova Weaving Lessons

  • Hi! I’m Kelly!
    • Disclosure
  • Online Weaving School Class Index
    • Common account issues
    • Common technical issues
    • What do I get with a membership?
  • New to rigid heddle weaving? Start here!
    • Never heard of the rigid heddle loom?
    • How to weave neat edges on the rigid heddle loom
    • Rigid heddle weaving
    • Rigid Heddle Weaving Patterns
  • Patterns
  • Subscribe

Inspiration

Comparison is the thief of joy

by Kelly 14 Comments

I posted this to social media recently with the following words:

“We compare our faces, our bodies, our homes, our children, our skills and talents. The list could go on endlessly. 
Something that helps me to get off the vicious comparison cycle is to remember two things. 
1. Nothing and no one is perfect. 
2. Pretty photos don’t necessarily mean pretty lives. Don’t assume that someone’s life is better than yours just because it looks that way from the outside. 
How about today we strive for BETTER rather than BEST? 😉”

The response was very large and very interesting, which tells me that this is something that is very common to most of us. I wanted to talk a little more about the comparison game, how negative it can be and some strategies we can use to help overcome it.

Posting the image and reading the responses made me reflect more deeply on how comparison affects my life and how it definitely does steal joy. Here is a very real example.

Recently, my daughters and I have been enjoying a lot of music. My eldest daughter plays a variety of instruments, the main ones being violin and piano and is always on the hunt for a new song to play. Being surrounded by lovely music has inspired the rest of us and reminded me, once again how much I miss singing. From an early age I sang and in my teens had some classical training. I’ve been in school and community musicals, recorded in a recording studio and worked for a couple of years as a vocalist for weddings, parties and venues. The busy-ness of being a Mum meant that singing was put way on the back burner, and following a throat virus a couple of years ago my voice is not what it used to be. But I’ve wondered. Can I retrain it back to what it was, or at least better than it is now? Can I get to the point of really loving singing again, perhaps even record myself again?

I could try. But I haven’t. And it’s not because I’m “too busy” (I believe you can make time for anything you really want to do).

It’s because I’m afraid.

Take a look around Youtube. Pick a song title, any song title, there will be people doing covers of it. Most of them are young, pretty, polished and some of them sing amazingly well. Have a scroll on Instagram. There are “beautiful people” everywhere!

Then there is me. I am 43 years old. I have possible vocal damage. I look (and feel!) tired most of the time. My teeth aren’t straight and white. I’m overweight. I’m not very interesting to look at.

Yep, I’ve been playing the comparison game and it’s not fun.

Not only does comparing yourself to others steal your joy, it can be suffocating. It stops you going forward and achieving goals. The voices in your head say things like “no one is interested in a 40+ woman singing!”, “you’re setting yourself up for ridicule” and “I can’t believe you would even consider it!”.

These are not things people have actually said to me, these are things that I am saying to myself!

I reminisce about my days on the stage when I was younger and people loved to hear me sing. I feel sad that the time for that has passed. But has it? Or does society and social media just make me feel that way?

This is just one small example of how comparing myself to others manifests itself in my life. I know that many of you do this to yourselves and I know it can be really destructive. Whether it’s comparing yourself to other weavers, other parents, other homeowners, it’s something we need to get a different perspective on and use as a force of positivity rather than negativity.

How?

  1. Remember that no one and nothing is perfect.

2. Someone else’s purpose is not necessarily your own. You are uniquely made with specific purpose and intent.

3. Set your own goals and work towards them. You don’t have to be the best. Every bit of work you put towards your goal will make you better and that is more important. Start today!

4. Use others as inspiration. We tend towards jealousy, but perhaps if we are glad for the success of others, we will instead be inspired by them. I often read the lives of the saints. I don’t in all honesty feel that I could be as heroic, as holy, as faithful as so many of them, but that’s ok. They are a huge inspiration to me to do better in my faith and to recall that God has an individual plan for me.

5. Be honest with yourself. If you are following someone on social media and they make you feel bad about yourself because they seem to have something unattainable to you, maybe it’s time to unfollow and let go of that particular ideal.

6. Change your expectations. Are they too high? Lower them and don’t feel bad. Set goals that work for you, not someone else.

7. Be grateful. This is probably the most important point. Constantly comparing yourself absolutely stifles gratitude for who you already are and what you already have. The comparison game can completely blind you to your past and current achievements.

Before I started weaving I spent countless hours researching, watching people weave and looking at beautiful projects. I used all of that inspiration to push me forward, through the hard times when I was learning and had no help, through the frustrations of lack of knowledge, and through the disappointments of projects not turning out well. I didn’t compare myself to master weavers or those who were weaving before I was born. I just kept going and building skills and knowledge. And that is still what I’m doing today, every day. Building, one block at a time.

Now, I’m off the do some vocal scales and I’ll try to do that more often. Who knows, maybe it will take me on a new adventure. At the very least, if I work at it consistently, my voice will improve.

La la la la la, la la la la……

Thanks for reading, I would love for you to share your thoughts and experiences in the comments!

Filed Under: Inspiration Tagged With: comparison, inspiring quotes

8 shaft Strickler sampler

by Kelly 2 Comments

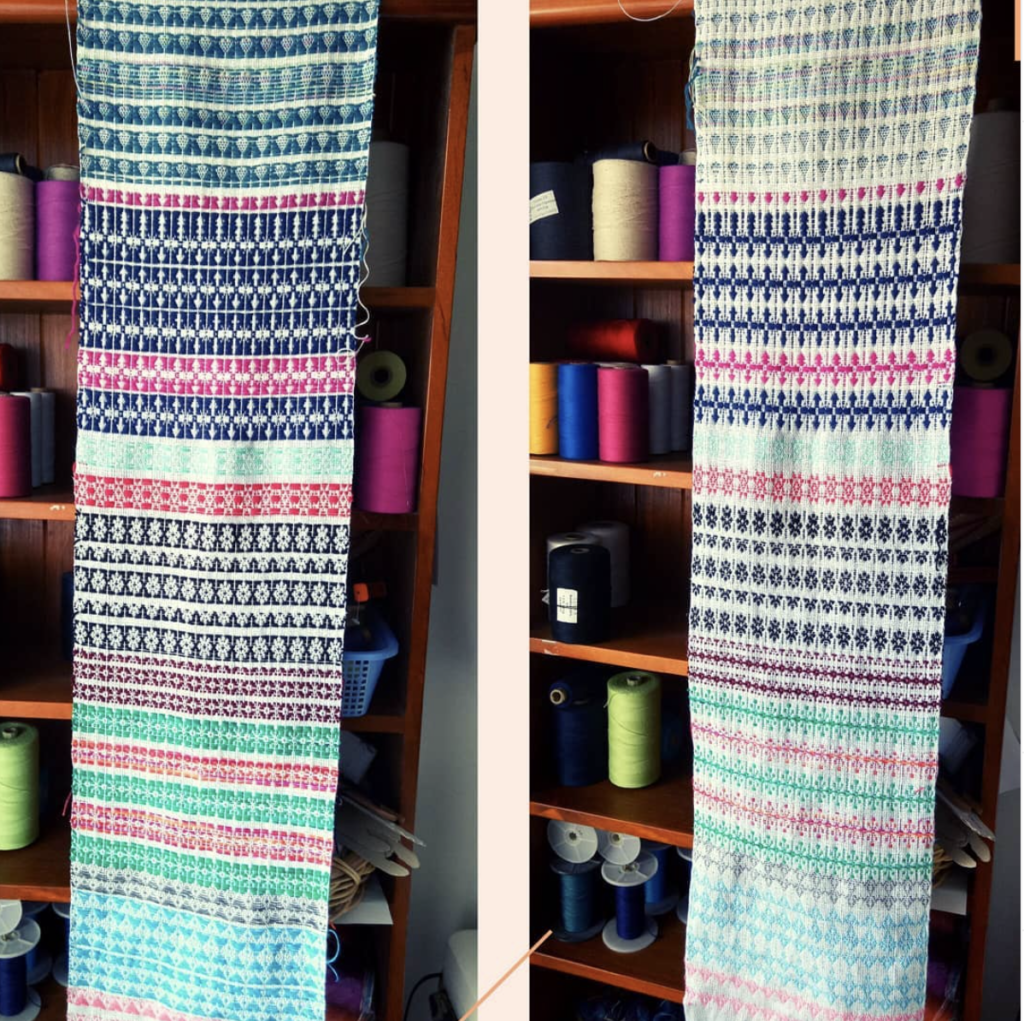
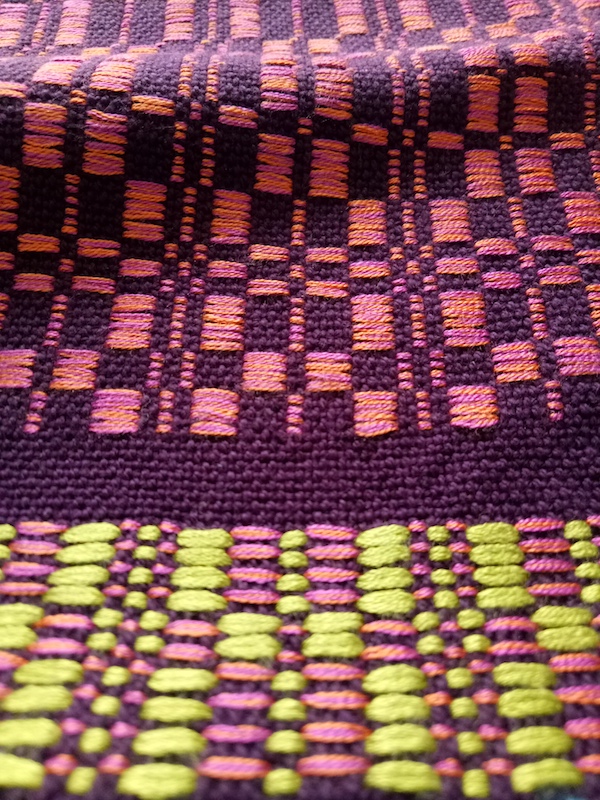
If you follow me on Instagram you will have been viewing the progress I’ve made on my 8 shaft sampler.

*This post contains affiliate links, meaning that if you click and purchase, I will receive a small commission at no extra cost to you.

I didn’t have any specific plan for this sampler other than to explore some 8 shaft drafts on a rose path threading from Carol Strickler’s 8 Shaft Pattern Book.

If you’re not familiar with rose path threading, it is a point twill variation and can be used for both 8 and 4 shaft patterns. An example of rose path threading for 4 shafts would be 1,2,3,4,1,4,3,2,1 and for 8 shafts 1,2,3,4,5,6,7,8,1,8,7,6,5,4,3,2,1.

Something I really love about having an 8 shaft loom is the range of patterns or motifs that can be woven. I wanted to explore:

  1. Which combinations of yarns would be most effective for the designs I wanted to weave.
  2. How many different patterns I could weave on 8 shafts by changing my tie up often.

Once you have threaded a multi shaft loom, there is no going back, no changing the order of threading (unless you want to go back and start again and no one wants to do that!) By changing the tie up though, you can vary the combinations of shafts as you’re weaving, therefore changing the pattern without having to change the threading.

By “tie up” I’m talking about attaching my treadles to various shafts with texsolv cording. Different types of looms have different ways to tie up the treadles and one thing I love about my Louet David is how simple it is to tie up. This means that if I want to change the tie up to alter the pattern, it doesn’t take long and isn’t hard to do.

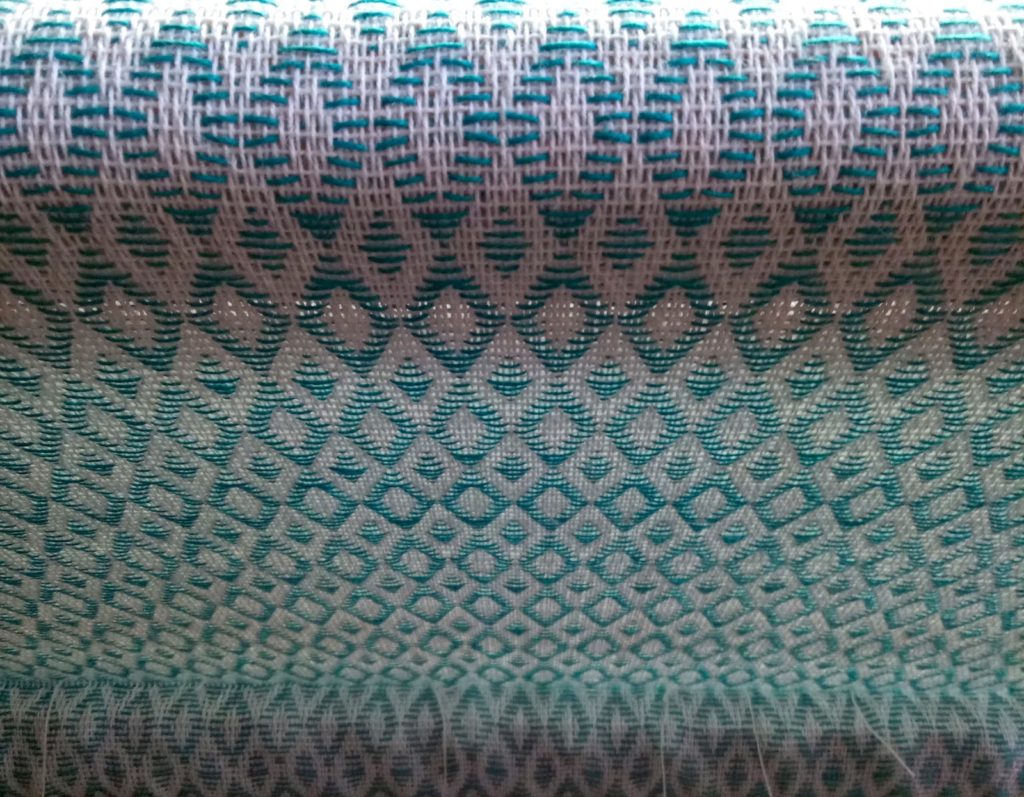
My loom is a sinking shed loom, so I was aware that the actual pattern would be woven on the underside. I didn’t mind that (in other words, I couldn’t be bothered messing around with the treadling to make sure the pattern would weave the right way up). Interestingly, I discovered that I often preferred the weaving on the underside to the right side anyway.

I started with 8/2 unmercerised cotton for the warp in white and warped at 20 ends per inch. I made my warp around 10 inches wide on the loom, as I like to have plenty of space to see my pattern. A narrow warp doesn’t always give enough pattern repetitions to give a good representation.

Beginning on page 30 of the book, I randomly picked motifs to weave according to the number of treadles required. My loom has 10 treadles, so 8 were tied up for the pattern weft and 2 were tied up for tabby.

Right side
Under side

I initially started weaving with some dk weight cotton (pink) and Bambu 7 (blue) and changed to 8/2 Cottolin (grey). For these designs I used tabby throughout (which means that following every pattern weft row is a row of plain weave) in an 8/2 mercerised cotton in a very light blue which looks mostly like white in these photos.

I wasn’t too thrilled with the initial results but it showed me something valuable. For the designs to have more impact I needed to use a heavier weight of yarn for the pattern weft and to choose my colours with intention. I wanted bold, not “meh” designs!

Right side
Under side

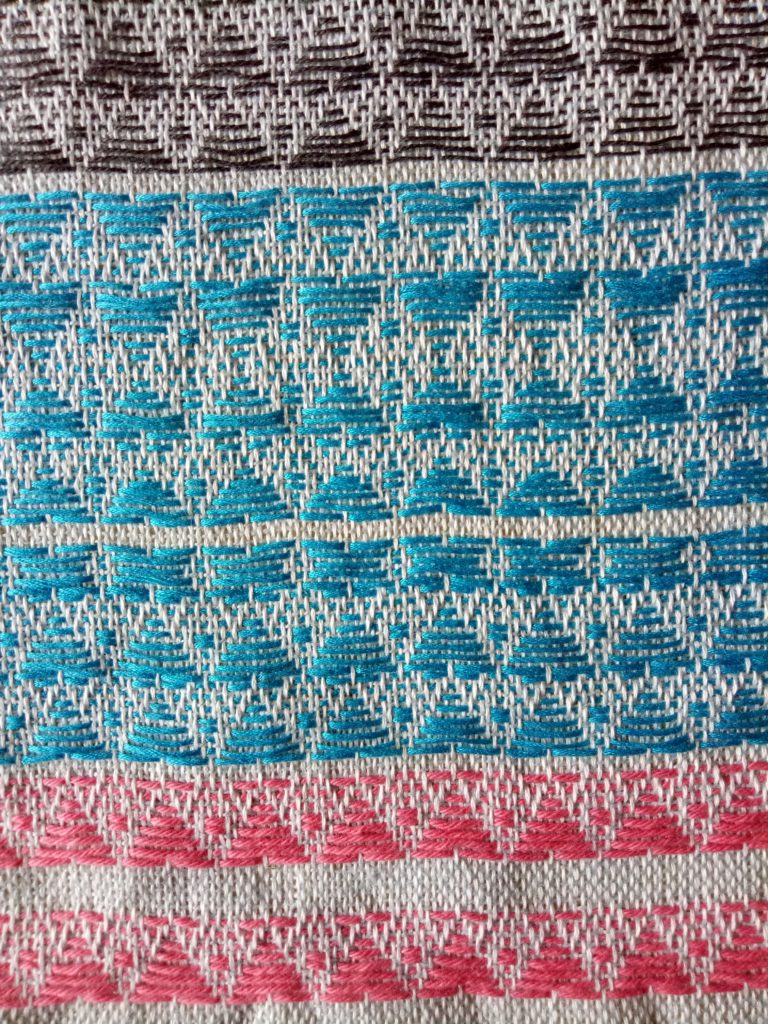
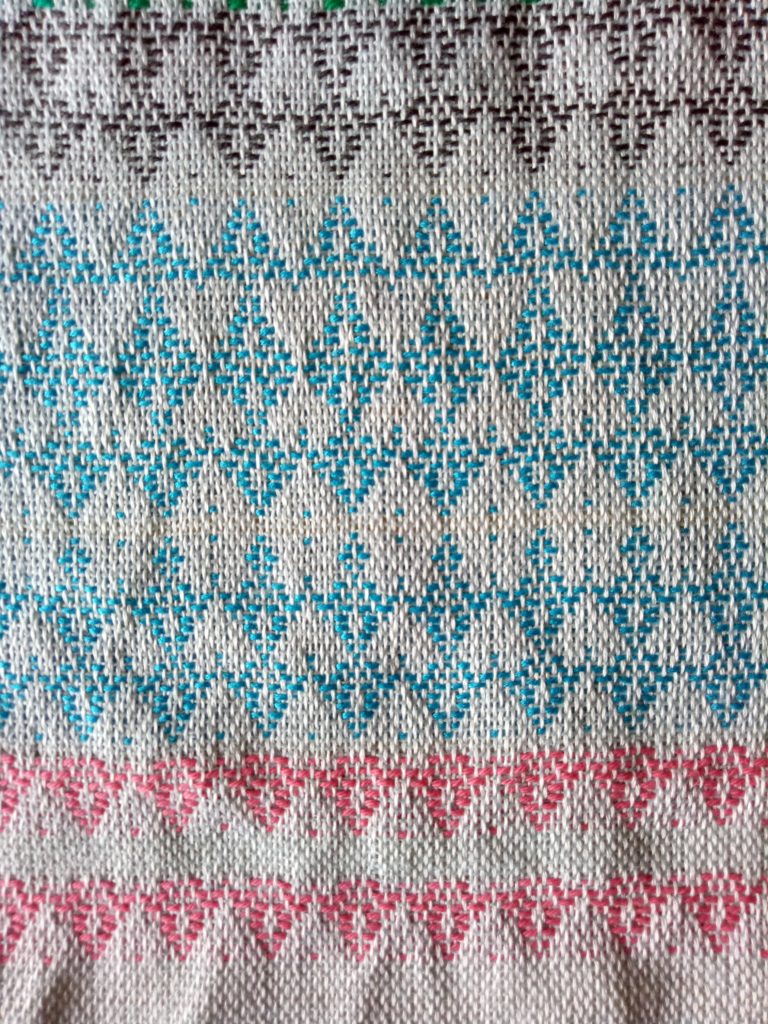
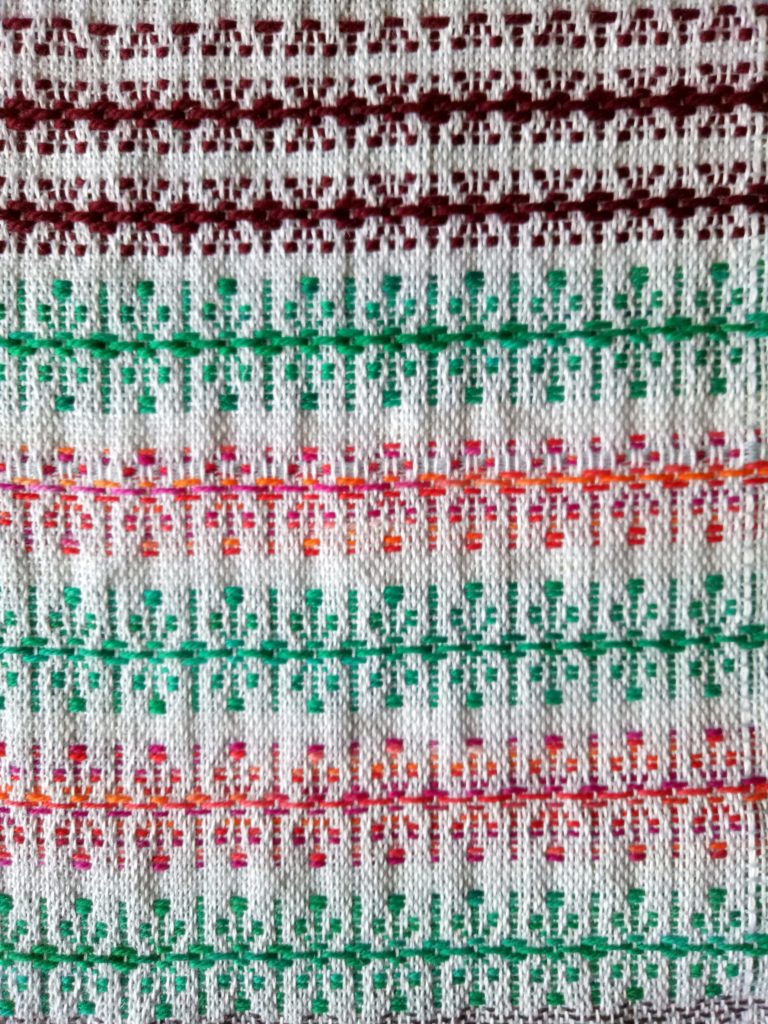
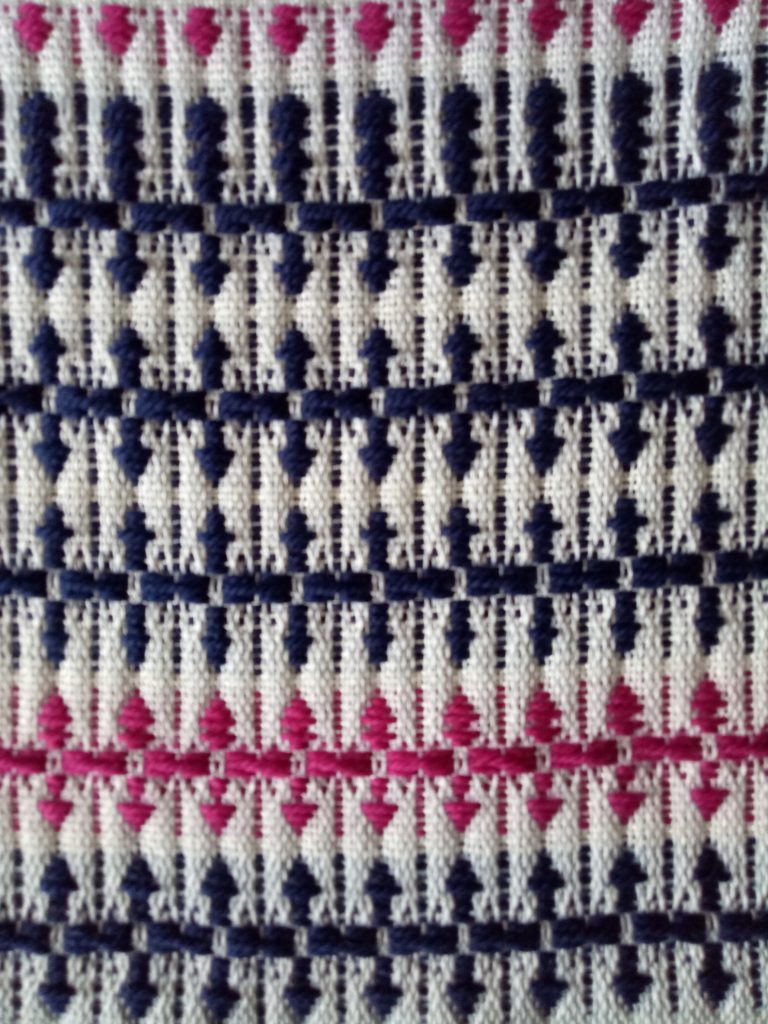
I switched the tie up and the yarn, and presto! Much better result this time. I alternated between a variegated orange/pink and teal fingering weight hand dyed wool, keeping my pale blue 8/2 cotton tabby. The top design is a burgundy dk/light worsted wool. I find both sides of this design equally pleasing. Between the hand dyed and burgundy you can see that the design looks slightly different – this is as a result of changing the treadling around but keeping the same tie up. So many variations are possible! If you’re looking for this design in the book, it is number 132 on page 32.

Right side
Under side (Space Invaders?!)

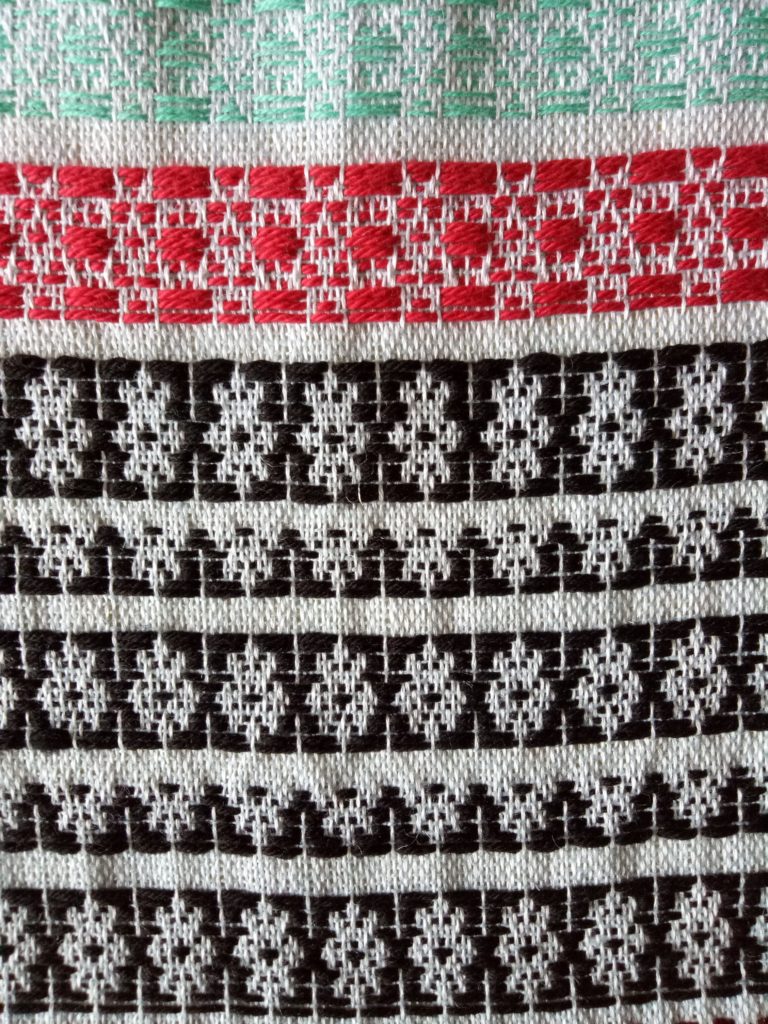
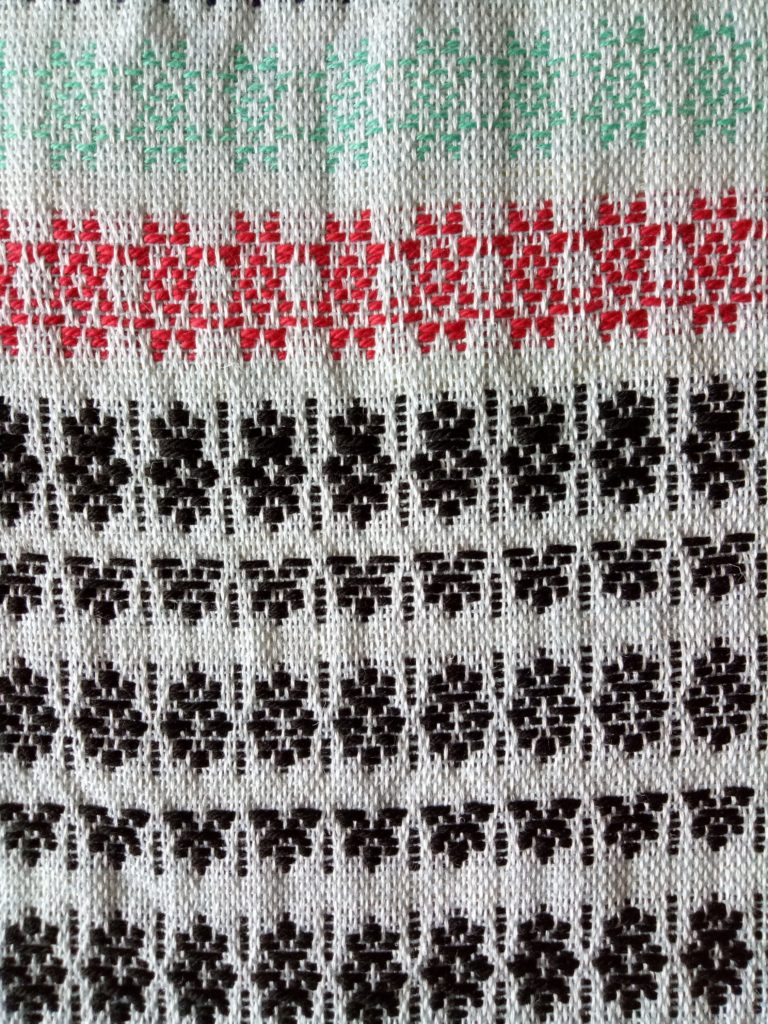
For this design I once again changed the tie up and swapped to a black fingering weight wool. This design is number 133 on page 32. The red design is number 128 and was worked in a dk/light worsted weight cotton. You can see how different this one looks on each side! I also tried it in a lighter weight and colour of cotton, which sort of just shrunk into the background.

Right side
Under side

This design is one of my favourites – number 139 on page 33. I changed treadling and yarn again for this one, using dk/light worsted weight wool (I had figured out by now that a heavier weight wool gave the kind of effect I liked).

Right side
Under side

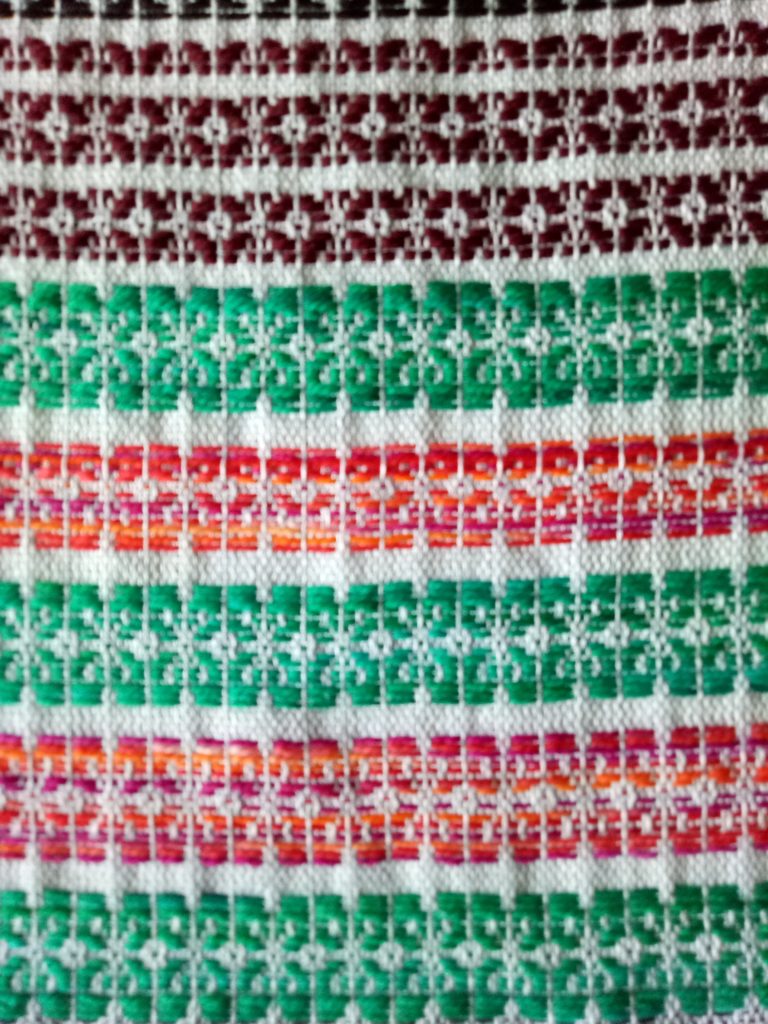
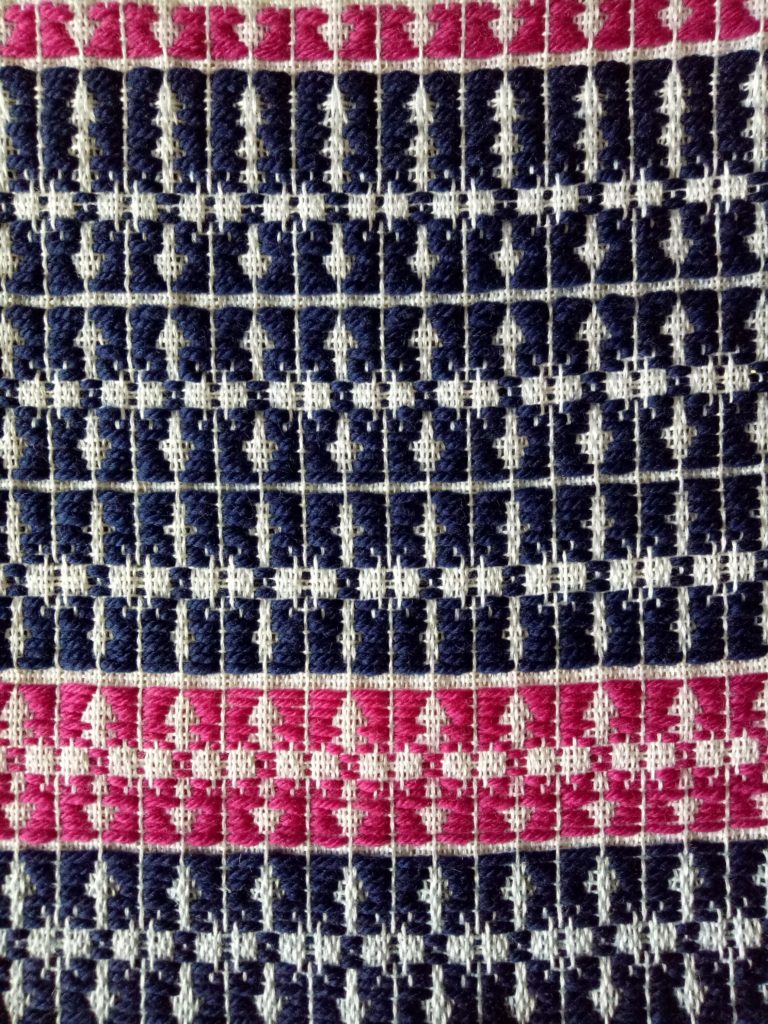
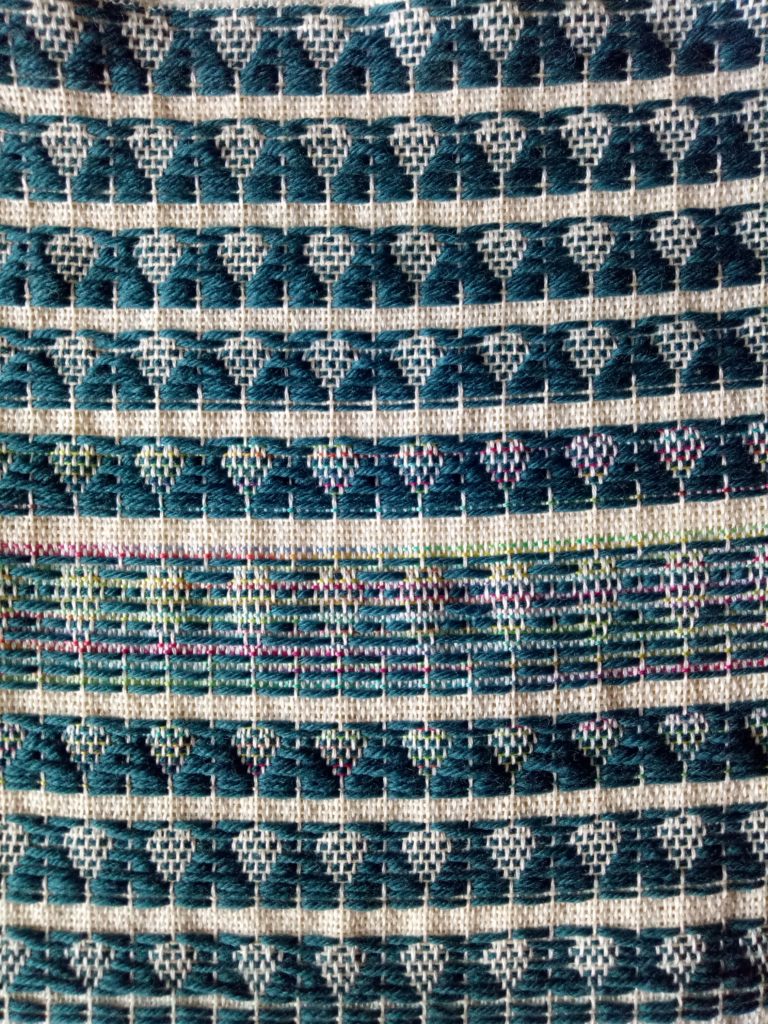
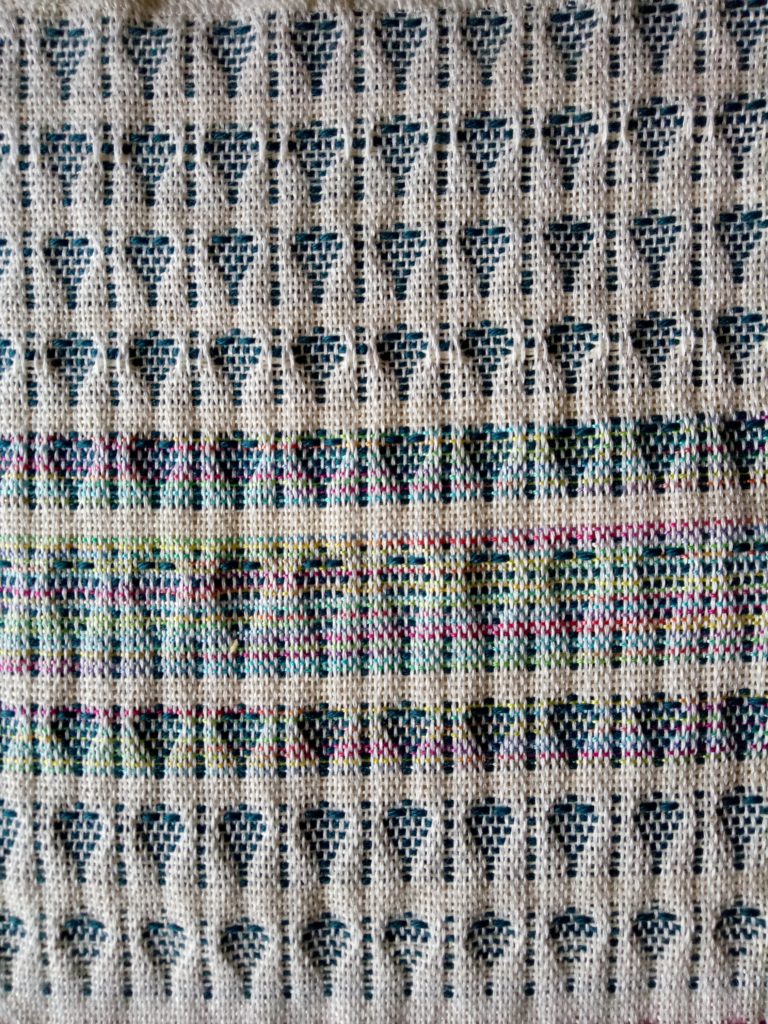
I finished up with design 120 on page 31. The Strickler design looks like little trees, but mine are upside down and look more like balloons, which I find quite cute. I experimented with my tabby yarn by using a hand dyed, variegated tencel against the blue wool. I quite liked the effect (you can see the rainbow-ish colours in the middle of the panel.

This was a really fun project. I loved having something on the loom that had no particular commitment and didn’t need finishing quickly – it was purely for my own enjoyment and learning. That’s the kind of weaving I like!

I may just keep this as a sample or I may cut it up and use it for a small project. For now, I like the way it looks just hanging off my studio shelf.

If you are intrigued by multi shaft or floor loom weaving, I have a very popular class for beginners, the Introduction to Floor Loom Weaving. It takes you through all the step by step basics of getting started on your loom and weaving a beautiful cowl project. There is also a follow up class to go onto afterwards. You can even purchase the two classes together for a special price.

If you take out a Yearly Membership or Monthly Membership to my Online Weaving School, the floor loom classes are included.

I hope you found this post interesting and inspiring!

If you have any questions about this post or my Online Weaving School, please leave me a comment below.

Until next time…

Happy Weaving!

Filed Under: 8 shaft weaving, Inspiration, Weaving Tagged With: 8 shaft weaving, floor loom weaving, rose path, weaving

5 Steps to Successful Weaving!

by Kelly 13 Comments

It is my belief that anyone can be successful in weaving if they really want to. It is important to break the learning process down into achievable steps. Remember that you can’t begin at someone else’s finish!
Here are my 5 steps to successful weaving!

This post contains an affiliate link. I only recommend products I use and love.


1. Basics first.
Start out simple. Acknowledge that, as a beginner, leaping into a difficult project straight away is probably not the best way for you to get started. If you do, you may end up feeling discouraged and that you’re “no good at weaving”. When learning something new, it is rare for anyone to jump into an advanced level, you need to take the baby steps, then walk, then run!


2. Patience.
You see the images from weavers on Pinterest and Instagram. They look so fabulous that they inspire you to try weaving for yourself. That is natural, that is how I started. But to get to the point of being able to weave anything like the beautiful images, it may take quite some time, and it may not be easy. Mistakes are an important part of the learning process. Know that you will improve, if you practice and give it time.


3. Persistence.
Would you believe me if I told you that I have almost given up on weaving a number of times? There were times that I was so frustrated and had no one to help, that I thought surely I must be just too stupid to learn this, or that I felt I was wasting my time. I’m so glad I never did give in though! Imagine where I would be now – a beginner level weaver with too much equipment gathering dust, and a feeling that I had failed. Keep going. Get stuck? Go back to the basics. Find help. Buy that new book you need, some online classes, or find people in your area with similar interests. There is a way. You can do it!


4. Resources.
I could say that I am a self taught weaver, but realistically that is not really true. I have learned this craft through reading many books, studying articles, drafts and discussions online, and by taking online classes. When I got my first loom, I had no idea where to start. I didn’t know any weavers. I was too busy caring for my family to be able to attend a guild. So, I found the right resources that helped me get going. As I improved, I found more resources to help me level up. Resources are out there – lots of them, you just need to find the right ones for you. 


5. Community.
Funny for an introvert like myself to have “community” as one of the keys to success. I’m the type who avoids social settings wherever possible and hates the idea of group meetings or activities. Like many other typical introverts, social occasions are physically draining and just mostly not enjoyable. However, that doesn’t mean that I hide in a hole and don’t see or speak to anyone! 
I never would have realised the importance of community until I started weaving. My community is online and I am so grateful for it. I have daily contact with hundreds, if not thousands of weavers across the globe and of all different levels of ability. We teach and learn through one another, share information and discoveries, and most importantly, we inspire one another. It’s a beautiful thing to have the support of others who are just as passionate about weaving as you are. 
So, whether you love real life interaction or virtual interaction, find the people who are going to help you succeed in weaving!


I hope this article was helpful to you! Perhaps you are looking for some new resources? Here are a few to get you started:


My Youtube Channel


My Online Weaving School


My Weaving Lessons Facebook Group


Filed Under: Inspiration, Weaving Tagged With: learn to weave, weaving, weaving success

What is Clasped Weft? A step by step tutorial.

by Kelly 23 Comments

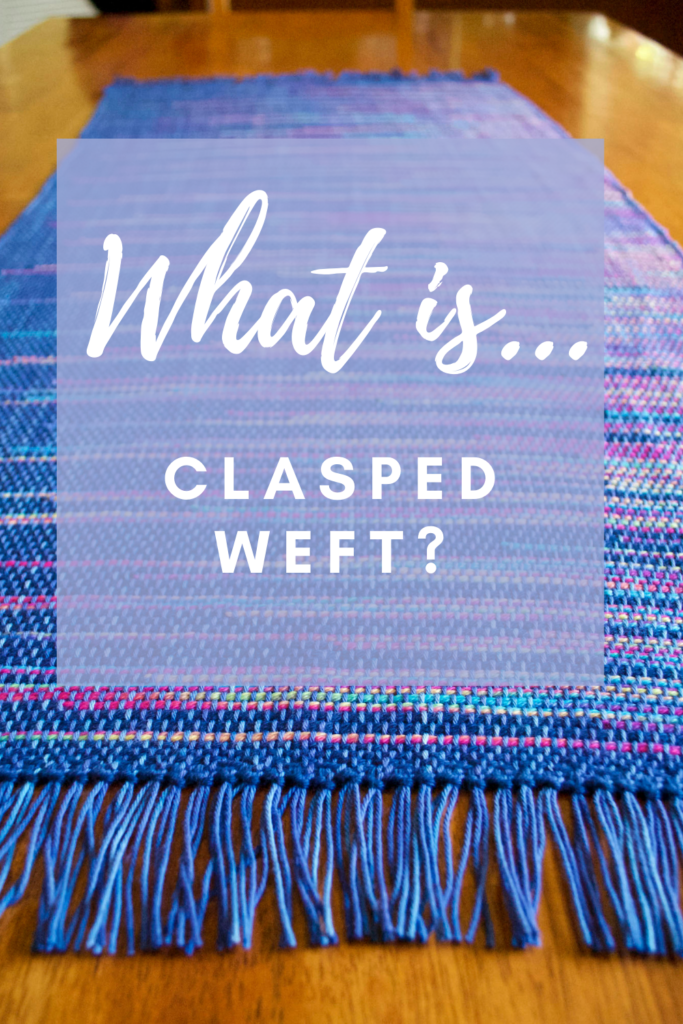
Just when you think you’ve tried everything in weaving, you come across something different, like Clasped Weft.
Clasped weft can be a great “next step” for newer weavers with a few plain weave projects completed and who are ready for something a bit more adventurous.
The cool thing about weaving clasped weft is that, similar to Colour and Weave, most of the work is in using colours to make your weaving look fancy, when in actual fact it is quite simple.
The clasped weft technique uses 2, 3 or 4 interlocking weft colours. Using 2 colours to begin with is the easiest and least complicated approach. If you have done any tapestry, you may already be familiar with the interlocking technique.
*This post contains affiliate links. for more information, see my disclosure policy.

We mainly use a plain weave structure (though clasped weft can actually be used in other structures, such as twill). It is a perfect technique for a rigid heddle loom, because, although it’s simple, it looks special and has big impact.


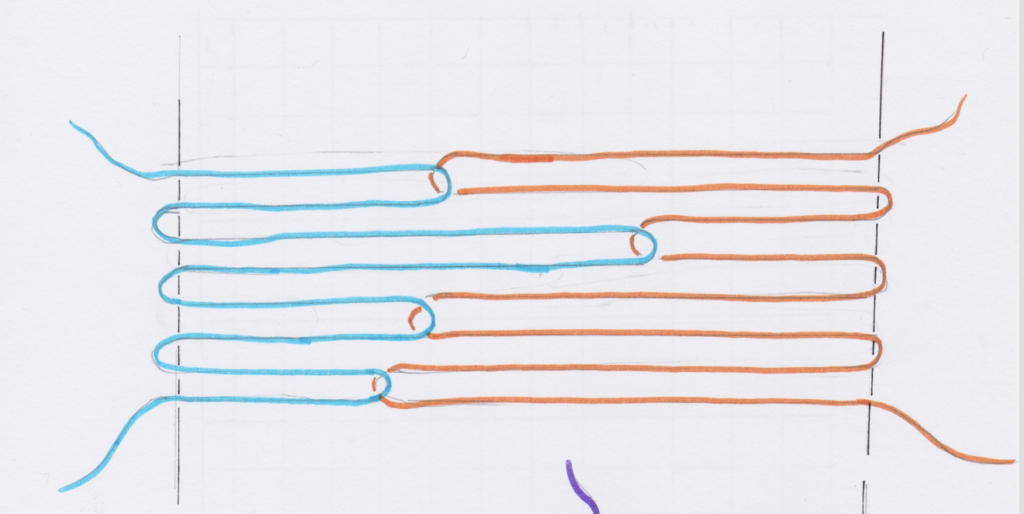
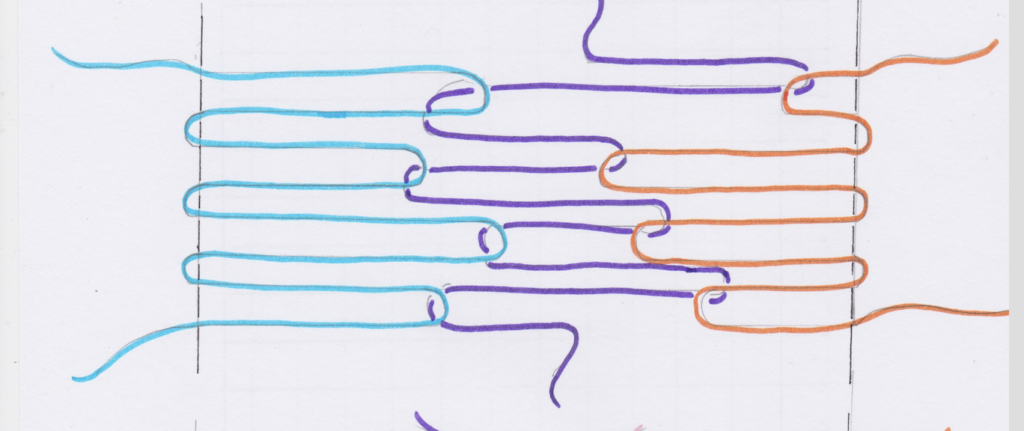
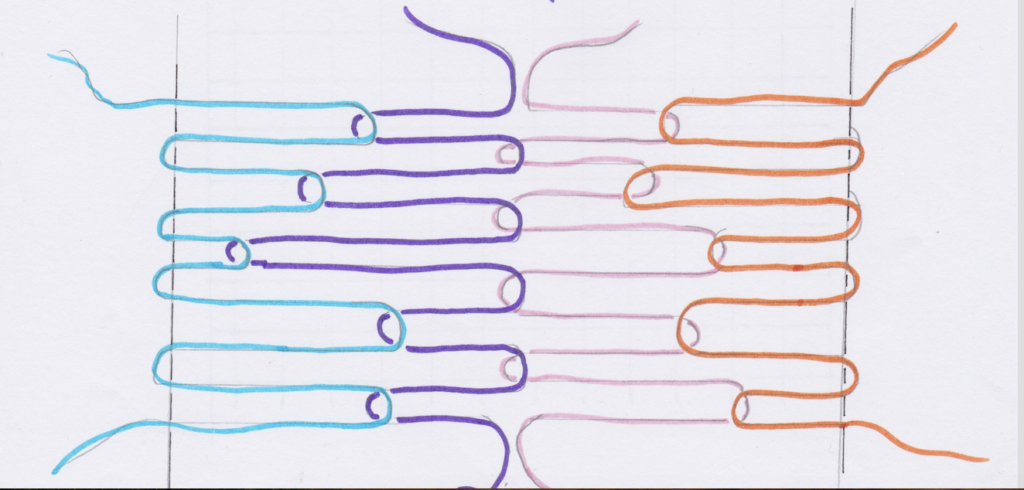
Before we go through the tutorial steps, let’s look at some (rather poorly drawn, sorry about that!) diagrams to get a clearer idea of how this works. The drawings are over simplified, as I haven’t drawn in the warp and weft interlacement, but I have drawn in the edge warp threads:

Clasped weft with 2 weft colours.

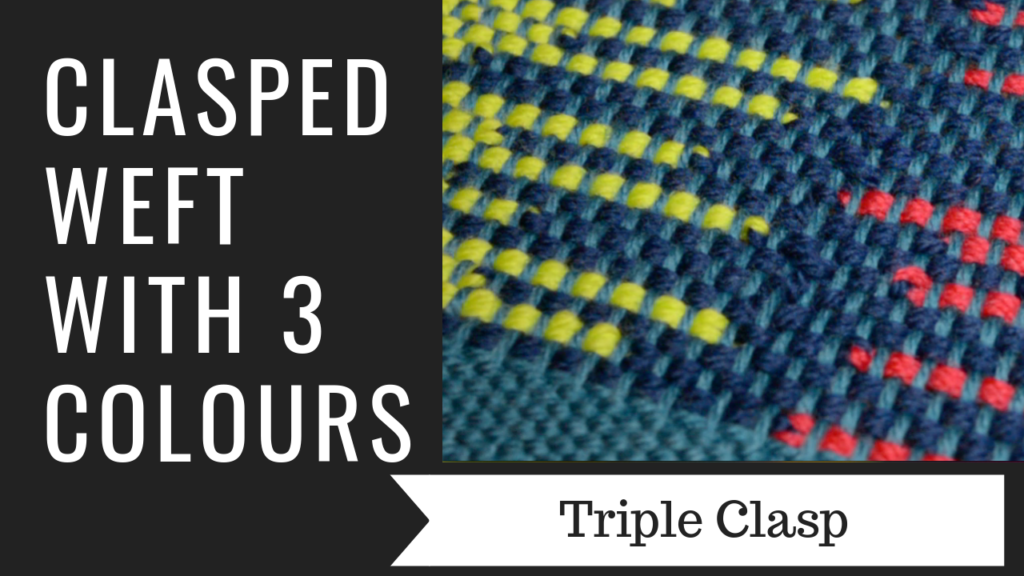
Clasped weft with 3 colours.

Clasped weft with 4 colours.

Now let’s go through the tutorial steps so that you can get clear on how clasped weft is actually woven. Today, we are just focusing on working the two weft colour technique, as I believe this is the best place to begin if you’re not familiar with clasped weft or haven’t attempted it before.
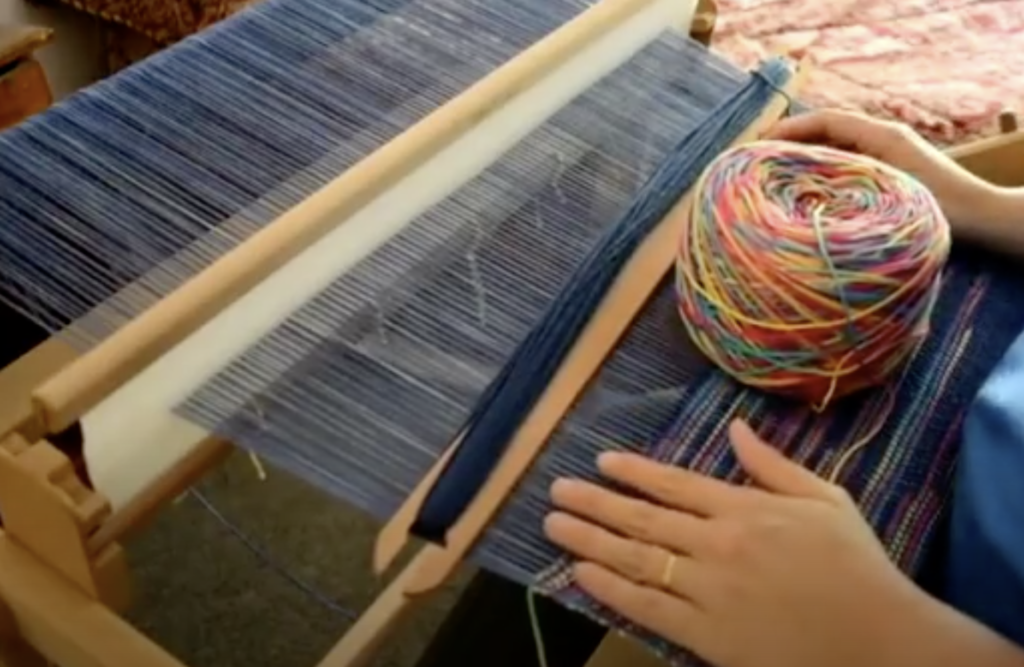
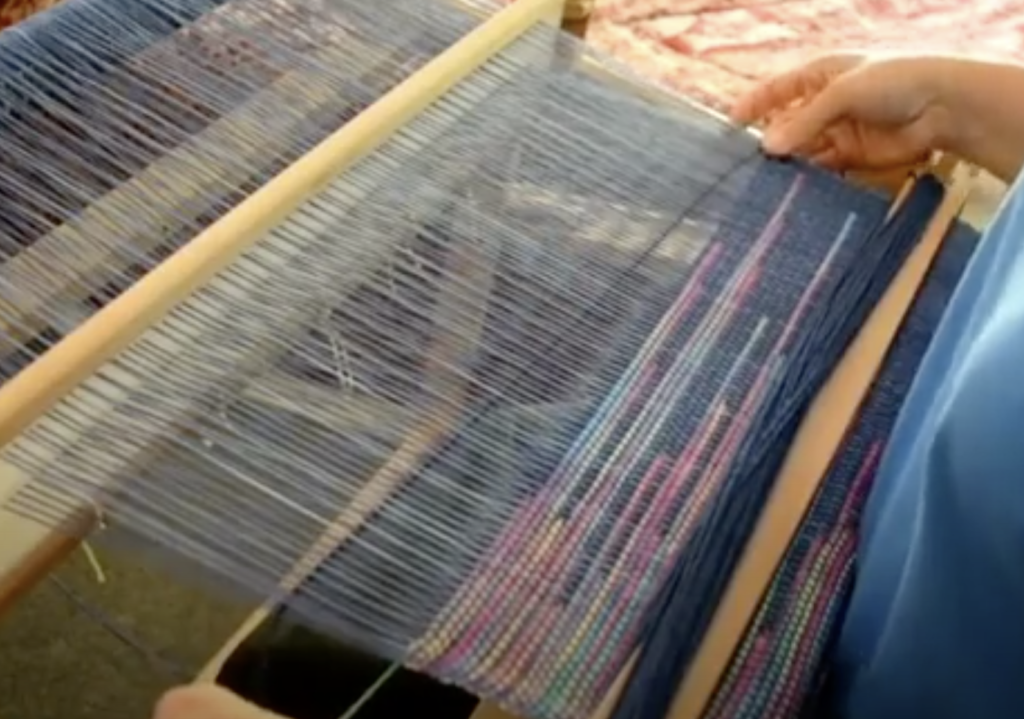
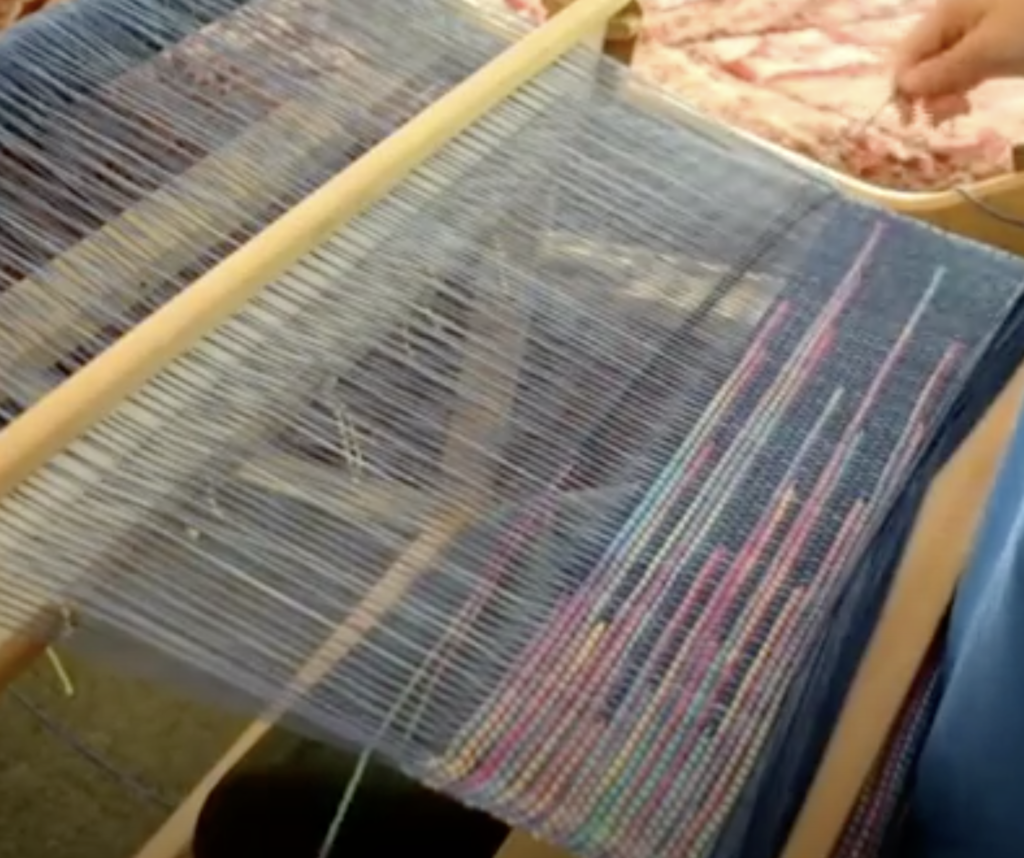
Begin with two contrasting weft yarns of the same weight. I have used one with a dark navy colour and another that is variegated with bright colours.
See the tips section below for more on why variegated works perfectly.
My warp and weft yarns were all light worsted/dk/ Australian 8 ply weight. Wool, acrylic or cotton are all fine.
One weft yarn is loaded onto a stick shuttle, in my case this was the dark navy. The other colour is left in a ball or on the cone. My variegated colour was in a skein and so I wound it into a yarn cake with my ball winder.
A yarn cake (also known as a centre pull ball) is particularly good to work with for clasped weft, because it sits nice and flat on the floor and won’t roll away. The yarn also feeds off the yarn cake seamlessly, which makes the whole process that little bit easier. If you have a ball, you may want to sit it in a box or basket on the floor to contain it.
Place the ball of yarn on the floor at your left. It doesn’t matter if you place it on the right or left, but for the purpose of this tutorial it’s on the left.
Because the ball (let’s call it the contrast yarn) is on the left, we enter the shed with the stick shuttle on the right. Again, it doesn’t matter whether you are in the up or down shed, but I am beginning in the down shed.
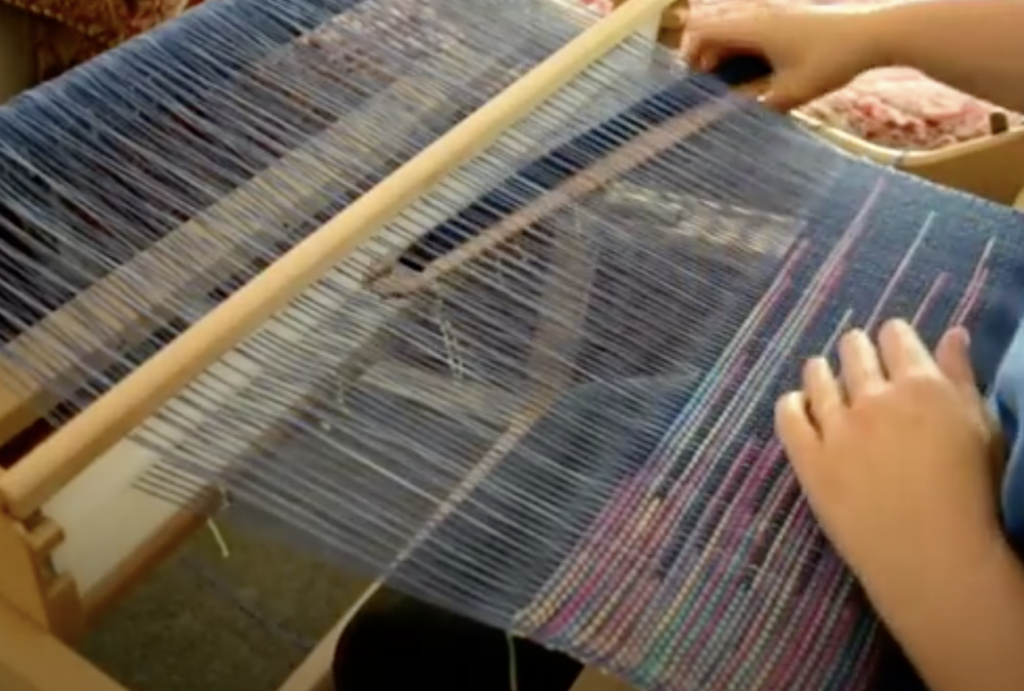
Take your stick shuttle across from the right hand side to the left as though you’re going to weave a regular plain weave pick.
When your shuttle reaches the left hand side, pick up the contrast yarn and place it over the top of the stick shuttle.

Take the shuttle the rest of the way through the shed at the left – as you would for your normal plain weave pick.

On the right hand side (where your shuttle entered), tidy up and prepare your weft yarn as though you’re going to beat the pick in. If you’re not familiar with how to do this, watch my free video on How to Weave Neat Edges.  DON’T BEAT.
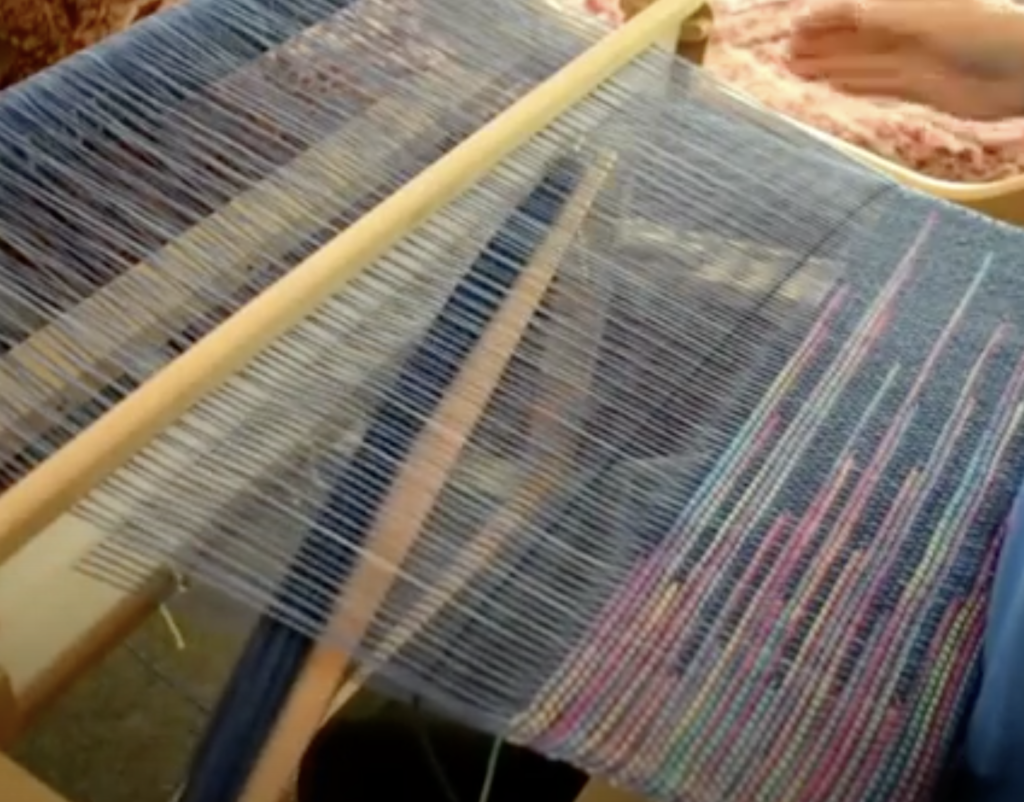
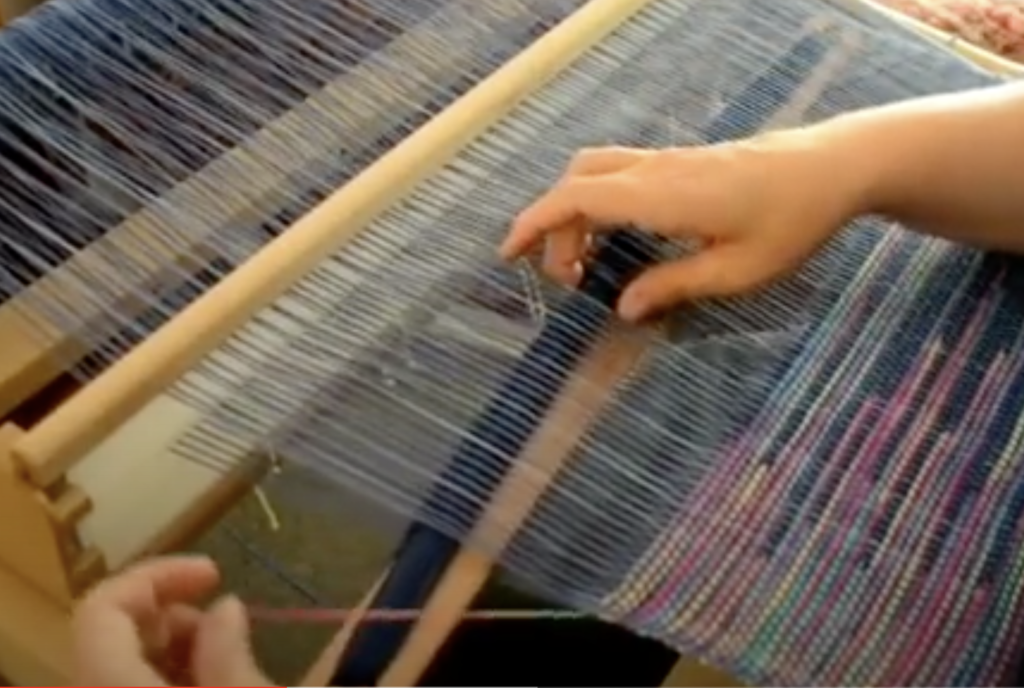
Take the shuttle straight back into the same shed. Don’t change sheds, and don’t beat! Take the shuttle through, back to the right where you first entered the shed.
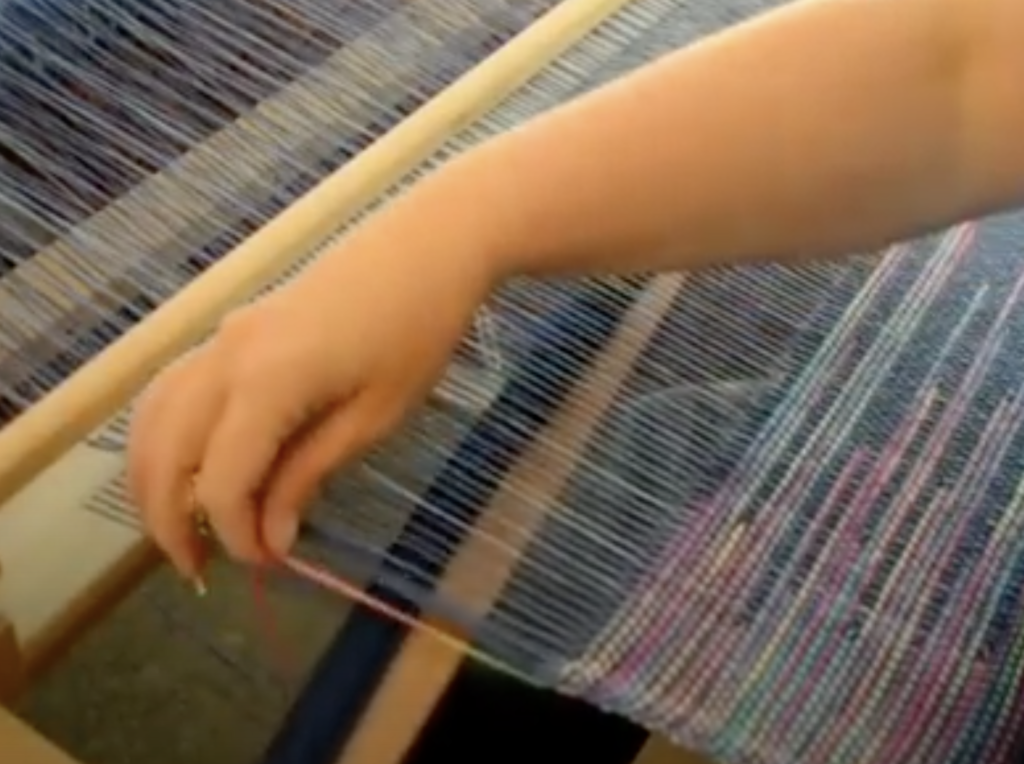
As you return the shuttle to the right, you will find that the navy yarn is linked or clasped with the contrast yarn. This means that the contrast yarn is pulled into the shed. Now you get to decide how far you will pull the contrast yarn into the shed. A little? A lot? Your choice, depending on the effect you want to achieve.
Hold both yarns under tension on either side to manipulate where you want the two yarns to go.
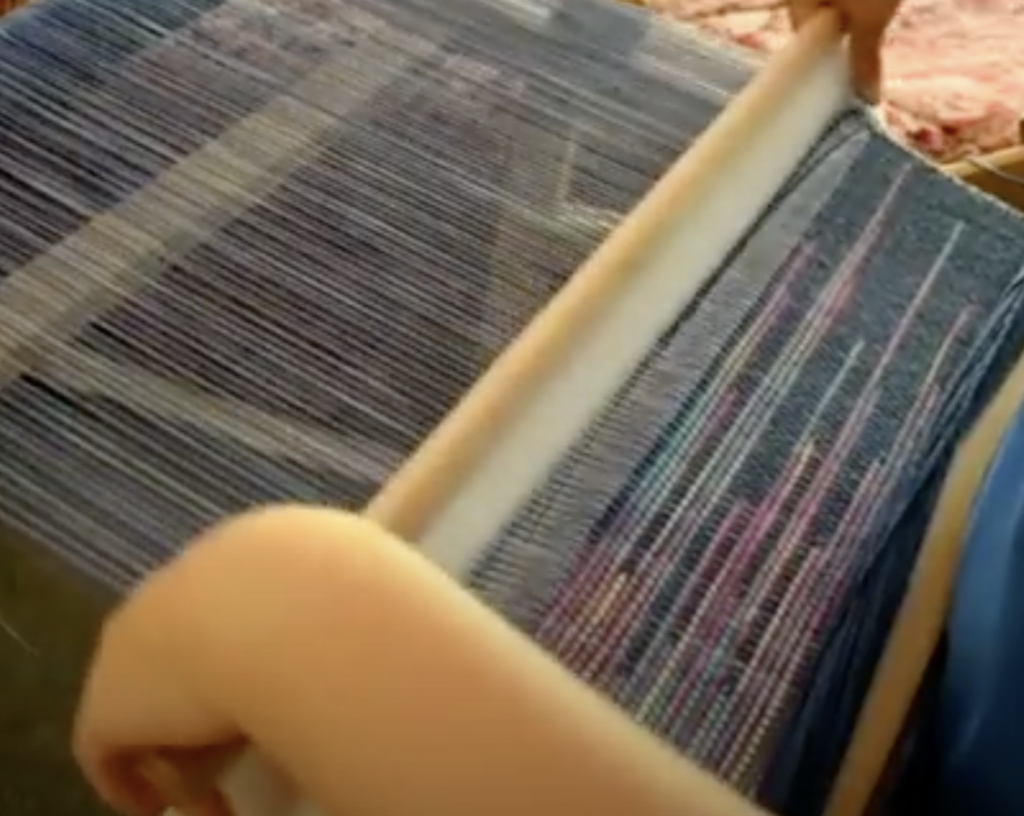
When you’re happy with the yarn positioning, beat the picks into place. You will notice that both yarns are now doubled in the shed.
Change to the next shed (in my case I had been working in the down shed, so I go on to change to the up shed).
Continue weaving in the exact same manner in the new shed and repeat until you’ve finished weaving.
Isn’t your head just swimming with all the possibilities of this wonderful technique?
Clasped weft can be extremely planned or extremely random. It looks wonderful both ways and is just so much fun to weave.
Here are a few recommendations for best results:
1. Use contrasting weft colours.
Light and dark will make the weaving pop. 
2. Use the same weight yarn for both warp and weft.
You will get better results and avoid the not so pretty lumps and bumps that can occur at interlocking points.
3. Variegated yarn is perfect for this.
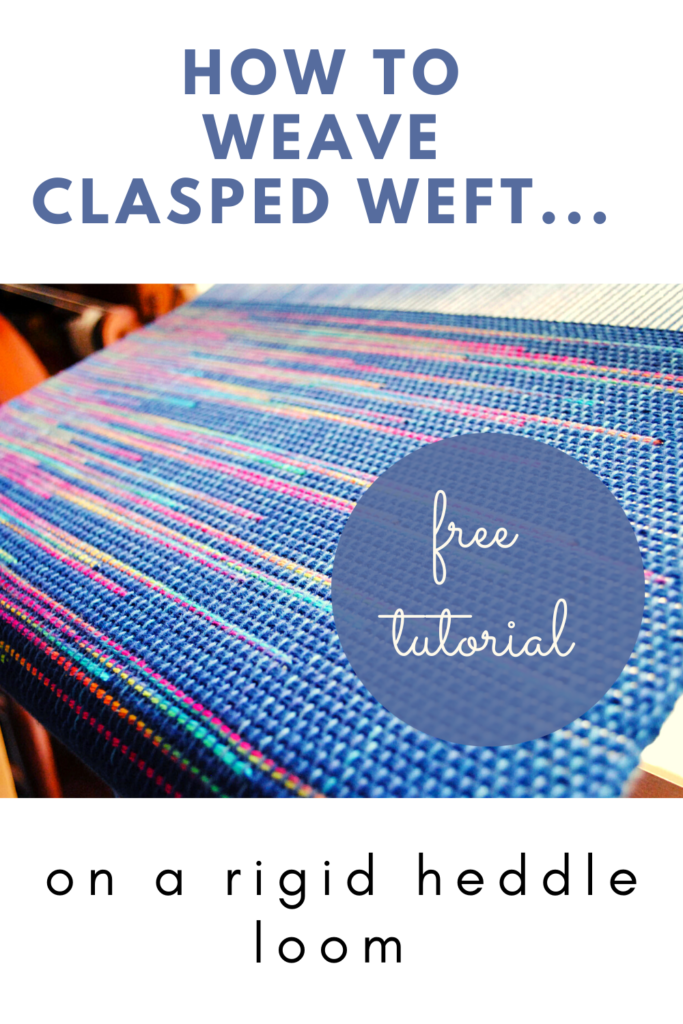
For the 2 colour clasped weft technique, a variegated yarn with a contrasting yarn looks really cool! (See photos below and above).

              4. Using the same colour as the warp for one of your weft colours works great.

Too much colour can confuse the contrast of the clasped weft lines. In the tutorial, I used the same navy yarn for warp and weft no.1. I then used a contrast yarn for weft no.2.

If you like the look of clasped weft as much as I do, I have some great news for you! I have 3 free Youtube video tutorials that will teach you each of these techniques. Start with video 1 so that you can practice the technique, before moving on to the others. 

Clasped Weft with 2 colours
Clasped Weft with 3 colours
Clasped Weft with 4 colours
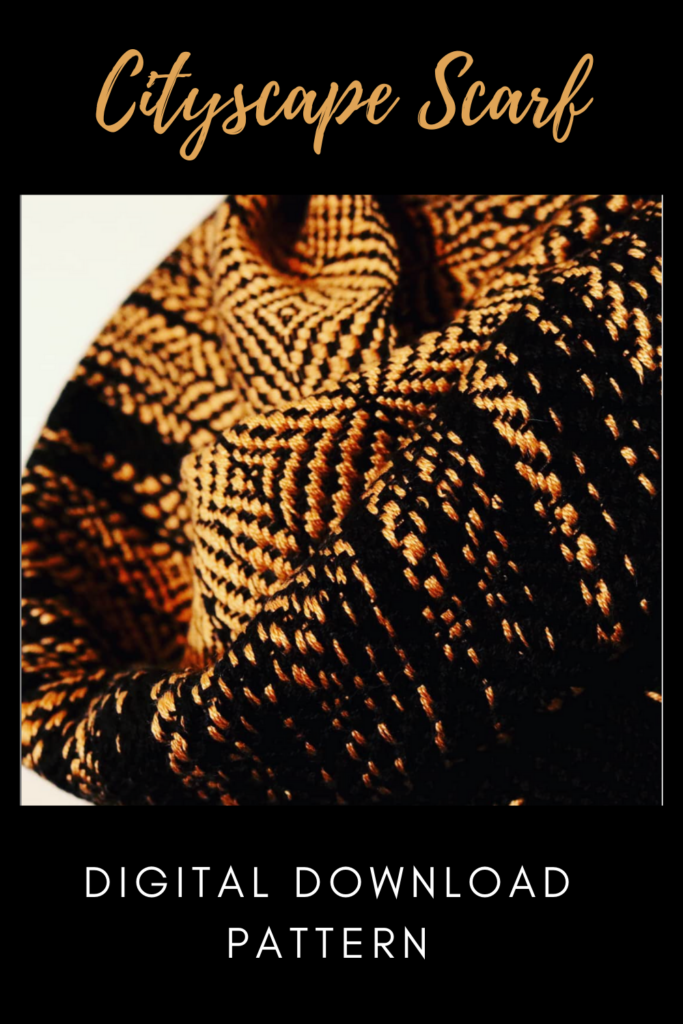
I mentioned that the clasped weft technique can also be used for other weave structures. This can create really interesting and impressive special effects. One of my Etsy patterns, The Cityscape Scarf is a perfect example of a clasped weft combined with a twill.
Try it out and let me know what you think. Leave me a comment here or under any of the Youtube videos, I love to hear from you!
Until next time…
Happy Weaving!

Filed Under: 4 shaft weaving, Free Pattern, Free tutorial, Inspiration, Online Weaving School, Rigid heddle weaving, Rigid Heddle Weaving Patterns, Tutorials, Weaving Tagged With: clasped weft, my youtube channel, rigid heddle weaving tutorial, weaving

Spring Table Runner Free Rigid Heddle Project!

by Kelly Leave a Comment

Winter is fast approaching us here in Australia, but for those in the Northern Hemisphere, you are looking forward to the mildness and beauty of Spring. It’s a wonderful time to be freshening up household linens and table decor with new hand wovens!
 
*This post contains affiliate links
 
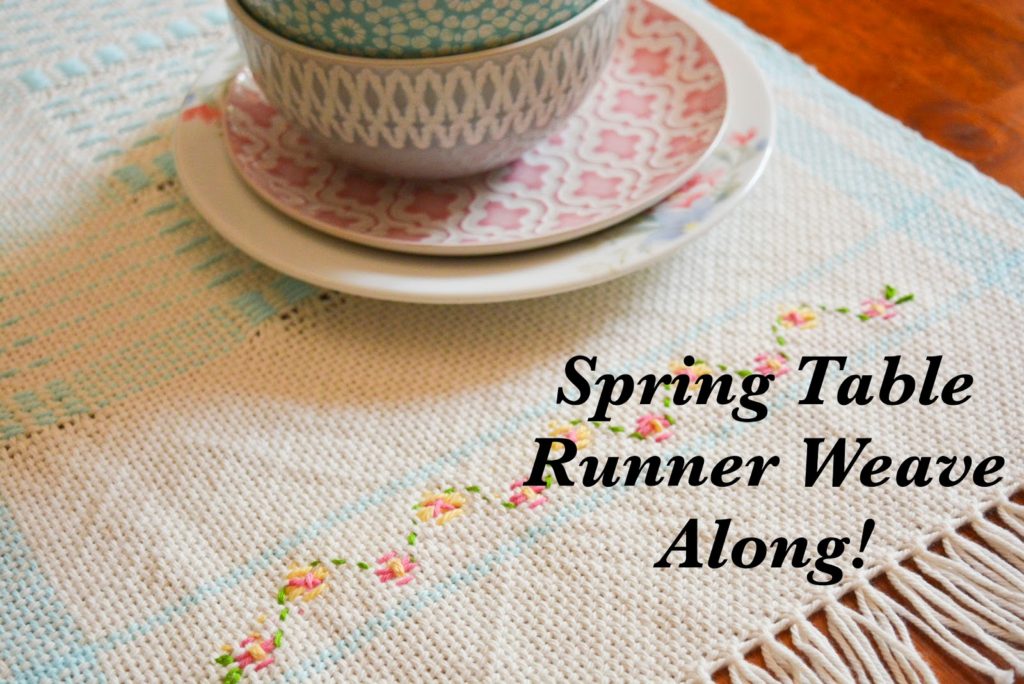
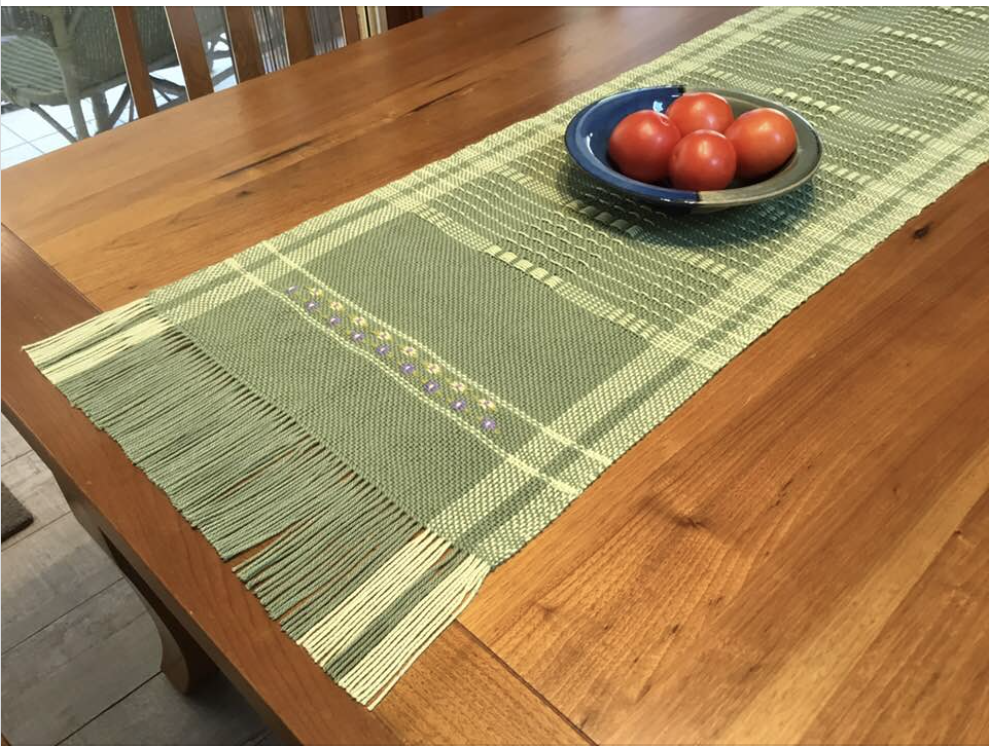
The Spring Table Runner project was initially run as a weave along, but can of course be undertaken at any time. I chose light and pastel colours to give that spring feel and also embroidered a delicate spray of flowers on either end of the runner to really make it feel like Spring.

 
The table runner is woven with lovely thick and soft cotton for easy care. The design is worked by using colour in the warp and weft, plus some simple pick up for additional interest.
 
You can download the free, printable PDF for the Spring Table Runner right here-  
Spring-Table-RunnerPDFDownload

What you will need to complete this project:

*A rigid heddle loom, 20″ or wider

*A 7.5 dent reed/heddle

* 2 x stick shuttles, at least as long as the width of your project

*A pick up stick, longer than the width of your project

*A double ended reed and heddle hook or a separate threading hook and reed hook

I know that many of you do not have access to the same yarns that I do. Let’s have a look at some suitable yarns you could use to complete this project:

For the 10 ply/ worsted/aran weight:

Bendigo Woollen Mills Cotton 10 ply

Lily Sugar n Cream cotton

Lion Brand 24/7 Cotton

Knit Picks Dishie Worsted cotton

Hobby Lobby I Love This Cotton

For the 8 ply/ light worsted/dk weight:

Bendigo Woollen Mills Cotton 8ply

Cestari Old Dominion 100% cotton

Maurice Brassard 8/8 cotton

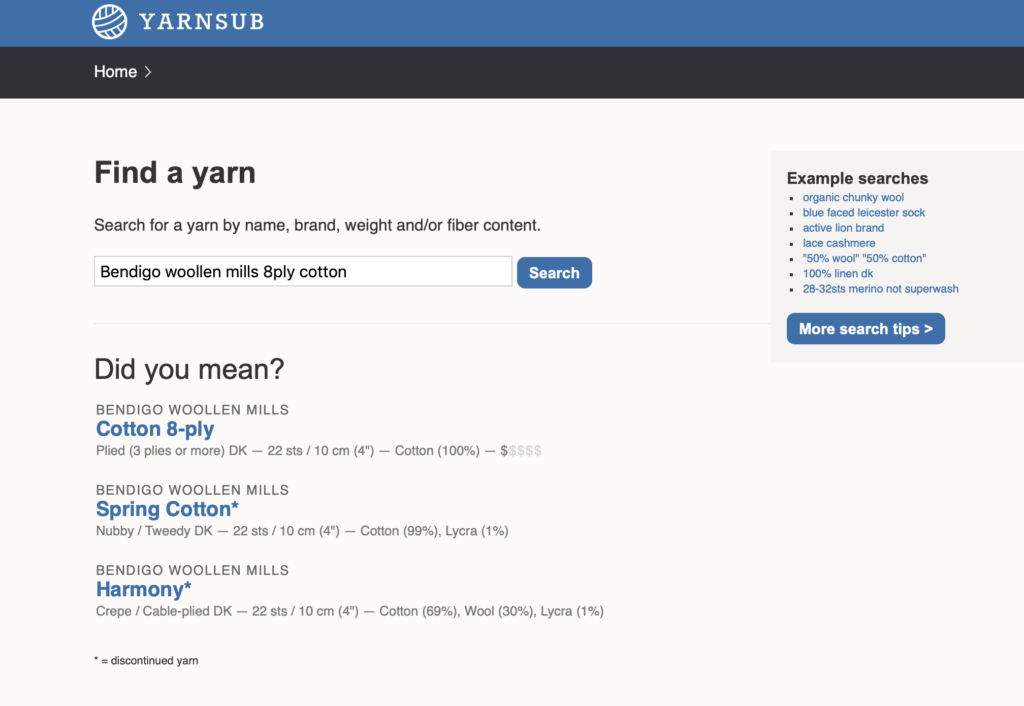
Yarnsub.com is also an excellent resource for finding a variety of yarns with similar characteristics to what I used. It is a simple site to use, but if you’re unsure, here is an example:

On the homepage, enter into the search box the yarn than you wish to substitute. Here I’ve entered “Bendigo Woollen Mills 8ply cotton”.

Hit “enter” on your keyboard or click on the little spy glass. Choose the correct yarn from the list below. In this case, I will click the top yarn.

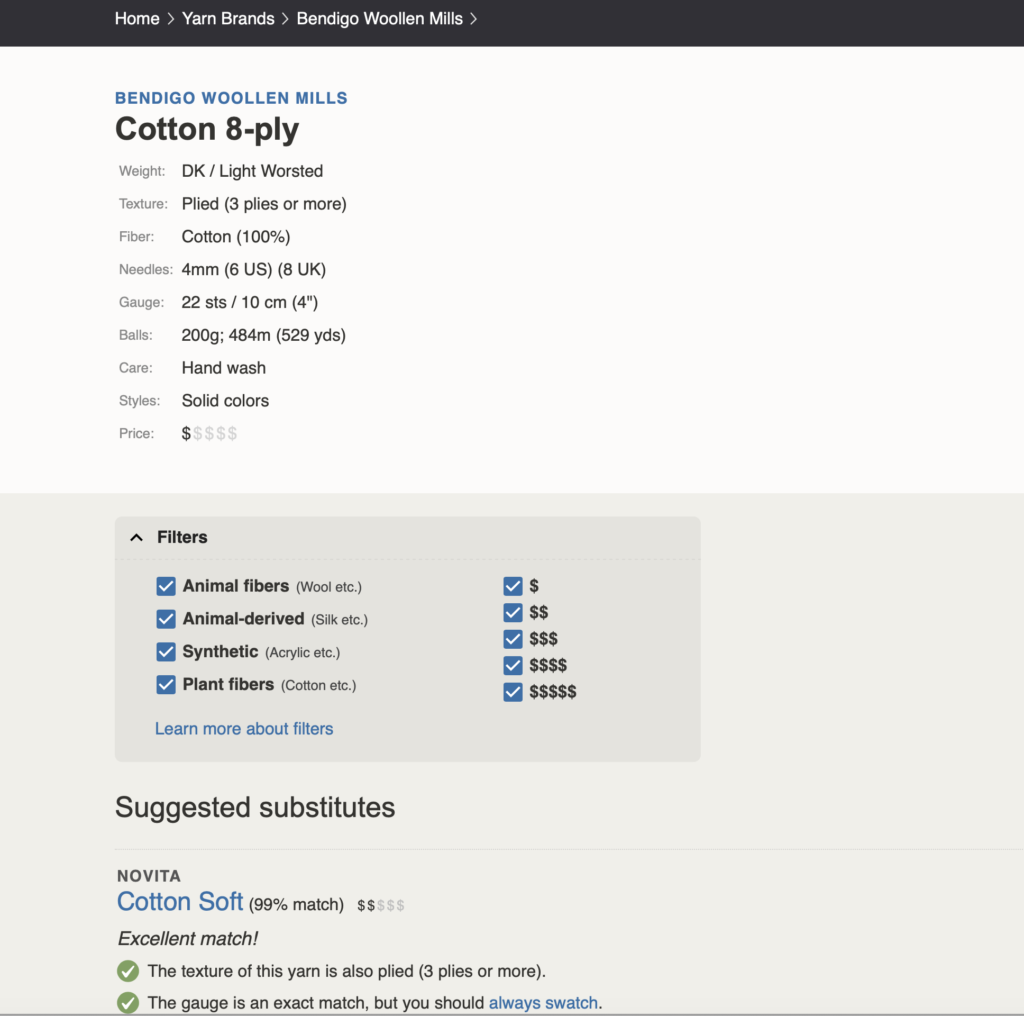
When you see this page, start scrolling down for all of the listed possible matches or near matches. This particular search gave 50 results!! You will see after each suggested yarn there is a percentage match – that will tell you how well the suggested substitute matches your original search. It’s brilliant!

You can of course substitute colours depending on availability and individual tastes. One of my favourite runners that I’ve seen is this one, woven by Juliet.

A very different colour scheme is used here, but still feels very Spring like and is absolutely beautiful!

The entire playlist of videos for the class can be found here-

The video series plus PDF can also be viewed at my Online Weaving School, if you prefer.

I really hope that this Spring Table Runner brings a little freshness to your table and joy into your home!

If you have any questions or comments, please leave them under this post, I would love to hear from you.

Until next time…

Happy Weaving!

Filed Under: Free Pattern, Free tutorial, Health and home, Inspiration, Rigid heddle weaving, Tutorials, Weaving Tagged With: Kelly casanova weaving lessons, rigid heddle weaving, rigid heddle weaving tutorial, spring table runner

Weaving for Christmas

by Kelly 3 Comments

My favourite time of the year is coming and what better way to celebrate the festivities than by weaving for family, friends and your home!


I have quite a few free video tutorials to get those creative juices flowing:

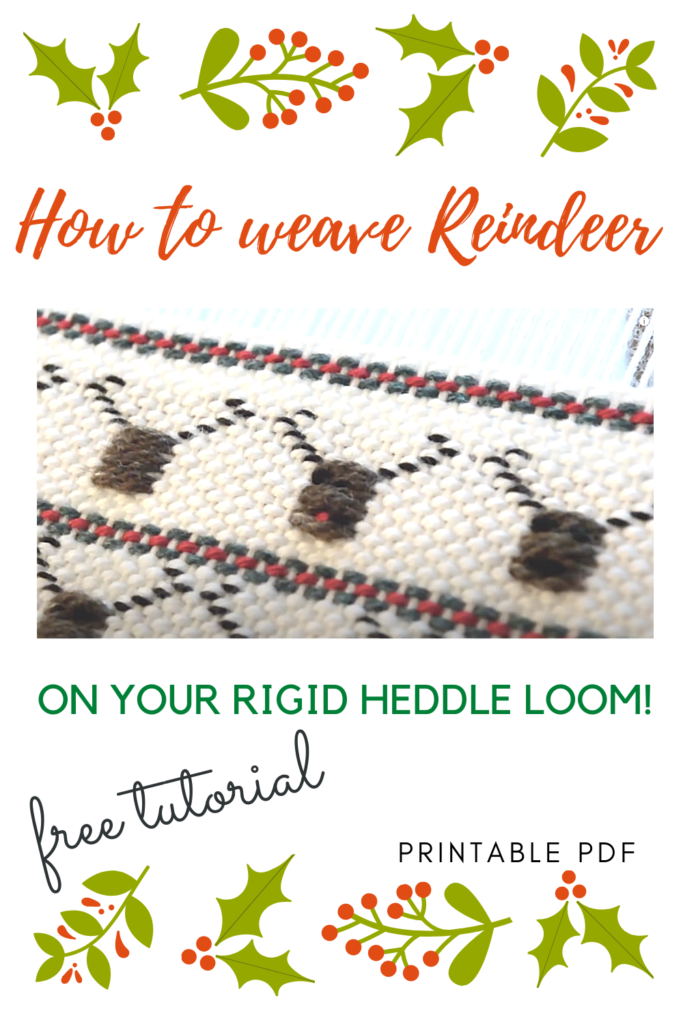
Reindeer on a rigid heddle loom


Handwoven No Sew Christmas Hearts


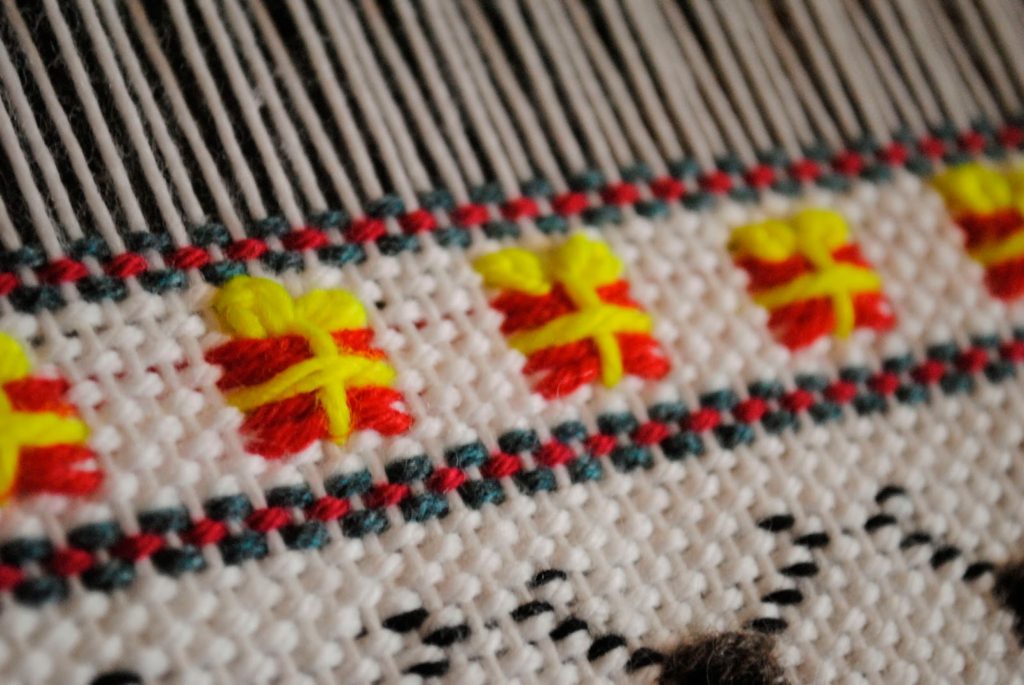
Gift boxes on a rigid heddle loom

Winter Trees

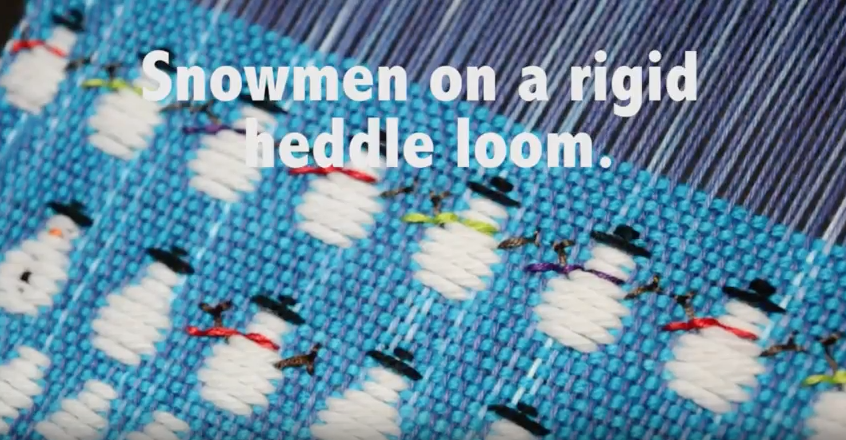
Snowmen on a rigid heddle loom

I also have some festive classes available at my Online Weaving School:
Exploring branoe 
                                                Christmas Table Runner
 
Christmas Bunting

I hope these inspire you to add some beautiful hand woven

Christmas cheer to your home or someone else’s!

Until next time…

Happy Weaving!

🎄 🎄🎄🎄🎄🎄

Filed Under: Free tutorial, Inspiration, Online Weaving School, Rigid heddle weaving, Rigid Heddle Weaving Patterns, Tutorials, Weaving Tagged With: Celebrations, christmas, Kelly casanova weaving lessons, rigid heddle weaving, rigid heddle weaving tutorial

  • « Go to Previous Page
  • Page 1
  • Interim pages omitted …
  • Page 3
  • Page 4
  • Page 5

Primary Sidebar

Hand crafted boat shuttles

Categories

Archives

Meta

  • Log in
  • Entries feed
  • Comments feed
  • WordPress.org

Copyright © 2025 Kelly Casanova Weaving Lessons on the Foodie Pro Theme