I had two reasons for warping up my floor loom for some new towels recently.
With our house moving date looming closer, I felt the need for a “sanity project”. While all of my yarns and equipment were being packed away, I kept a few cones aside so that I would have something to weave during the in between time of packing up house and moving to the next one.
*This post contains affiliate links. Please see my disclosure policy for further details.
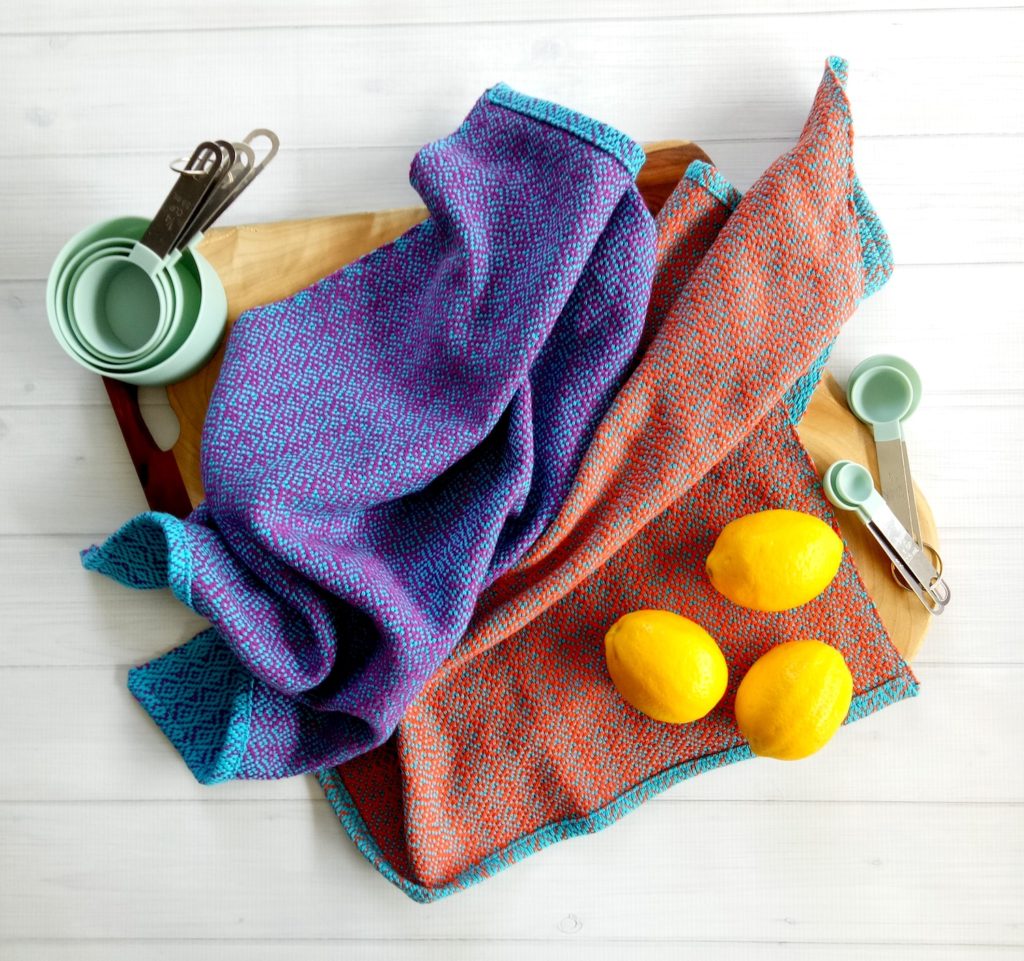
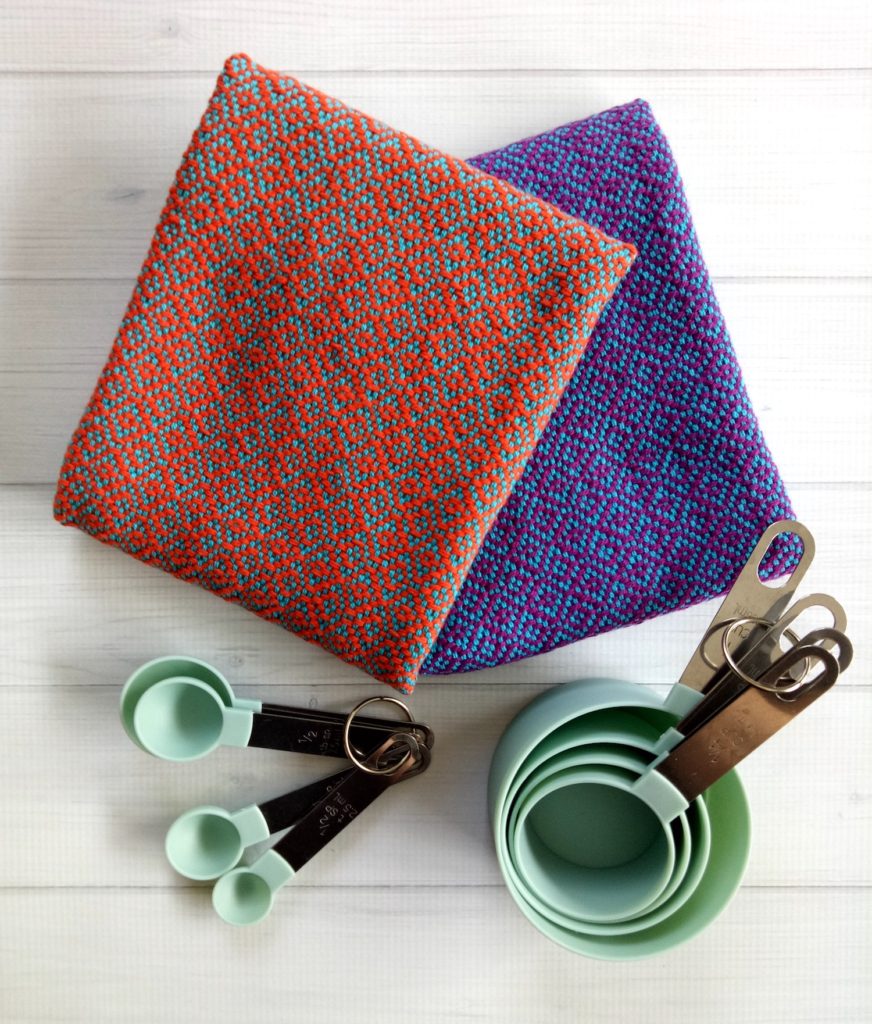
I also wanted to have some brand new kitchen towels to adorn our “new to us” kitchen, as all my current towels are ageing and starting to look a little shabby. I wanted special new towels for our special new place. This project turned out to be special in another way, but I’ll tell you about that shortly.
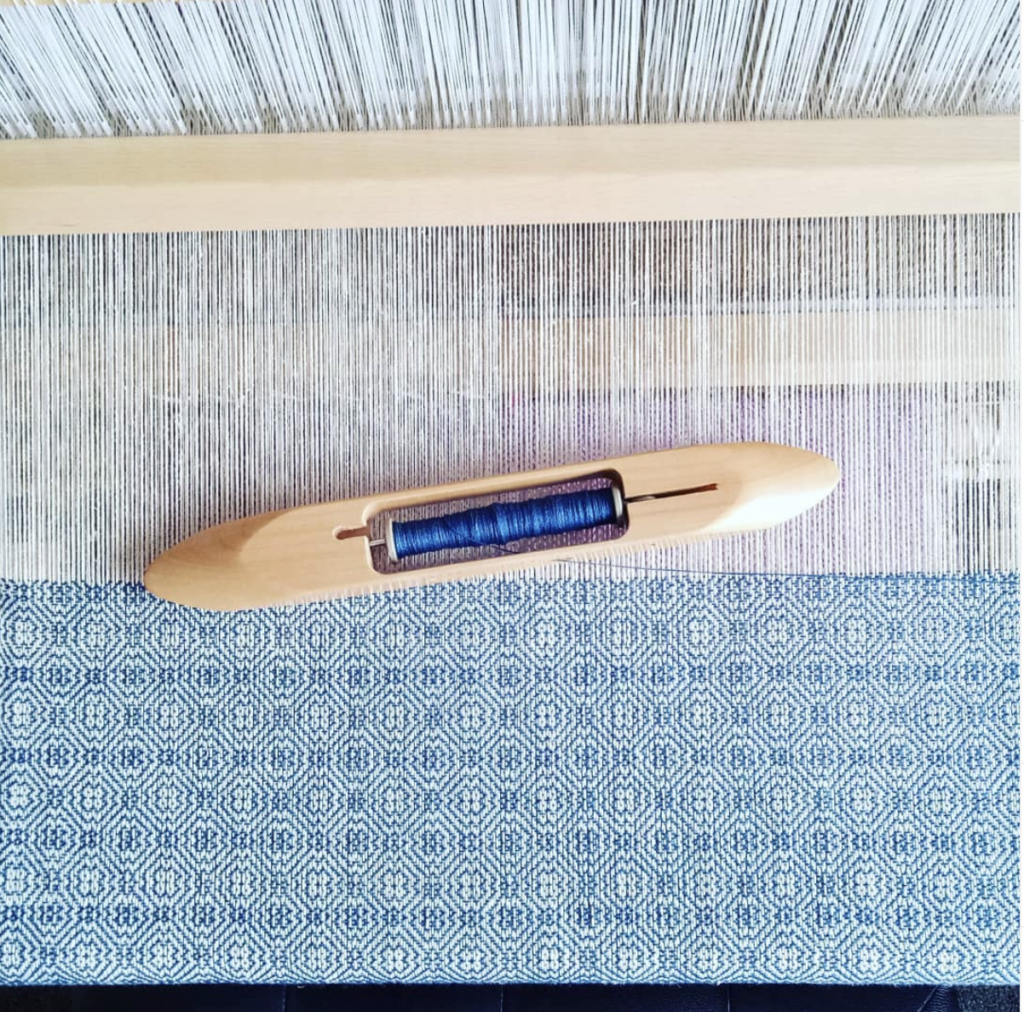
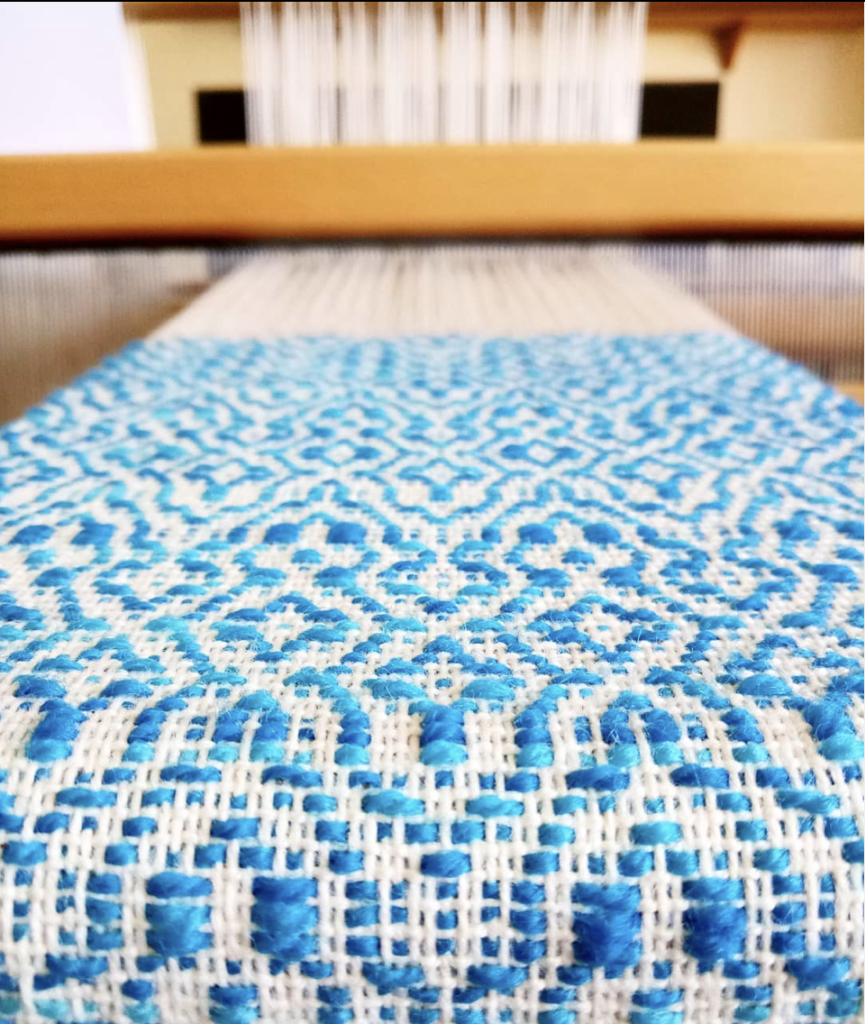
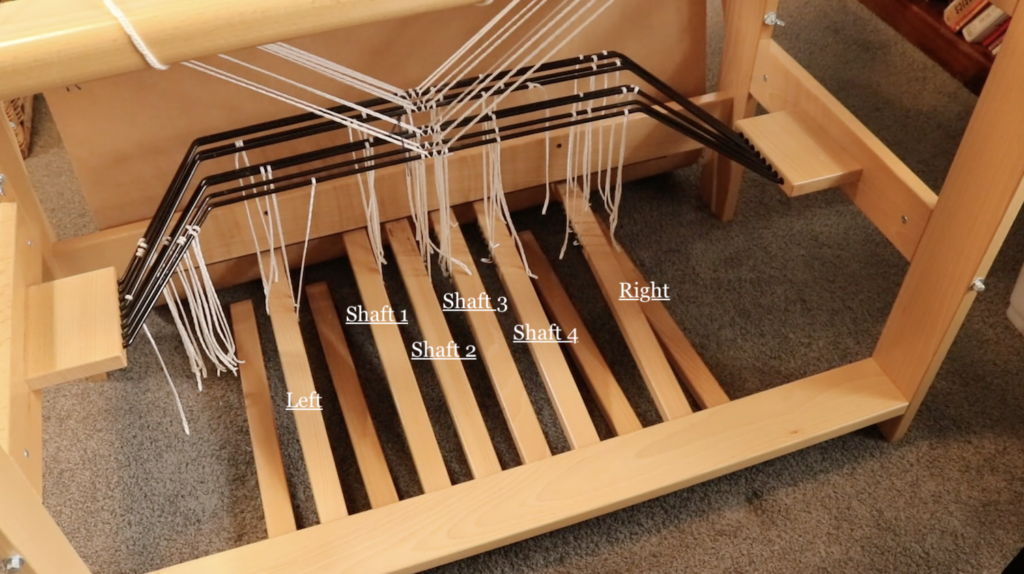
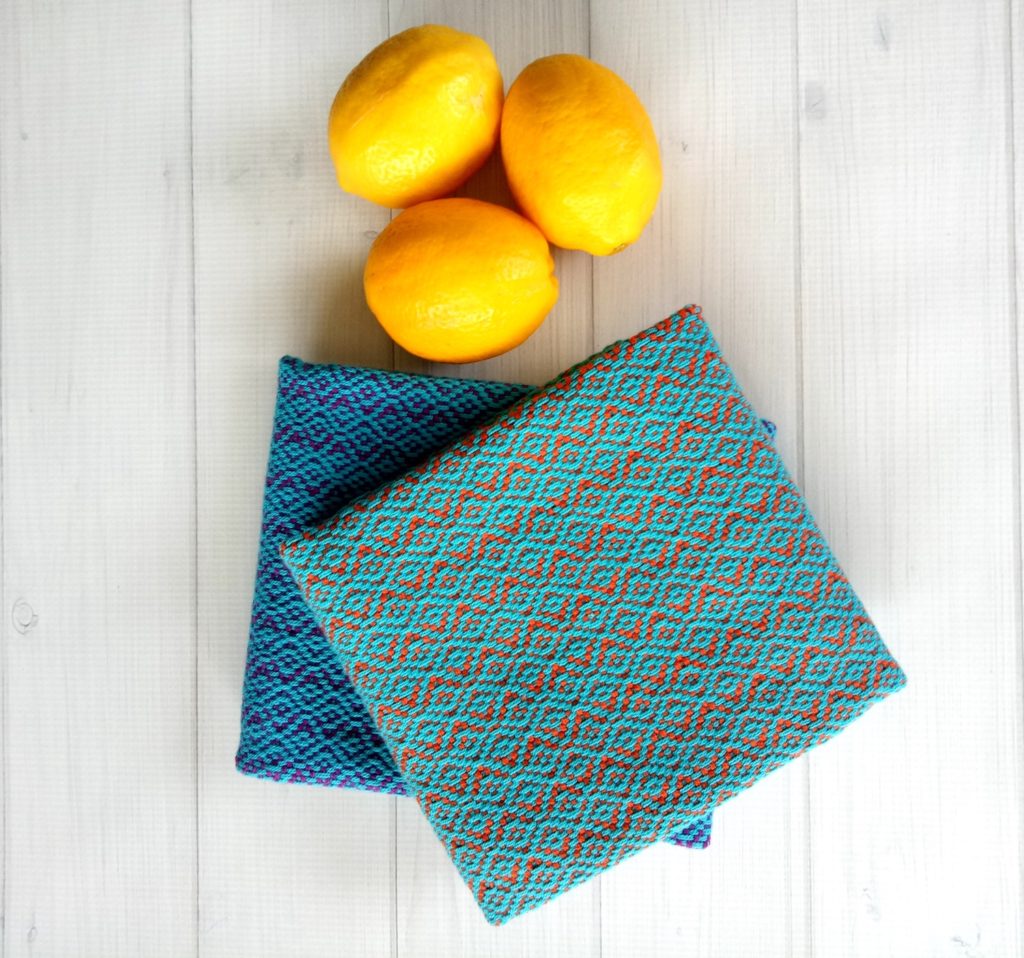
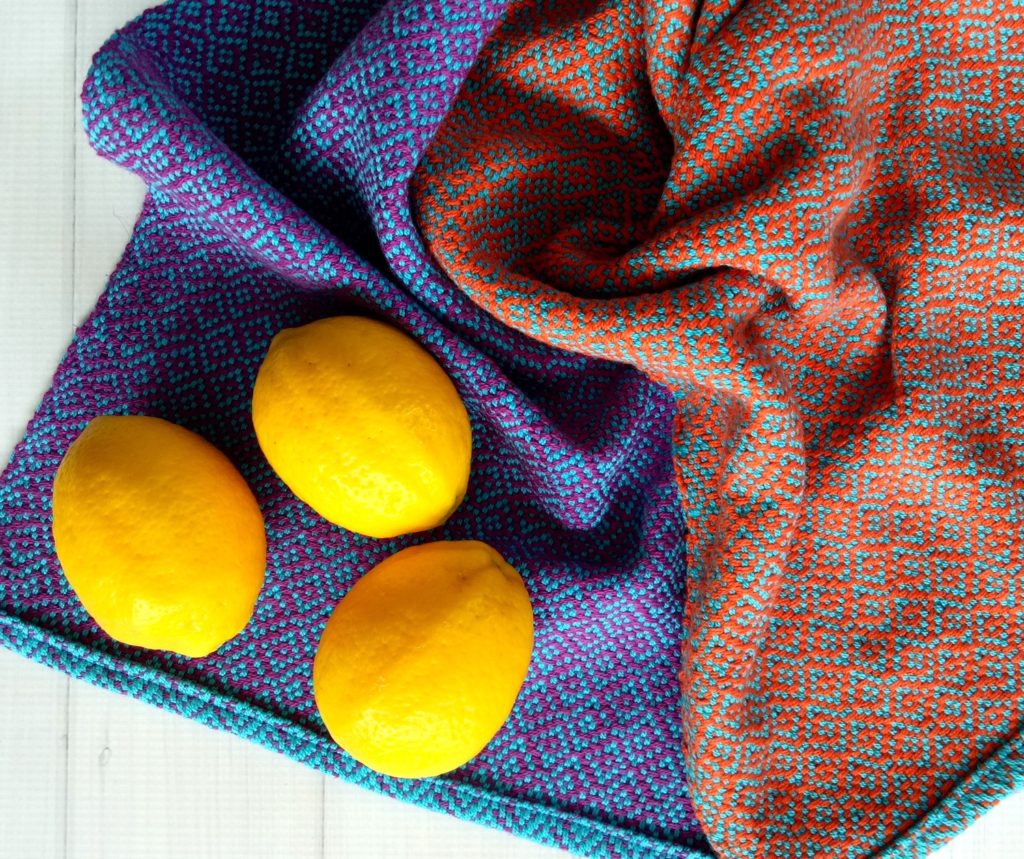
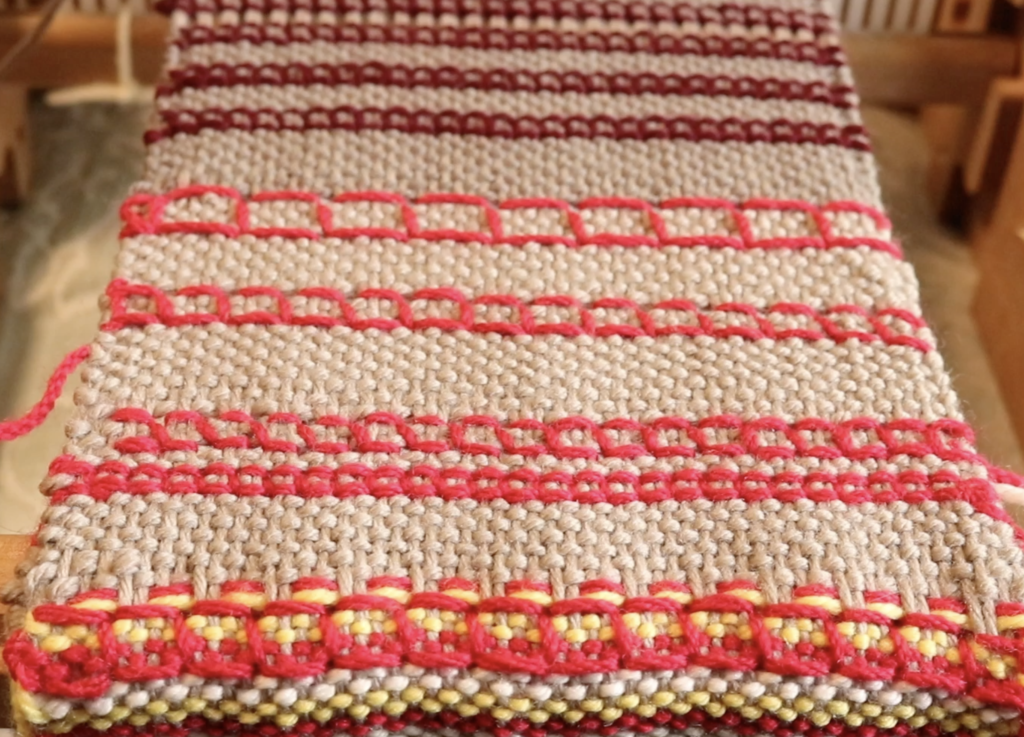
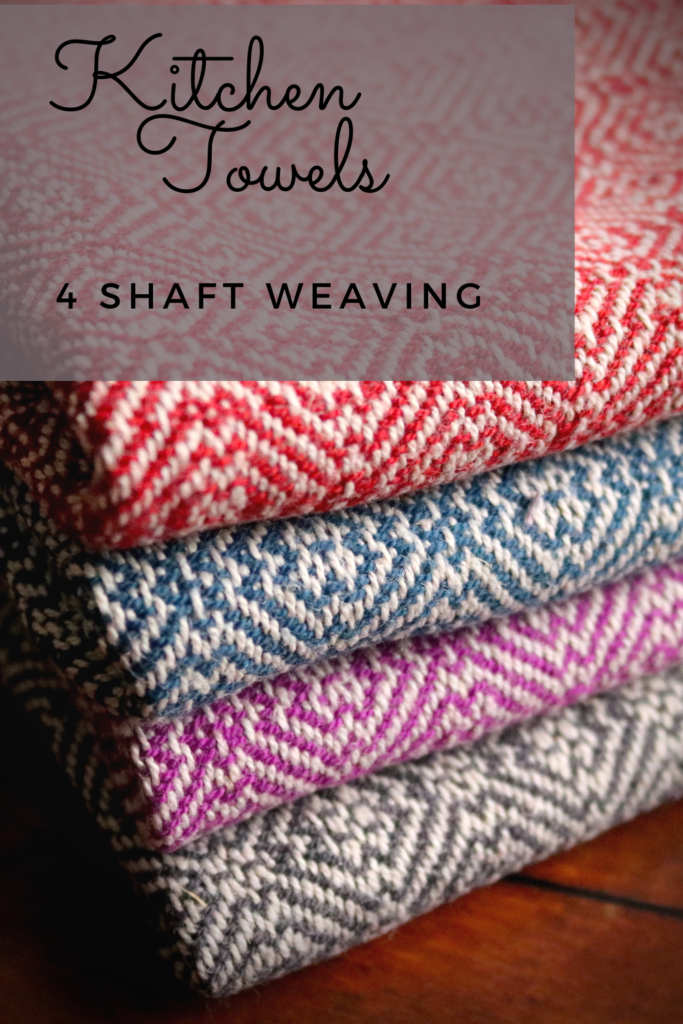
I chose one of my all time favourite drafts for kitchen towels, a 4 shaft twill on M and W threading. I love the design and I love the resulting fabric so I didn’t have to think too hard on that one!
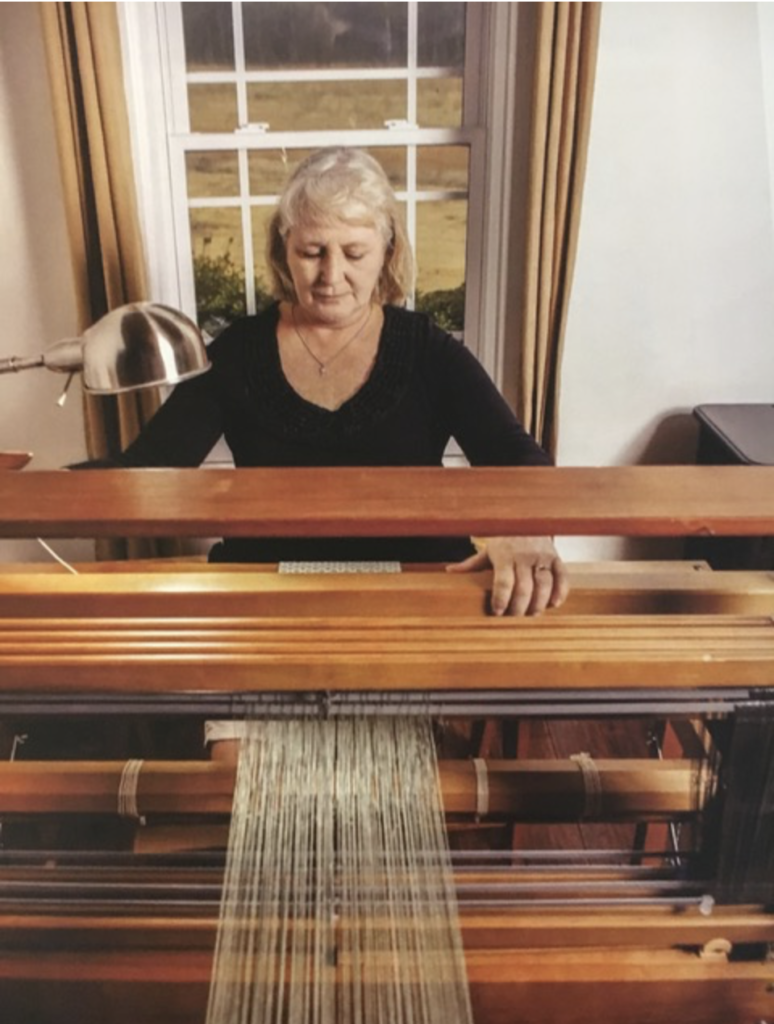
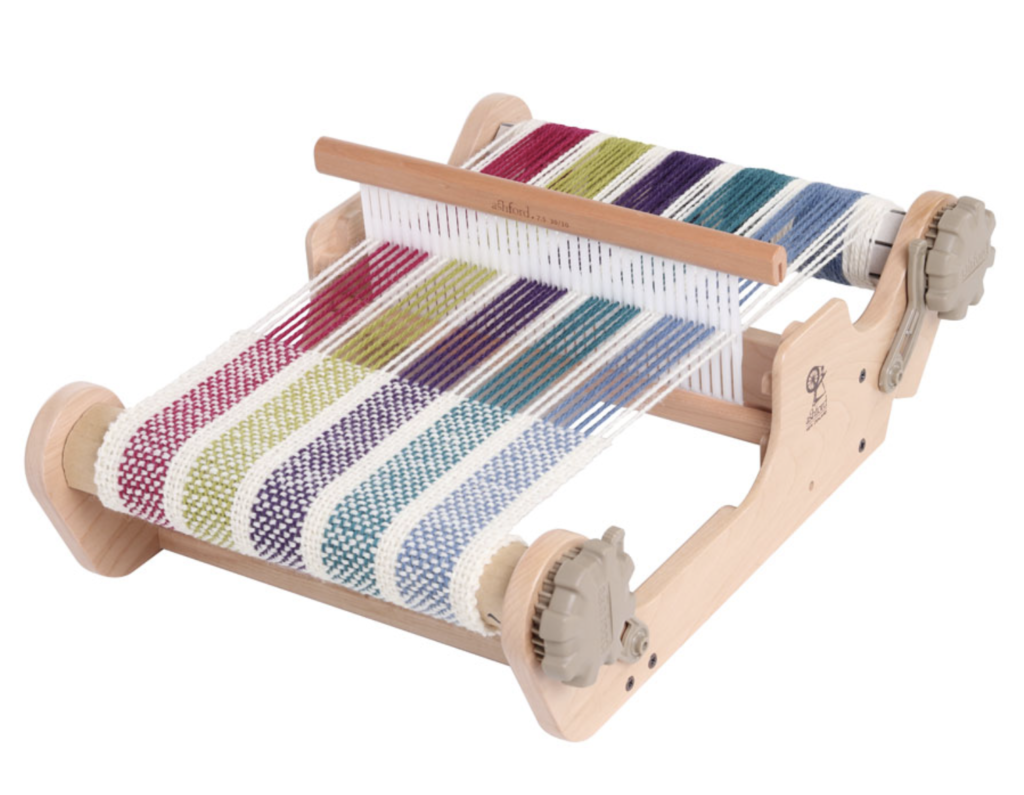
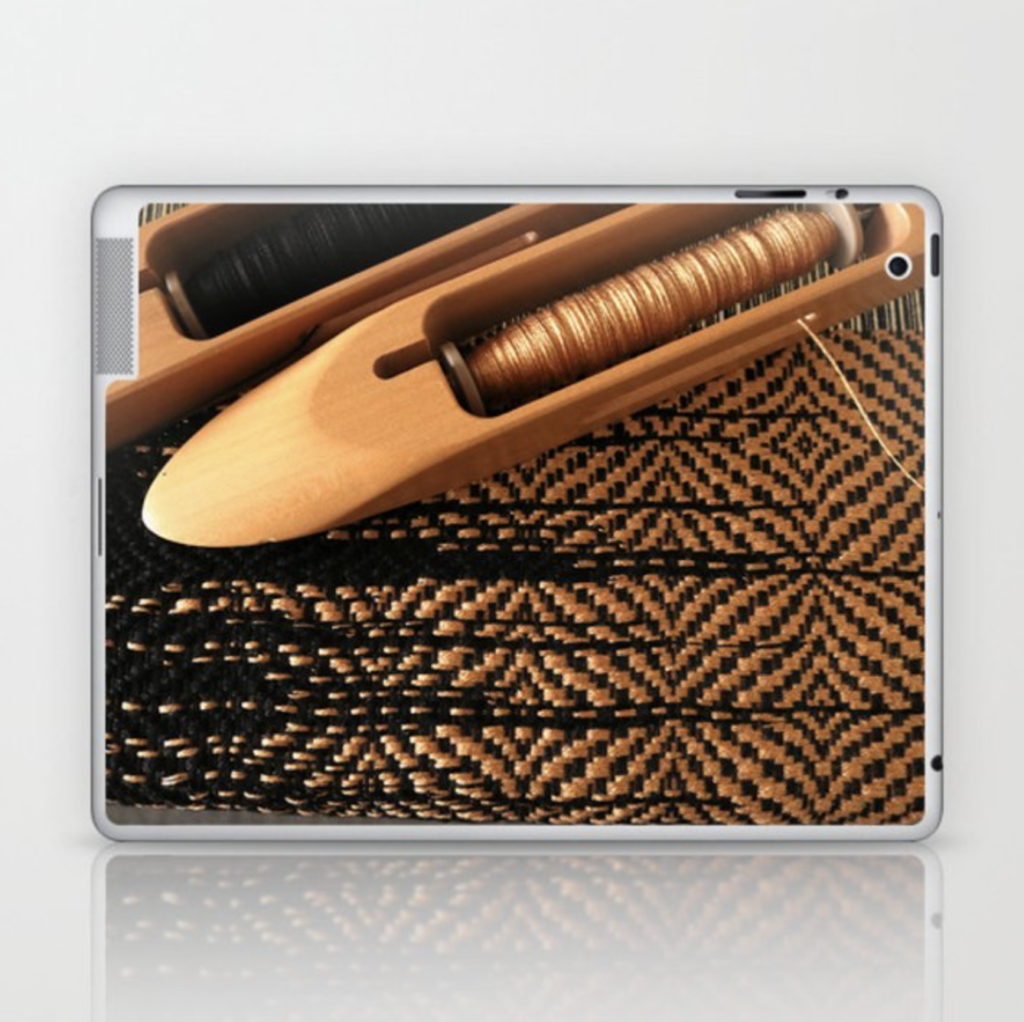
The threading for this draft is not difficult and the tie up is a regular twill tie up – all things that I’m very familiar with and that make the process easy for me. I used my Louet David 2 Floor loom (link is for the new David 3), which has 8 shafts but for this project I wove on 4 shafts.
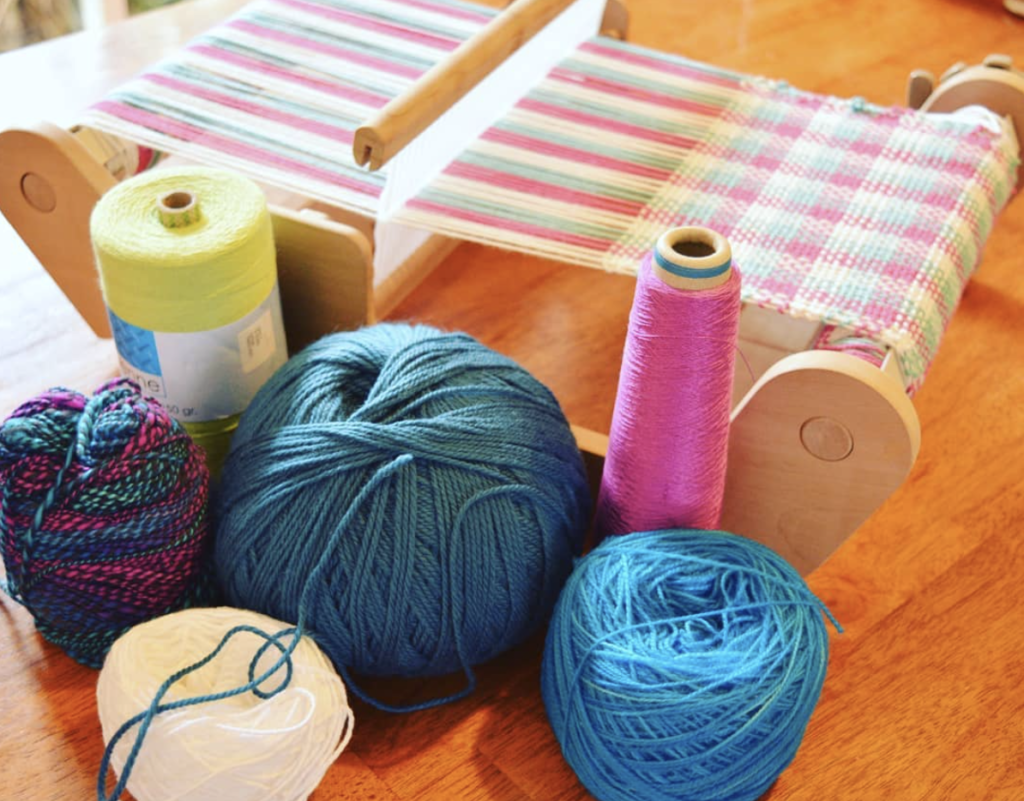
Having woven kitchen towels with this draft before, I was also sure of the yarn I wanted to choose. My favourite weaving yarn for soft and absorbent tea towels is 8/2 cottolin. The cottolin I use is 60% organic cotton and 40% linen. It’s a great yarn for those who want to incorporate a little linen but want something that is a bit easier to use than 100% linen.
For the warp I used:
Maurice Brassard 8/2 cottolin in Blanchi
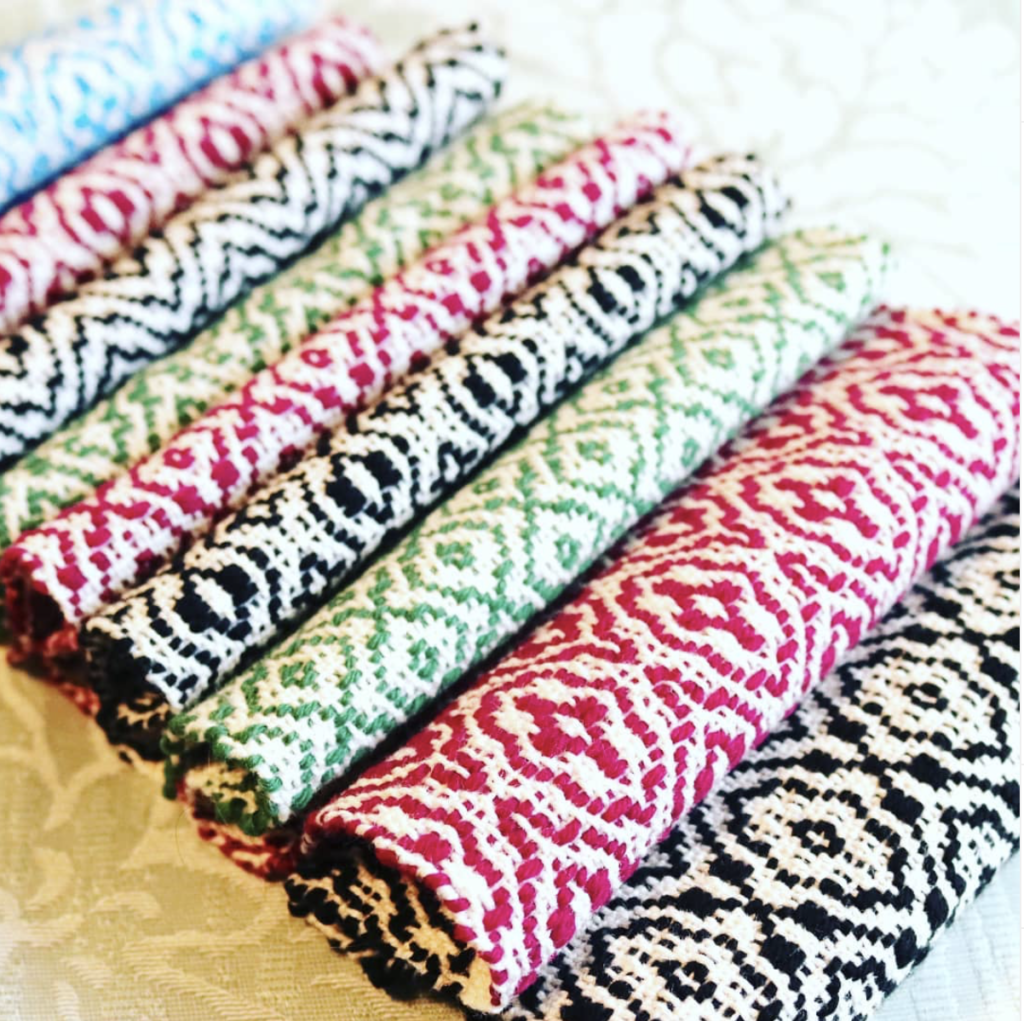
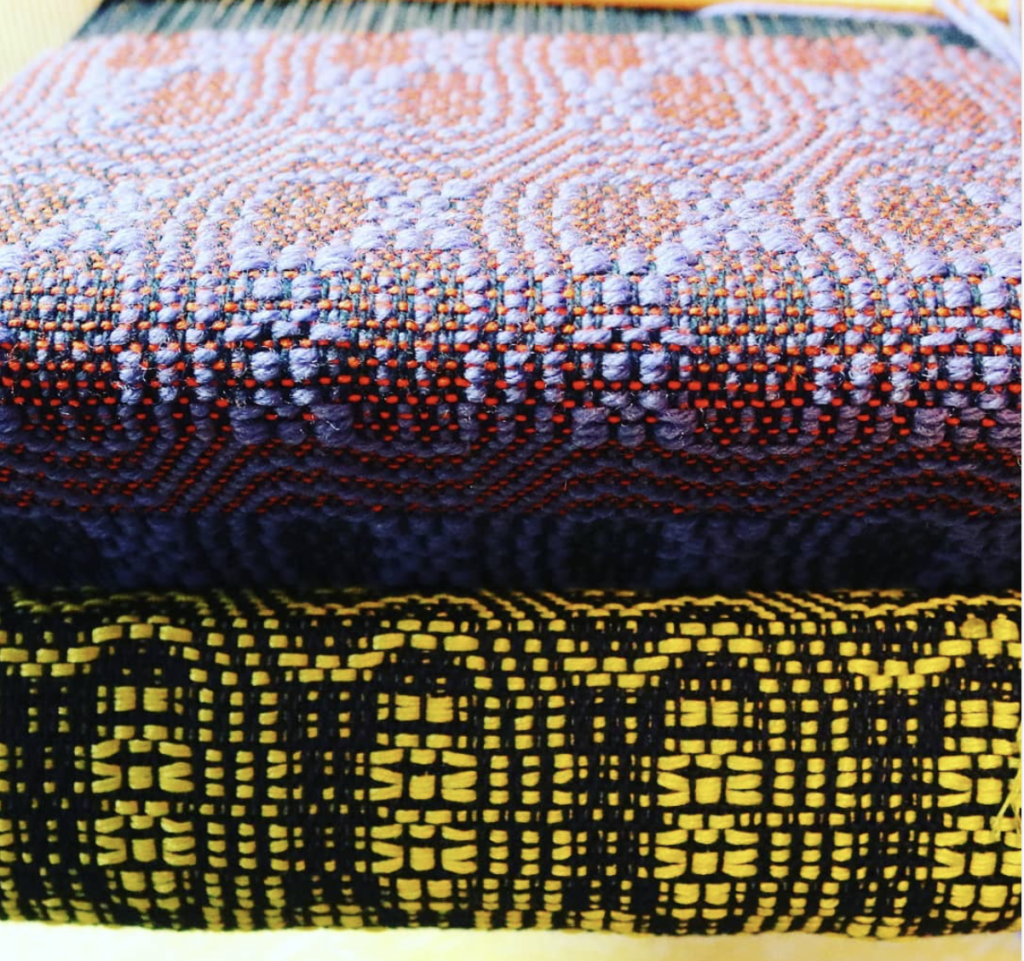
For the wefts I used (one colour for each towel):
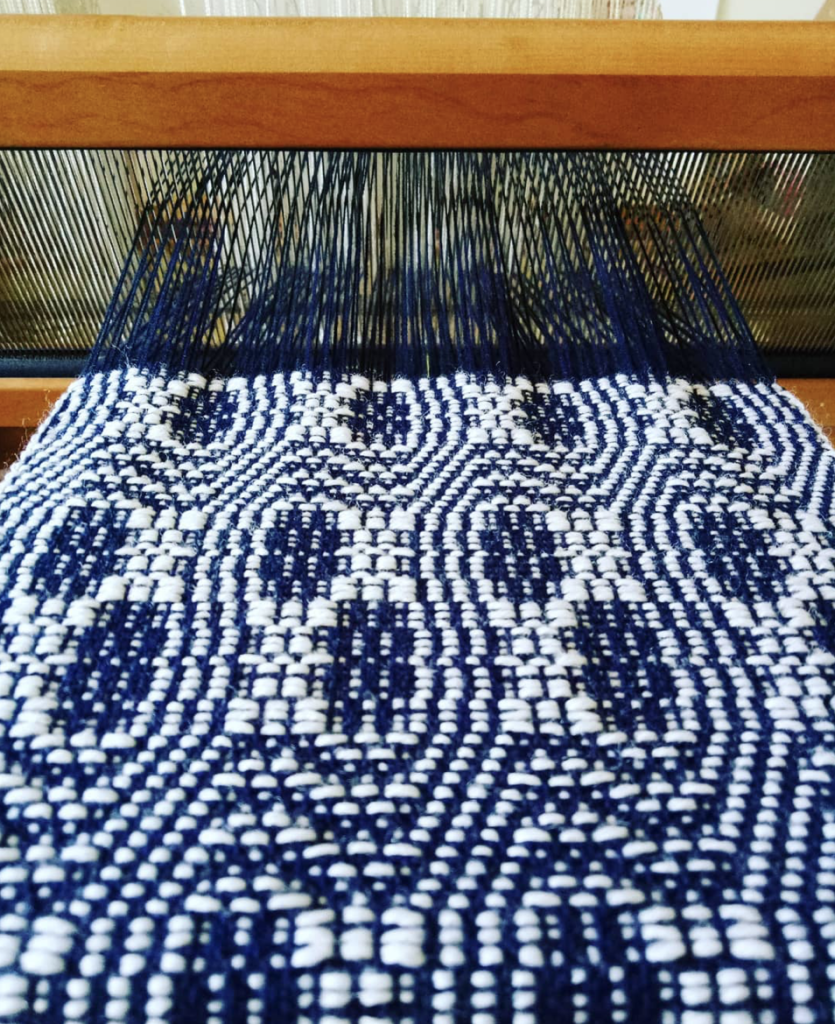
Maurice Brassard 8/2 cottolin in Charcoal
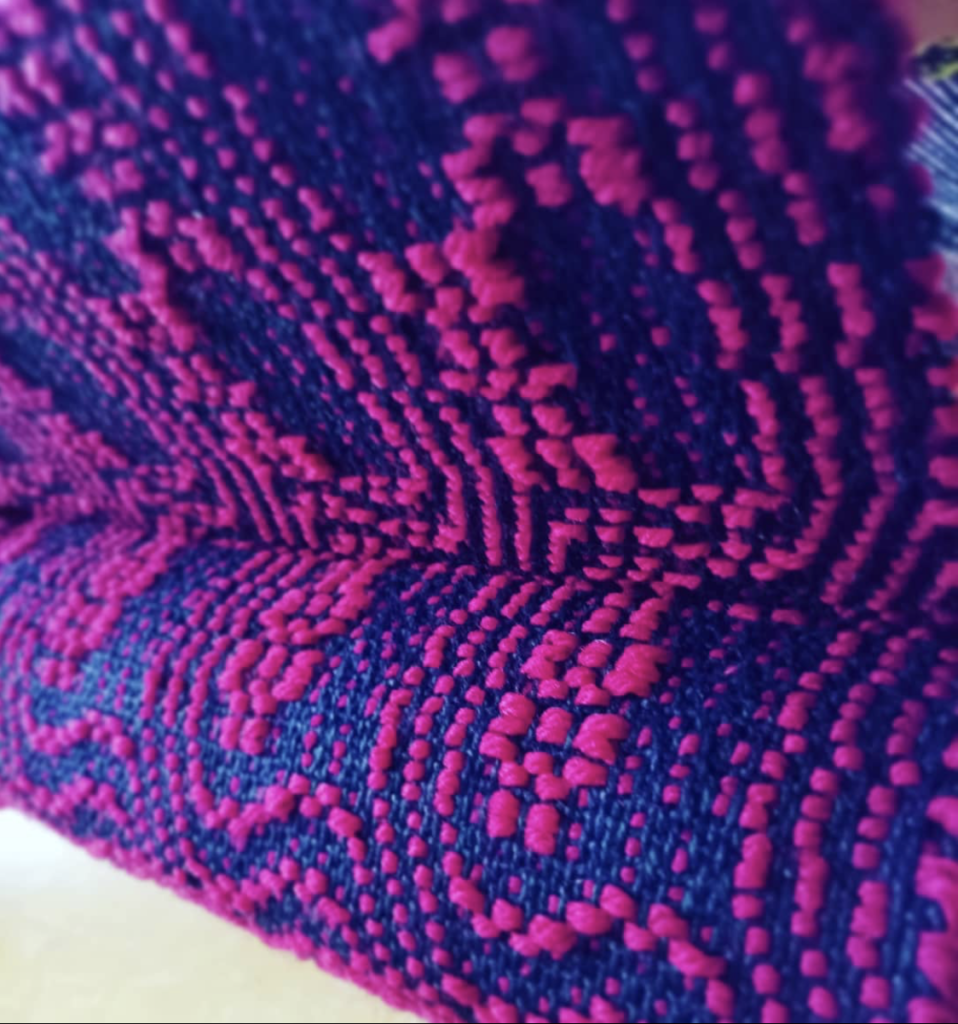
Maurice Brassard 8/2 cottolin in Magenta
Maurice Brassard 8/2 cottolin in Royal
Maurice Brassard 8/2 cottolin in Brick
…………………………………………………………………………………………………………………………………………………………..
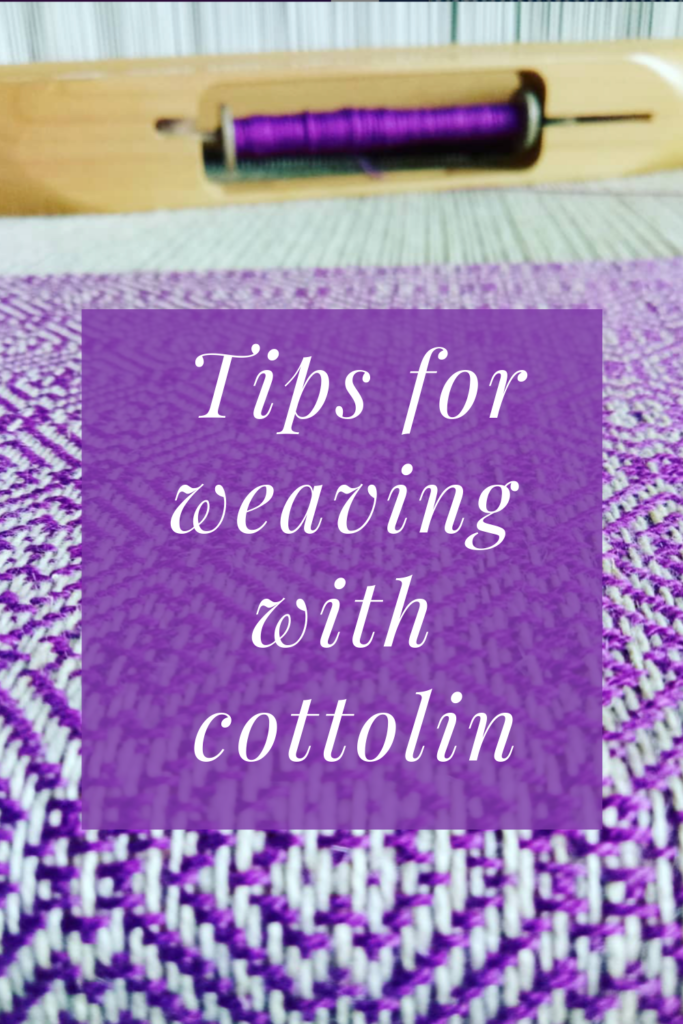
Tips for working with cottolin:
- Cottolin sheds a lot of fibre whilst on the loom. It is a more course yarn than just cotton on it’s own, which is very smooth. I sometimes opt to wear and apron while weaving and try not to wear anything black! The shedding nature may be irritating to some who are sensitive, it’s not a big problem for me but does make me sneeze sometimes! It also means that you will want to vacuum your loom when your project is finished or even during the project if the tiny stray fibres bother you.
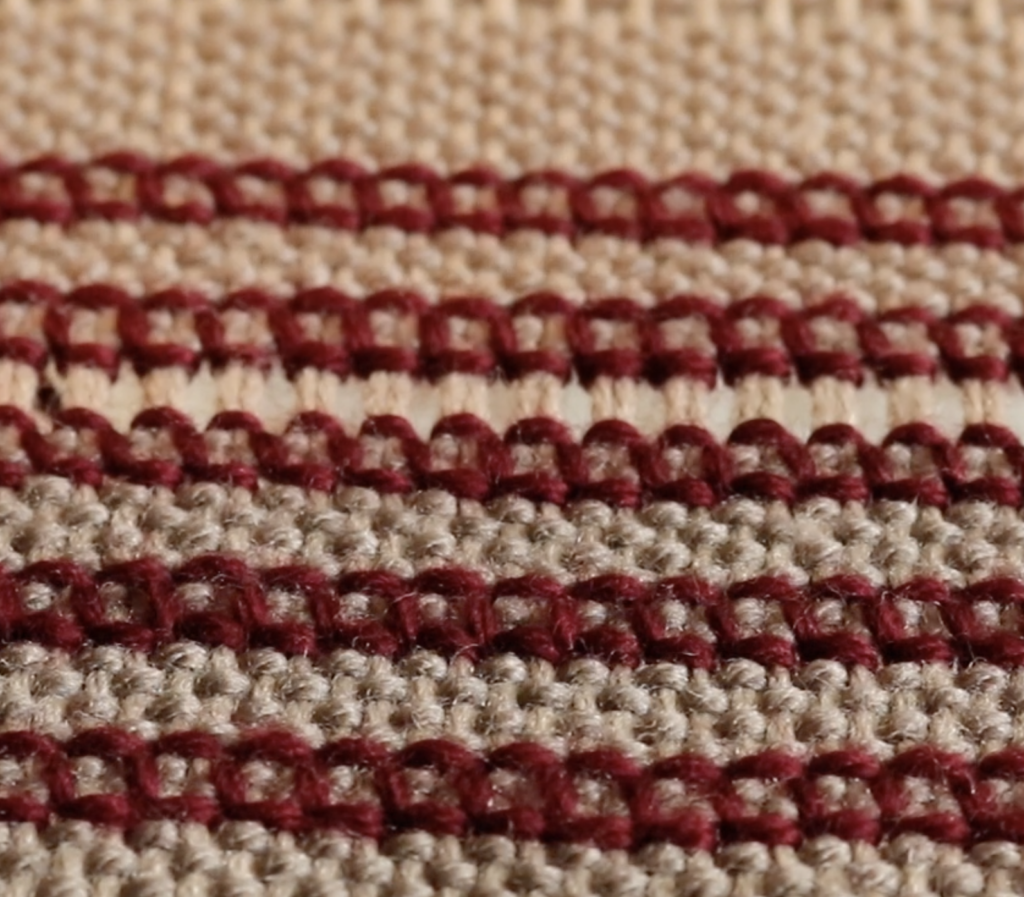
- It feels quite stiff on the loom. I remember the first time I wove with cottolin, I felt disappointed that the towels felt a bit rough. A hot machine wash was like a touch of magic – the towels softened up and the pattern came together beautifully. This is another thing that I love about cottolin, it softens more with each wash.
- Your first one or two uses of your towels to dry dishes will not be optimal. The cottolin can leave small fibres on your dishes initially, and the towels are not as absorbent as they could be. Don’t lose faith! With a bit of use and a couple of washes, they will become a huge asset to your kitchen!
…………………………………………………………………………………………………………………………………………………………………
I tried some different techniques in the weaving of these towels, to help counteract some of the issues arising as I wove.
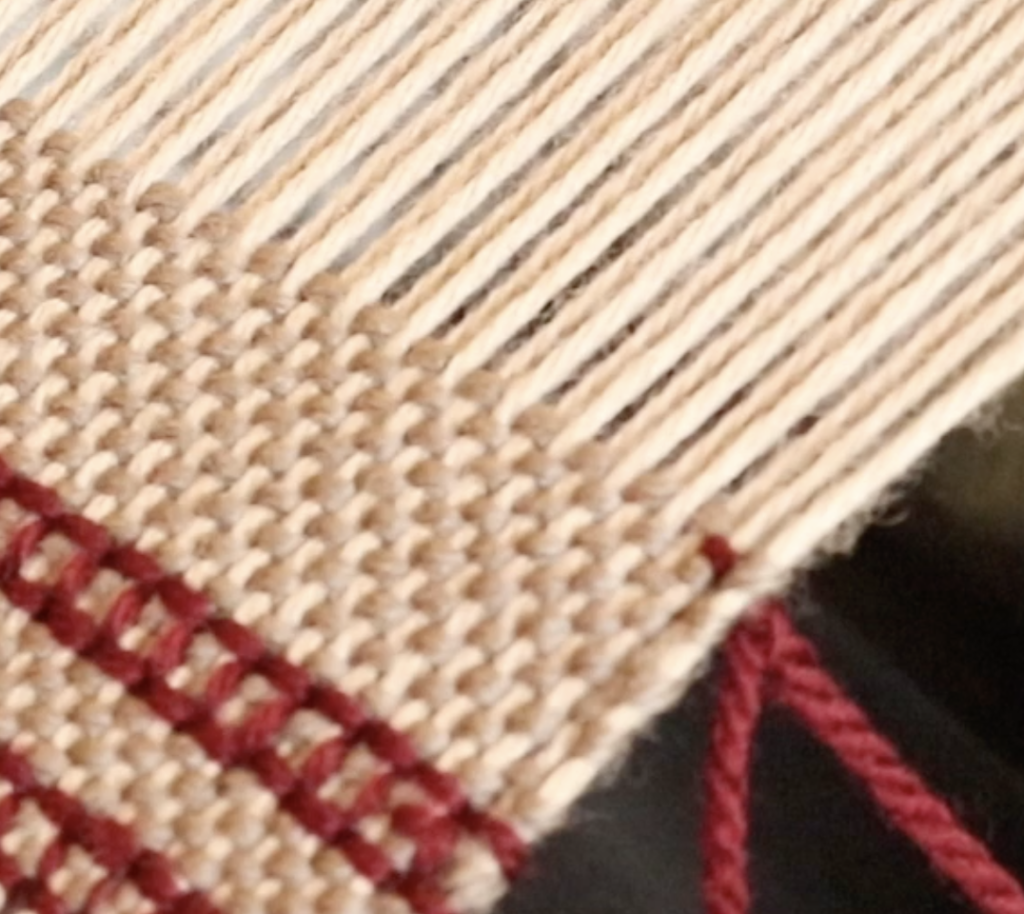
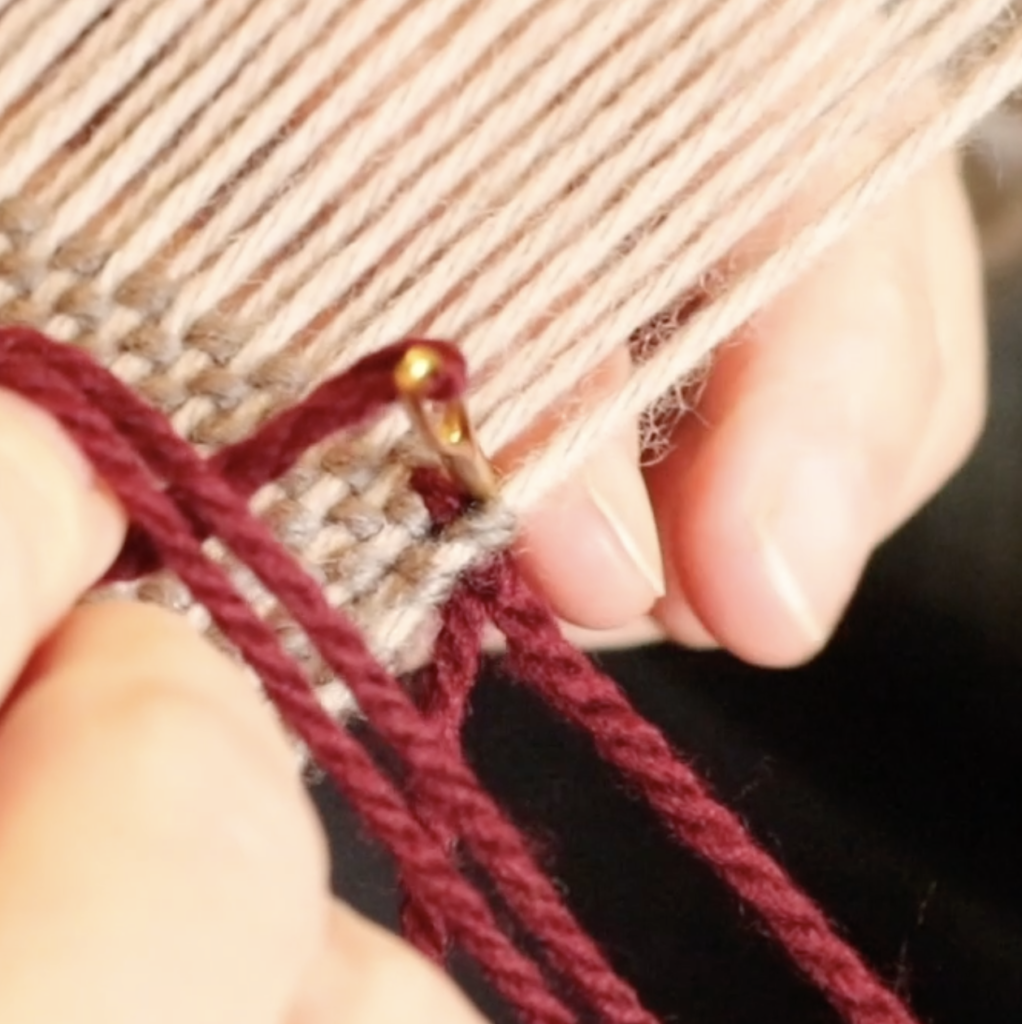
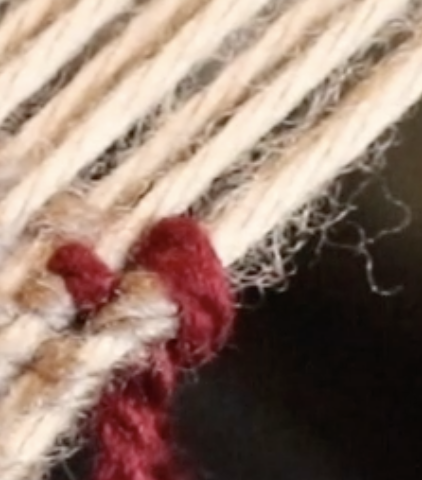
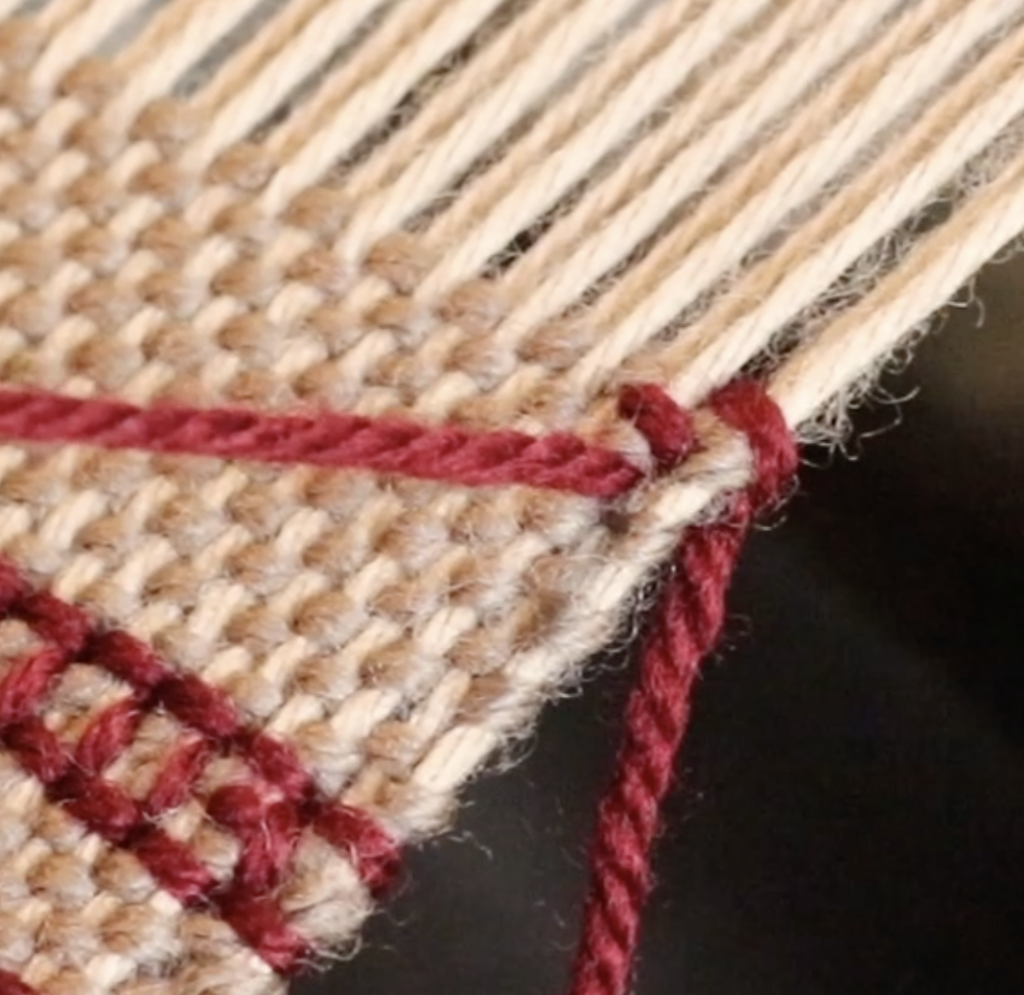
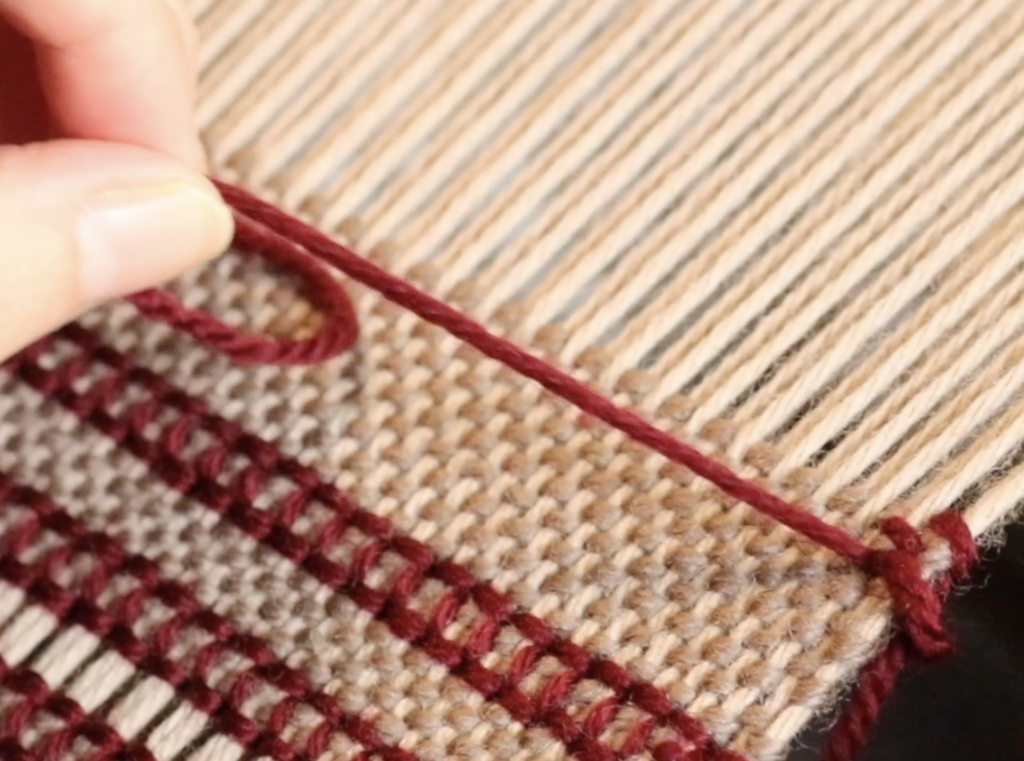
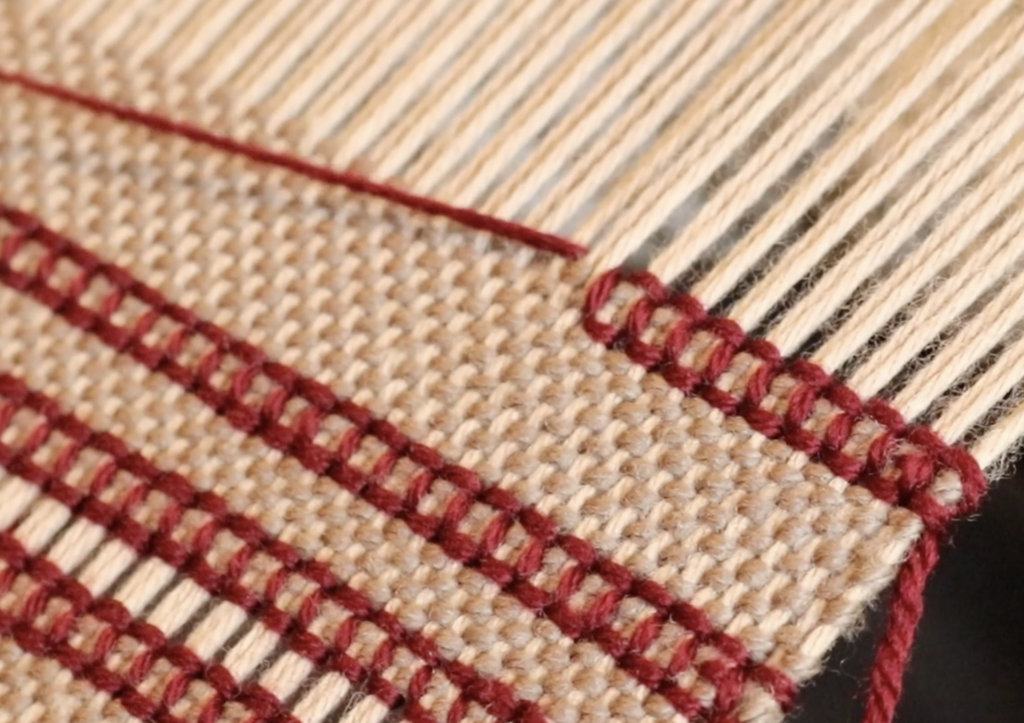
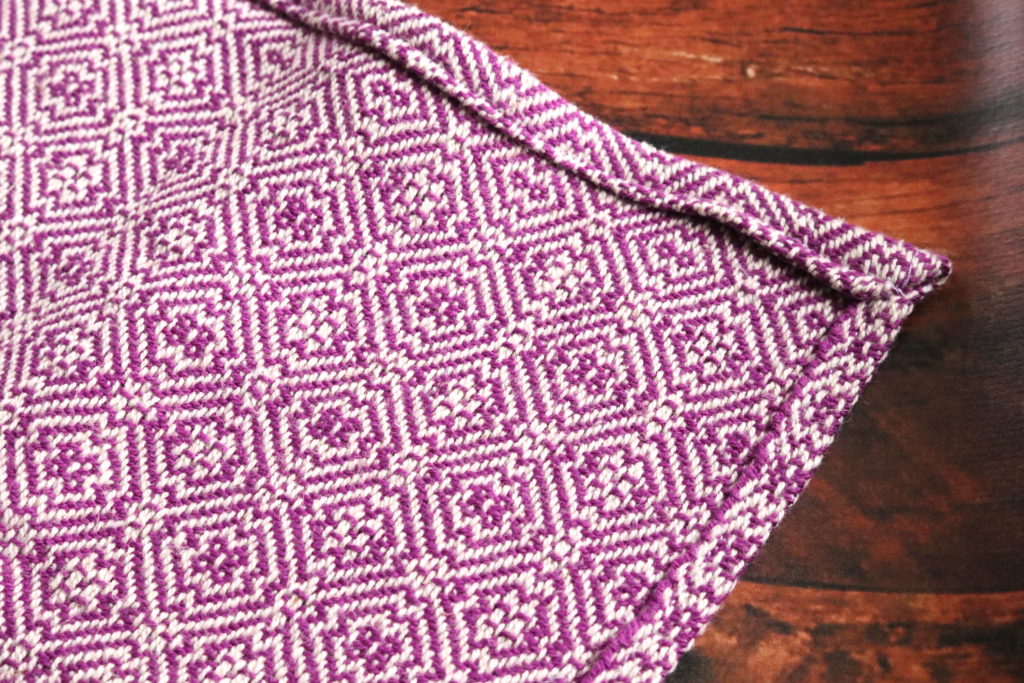
Firstly, I doubled my floating selvedges – something I haven’t done before. My reasoning for this was that for the towels I’ve woven in the past, the first place they would start to wear down was at the edges. A doubled floating selvedge gave a more defined, and stronger edge to the fabric.
Secondly, I switched to beating on an open shed. It is very much my habit to beat on a closed shed, but my beats were feeling a little stiff and the weft wasn’t settling as nicely as I would like. As soon as I switched to open shed beating, everything settled down and became much more fluid. Lesson learned – Don’t be stuck in your ways, be open to experiment from project to project as needs dictate 😉
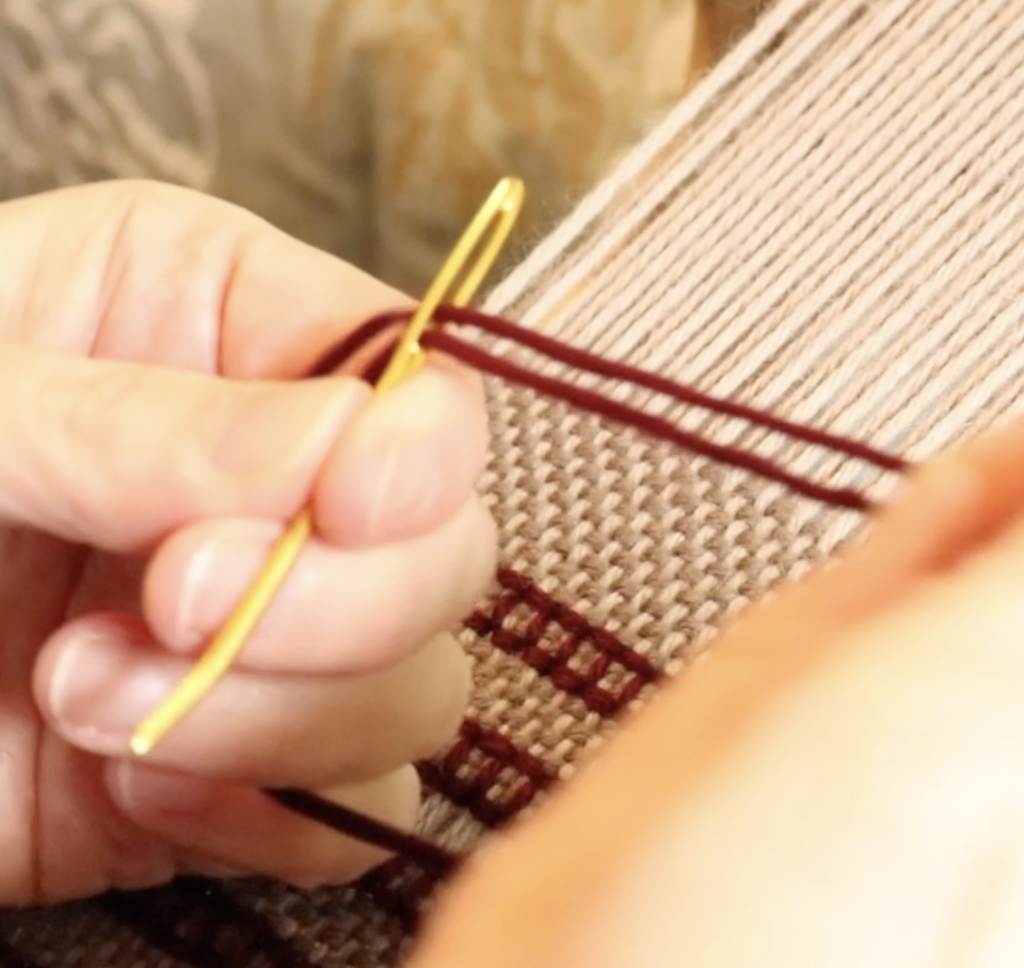
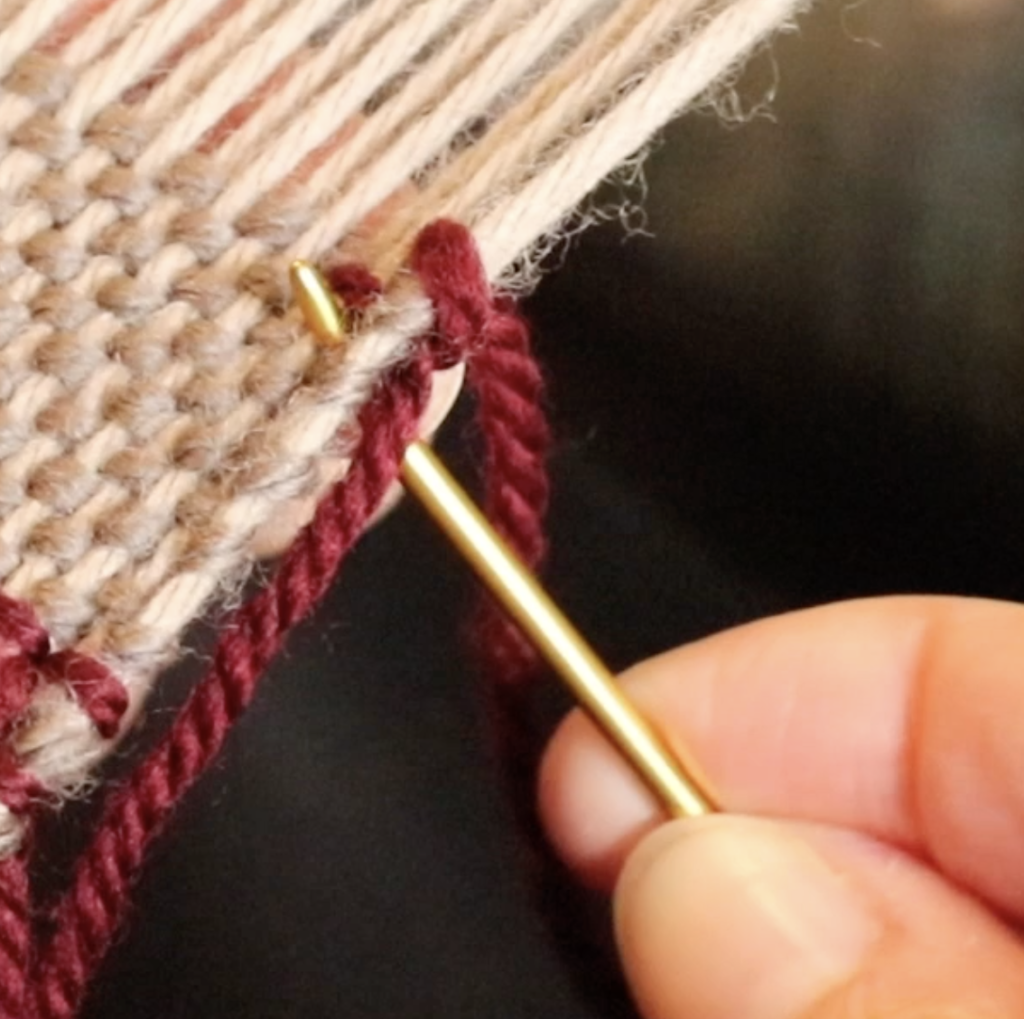
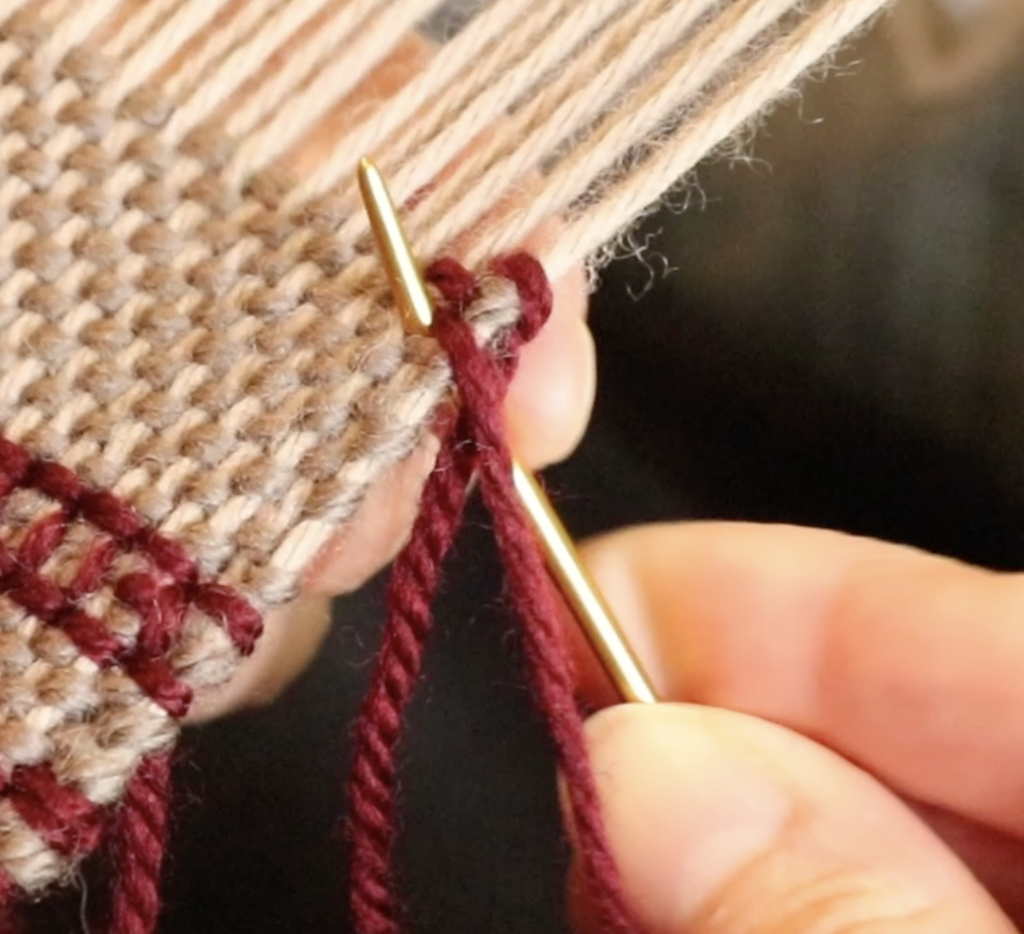
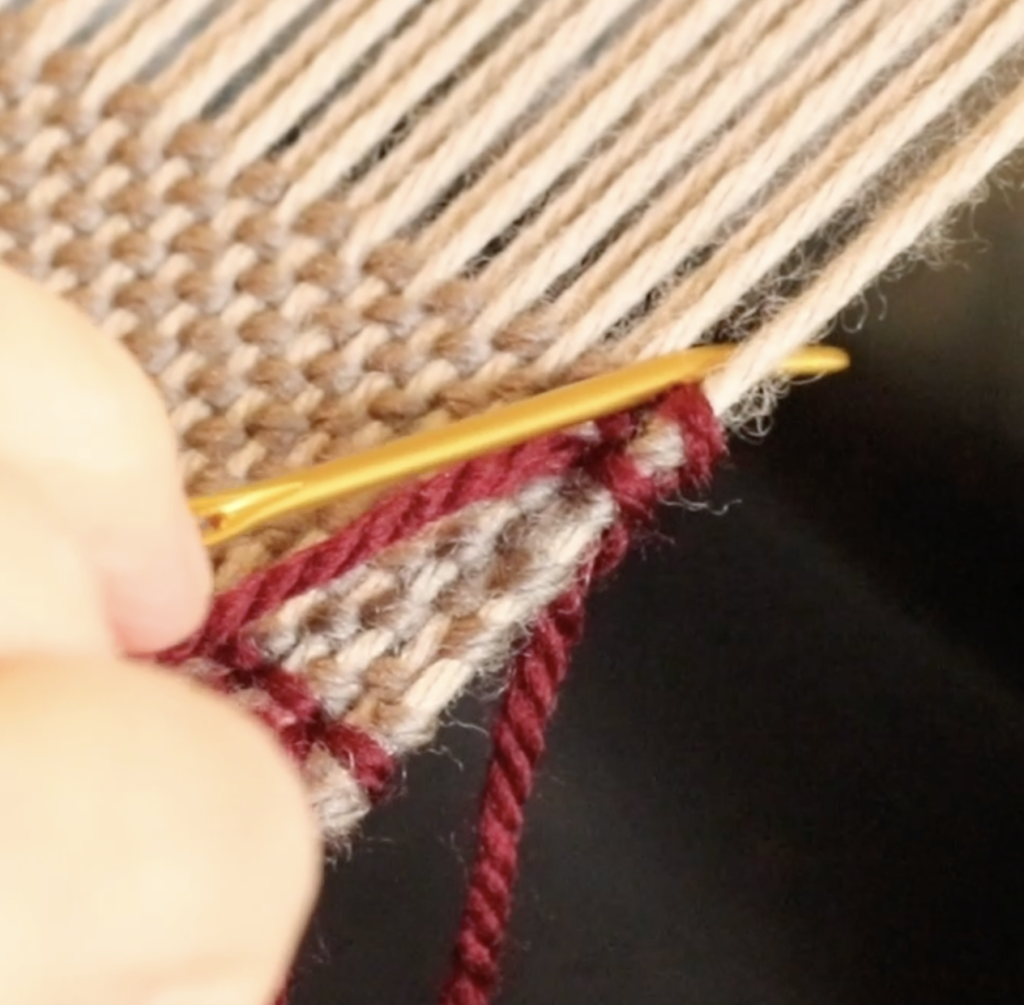
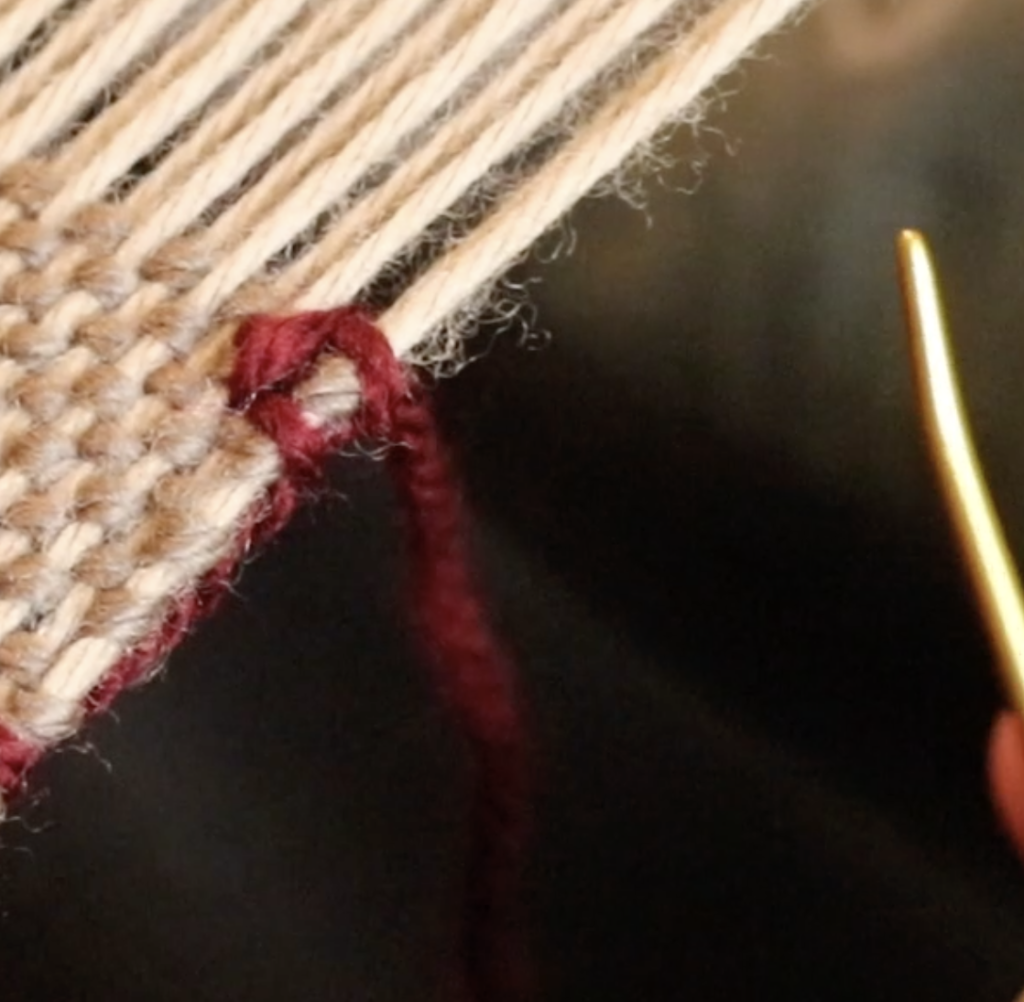
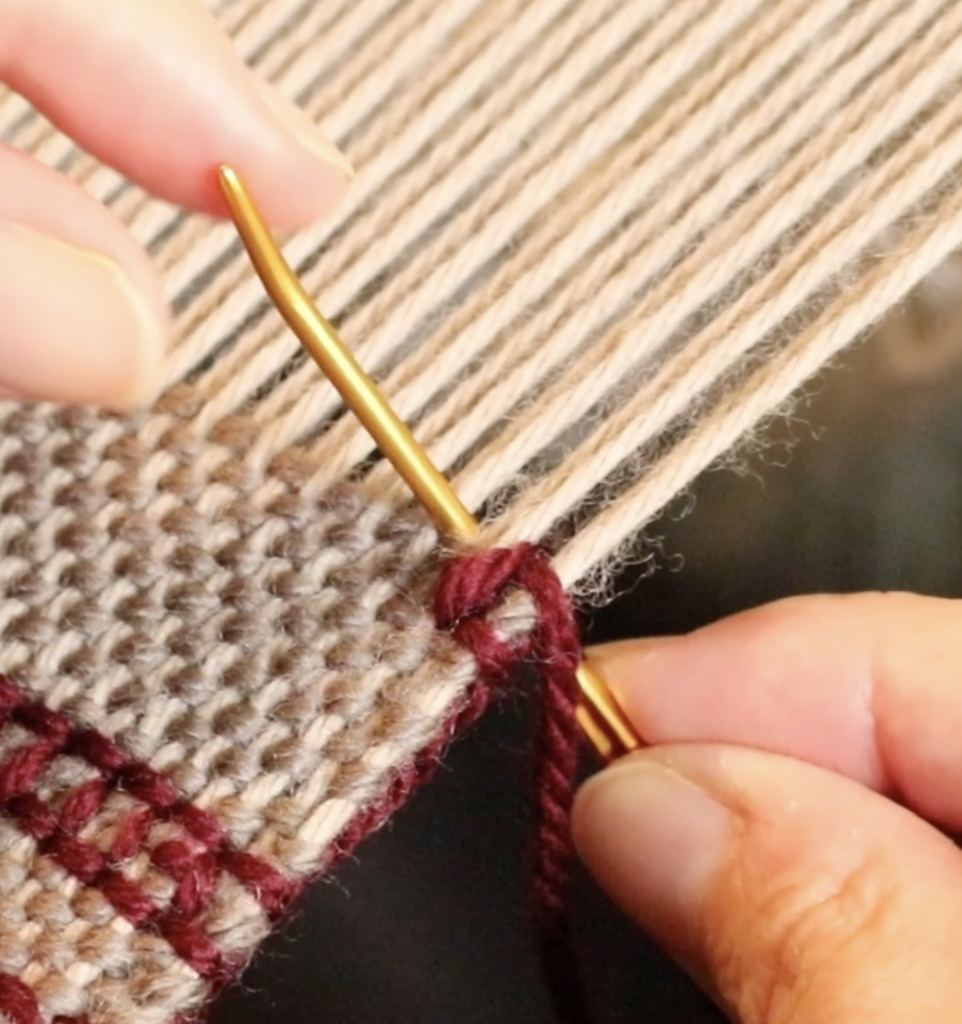
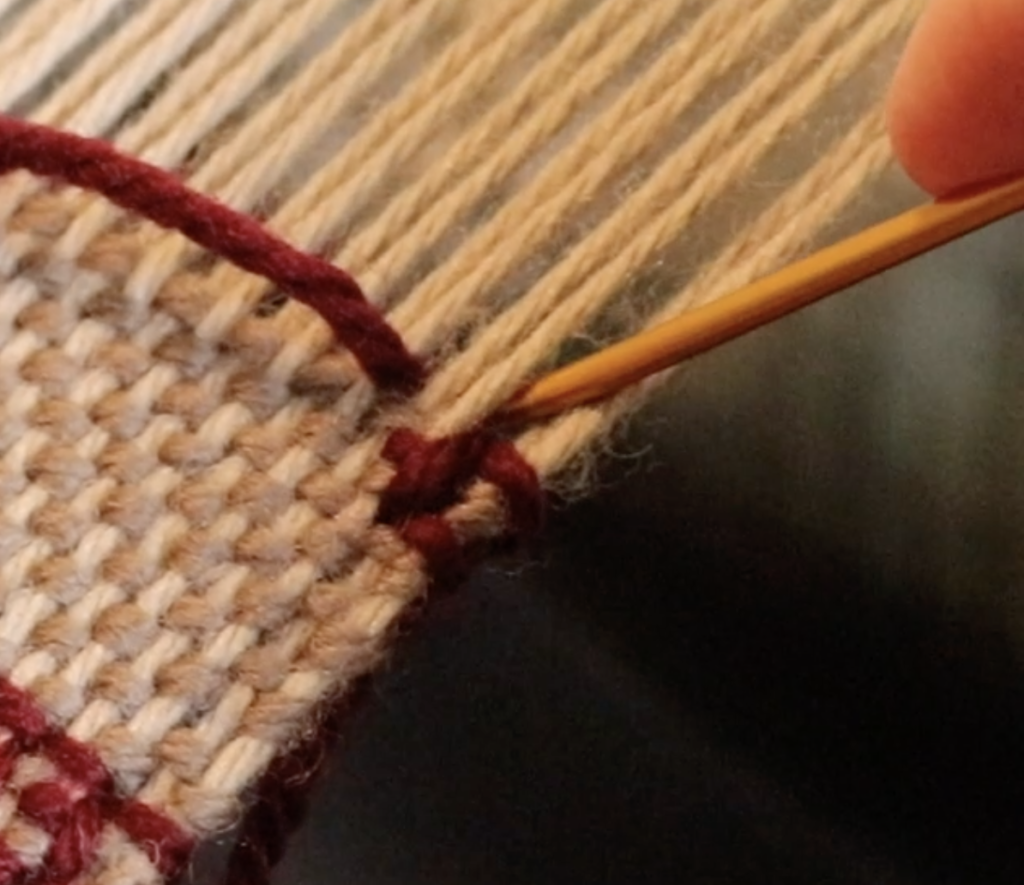
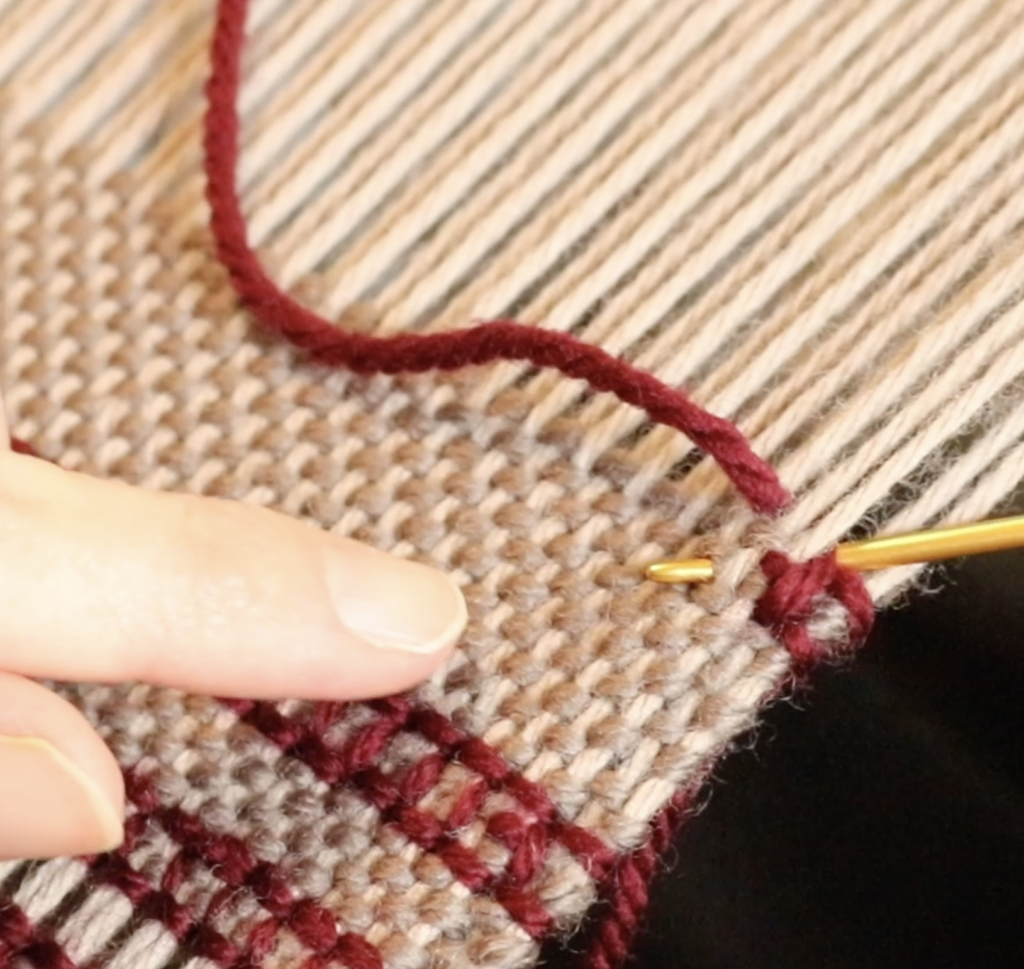
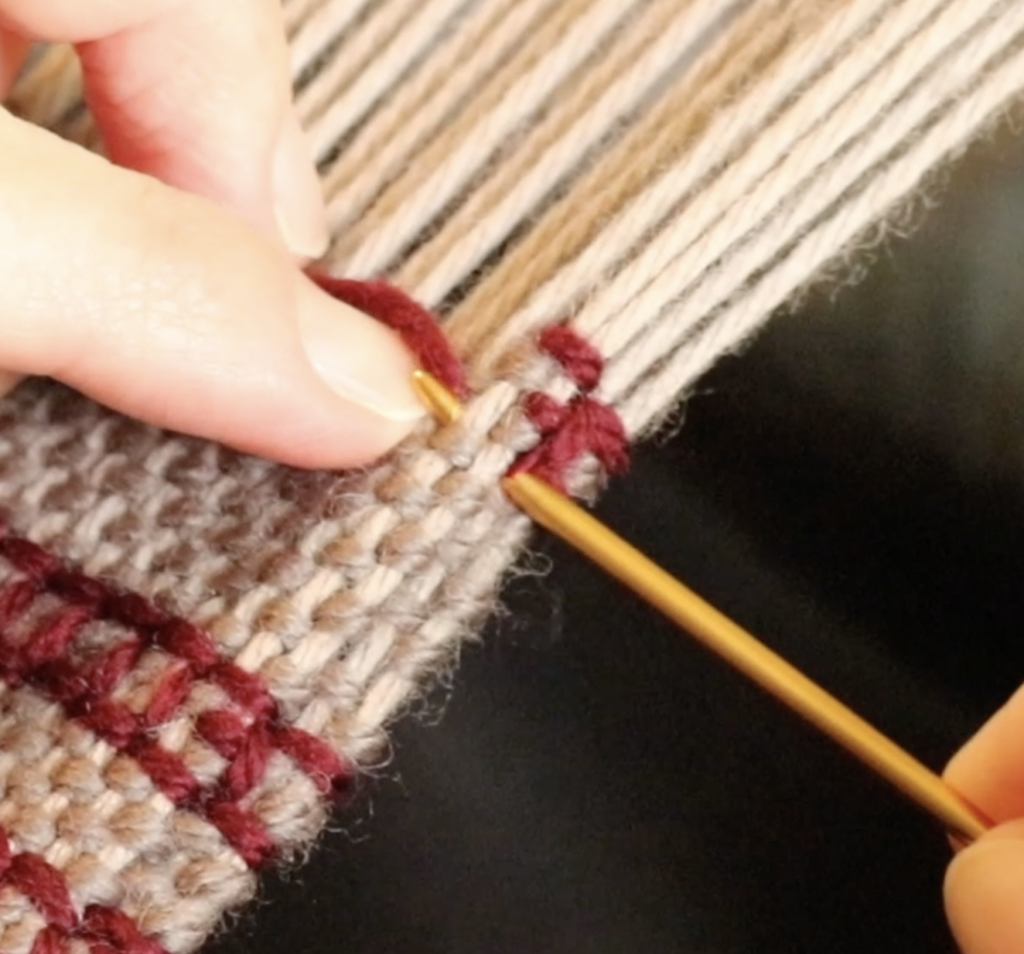
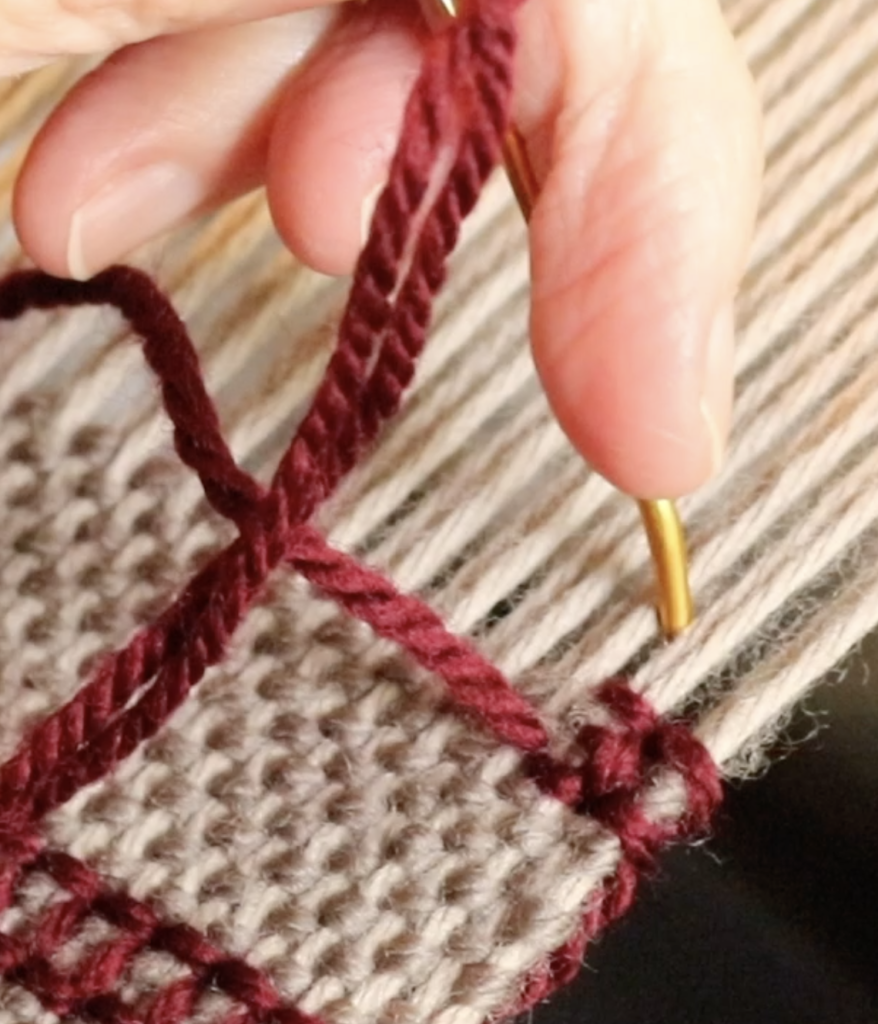
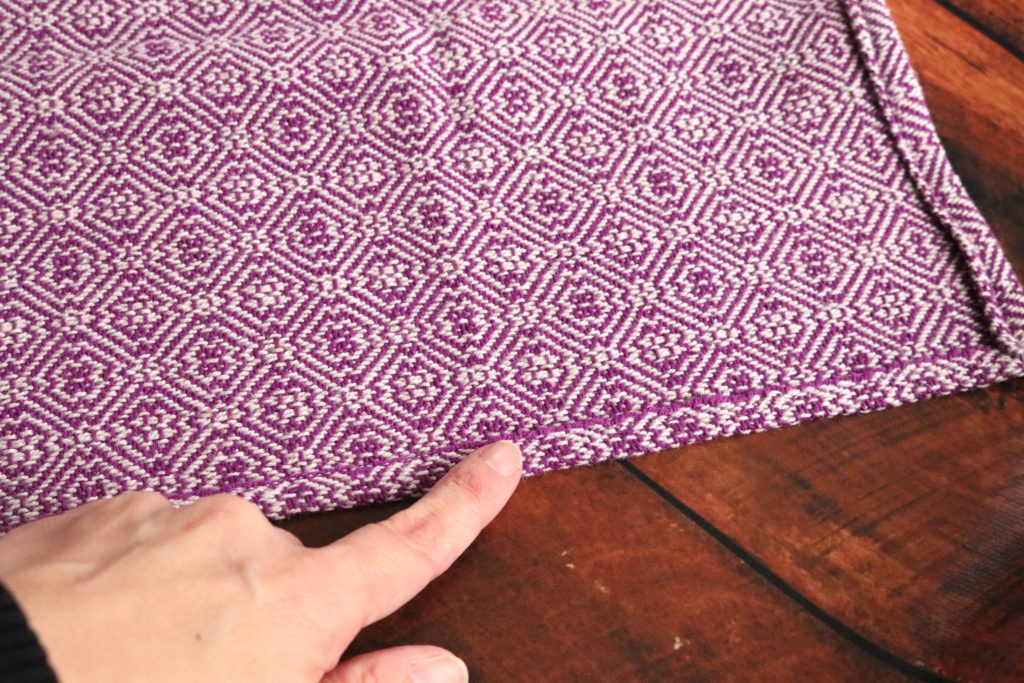
And thirdly, when hemming my towels, I decided to also hem the long edge. I have never done this before, but as I already mentioned, the edges are susceptible to wearing and I think this single turned hem will make a difference. Time will tell, but perhaps I will make this a regular technique for my towels.
I mentioned that this project turned out to be special in another way. My husband has been interested in having a go on the floor loom for some time now, so I decided the last towel of the warp would be a good opportunity. I wasn’t too worried if it didn’t turn out well, as it was just for us.
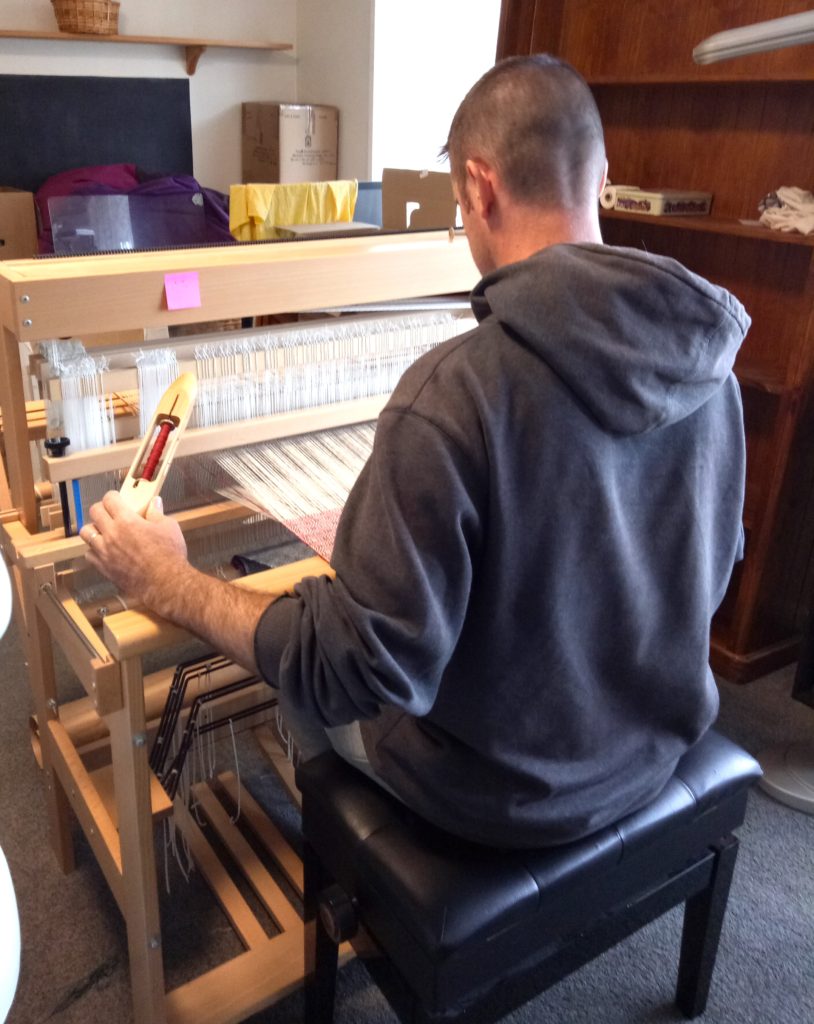
Imagine my surprise when he took to it like a duck to water, quickly declared that it was “fun” and promptly finished off the second half of the towel I had started on! After giving him a few basic pointers, he surprised me with how quickly he picked up the steps. Now he is very interested in weaving more and even learning how to dress the loom. Victory! 😀
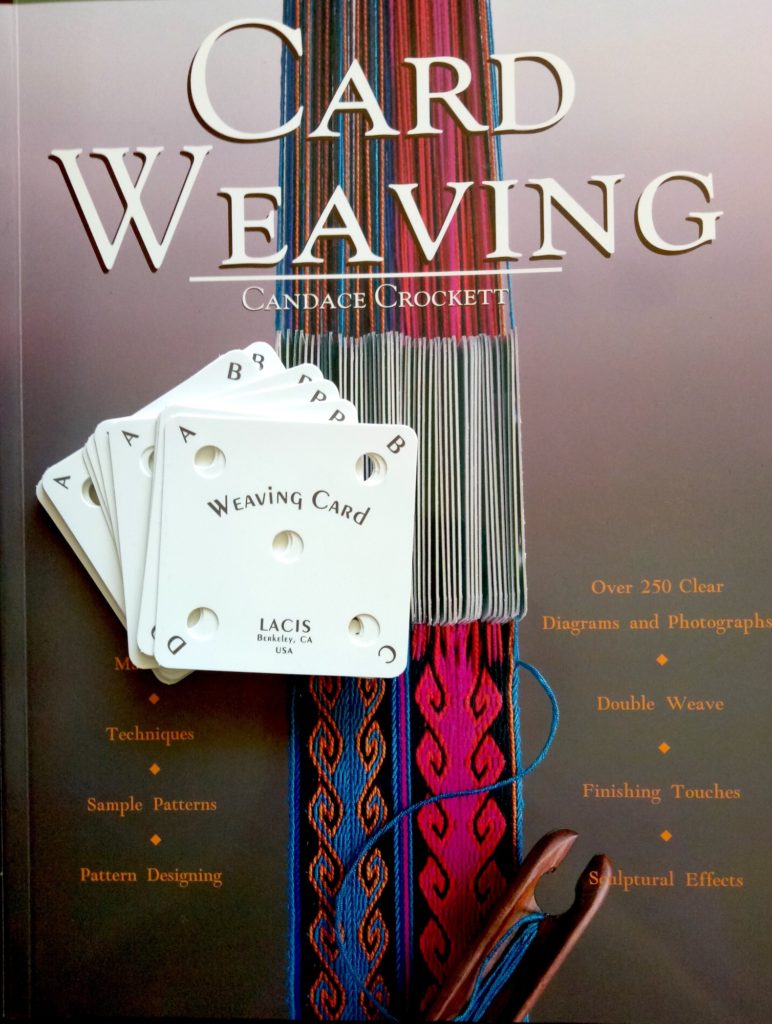
If you love this pattern draft as much as I do, you can find it on page 88 and 89 in Anne Dixon’s Handweaver’s Pattern Directory – a most excellent book and awesome resource for 4 shaft drafts.
I also recommend Patti Graver’s Next Steps in Weaving for weaving at this level.
If you’re interested in getting started in floor loom weaving, check out my Introduction to Floor Loom Weaving, my Follow Up Floor Loom Weaving, or save by purchasing a bundle of the two courses together.
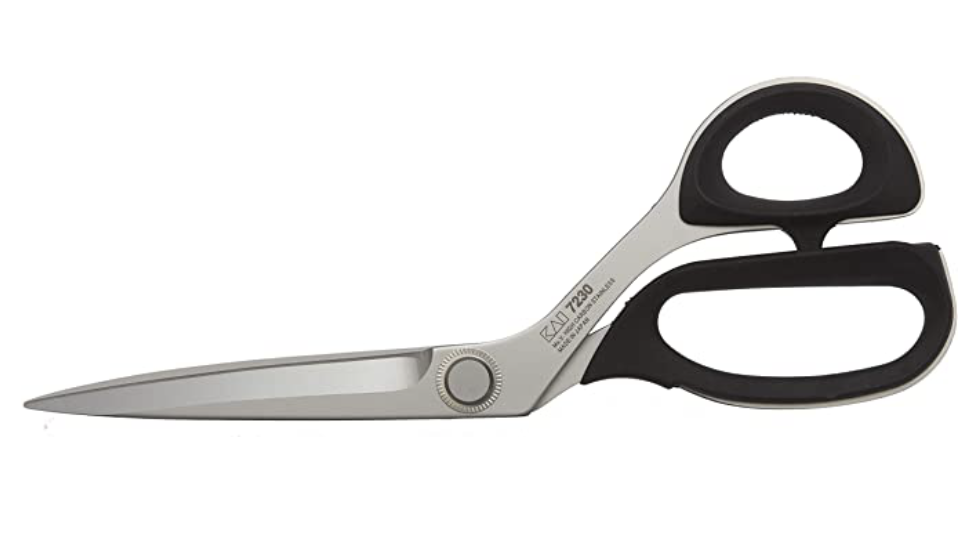
I made a little video to compliment this blog post to help you feel confident about cutting your hand woven fabric. I explain my 3 Key Ingredients to cutting without fear:
If you have any questions about my towel project or using cottolin, let me know in the comments below!
Until next time…
Happy Weaving!