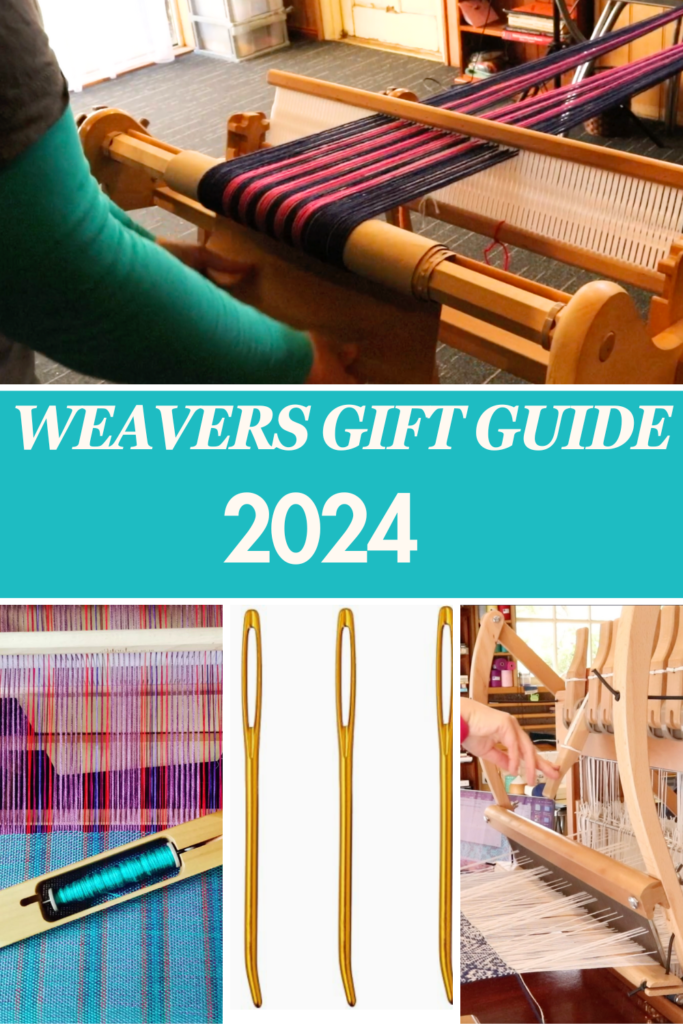
It’s that wonderful time of year again, which means it’s also time for a new gift guide for weavers!
Welcome to the Gift Guide for Weavers, 2024!
This year I’m ordering the guide from lowest to highest price so you can jump to where your budget is currently at. Gifts most definitely do not have to be expensive but for some of you it may be the right time to purchase that upgrade or tool you’ve been wanting.
I don’t think I can every begin a new gift guide without making this one the first item:
- The Clover Jumbo Bent Tip Tapestry Needles are one of my favourite and most used tools in my weaving studio! They are perfect for hemstitching or embellishing a piece on the loom and weaving in ends off the loom.

I use them for hand sewing pieces of hand woven fabric together too. They are also super affordable, making them the perfect stocking stuffer.
I never knew these things existed until one of my students (hi Sandy!) very kindly sent me one. Yes, I had to read the label to find out what it was and now it’s an indispensable tool in my studio.

If you enjoy sewing your handwoven fabric with a sewing machine, you will love this low cost tool. It is a multi purpose tool but what I love to use it for most is to help run my fabric through the machine and press down seams as I go over them with the machine.
Sounds simple, but I used to use my finger for the job this tool is now doing for me! I’m happy to have my precious fingers much safer now.
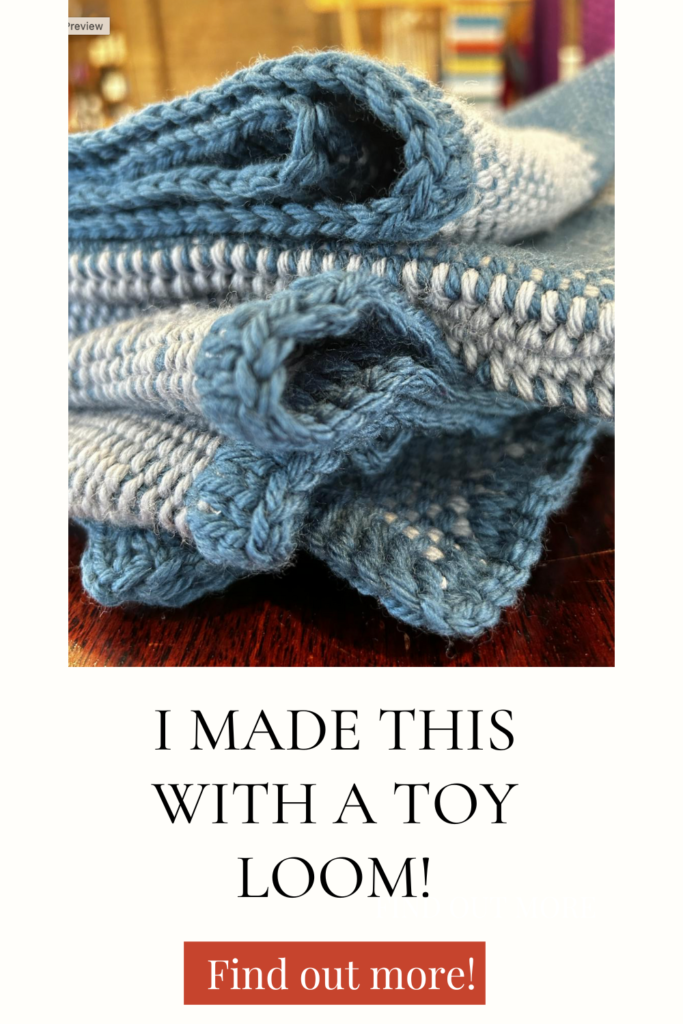
I bought my first toy loom as an experiment. I was curious to know, firstly – would it work and secondly, what could I weave on one?
Well, after playing around with my toy loom for some time I have been very pleasantly surprised!
A toy loom like this is a great way to get into weaving for a small financial outlay. It is simple to learn how to use, it tensions a warp very well and pleasant to weave on.
It is a small loom, so it does have it’s limitations but it’s such a fun way to get started.
I have a number of resources available for this loom:
I bought a toy loom! Was it worth it?
I wove a blanket on a toy loom!
4. Weaving Books
I am a huge book lover and my weaving book library is quite extensive (but there is always room for more! 😉) Weaving books are really invaluable to weavers and make a wonderful gift too.
My favourite rigid heddle books can be found in this post. And my favourite multi shaft books can be found in this post. I have many weaving books listed in my Amazon store too.
5. Ashford Table Loom Shuttle Race
This product was just released recently and is very popular with the table loom weavers! The shuttle race prevents the shuttle from diving through the warp, which can be so frustrating! Available for new and older Ashford table looms in a variety of sizes, this will be a game changer for some table loom weavers!
Another new and wonderful product from Ashford is this larger sized boat shuttle. I am absolutely loving using this with my larger countermarch loom and will definitely be utilising it with my Louet David loom as well.
An inkle loom is a great gift for so many reasons. It’s one of the most affordable and portable looms. It also allows the weaver to have a dedicated band loom without taking up space on another loom. You can be weaving a project on one loom while weaving a band to match on the inkle loom!
For an even cooler gift opportunity, Ashford has an inkle loom available as a kit that includes the loom, some cotton yarn and a wonderful inkle weaving book to get started with.
My very first rigid heddle loom was given to me as a gift from my husband! So of course, I’m a huge advocate for gifting RH looms 😊 This loom is still constantly in use in my studio.

There is a huge variety of sizes available to suit every budget and size requirements. I have a guide for new rigid heddle weavers here.
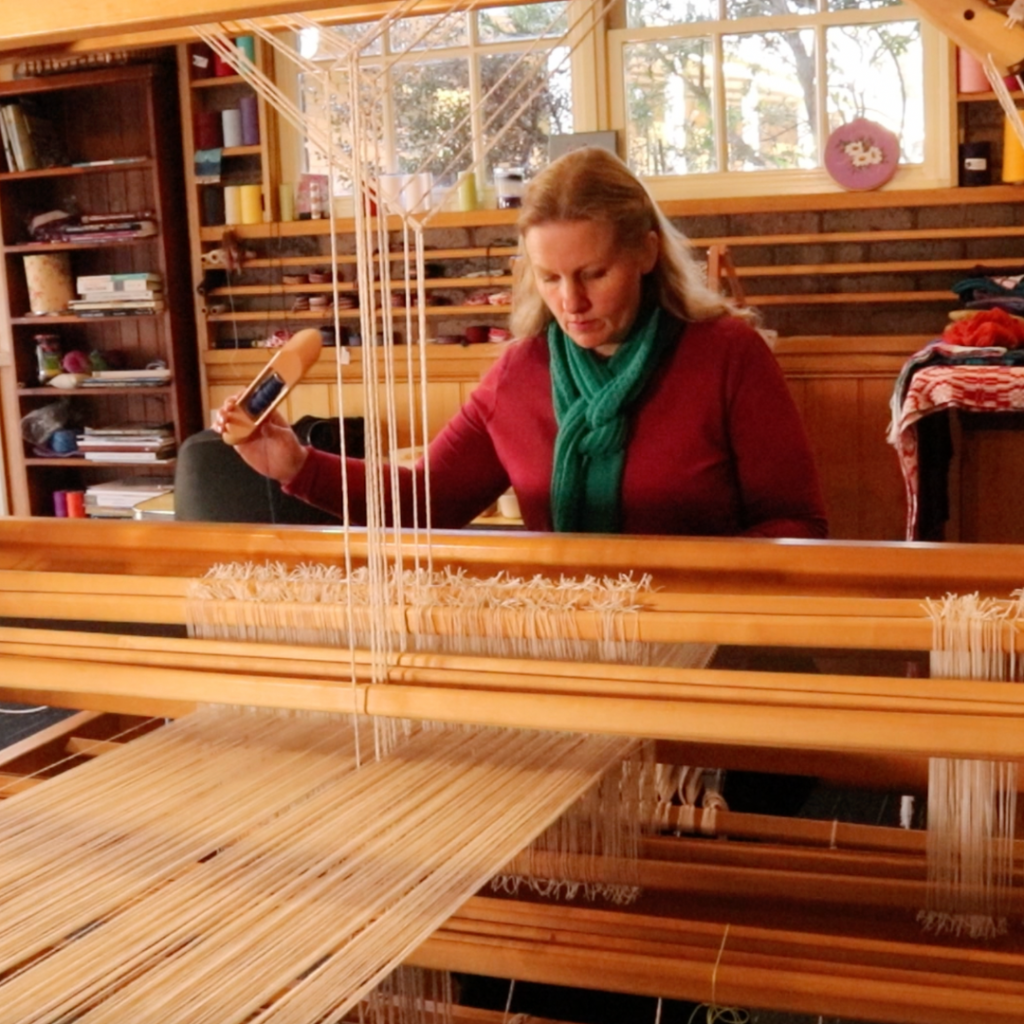
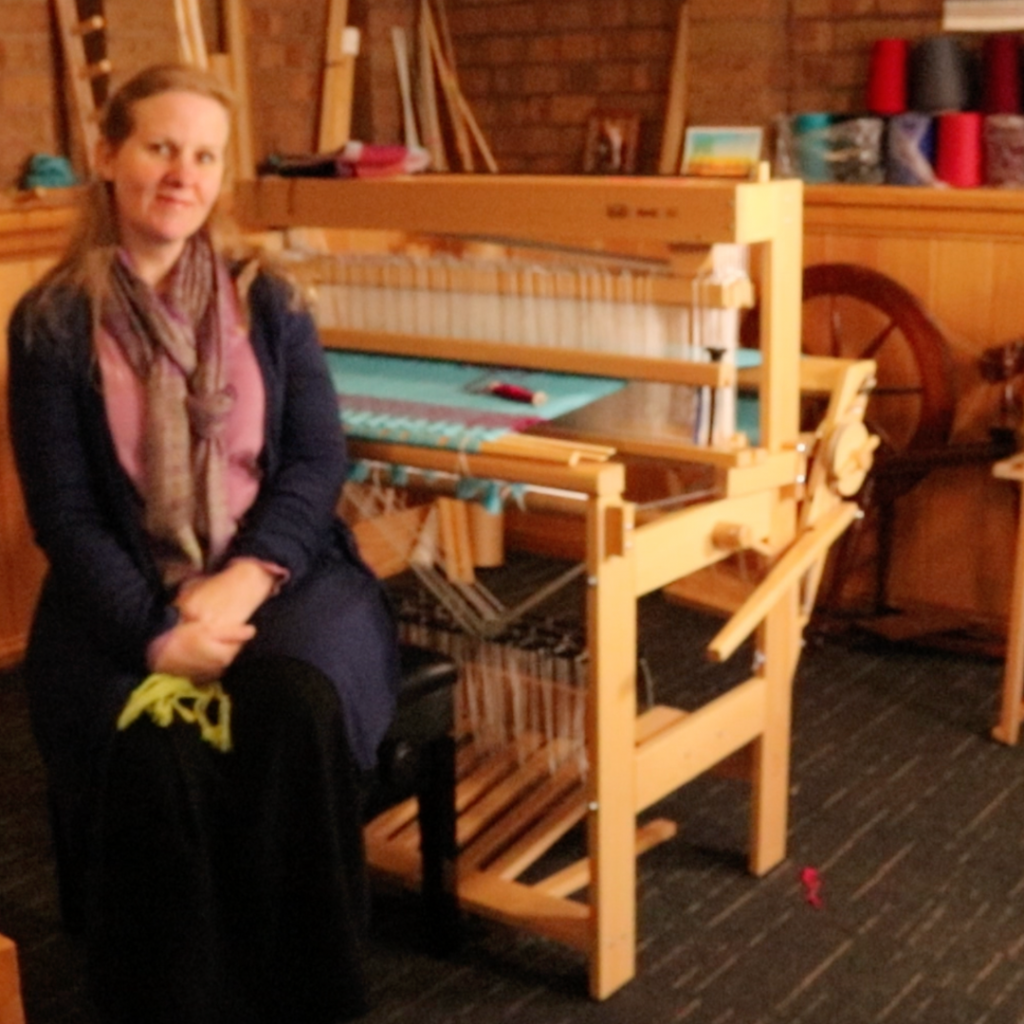
It’s no secret that I love my David floor loom! It’s compact, modern and gives you a true floor loom weaving experience. I have a review of this loom here if you want to find out more.
10. Online Weaving School Gift Voucher
The weaving school is the perfect place to get started in your weaving journey. There is a huge variety of classes available as well as memberships. Classes include rigid heddle, inkle loom, table loom and floor loom, so there is something for everyone.
To purchase a class as a gift, you simply choose “send as a gift” at checkout plus fill in the name and email of the recipient – this is how it looks:

The recipient then receives an email with instructions for how to use the gift link.
Well, I hope all of you have a wonderfully happy Christmas and maybe even receive some new weaving goodies!
Until next time…
Happy Weaving!
*This post contains affiliate links. For more information, please see my disclosure policy.