Weaving continues to evolve as more makers explore creative and innovative approaches to this timeless craft. Whether you’re a seasoned weaver or just starting out, these 7 trending weaving techniques can inspire your next project and introduce you to new techniques. Here’s what’s shaping up to be big in the weaving world in 2025:
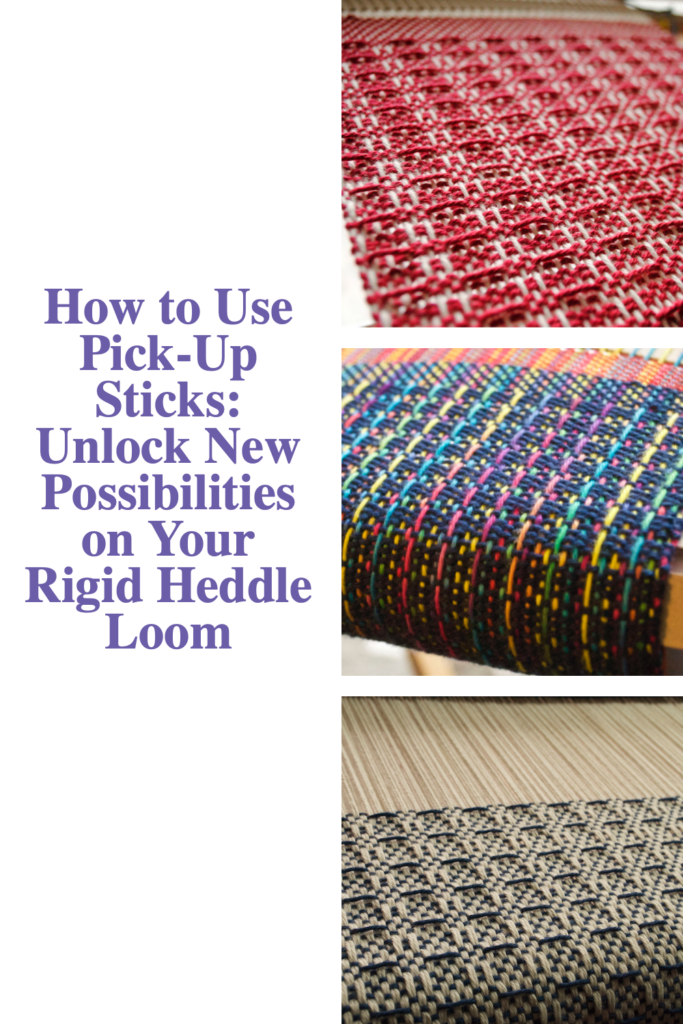
1. Layered Textures and Dimensional Weaving
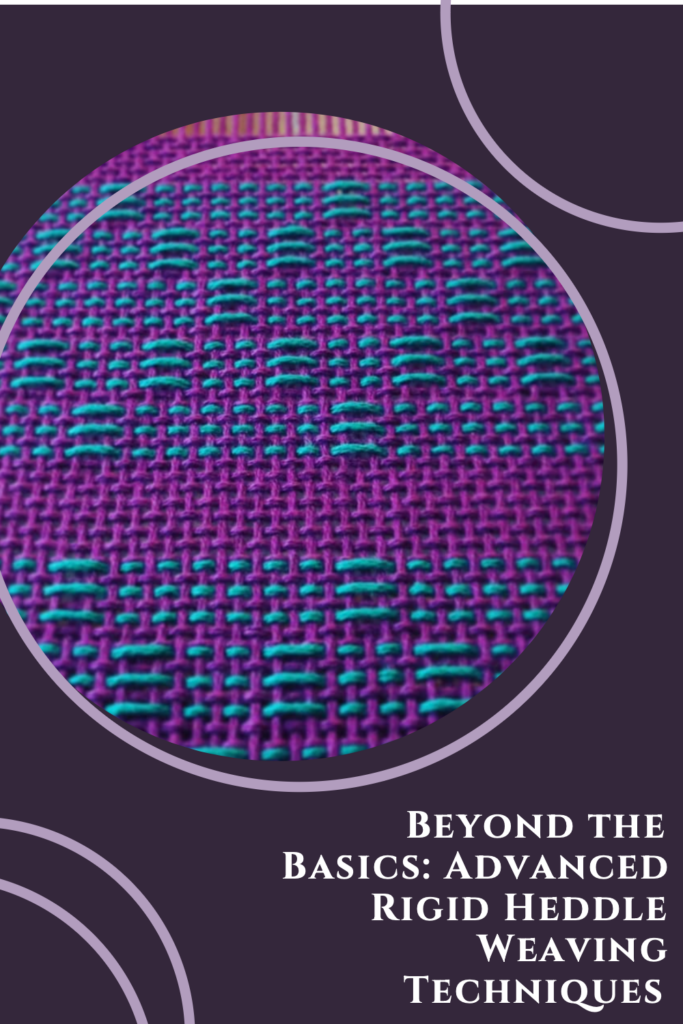
Gone are the days of flat, uniform weaves! Textured and dimensional designs are making a bold statement. Techniques like adding loops, tassels, and fringe create eye-catching depth. Combining materials like wool, cotton, silk, and even unconventional fibers such as raffia or metallic threads adds another layer of interest.
Tips to Try:
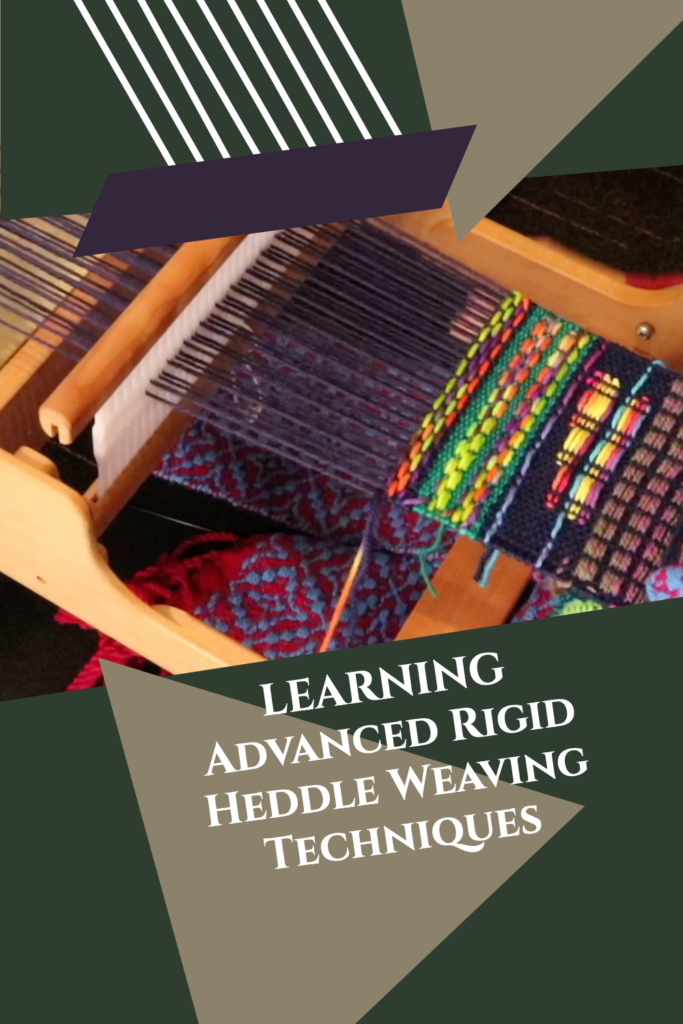
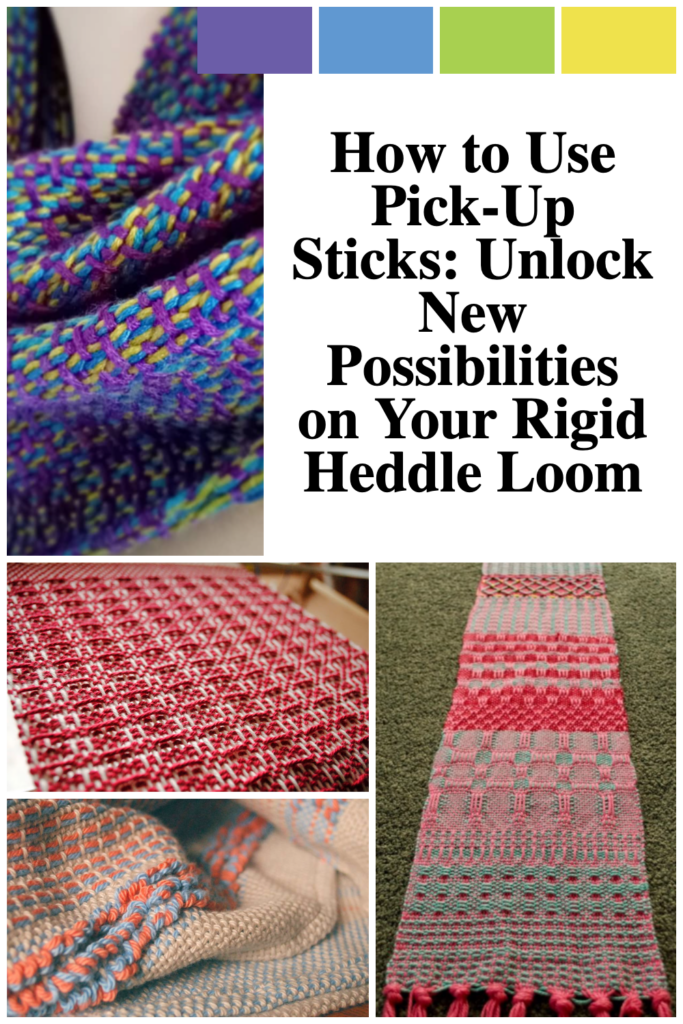
- Use a pick-up stick on your rigid heddle loom to create textured patterns.
- Add layers of roving or chunky yarn for depth and softness.
- Try textured weave structures like waffle weave.
2. Sustainable Weaving Practices
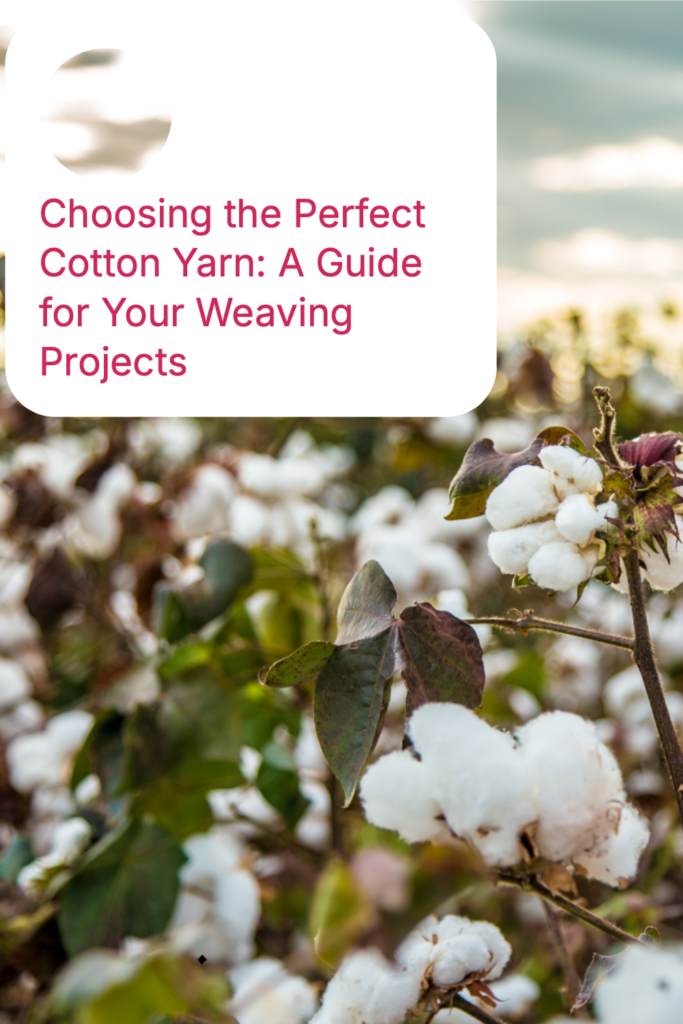
Sustainability is a core focus for many weavers in 2025. Crafters are sourcing eco-friendly yarns, upcycling old textiles into weaving materials, and using locally-produced fibers. This movement gives projects a unique, meaningful story and supports local industry.
How to Incorporate Sustainability:
- Try weaving with fabric strips from thrifted clothing or linens.
- Seek out small-batch, hand-dyed yarns from ethical producers.
- Research local manufacturers and see what they have to offer.
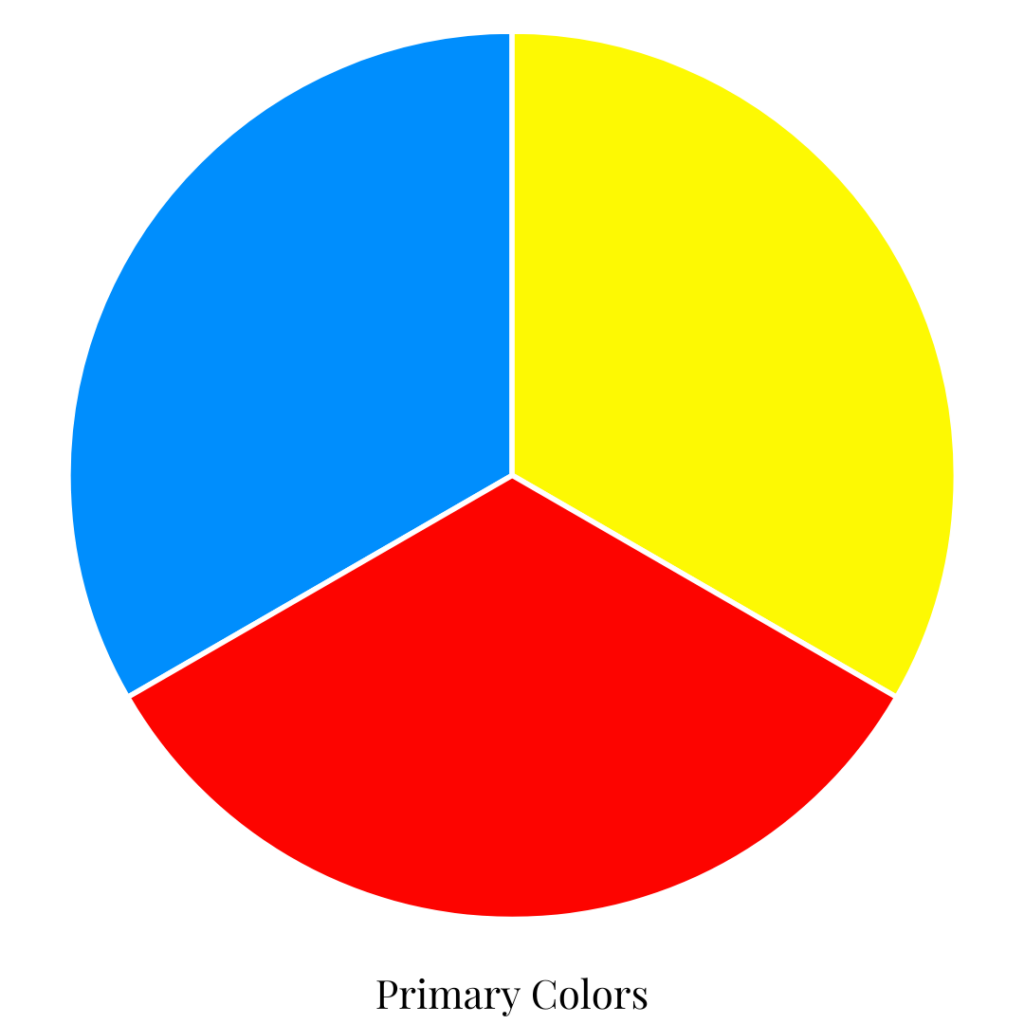
3. Bold, Colorful Palettes (but also earthy tones!)
This year is all about color! Vibrant, daring combinations like electric blue with coral or mustard yellow with magenta are taking center stage. Color blocking and ombré effects are especially popular, offering striking visual appeal.
Having said that, there seems to be a definite trend towards early color palettes too.
Have you seen the Pantone color of the year? When I first saw the “Mocha Mousse” for 2025 I admit that I was less than enthused. However, when you look at the color palettes on the Pantone website, some of them are quite lovely.
See point 4 below for how I used my own photos and an app to easily generate customised earthy color palettes ⬇️
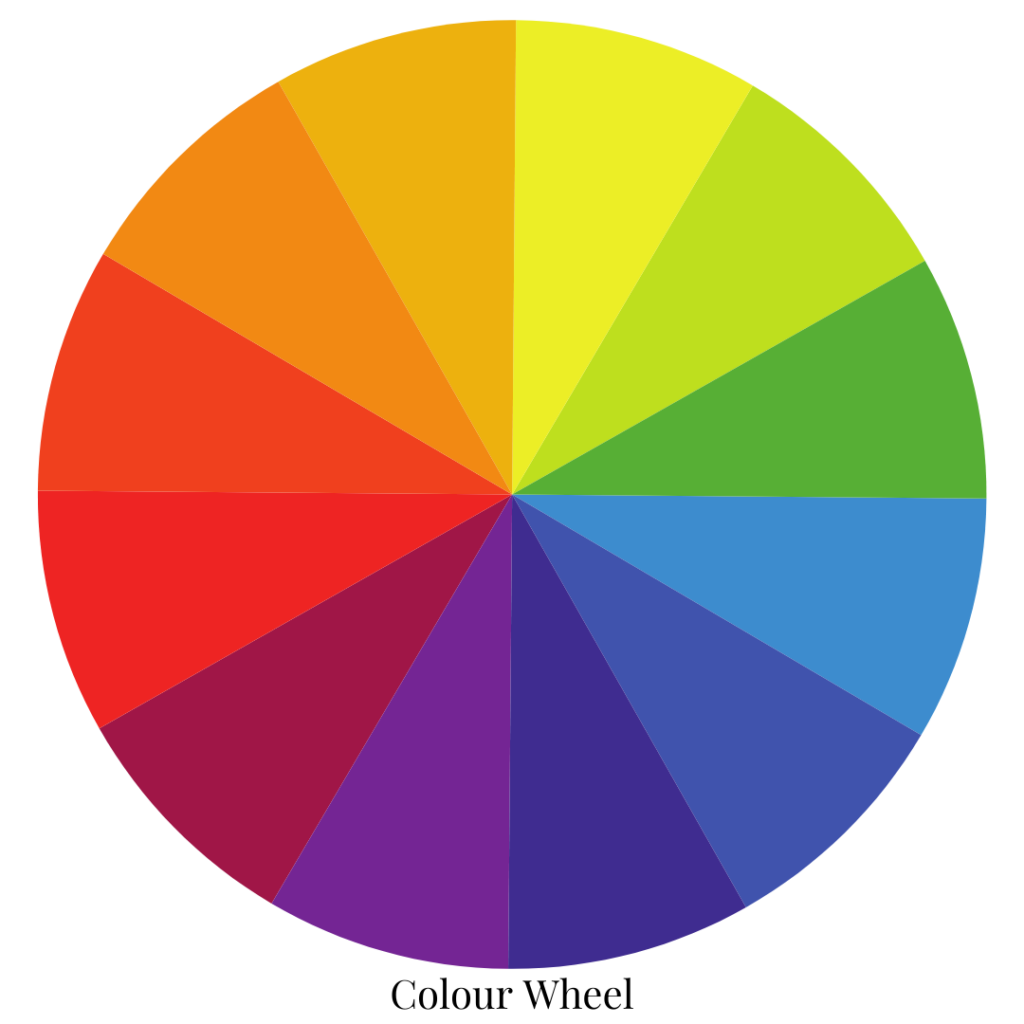
Color Trends to Explore:
- Use hand-dyed yarns for gradual color changes.
- Incorporate color gradients or geometric shapes in your designs.
- Explore an earthy palette with pops of bolder color.
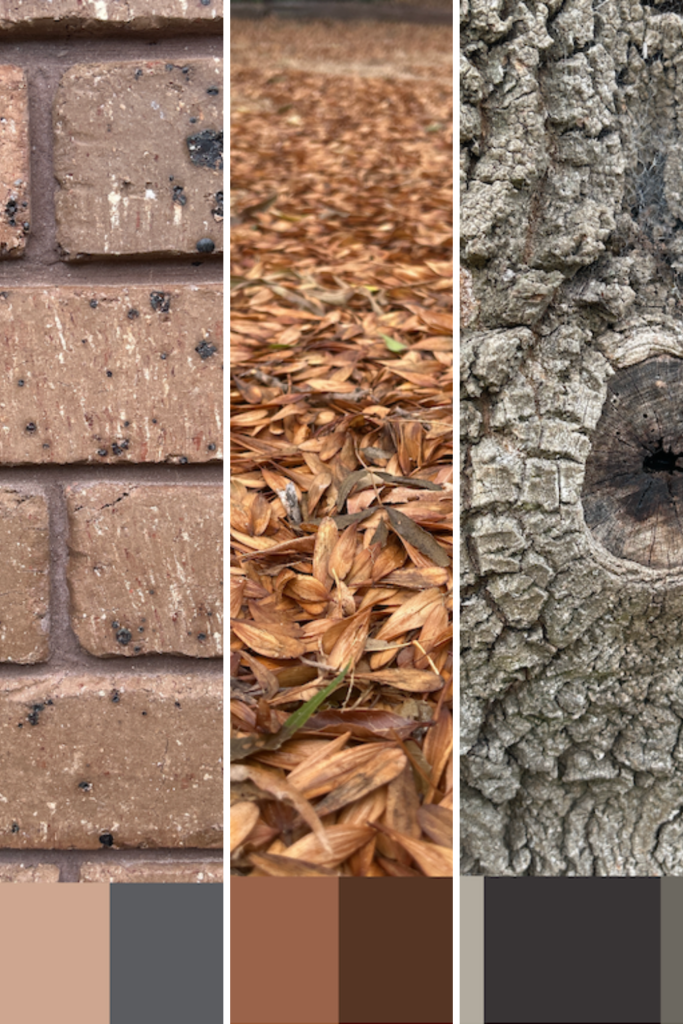
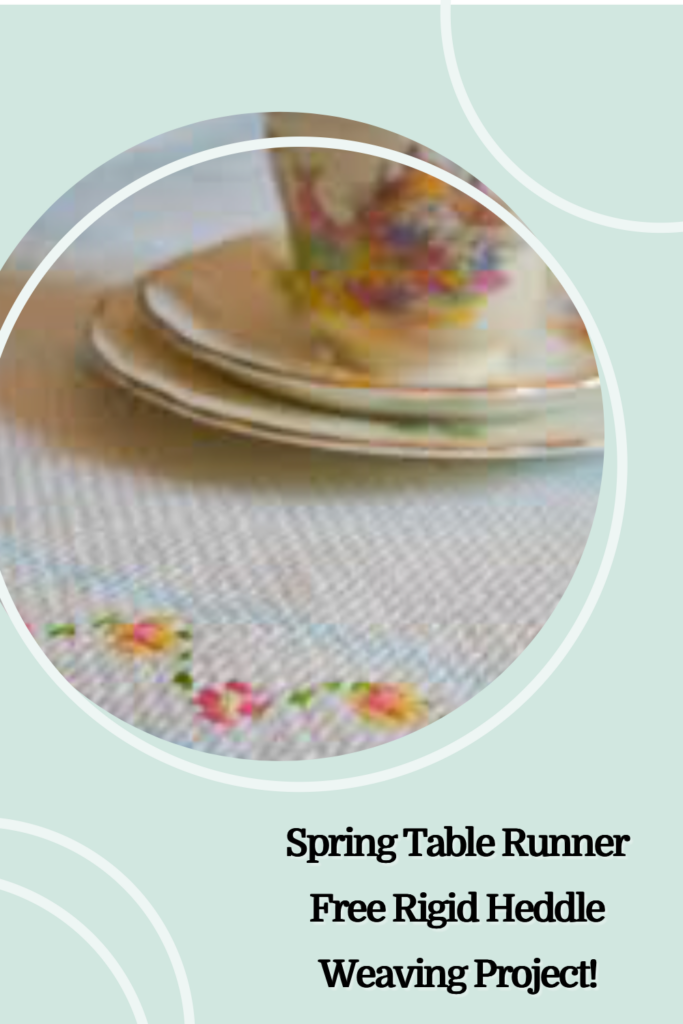
4. Weaving with Natural Inspiration
Nature-inspired themes are gaining momentum, from earthy tones to patterns that mimic natural forms. Think flowing water, tree bark, or the soft hues of sunrise. Weaving with plant-dyed yarns and botanical fibers enhances this connection to nature.
Ideas for Nature-Inspired Weaving:
- Use a neutral palette with pops of green or terracotta.
- Try weaving leaf or wave patterns using pick-up sticks, finger-manipulated techniques or multi shaft weaving patterns.
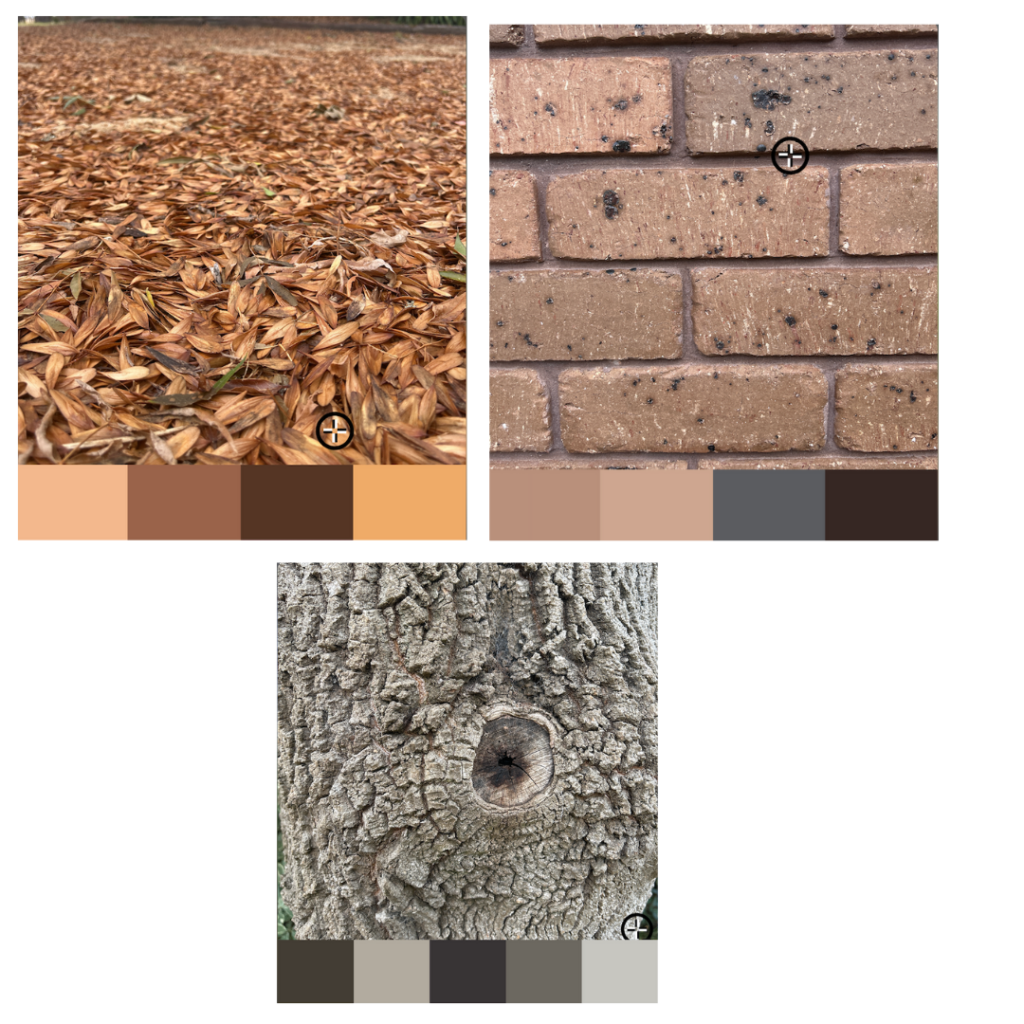
- Use a color palette picker that makes random color palettes or an app on your phone that allows you to generate a color palette from your own photos.
I used Palette Cam on my phone to generate some earthy tones from around my property:
5. Mixed-Media Weaving
Weaving isn’t limited to traditional materials anymore! Adding unexpected elements like beads, feathers, or even wire creates pieces that feel like sculptural art. This trend blends well with wall hangings and statement décor.
How to Get Started:
- Weave sections with yarn and alternate with beads or macramé knots.
- Experiment with unconventional materials like metallic threads or leather strips.
- Keep an eye out when you’re in nature for inspiration or found objects.
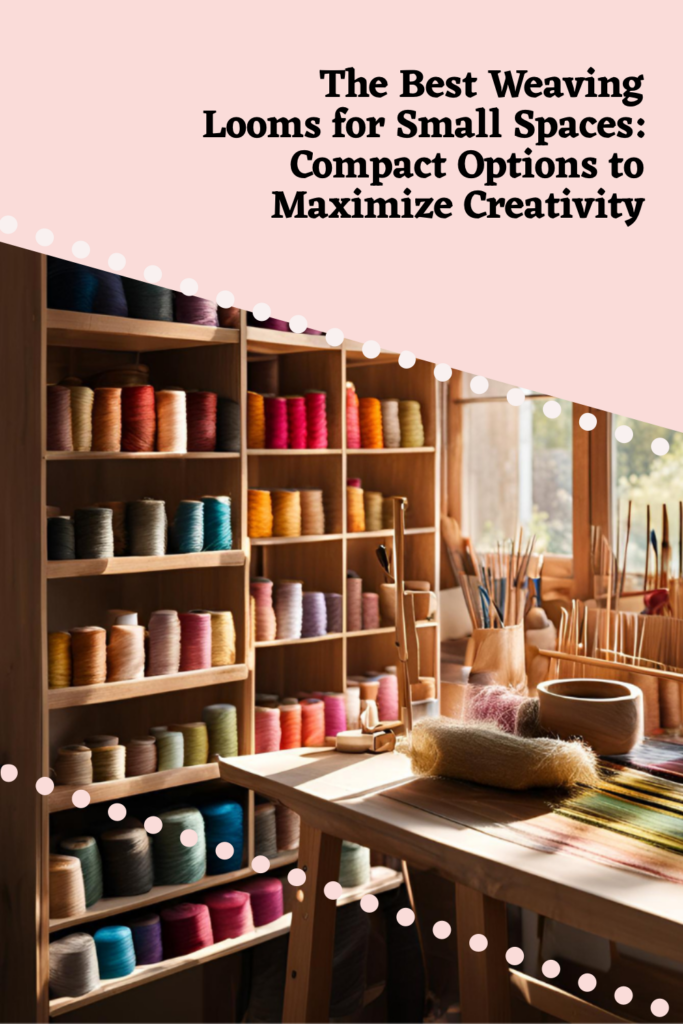
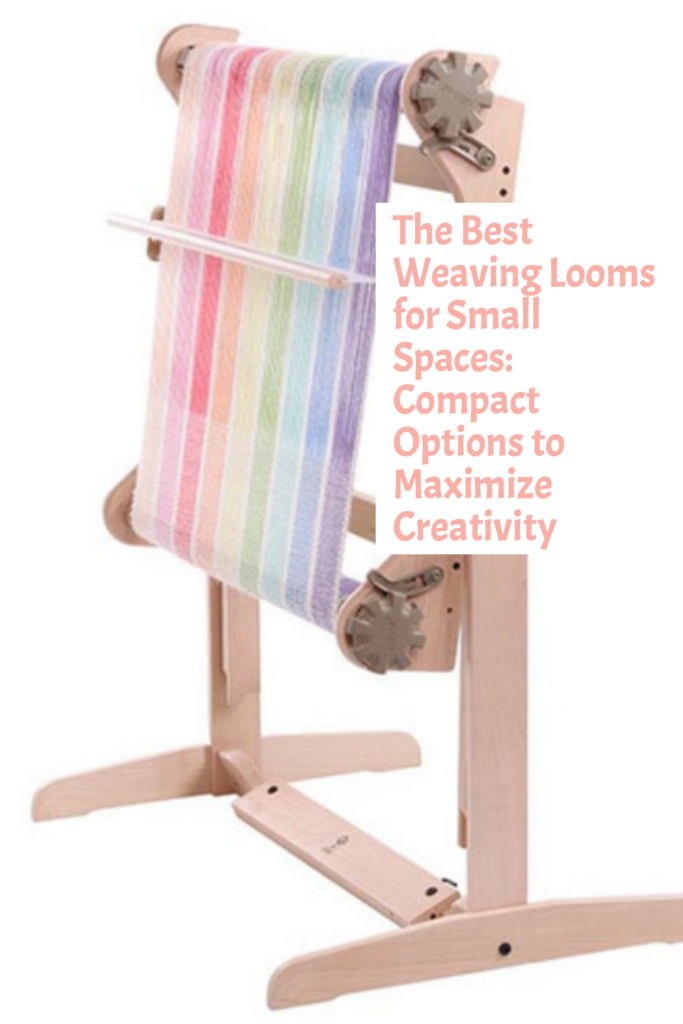
6. Small-Scale Weaving for Everyday Use
Smaller weaving projects are having a moment. From keychains to coasters and bookmarks, these small pieces are perfect for testing techniques or using up leftover yarn. They’re also quick, satisfying projects that make thoughtful gifts.
Many weavers have a smaller creative space available to weave in, so compact looms and smaller projects are great options.
Quick Project Ideas:
- Weave a set of colorful coasters for your coffee table.
- Create small pouches or coin purses with your leftover warp.
- Weave squares or strips of fabric to sew together to make a larger item.
7. Digital and Virtual Weaving Communities
With technology continuing to connect the weaving world, online weaving challenges, tutorials, and live workshops are booming. Weavers are sharing their work and learning from each other like never before.
Although there was little that was positive about lock downs and isolation, one take away is that we all realised how easy it is to connect with people all over the world through the internet. There are now many online weaving groups and guilds to choose from.
_______________________________________________________________________________
2025 is shaping up to be an exciting year for weaving, with trends that inspire creativity, sustainability, and bold expression. Whether you’re experimenting with textures, exploring local artisans, or trying out mixed media, there’s something new for every weaver to explore.
What trends are you excited to try this year? Let’s celebrate the art of weaving together—share your ideas and join the conversation!
*This post contains affiliate links. For more information please see my disclosure policy.