Today, I want to share a simple yet powerful trick that has helped me stay productive and creative, even on those days when I just don’t feel like doing anything. I call it the 10-Minute Rule—and trust me, it’s a game-changer!
The Inspiration Behind the 10-Minute Rule
Spring is in full swing here in Australia, bringing the urge for spring cleaning, organizing, and tackling all those little tasks we’ve been putting off. I had a busy day ahead with two appointments—one over the phone and another in person (which, let’s be honest, I don’t love having to leave the house for!). But before heading out, I had a short window of time in my studio, and that’s when I realized just how much I rely on my 10-minute rule.
So, what is the 10 minute rule?
It’s not really a strict “rule” but more of a simple productivity hack. It’s about breaking tasks into manageable, bite-sized chunks that feel achievable—even when you’re low on time, motivation, or energy (and if you are, I hear ya!)
How the 10-Minute Rule Works
The concept is simple: dedicate just 10 minutes to a task and see what happens. There are two main scenarios where I find this rule helpful:
- When I have limited time – If I only have an hour between appointments or other commitments, I can still accomplish something meaningful in a short burst of focused time.
- When I don’t feel like doing anything – On days when I’m feeling unwell, uninspired, or just plain unmotivated, committing to just 10 minutes often gets me started—and sometimes, that’s all I need to keep going.
A Real-Life Example: How It Helped Me Get Creative Again
Yesterday, I wasn’t feeling great. I’ve been dealing with some ongoing health issues and a lingering cold, which left me feeling drained. I had convinced myself to take the day off from my creative projects, but when I stepped into my studio to grab something, I saw my quilt project sitting on the table.
At that moment, I had two choices: walk away or commit to just 10 minutes of sewing. I chose the latter. I told myself, “I’ll just sew a couple of blocks together and see how I feel.” And guess what? Once I started, I felt inspired and ended up working on the quilt for an hour! That’s the magic of the 10-minute rule—it lowers the mental barrier to getting started, and once you’re in the flow, you might just surprise yourself.
The 10-Minute Rule in Action
You can apply this rule to just about anything:
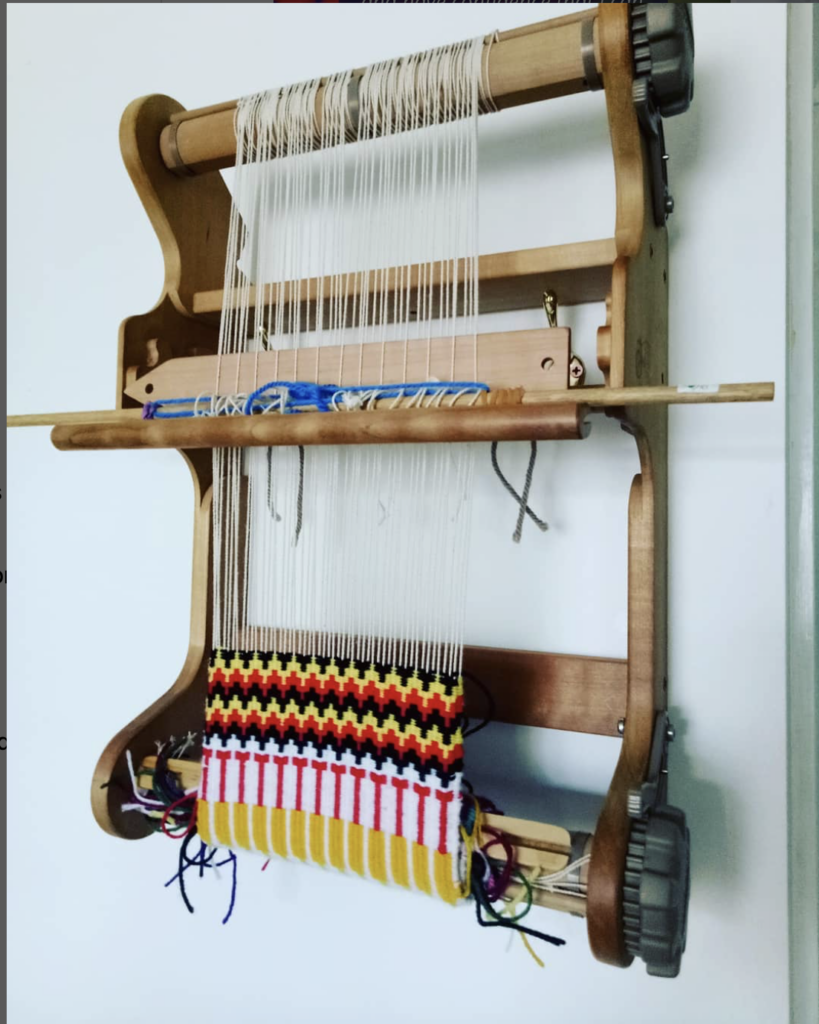
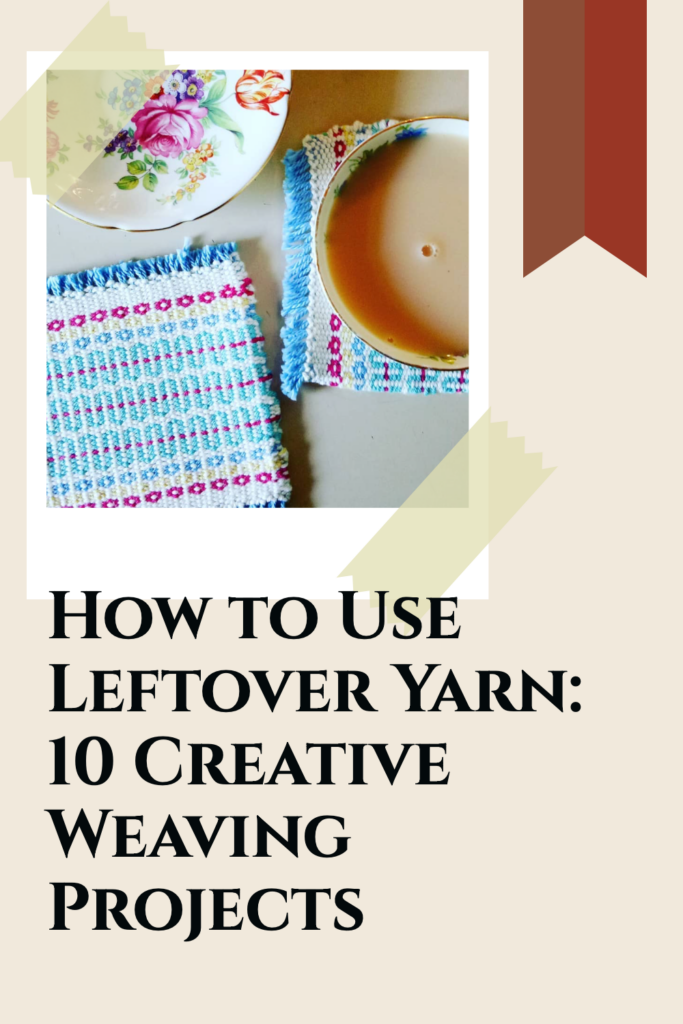
- Creative projects – Weaving, quilting, painting, knitting—whatever it is, just commit to 10 minutes.
- Household chores – Cleaning an entire room might feel overwhelming, but tidying for 10 minutes? Totally doable!
- Work and organization – If you’re procrastinating on emails, paperwork, or planning, set a timer for 10 minutes and make a start.
Why It Works
- It reduces overwhelm – Instead of dreading a big task, you’re just committing to a small, manageable portion.
- It builds momentum – Often, the hardest part is getting started. Once you begin, you’ll likely want to keep going.
- It creates a sense of accomplishment – Even if you only spend 10 minutes, you’ve still made progress!
- It helps you manage time better – You can get a surprising amount done in short, focused bursts.
Frequently Asked Questions
Does the 10-minute rule really work?
Yes! It’s a proven method for overcoming procrastination and increasing productivity. The key is that starting small reduces resistance, making it easier to begin tasks.
How can I use the 10-minute rule to be more productive?
Try applying it to tasks you tend to avoid—whether it’s creative work, housework, or admin tasks. Once you get started, you’ll often keep going beyond the initial 10 minutes!
Give It a Try!
Next time you feel stuck, uninspired, or short on time, try the 10-minute rule. Set a timer, start the task, and see where it takes you. You might find that it’s exactly what you needed to get moving—and who knows, you might even finish that project you’ve been putting off!
📌 Loved this tip? Save it to Pinterest to try later!
Have you ever tried a method like this? Let me know in the comments how the 10-minute rule works for you!
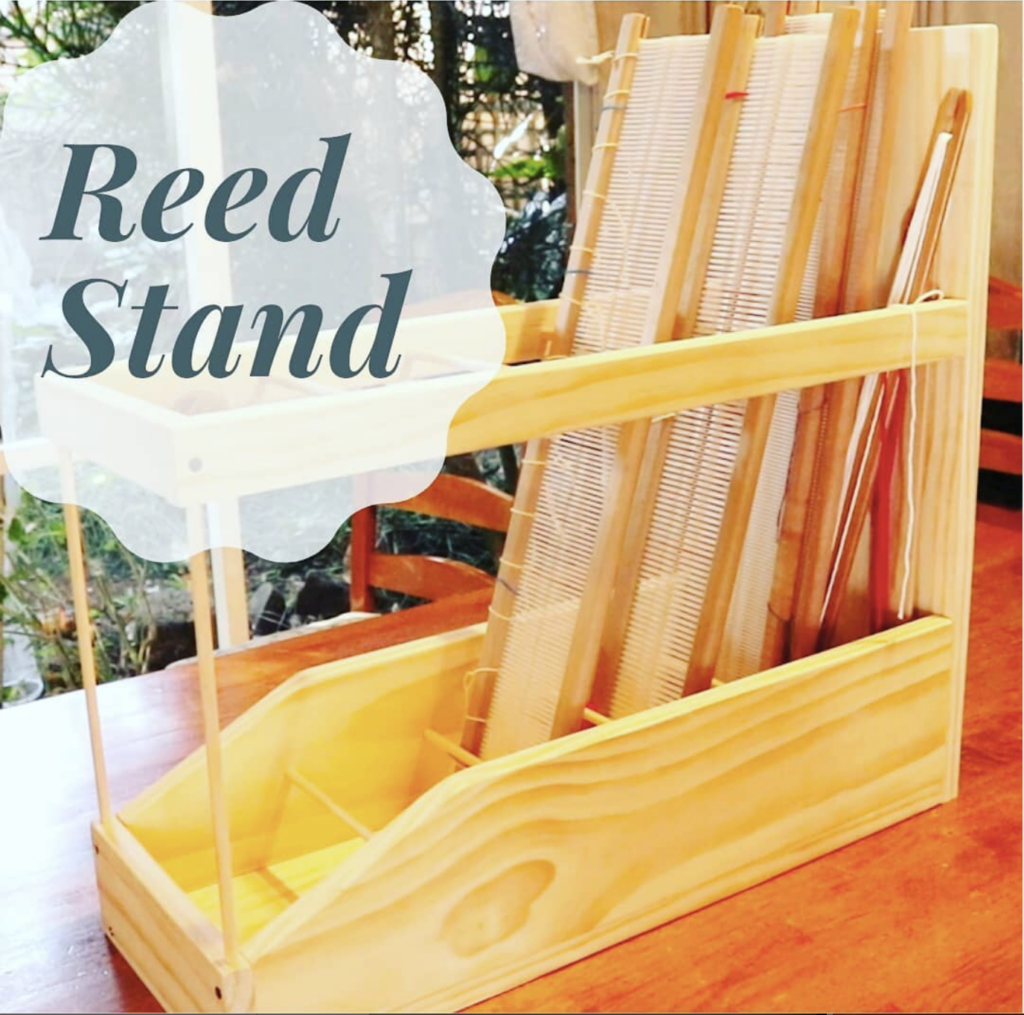
Need some further tips to help you organize your creative space? Check out this article:
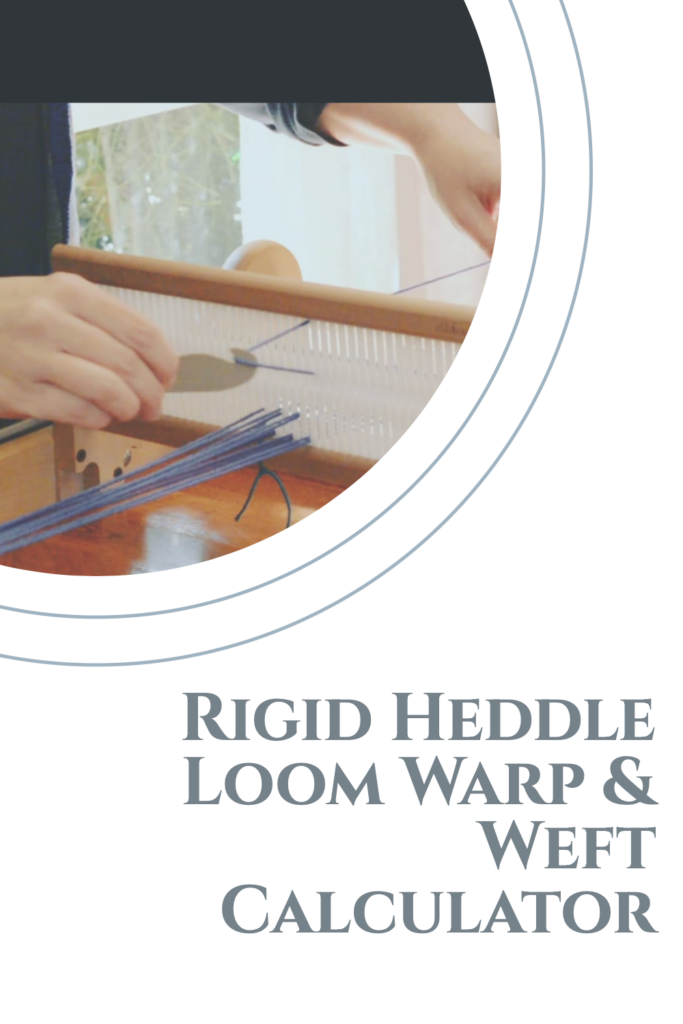
Must Have Storage Solutions for Weavers