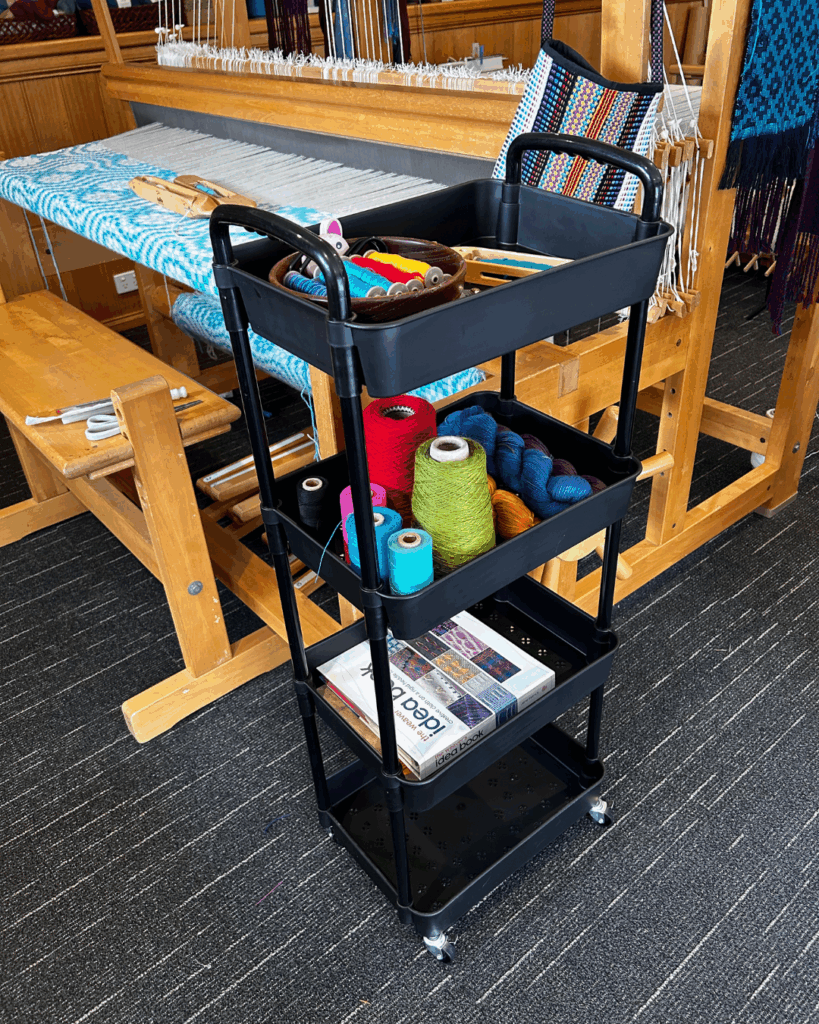
When you think of a weaver, what comes to mind? Someone sitting at a loom, throwing the shuttle back and forth, quietly creating cloth from yarn? That’s true—but it’s only the beginning.
After years immersed in the world of weaving—teaching, learning, and connecting with thousands of weavers—I’ve come to realize that being a weaver is as much about who you are as what you make.
I’ve been pondering the question “What is a weaver?” Does weaving shape who we are or do we shape the way we weave?
Here are my thoughts on the heart of a weaver:
A Weaver Is Generous
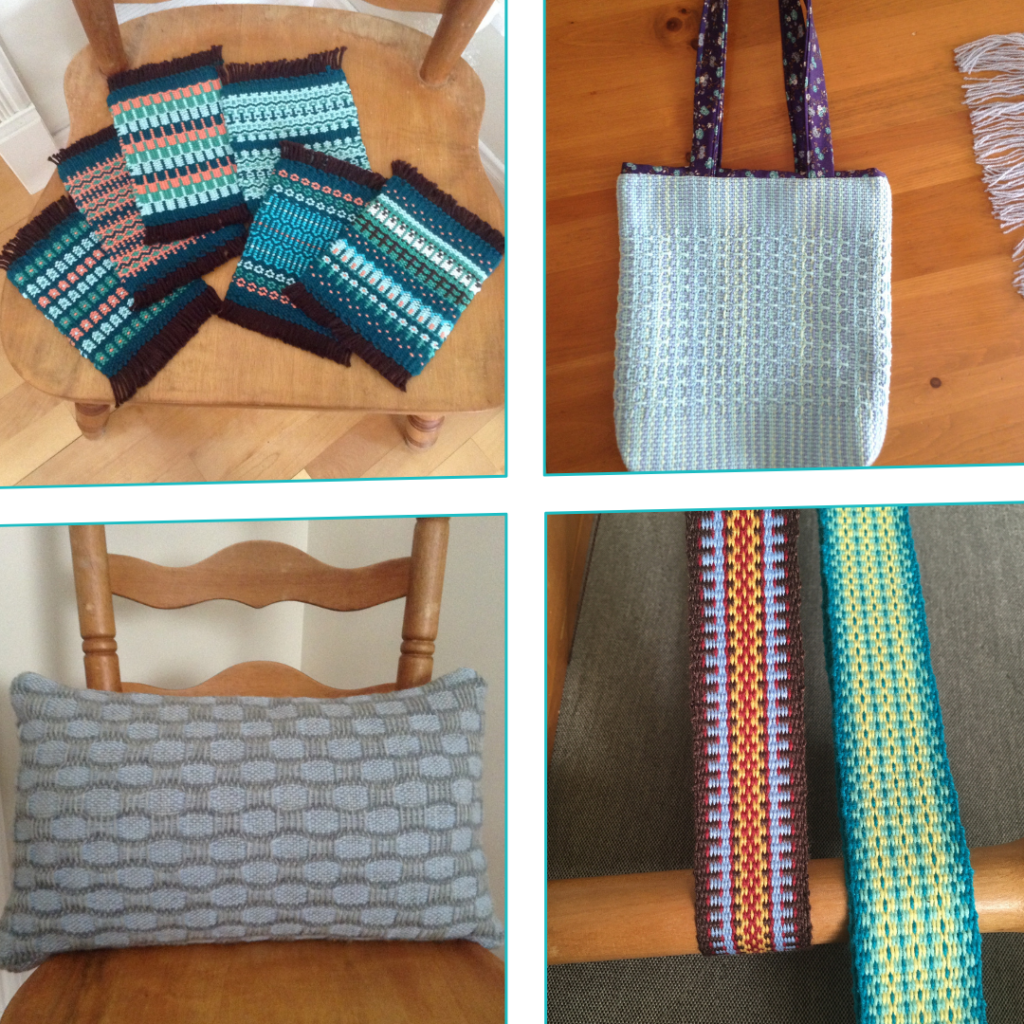
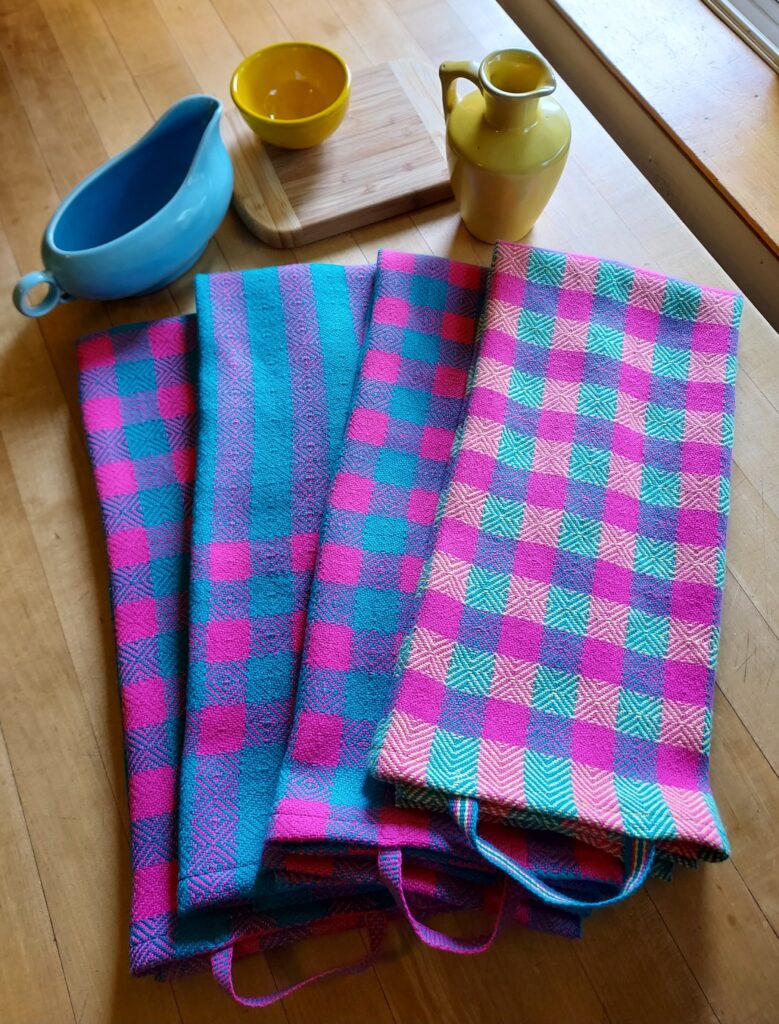
Weavers are givers. You’ll rarely meet a weaver who hasn’t gifted their handmade creations to friends, family, neighbors, or total strangers. Whether it’s a handwoven tea towel, a scarf, or something as intricate as a baby blanket, their joy is in the giving.
But the generosity doesn’t stop with finished pieces. Many weavers freely share their time, knowledge, and experience with others. It’s a craft rooted in community.
Many weavers are involved in charitable organisations. They may weave tiny blankets for babies born early, or weave prayer shawls as part of their church ministry. Some will weave and sell items so they can then donate to their favourite charities.
A Weaver Is Curious
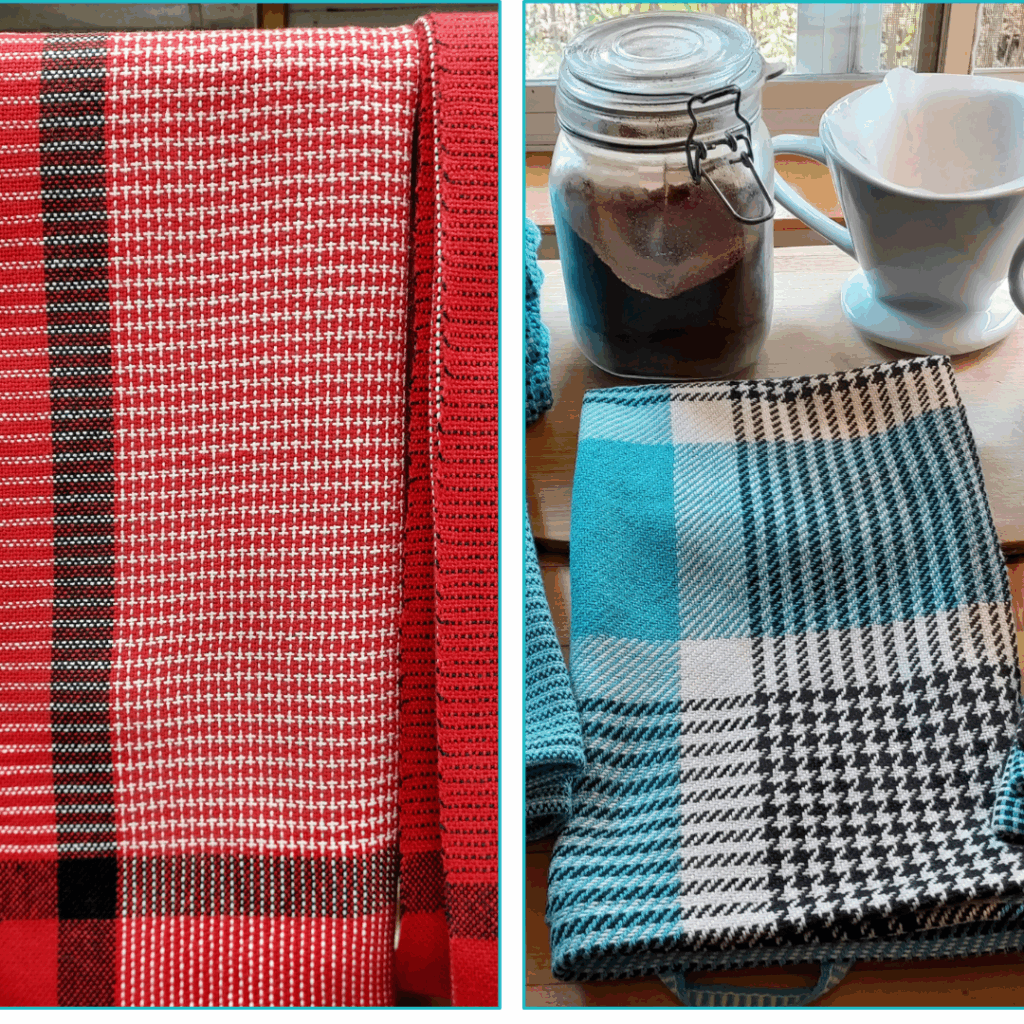
Weavers love to learn. Whether it’s trying a new technique, exploring color combinations, or diving into historical weave structures, curiosity is a common thread.
Weaving is full of possibilities, and a weaver is always asking, “What if?” “Can I bend that rule?” “What will happen if I change this?”
A Weaver Is Patient
Weaving takes time. A lot of time.
Warping the loom, threading heddles, sleying the reed, fixing mistakes—it all requires focus and patience. Many weavers spend long hours in solitude, and it shows in their calm, centered presence. The process itself often becomes a form of quiet meditation.
If you consider yourself and impatient person, does that mean that weaving won’t suit you? Of course not! Weaving will help you develop patience naturally as you work to achieve your goals.
A Weaver Is a Problem Solver
Tangled warp? Uneven tension? A threading error discovered ten inches into your cloth?
Weavers are skilled at troubleshooting and adapting. The craft naturally develops resilience and creativity. A weaver rarely gives up—they pause, reflect, and try again.
If a weaver cannot figure something out they strive to find out more. Online communities have been a wonderful support for many weavers.
A Weaver Is Willing to Share
The weaving community is one of the most open and supportive I’ve ever known.
Whether online or in person, weavers are always ready to lend a hand, offer advice, or cheer you on. Ask a question in a weaving group, and you’ll get answers, encouragement, and maybe even a photo tutorial or links to further resources!
A Weaver Is Passionate
Once weaving grabs your heart, it doesn’t let go.
Weavers are deeply connected to their craft. Yarn, texture, structure—it’s more than just a hobby. Many weavers describe it as a lifelong journey of discovery, challenge, and joy.
So… What Is a Weaver?
A weaver is someone who turns threads into cloth—but more than that, a weaver is:
- A generous spirit
- A curious mind
- A patient soul
- A creative problem solver
- A passionate maker
- A thoughtful giver
- And a valuable part of a rich, global community
If you’re just starting your weaving journey, welcome. You’re joining a long line of extraordinary makers who don’t just weave cloth—they weave meaning, kindness, and connection into everything they create.
To put it really simply, weavers make the world a better place ❤️
Want to Join the Weaving Community?
If this post resonates with you, you might already be a weaver at heart. Browse my Youtube channel, sign up for a class, or subscribe to my newsletter for inspiration, patterns, and tips sent straight to your inbox.
Until next time…
Happy Weaving!