Wait, no, it’s Christmas time? Again? Didn’t we just have that?!
Jokes aside, it is almost that wonderful time of year (and yes, it’s been the speediest year ever!) and time to think about gifts for friends, loved ones and, of course – ourselves! 😀
This year I’m ordering the guide from lowest to highest price so you can jump to where your budget is currently at. Gifts most definitely do not have to be expensive but for some of you it may be the right time to purchase that upgrade or tool you’ve been wanting.
My biggest tips for this gift guide? Leave your computer/laptop open and on display, that way family members are sure to see it 😉😉😉
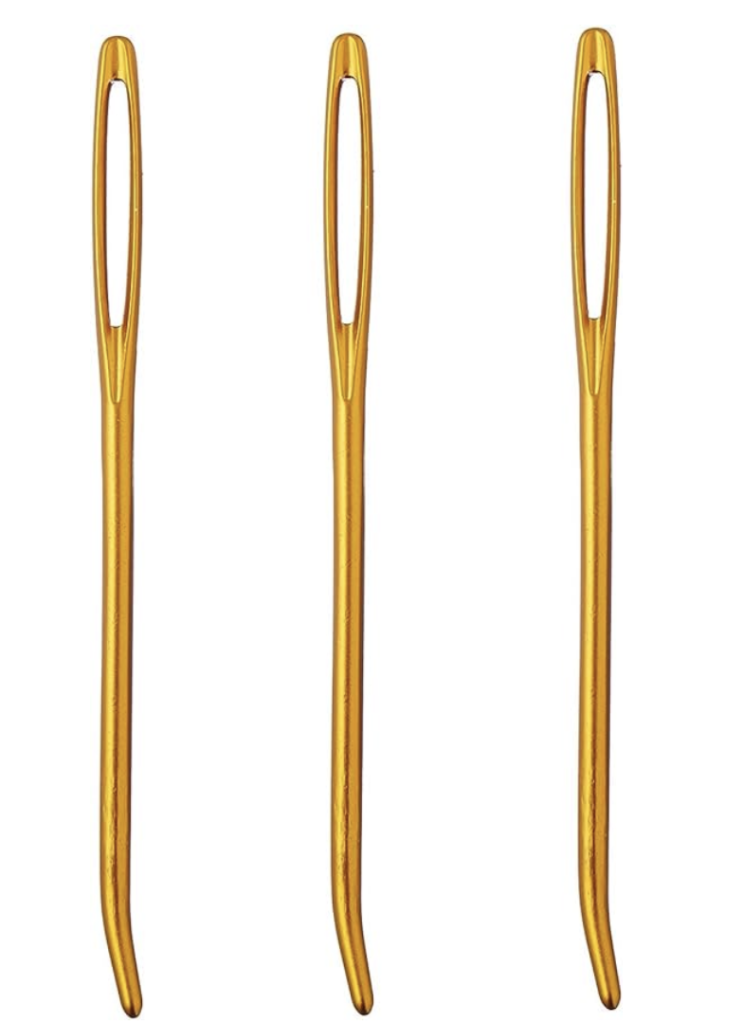
- The Clover Jumbo Bent Tip Tapestry Needles are one of my favourite and most used tools in my weaving studio! They are perfect for hemstitching or embellishing a piece on the loom and weaving in ends off the loom.
They are also super affordable, making them the perfect stocking stuffer.
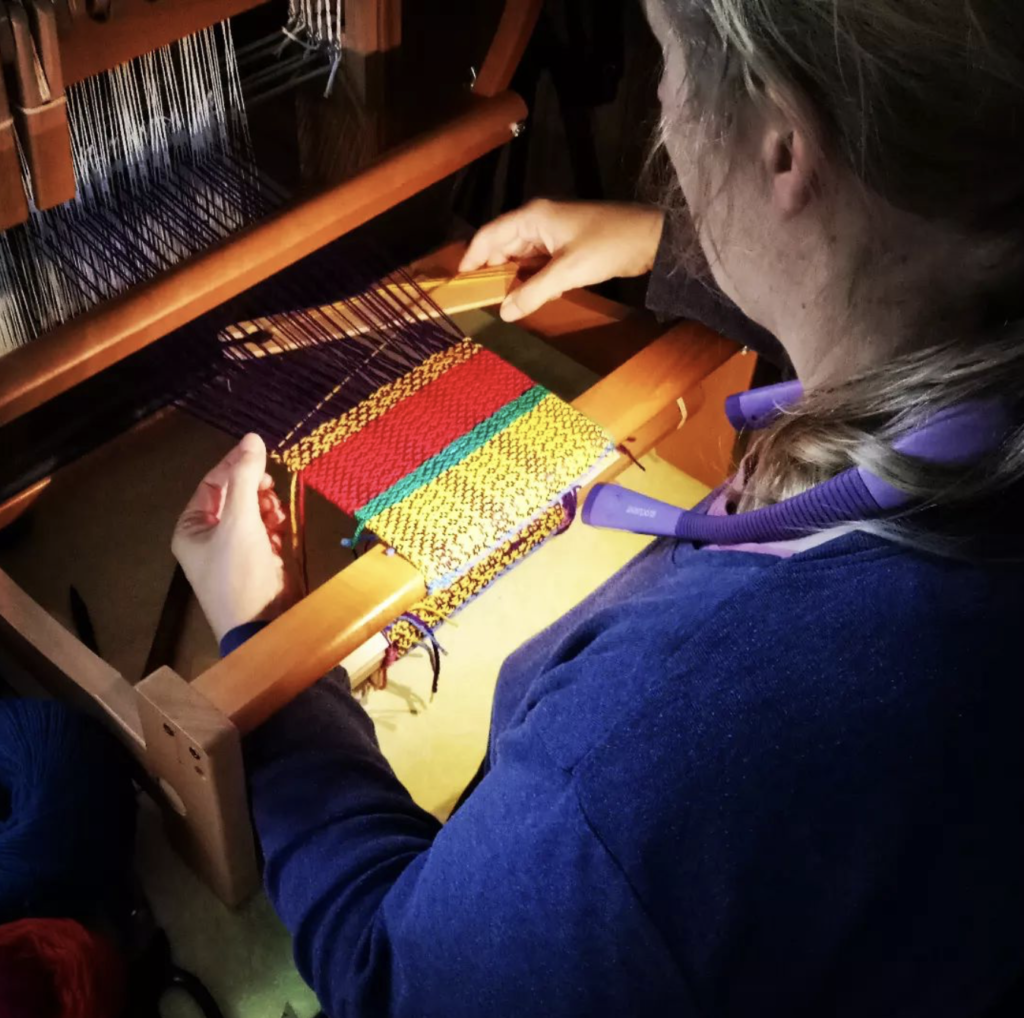
2. Glocusent Neck Reading Light
I posted about my neck reading light on Instagram during the year and the crowd went wild! These lights have been a game changer for me in a variety of crafts because you can direct the light to exactly where you need it.
There are 3 light intensity levels, the arms are flexible and they are rechargeable (I don’t charge mine very often, one charge lasts for ages).
These are another really affordable gift that will make a big difference to someone!
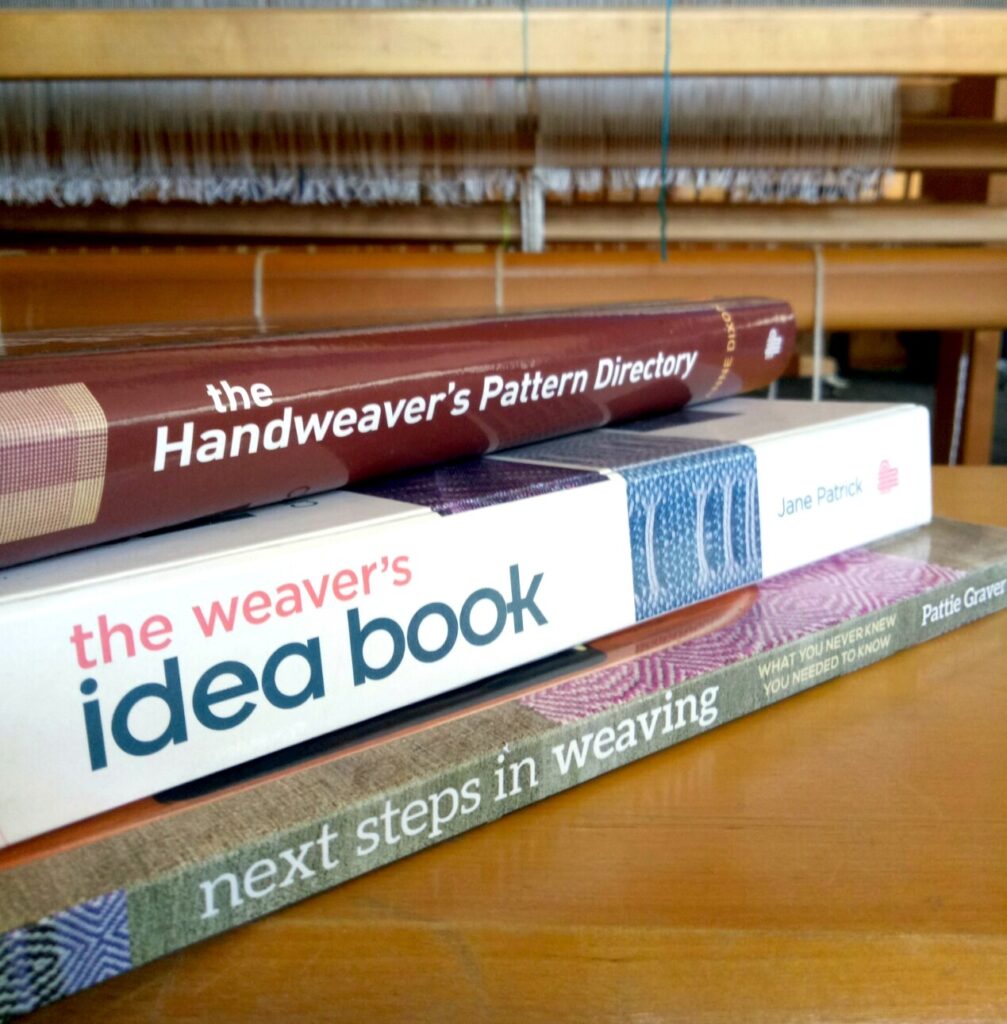
3. Weaving books
Weaving books make an excellent gift. Here are some of my personal favourites. For rigid heddle weavers, I always recommend Jane Patrick’s The Weaver’s Idea Book. For table or floor loom weavers I recommend Anne Dixon’s Handweaver’s Pattern Directory for a huge library of weaving drafts and Pattie Graver’s Next Steps in Weaving for seriously inspiring ideas and projects.
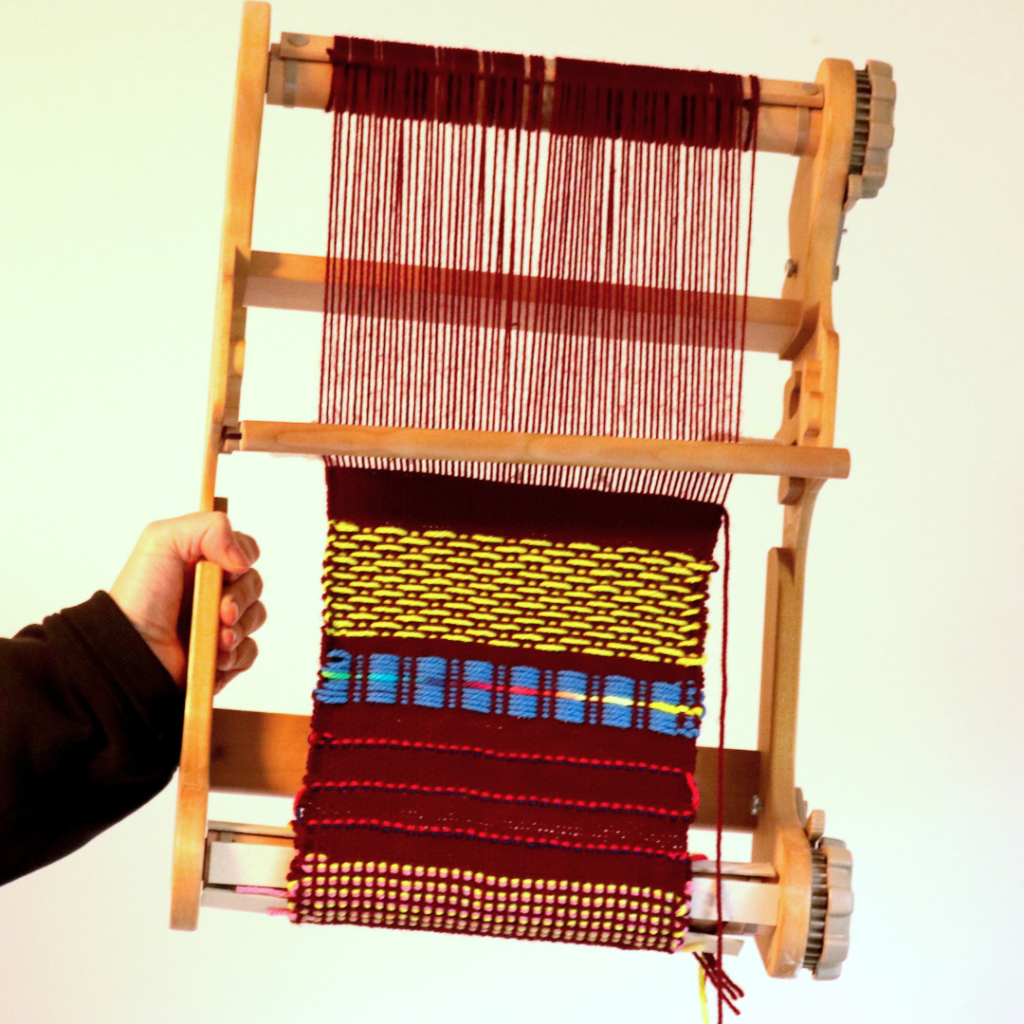
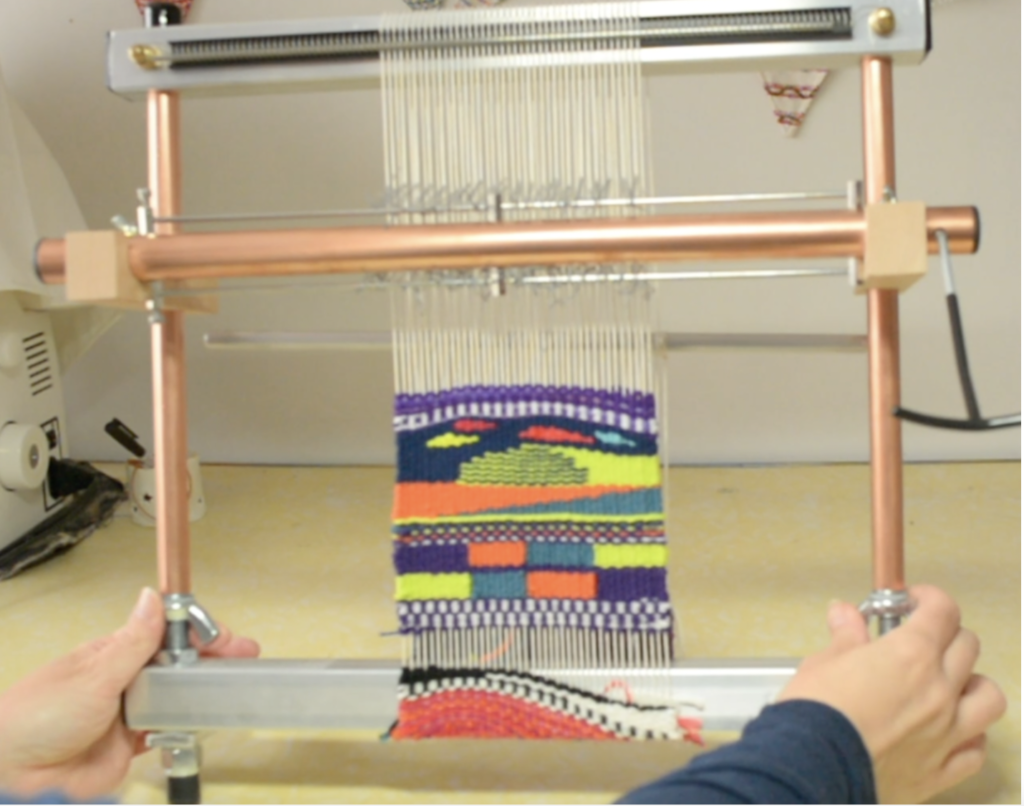
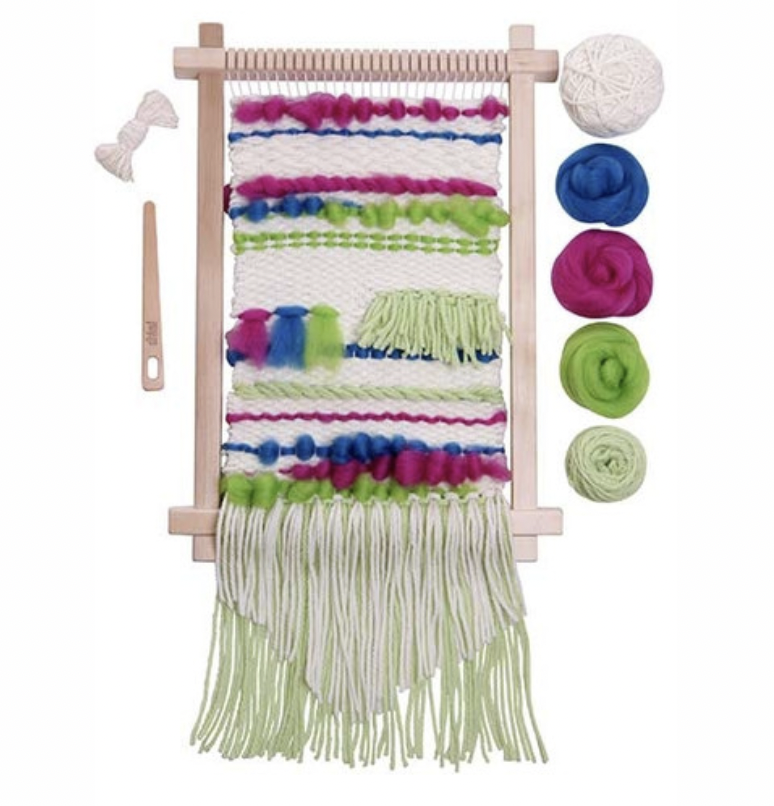
This is a great gift option for someone who is curious about weaving but may not want to leap right into investing in something like a rigid heddle loom.
It’s true that you can find cheaper weaving frames on Amazon, but you do get what you pay for. With the Ashford frame loom, you are guaranteed a good quality, sturdy frame and you also have the bonus of receiving some lovely New Zealand wool in bright colours to get you started.
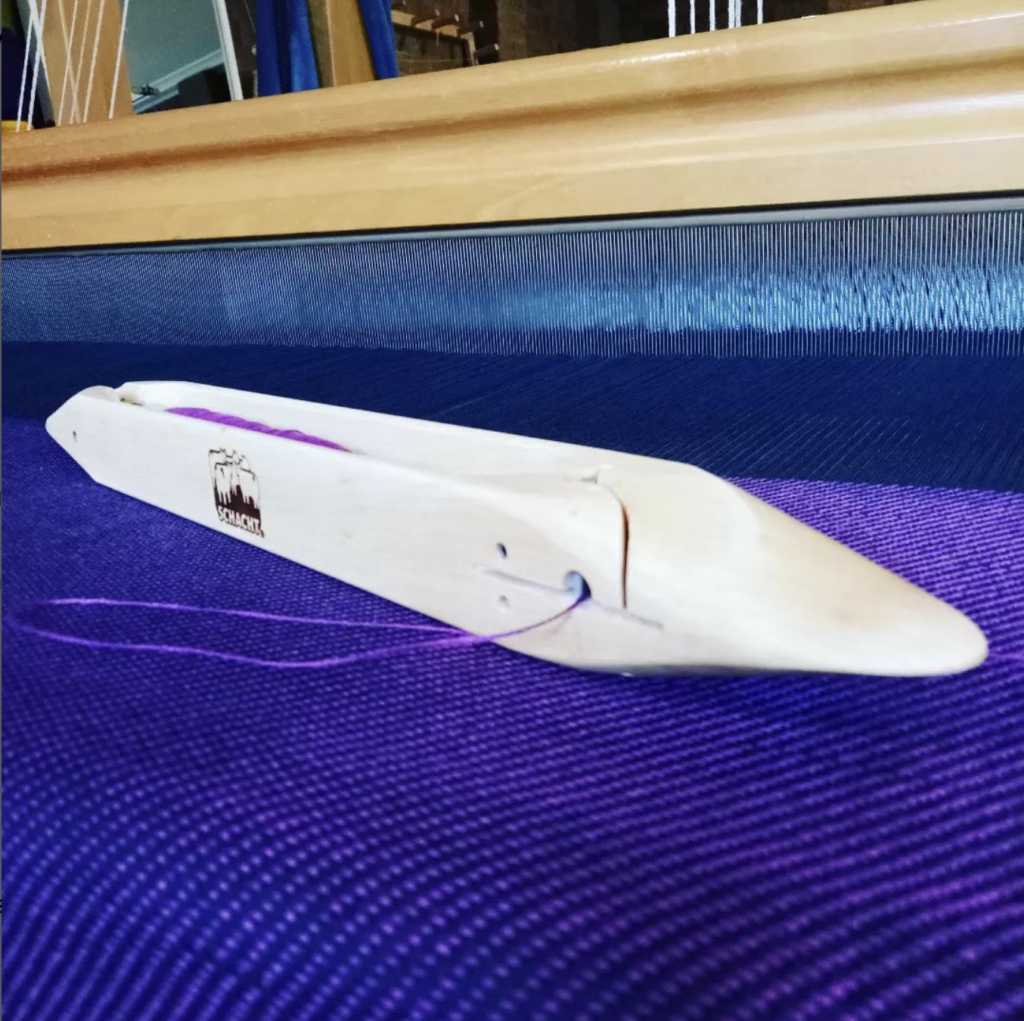
This shuttle has been a game changer for me when weaving a wide warp on my floor loom. The yarn feeds off a pirn and is tensioned from the end of the shuttle, making neat edges and appropriate weft tensioning really easy. It glides beautifully and is a joy to use, I bought the 15″.
5. The Schacht Cricket Quartet
The Quartet came out during the year and made quite a splash in the weaving world with it’s innovation and forward thinking.
The idea behind the Quartet is that you can take your regular 15″ Cricket rigid heddle loom and upgrade it to a 4 shaft loom (similar to a table loom) with the 4 shaft conversion kit. A pretty cool idea!
One thing I want to say about the Quartet is that I think it’s a great option if you already have the 15″ Cricket and want to explore further. However, if you’re looking to start with a 4 shaft loom, I would recommend looking at table looms as once you add the price of the Cricket to the Quartet conversion kit, you are looking at a fairly similar price to a table loom. Just some food for thought.

6. Louet Jane 16 Shaft Table Loom
Speaking of table looms, Louet has just announced the brand new 16 shaft Jane, which is currently available for pre-order.
Previously this loom was available with up to 8 shafts, so this is an exciting move for those weavers who want to explore more shafts.
The new 16 shaft Jane is available in a 50cm or 70cm weaving width and is a true luxury gift!

I hope that this gift guide has inspired you with some weaving gift ideas!
Until next time…
Happy Weaving!
*This post contains affiliate links. For further information, please see my disclosure policy.