Appropriate yarns and cotton weight for kitchen towels is a subject that pops up regularly in the weaving world. Seasoned towel weavers usually have their favourites and have good reasons for doing so, I know that I certainly do!
Today’s question is specifically about a good yarn weight for kitchen towels, but it provides a good opportunity for discussing other important aspects of yarn in general for kitchen towels.
“Hi Kelly! I have a question that I just cannot seem to get answered!
Would it work to get a decent weight kitchen towel if I use 8/2 cotton, double weave and a 10 dent reed? I do not have another size of reed. I have an Ashford Rigid Heddle loom.
I just worry that it won’t be a good weight…I so appreciate your help. I love your classes and have several of them! “
Hi Vicki,
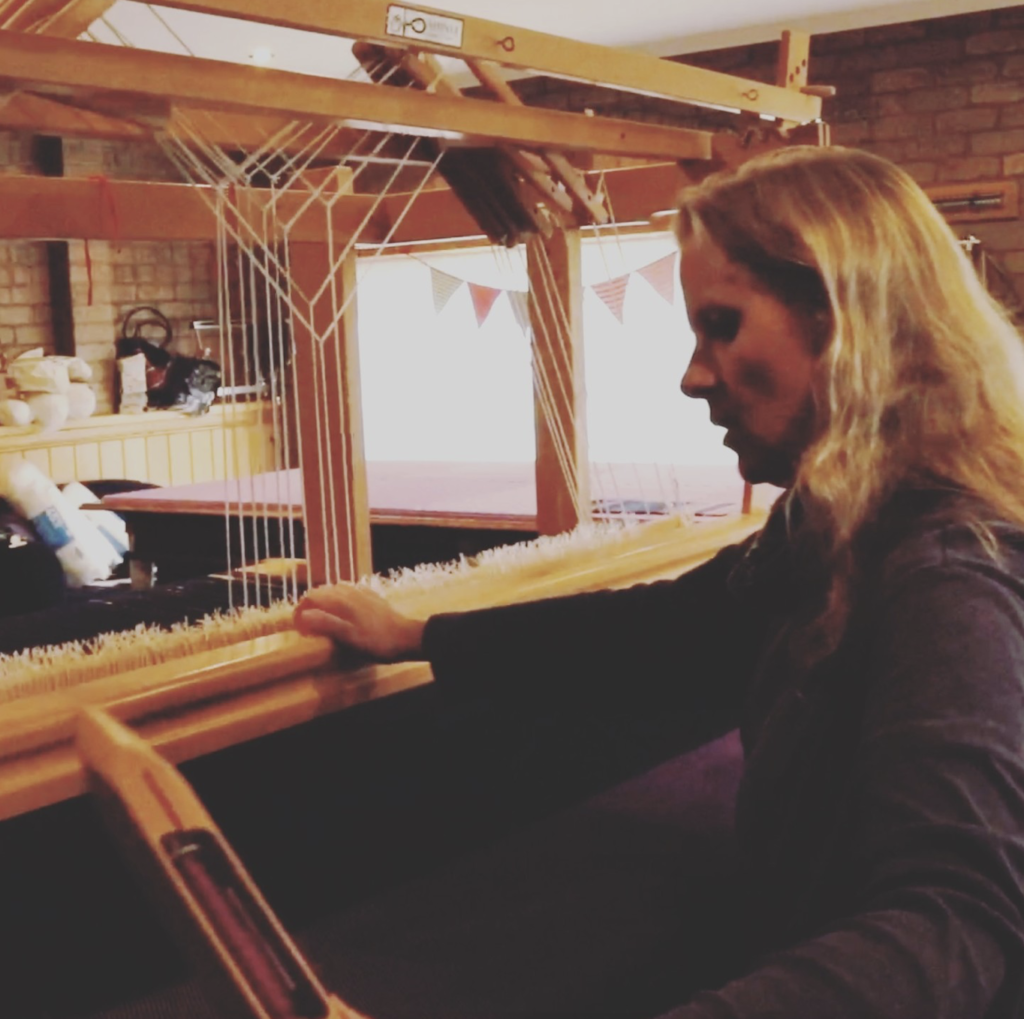
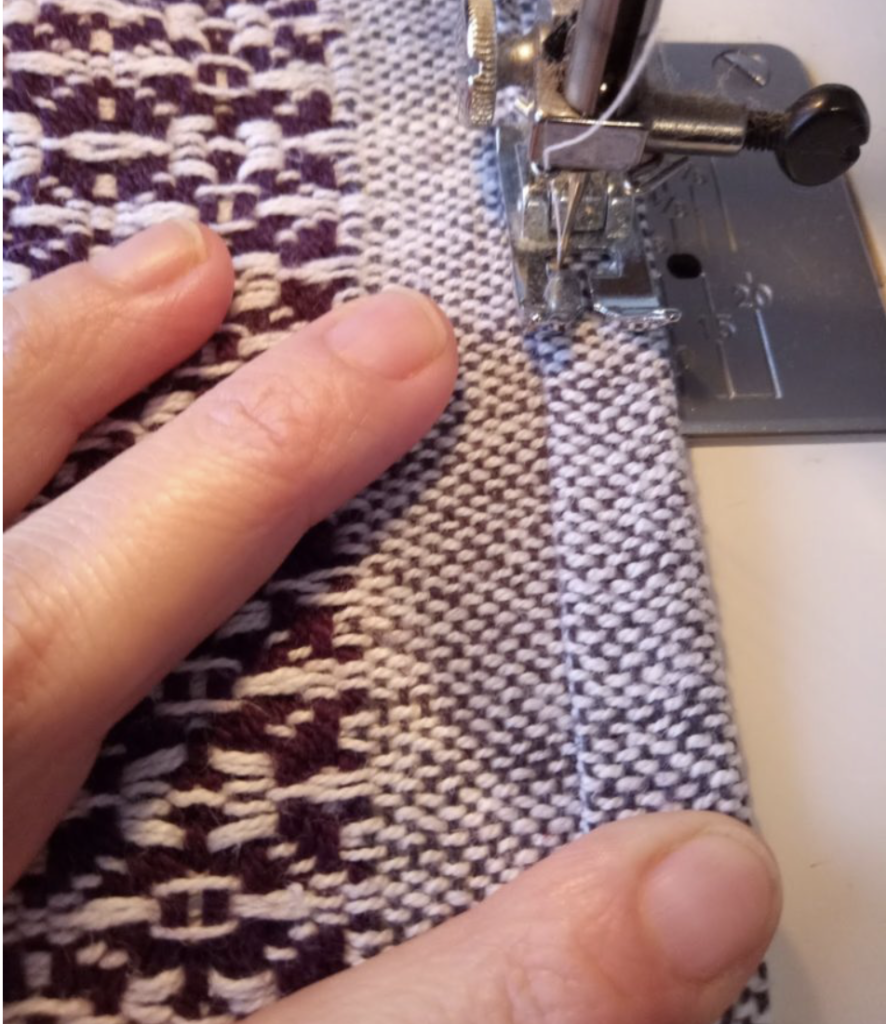
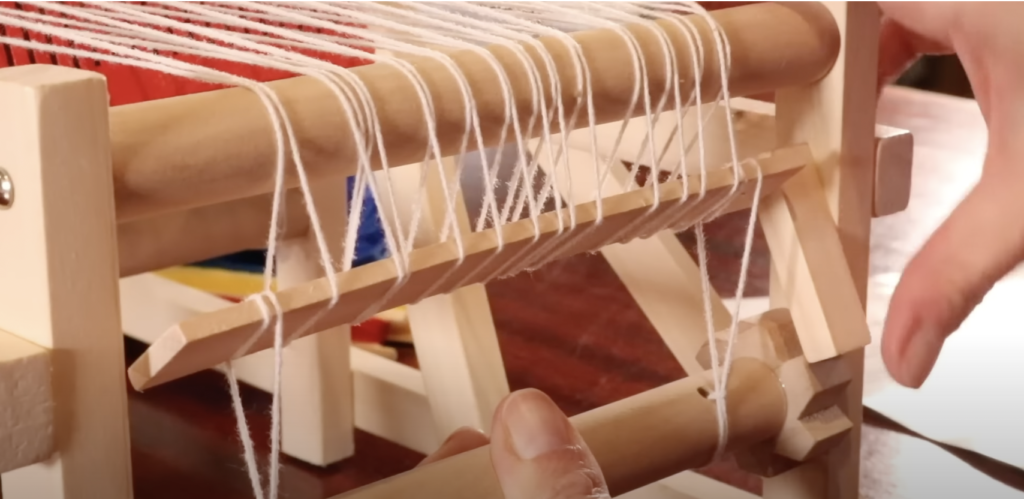
I have woven a few sets of towels on my rigid heddle loom with a 10 dent reed just by doubling the warp and then using a single weft.
While I do think that a 12-12.5 dent heddle gives a slightly better result, the 10 dent towels still work out fine 😊
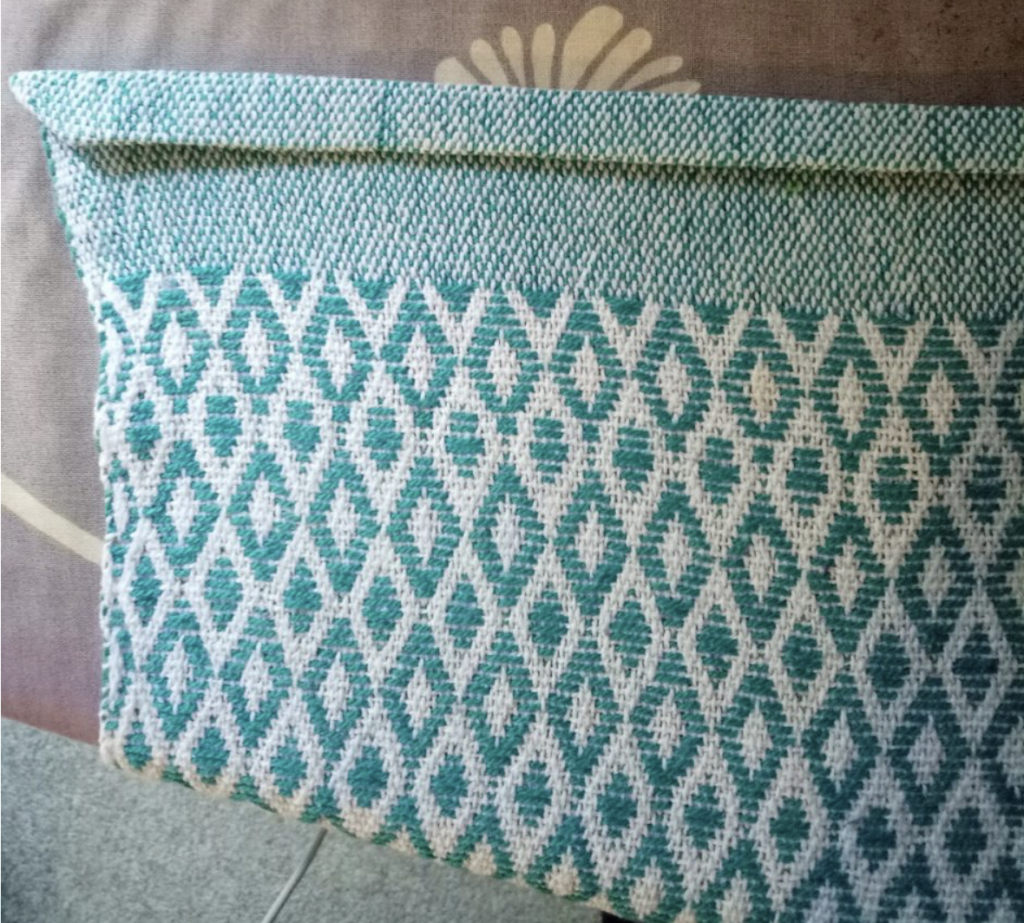
To elaborate on my answer to Vicki, I find that a sett that is a little closer is better than a sett that is a little too loose. A kitchen towel is a hardworking asset to your kitchen, so you want to make sure that it will not only do the job well, it will also last a long time.
An appropriate sett will also ensure suitable absorbency, which is very important for a kitchen towel!
Still addressing Vicki’s question, you have a couple of options for how to double your sett when weaving with a rigid heddle loom.
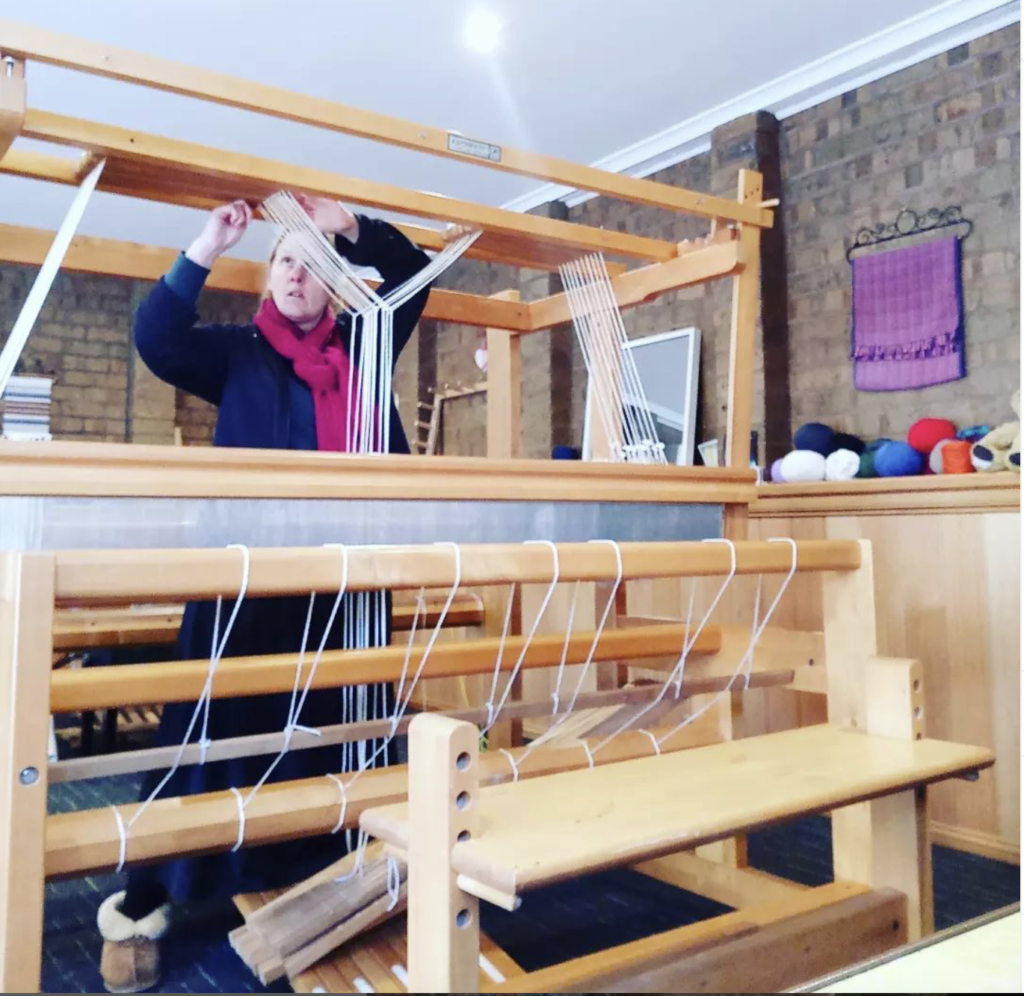
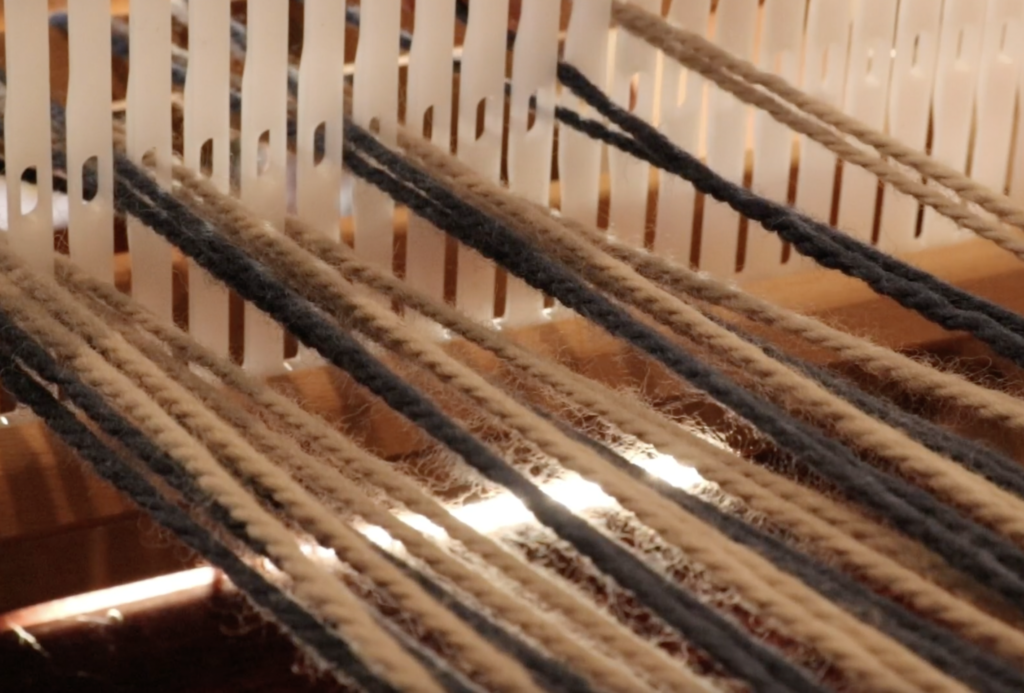
I usually go for the easiest option, which is to simply double your ends using one heddle. An example of this would be similar to what Vicki planned to do – use 1 x 10 dent heddle and double the warp. A really simple way to do this is to thread one warp loop through every hole and every slot for the width of your project. That way, when you get to the threading part you are one step ahead and can progress to the tie on without threading the holes separately.
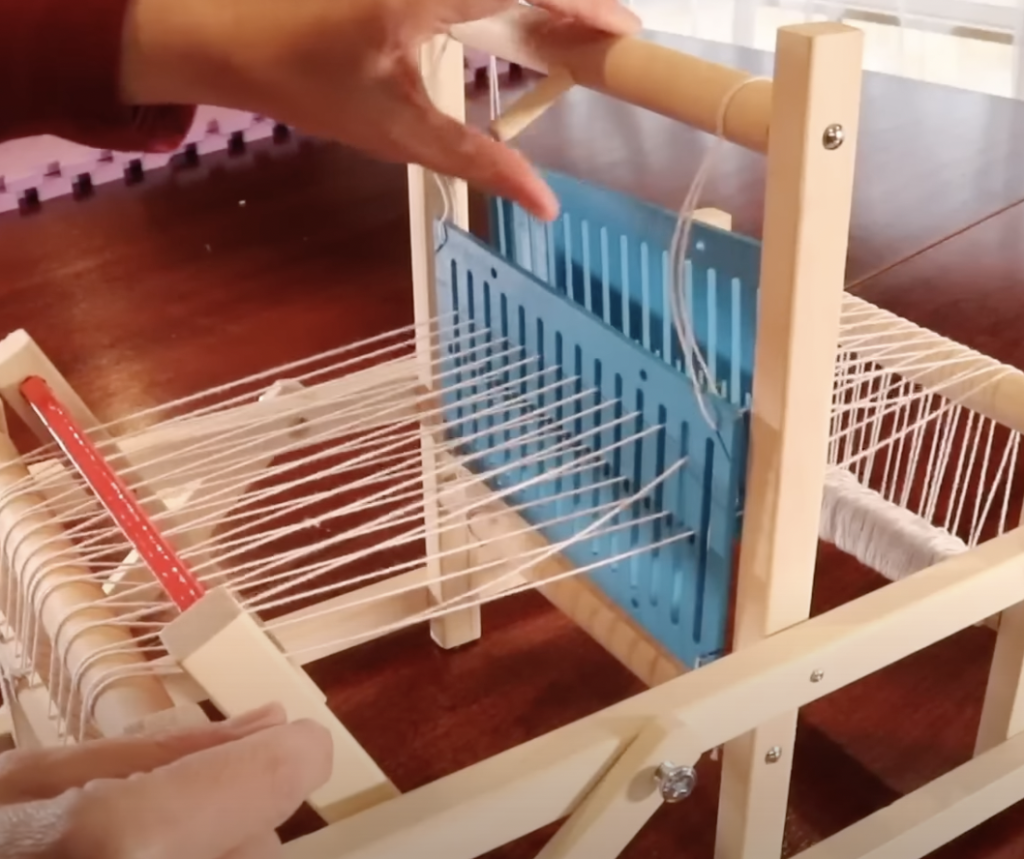
Another option is to use two heddles of the same size for your warp. When actually weaving, you can hold the two heddles together to beat or just beat with the front heddle. This technique is outlined (along with a threading chart) in Jane Patrick’s Weaver’s Idea Book and also Syne Mitchell’s Inventive Weaving on a Little Loom.
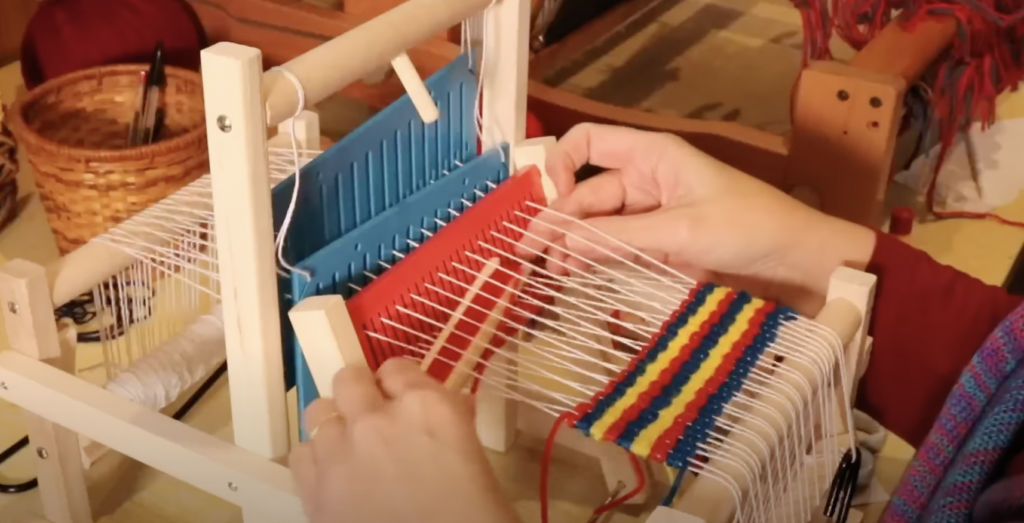
I do have a lot of resources for which yarns are best for which projects, but I will share with you my favourite “recipe” for kitchen towels.
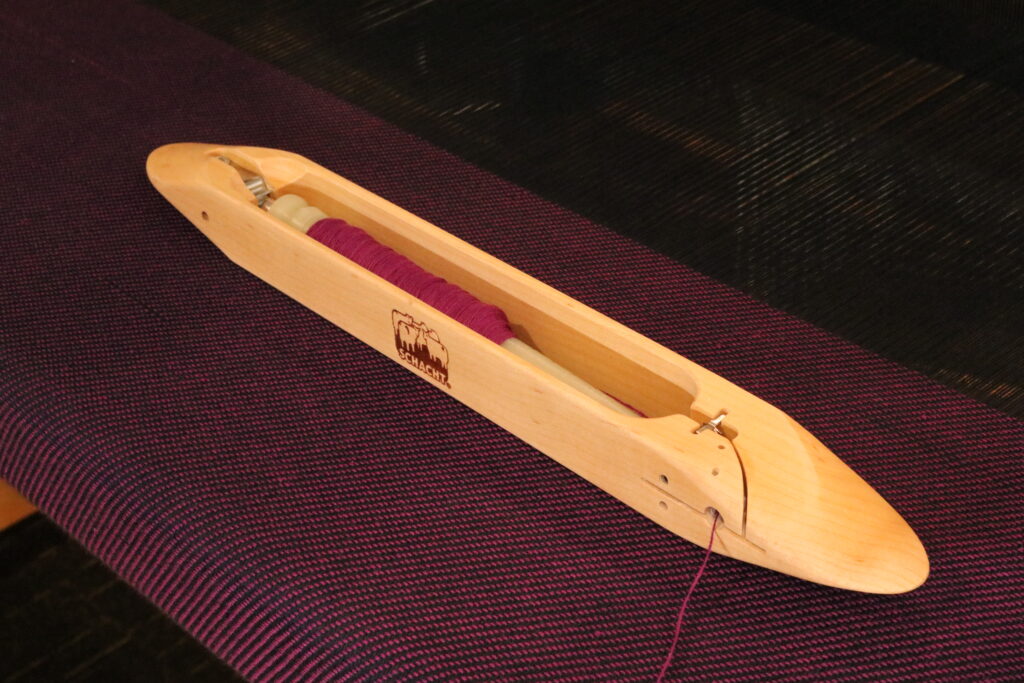
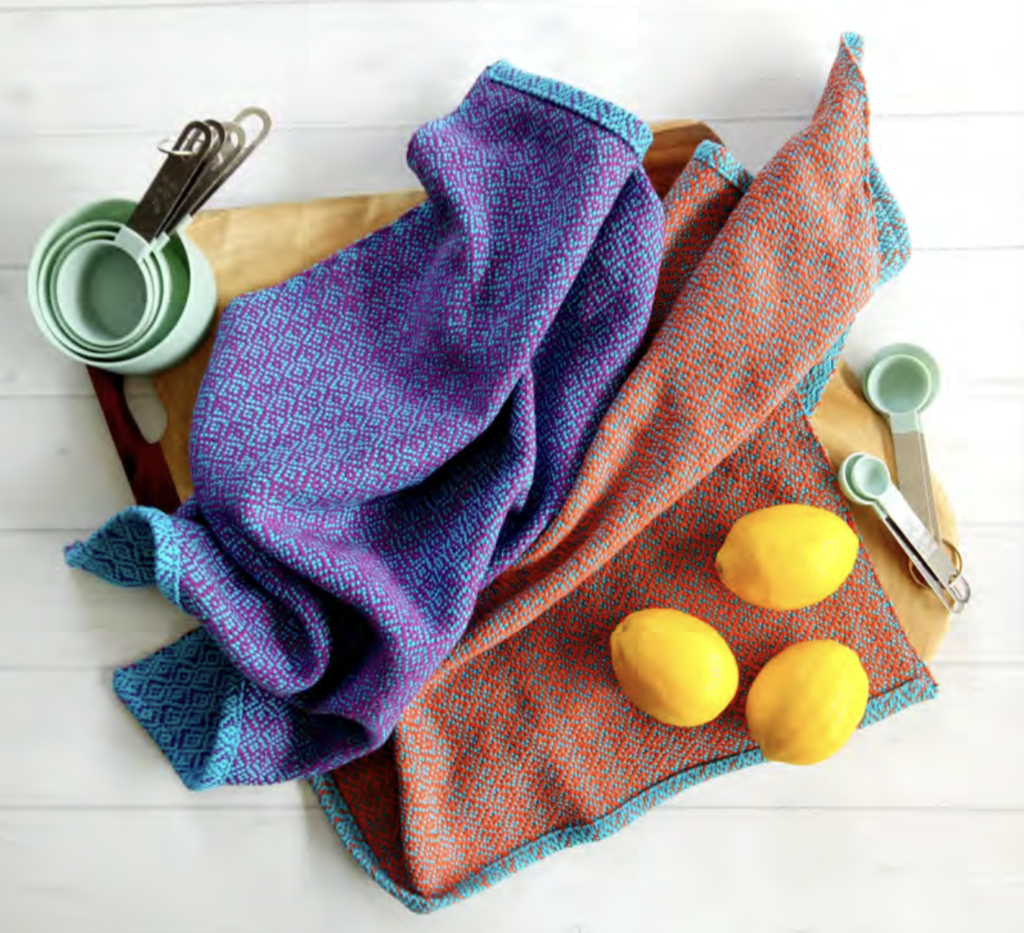
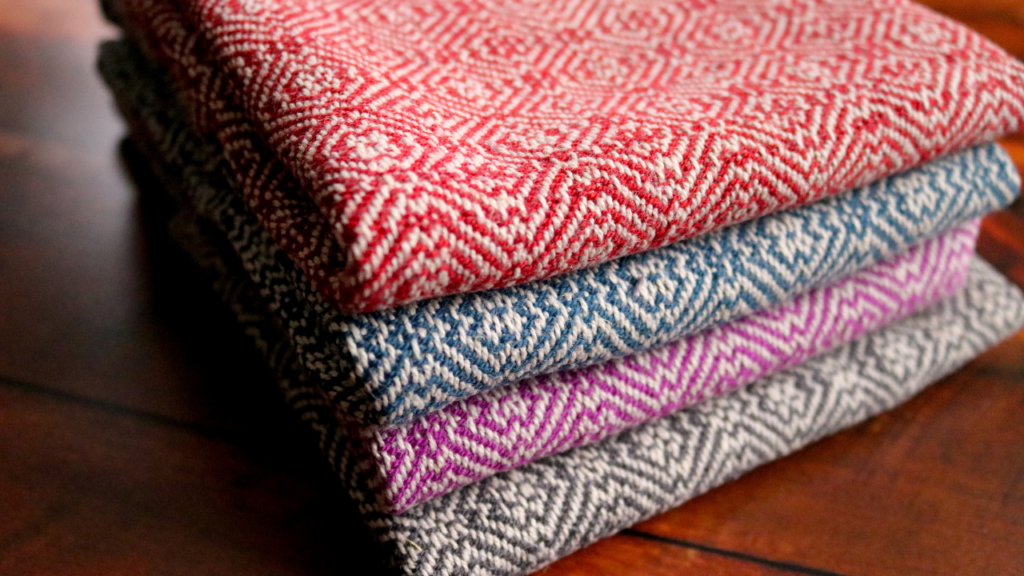
I love to use 8/2 cottolin which is a blend of cotton and linen. This works so well because you get the benefits of using linen without some of the difficulties. It’s just like weaving with 8/2 cotton except it can be quite hairy and shed fibres while it’s on the loom.
The cottolin softens up beautifully after a wash and is very absorbent.
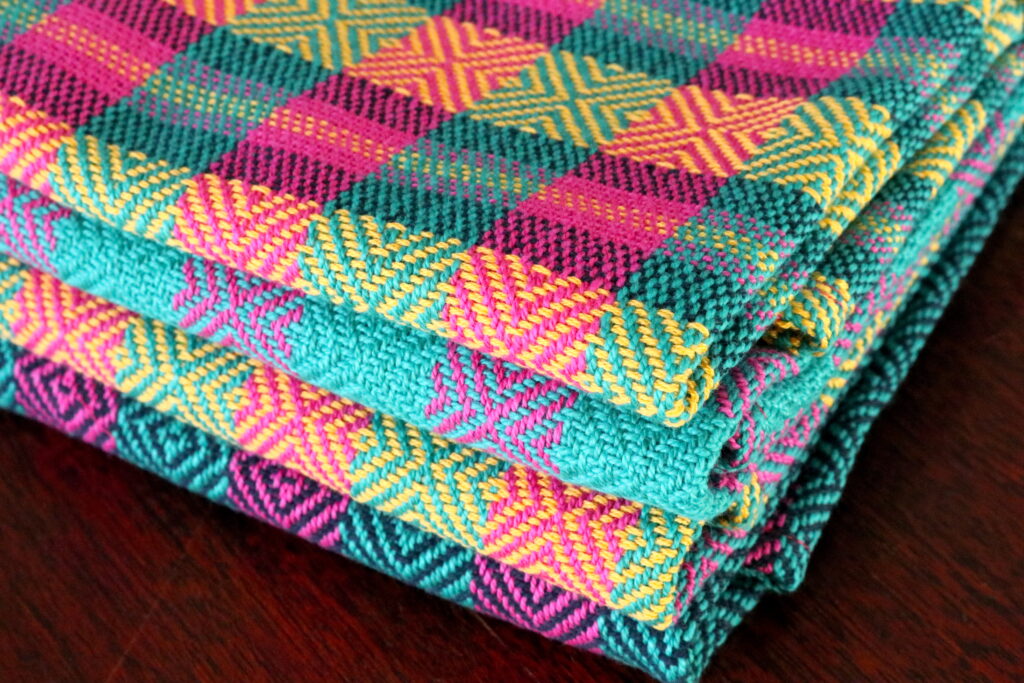
My second favourite yarn for kitchen towels is the reliable 8/2 cotton. I love that it comes in such a huge range of colours. I frequently combine cottolin and cotton in one towel project and it works out great.
If you’re looking for some more resources relevant to this article, check these out:
Which cotton yarn should I use?
What yarn is best for weaving?
My tips for weaving with cottolin…
Or if you’re looking for some towel patterns to weave:
I hope you have found some helpful information here today and until next time…
Happy Weaving!
*This post contains affiliate links. For more information, please see my disclosure policy.