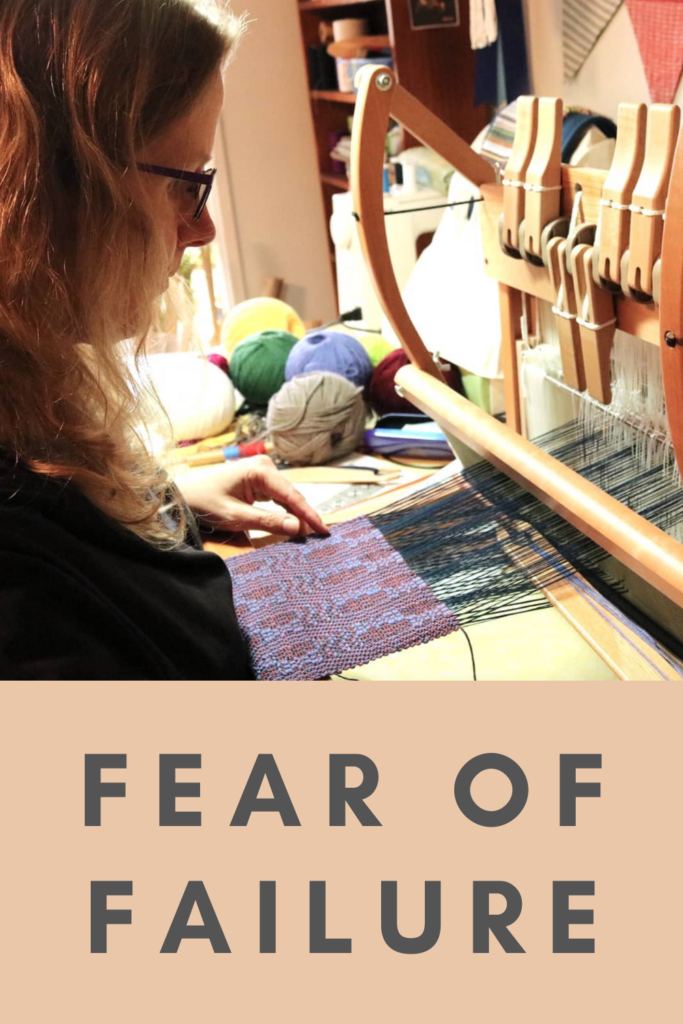
I don’t think I need to ask whether you have that little voice in your head that tells you negative things. It says things like “You are a failure at weaving!”
The voice that, if you listen too much, will convince you that you can’t do it. That you’re not smart enough. Not capable enough. Nope, sorry kid, you’re just not gonna make it!
I’ve heard a lot of people tell me they are a weaving failure. When I hear that, I inwardly sigh. I’ve been there, I know how it feels to be sure that you just can’t do it.
“But Kelly, how you can understand, you’re so good at weaving! You teach weaving to thousands of people all over the world! You’re so talented!“, I hear you thinking, even if you don’t say it.
What some people don’t realise is that I got to where I am today simply because I did not give up. I wanted to be a weaver and so I was determined to make it work.
“Failures are finger posts on the road to achievement.” – C.S. Lewis
Sometimes it was really hard. Often I wanted to give up. I didn’t want to feel that I was failing over and over. Like most people, I wanted instant success. I still do – it’s a journey.
Oh, and by the way, about that talent thing? Hard work, persistence and curiosity trump talent any day. Put in the work, do it consistently, learn from your mistakes and just keep going. That is the simple formula for weaving success.
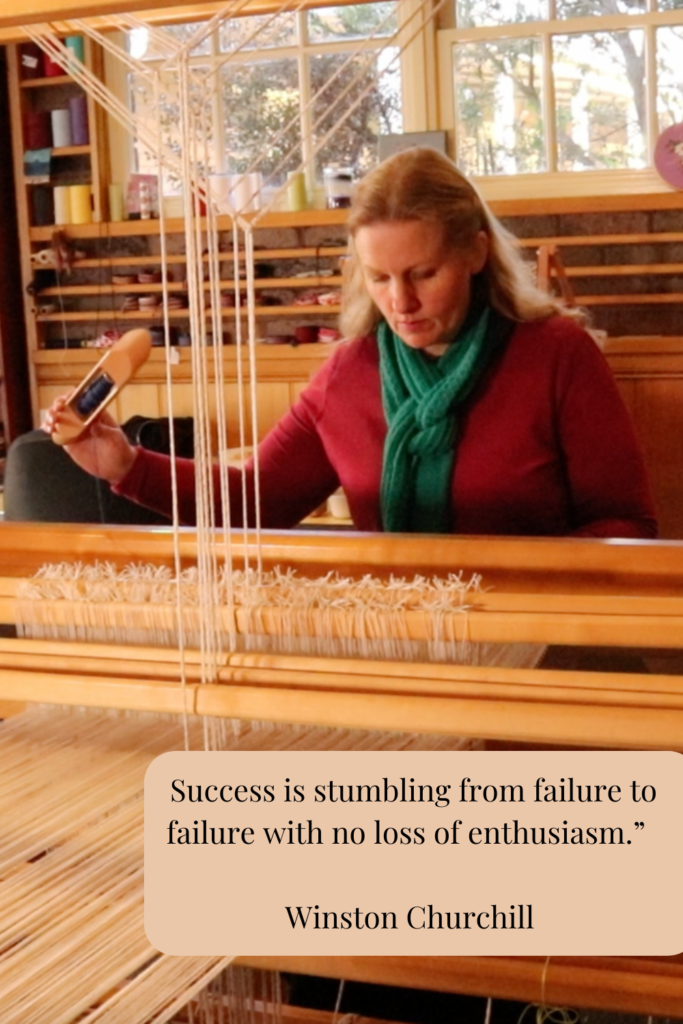
“Success is stumbling from failure to failure with no loss of enthusiasm.” – Winston Churchill
What if we switch this failure thing on it’s head here for a minute? So, you’ve started to learn how to weave and it’s difficult, probably quite a bit more difficult than you envisioned. It’s frustrating, and the only time you’re having fun is at the occasional magic moment when it all comes together and works.
Here are some thoughts that might be running through your head in the moments of frustration:
“I’m not suited to this”.
“I’m not smart enough to do this”.
“I simply lack the ability to do this”.
“It’s too hard!”
Now we will turn those statements around so that we are still acknowledging the frustration, but in a positive rather than negative way:
- “I’m not suited to this” – “This all feels so unfamiliar at the moment, but I will get past that”.
- “I’m not smart enough to do this” – “Anyone can learn this, myself included”.
- “I simply lack the ability to do this” – “I will keep practicing to learn the skills I need”.
- “It’s too hard!” – “This sure is a challenge, but I know it won’t always feel that way”.
The first statements are what I think of as “giving up” statements. The second statements are you being your own little cheer squad 😀
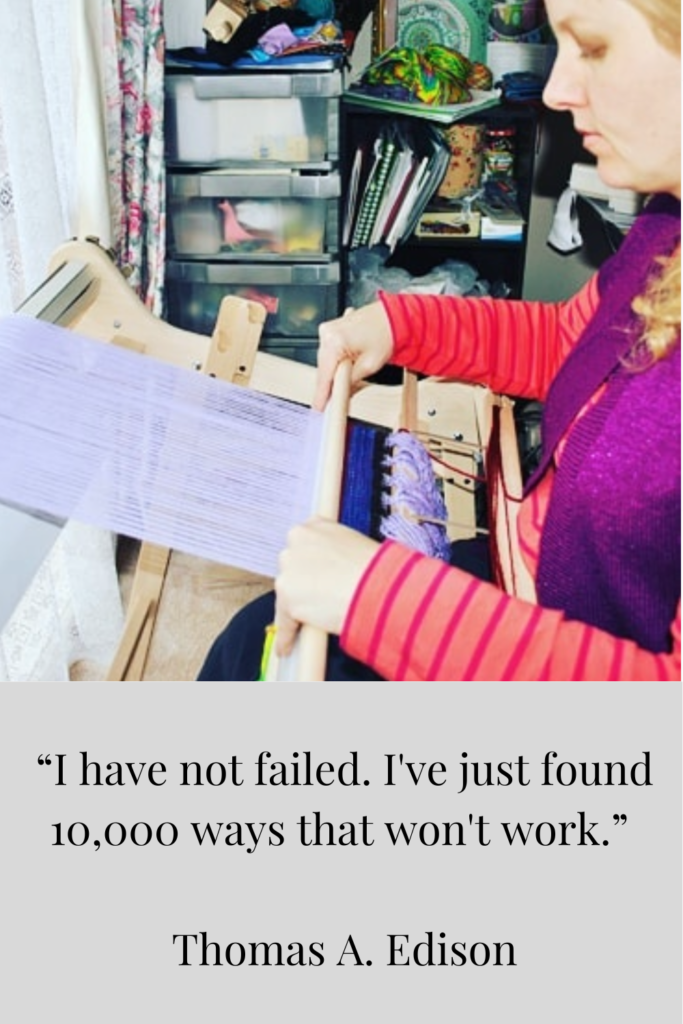
“I have not failed. I’ve just found 10,000 ways that won’t work.” – Thomas A. Edison
I see a lot of newer weavers who are simply too hard on themselves. There is a plethora of reasons as to why we (myself included) put ourselves down and talk negatively to our inner selves. The power of the mind is huge and can work to our disadvantage or advantage.
There are so many common traits that I see, and so many of them can be easily remedied.
- Impatience. Oh yeah, you know it. We are an impatient lot these days. We want what we want and we want it now! But does it make us happy? Indeed, it does not!
- High expectations. As I’ve said before, it’s better to have high hopes than high expectations.
- Unrealistic goals. Goals are great, I love setting personal goals. But setting goals that are waaaay beyond your current skill level with not always be beneficial. Be realistic about what you know now, what you want to learn next, and how you can use those skills in your next project.
- Comparison. I’m sure that you’ve heard the quote “comparison is the thief of joy“. Don’t try to start at somebody else’s finish. There are so many different learning styles, levels of comprehension and learning paces. It’s OK to learn the way YOU learn!
Finally, I’d like to leave you with this most excellent quote:
“Remember that failure is an event, not a person” – Zig Ziglar
Your weaving project is just some yarn on a loom, if it’s not going well, don’t internalise it.
I hope this article was helpful to you!
If you feel that you would benefit from some help in your weaving, check out the Online Weaving School for a huge variety of classes for all skill levels.
If you sign up for a membership, you also receive access to the private member’s group. This wonderful community may be just what you need to boost your confidence.
Until next time…
Happy Weaving