Following a weaving pattern can be a great way to build skills and confidence—but what if you could make any weaving pattern your own? Whether you’re new to weaving or have years of experience under your belt, there’s something deeply satisfying about making a piece that’s unmistakably you.
Why You Should Make Any Weaving Pattern Your Own
Following a pattern exactly is an excellent learning tool for a beginner. Just like following a recipe, you’re given all the ingredients and method to help you obtain a successful outcome and learn a great deal along the way.
But some weavers will want to branch out and try new things, still with the support and guidance of an exisiting pattern to ensure predictable results.
In this post, I’ll walk you through five simple but powerful ways to take any weaving pattern and infuse it with your personal style. These tips are inspired by the incredible work of my students, who have taken patterns from my classes and turned them into their very own one-of-a-kind creations.
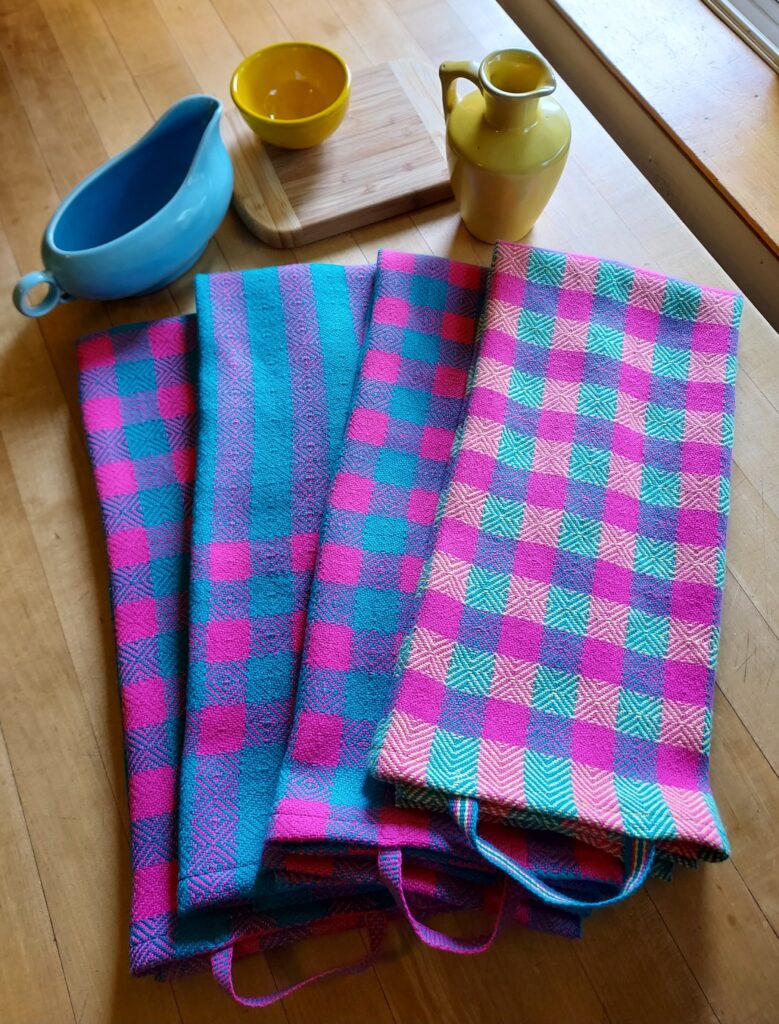
1. Play With Color
Color is one of the most powerful tools you have as a weaver. Even if you’re following a pattern exactly, changing the color palette can completely transform the look and feel of your finished piece.
Try using your favorite colors, draw inspiration from nature, photos, or even interior design trends. Perhaps you are interested in delving into some basic color theory for even more inspiration.

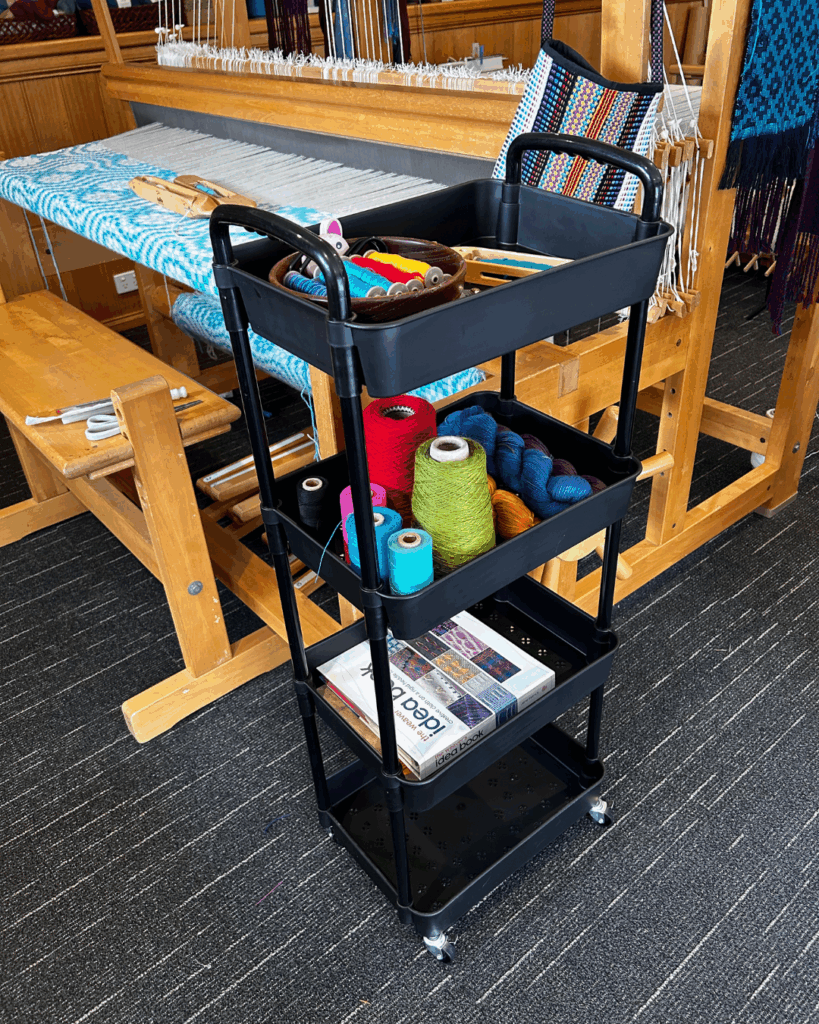
2. Adjust the Fiber
The type of yarn you use can make a big difference. Swap in natural fibers for a rustic or organic look, or go with something glossy and smooth for a modern feel. You could even mix fibers to create texture, interest and possibly shape and form. Think outside the box—cottolin, wool, bamboo and silk each bring something unique to your weaving.

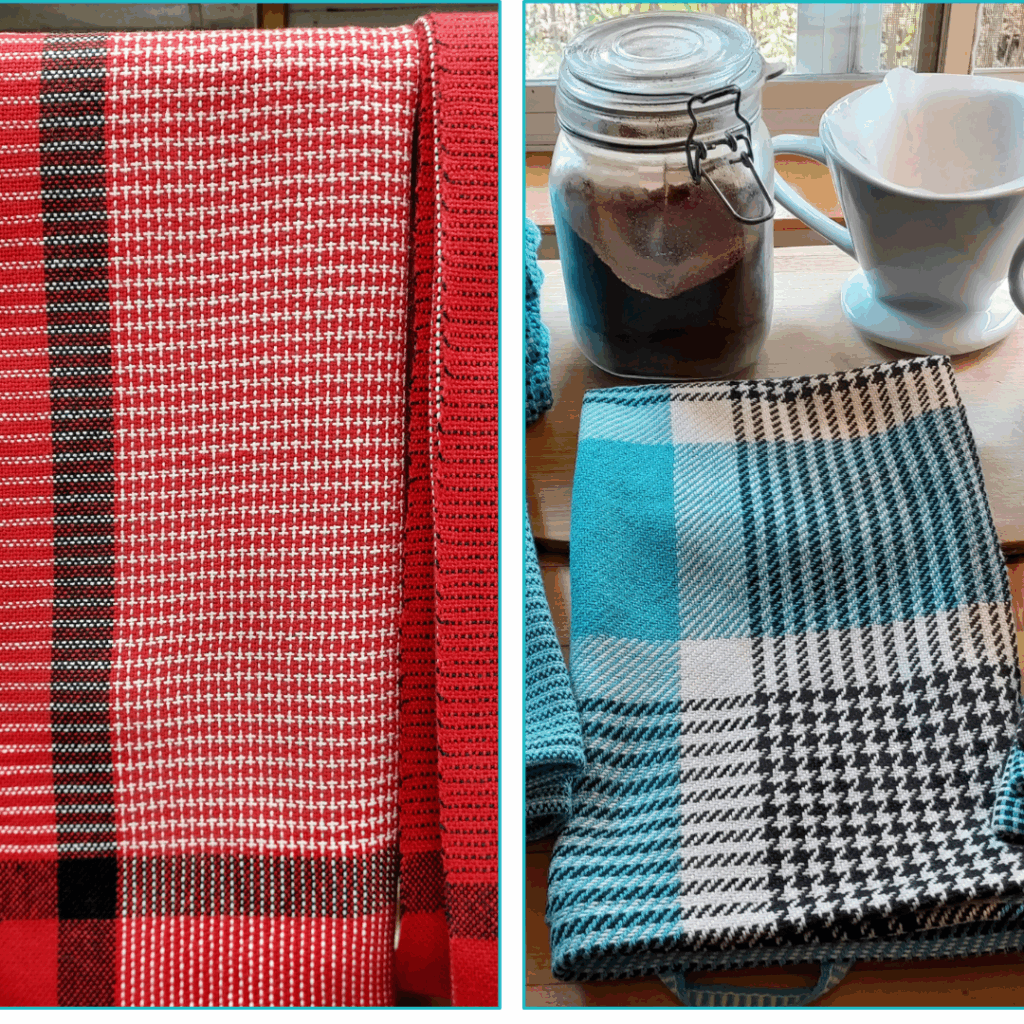
3. Modify the Scale
Small changes in yarn weight or sett can dramatically affect the scale of your pattern. Want something bold and graphic? Go with thicker yarn and a looser sett. Prefer something more delicate? Use finer yarns and a tighter sett. Don’t be afraid to experiment!

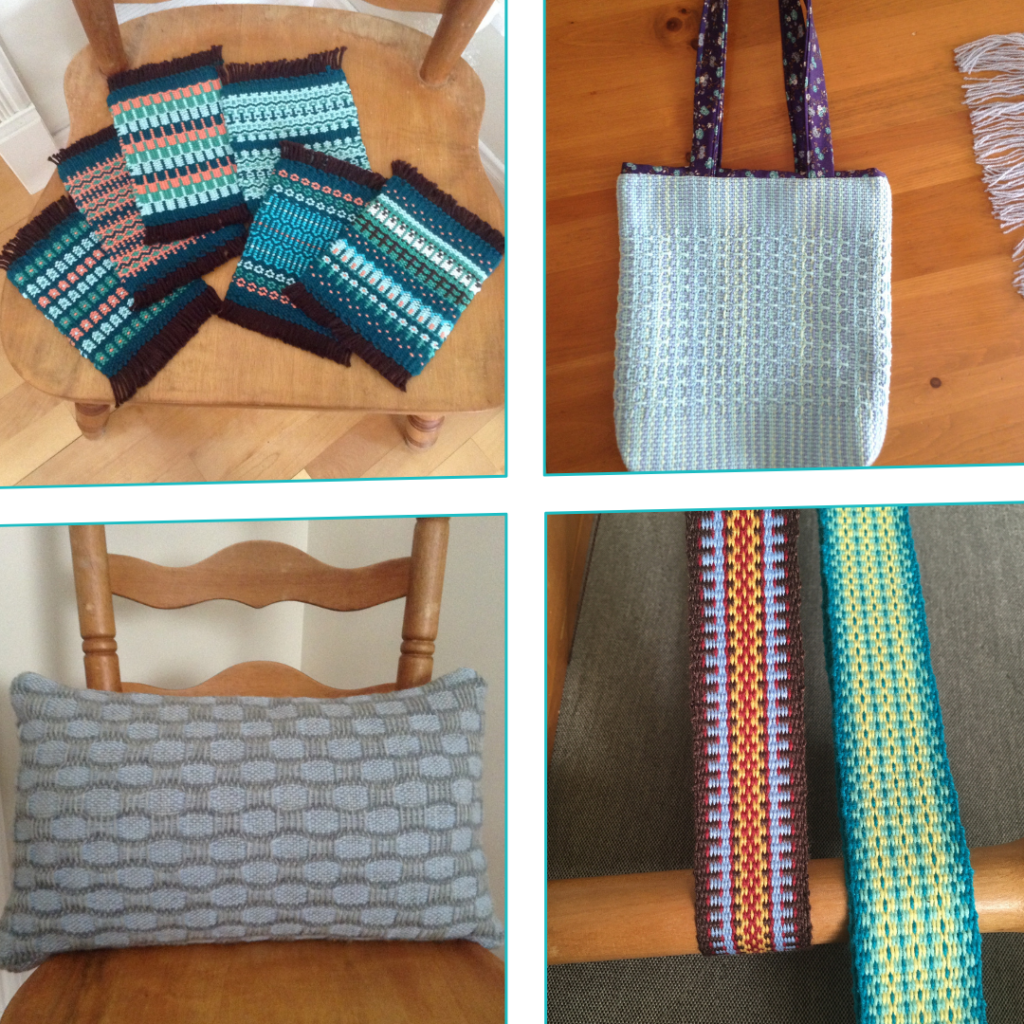
4. Add Embellishments
Rya knots, fringe, beads, or embroidery stitches can add a pop of personality to even the most traditional pattern. Embellishments are a great way to tell your own story or highlight a favorite part of the design. A little detail can go a long way.

5. Mix It Up
Combine different patterns, techniques, or structures to create something totally new. Maybe you add a stripe of plain weave to break up a complex pattern, or alternate sections of different color schemes. You’re not limited to what’s on the page—your loom is your canvas.

Ready to Make a Pattern Your Own?
Want to dive even deeper and see more to inspire? Check out this blog post showcasing some of the incredible student work that inspired this guide—and see just how beautifully a pattern can transform in the hands of a creative weaver!
Check out my design store for digital download patterns and ebooks for a variety of weaving disciplines.
Until next time…
Happy Weaving!
*This post contains affiliate links. For more information please see my disclosure policy.