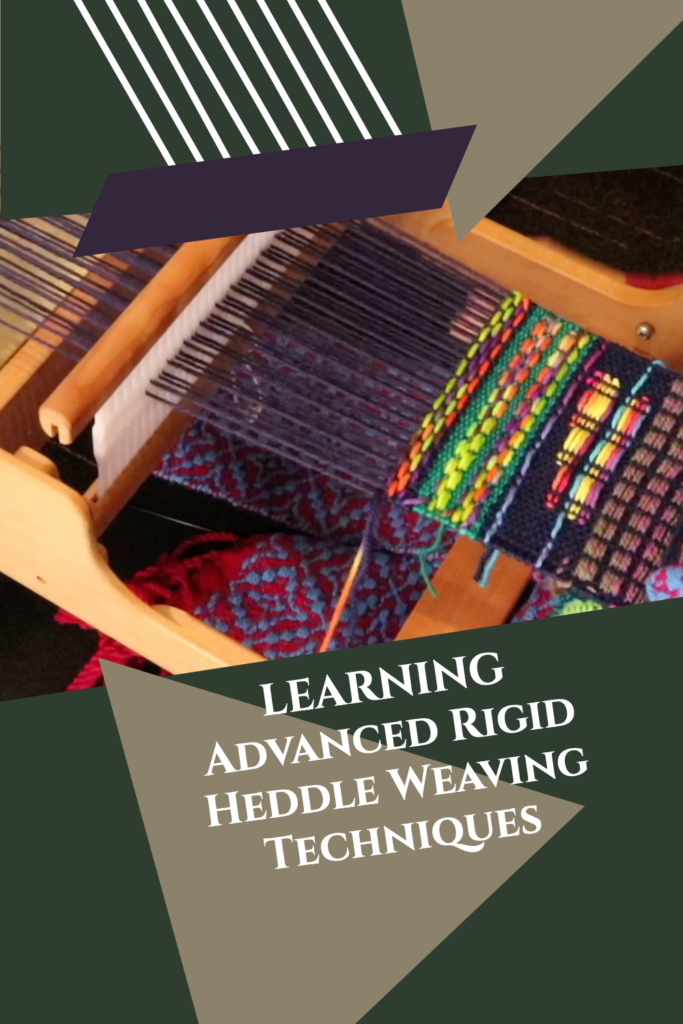
The rigid heddle loom is often celebrated as a beginner-friendly weaving tool, but don’t let its simplicity fool you—it’s a versatile loom capable of producing intricate and advanced designs. In this article, we’ll dive into advanced rigid heddle weaving techniques that will elevate your weaving skills and inspire your next project.
Double Heddle Weaving
What It Is:
Double heddle weaving allows you to expand the capabilities of your rigid heddle loom, enabling you to weave with finer threads, create double-width fabrics, or experiment with more complex patterns.
How It Works:
- Add a second heddle to your loom and thread your warp through both heddles. The exact threading will depend on what you want to do.
- With two heddles, you can weave a fabric with a doubled sett. Or you can use the extra heddle for additional patterning possibilities. Or you can weave double width, even tubular! There are so many options!
Possible Applications:
- Patterned scarves or shawls.
- Double width blankets or throws.
- Table linens with finer threads.
Tips for Success:
- Practice warping with two heddles on a small project before tackling larger designs. Consider making just a sample to start with using inexpensive yarn.
- Follow a quality class or PDF instructions to ensure correct threading and to give you a roadmap.
Resources:
Weaving with Two Heddles (online class)
Plaid Blanket Double Width Ebook
Diamond Stripe Towels PDF Pattern
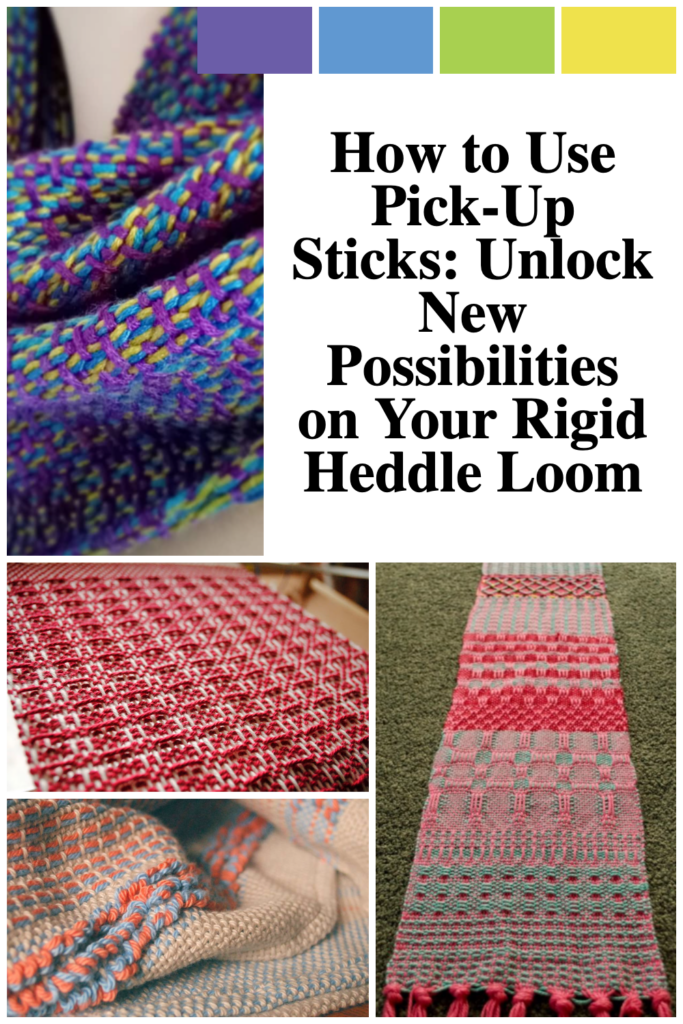
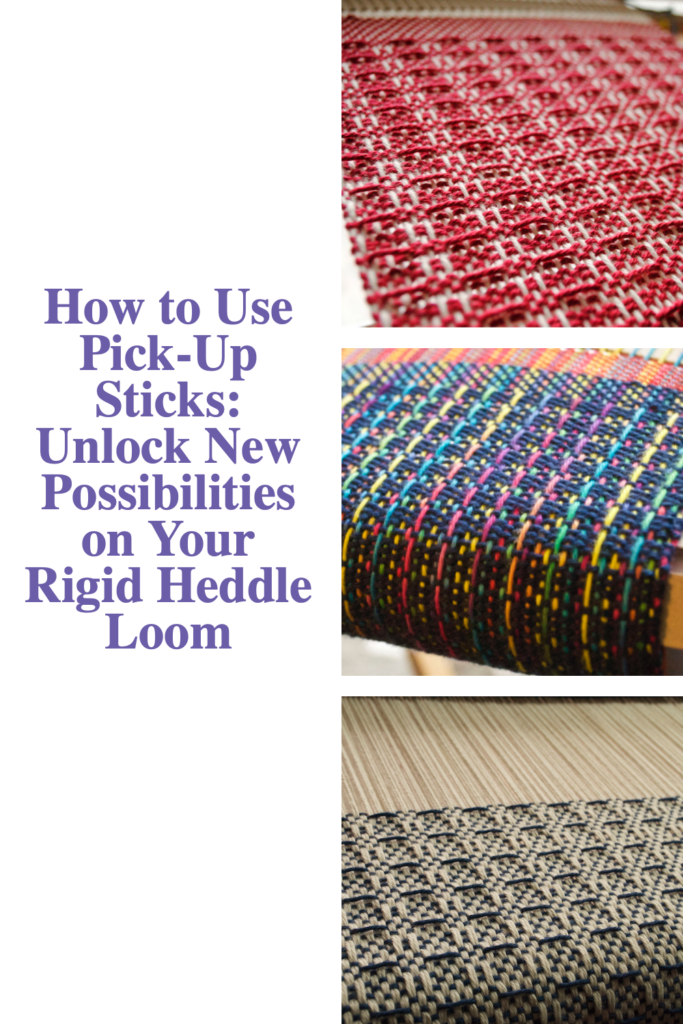
Pickup Stick Patterns
What It Is:
Pickup sticks allow you to create intricate patterns like lace, floats, and supplemental weft designs by selectively raising warp threads.
How It Works:
- Insert a pickup stick behind the heddle, with the heddle in the down position and lift specific threads to form a pattern.
- Combine pickup patterns with plain weave for added texture.
- As you become familiar with the pick up stick you may want to add more. You can then learn to use heddle rods to enable multiple pick up stick configurations.
- You can also use a pick up stick with your heddle in neutral to pick up warp threads in front of the heddle for branoe/overshot style weaving.
Possible Applications:
- Table runners with decorative borders.
- Wall hangings featuring geometric designs.
Tips for Success:
- Experiment with a sampler to understand how different pickup patterns work. There are so many different arrangements and patterns to explore. All you need is a plain weave sample and a pick up stick to get started.
- Keep notes on the sequence of your designs and take photos for future projects.
Resources:
Converting Pattern Drafts to the Rigid Heddle Loom online class
Pick Up Perfection online class
Supplementary Weft and Warp Techniques
What It Is:
Supplementary techniques involve adding extra threads to the warp or weft to create designs that stand out against the background weave.
How It Works:
- Use a shuttle or yarn butterfly to weave additional threads into specific sections of the fabric.
- These threads can be in contrasting colors or textures for added dimension.
- For the warp, you can plan the supplementary threads as part of the warping process, but they are frequently added after the loom is warped. They can be threaded where desired and weighted over the back of the loom, making them independent of the warp and easy to manipulate.
Possible Applications:
- Embellished shawls or scarves.
- Highlighting specific motifs in larger textiles.
- Making unique designs.
Tips for Success:
- Keep the supplementary threads loose enough to avoid puckering the fabric.
- Experiment with different weights and types of yarns (ribbon can be beautiful!)
- If you need to weight supplementary warps at the back of the loom, these “S” hooks are perfect.
Resources:
Exploring Lace Weaves
What It Is:
Lace weaving techniques like leno or Brooks Bouquet create open, airy patterns that are perfect for lightweight, decorative fabrics.
How It Works:
- Most lace techniques are finger controlled and worked on a plain weave background. Some also use a pick up stick.
Possible Applications:
- Curtains, scarves, or table linens.
- Projects that benefit from a delicate, decorative touch.
- Lace weaves make wonderful scarves and shawls.
Tips for Success:
- Many lace weaves have a large amount of draw in so be sure to factor that in before starting your project.
- Lace can be slow to weave up, as much of the manipulation is manual. Don’t let that put you off though, the results are worth the effort!
Resources:
Lovely and Lacy online workshop
The Garden Path Scarf PDF pattern
The Farmer’s Market Bag PDF pattern
All about finger controlled techniques
More Than Two Heddles
What It Is:
Most rigid heddle looms have enough space to fit 3 heddles, enabling the weaver to weave 4 shaft patterns.
How It Works:
- Use a double heddle block to hold the first 2 heddles. Use a single heddle block along with spring clamps to hold the 3rd heddle for threading. The 3rd heddle can then be suspended by the warp after tie on.
Tips for Success:
- This is an advanced technique so be patient with your learning journey. Understand that the threading for the 3 heddles can be configured to your own preferences and according to the weaving draft – there is not just one way to go about it.
- Sometimes a pick up stick will also need to be added to allow for a flow of the weaving.
- Your 3 heddles must all be the same size (dent).
Resources:
Three Heddle Adventures online course
Weaving 3 & 4 Shaft Patterns on a Rigid Heddle Loom
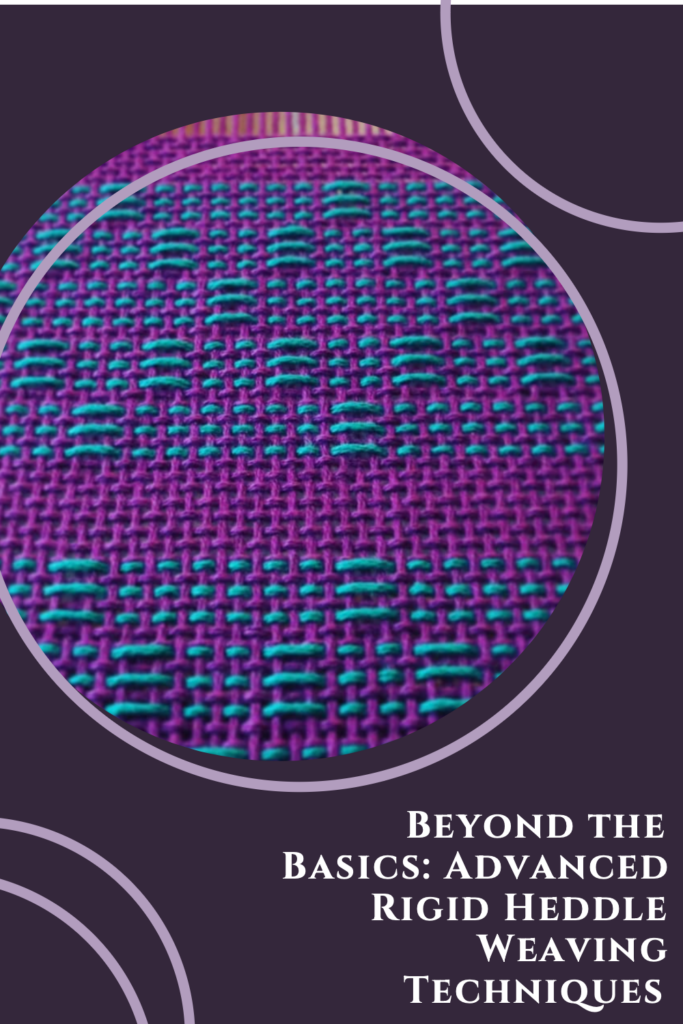
Combining Techniques for Unique Results
Weaving becomes really exciting when you start to combine techniques you have learned.
- Use color and weave to create pattern or highlight areas of your weaving
- Pair lace weaves with supplementary weft for a blend of texture and openness.
- Add a pickup stick to 3 heddles for even more patterning possibilities
- Pair a twill pattern with clasped weft
With these advanced techniques, your rigid heddle loom can become a powerful tool for crafting really unique and exciting woven pieces. Whether you’re creating wider fabrics, experimenting with lace, using a 3 or 4 shaft draft, or exploring color and texture, the possibilities are endless. Push your creative boundaries and take your weaving to the next level!
Until next time…
Happy Weaving!
*This post contains affiliate links. For more information please see my disclosure policy.