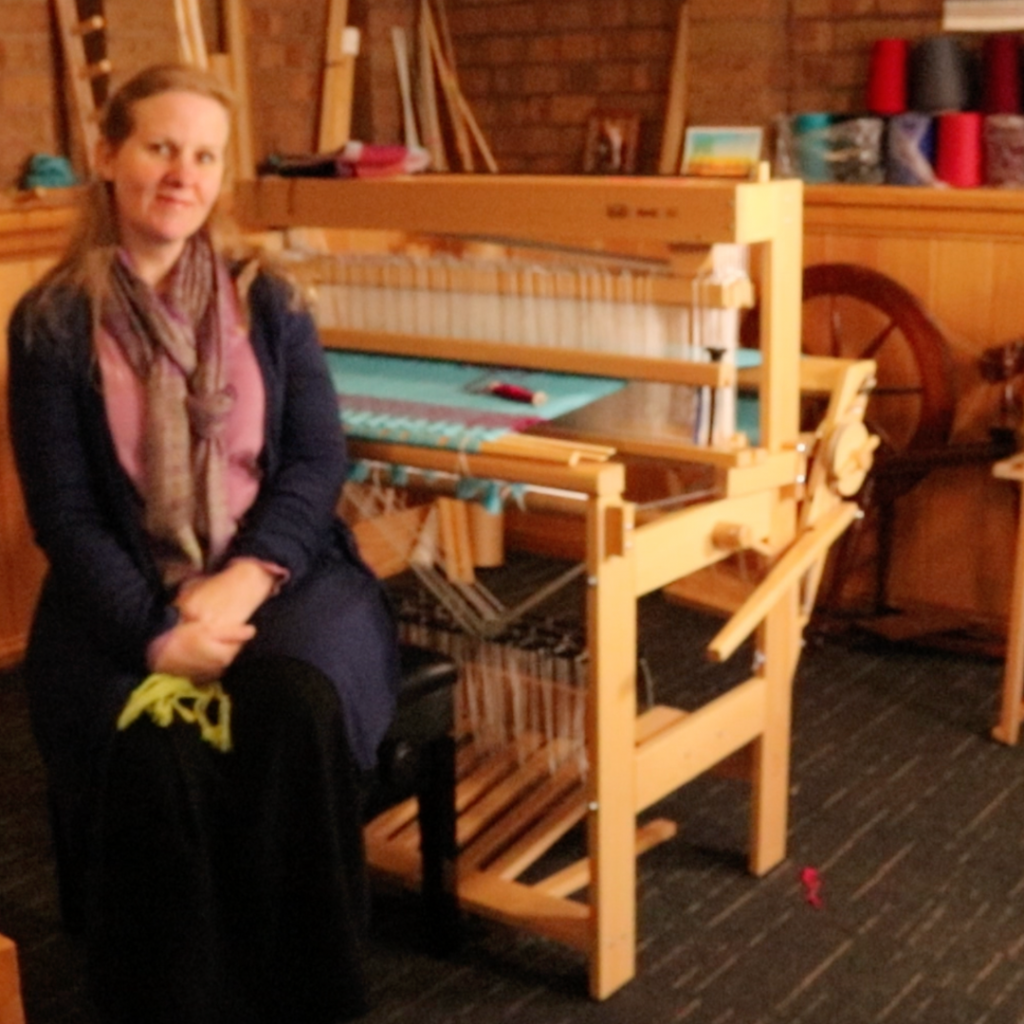
For those with a passion for creativity, the rigid heddle loom can be a tool that bridges the gap between artistry and craft. Whether you’re a fibre art novice or an experienced weaver looking for freedom, this versatile loom opens up endless possibilities for expression.
Here’s why rigid heddle looms are the perfect companion for creative souls:
1. Simplicity Meets Flexibility
Rigid heddle looms are delightfully simple. They’re approachable for beginners with minimal setup, yet they offer flexibility for more complex weaves. This combination gives creative minds the freedom to experiment without getting overwhelmed.
Once you have the basics down you can choose to either keep your rigid heddle weaving simple or expand in a multitude of ways.
- Perfect for Play: Quickly try new yarns, colors, and patterns. Many weavers will use a rigid heddle loom like a Sampleit to weave either small items (it’s wide enough to weave a scarf!) or just to try out new yarns, setts and patterns by simply sampling.
- Faster Gratification: Small projects can be finished in a day, sparking momentum for your next idea. A rigid heddle loom is super fast to warp and thread, letting you get to the weaving quickly!
2. Portable Weaving Freedom
For those who see creativity as a lifestyle, portability is key. Rigid heddle looms come in a great variety of sizes and the smaller ones are compact and lightweight, making them ideal for:
- Creating at home (even if you’re lacking space), on vacation, or during creative retreats.
- Weaving wherever inspiration strikes—your studio, living room, or garden.
- Taking your loom out to guild or weaving group meet ups
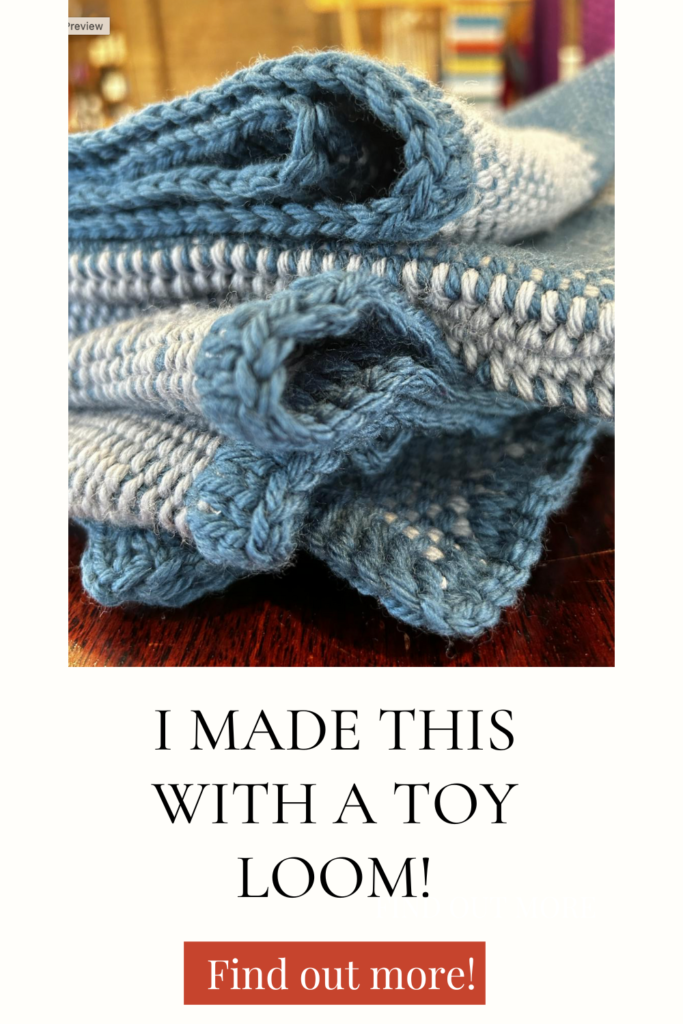
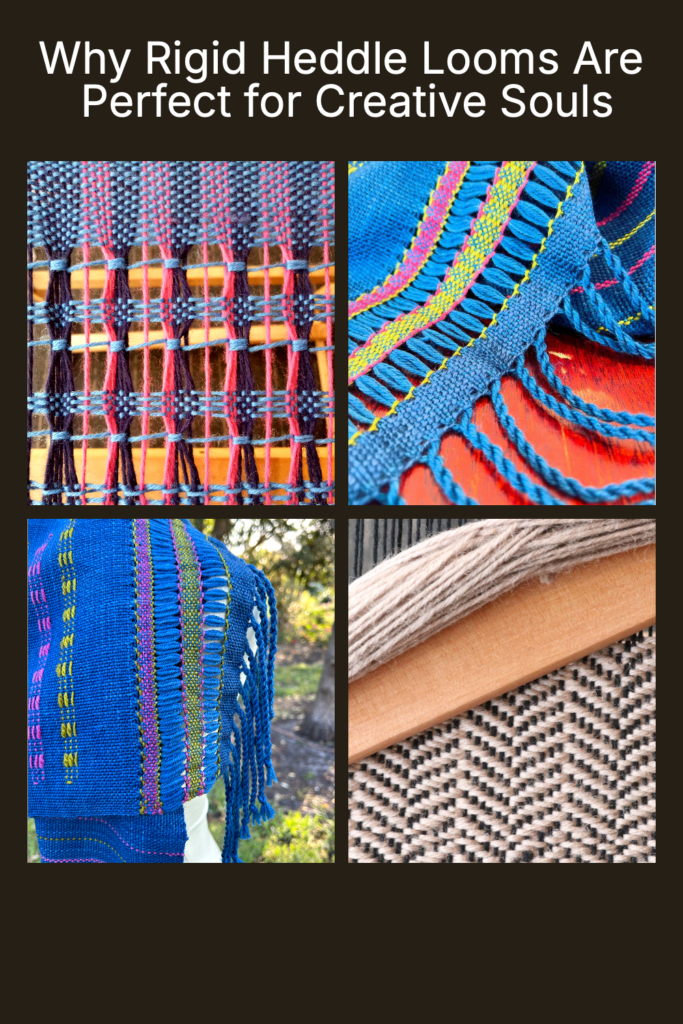
3. A Canvas for Color and Texture
Rigid heddle looms provide so much opportunity for experimentation with colour, texture, and yarn. They’re a dream for fibre artists who:
- Love mixing hand-dyed yarns, textures, or even unconventional materials.
- Enjoy colorwork techniques like stripes, gradients, and clasped weft weaving.
- Love the idea of weaving with their handspun yarn
Your loom becomes a blank canvas ready to showcase your artistic flair, however that may look for you!
4. Affordable and Accessible
Rigid heddle looms are among the most budget-friendly looms available, making them perfect for creatives who want to dip their toes into weaving without a hefty investment. With only a starter rigid heddle loom, shuttle, and some yarn, you’re ready to create.
Rigid heddle looms are used by many weavers who have mental or physical disabilities as they are so accessible.
Rigid heddle looms have great resale value. If you find that weaving is not for you, you decide to upgrade or your circumstances change, it is not hard to find a keen buyer.
5. Endless Room for Growth
Creative souls crave new challenges. The rigid heddle loom grows with you:
- Simple Techniques: Start with plain weave. You can begin with solid coloured yarn or switch it up with different colours or variegated yarn.
- Building Skills: Explore colour and weave. Add pick-up sticks, hand-manipulated lace, or tapestry-style accents.
- Advanced Exploration: Try double heddle weaving for more complex patterns. You can even weave with three or more heddles or make extra shafts with pick up sticks and/or heddle rods.
6. Mindful Creativity
Weaving on a rigid heddle loom is a soothing, meditative process. The rhythmic movement of the heddle and shuttle creates a sense of peace and relaxation. Many weavers find that weaving helps them through difficult life periods as it switches their focus as they become immersed in the process.
- Calm your mind and relax after a busy day.
- Find joy in slowing down and savoring each thread you weave.
7. Small Loom, Big Potential
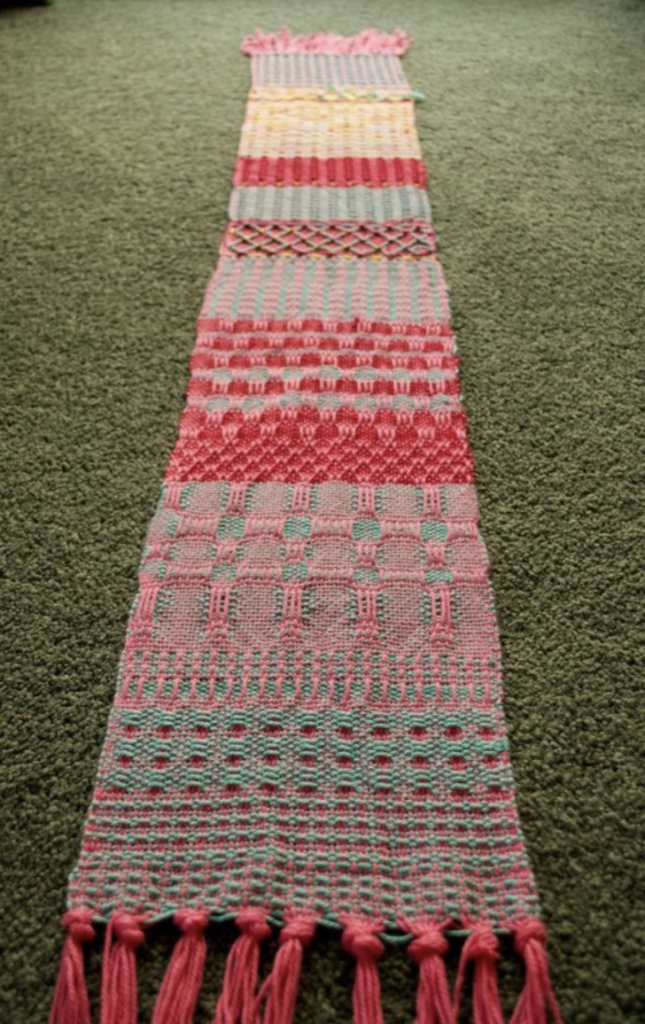
Rigid heddle looms encourage small projects that inspire big ideas. Scarves, wall hangings, table runners, or even fabric yardage—every project becomes a mini-experiment in design.
A huge variety of yarns can be used with a rigid heddle loom. I usually recommend that new weavers start out with some inexpensive and simple knitting wool around a dk weight, which is perfect for the 7.5 or 8 dent heddle that comes with your loom.
Knitting yarns are very accessible, whether you purchase online or in a physical store and the choices for colour and style are massive.
Unleash Your Inner Artist
Whether you’re a painter, knitter, a maker of all kinds, or don’t even consider yourself to be creative, rigid heddle weaving invites you to think outside the box and inside the loom. Let your creativity flow as you blend fibers, colors, and techniques into one-of-a-kind masterpieces.
Ready to try weaving? A rigid heddle loom might just become your next favourite creative tool. I have so many resources to get you started!
Check out my best selling Beginner Rigid Heddle Weaving Online Course to learn all about your rigid heddle loom and weave a beautiful placemats project from start to finish.
“Kelly, thank you very much for this course. I watched a trillion of free youtube tutorials before deciding to take your course. All is in the details! For so many little problems a beginner can meet you are giving explanations and solutions. Much worth its money.”
Frieda
_________________________________________________________________________________________
You will also find many helpful articles to explore right here.
And don’t forget to check out my Youtube channel for hundreds of rigid heddle beginner friendly videos:
Until next time…
Happy Weaving!