If you missed lesson 8, you can find it here.
We’re really making progress now, sewing up the bag and getting close to finishing!
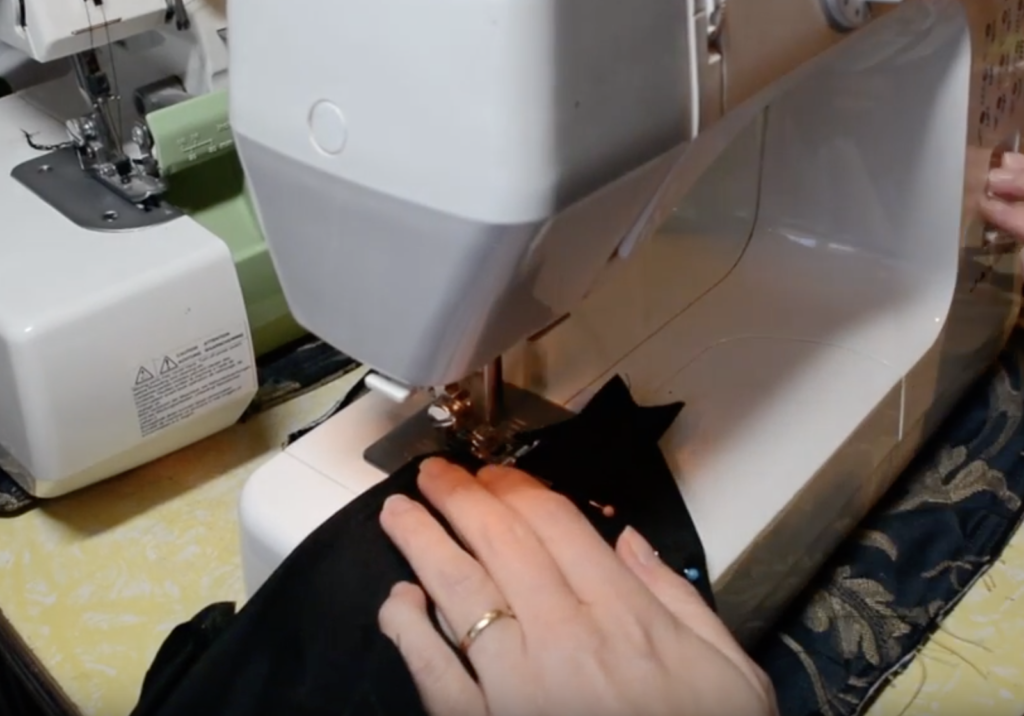
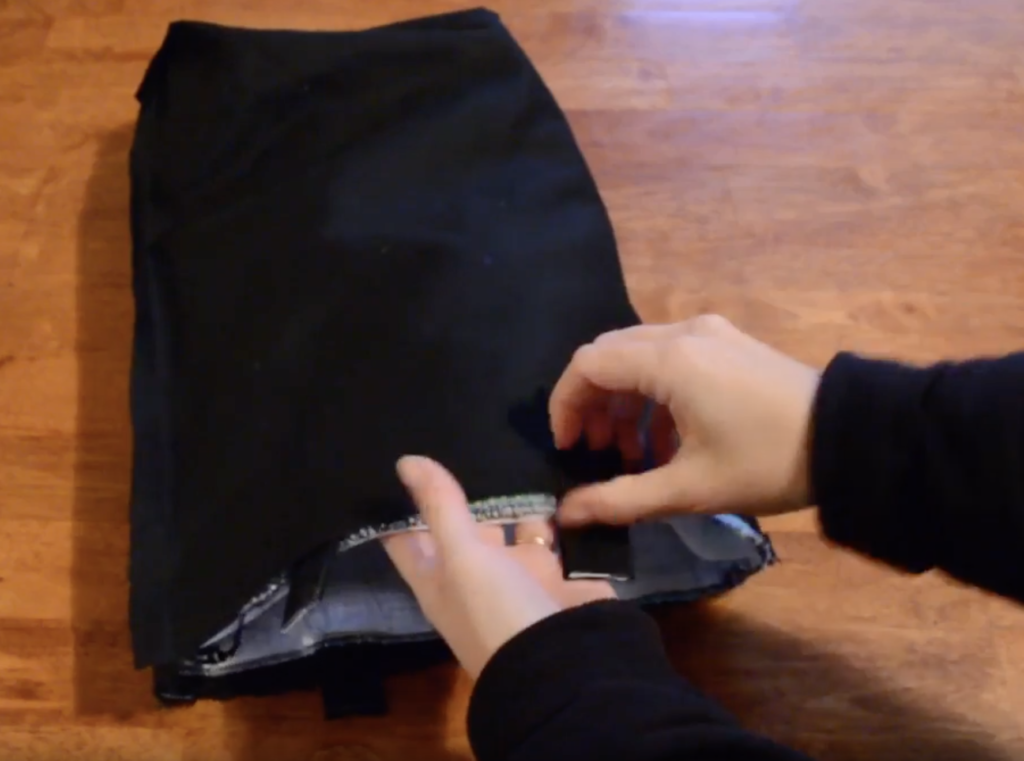
The lines that we pinned across the two bottom corners can now be sewn.
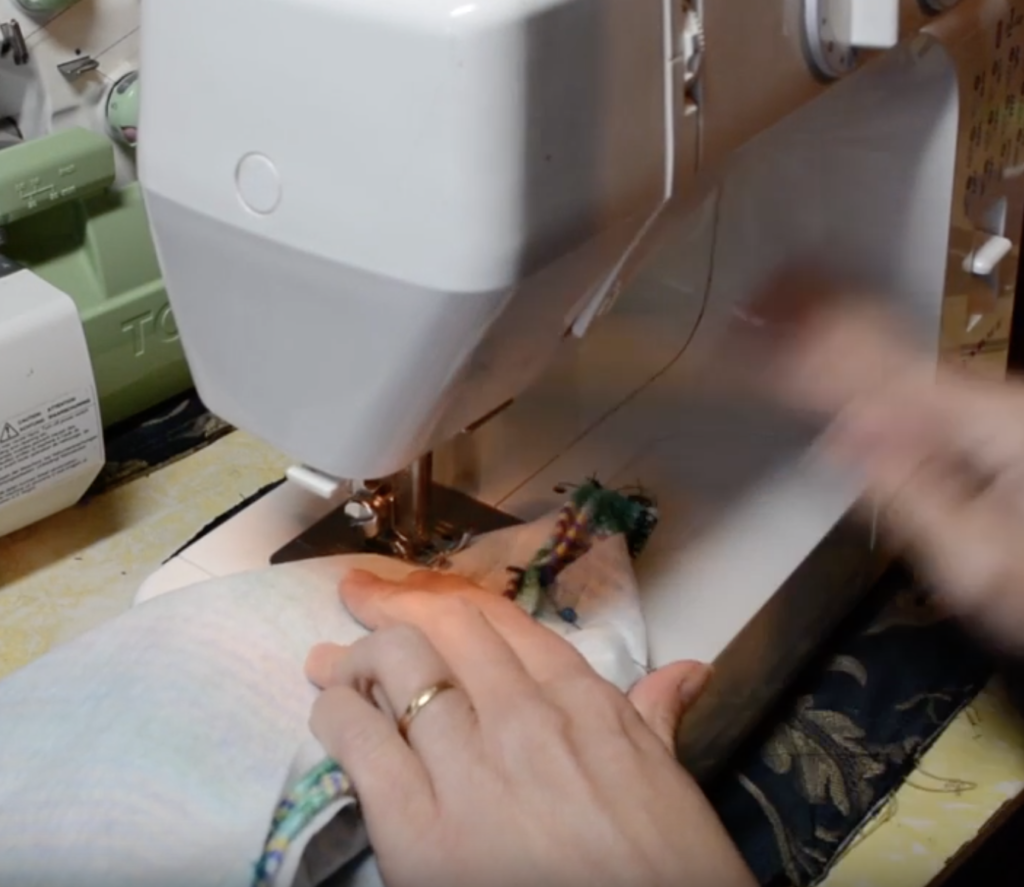
Sew straight across the corner, removing pins as you go and remembering to backstitch at each end for strong stitching. Repeat on the opposite corner.
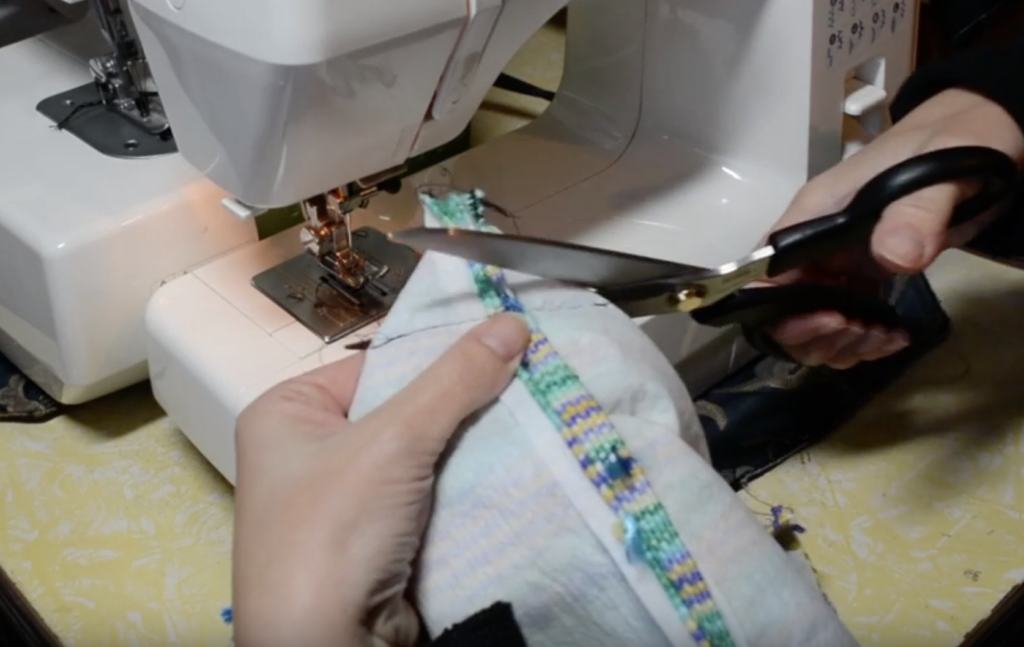
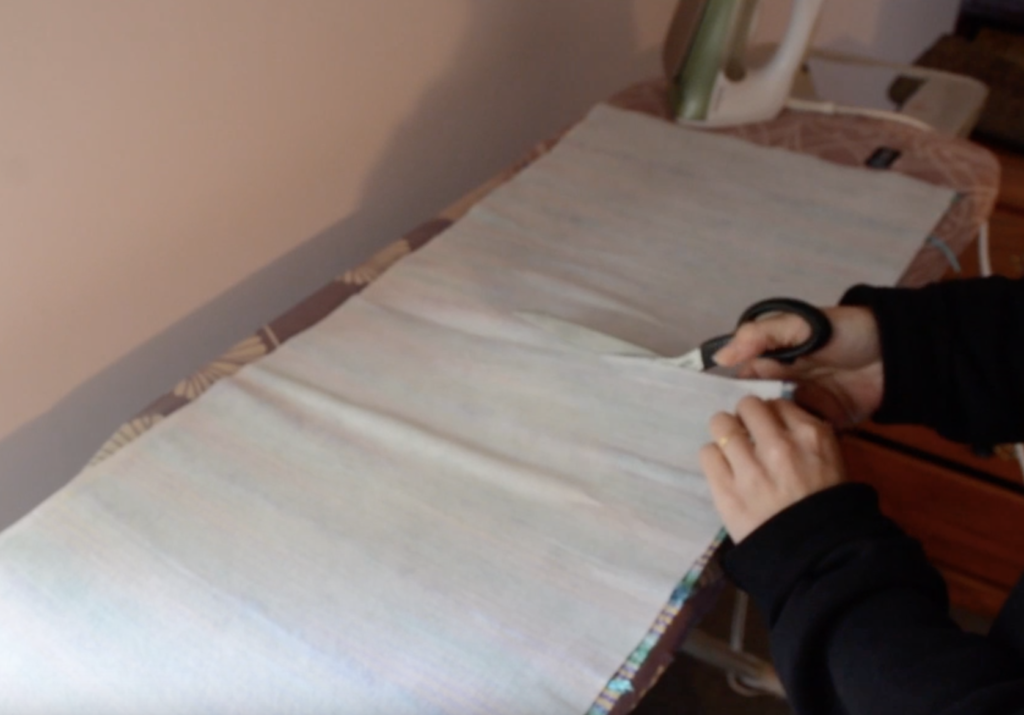
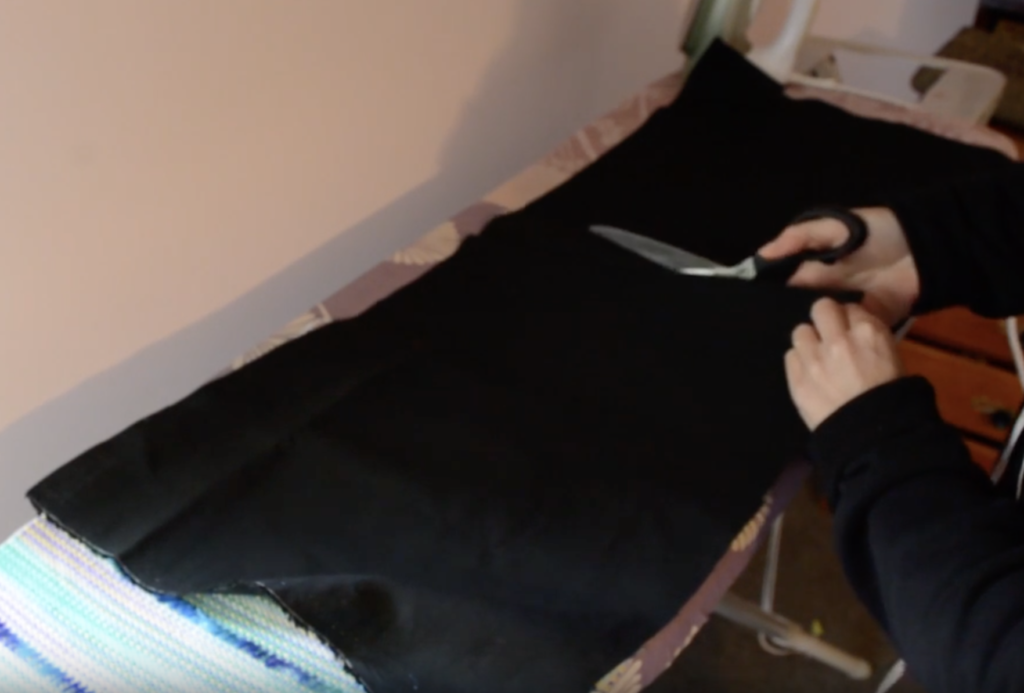
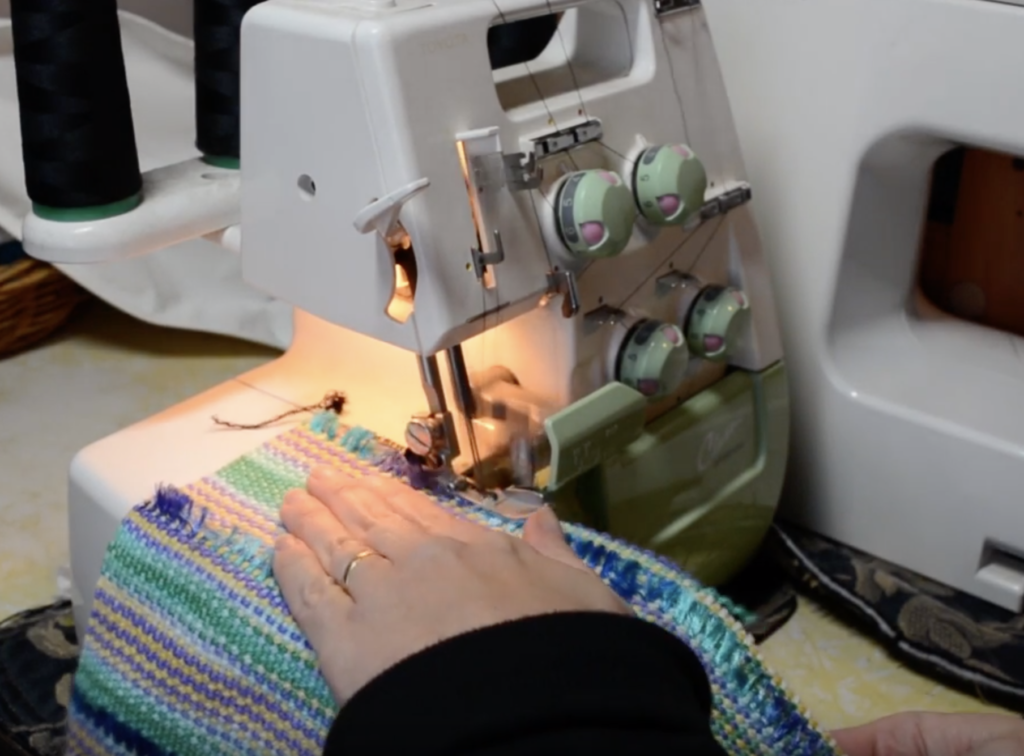
Cut off the excess fabric on the corner and either zigzag or serge the raw edge.
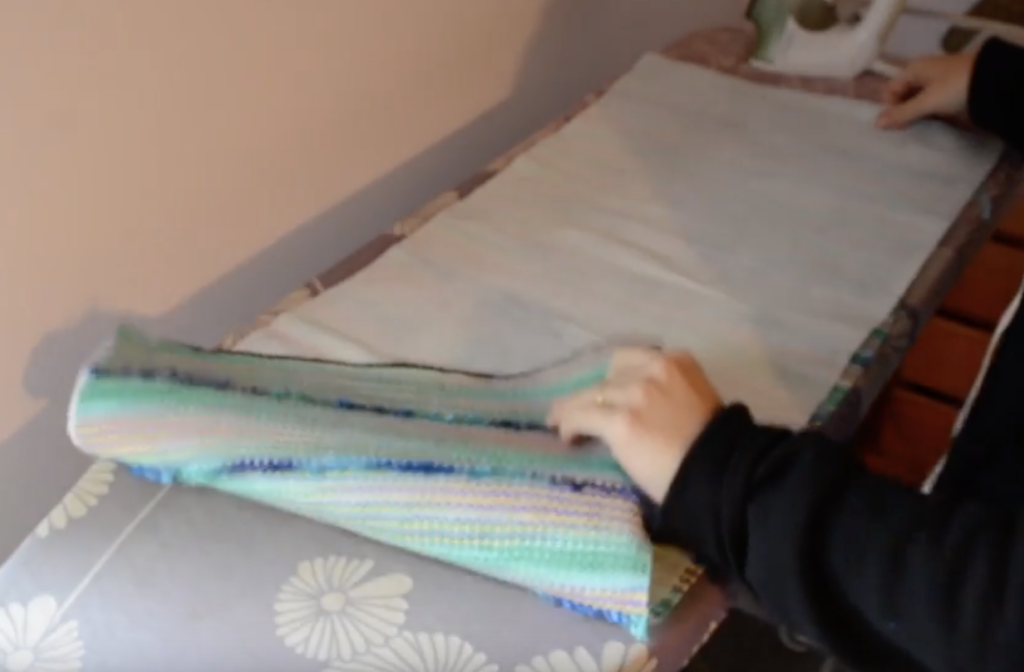
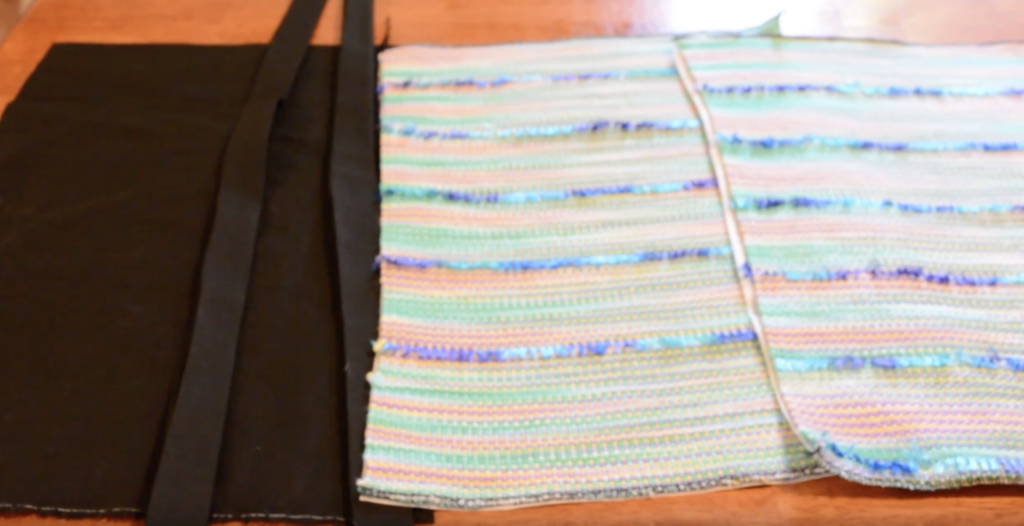
Now do the same with your prepared lining.
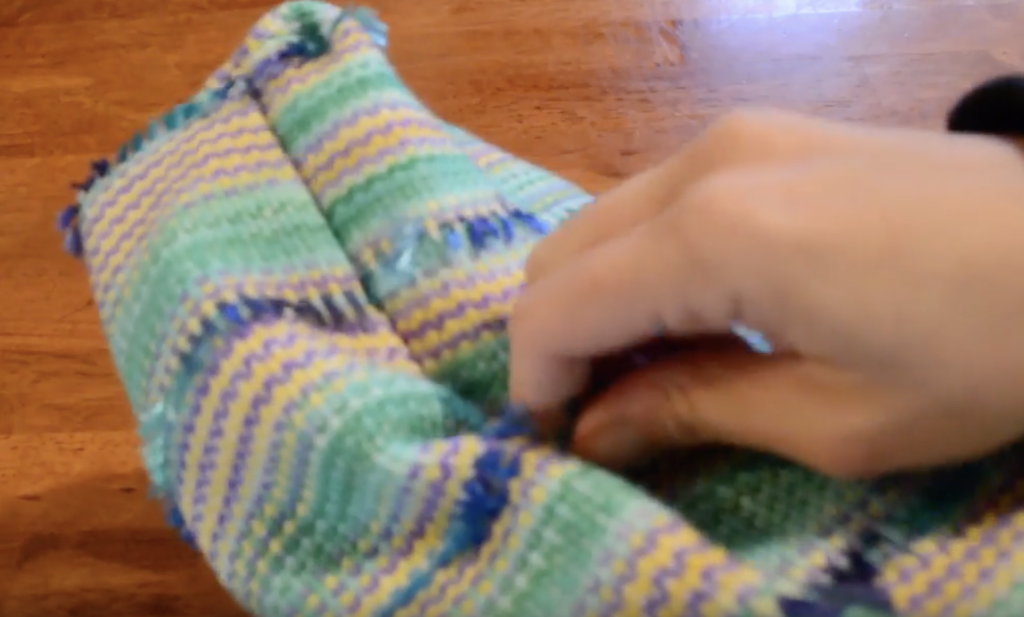
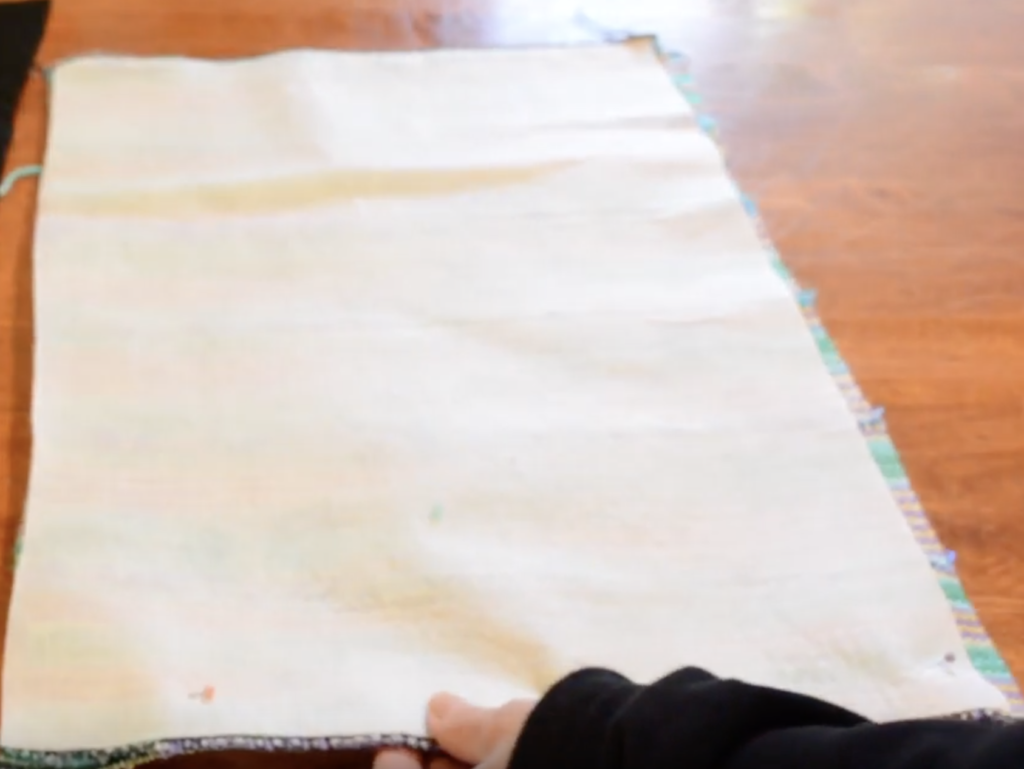
Take the bag and turn it the right way out, taking care to push out the corners with your fingers as you go.
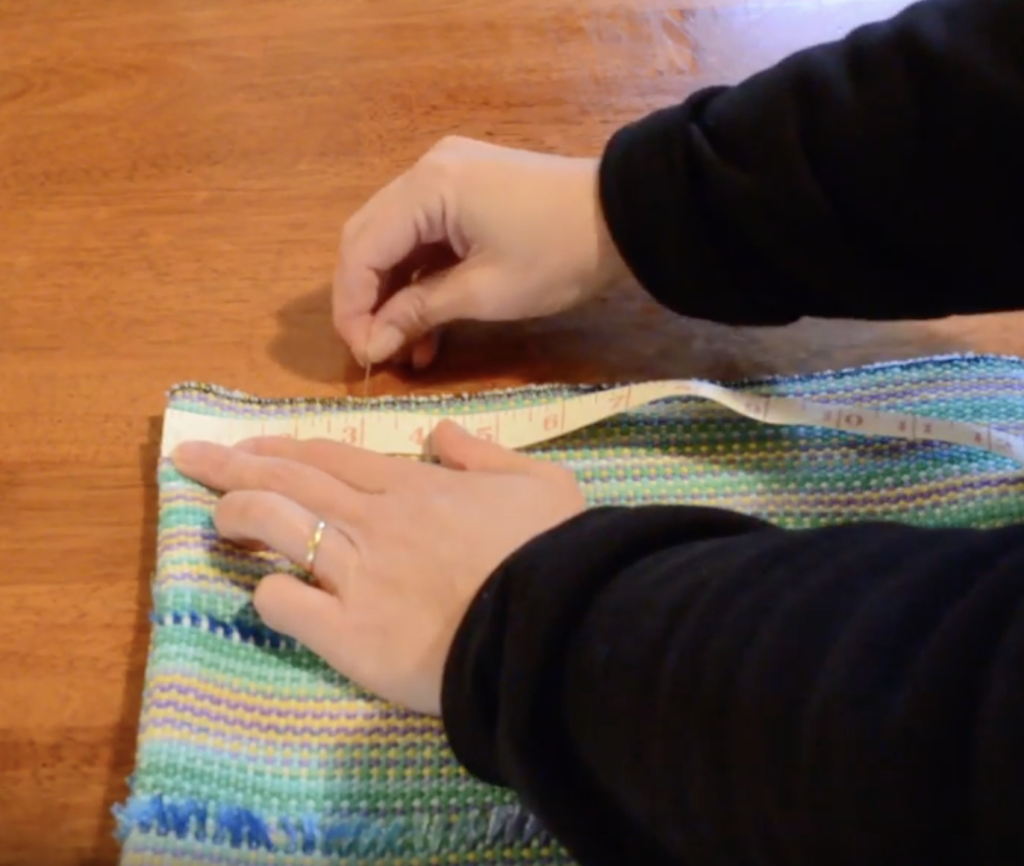
At the top of the bag, measure in approximately 3.5″ from one side and mark with a pin. Do the same from the other side.
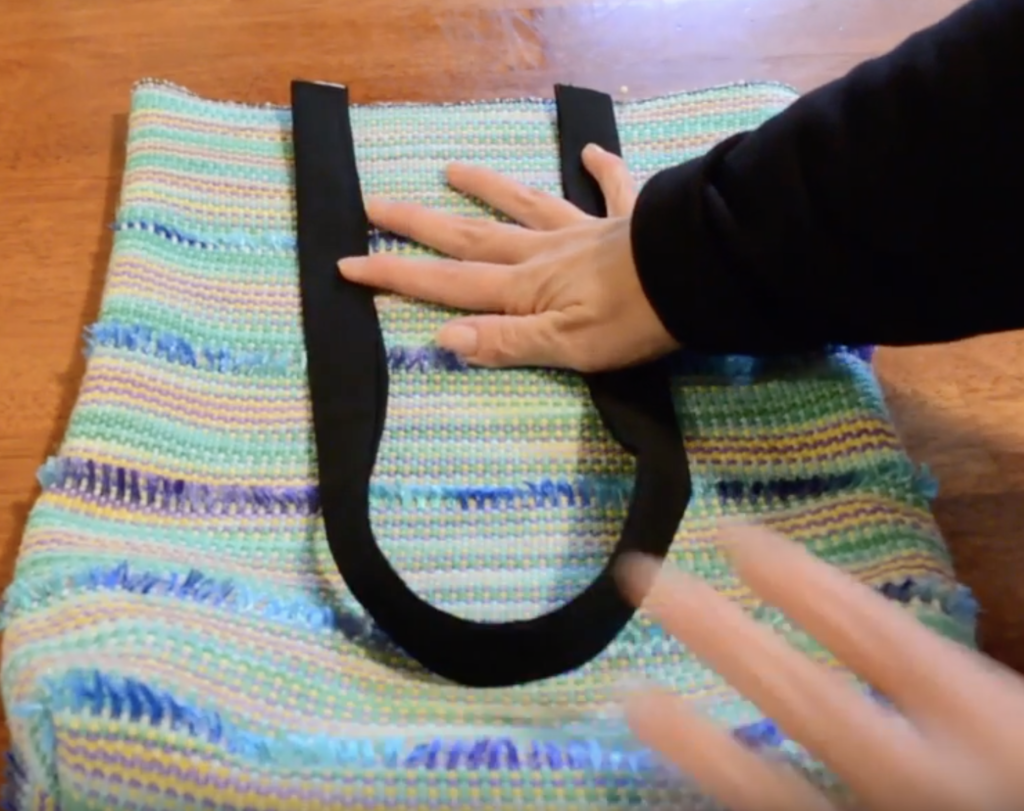

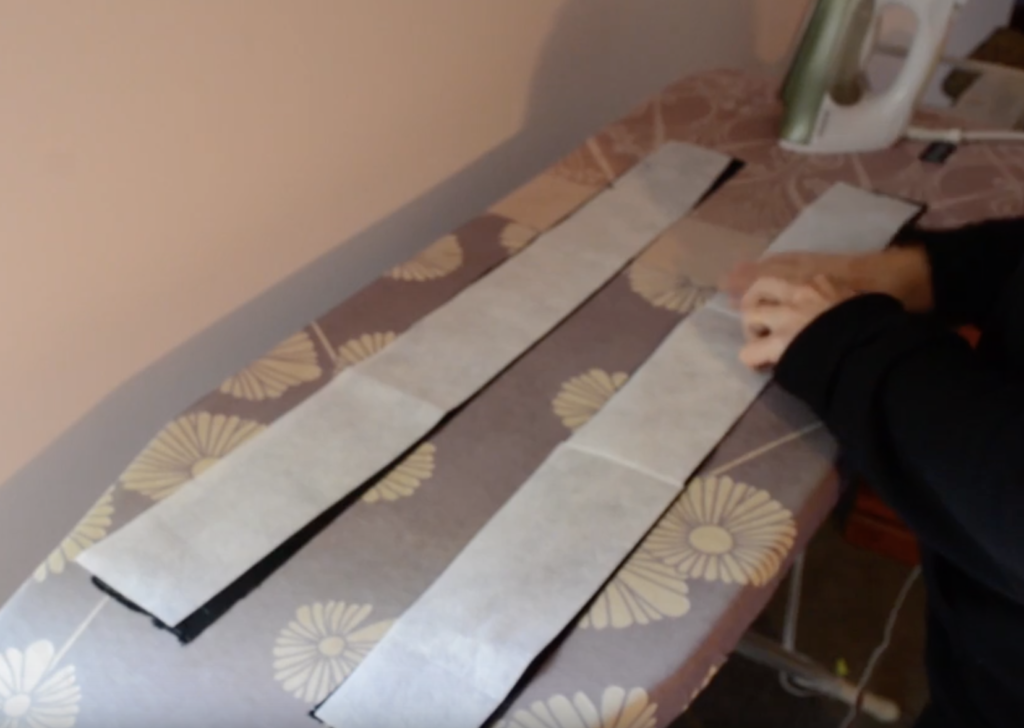
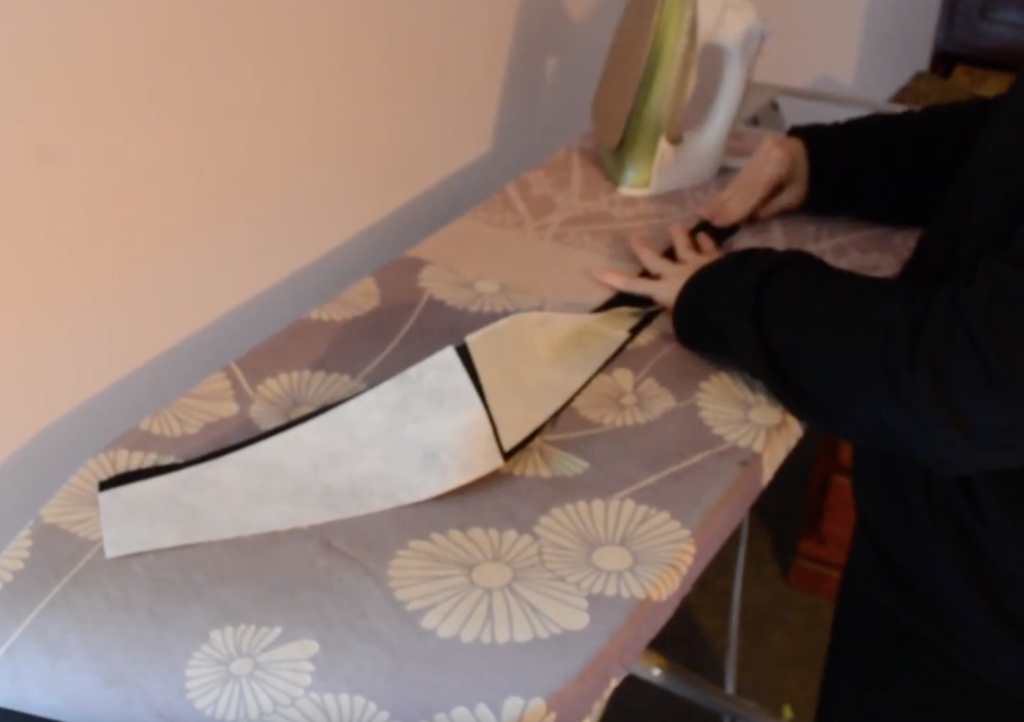
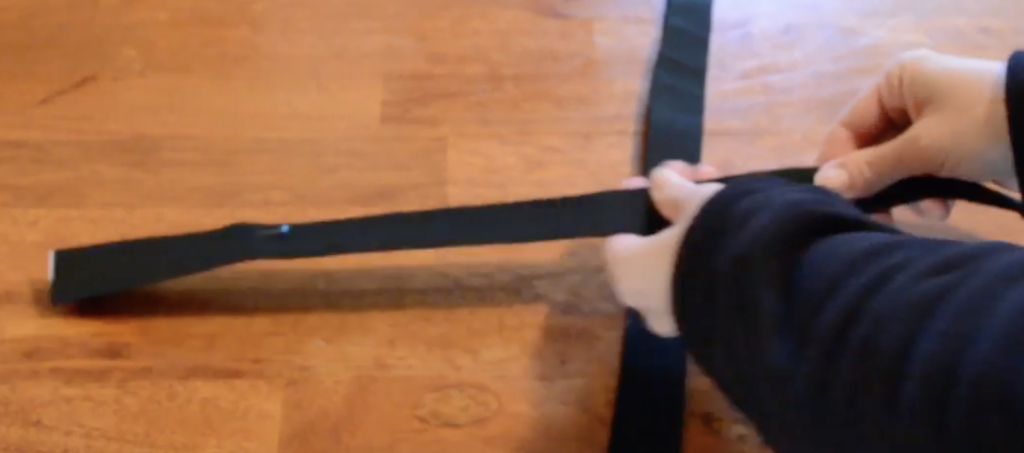
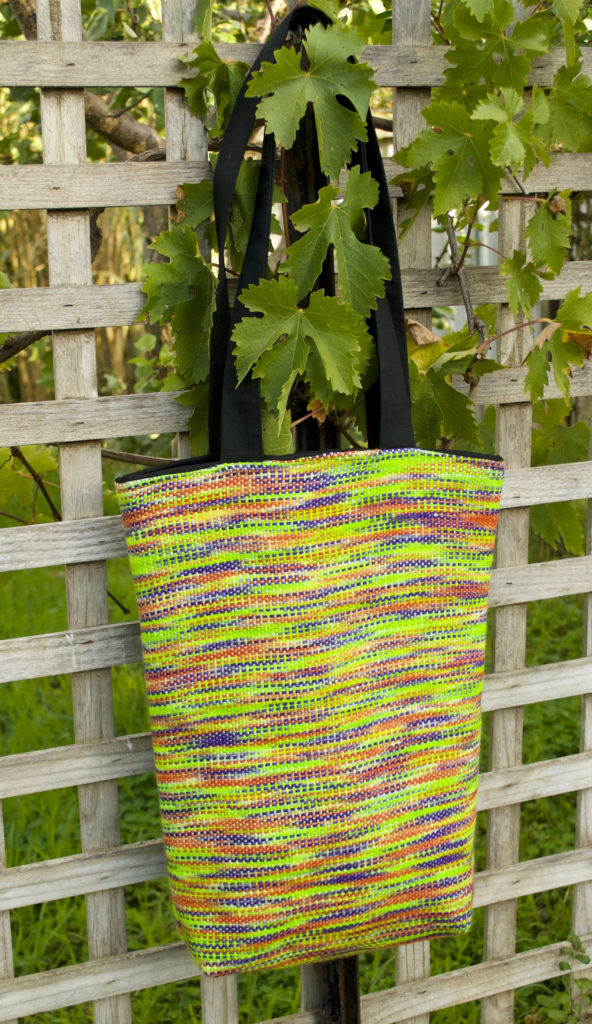
Place your bag handles with the raw edges meeting up with the top edge of the bag and lining up with the pins. Ensure your handles are not twisted. Pin the handles in place. Do the same on the other side of the bag for the opposite strap. Take the bag to the sewing machine and straight stitch across the top of all the straps, remembering to backstitch and remove pins as you go. This makes your handles stronger and keeps them in place while you move onto the next part of the bag.
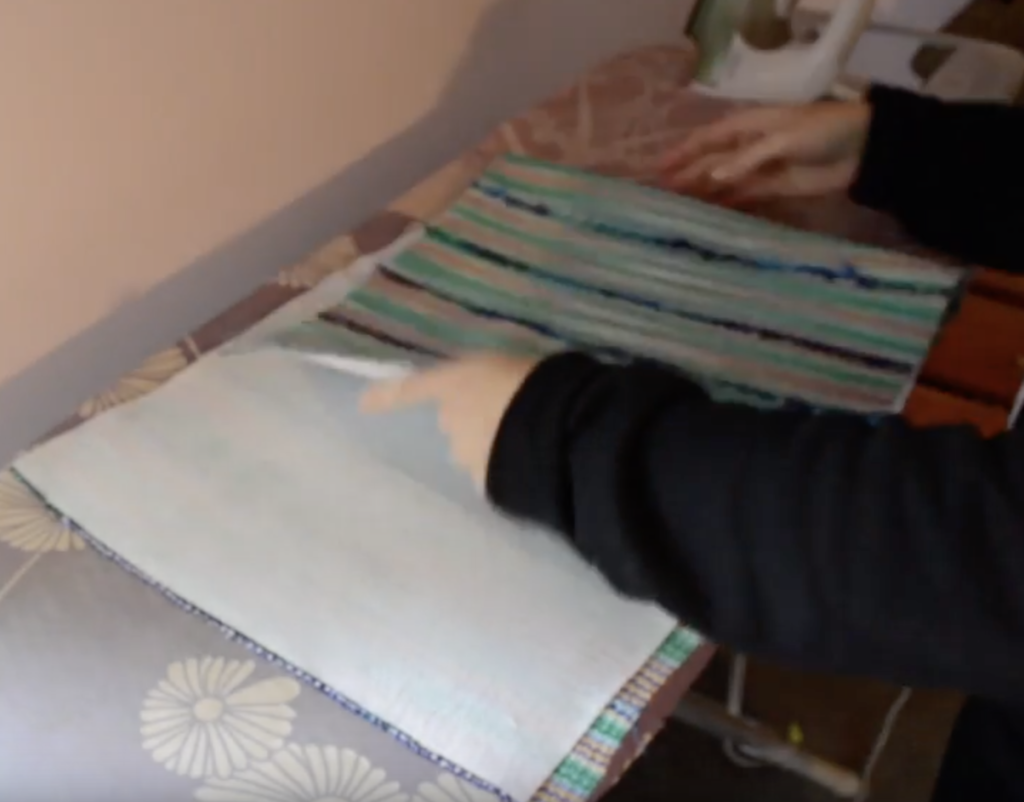
Put the main bag inside the lining. The lining should still be turned inside out – that way, the bag and the lining will have right sides facing when you put them together. Line up the side seams and make sure that the handles are tucked in, out of the way. Pin all around the top of the bag, keeping those side seams matched as much as possible.
You can view this entire lesson for free right here:
The next post will be the last lesson where we finish off sewing the bag.
I hope to see you then, and as always, leave me a comment if you have any questions!
Until next time…
Happy Weaving!