If you’re trying to decide between a rigid heddle loom and a table loom, you’re not alone. It’s one of the questions I’m asked most often by new weavers, and with so many looms available, it’s easy to feel unsure about which one is the right choice.
The good news is that there isn’t a “wrong” answer. Both rigid heddle and table looms are wonderful weaving tools, but they’re designed with different goals in mind. The best loom for you will depend on your budget, the types of projects you want to weave, and whether you’re looking for a simple introduction to weaving or you’re ready to explore more complex weave structures.
Having woven on both types of looms for many years and taught thousands of students around the world, I can honestly say that each has its own strengths. In fact, I started my own weaving journey on a rigid heddle loom before later moving on to a table loom and eventually floor looms. Every step has taught me something valuable.
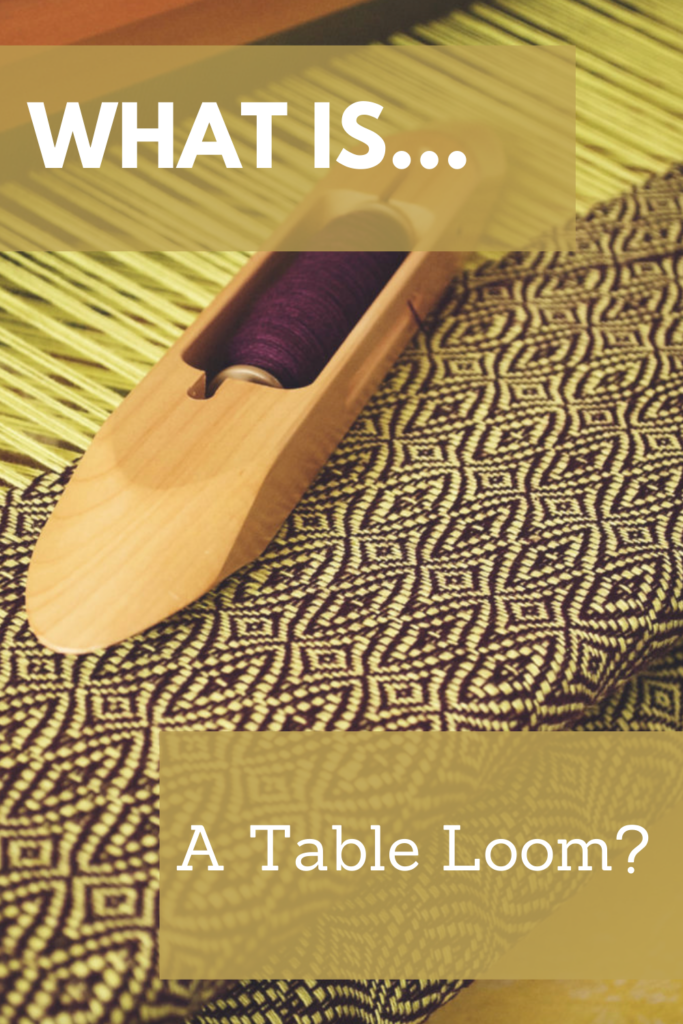
Rigid Heddle Loom vs Table Loom
In this article, I’ll compare the rigid heddle loom vs table loom, share the pros and cons of each, and help you decide which loom is the best fit for your weaving journey. Whether you’re buying your very first loom or thinking about upgrading, my hope is that you’ll finish this guide feeling confident in your decision.
This post contains affiliate links. If you purchase through these links, I may earn a small commission at no extra cost to you. Thank you for supporting my work and helping me continue to create free weaving tutorials and resources.
Before You Buy Your First Loom
If possible, my number one recommendation is to try weaving on a loom before you buy one. I know that isn’t always practical, but if you have a friend who weaves, a local weaving guild nearby, or a weaving retailer that offers demonstrations, it’s well worth taking the opportunity.
Spending even a short amount of time at a loom can tell you a lot about whether it feels comfortable and enjoyable to use.
When I was choosing my first loom, I kept coming back to three simple questions:
- How much does it cost?
- How easy is it to learn?
- What do experienced weavers recommend?
Like many beginners, I wasn’t ready to make a huge financial investment in a hobby I’d never tried before. I wanted a loom that was affordable, straightforward to use and highly recommended by people who already had experience.
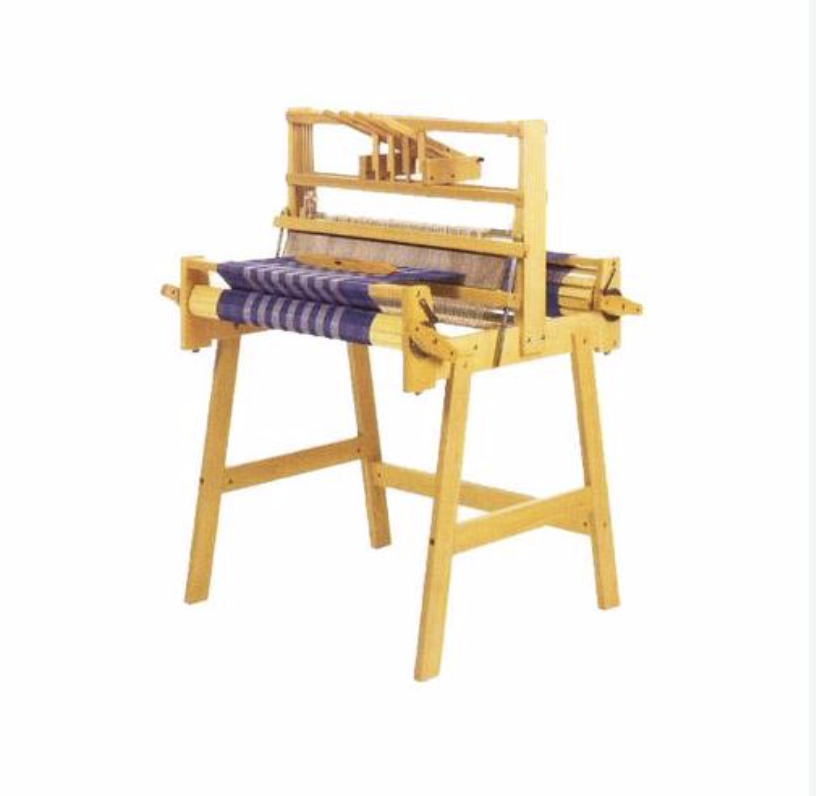
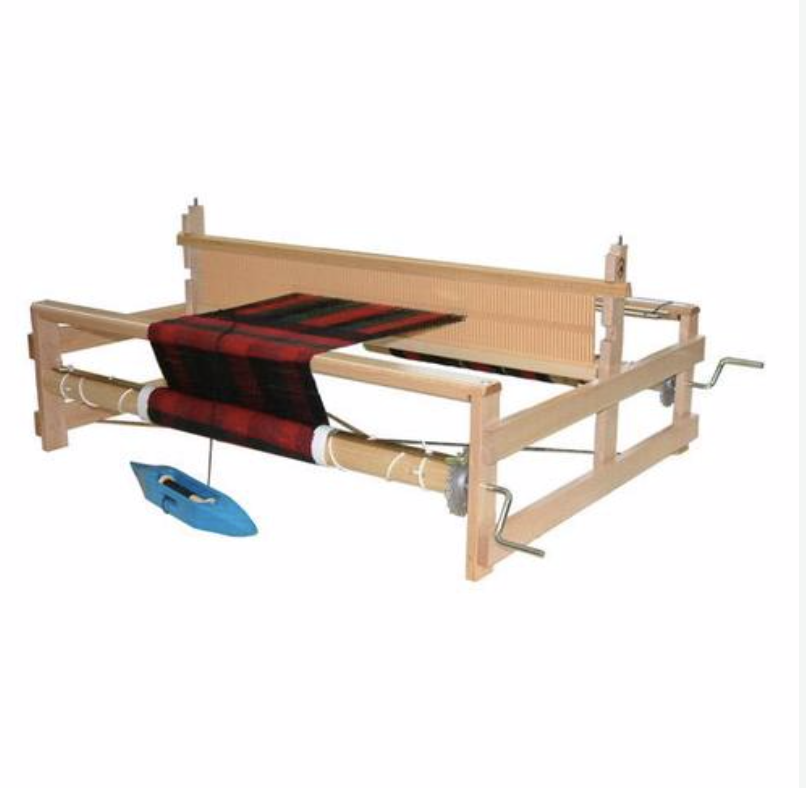
After plenty of research and chatting with other weavers, I chose the Ashford 24-inch Rigid Heddle Loom, and this turned out to be an excellent decision.
💡 If you’re still deciding, you may also find my First Loom Buyer’s Guide helpful, where I compare several popular loom types and explain who each one is best suited to.
Compared to a table loom, I could purchase both the loom and the stand for a fraction of the price. That meant I could start weaving without spending a small fortune, while still investing in a quality loom that I knew would last.
Looking back, I think it was the perfect first loom for me. As a complete beginner, the simple design wasn’t intimidating, and I could focus on learning the fundamentals of weaving rather than feeling overwhelmed by a more complex setup. It gave me the confidence to start creating beautiful projects right from the beginning, and that positive experience is one of the reasons I still recommend rigid heddle looms to so many new weavers today.

Another reason I chose a rigid heddle loom was its simplicity. I was a complete beginner. I could tell just by looking that it was less intimidating than a table loom. It was important to find a loom that would allow me to learn the basics. But without feeling overwhelmed by lots of moving parts and extra setup.
I also reached out to friends in the crafting community who already owned rigid heddle looms. Their positive experiences and recommendations gave me the confidence to take the plunge, and I’m so glad they did. Looking back, I don’t think I could have chosen a better loom to begin my weaving journey.
Of course, every weaver has different goals, and what suited me may not be the perfect choice for everyone. That’s why it’s helpful to understand the strengths and limitations of each loom before making your decision.
So, let’s take a look at the pros and cons of a rigid heddle loom based on my own experience after many years of weaving and teaching others how to weave:
Rigid Heddle Loom Pros
After many years of weaving on a rigid heddle loom and teaching thousands of students, these are the advantages that stand out to me the most.
Lightweight and Portable
One of the biggest advantages of a rigid heddle loom is how easy it is to move around. It’s lightweight enough to carry from room to room, take to workshops or weaving groups, or even pack for a holiday. If you don’t have a dedicated craft room, this flexibility is a huge bonus.
Beginner-Friendly
A rigid heddle loom is one of the easiest weaving looms to learn on. Like any new skill, it takes a little practice to become confident, but with good instruction, enthusiasm and regular weaving, you’ll be creating beautiful projects sooner than you might think.
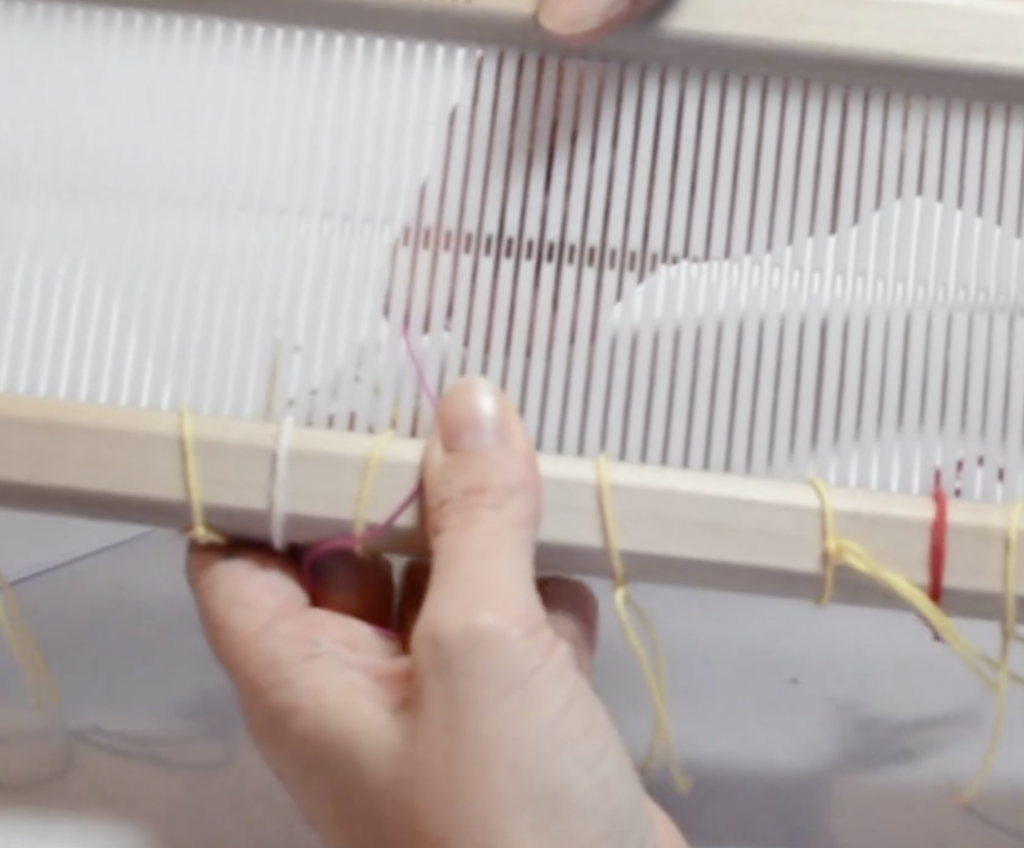
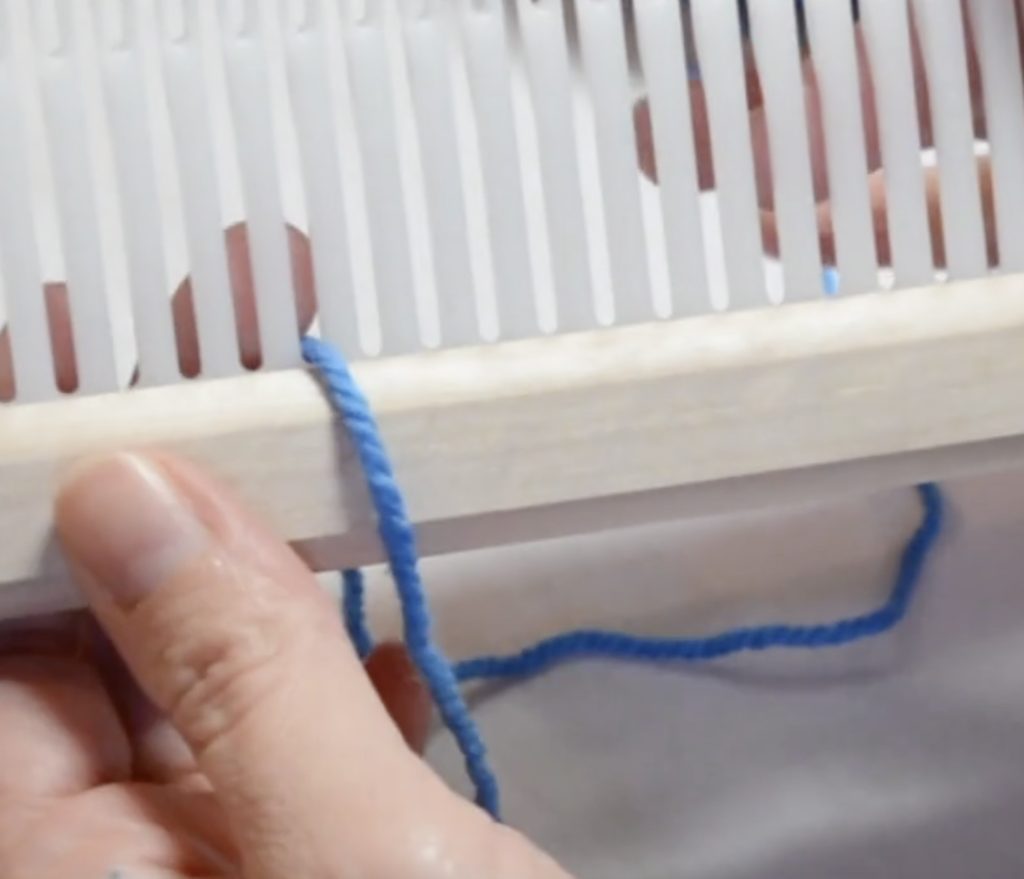
Quick to Warp and Start Weaving
One of the reasons I still enjoy weaving on a rigid heddle loom is that it’s very quick to direct warp and set up. Compared to multi-shaft looms, warping is straightforward, so you can spend less time preparing your loom and more time actually weaving.
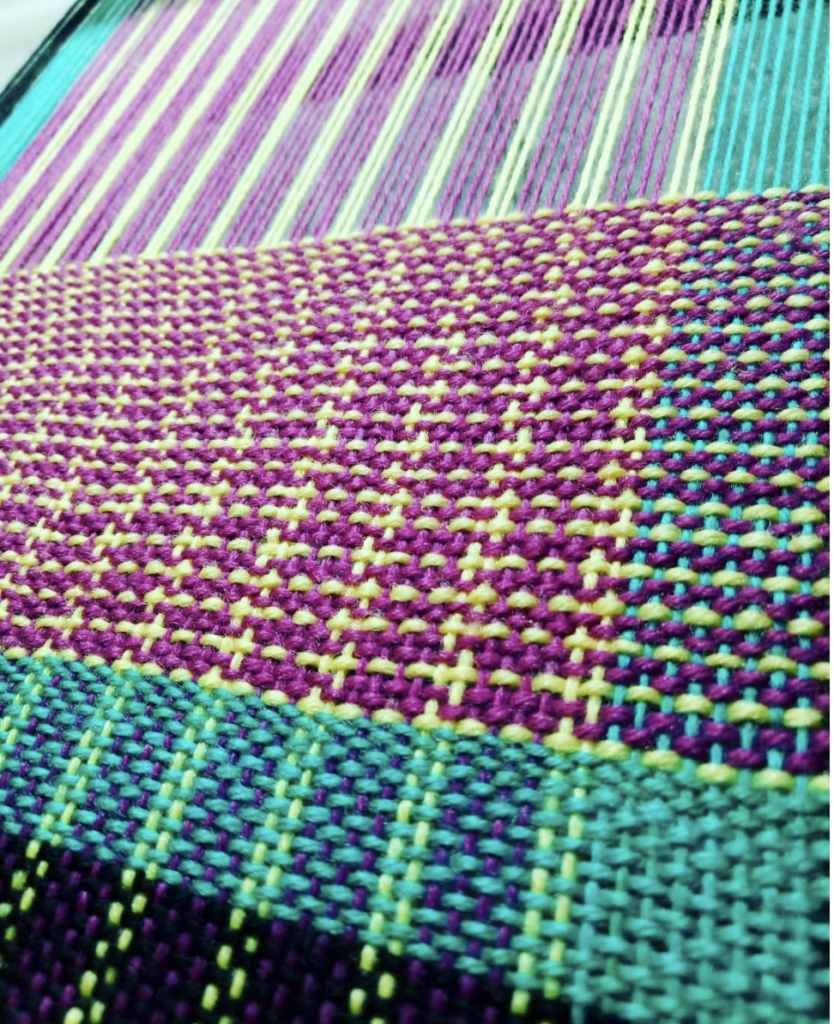
More Versatile Than You Might Think
Although a rigid heddle loom is technically a two-shaft loom, don’t let that fool you. There is so much more you can do than plain weave.
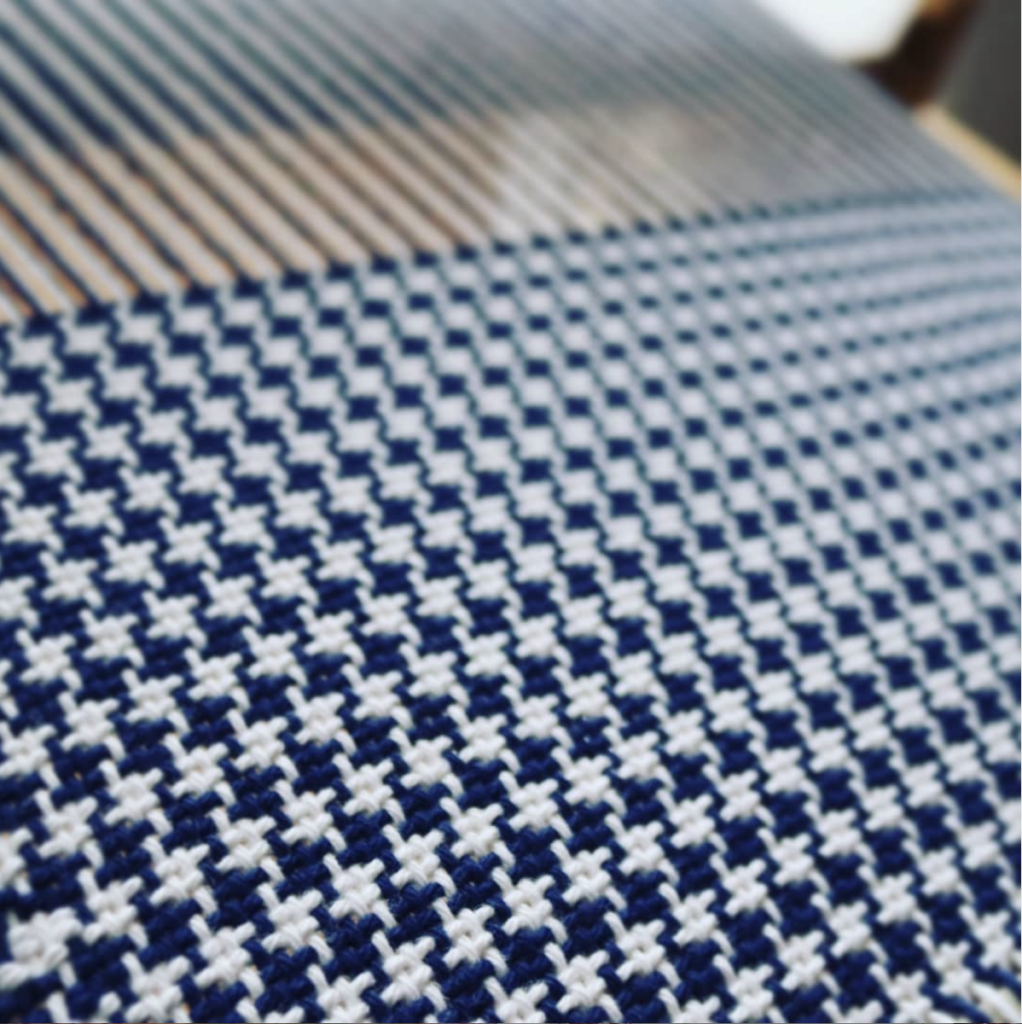
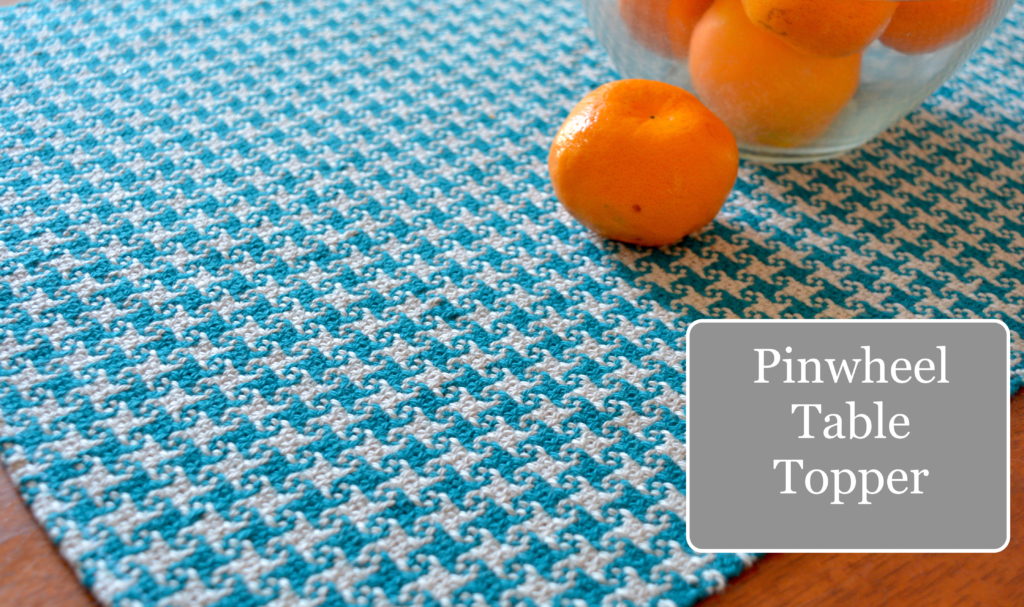
By using pickup sticks, heddle rods, second or third heddles and other simple techniques, you can weave a surprising variety of textured fabrics and even reproduce many three and four-shaft patterns.
If you’d like to explore these possibilities, I have dedicated resources that show you exactly how to:
- convert 3 and 4-shaft drafts for a rigid heddle loom
- weave four-shaft patterns using three heddles
- weave 3 and 4 shaft drafts on a rigid heddle loom
- master pick up sticks
Many weavers are amazed at just how capable a rigid heddle loom can be once they move beyond the basics.
Very Little Loom Waste
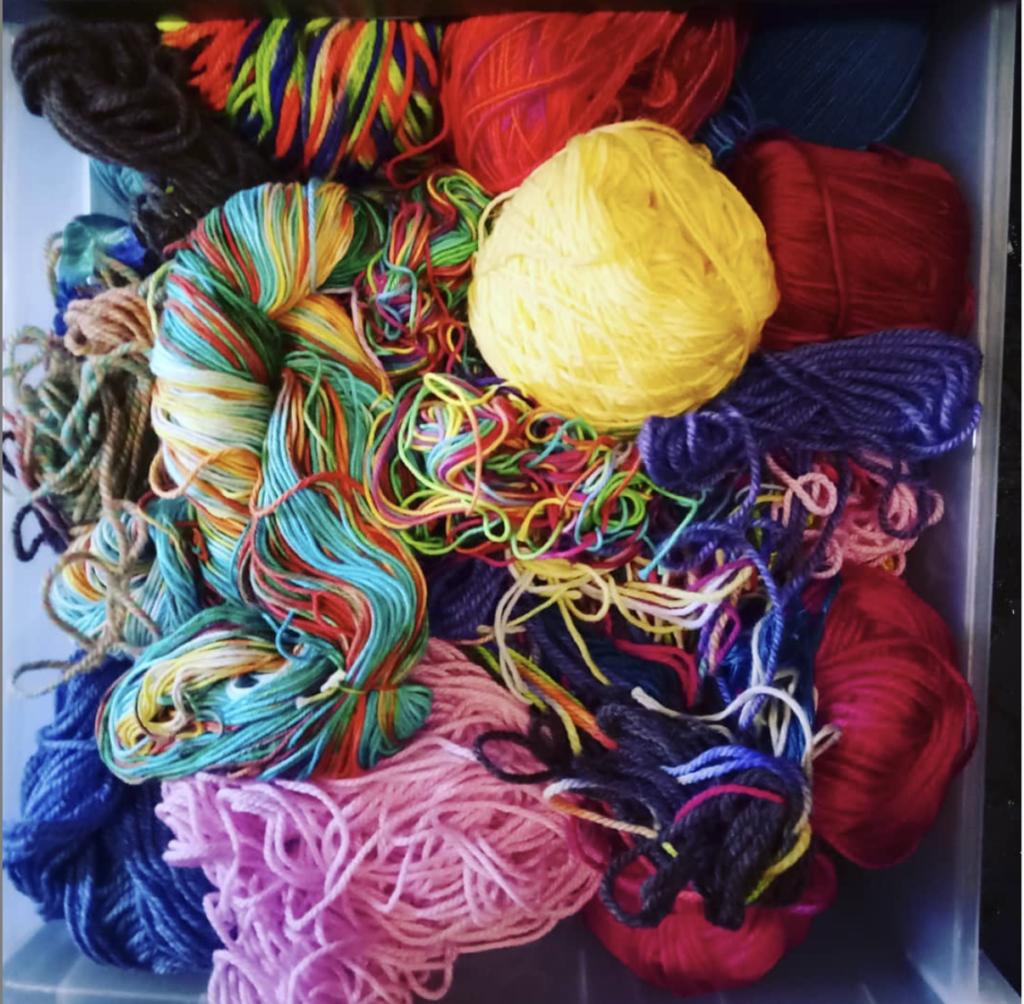
Nobody likes wasting yarn! One thing I really appreciate about rigid heddle looms is that they produce very little loom waste compared to many other types of looms, allowing you to make the most of your warp.
Comfortable to Weave On
I find a rigid heddle loom very comfortable to use. Whether it’s sitting on a stand or resting on a table, I can weave for long periods without feeling awkward or strained. I do recommend purchasing a stand if you can, which allows you to get very close to your loom, providing superior comfort.
An Affordable Way to Start Weaving
For many beginners, cost is an important consideration. A rigid heddle loom is one of the most affordable ways to begin weaving while still investing in a quality loom that can grow with your skills. Even after adding accessories over time, it’s still an excellent value and can provide years of enjoyment.
Rigid Heddle Loom Cons
While I’m a huge fan of rigid heddle looms, no loom is perfect. Here are a few things to keep in mind before you decide if it’s the right loom for you.
More Advanced Weaving Requires Extra Setup
One of the biggest strengths of a rigid heddle loom is also one of its limitations. You can absolutely weave far more than plain weave by using pickup sticks, heddle rods, multiple heddles and other techniques. However, these methods require extra setup, research and learning, and a little more planning.
If intricate multi-shaft patterns are your main interest, a table loom is designed to make that process more efficient. With a rigid heddle loom, you’ll simply spend a little more time and introducing more tools for setting things up.
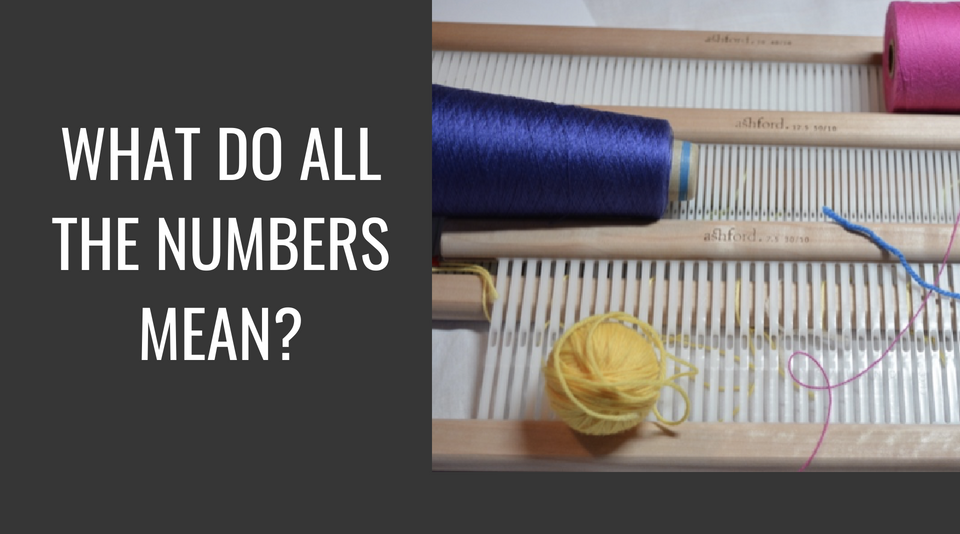
Limited Reed Sizes
Rigid heddle reeds are available in several sizes, but they don’t cover the same range as reeds for multi-shaft looms. For example, the finest standard rigid heddle reed available is currently 15 dpi (dents per inch). Because the reed is made from durable plastic set into a wooden frame, there are practical limits to how fine it can be manufactured.
For many weavers this won’t matter at all, but if your goal is to weave very fine fabrics with fine threads, it’s something worth considering.
Fine Yarns Can Be More Challenging
Although you can weave with fine yarns on a rigid heddle loom, achieving consistently firm warp tension can be more difficult than on a table or floor loom. Personally, I find that rigid heddle looms really shine when working with medium-weight or thicker yarns.
Weaving Width Matters
Before buying any loom, think about the kinds of projects you hope to make in the future.
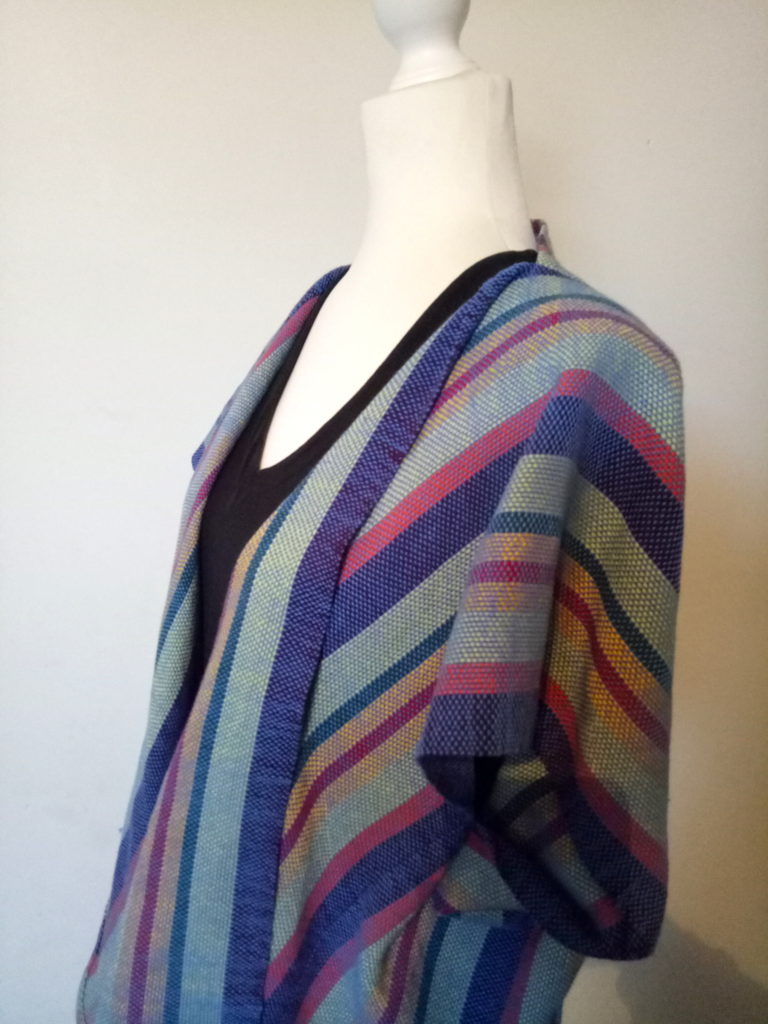
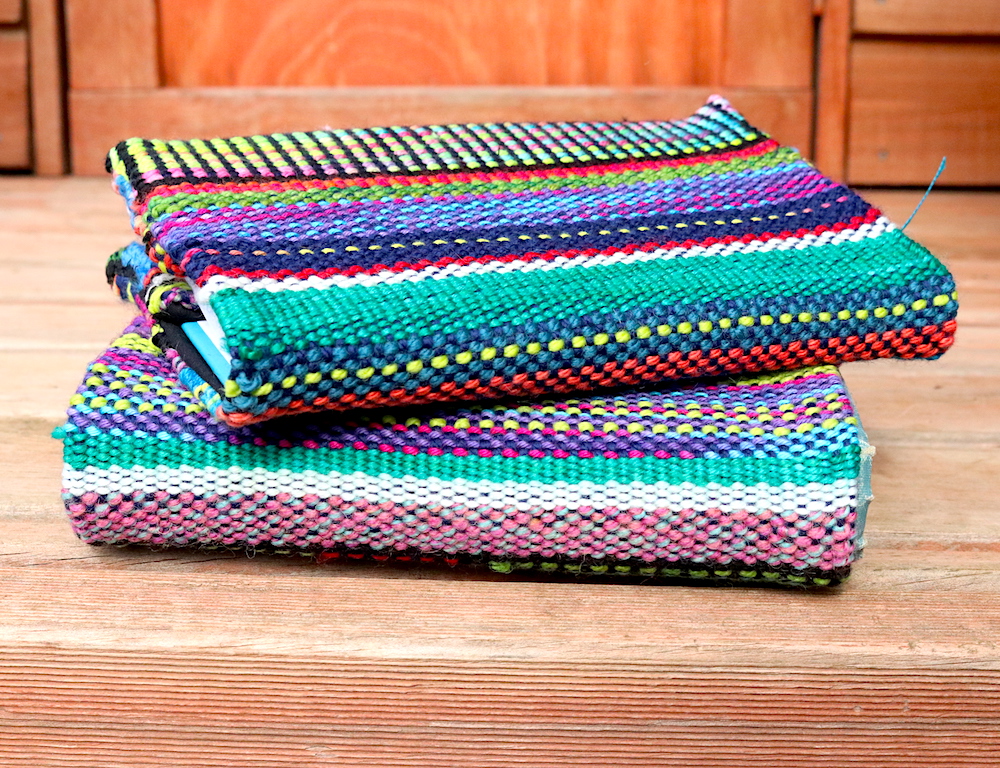
If you’re mainly interested in scarves, tea towels, table runners and smaller homewares, a narrower loom may be all you ever need. But if you dream of weaving wide shawls, blankets, ponchos or fabric for sewing garments, it’s worth considering a wider loom from the beginning.
Many weavers (myself included!) discover they enjoy weaving so much that they soon want to make larger projects. Buying the widest loom your budget and available space comfortably allow can sometimes save you from wanting to upgrade quite so quickly.
The widest rigid heddle loom currently on the market is 48″ (120cm) and while this is a generous weaving width, some weavers report difficulty in the ergonomics. Working on a rigid heddle loom of this width, having to reach to pass the shuttle and then beat with a large heddle or reed can cause neck, shoulder and back issues for some weavers.
Accessories Can Add Up
One of the reasons rigid heddle looms are so popular is that they’re an affordable way to begin weaving. However, as your skills grow, you may find yourself adding extra reeds, pickup sticks, heddle rods, additional heddles, shuttles and other accessories.
None of these purchases are essential when you’re starting out, and you can build your collection gradually over time. Even with these extras, a rigid heddle loom remains one of the most economical ways to enjoy weaving.
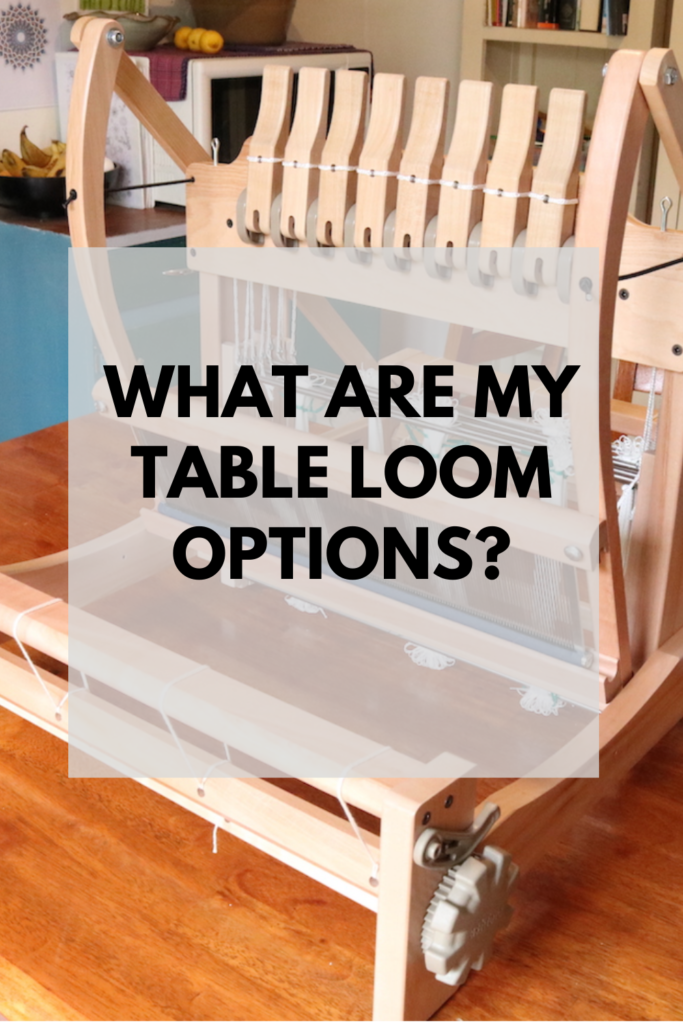
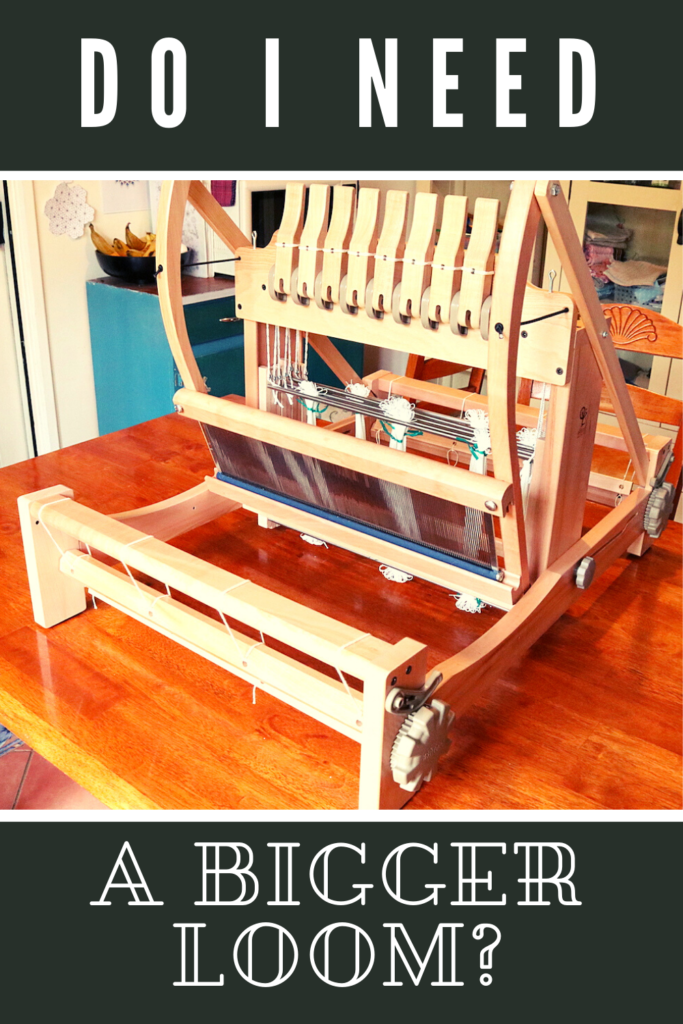
Why Upgrade from a Rigid Heddle Loom to a Table Loom?
A question I often hear is:
“If a rigid heddle loom can do so much, why would anyone buy a table loom?”
It’s a fair question!
For me, the answer was simple – I was ready to take the next step in my weaving journey without making the bigger investment of buying a floor loom.
I’ll admit it… after a few years of happily weaving on my rigid heddle loom, I developed a serious case of loom envy! Everywhere I looked, I saw gorgeous multi-shaft projects and intricate 4 to 8 shaft patterns, and I couldn’t help thinking, “I want to weave that!”
If you’re completely content weaving on your rigid heddle loom forever, I’m genuinely happy for you. I still own and weave on three rigid heddle looms! My interest in a table loom was not about replacing my rigid heddle loom – it was about expanding my weaving journey.
But I was ready for a new challenge. I wanted to learn more about weave structures, experiment with complex patterns, and weave on a loom that was purpose-built for multi-shaft weaving.
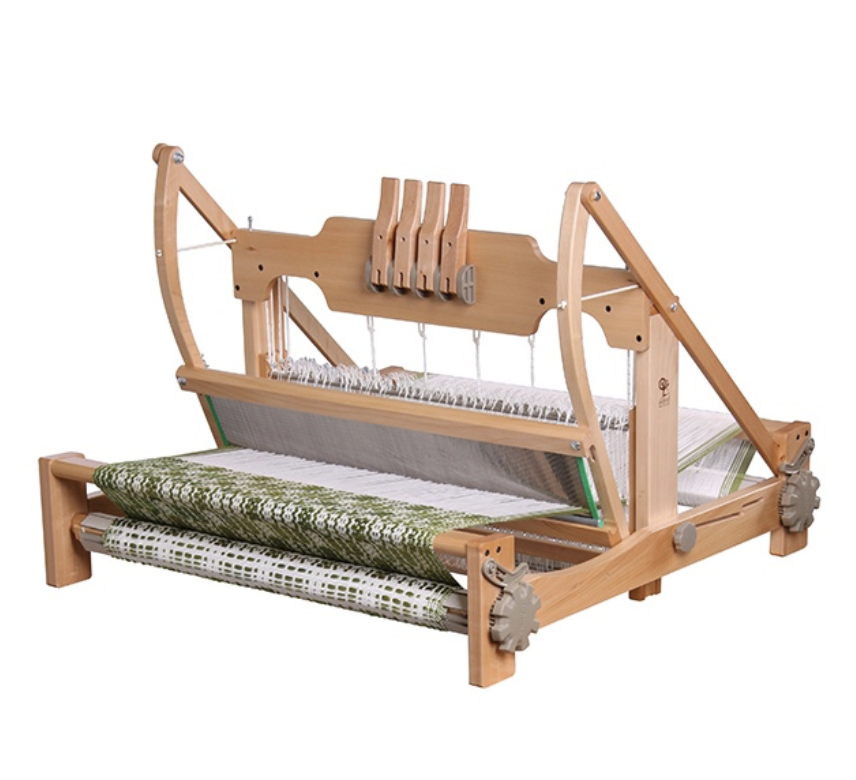
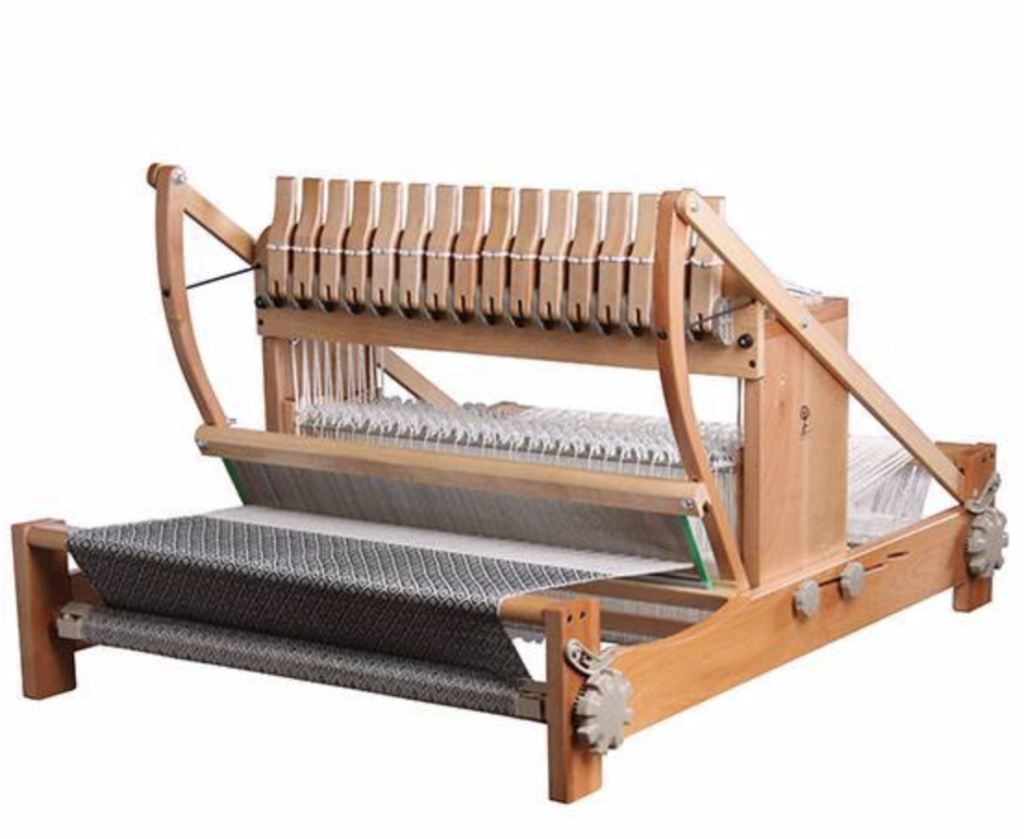
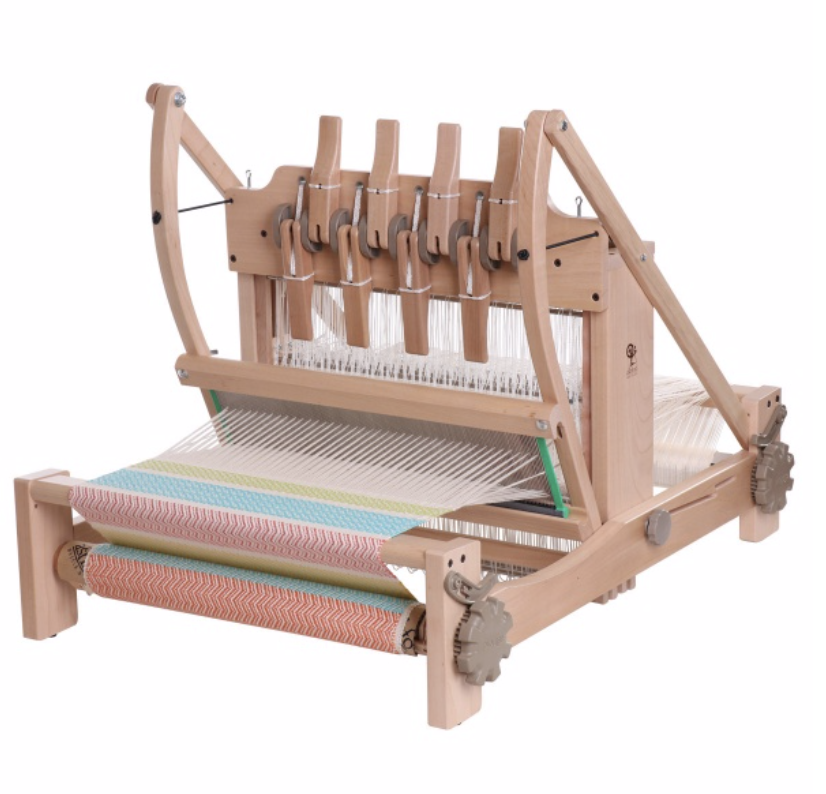
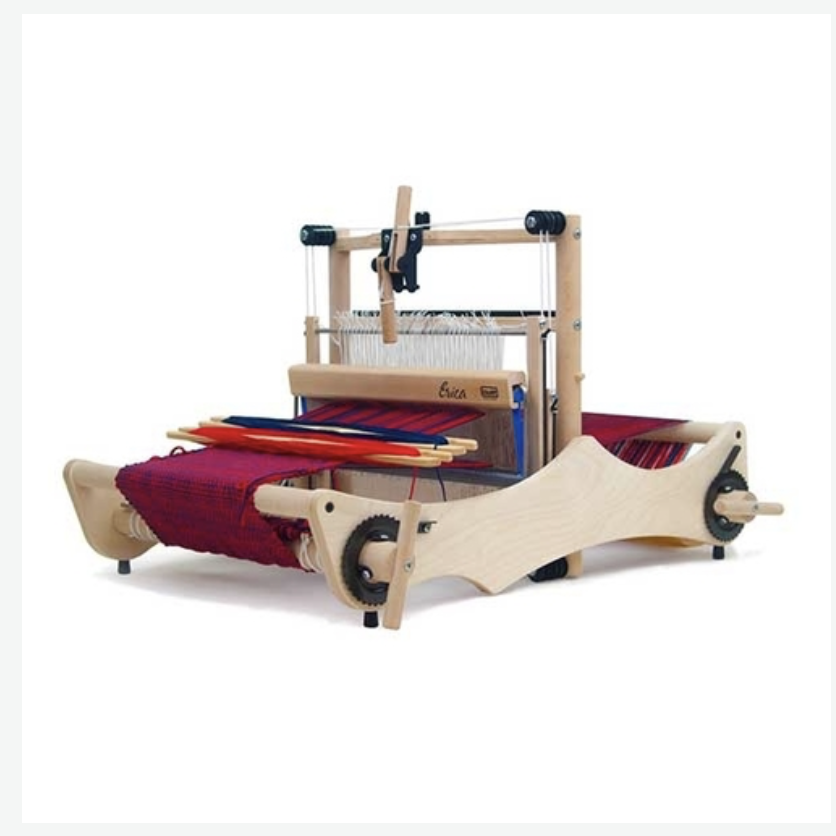
That’s when I bought my first table loom: the Ashford 8-Shaft Table Loom (32″).
It turned out to be the perfect stepping stone between my rigid heddle loom and, eventually, my floor looms. I learned so much during that stage of my weaving journey, and I still think a table loom is an excellent choice for weavers who are ready to expand their skills.
So, with that in mind, let’s look at the advantages and disadvantages of weaving on a table loom.

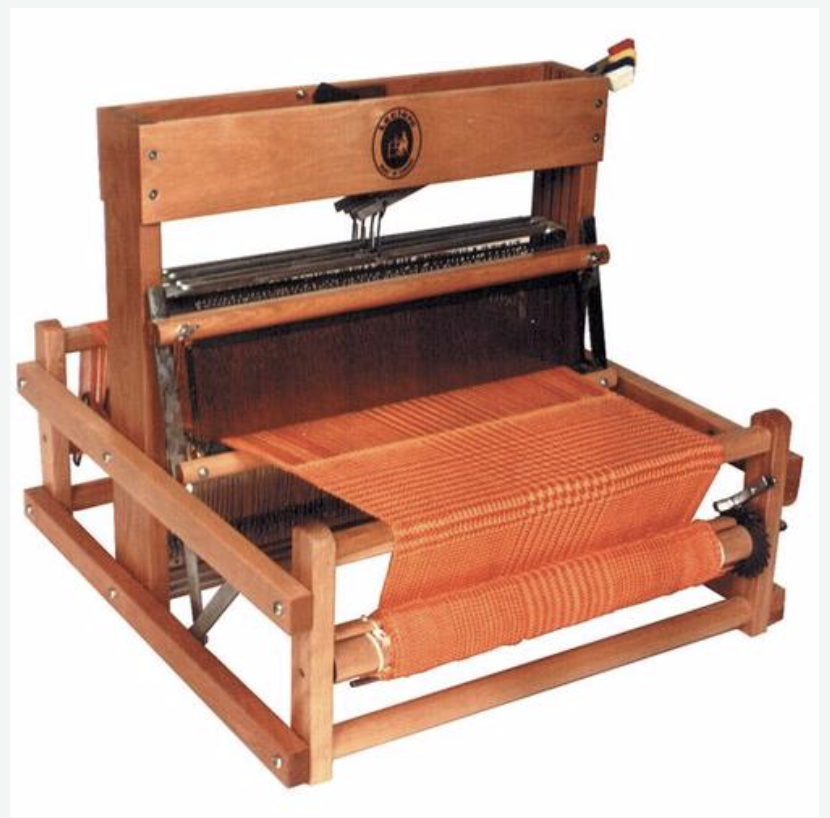
Table Loom Pros
If you’re ready to explore multi-shaft weaving, a table loom offers a wonderful balance between capability and affordability. Here are the things I appreciate most about weaving on a table loom.
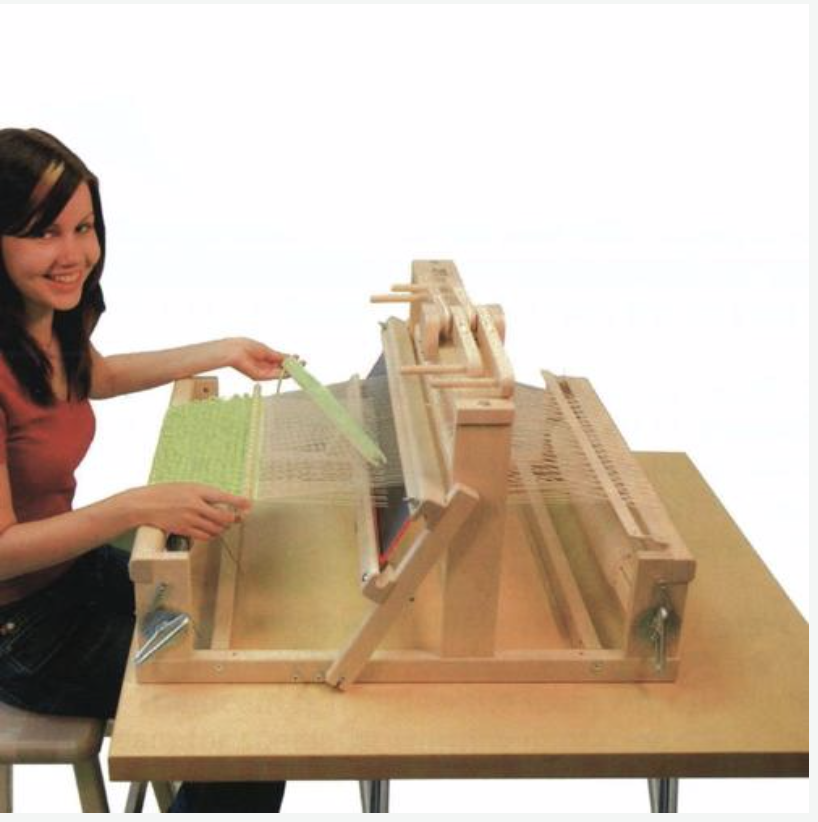
A Great Introduction to Multi-Shaft Weaving
For many weavers, a table loom is the natural next step after a rigid heddle loom. It allows you to explore more complex weave structures without the cost or space requirements of a floor loom.
If you’ve been wanting to experiment with twills, overshot and other multi-shaft patterns, a table loom opens up a whole new world of creative possibilities.
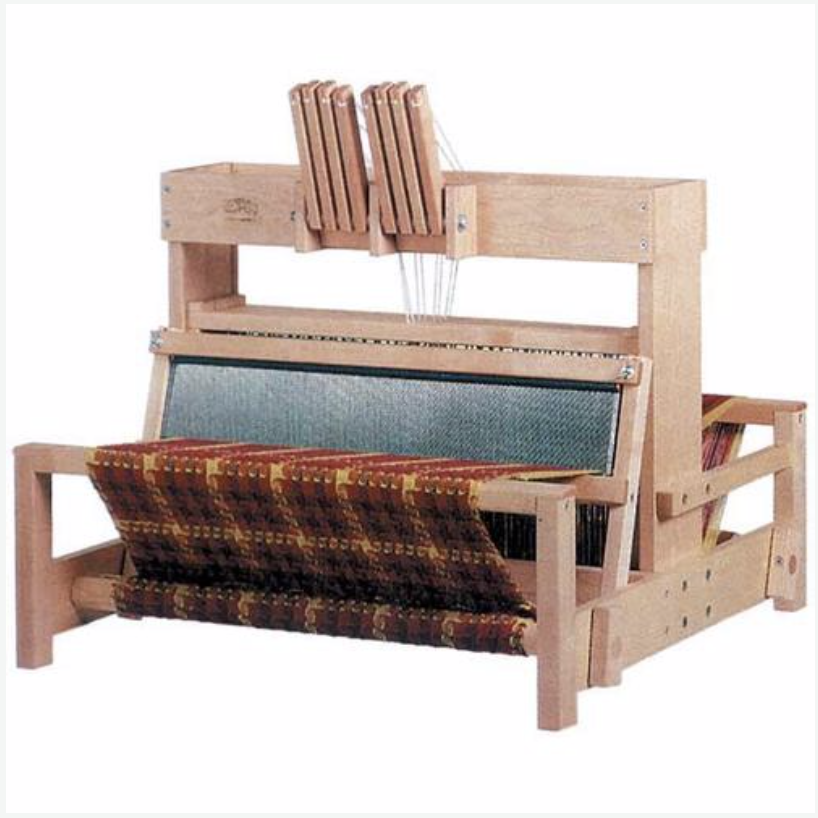
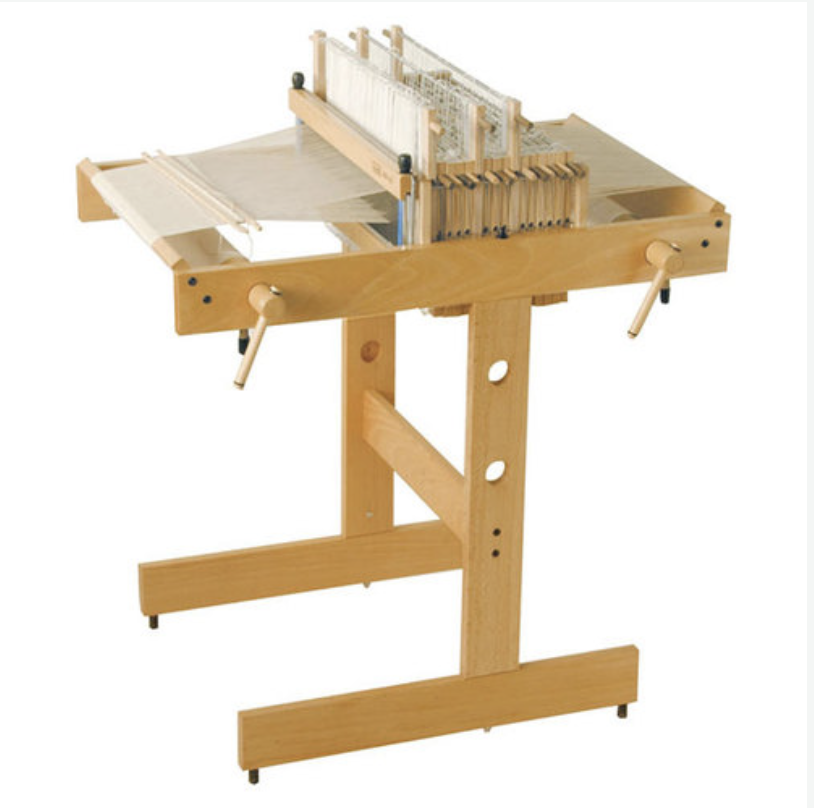
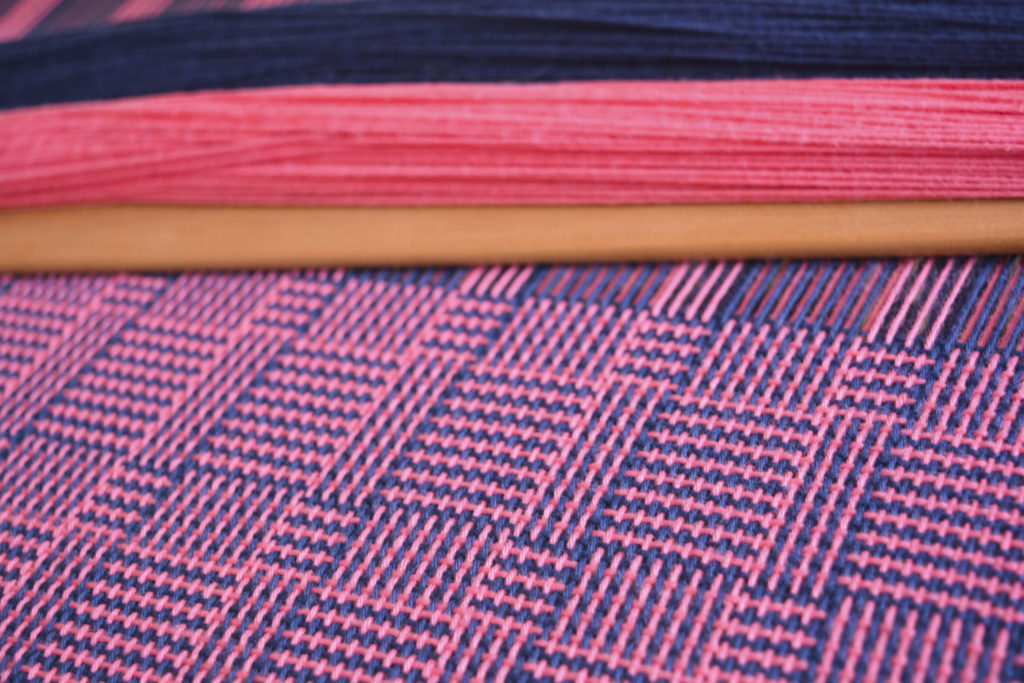
Designed for Complex Patterns
One of the biggest advantages of a table loom is that all of the shafts are already built into the loom. Once you’ve dressed the loom- warped, threaded, sleyed and tied on, you can simply enjoy weaving without needing to add pickup sticks, extra heddles or other modifications to create different weave structures.
Although dressing a table loom takes more time initially, the weaving itself is often more efficient, especially for intricate patterns.
Excellent for Boat Shuttles
Table looms generally produce a generous, clean shed, making them well suited to weaving with boat shuttles. This allows the shuttle to glide smoothly through the warp and makes weaving both enjoyable and efficient.
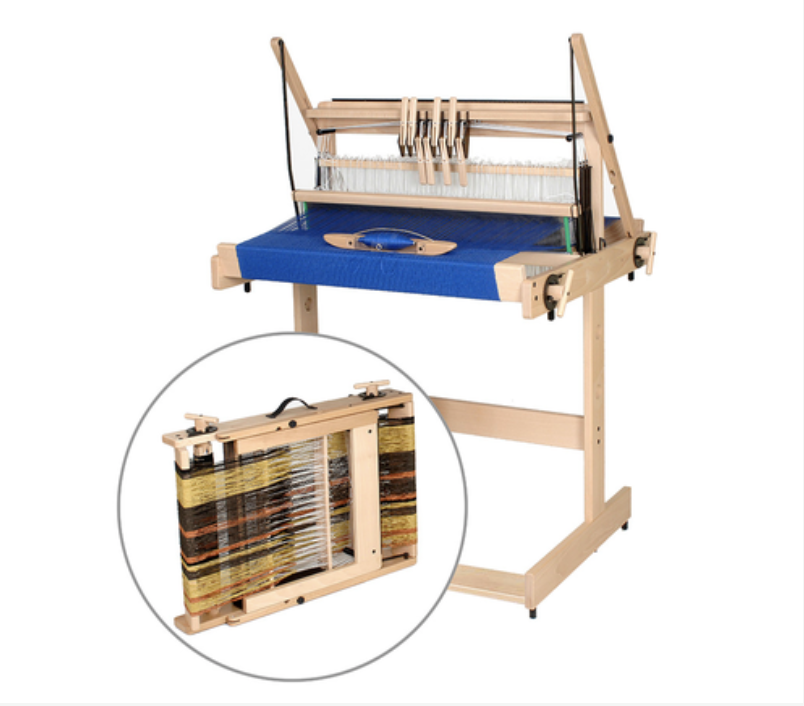
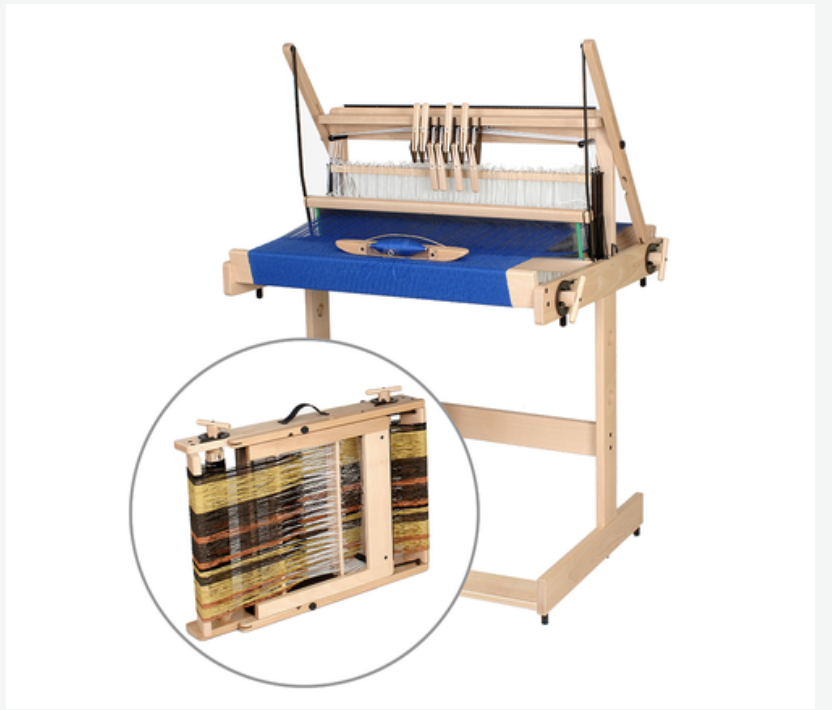
Compact for Storage
Although table looms are taller than rigid heddle looms, most models are built for portability and have a folding castle. This makes them much easier to store or transport when they’re not in use, especially if space is limited.
Comfortable and Stable to Weave On
One thing I really like about a table loom is that it sits securely on a sturdy table, bench or stand. Once it’s in position, it feels solid and stable while weaving, making it a pleasure to use for longer projects.
Greater pattern possibilities
If you love studying weave structures and experimenting with drafts from weaving books or magazines, a table loom makes that process much more straightforward. Instead of adapting patterns to suit your loom, you can simply thread the shafts and weave the draft as it was designed.
The Floor Loom Experience
A table loom is a great introduction to floor loom weaving, if that is a goal of yours. Although you operate the shafts with levers rather than treadles, if your table loom is set up on a stand, it can feel quite similar to weaving on a floor loom as an immersive experience.
No Treadle Limitations
With many floor looms, you are limited to a certain number of treadles. You can opt for a skeleton tie up or use a treadle reducer to help with this, but with a table loom you don’t have this limitation. Your shaft combinations are not limited by being tied to a treadle or treadles, so you have even more patterning possibilities due to the ease of increased shaft combinations.
Table Loom Cons
As much as I enjoy weaving on a table loom, there are a few things worth considering before deciding if it’s the right loom for you.
You’ll Need a Sturdy Table or Stand
Unlike a rigid heddle loom on a stand, a table loom needs a solid, stable surface to sit on. A sturdy table or bench is important to prevent movement while weaving, especially on larger looms. I haven’t always used stands for my table looms, but when I got my Lojan Flex Shaft Loom I also purchased a floorstand and it has been a game changer!
They’re Less Portable
Although table looms are more compact than floor looms, they’re still considerably heavier and usually larger than rigid heddle looms. Depending on the size you choose, you may need another person to help move it safely.
If portability is important to you – for example, if you like taking your loom to workshops or weaving in different rooms, a rigid heddle loom could be the easier option.
Finding a Comfortable Weaving Position
Some weavers prefer to stand while weaving on a table loom, while others sit. Personally, I’m definitely in the “sit down” camp! My back injury will not allow me to stand for regular periods.
For the most comfortable experience, I recommend using a sturdy, height adjustable chair so you can find a good working position. Because everyone’s height and setup are different, it may take a little experimenting to discover what works best for you.
Dressing the Loom Takes Time
There’s no getting around it. Threading and dressing a table loom is more time consuming than dressing a rigid heddle loom.
Warping, threading the heddles, sleying the reed and tying on all require patience and attention to detail. The good news is that once everything is set up, weaving can be wonderfully efficient, particularly for complex patterns.
Limited Flexibility During a Project
Once your warp has been threaded through the heddles, those heddles remain in place for the duration of the project. Unlike a rigid heddle loom, where it’s relatively easy to introduce pickup techniques or heddle rods as you weave, making major changes to your threading on a table loom isn’t practical once you’ve started.
Smaller Shed on Some Looms
Depending on the table loom you’re using, the shed (the opening created between the warp threads) can sometimes be smaller than you’d like. This may make passing the shuttle through the warp a little slower, particularly when weaving wider projects or using bulkier yarns.
Advancing the Warp
On larger table looms, you may need to stand up to advance the warp as you weave. It’s only a minor interruption, but it’s worth knowing if you enjoy long, uninterrupted weaving sessions from a seated position.
Reading through that list, it might seem as though table looms have quite a few drawbacks! In reality, I simply wanted to give you an honest picture of what to expect. Every type of loom has its strengths and its limitations, and understanding those before you buy can help you make a choice you’ll be happy with for years to come.
Personally, I think table looms are fantastic. Buying my first table loom was one of the biggest turning points in my weaving journey. It challenged me to learn new skills, introduced me to the fascinating world of multi-shaft weaving, and gave me the confidence to tackle more intricate weave structures and patterns.
For me, a table loom was the perfect stepping stone between my rigid heddle loom and my first floor loom. That said, I never saw it as a replacement for my rigid heddle loom. Even today, I enjoy weaving on both because each one offers something different, and each has its own place in my studio.
If you’re trying to decide between a rigid heddle loom and a table loom, I hope this comparison has helped you see that there isn’t a “best” loom – only the loom that’s best for you, your budget, your interests and the kinds of projects you want to create.
Rigid Heddle Loom vs Table Loom: At a Glance
| If you… | Choose… |
|---|---|
| Are completely new to weaving | ✅ Rigid heddle loom |
| Want the quickest setup | ✅ Rigid heddle loom |
| Have a limited budget | ✅ Rigid heddle loom |
| Want to travel easily with your loom | ✅ Rigid heddle loom or smaller table loom |
| Love complex weave structures | ✅ Table loom |
| Already know you’ll want 4–8 shaft patterns | ✅ Table loom |
| Want a stepping stone to a floor loom | ✅ Table loom |
The Looms I Personally Own and Use
Over the years, I’ve been fortunate enough to weave on many different looms, but these are the rigid heddle and table looms you’ll regularly see me using in my tutorials, courses and YouTube videos. I genuinely enjoy weaving on all of them because each one has its own strengths.
My Rigid Heddle Looms
- Ashford 24″ Rigid Heddle Loom – This was my very first loom, and it’s the one that started my weaving journey. It’s still a wonderful size for scarves, tea towels and many everyday projects. You can see my review of this loom here.
- Ashford SampleIt Loom – Perfect when I want to sample yarns, test colour combinations or weave smaller projects without setting up a larger loom.
- Lojan Flex Rigid Heddle 50cm – This loom has a unique heddle that is put together in sections, so you can easily swap out sizes when you want to without having to buy a whole new heddle. You can see my review of this loom here. A major bonus of this loom is it can be upgraded to either 4 or 8 shafts with a conversion kit from Lojan.
- Lojan Flex Rigid Heddle 70cm – New size, 2026 release. Now available.
My Table Looms
- Ashford 8-Shaft Table Loom (16″) – My first table loom and the loom that introduced me to multi-shaft weaving. It’s been an invaluable part of my weaving journey. I first bought the 80cm width but later sold it to fund a floor loom. Now I own the 16″. You can see my assembly video for this loom here.
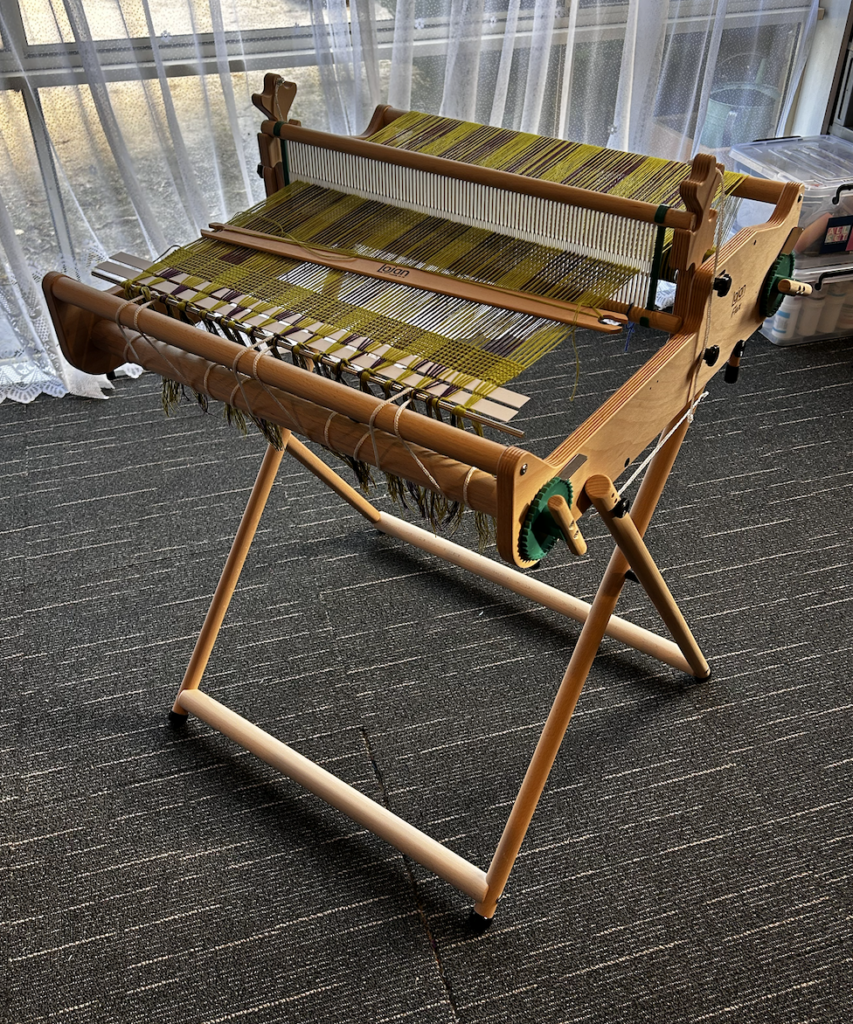
- Lojan Flex Shaft Loom (50cm) – This ranks number one in my table loom collection for the ease of set up and comfortable weaving. I plan to upgrade my 4 shafts to 8 shafts soon. Upgrading is simple with a conversion kit from Lojan. You can see my review of this loom here.
- Louet Jane 16 shaft (90cm) – My newest table loom acquisition is all about the shafts! This loom is very similar to my Louet David, so learning the set up has been quite simple. I love having the extra shafts to indulge in weave structures like block double weave ❤️ You can see my review of this loom here.
I am a reseller for Lojan Wheels and Looms and also Louet in Australia. If you are in Australia and would like information on any Lojan or Louet products, please reach out 😊
In the USA I am an affiliate for, and recommend Revolution Fibers for Lojan and Louet products.
If you enjoyed this post, you may also want to watch the companion video:
Ready to Learn More?
I hope this comparison has helped you feel more confident about choosing the right loom for your weaving journey. Whether you’re leaning towards a rigid heddle loom or a table loom, you’re embarking on a wonderfully creative craft that can bring years of enjoyment.
If you’d like to continue your research, here are a few resources you might find helpful:
- New to table looms? Read my in-depth resources guide to table looms
- Thinking about a rigid heddle loom? I have dozens of articles covering everything from choosing your first loom to warping, troubleshooting and project ideas. Start here to learn more.
Ready to Start Weaving?
If you’ve decided that a rigid heddle loom is the right choice for you, my best selling From Woe to Go! Beginner Rigid Heddle Weaving course will guide you through every step, from setting up your loom to confidently weaving beautiful projects. It’s designed specifically for beginners and has helped thousands of new weavers get started with confidence.
If you’re excited to explore table loom weaving, my comprehensive Weaving on a Table Loom course will teach you everything you need to know, whether you’re setting up your first project or ready to develop your multi-shaft weaving skills.
Whichever loom you choose, I wish you every success on your weaving journey.
Until next time…
Happy Weaving!