
Some parts of the world are beginning to emerge from the COVID 19 pandemic crisis by tentatively lifting restrictions on lockdown and stay at home orders.
*Disclaimer – I am not a medical doctor or psychologist. I’m just a person living life and making observations. If you are concerned about any aspect of your mental health, please seek help from medical professionals.
Here in Australia, the government is moving ahead with plans to reinstate some freedoms we enjoyed before we all learned the term “coronavirus”.
As an online creator who has the privilege of being in touch with people from all different backgrounds from all over the world, I have unexpectedly learned a lot over this lockdown period. Mostly about my fellow humans.
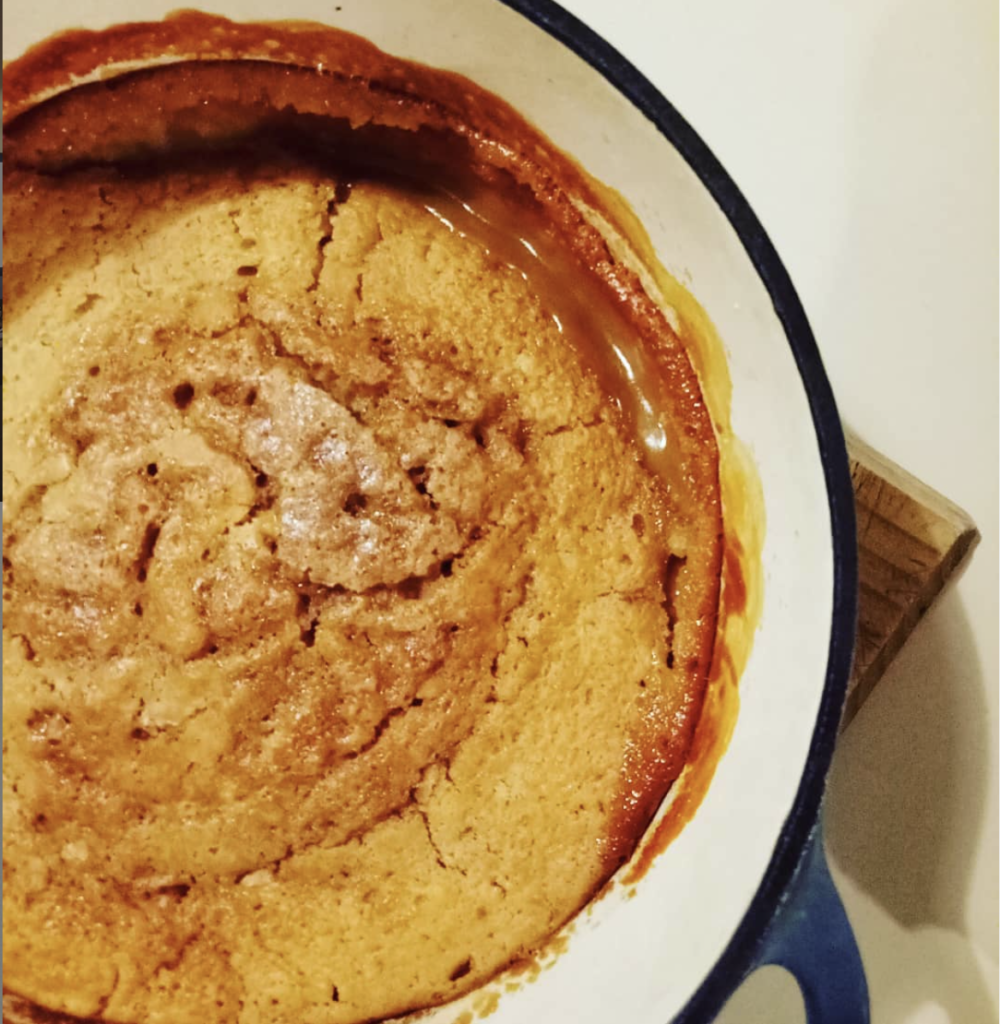
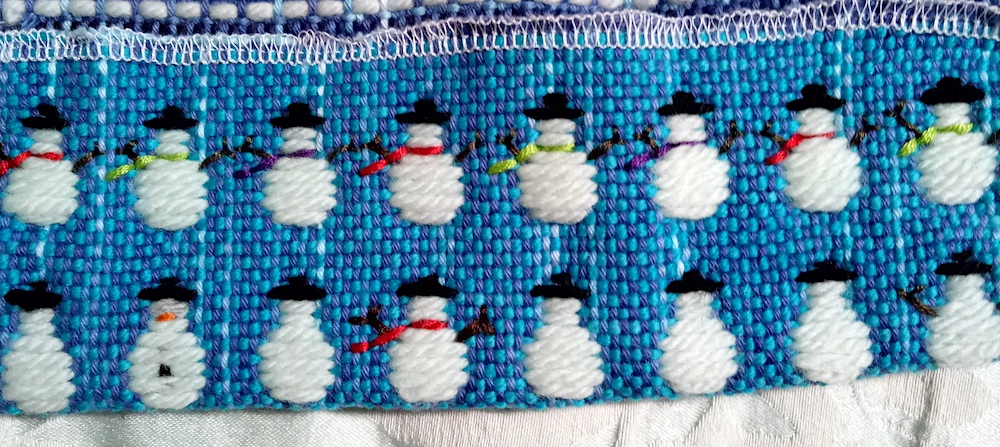
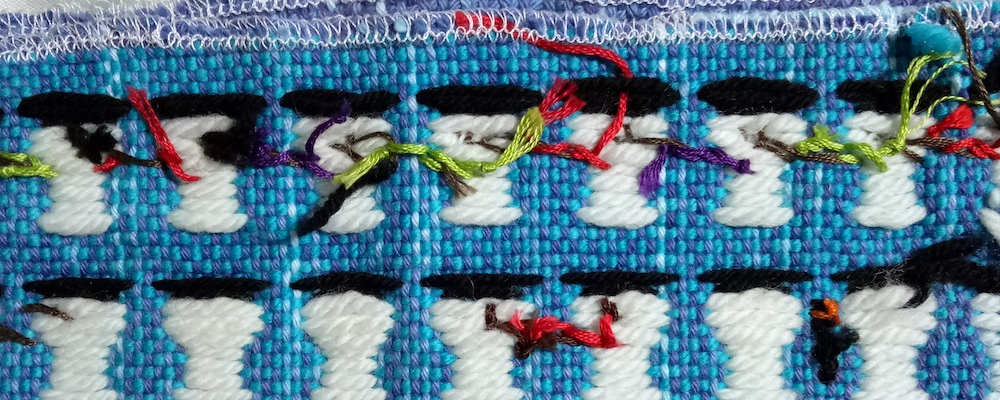
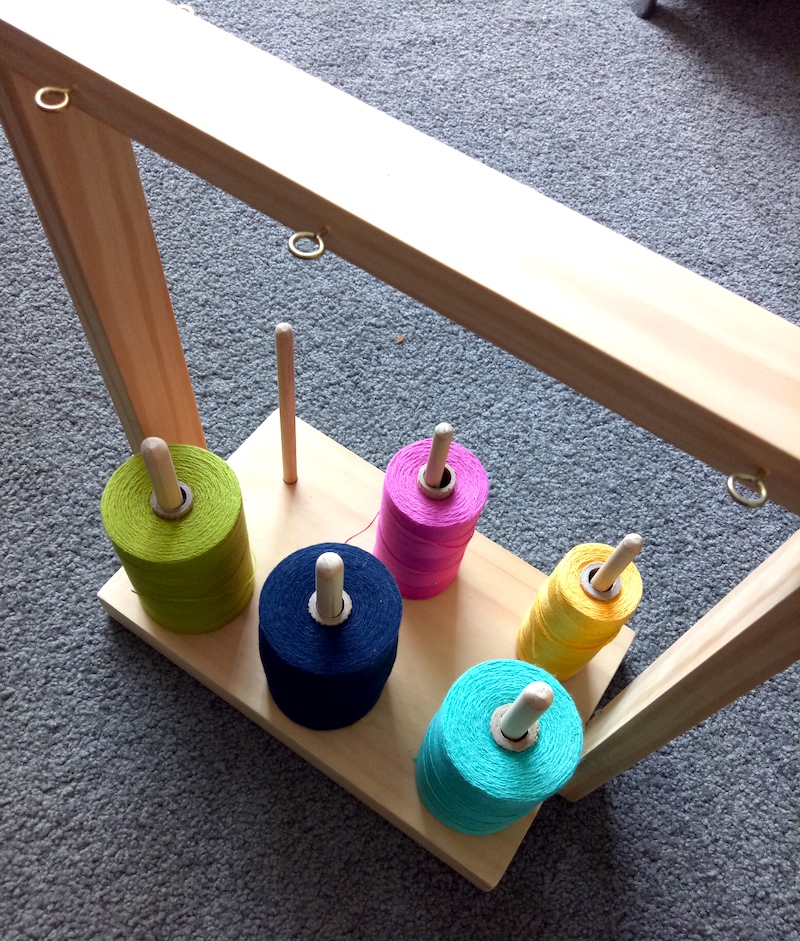
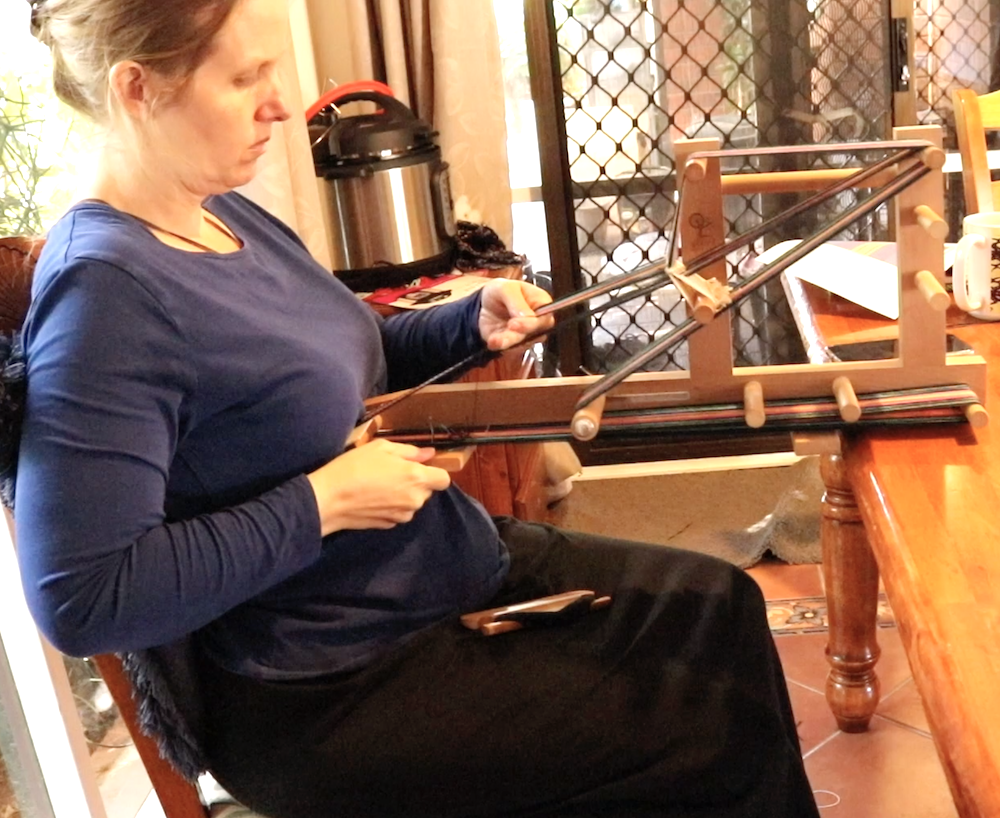
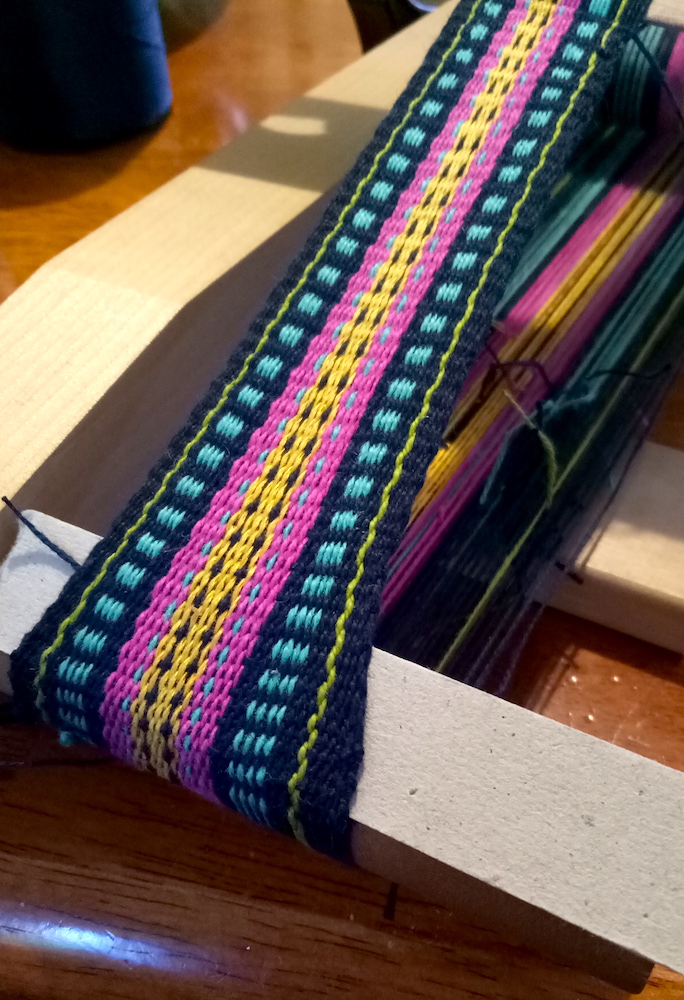
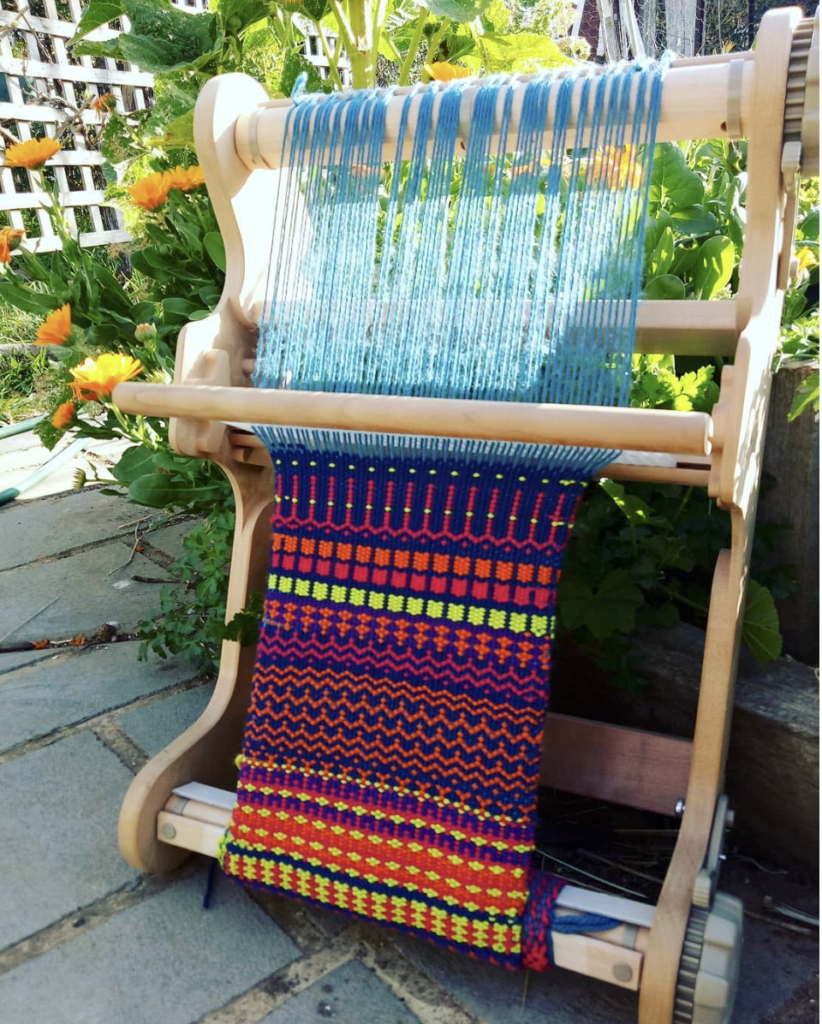
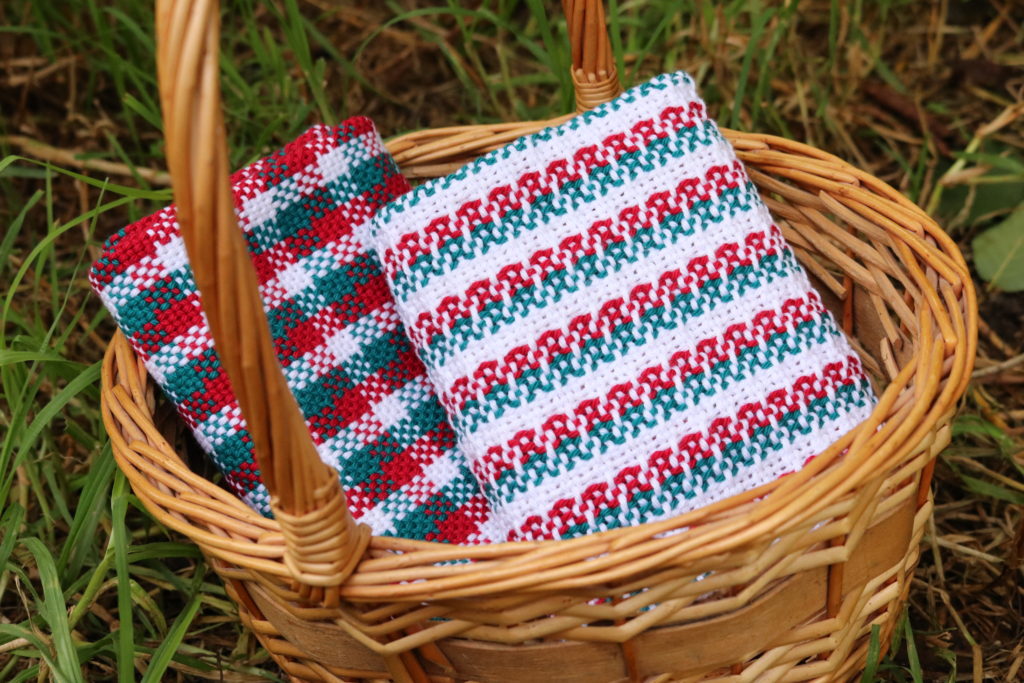
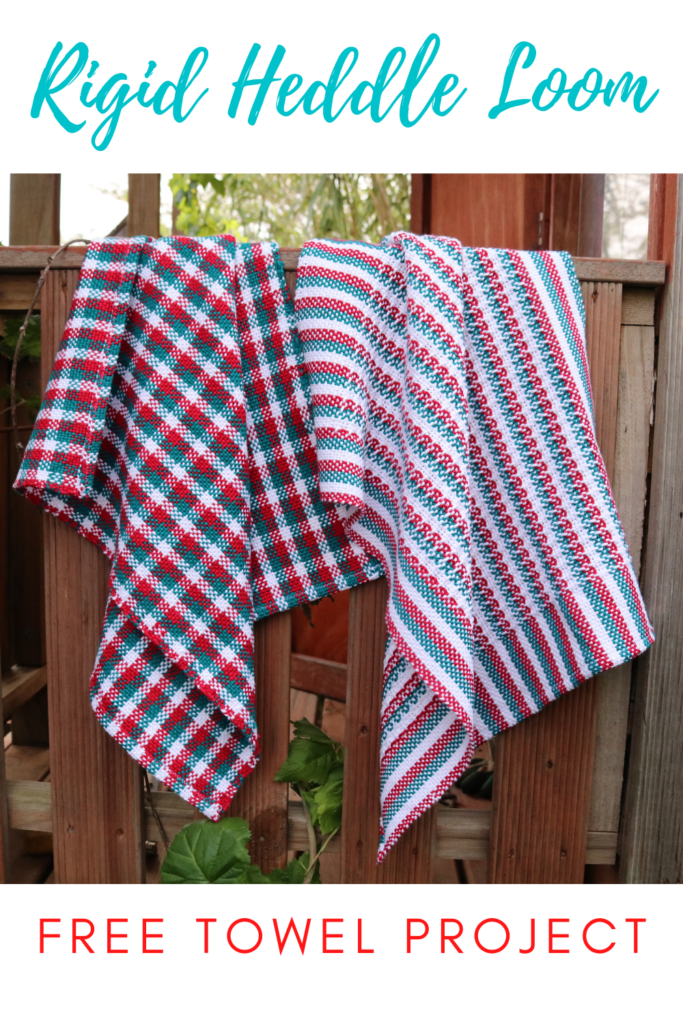
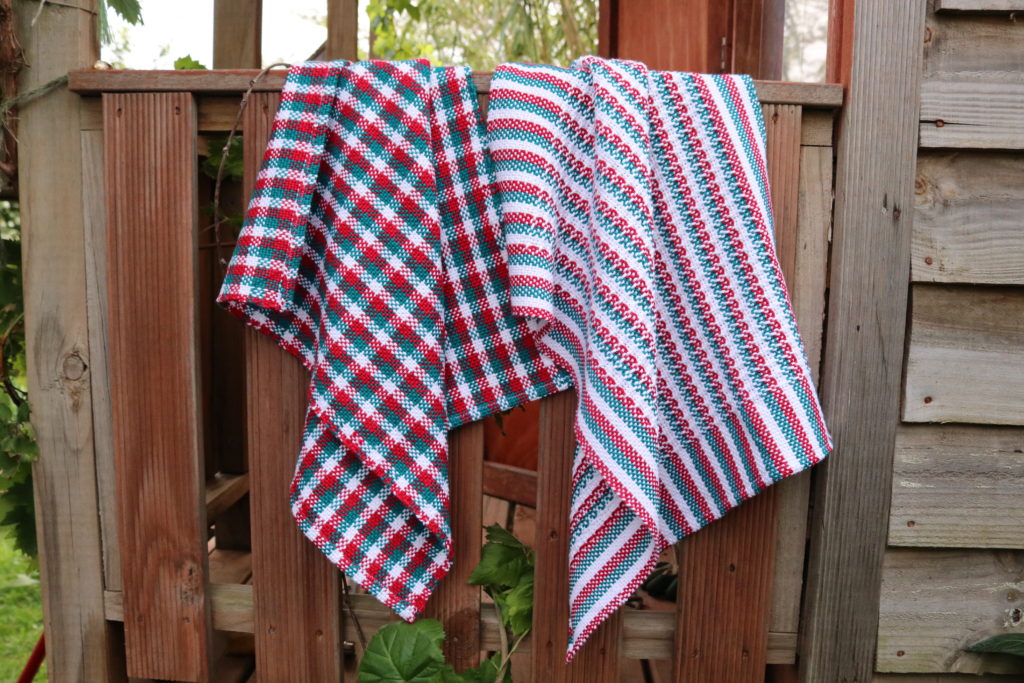
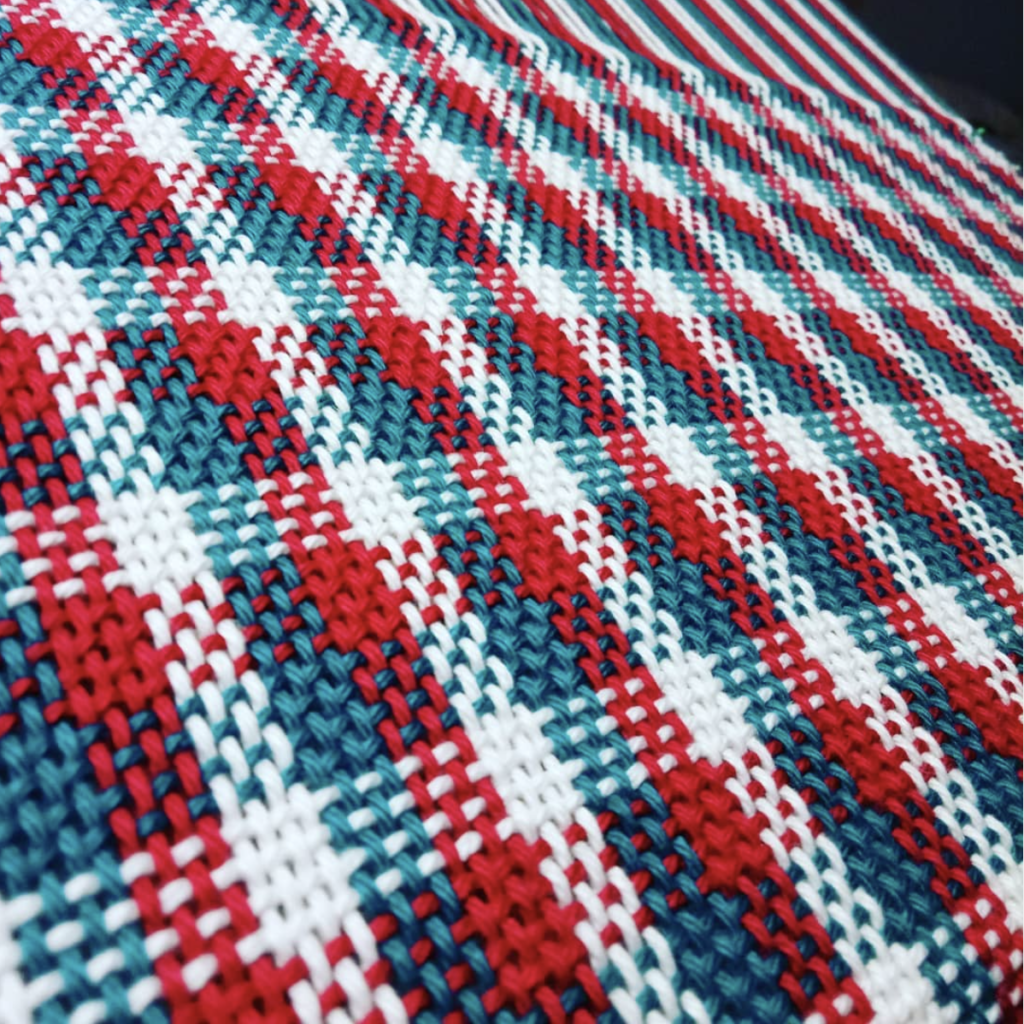
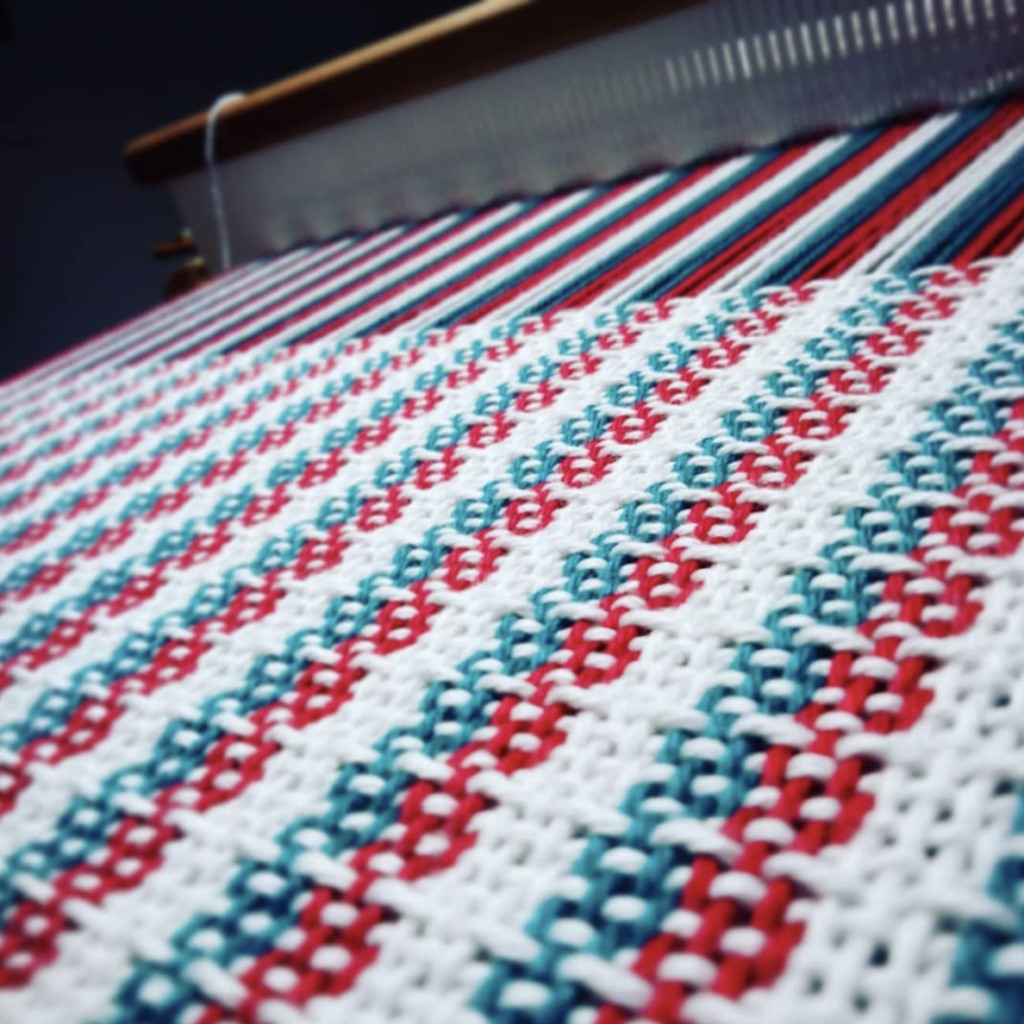
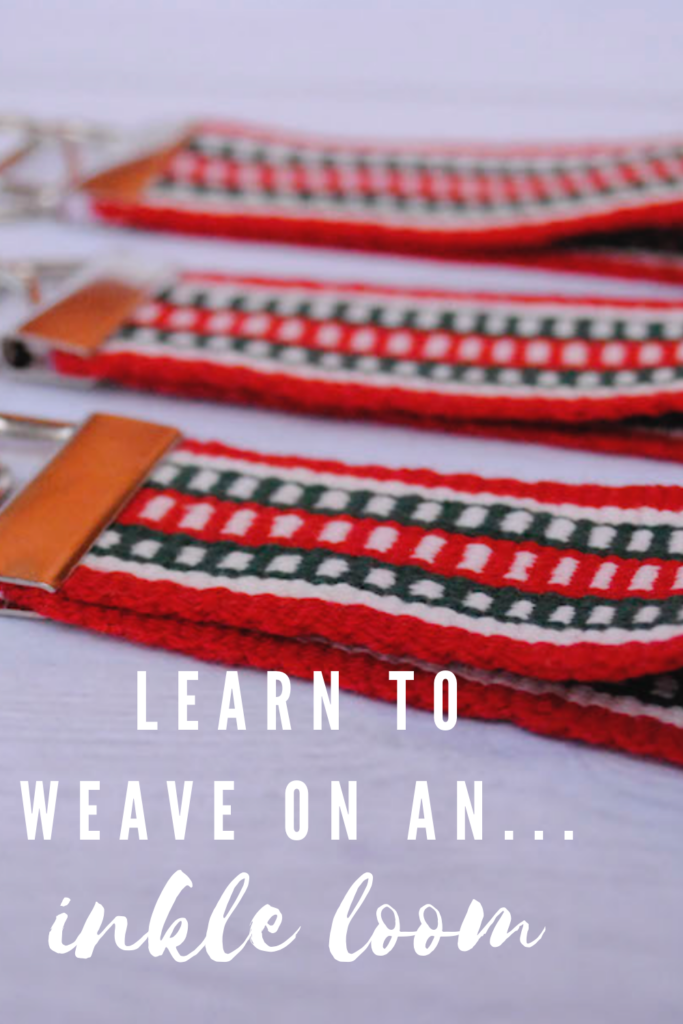
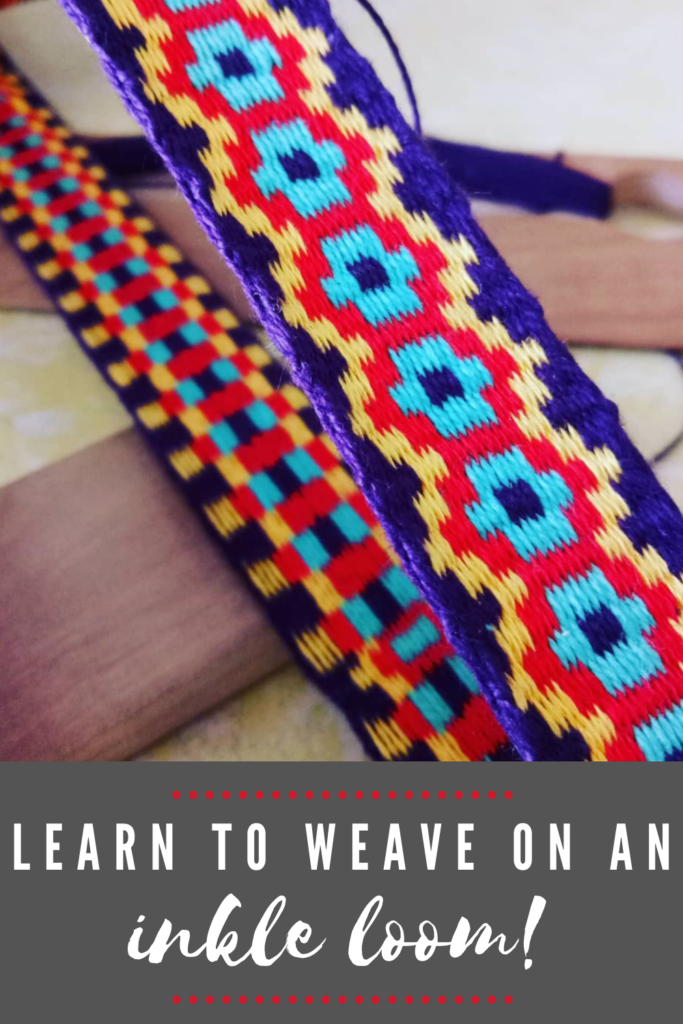
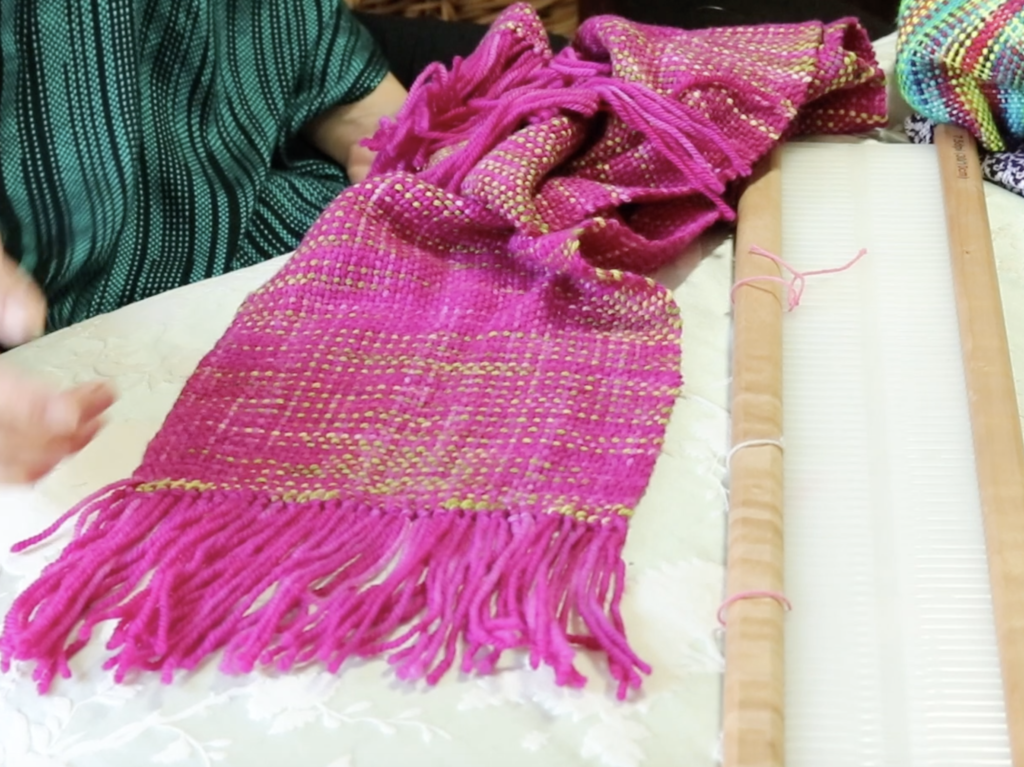
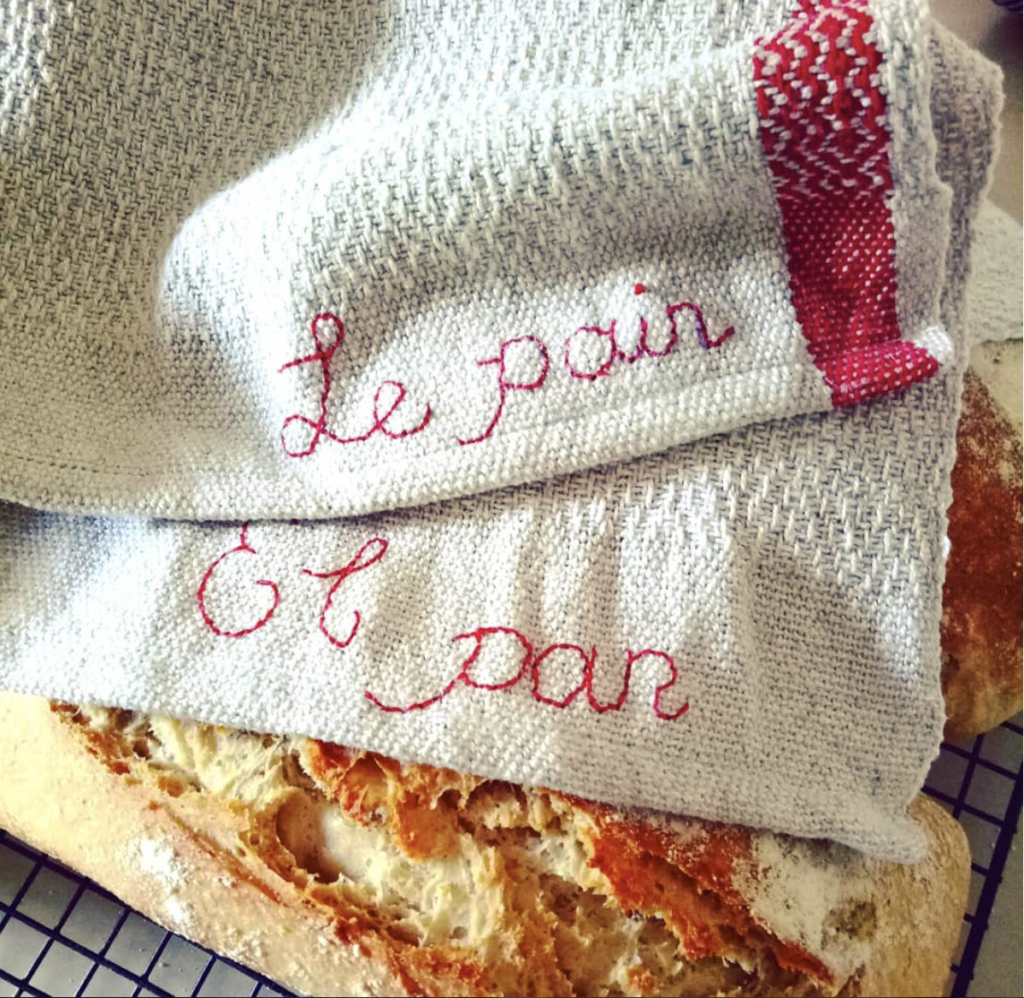
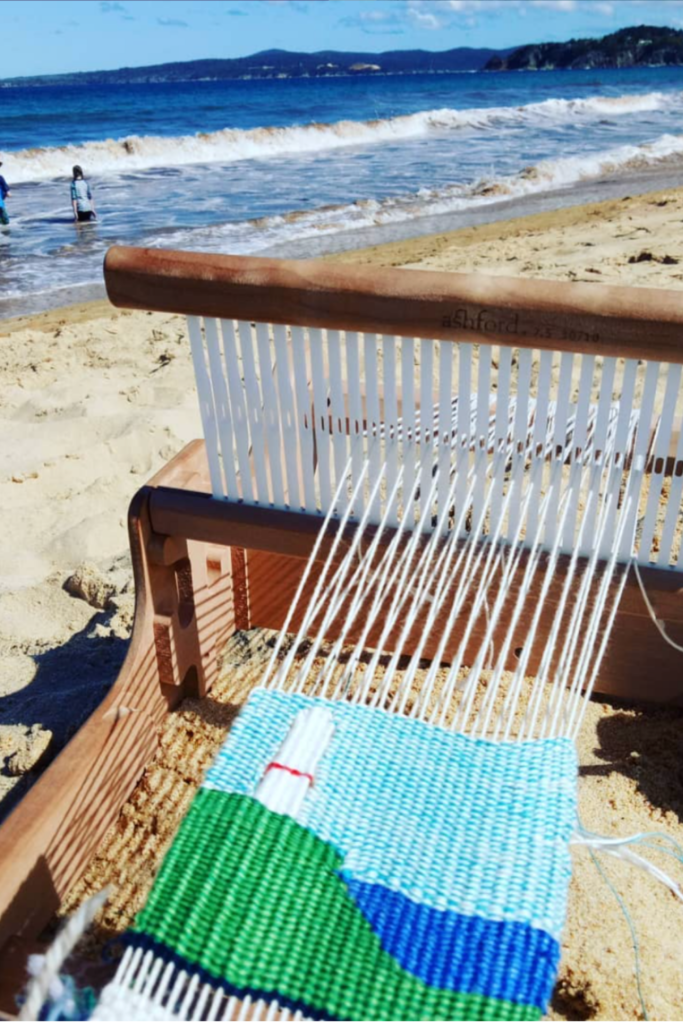
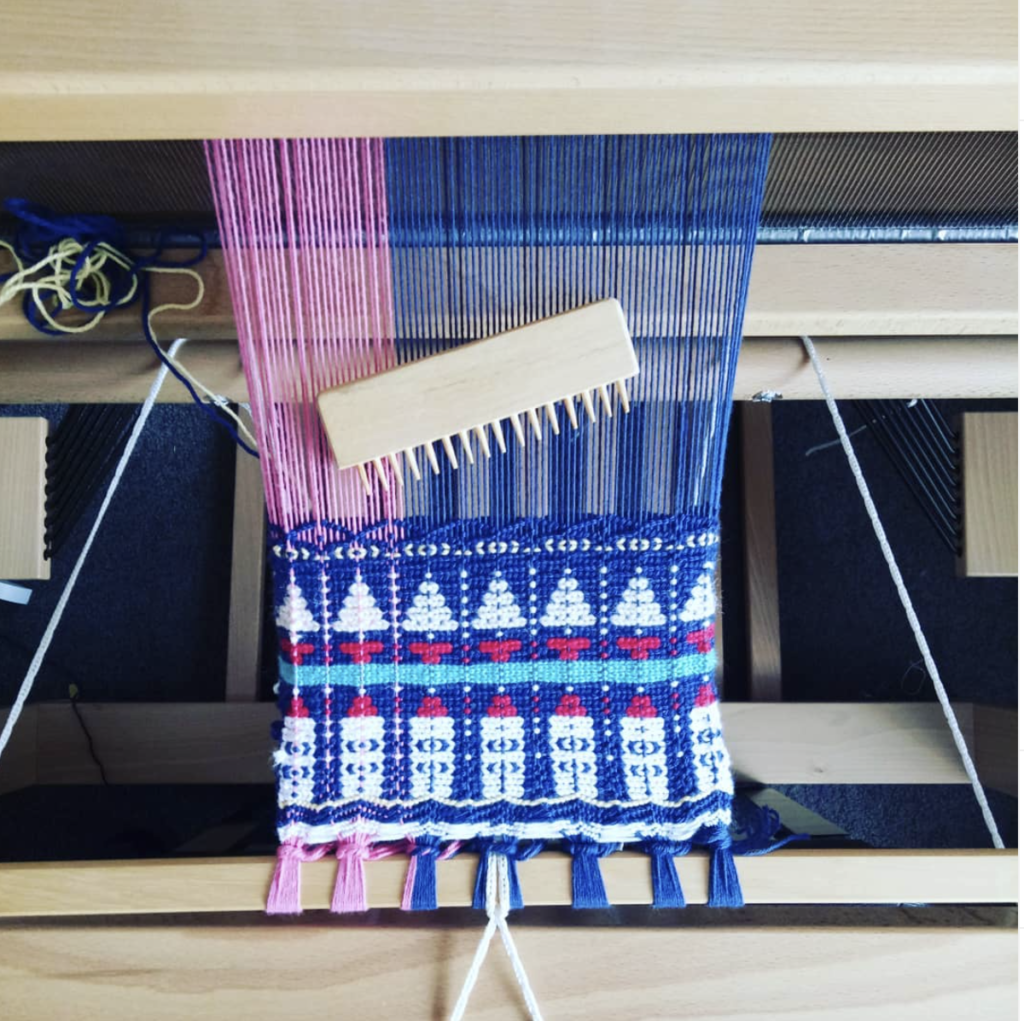
I’ve seen a huge surge of people who, temporarily released from the obligations of a “normal” life, have found wonderful ways to fill the gaps and use their time productively. Weaving, baking bread, making and doing in a way that we have not previously seen. I wrote about this at the beginning of the pandemic, sharing how much I was enjoying a return to simpler times.
My Online Weaving School has seen one if it’s biggest months, with so many new members joining and eager to learn. In a time of great uncertainty, by business is going ahead in leaps and bounds.
In some ways, it seems lock down is just what the doctor ordered for so many people. Even for those who switched from a workplace to working at home, they have found that they have so much extra time without having to commute to and from work and expending energy to do so.
It has been really wonderful for me to watch so many people joyfully finding the time to do what they would rather be doing, or discovering new learning opportunities and diving right in. How inspiring!
But, something concerns me about all this new found fervour.
What happens when everything goes back to normal?
How are people going to reconcile their former lives with their current (perhaps much preferred?) lives? People still have to work for a living, how will they find the time to continue pursuing the things they truly want to do?

Now is a great time to ponder such questions and to begin planning. Setting aside some time to make plans is going to make you feel a whole lot better about your future. There is something about having goals written down on paper that can soothe anxiety and empower you to feel in control of your life.
I’ve put together a very basic but rather pretty Daily Practice Planner that has helped me to gather and organise my thoughts in a really manageable way.
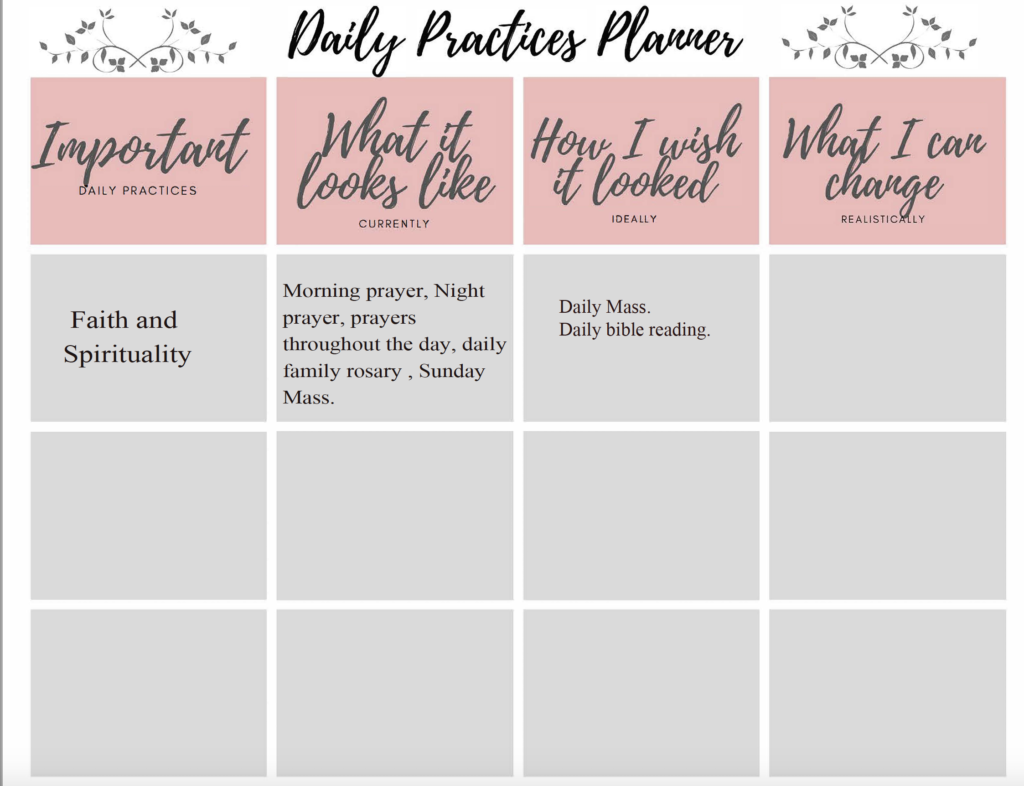
Here is what the blank planner looks like. I’ll take you through some of my own planning as an example. I don’t want you to copy what I’ve written, but to use it as a guide. You should write down what is most relevant to you and your own life.
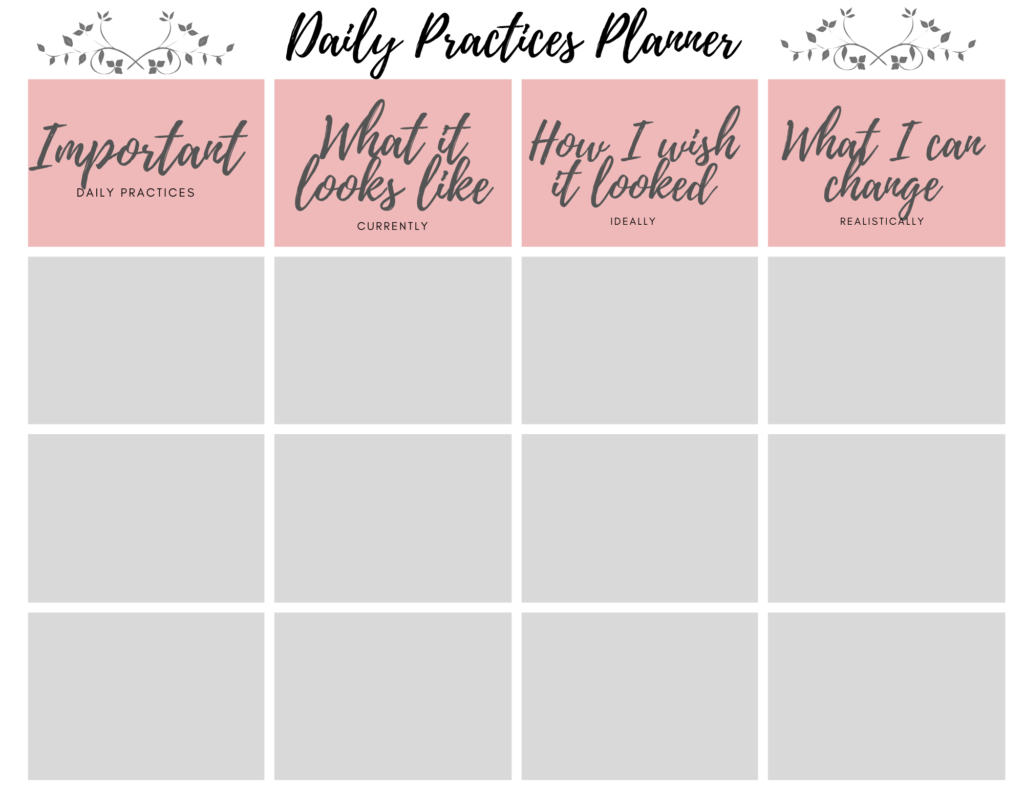
Let’s start with column one – Important Daily Practices. Generally these are things that you are already doing, but if there are practices you would like to incorporate into each day, write them down as well. Print out as many sheets as you need to accomodate your daily practices or import the file into Adobe Acrobat where you can edit PDFs.
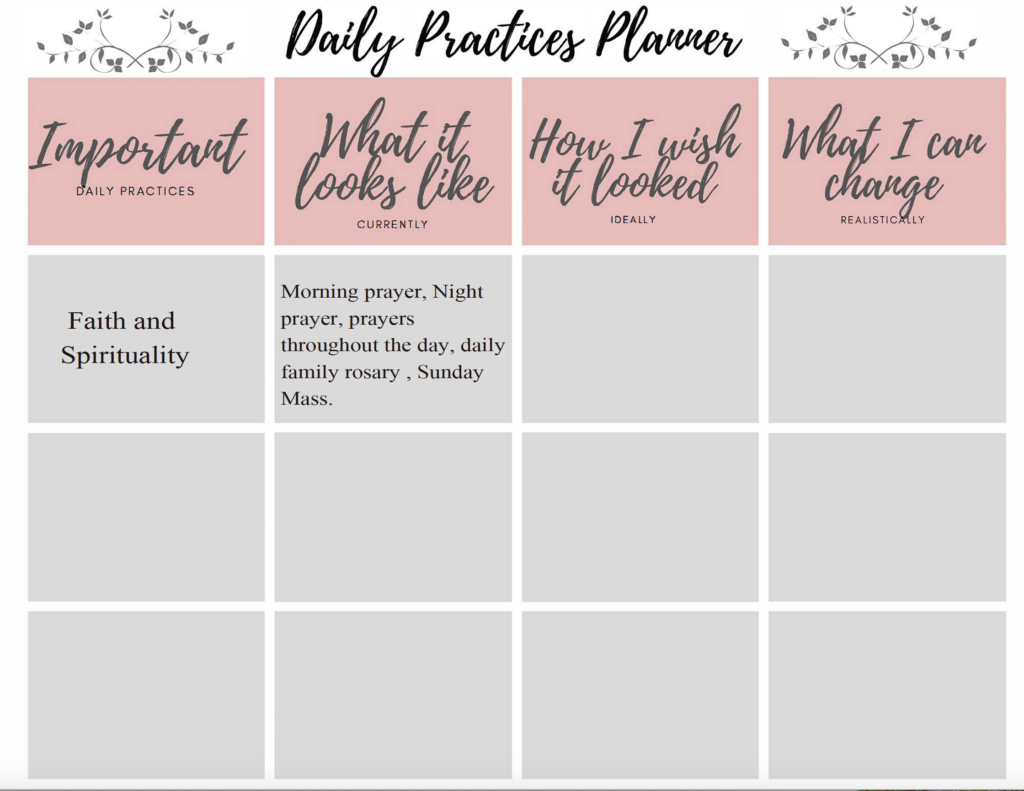
My first important daily practice is “Faith and Spirituality”. Under “What it looks like currently“. I’ve written the basics of what this topic looks like for me in my everyday life. When you write down what your topic currently looks like, be honest, don’t try to sugar coat it. No one has to see this list, it’s for your benefit only.
Working across, I fill in the next column “How I wish it looked ideally“. This is like the best case scenario column. If you could have that daily practice exactly how you want to, what would it be? Write it in and don’t worry if it seems too perfect or not achievable.
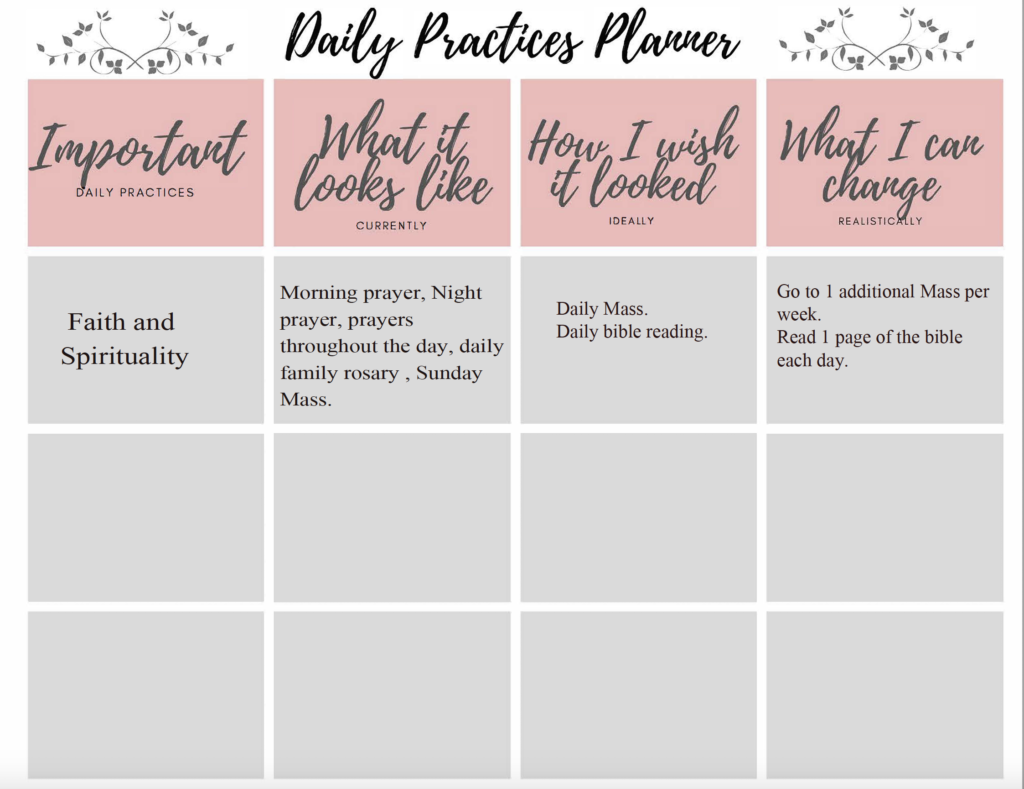
Now for the last column. This is the back down to earth column. It’s a recognition that nothing is perfect and your “ideal” may not be the most realistic thing for you. It’s validating the fact that you have higher ideals and it’s going to help you to move towards “better” not “perfect”. It is also to prove to yourself that you are not a victim of your circumstances. Yes, most people have to work for a living and yes, that can take a lot of time and yes, you may wish you could just do what you want to do instead. But this column shows you that you can make positive changes to fill that necessary cup of self investment.
So, for my last column, instead of writing down “attend daily Mass”, which I know is not really achievable for me due to time, work and family demands, I have written what I know can be achievable for me – “go to 1 additional Mass per week”. I can make that work, I can pick the day of the week to make it happen and I’m not tied in to commitment if I can’t do it every single week. It’s a good place to start. Likewise, with the 1 page per day of the bible. It’s about making a habit and keeping it but making it as easy as possible so that I will actually do it. These things are stepping stones that may eventually equate to bigger and better goals, but for now it’s more important to just make a start.
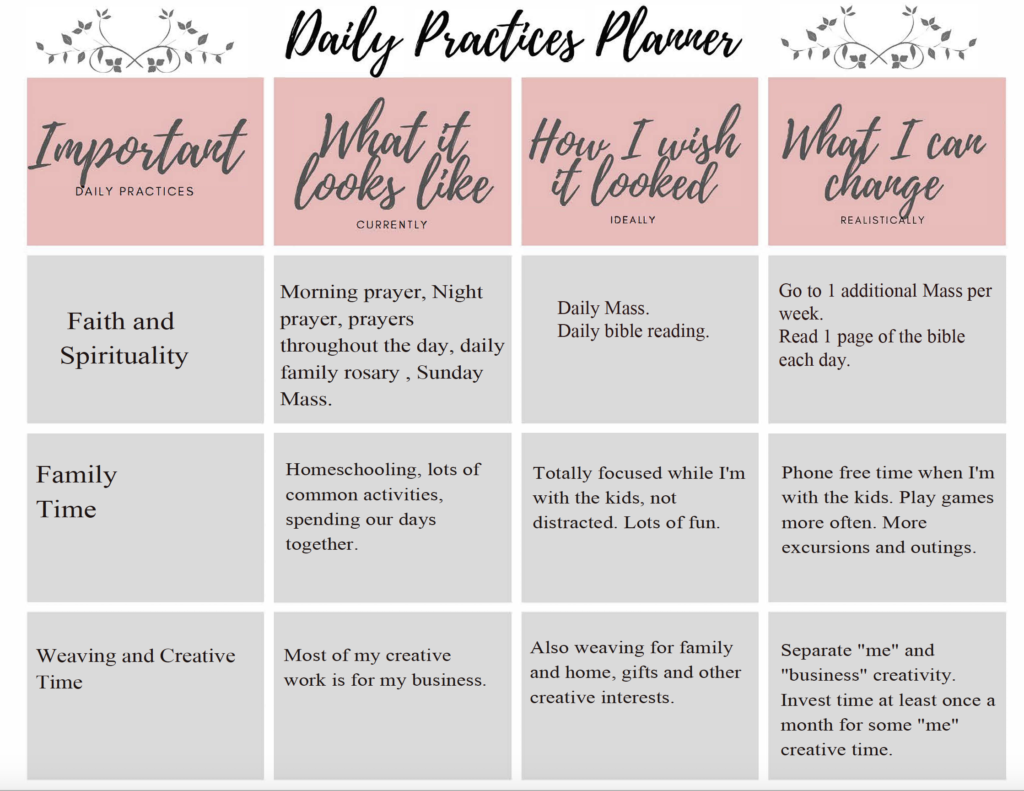
Here is my first page completed and I will likely print out at least one more page. You can do as many as you like, but don’t overwhelm yourself by trying to make too many changes at once or overthinking it.
Print your PDF here:
So, what do you think, would this be a beneficial activity for you? Plans can and do change, but taking a few minutes to fill out your own chart could be just what you need.
Leave me a comment if you complete a sheet and let me know how it helped you, I would love to hear all about it!
Until next time…
Happy Weaving!


