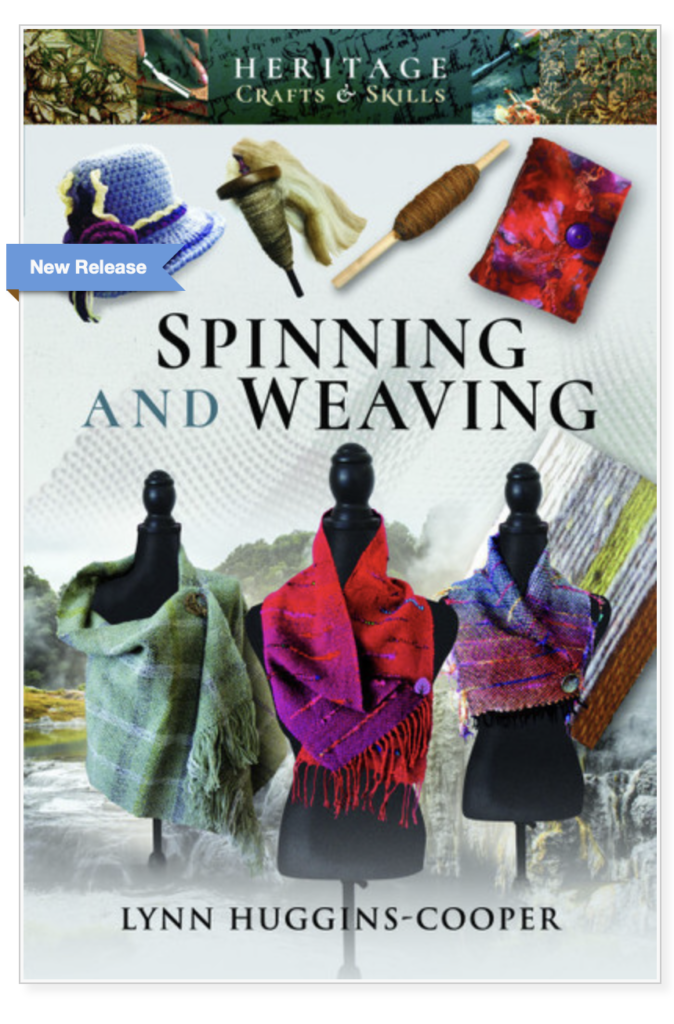
My thanks to Pen and Sword Books for asking me to review Lynn Huggins- Cooper’s new book “Spinning and Weaving”.
Disclaimer – Although I received no payment for this post, Pen and Sword generously sent me a copy of the book for free.
This is not an instructional book, but an historical account of spinning and weaving throughout various periods in time.
It begins with a discussion of heritage crafts in the UK and their general decline, something which is obviously close to the author’s heart. It is quite focused on the history of spinning and weaving in the UK, particularly in later periods of time.
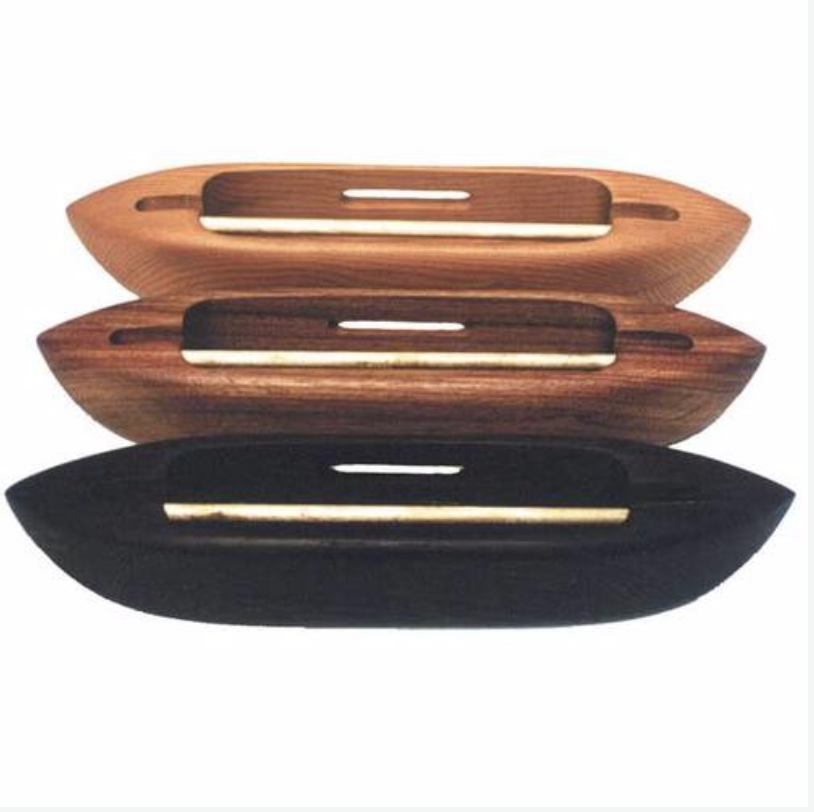
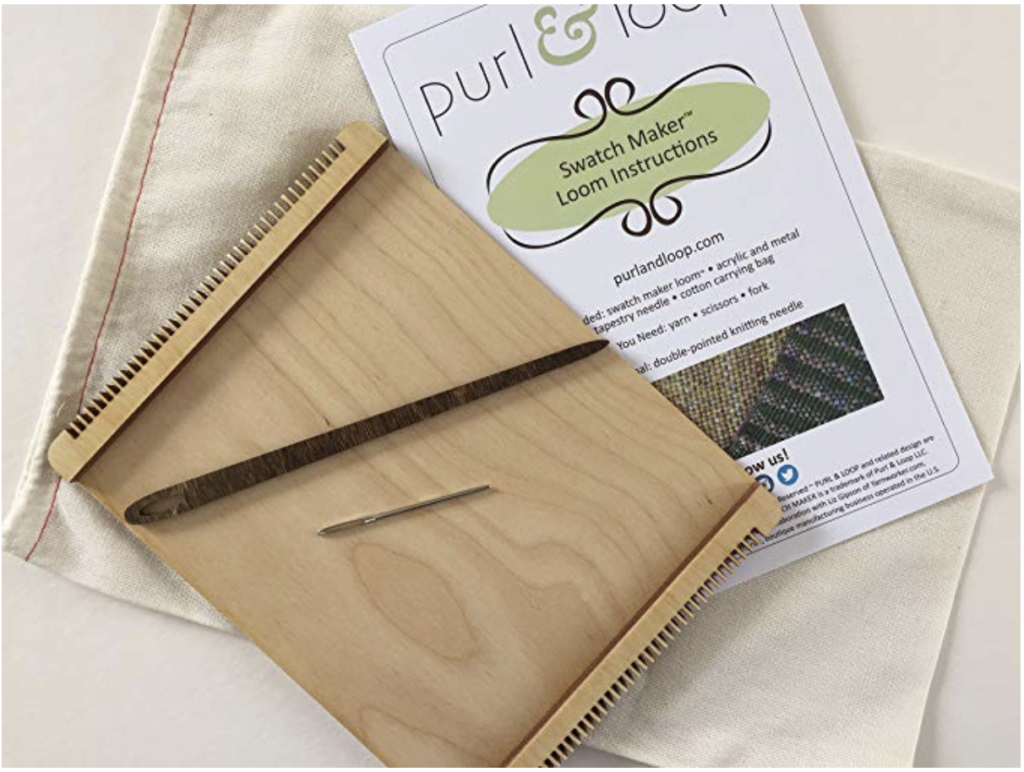
Starting with ancient times, the reader is taken on a journey of what is know of spinning and weaving and the significance of these crafts on our civilisation. From the basic tools of drop spindles and homemade looms, to the advances in technology, which ultimately completely changed the cloth industry, each chapter is a fascinating insight into times gone by.
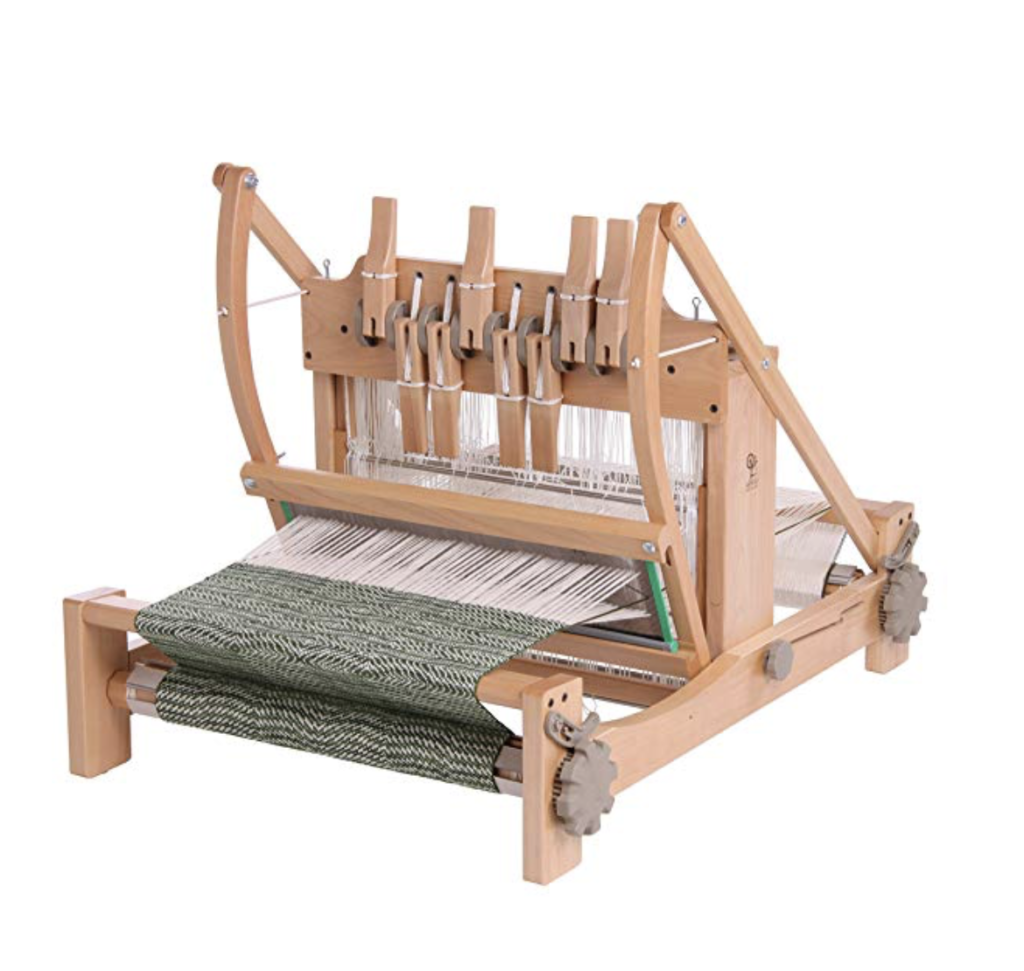
I found so many interesting tidbits to ponder over whilst reading this book. I also learned many things I didn’t previously know or had not really thought about. For example, the massive impact that the mechanisation of spinning and weaving had on the poor, who relied so heavily on the slow, skilled process of basic wheels and looms to earn their bread. How the demand for commercially produced fabric impacted lifestyles and how fabric was viewed.
It is sad to know that the spinners and weavers who were so valued and made first class fabric for wealthy folk were made obsolete by machines. And yet, was it fair that only the rich could afford handspun and woven cloth?
What pleased me most in the reading of this book was the realisation that, perhaps, in a way, things have come full circle. Yes, we live in a very commercialised world but it is also a world full of opportunities. We still have machines producing millions of yards of cloth every year, but we also have people like you and me, who have chosen to take up our wheels and looms in pursuit of authenticity, quality and satisfaction in our work. And thankfully, more and more all the time, we have an audience who appreciate what we do and who also desire quality, slow and beautifully made unique garments and pieces.
The book finishes off with some inspiring interviews with fibre artists (I noticed there was even an Australian included!)
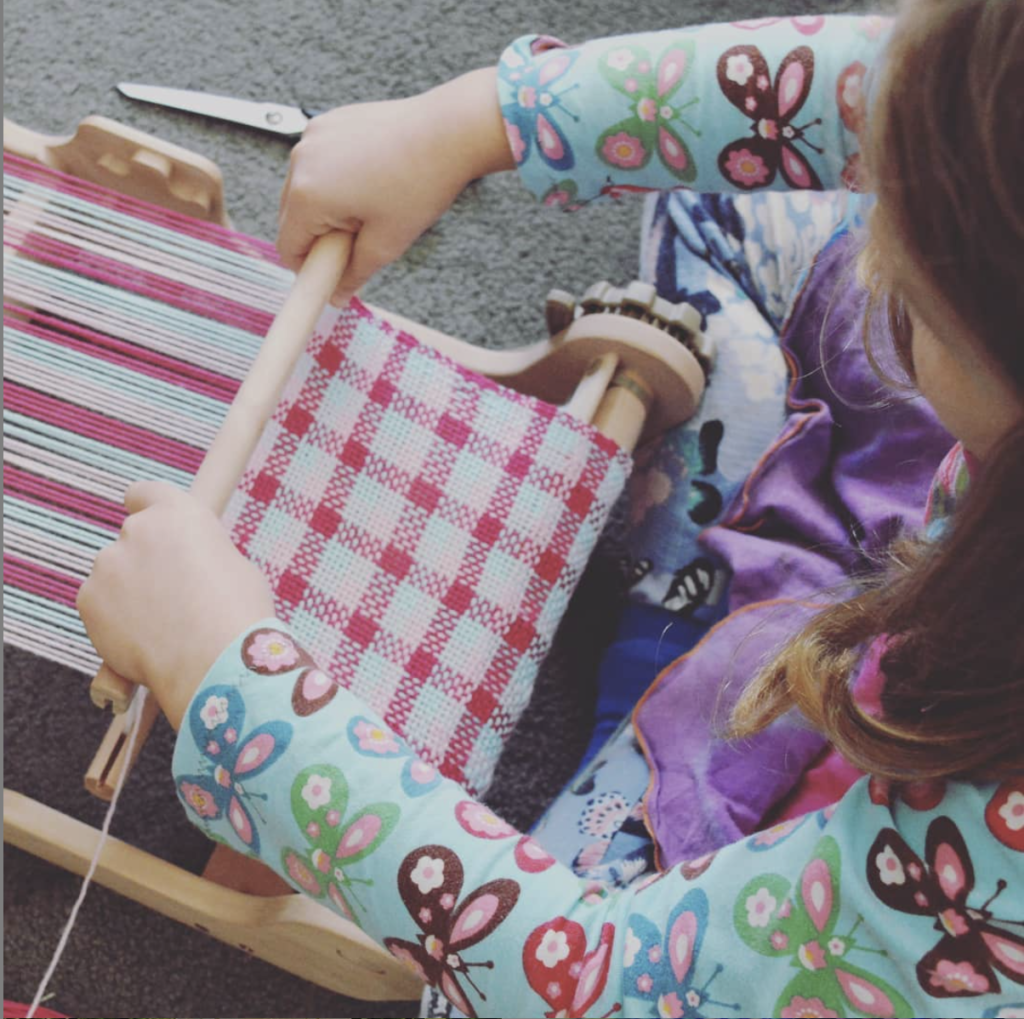
I feel so blessed to be a part of something that many of our ancestors (my ancestors were English) earned their living by and now, we have the luxury of choosing to do. It’s a wonderful thing to be able to practice these crafts and pass them on to the next generation.
“Spinning and Weaving” is available from the Pen and Sword website and also on Amazon (affiliate link).
Until next time…
Happy Weaving!