• Skip to main content
  • Skip to primary sidebar

Kelly Casanova Weaving Lessons

  • Hi! I’m Kelly!
    • Disclosure
  • Online Weaving School Class Index
    • Common account issues
    • Common technical issues
    • What do I get with a membership?
  • New to rigid heddle weaving? Start here!
    • Never heard of the rigid heddle loom?
    • How to weave neat edges on the rigid heddle loom
    • Rigid heddle weaving
    • Rigid Heddle Weaving Patterns
  • Patterns
  • Subscribe

Weaving

Clothtober!

by Kelly 48 Comments

I’ve been thinking a lot about clothes lately. How dissatisfied I am with my current wardrobe and why. What I might be able to do about it.

I don’t have all that many clothes, and I tend to wear the same things over and over. Once I’m comfortable with something I don’t want to give it up and I really do wear things until they’re completely worn out. This means I don’t have to go shopping too often.

I’m one of those strange women who actually hate clothes shopping. It’s like a vicious cycle on repeat. I head out to the local shopping centre, sometimes the op shop. I have a list of what I need (I never randomly buy clothes, that is just not my personality type!) And the search begins.

I go through a series of predictable steps. I can’t find what I actually want or need, so I compromise, because I need it, because I’ve worn my other clothes to death. I start to try things on. I start to feel hot. Physically hot. Is it the act of trying on one thing after another, or the building anger that nothing fits or looks right that causes this overheating? Probably an even mixture of the two.

I leave the shop. Sometimes I leave with a purchase, which is never really something that I love, it’s just something to get me by until the next thing wears out and I’m forced to come back.

My body type just doesn’t seem to exist on a clothing rack. I need 3 different sizes, 1 for my chest and waist, a larger one for my upper arms, and an even larger one for my hips. So nothing ever fits.

There is something good about all this, I’m coming to that!

It has forced me into a place of action. I’m tired of not wearing clothes I like. I’m tired of being uncomfortable. I’m tired of feeling like I have not style because I can’t buy what I really like. I want to change this.

So, here is my line of thinking. I’m a weaver. I can sew. Pattern drafting is my weakness, but perhaps I can use existing patterns as a template and change them to fit my body? Perhaps, through putting in the extra work and time and effort, I will be able to produce something I enjoy wearing? And perhaps I will even enjoy wearing it more because I know how much time went into it! Instead of junky, off the rack, ill fitting clothes, I can build my own wardrobe of special pieces! Bingo!

I have already begun. I sketched ideas first, then started looking for a sewing pattern that might fit the bill.

I started with the “Esme tunic dress pattern” from Lotta Jansdotter’s book, Everyday Style. (Affiliate link) This book has so many wonderful, classic designs that I would love to build a wardrobe from. I cut the tunic out from the largest size and sewed up a quick muslin from an old bedsheet. The problem was when I set the sleeves in. They looked terrible! No amount of tweaking and re-sewing could make it look better.
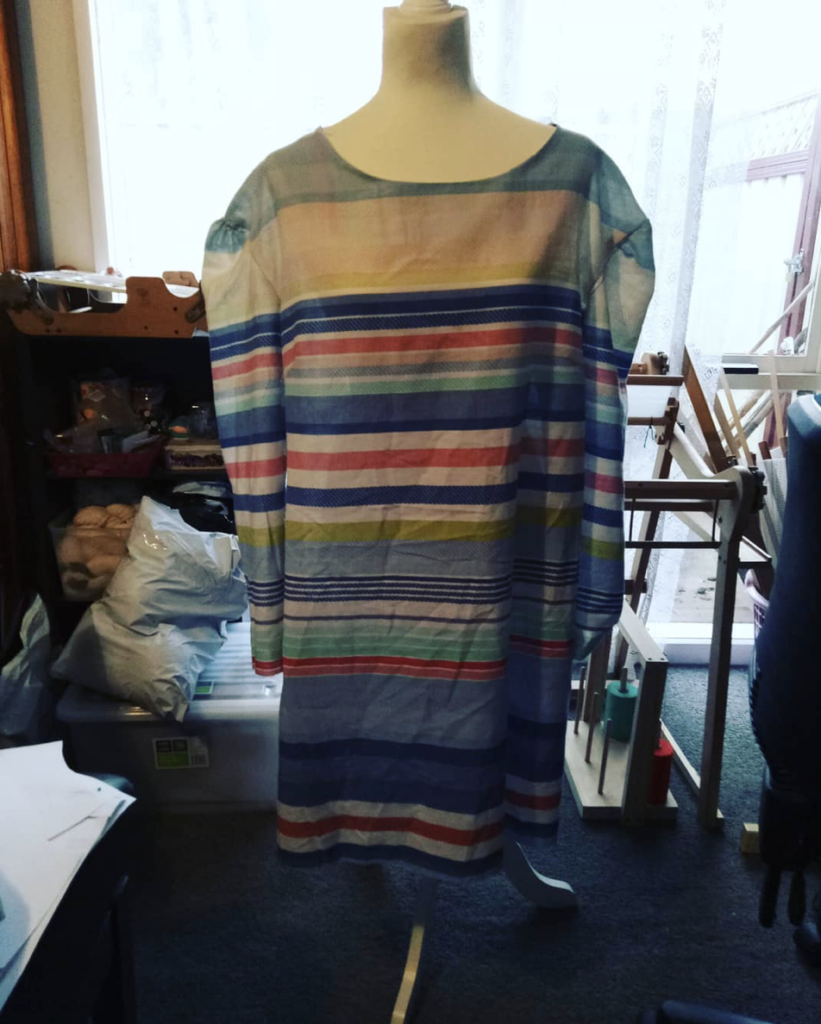
After plenty attempts to change my muslin and plenty of sage advice from Instagram and Facebook friends, I decided to look for a different pattern with a raglan sleeve instead of a set in.

I stumbled upon the It’s Always Autumn blog and found a free Raglan tee pattern. She has a lot of really good free patterns, so be sure to check them out if you head over there. Using that tee pattern I started tweaking and changing to get the dress tunic I had in mind. It took hours of cutting, placing darts, sewing, ripping apart, sewing again and then doing it all over and over, to finally get a tunic pattern that fits me properly and in a style I like! Here is the muslin.
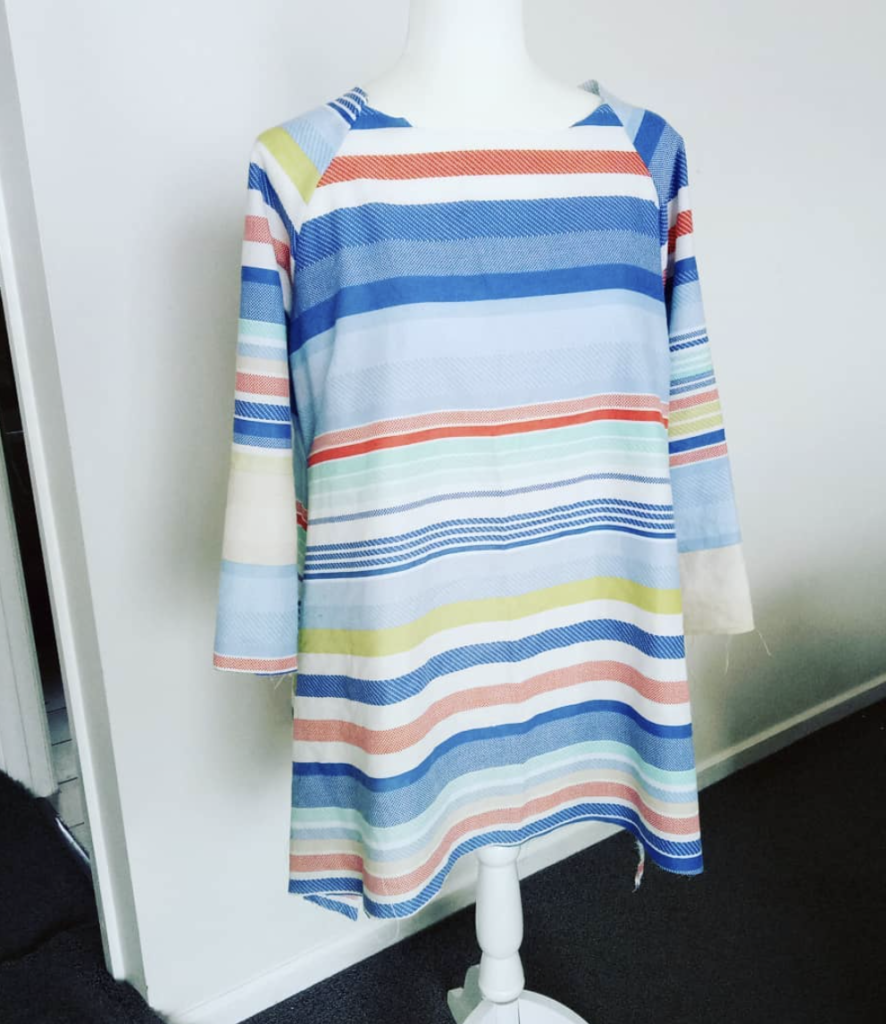
Semi fitted, yet not clingy – perfect! And did I mention that it fits?!

OK, so now onto the fabric. I’ll give more of my warp details next time, but the basic idea is to weave the fabric from an undyed cotton and then dye it to a colour I like. Yes, I want this garment to be as customised as possible!

A lot of my social media followers seem to be right into this idea, so I thought “why not make a thing of it? I can encourage other weavers to make an item of clothing with the same aims in mind. And, if we do it through October, then I can name it Clothtober!” Win, win!

So, I’m going to be sharing more details of this project as I go along (and lets face it, with over 800 ends to warp and thread, this is not going to be over in a flash!) And I hope that I may inspire some of you to choose an item of clothing you want to weave for yourself. According to your skills and what you need in your wardrobe. I will be weaving on my floor loom, but you can do what you like.

Ideas?

A skirt, a fitted blouse, a poncho, a jacket, a top, pants, a hat?

If you feel you need some extra help, here are some classes that may interest you:

Clasped Warp Quechquemitl Wrap

Garment making on a rigid heddle loom

Wrist warmers

I’ve also been eyeing the Bias Top sewing pattern from Sarah Howard, which looks terrific.

What do you think, is this something you can do? Are you fed up with crappy clothes that don’t fit?

Let me know in the comments if you want to join in. What will you make? Or perhaps you just want to follow along with my project for future inspiration, that is fine too.

Next time I’ll be talking about finding your own individual style, so be sure to check that out.

Until then…

Happy Weaving!

Filed Under: 4 shaft weaving, Clothtober, Floor Loom Weaving, Sewing, Weaving Tagged With: clothtober, tunicdress, weaving

Is a table loom the answer?

by Kelly 34 Comments

One of my most commonly asked questions relates to physical conditions.

No, I’m not a physician, but I am a weaver and I do have physical restrictions. I’ve also found ways around the restrictions and I’d love to share some of them with you.

This post contains affiliate links. This means that if you click and purchase, I will receive a small commission at no extra cost to you.

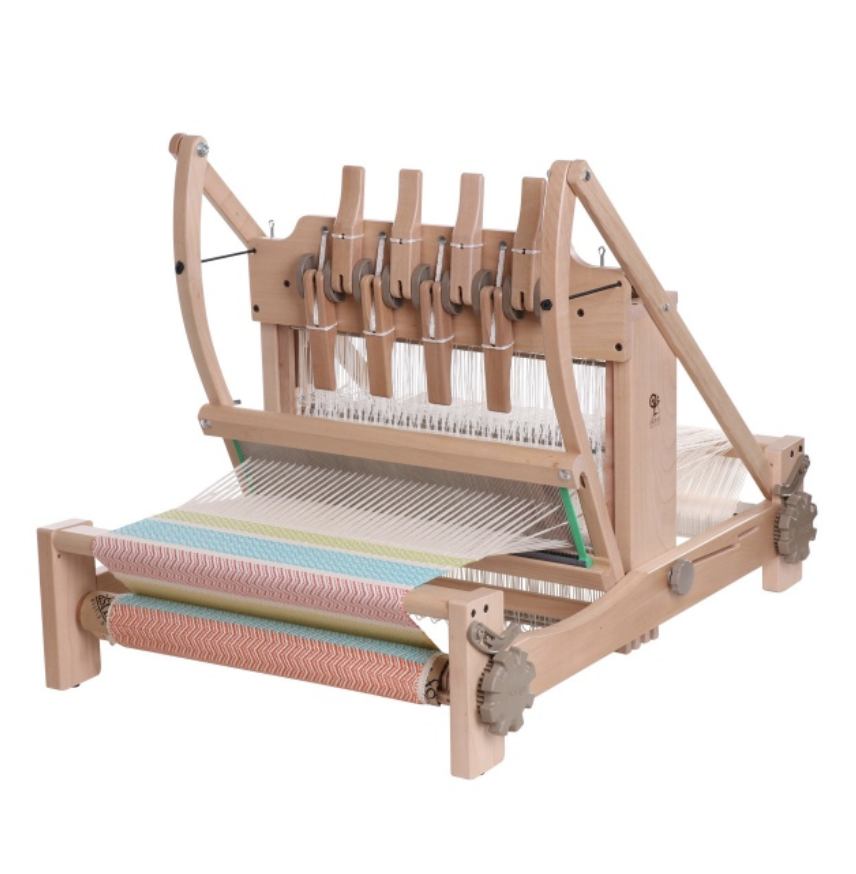
My first multi shaft loom was an 8 shaft, 32″ Ashford Table Loom.

Image from Ashford website.

My decision to buy this particular loom was based on a few things.

  1. My physical capabilities
  2. What the loom could do
  3. Price
  4. Size

Addressing number 1 first. I have a back injury that causes daily pain and discomfort and limits what I can do physically. I desperately wanted a multi shaft loom but thought it probably wasn’t going to be possible for me to physically use one. So I started researching (a lot!) and found that a table loom could be a very good option. And it was! Here is why:

  • My table loom was operated by levers rather than treadles. This meant no getting down on the floor to tie up treadles.
  • The raddle was separate to the loom. This meant that if I was doing a narrower warp, I could sit at the table, away from the loom to place my warp chain in the raddle ie. less time standing.
  • I had my loom on a table rather than a stand. I also had a height adjustable chair on wheels. So I could adjust my chair to the right height, then roll right in under the table and get close to the loom. Many table loom weavers weave standing up, I couldn’t do that, so the adjustable chair was very important.
  • The loom had a slung beater. Effortless to use.
  • Because the table was at a good height for me, I found warping easy, not having to bend to the height of the loom.

On to number 2 – what the loom could do.

Well, it could do anything that an 8 shaft floor loom could, but there were some differences. I could never achieve as good tension on the table loom as I can on my floor loom. It wasn’t a really huge deal, but could be frustrating at times when my boat shuttle would dive through the weaving. The other thing that bothered me was not being able to remove or add heddles from the shafts once I had a warp on. Once again, not a huge deal, but annoying at times.

The all important number 3 – the price!

Table looms are really affordable considering the abilities they have. If you can find a used one with all the pieces and in good condition, even better! For those who really can’t afford the outlay (which can be massive!) for a floor loom, a table loom can be 1/4 to 1/2 the price. You also have the option of starting out on 4 shafts to reduce the initial outlay. You can either stay with your 4 shafts or upgrade to 8 later on.

Finally, number 4

If you simply don’t have space for a floor loom, a table loom can be the solution. Whether you have it sitting on a table or on a stand, it is more compact than most floor looms.

As I mentioned, I do now have a floor loom. Testing myself on a table loom taught me many things. One thing was that my body could handle it if I was careful and that greatly influenced my final decision to buy a floor loom. It was also the perfect learning ground for weaving with multiple shafts, so that moving up to a floor loom was a short, rather than steep learning curve. I had to sell my table loom in order to finance and make space for my floor loom, but many times I still wish I had the table loom as well.

If you are interested in learning more about table looms, I have some Youtube videos that will help.

I have also written about table looms in a previous post where I discuss Which loom to buy?

I hope you found this post informative and helpful. Please let me know by leaving a comment, and be sure to ask any questions you may have.

Until next time…

Happy Weaving!

Filed Under: 4 shaft weaving, 8 shaft weaving, Weaving Tagged With: 8 shaft, disability, table loom

Tote Weave Along, Lesson 10 (Final)

by Kelly Leave a Comment

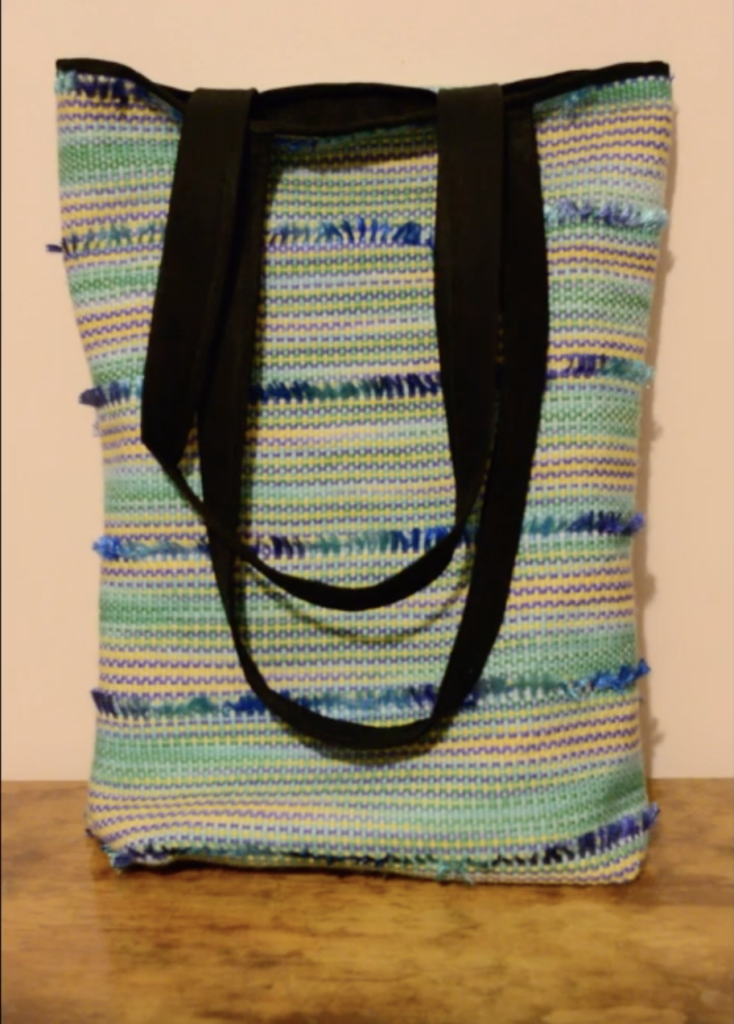
Thank you for joining me in this series, it’s been terrific to have you following along, and hopefully by the end of this lesson you will have a beautiful, functional bag to use or gift.

If you missed the last lesson, you can check it out here.

This post contains affiliate links, which means that if you click and purchase, I make a small commission at no extra cost to you.

Last time we pinned the bag and lining together. Now we need to take the bag to the sewing machine.

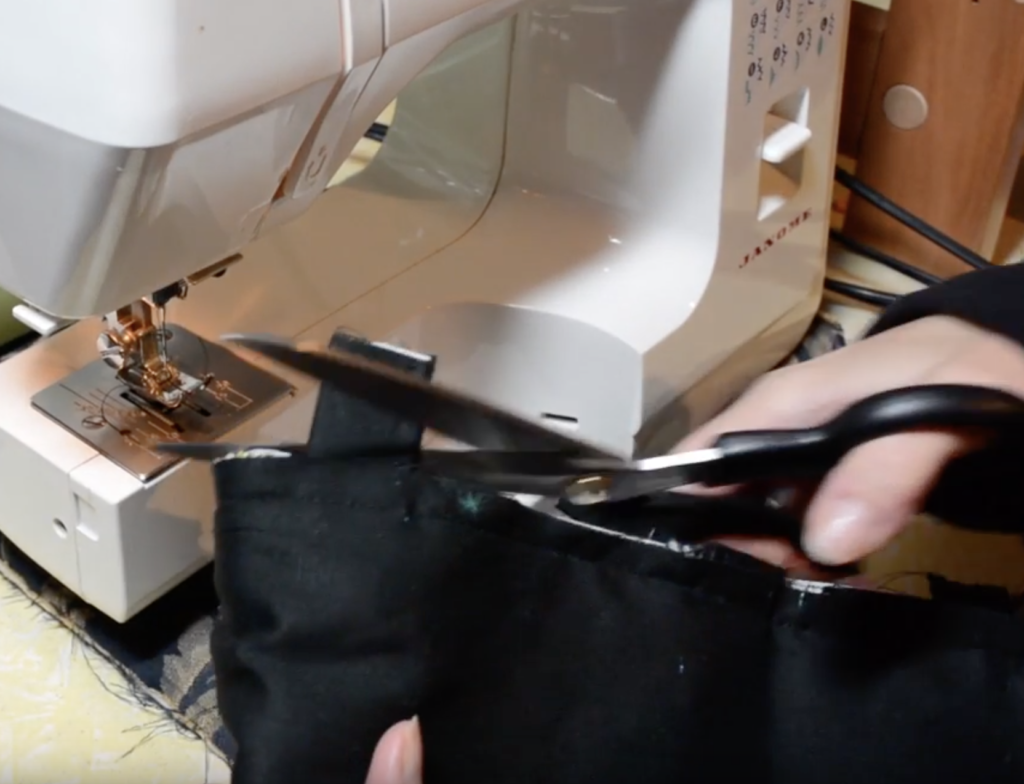
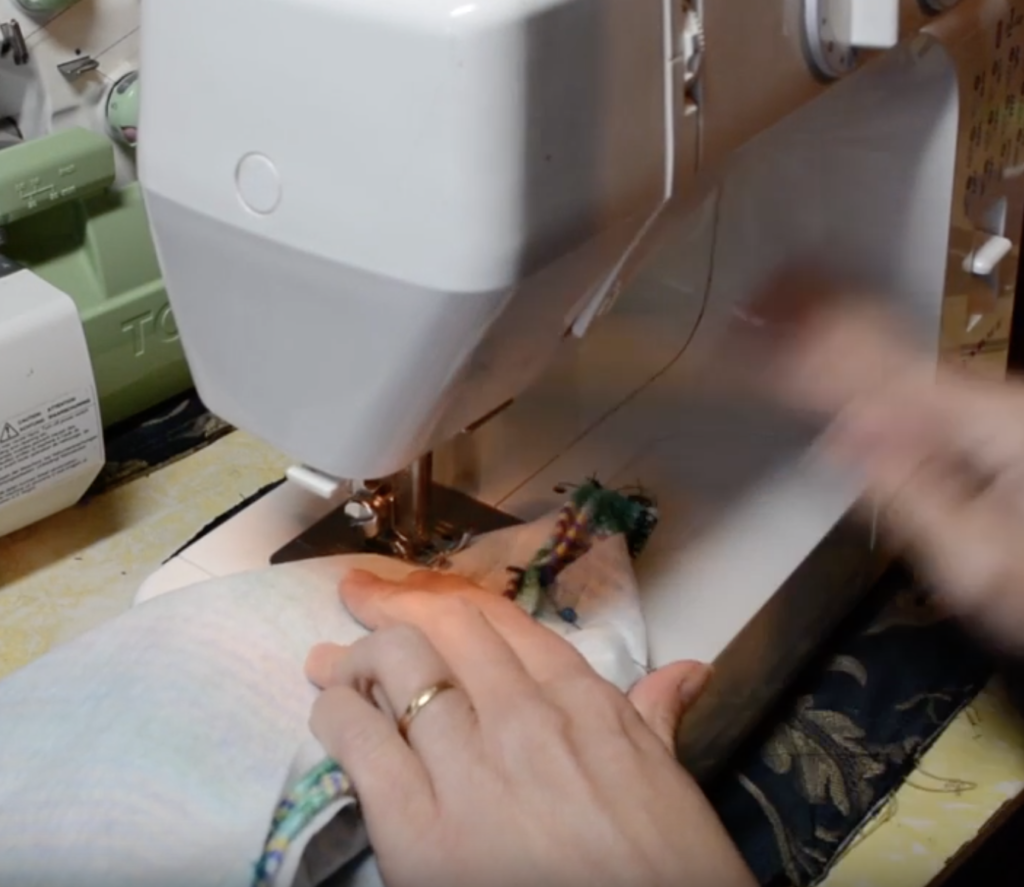
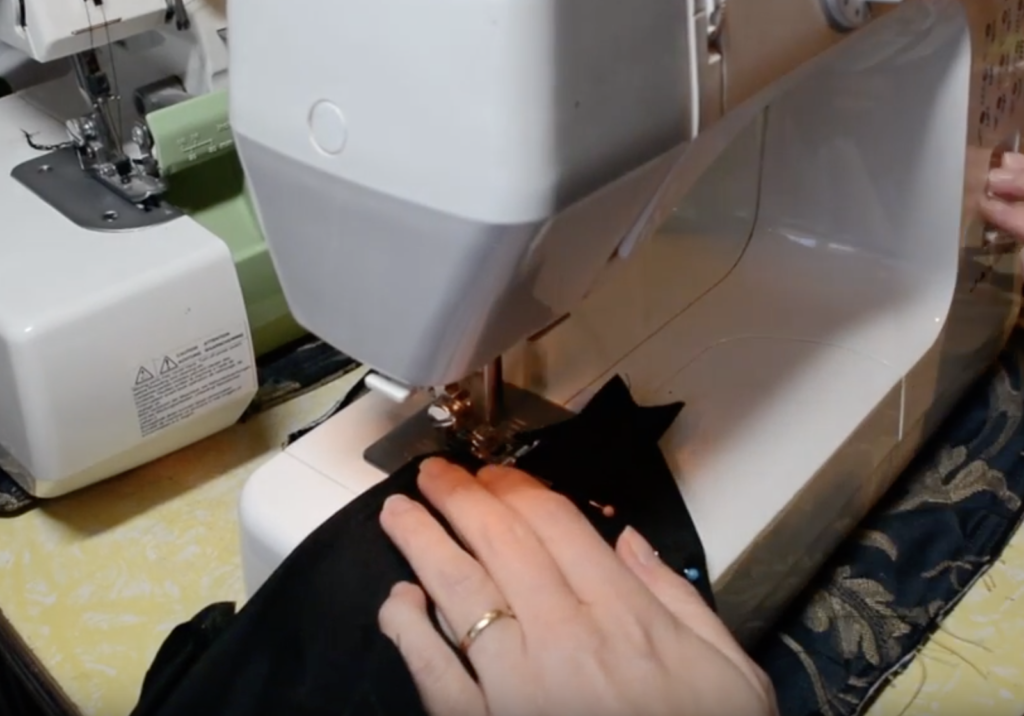
At your sewing machine, sew right around the top of the bag with a straight stitch, removing pins as you go. I usually aim for a 1/4 to 1/2″ seam. This will sandwich together the lining, outer bag and handles together.

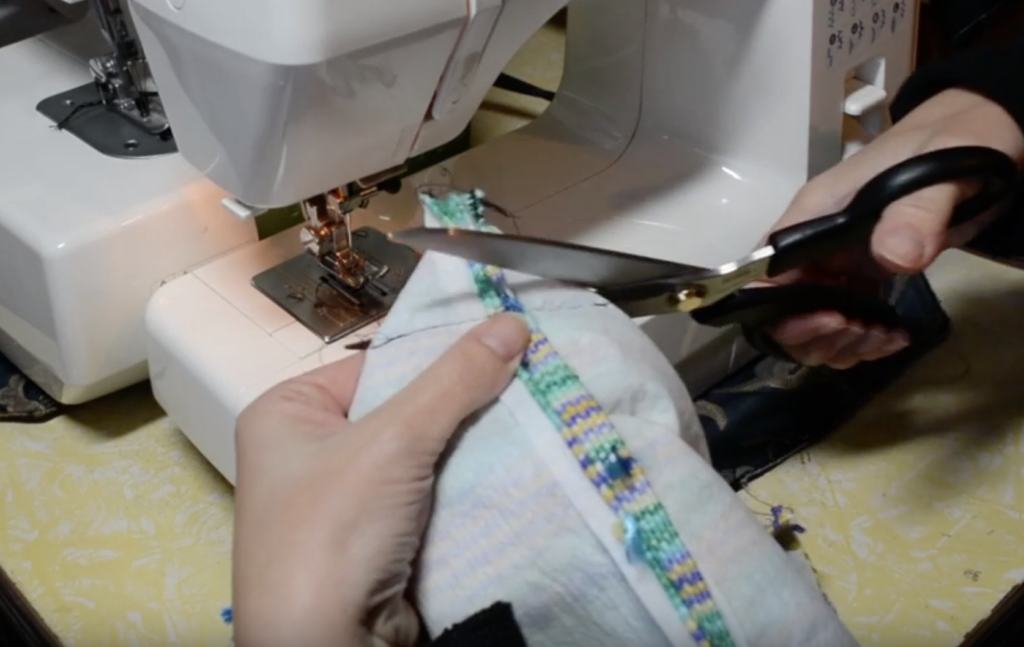
Trim the ends of the handles if needed. If your seam allowance is rough or wide, you can trim that too, for a neater finish. If you do trim, make sure to secure the raw edge with zig zag on your sewing machine or using your serger.

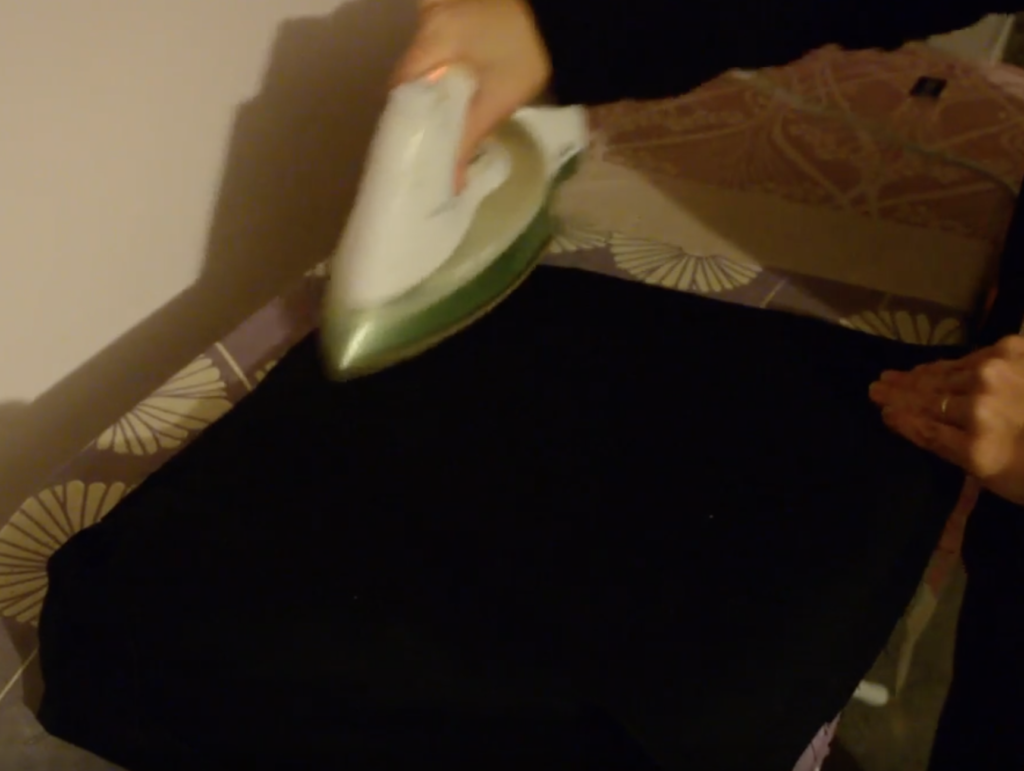
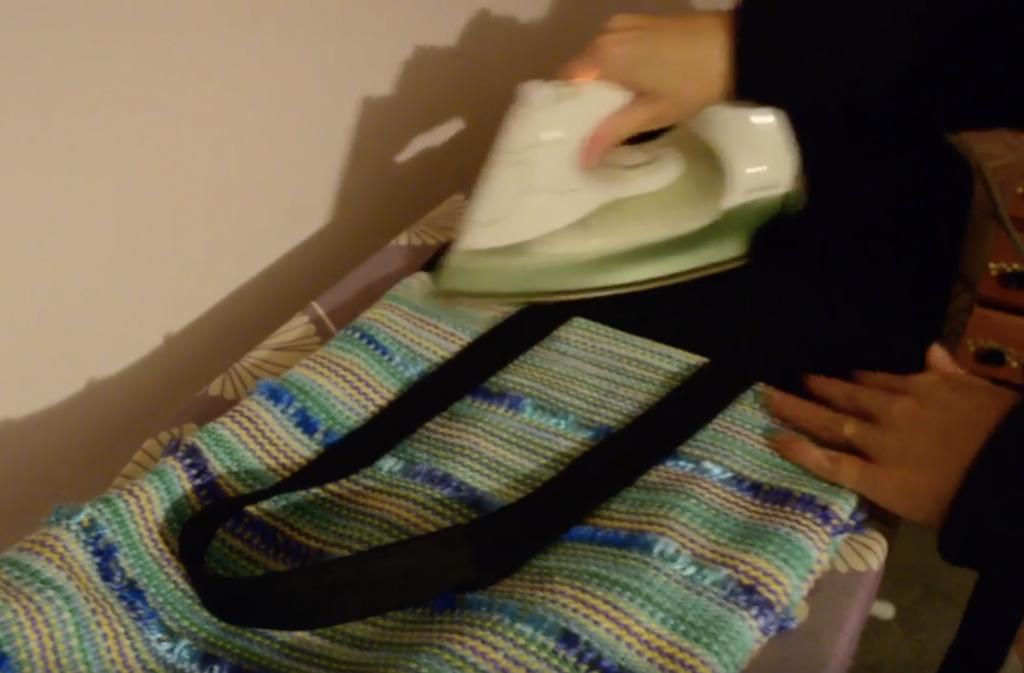
Give the bag a good press with a hot iron, paying particular attention to the top seams you just sewed.

You will recall that when sewing the lining pieces together, we left a gap along the bottom seam. This is where that little feature comes in as highly important!

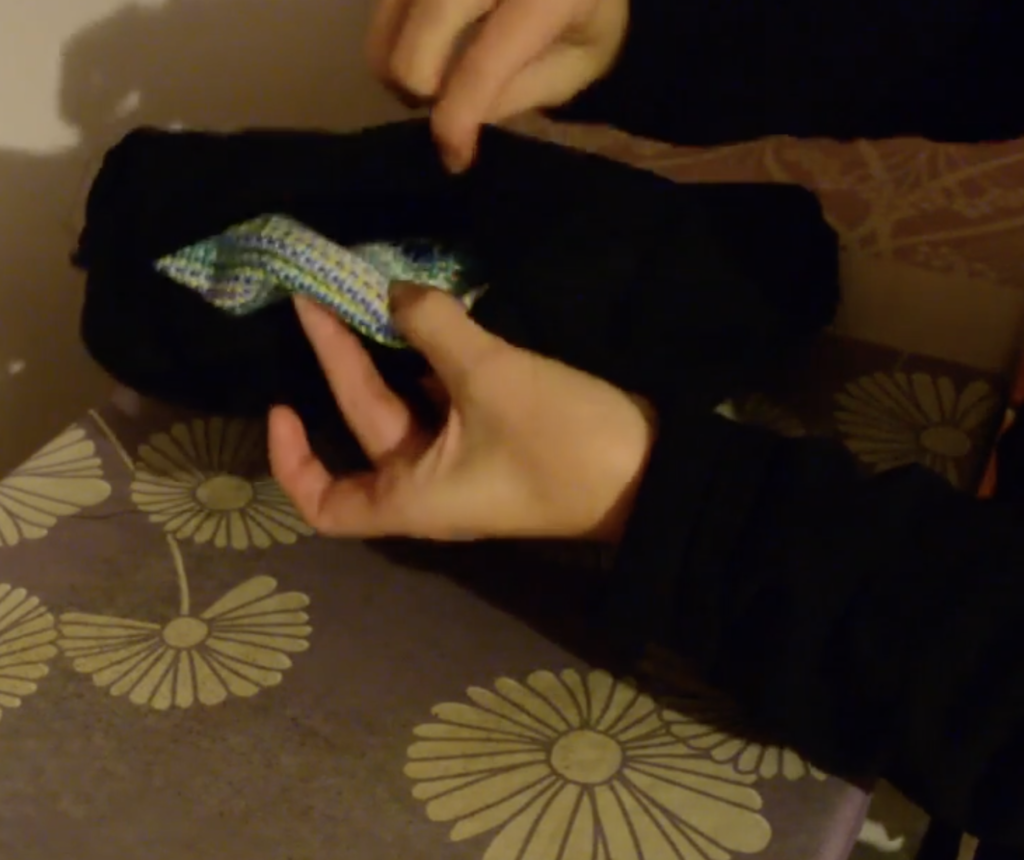
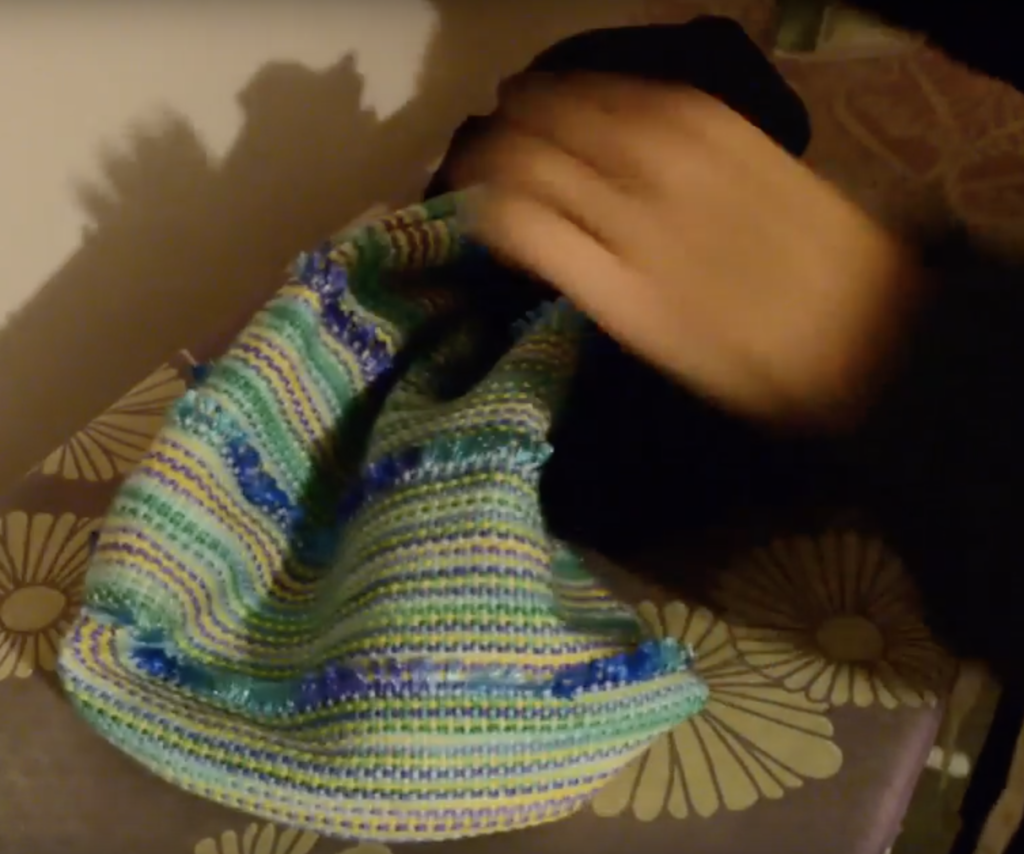
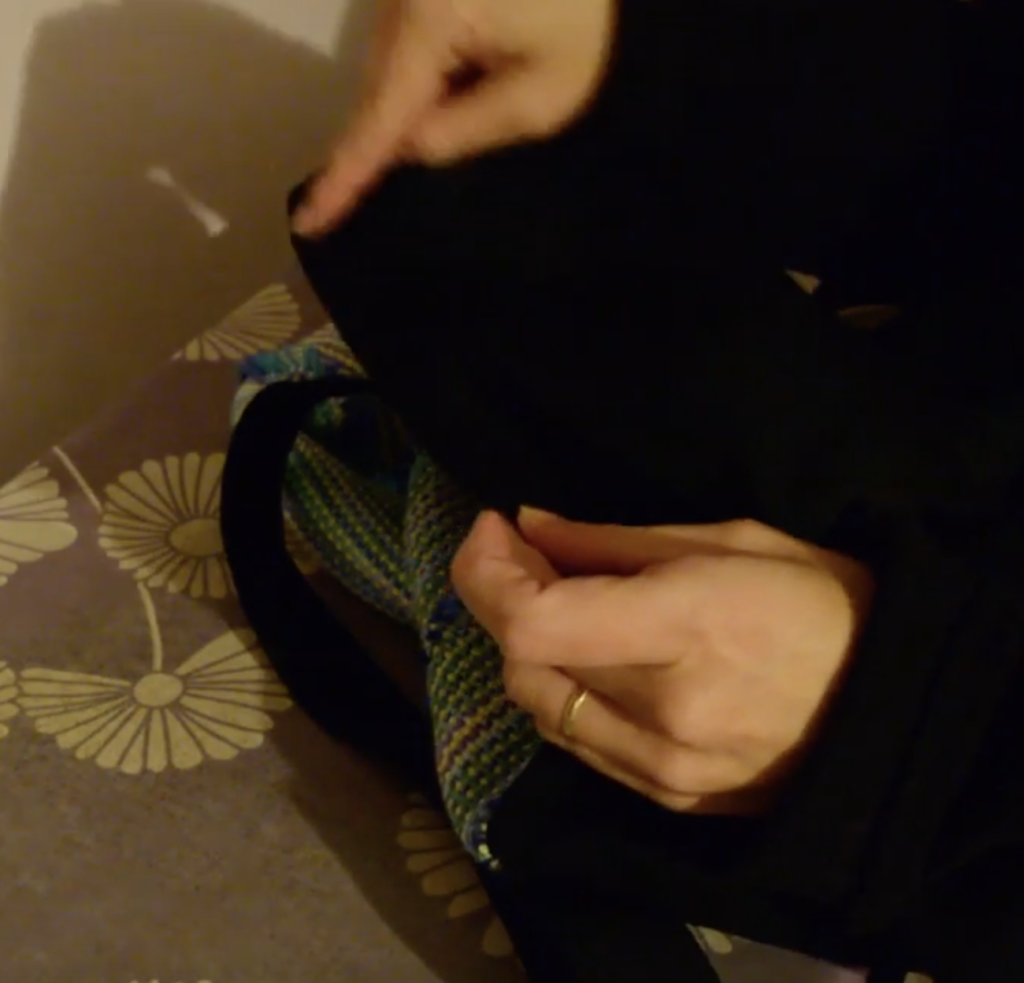
Placing your hand inside the gap, begin to slowly and gently work the outer bag through the lining hole. As you do this, the lining will naturally start to turn inside out – this is what we want!

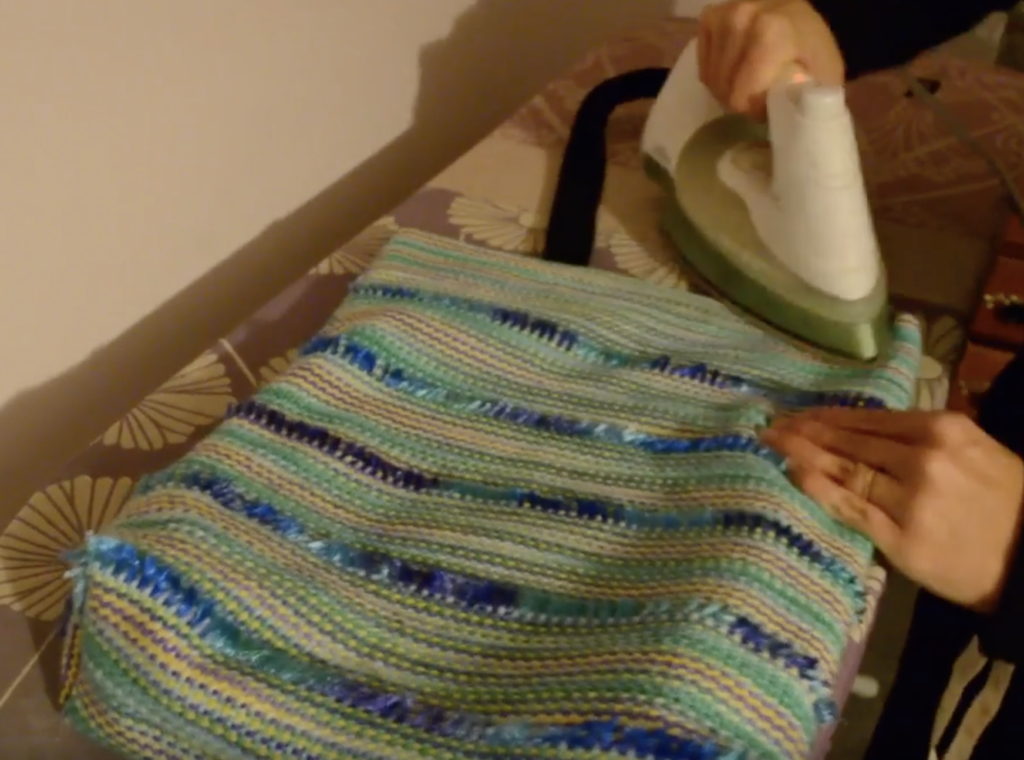
When the lining is fully turned out, give the seams where the lining and outer bag meet a good press, helping to flatten down the layers of seam and giving a much neater finish.

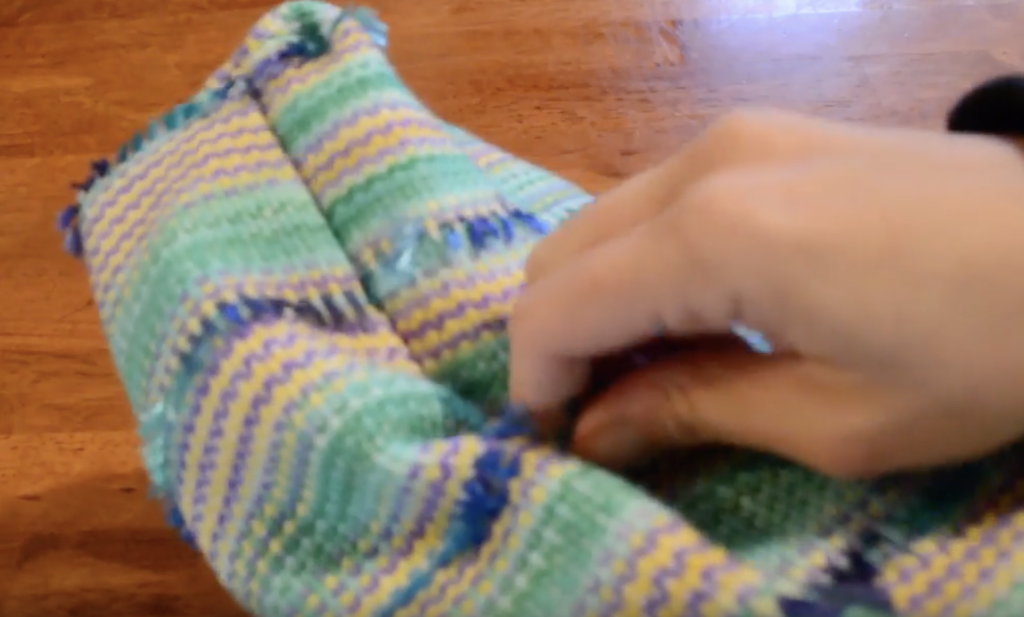
Next we need to stitch the gap in the lining closed, otherwise you will have a hole in the inside bottom of your bag! You can either hand stitch or machine stitch, just make sure that all raw edges are turned inwards.

Grab the end of the lining and push and tuck it to the inside of the bag. Take a bit of extra time to arrange the lining so that it sits flat inside and is sitting in the same shape as the outer bag with no bunchy bits. Pay particular attention to the corners, and poke the lining into them with your fingers.

Once you’re satisfied with the positioning of the lining, press the whole bag once again, slipping the iron inside the bag to flatten the lining. It can be helpful to slip the open end of the bag over the end of the ironing board to ensure the lining is sitting properly at the top.

The final step is optional. You can top sew around the very top edge of the bag, using a matching thread. This will help to secure the lining in place and stop it from moving back out of the bag. It also looks nice. But, you decide.

So, that’s it!

How did your bag turn out? Please let me know if you have made one, and of course, I always love to see photos.

Until next time…

Happy Weaving!

Filed Under: Rigid heddle weaving, Sewing, Tote Bag series, Tutorials, Weaving Tagged With: rigid heddle weaving tutorial, tote bag, tote bag weave along

Tote Bag Weave Along, Lesson 9

by Kelly 1 Comment

If you missed lesson 8, you can find it here.

We’re really making progress now, sewing up the bag and getting close to finishing!

The lines that we pinned across the two bottom corners can now be sewn.

Sew straight across the corner, removing pins as you go and remembering to backstitch at each end for strong stitching. Repeat on the opposite corner.

Cut off the excess fabric on the corner and either zigzag or serge the raw edge.

Now do the same with your prepared lining.

Take the bag and turn it the right way out, taking care to push out the corners with your fingers as you go.

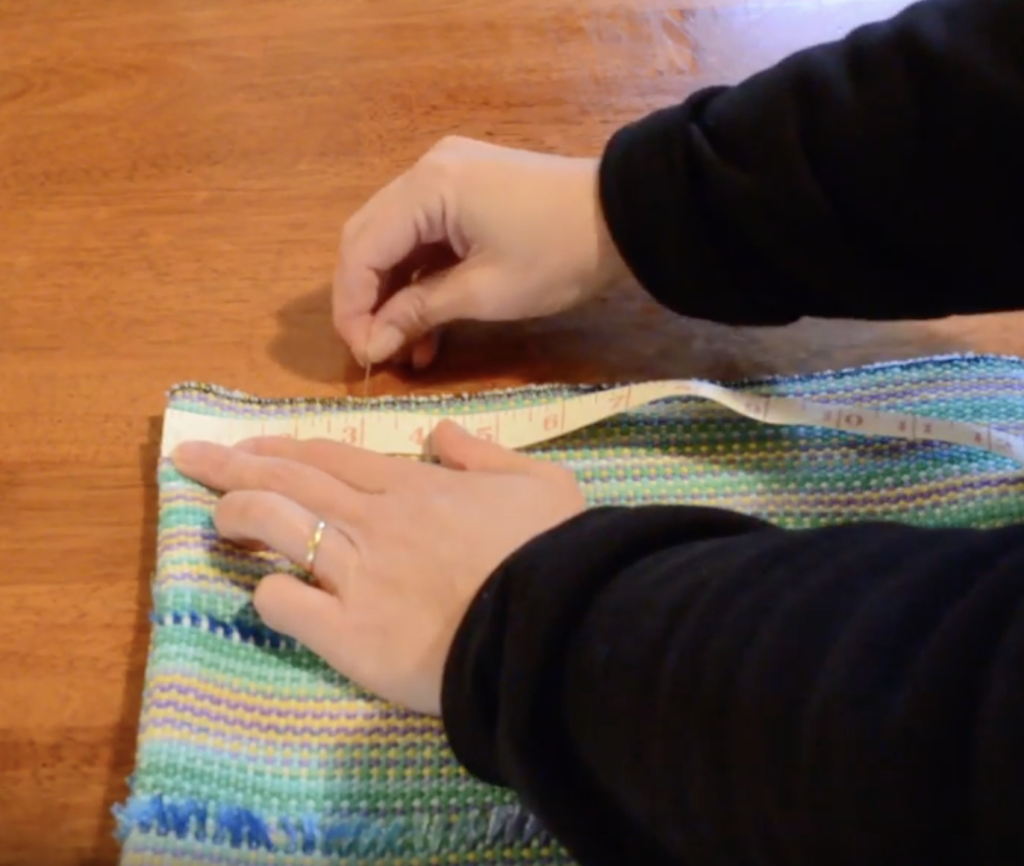
At the top of the bag, measure in approximately 3.5″ from one side and mark with a pin. Do the same from the other side.

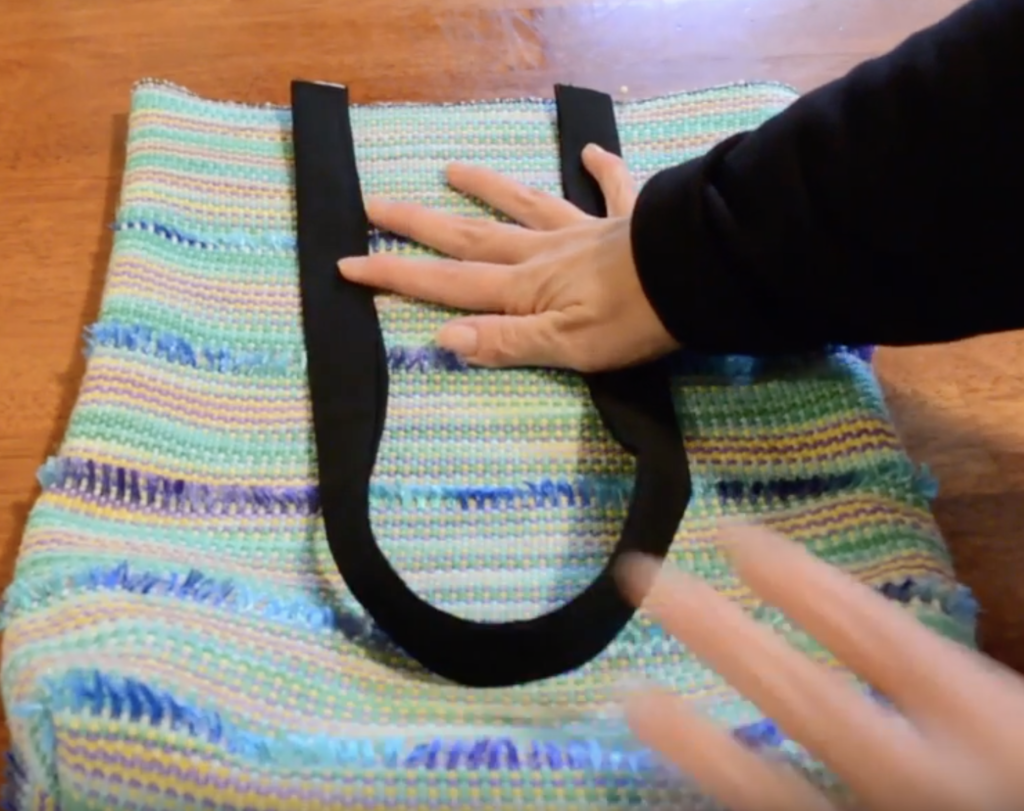
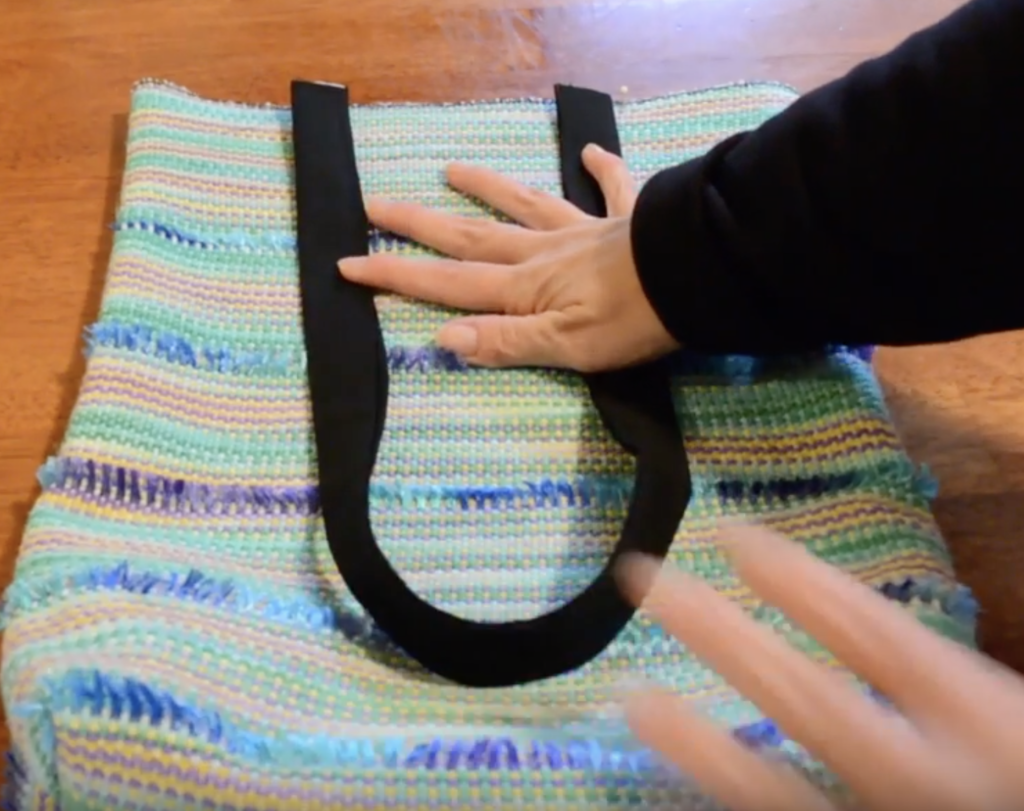
Place your bag handles with the raw edges meeting up with the top edge of the bag and lining up with the pins. Ensure your handles are not twisted. Pin the handles in place. Do the same on the other side of the bag for the opposite strap. Take the bag to the sewing machine and straight stitch across the top of all the straps, remembering to backstitch and remove pins as you go. This makes your handles stronger and keeps them in place while you move onto the next part of the bag.

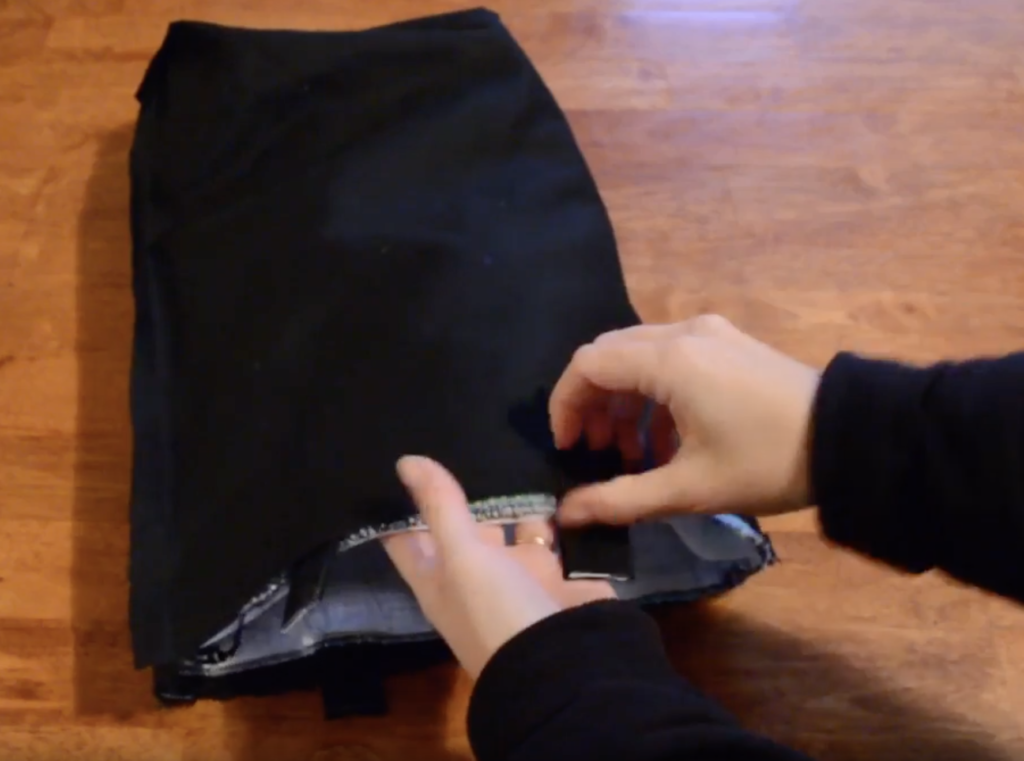
Put the main bag inside the lining. The lining should still be turned inside out – that way, the bag and the lining will have right sides facing when you put them together. Line up the side seams and make sure that the handles are tucked in, out of the way. Pin all around the top of the bag, keeping those side seams matched as much as possible.

You can view this entire lesson for free right here:

The next post will be the last lesson where we finish off sewing the bag.

I hope to see you then, and as always, leave me a comment if you have any questions!

Until next time…

Happy Weaving!

Filed Under: Rigid heddle weaving, Sewing, Tote Bag series, Tutorials, Weaving Tagged With: rigid heddle weaving, tote bag, weave along

Clasped Warp Quechquemitl Wrap – New Class!

by Kelly 6 Comments

What on earth is a quechquemitl anyway?!

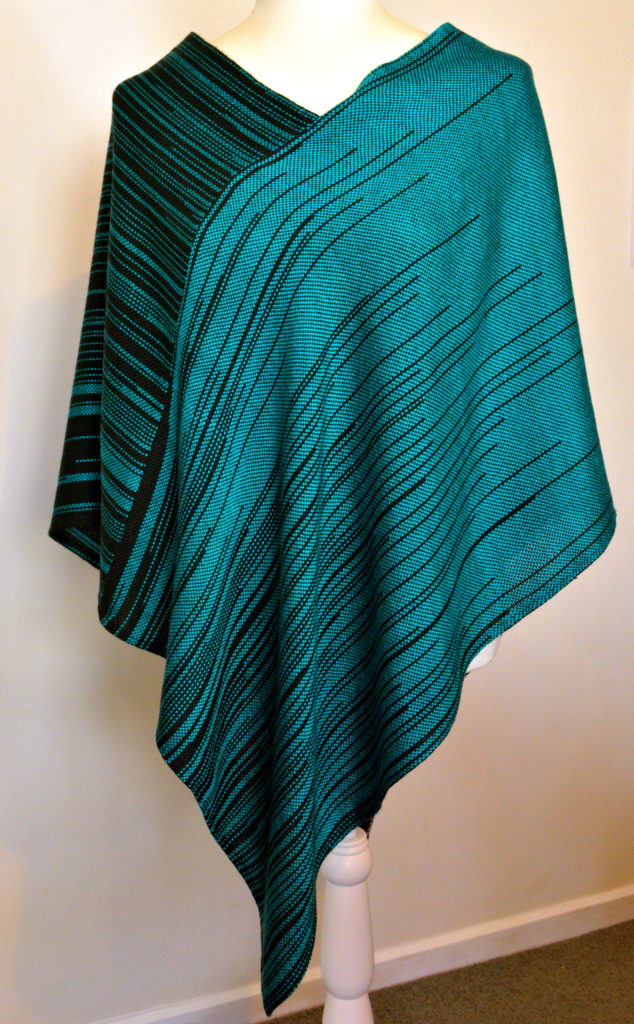
Well, it’s a traditional Mexican upper body garment for women and it’s the inspiration behind my new class.

From what I understand, it is pronounced something like “kech- ka – mil” (please do correct me if I’m mistaken!)

I started researching the quechquemitl because I wanted to find a flattering and easy garment to make with my clasped warp fabric. The clasped warp technique gives a striking appearance to the fabric, and I wanted to utilise that and put it on show.

I started (as all projects should!) with some gorgeous yarn. Tencel and bamboo are both soft and light with an amazing sheen. Perfect for this project!

These fibres made a supple and drapey fabric, and the simple yet contrasting colours make the piece really special.

There are two ways to wear this wrap – in a poncho fashion as pictured above or you can swivel it around so that horizontal lines run across the body. Either way is totally beautiful!

This is a low sew project, so great for those who are dipping their toes in the world of sewing.

This class is available now at my Online Weaving School. You can make a single purchase, or, if you’re already a member you can simply login and enjoy.

Happy Weaving!

Filed Under: Online Weaving School, Rigid heddle weaving, Sewing, Weaving Tagged With: new class, online weaving class, online weaving school, quechquemitl wrap, rigid heddle weaving

8 shaft Strickler sampler

by Kelly 2 Comments

If you follow me on Instagram you will have been viewing the progress I’ve made on my 8 shaft sampler.

*This post contains affiliate links, meaning that if you click and purchase, I will receive a small commission at no extra cost to you.

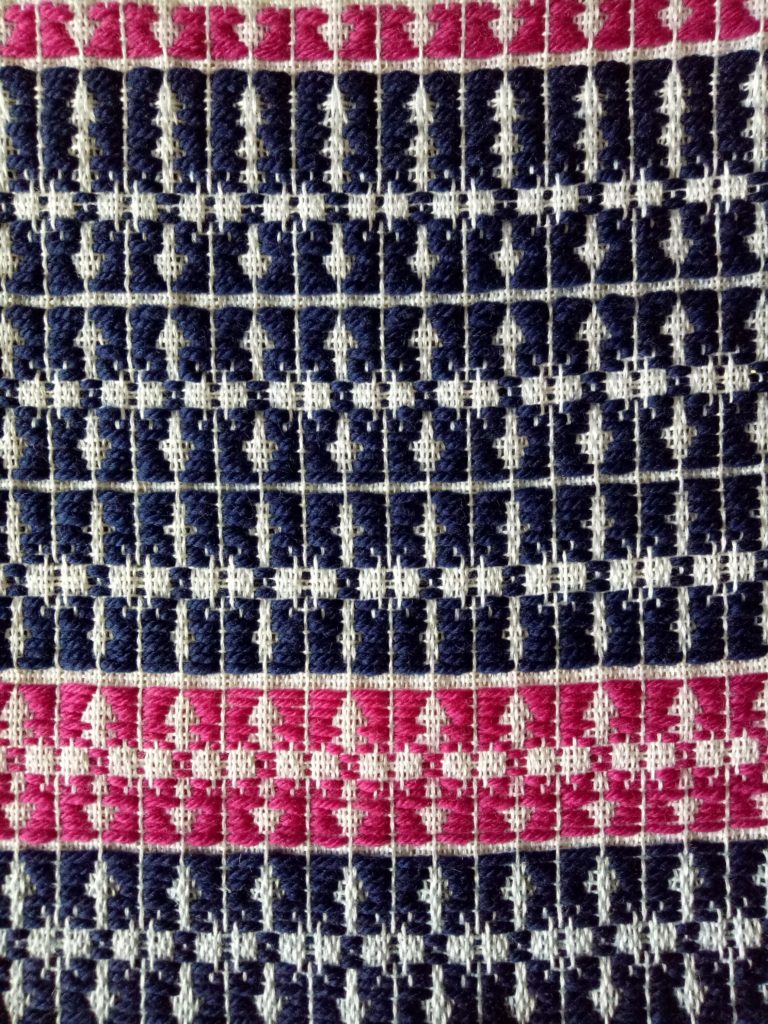
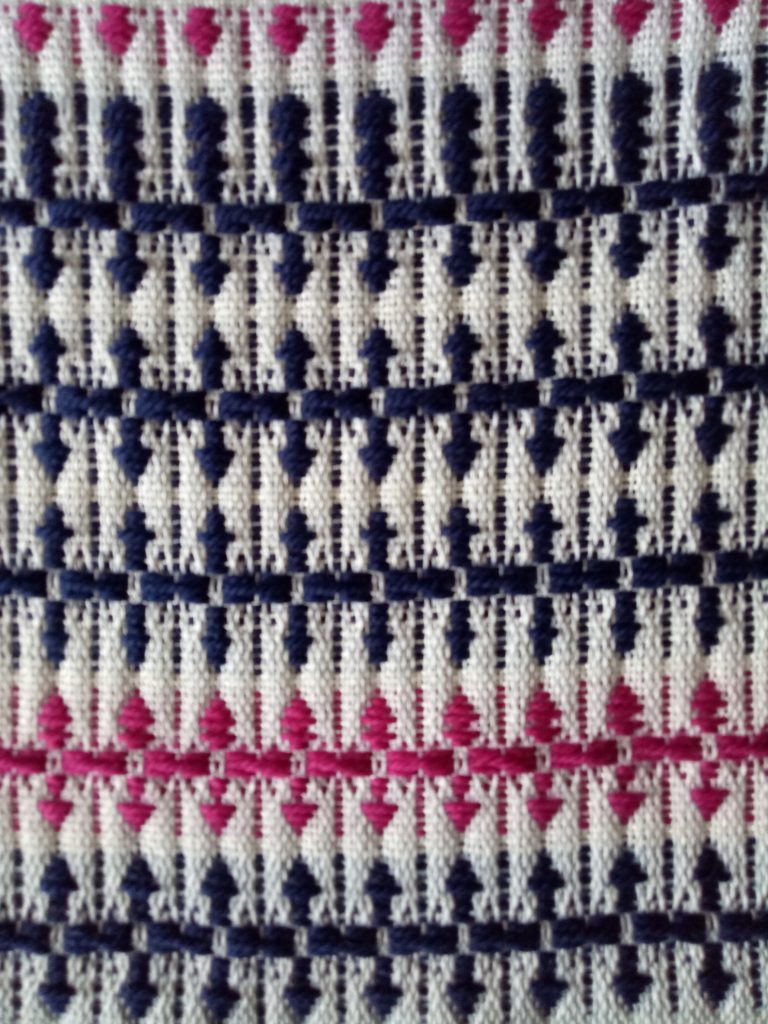
I didn’t have any specific plan for this sampler other than to explore some 8 shaft drafts on a rose path threading from Carol Strickler’s 8 Shaft Pattern Book.

If you’re not familiar with rose path threading, it is a point twill variation and can be used for both 8 and 4 shaft patterns. An example of rose path threading for 4 shafts would be 1,2,3,4,1,4,3,2,1 and for 8 shafts 1,2,3,4,5,6,7,8,1,8,7,6,5,4,3,2,1.

Something I really love about having an 8 shaft loom is the range of patterns or motifs that can be woven. I wanted to explore:

  1. Which combinations of yarns would be most effective for the designs I wanted to weave.
  2. How many different patterns I could weave on 8 shafts by changing my tie up often.

Once you have threaded a multi shaft loom, there is no going back, no changing the order of threading (unless you want to go back and start again and no one wants to do that!) By changing the tie up though, you can vary the combinations of shafts as you’re weaving, therefore changing the pattern without having to change the threading.

By “tie up” I’m talking about attaching my treadles to various shafts with texsolv cording. Different types of looms have different ways to tie up the treadles and one thing I love about my Louet David is how simple it is to tie up. This means that if I want to change the tie up to alter the pattern, it doesn’t take long and isn’t hard to do.

My loom is a sinking shed loom, so I was aware that the actual pattern would be woven on the underside. I didn’t mind that (in other words, I couldn’t be bothered messing around with the treadling to make sure the pattern would weave the right way up). Interestingly, I discovered that I often preferred the weaving on the underside to the right side anyway.

I started with 8/2 unmercerised cotton for the warp in white and warped at 20 ends per inch. I made my warp around 10 inches wide on the loom, as I like to have plenty of space to see my pattern. A narrow warp doesn’t always give enough pattern repetitions to give a good representation.

Beginning on page 30 of the book, I randomly picked motifs to weave according to the number of treadles required. My loom has 10 treadles, so 8 were tied up for the pattern weft and 2 were tied up for tabby.

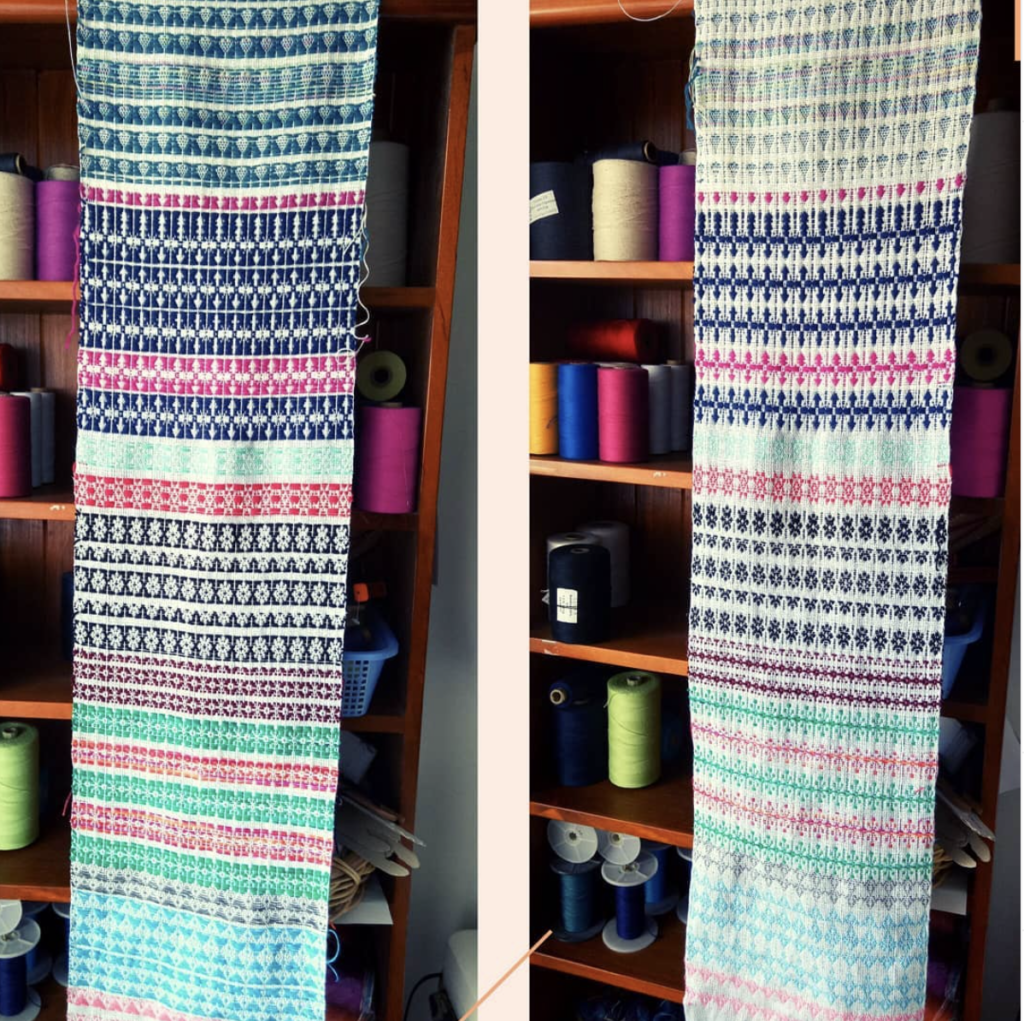
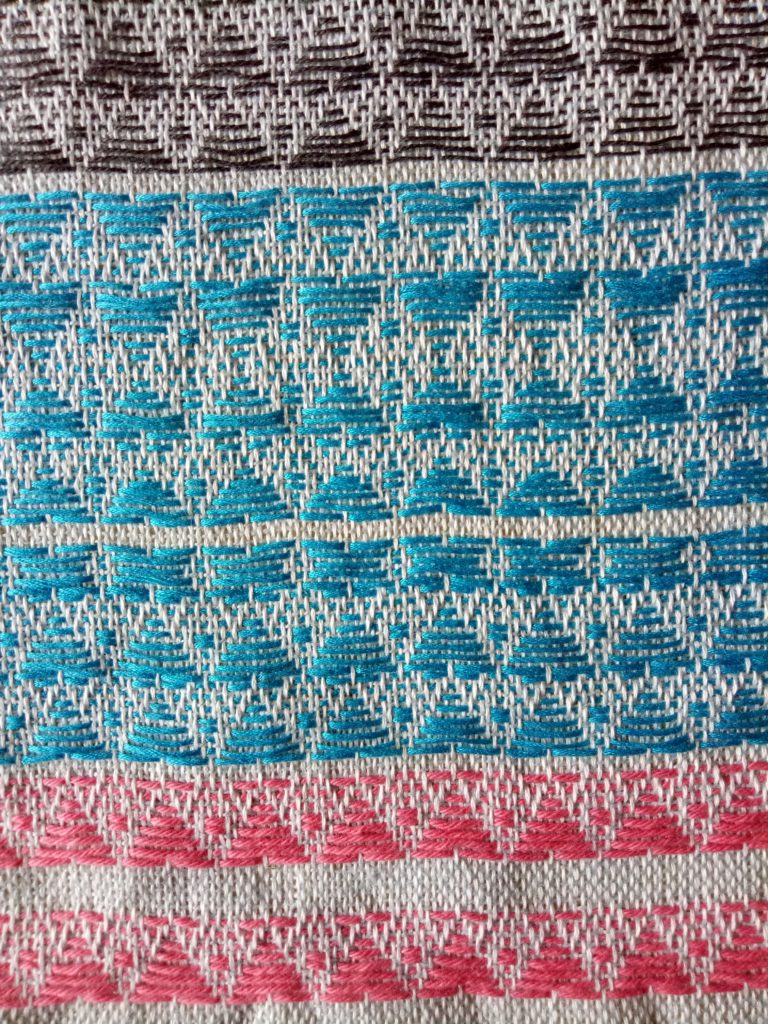
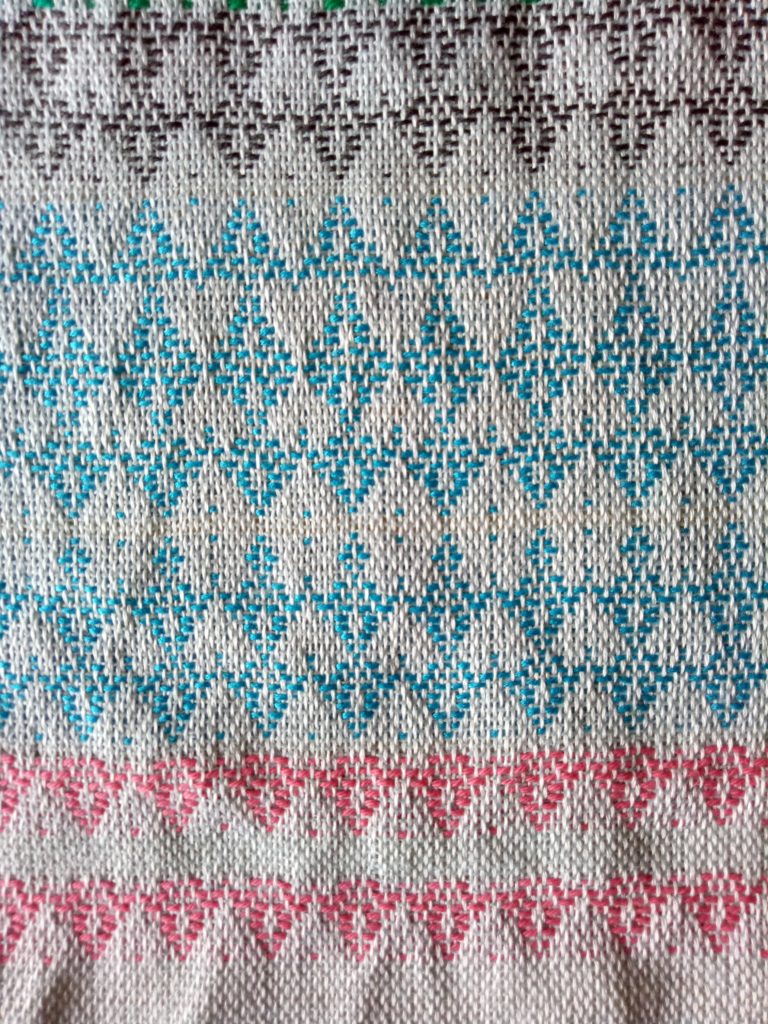
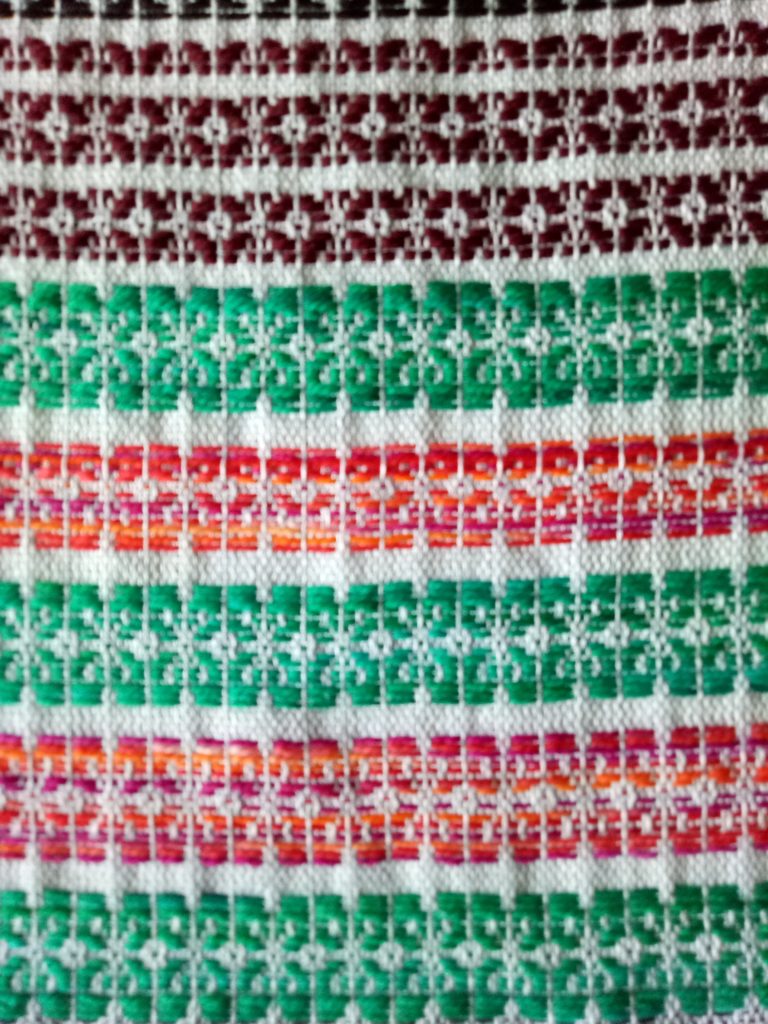
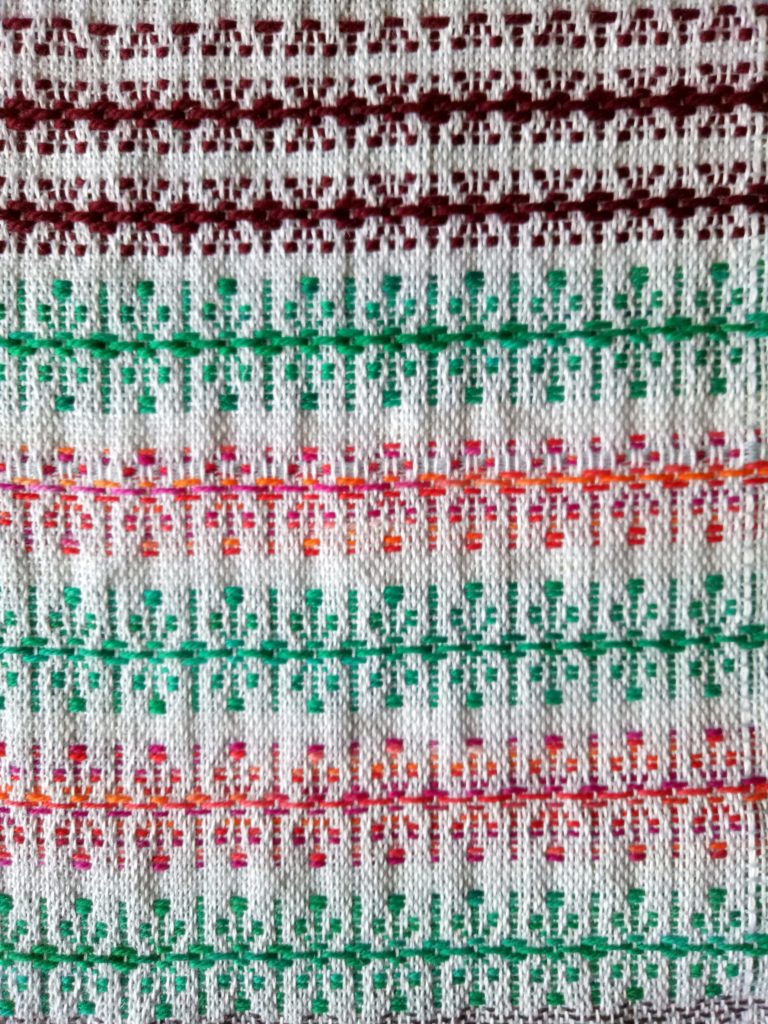
Right side
Under side

I initially started weaving with some dk weight cotton (pink) and Bambu 7 (blue) and changed to 8/2 Cottolin (grey). For these designs I used tabby throughout (which means that following every pattern weft row is a row of plain weave) in an 8/2 mercerised cotton in a very light blue which looks mostly like white in these photos.

I wasn’t too thrilled with the initial results but it showed me something valuable. For the designs to have more impact I needed to use a heavier weight of yarn for the pattern weft and to choose my colours with intention. I wanted bold, not “meh” designs!

Right side
Under side

I switched the tie up and the yarn, and presto! Much better result this time. I alternated between a variegated orange/pink and teal fingering weight hand dyed wool, keeping my pale blue 8/2 cotton tabby. The top design is a burgundy dk/light worsted wool. I find both sides of this design equally pleasing. Between the hand dyed and burgundy you can see that the design looks slightly different – this is as a result of changing the treadling around but keeping the same tie up. So many variations are possible! If you’re looking for this design in the book, it is number 132 on page 32.

Right side
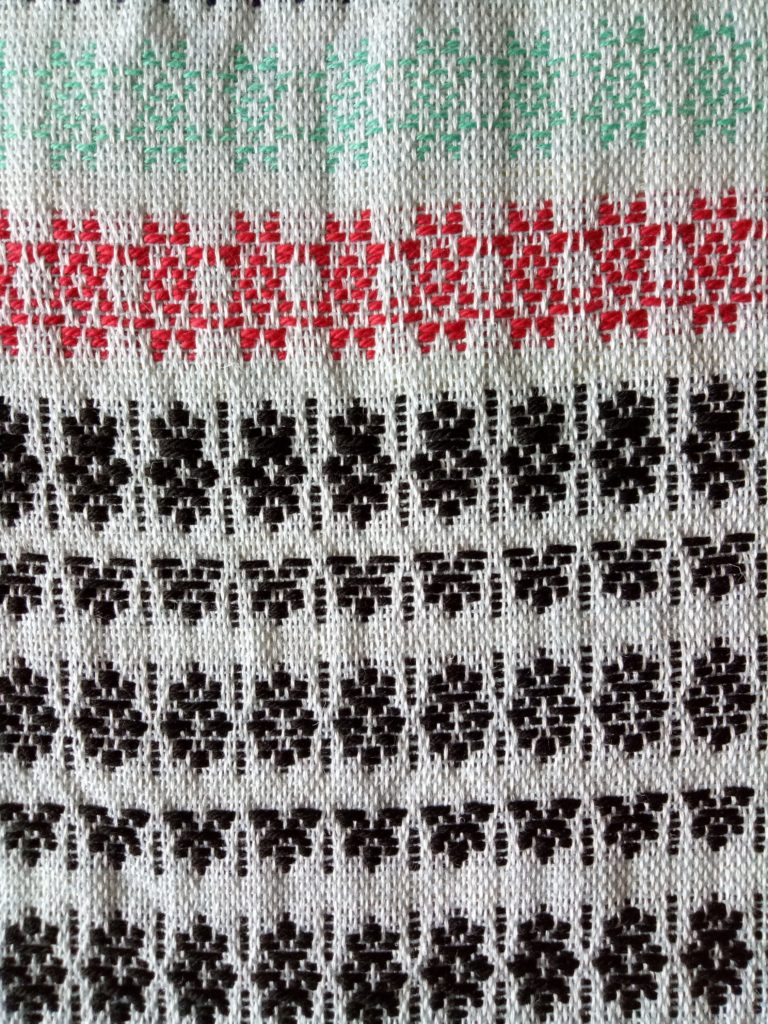
Under side (Space Invaders?!)

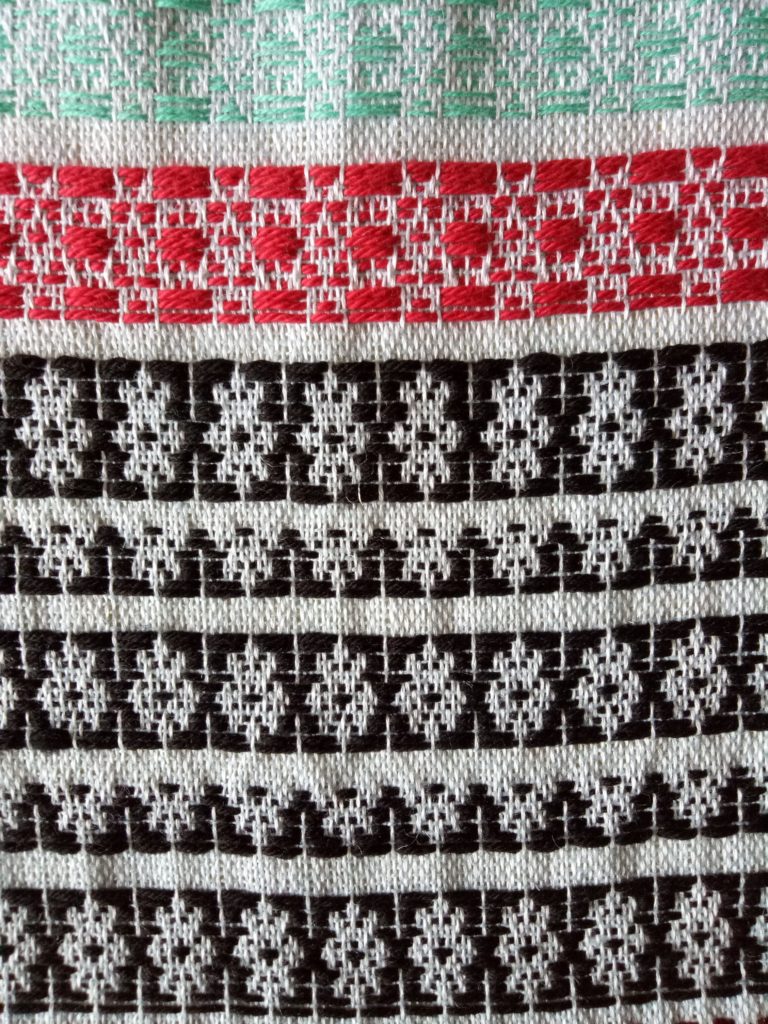
For this design I once again changed the tie up and swapped to a black fingering weight wool. This design is number 133 on page 32. The red design is number 128 and was worked in a dk/light worsted weight cotton. You can see how different this one looks on each side! I also tried it in a lighter weight and colour of cotton, which sort of just shrunk into the background.

Right side
Under side

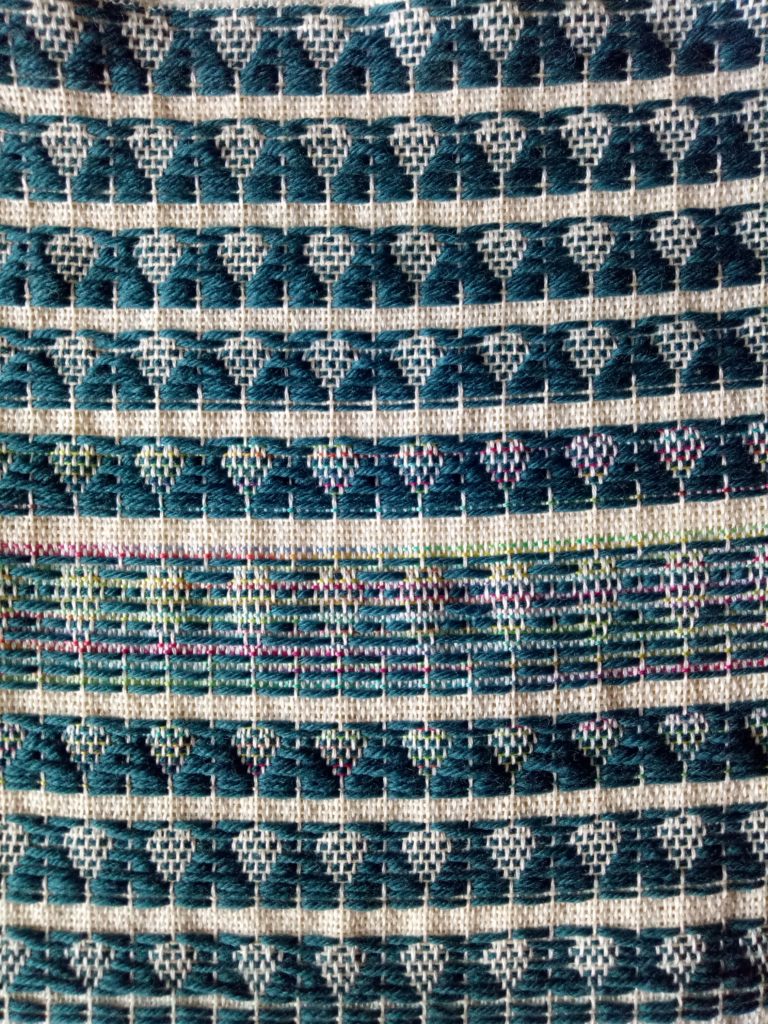
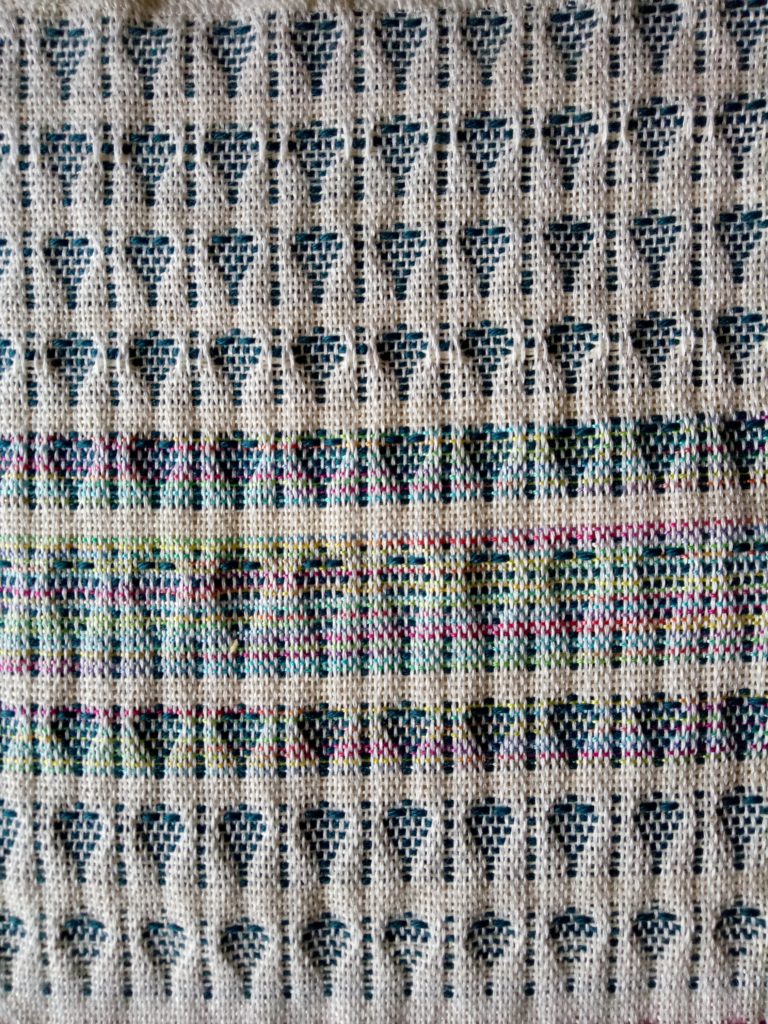
This design is one of my favourites – number 139 on page 33. I changed treadling and yarn again for this one, using dk/light worsted weight wool (I had figured out by now that a heavier weight wool gave the kind of effect I liked).

Right side
Under side

I finished up with design 120 on page 31. The Strickler design looks like little trees, but mine are upside down and look more like balloons, which I find quite cute. I experimented with my tabby yarn by using a hand dyed, variegated tencel against the blue wool. I quite liked the effect (you can see the rainbow-ish colours in the middle of the panel.

This was a really fun project. I loved having something on the loom that had no particular commitment and didn’t need finishing quickly – it was purely for my own enjoyment and learning. That’s the kind of weaving I like!

I may just keep this as a sample or I may cut it up and use it for a small project. For now, I like the way it looks just hanging off my studio shelf.

If you are intrigued by multi shaft or floor loom weaving, I have a very popular class for beginners, the Introduction to Floor Loom Weaving. It takes you through all the step by step basics of getting started on your loom and weaving a beautiful cowl project. There is also a follow up class to go onto afterwards. You can even purchase the two classes together for a special price.

If you take out a Yearly Membership or Monthly Membership to my Online Weaving School, the floor loom classes are included.

I hope you found this post interesting and inspiring!

If you have any questions about this post or my Online Weaving School, please leave me a comment below.

Until next time…

Happy Weaving!

Filed Under: 8 shaft weaving, Inspiration, Weaving Tagged With: 8 shaft weaving, floor loom weaving, rose path, weaving

Tote Bag Weave Along, Lesson 7

by Kelly 2 Comments

Now we’re ready to sew the bag together! If you missed the last post on taking your fabric off the loom and wet finishing, you can take a look at it here.

*This post contains affiliate links, meaning if you click on the link I will receive a small commission at no extra cost to you.

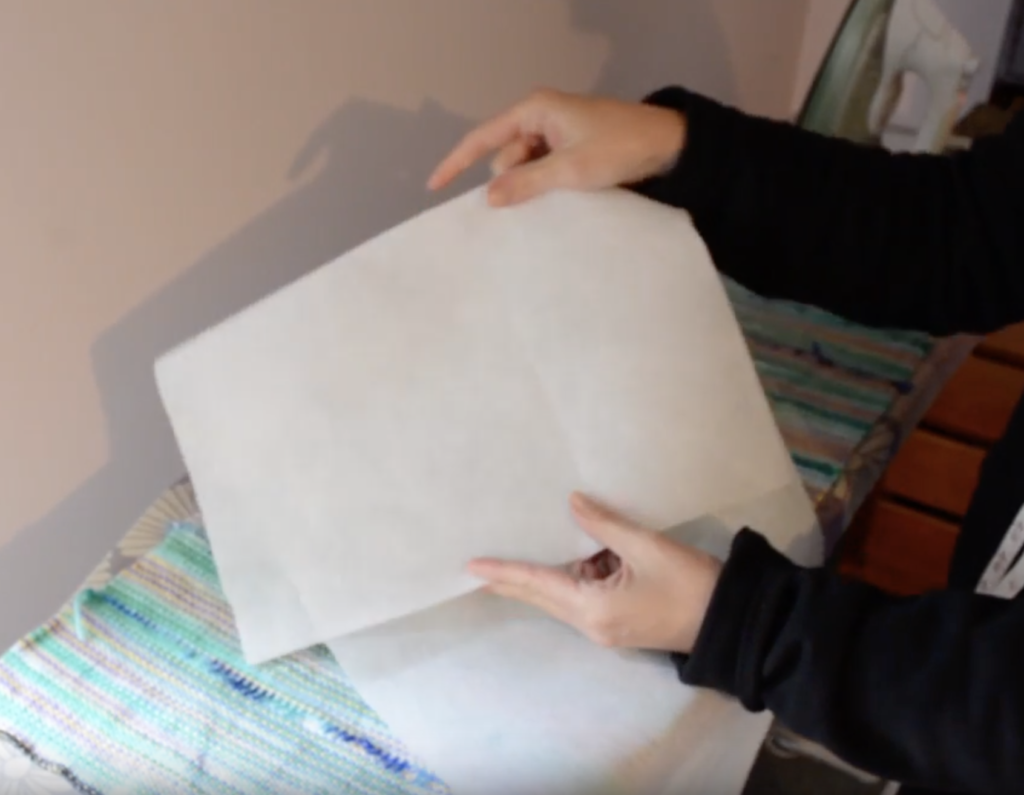
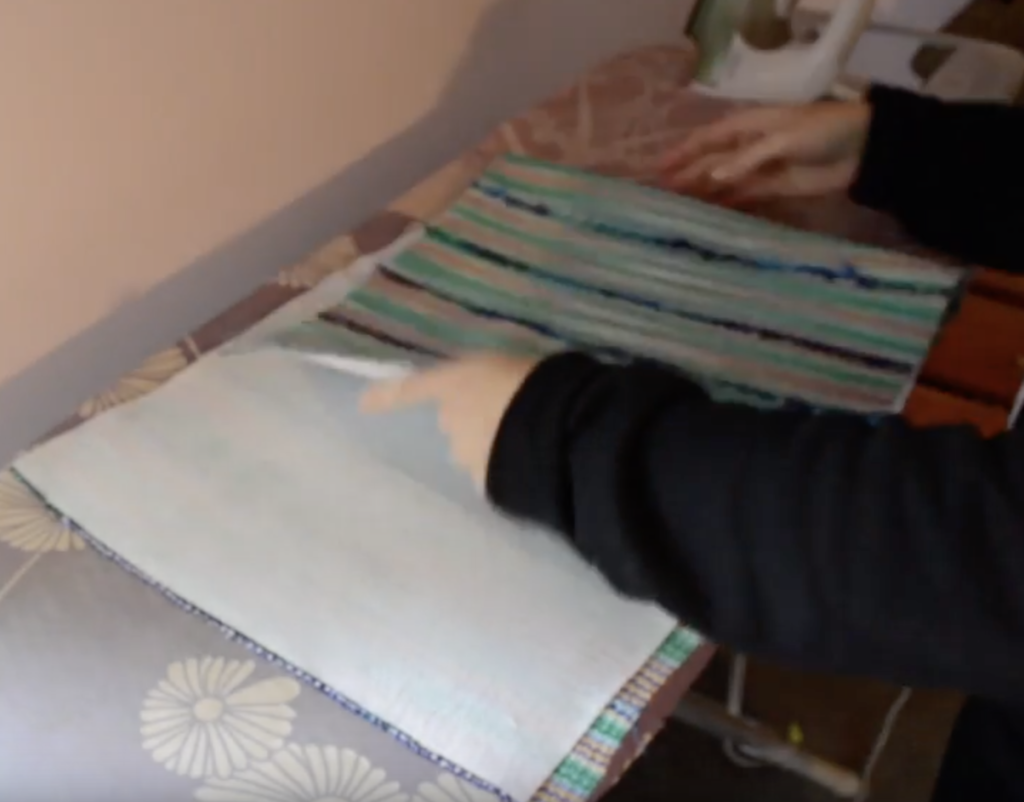
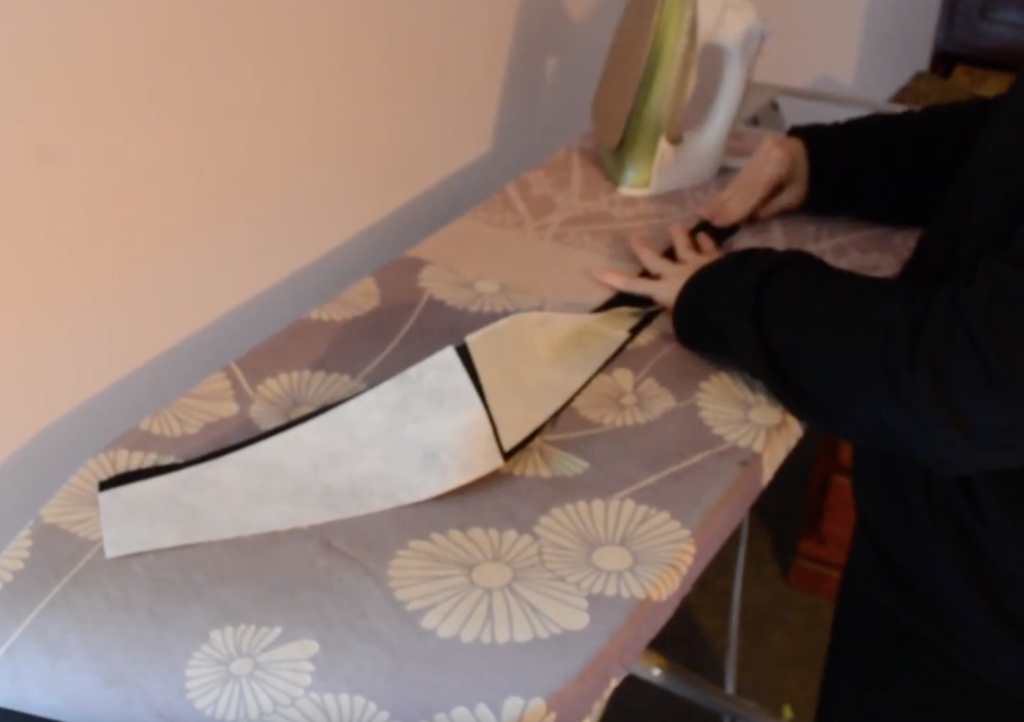
Lay the fabric out on the ironing board with the WRONG side facing up. You will notice that your fusible interfacing has a shiny side and dull side. It’s the shiny side that will fuse to the fabric, so you want to place the shiny side down so that it meets with the wrong side of your fabric. This is worth doing properly. If you place the shiny side up instead, you may find yourself in the market for a new iron!

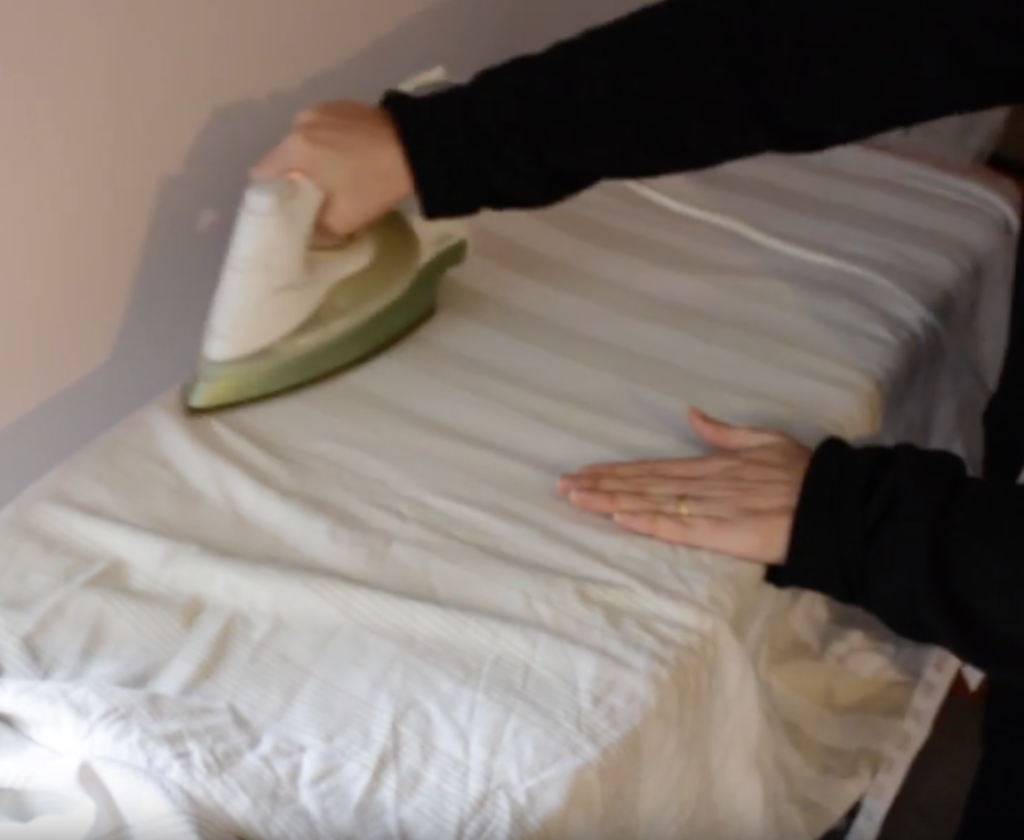
It is best to place a presser cloth over the fabric and fusible interfacing before you begin to iron. I just use an old sheet for protection. Set your iron to “cotton” steam setting a press evenly over the fabric. You can peel back the sheet here and there to check whether you have a good bond happening. Bear in mind that the bonding is not complete until the fabric has cooled.

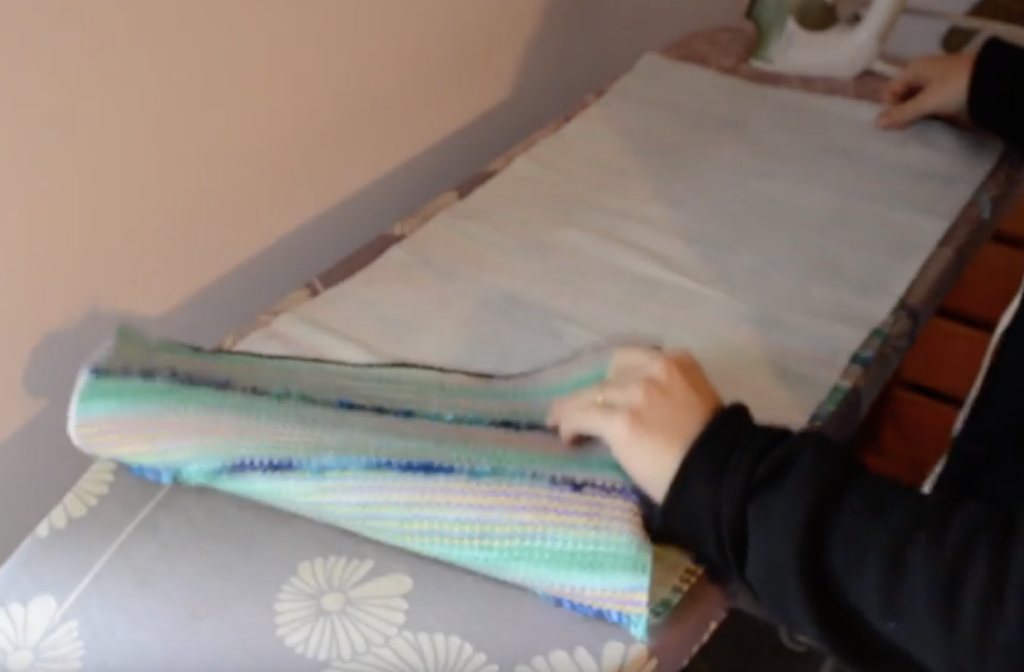
Your piece should look like this when ready. The interfacing is completely bonded to one side of your fabric.

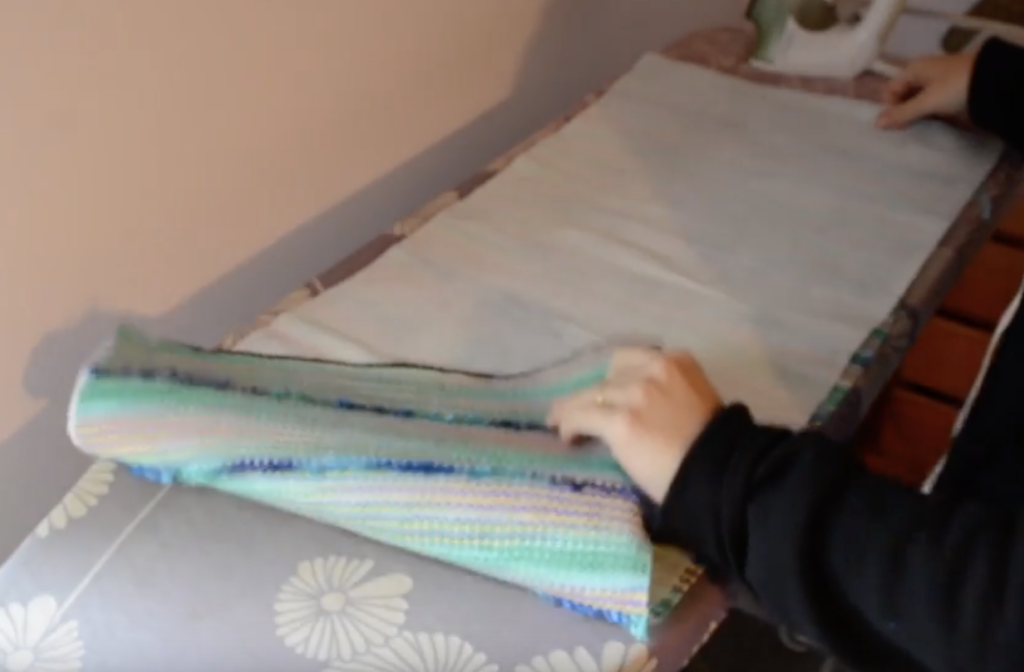
Fold the fabric over on itself so that the sides are all touching. Line up the pieces to fit as best you can.

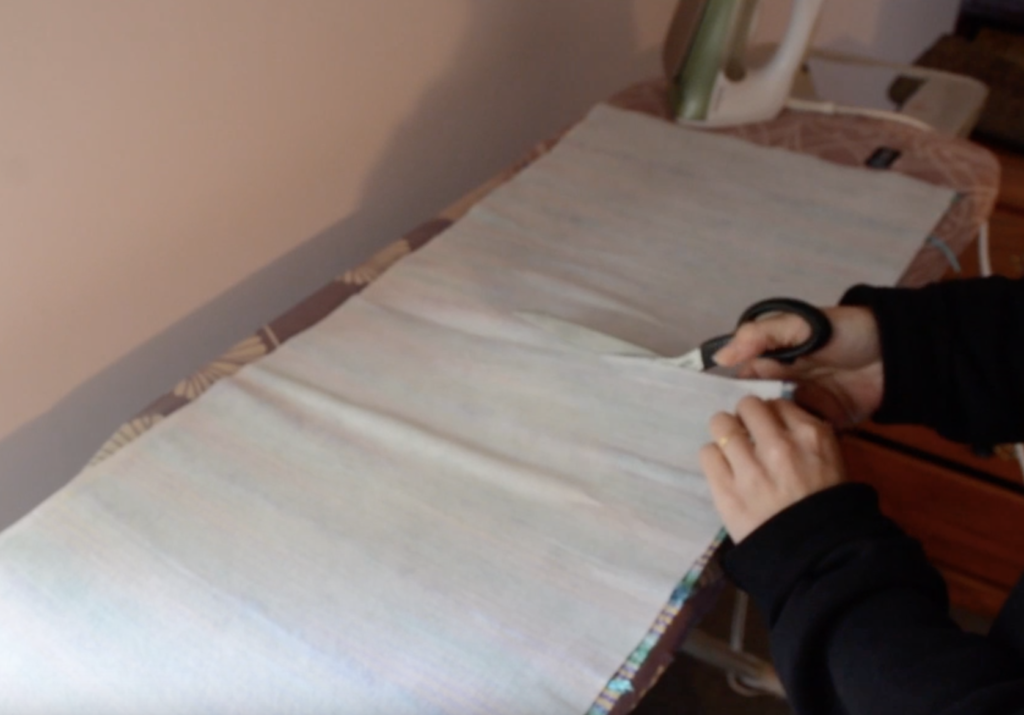
Press the fold at the bottom of the bag to make a crease. This will become your cutting mark. If you’re a bit worried about cutting your fabric, don’t be! The fusible interfacing keeps it all very secure.

Cut right through the fabric, using the crease mark you just made.

Now you have two separate pieces, or bag panels.

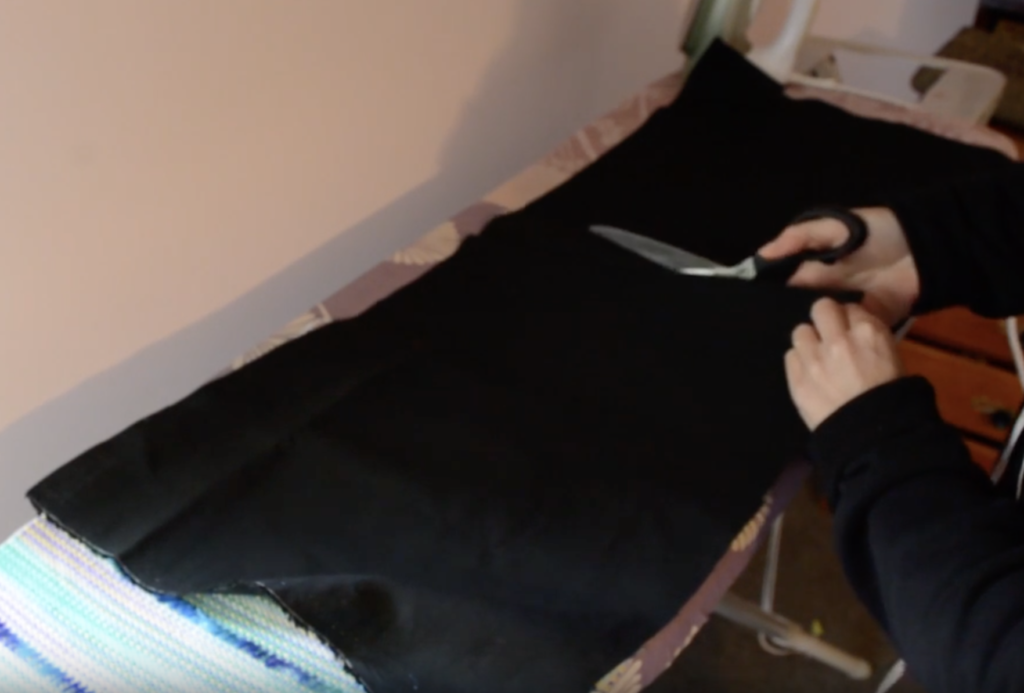
At this point you will also want to cut your lining fabric in half after ironing a crease in it as you did before. There are so many choices you could make for lining fabric but if you’re really not sure, broadcloth is a good option.

If you’re not sure where to find all the measurements, they are in the Essential Info PDF in this post.

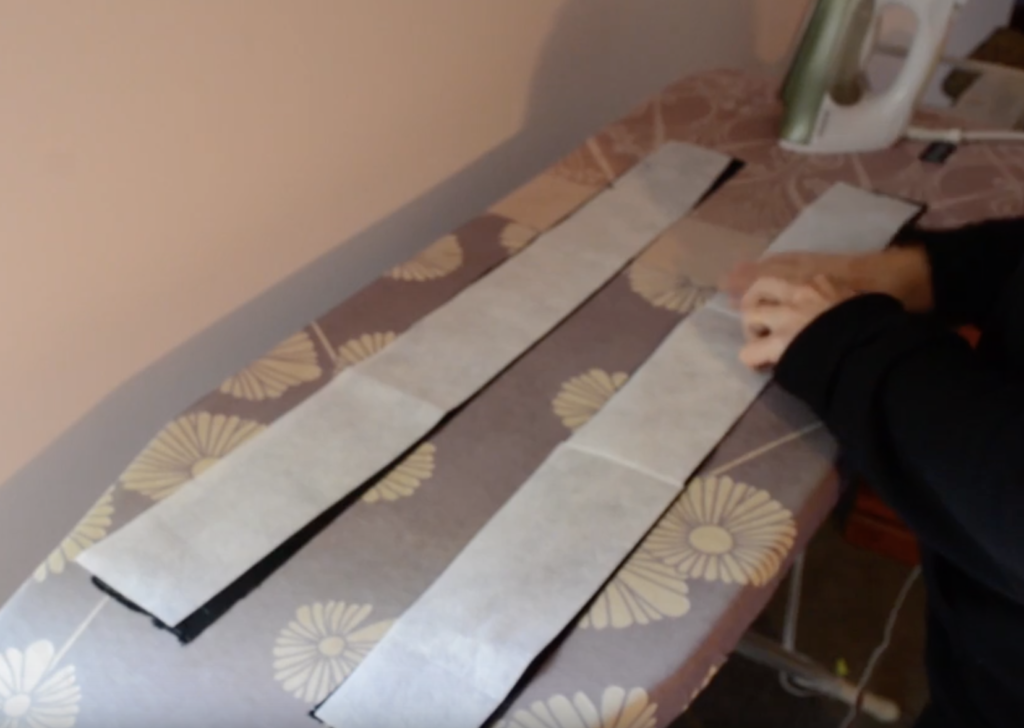
The next task is to fuse your interfacing to the bag handles, using the same method that was used for the main bag panels.

Fold the bag straps in half lengthwise and press. Open out and then fold in each long raw edge by about 1/4 inch and press. Fold the whole piece to the middle and press again. The raw edges will now be encased.

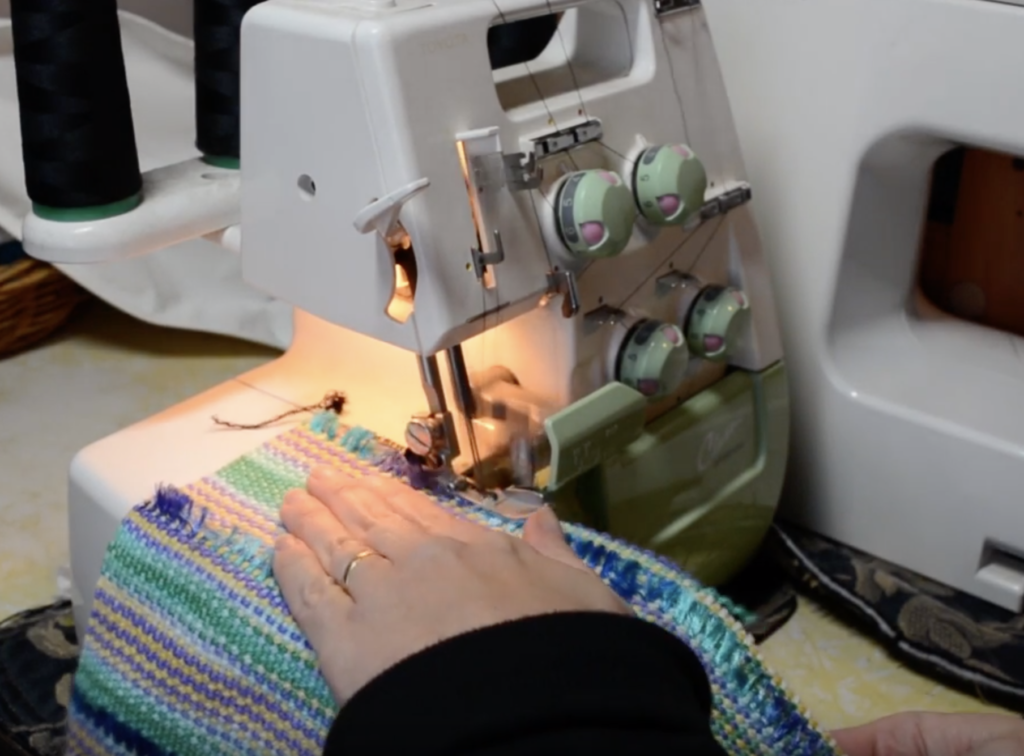
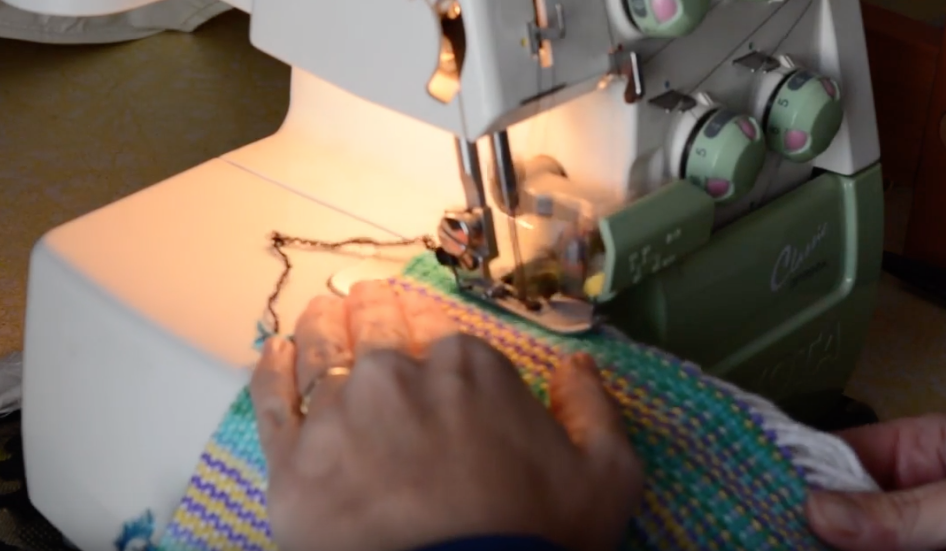
At the overlocker (serger) I run over all the raw edges. You can use a zig zag stitch on a sewing machine if you don’t have a serger.

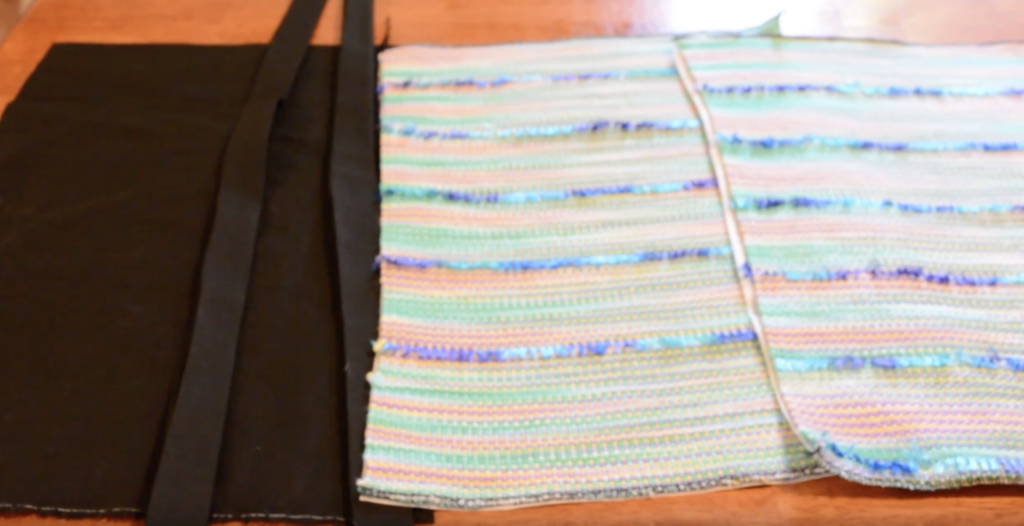
This is what we have now. 2 X serged bag panels, 2 X lining panels and 2 X prepared bag handles.

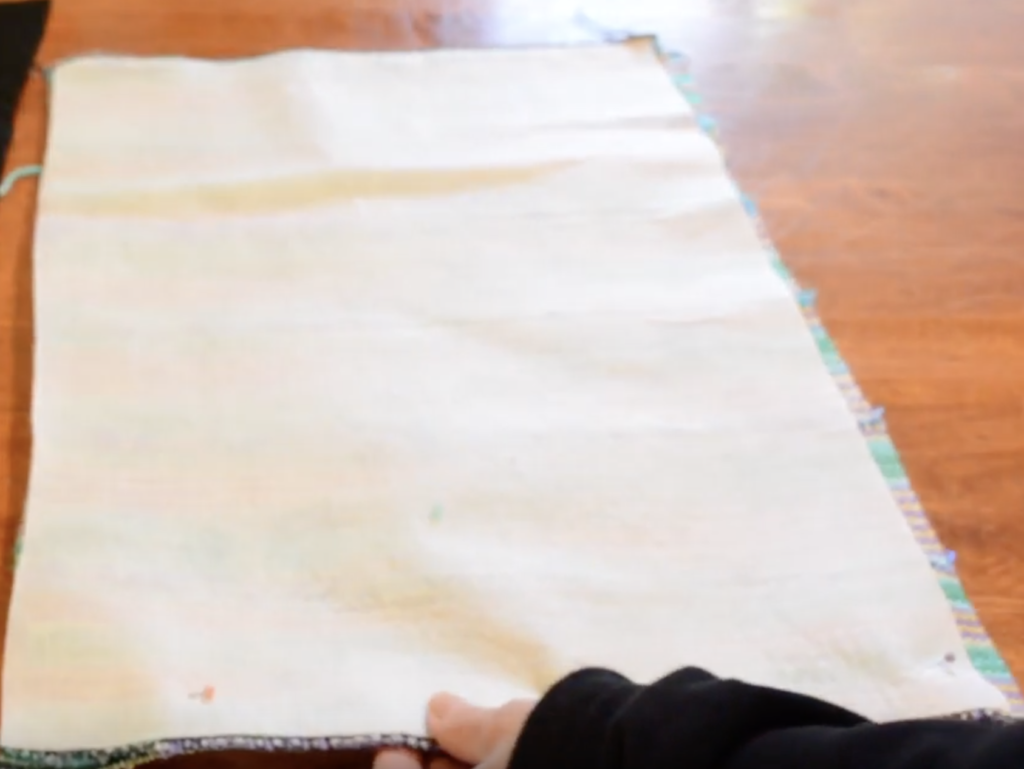
Place a bag panel on top of the other, with RIGHT sides facing. Pin around all the edges except at the top, where you need to keep and opening. Do the same with the two lining panels, keeping the top open and leaving about a 6 inch gap at the middle of the bottom for turning later.

You can also pin the bag handle pieces together just so that they are held in place when you begin to sew them together.

Now all of our pieces are pinned and prepared for sewing. Stay tuned for the next post where we will sew the bag together!

You can watch the videos for this post:

And if you feel you need to learn more about cutting your hand woven fabric, I have a post for that here as well as videos:

Until next time…

Happy Weaving!

Filed Under: Rigid heddle weaving, Sewing, Tote Bag series, Tutorials, Uncategorized, Weaving Tagged With: tote bag, weaving tutorial

Tote bag Weave Along, Lesson 6

by Kelly 1 Comment

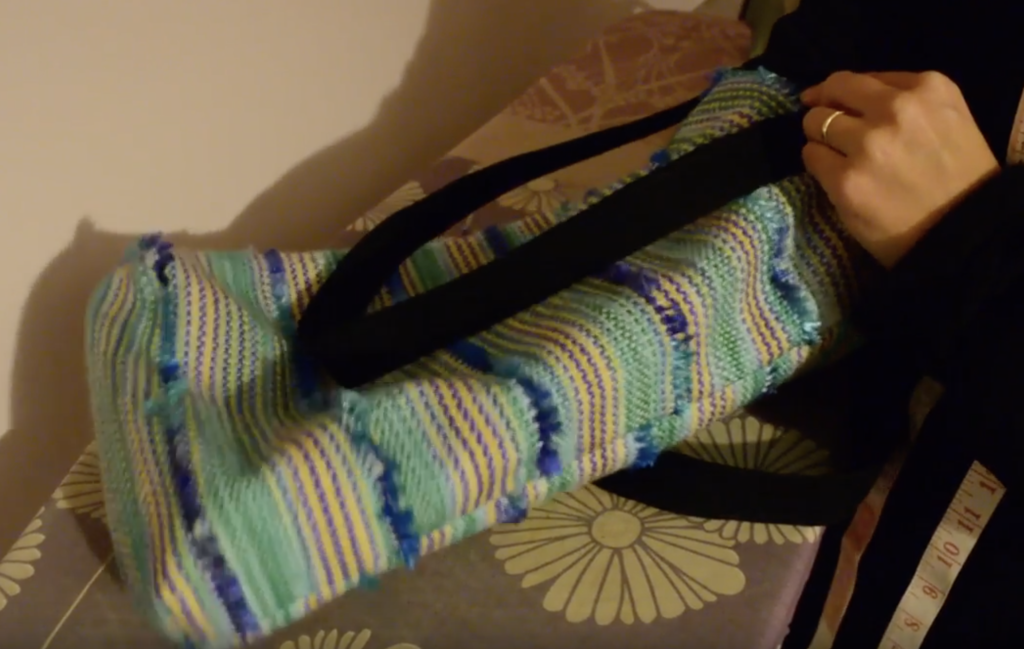
Now for the really exciting part! Once you’ve finished your required amount of weaving (check the Essential Project Information free download here) you can cut your weaving from the loom. Yay!

If you missed the last post about weaving and advancing the warp, you can find that here.

Release the warp tension at the back of the loom a little. If you want a fringe or are worried about your weaving unravelling at all, you can cut behind the reed which leaves plenty of fringe space.

Then, back to the front of the loom to release the brake, allowing you to easily unroll your weaving from the front beam.

You can either cut or undo the knots from the apron rod. I usually prefer to undo the knots (especially important if you want a fringe). Also, if you wove in a header with waste yarn at the beginning, now is the time to take that out.

Before wet finishing, it is essential to secure the raw edges of your weaving. A serger will make this job super easy, or a sewing machine set on zig zag stitch is also good.

You can find basic wet finishing instructions at the end of this video:

Or more detailed instructions in this blog post or video:

At the end of wet finishing and drying, you have some beautiful woven fabric ready to use and sew with. That’s what we’ll be talking about next time, I hope you can join me for that!

Until then…

Happy Weaving!
Filed Under: Rigid heddle weaving, Tote Bag series, Tutorials, Weaving Tagged With: rigid heddle weaving tutorial, tote bag, tote bag weave along

Tote Bag Weave Along, Lesson 5

by Kelly Leave a Comment

In today’s post we carry on with the weaving of the tote bag panels and also talk about advancing the warp.

An important aspect of good weaving is advancing your warp. Of course, you can’t actually continue weaving unless you do so, as your weaving will fill right up to the heddle/reed and you won’t be able to weave any further.

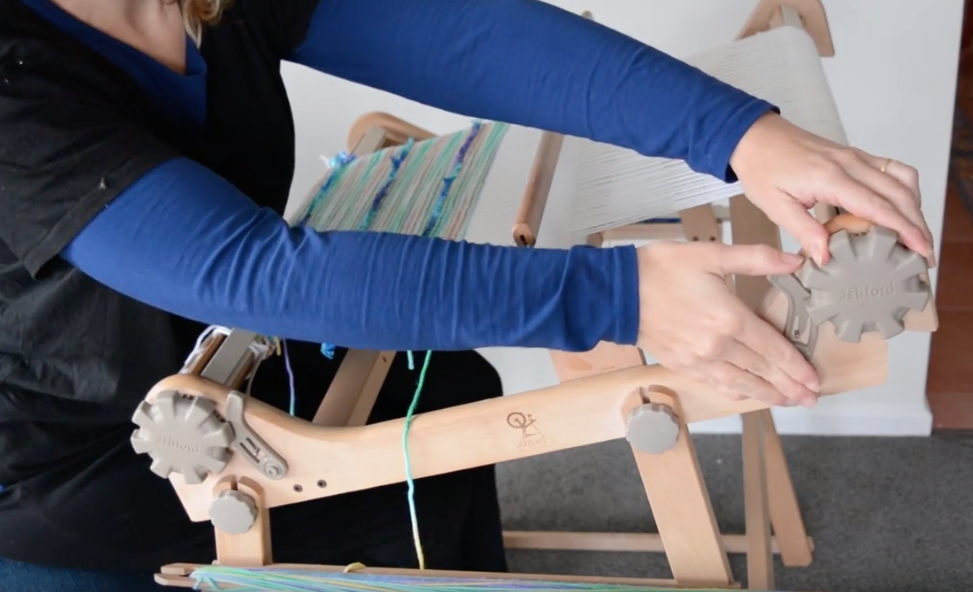
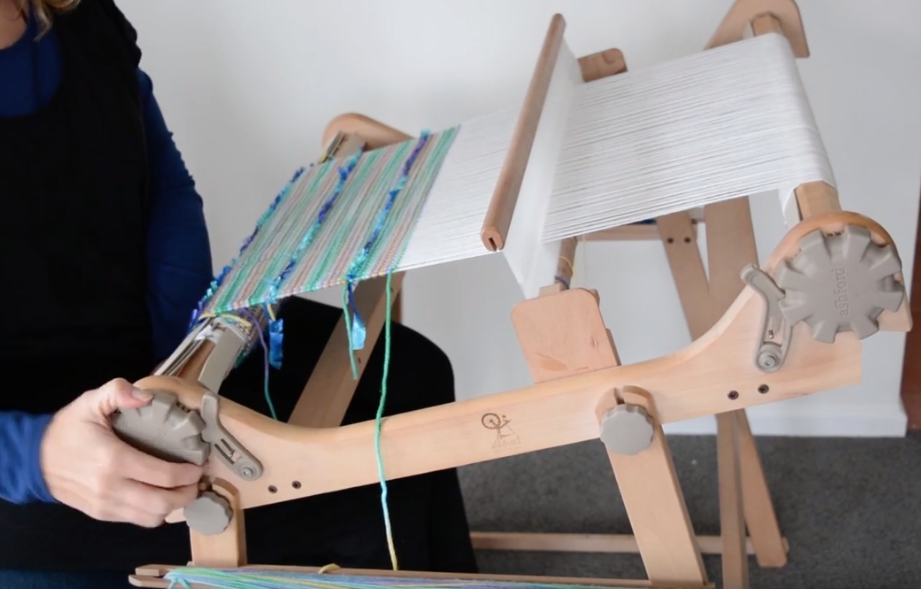
Advancing the warp exposes more of the empty warp threads so that you can keep weaving. It basically involves releasing tension at the back of the loom, rolling the warp forward at the front of the loom, regaining your tension and then continuing to weave.

Releasing tension at the back
Readjusting tension at the front

There is always a “sweet spot” for your weaving, the position is where the tension feels right and the beating is easy. If you wind forward too far, when you beat, the reed will touch the cloth beam at the front and the beat will be uneven. It’s also uncomfortable for your body to have to bring the reed so far forward, it puts strain on your wrists and shoulders.

Woah, this is way too far forward!

Advancing often, and the right amount also helps you to keep weaving at the same tension.

My “sweet spot” for weaving. Not too close to the front cloth beam, not too close to the reed.

The best tip that I have for advancing the warp is “little and often”.

This video may help you to become more familiar with your loom’s tension system and gain a little confidence for advancing your warp.

I hope this post has been a help to you! Please leave me a comment and let me know, or ask any questions you may have.

The next post will cover removing your weaving from the loom and preparing for wet finishing.

Until next time…

Happy Weaving!
Filed Under: Rigid heddle weaving, Tote Bag series, Tutorials, Weaving Tagged With: rigid heddle weaving tutorial, tote bag

Tote Bag Weave Along, Lesson 4

by Kelly 1 Comment

Now you can really get excited about your tote bag project – it’s time to get weaving! If you missed the last post on threading, you can go here to read it.

Just one more teensy thing before you start to weave – the header. The header helps to spread the warp so that you don’t have big gaps at the very start of your weaving. As with most things in weaving, there is more than one way to put in a header.

*This post contains affiliate links.

My preference is (I think) the easiest. I use 2 cardboard separators (or warping sticks as they are also called). With the heddle/reed in the up shed I insert one stick, then change to the down shed to insert the second stick. Then beat to push them into place. You may want to weave an additional header with spare yarn if you feel your warp is too gappy (I demonstrate this in the video at 1:10) Pop the heddle into the up position again and you’re ready to weave!

Don’t forget to wind your stick shuttle.

It doesn’t matter which side you enter into the shed with the shuttle, but it is useful to develop a habit when working plain weave to always enter from the same side to avoid any confusion as to which shed you should be in and to easily develop a weaving rhythm.

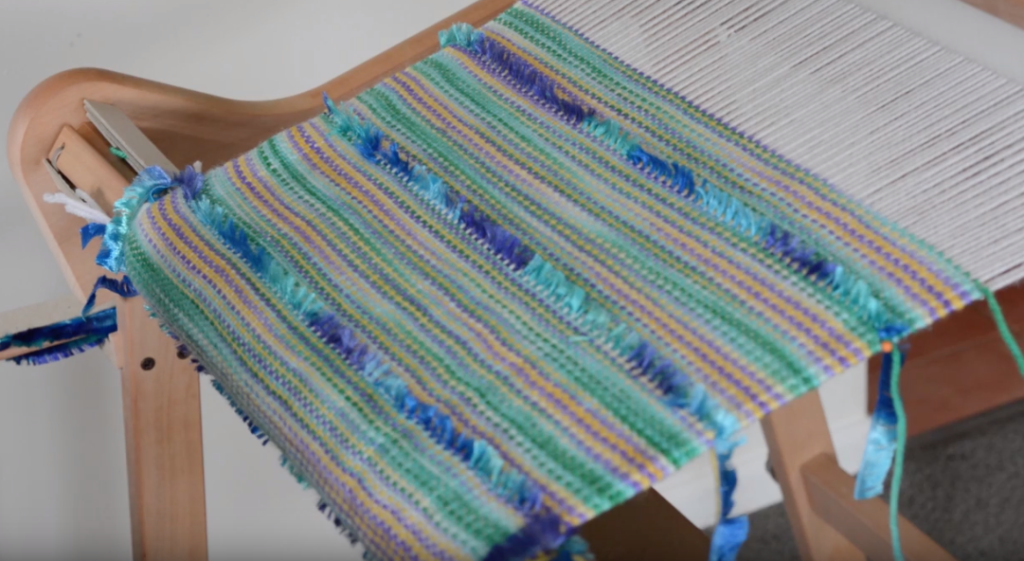
I give yarn recommendations in this post, but a variegated yarn is particularly effective and makes the plain weave look more fancy than it is. I dyed my own yarn for this project. You can also get a bit fancy by using a novelty yarn as a feature. I used an eyelash yarn as an occasional stripe to accent this bag.

If you are a newer weaver, you may be worried about obtaining neat edges. This is very much a matter of practice makes perfect, but this video shows you my pinching technique that has helped many newbies improve their edges.

You also want to try to keep your beat consistent and even. One way to see if you’re beating evenly is to stand up and look at your weaving from time to time. You will see quite clearly whether you are beating straight or at an angle.

Don’t forget to measure your weaving as you go. I do this in a simple manner by using a tape measure and marking my last measured place with a plastic or glass head coloured pin. I always write down the measurements as I go so that I don’t have to try to remember!

You will be advancing your warp every so often, and this video will show you how to do that.

Remember to refer back to your essential information project sheet, available as a free download for all the measurements you need to follow.

In the next lesson we will be talking more about continuing to weave and advancing the warp. Be sure to leave me a comment if you need to ask questions or are unsure of anything.

Until next time…

Happy Weaving!
Filed Under: Rigid heddle weaving, Sewing, Tote Bag series, Tutorials, Weaving Tagged With: rigid heddle weaving, rigid heddle weaving tutorial, tote bag

  • « Go to Previous Page
  • Page 1
  • Interim pages omitted …
  • Page 19
  • Page 20
  • Page 21
  • Page 22
  • Page 23
  • Interim pages omitted …
  • Page 25
  • Go to Next Page »

Primary Sidebar

Hand crafted boat shuttles

Categories

Archives

Meta

  • Log in
  • Entries feed
  • Comments feed
  • WordPress.org

Copyright © 2025 Kelly Casanova Weaving Lessons on the Foodie Pro Theme