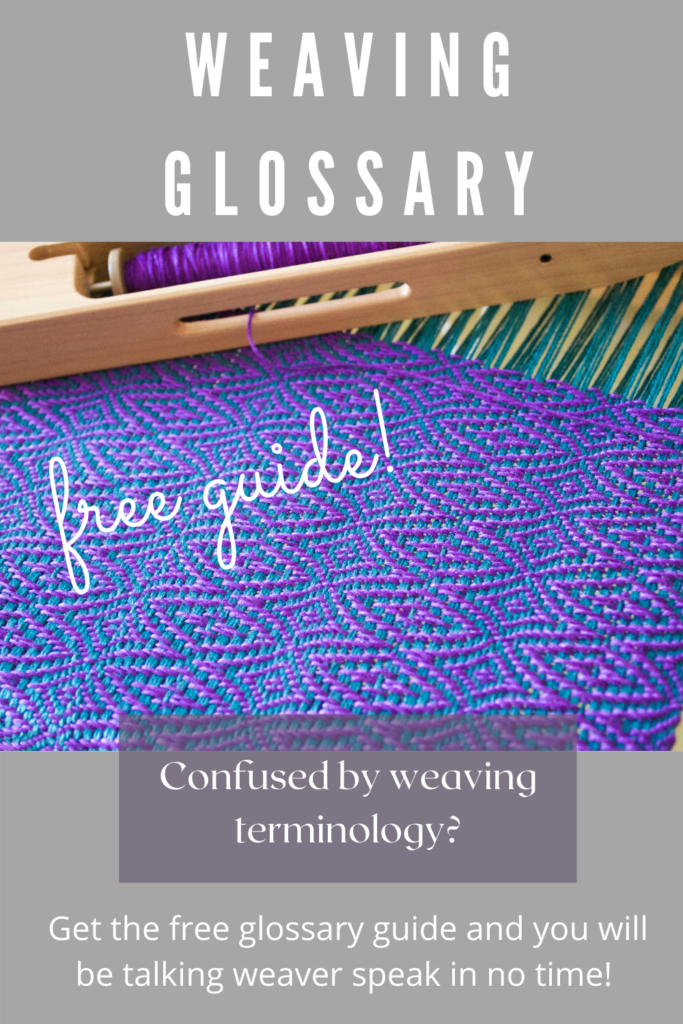
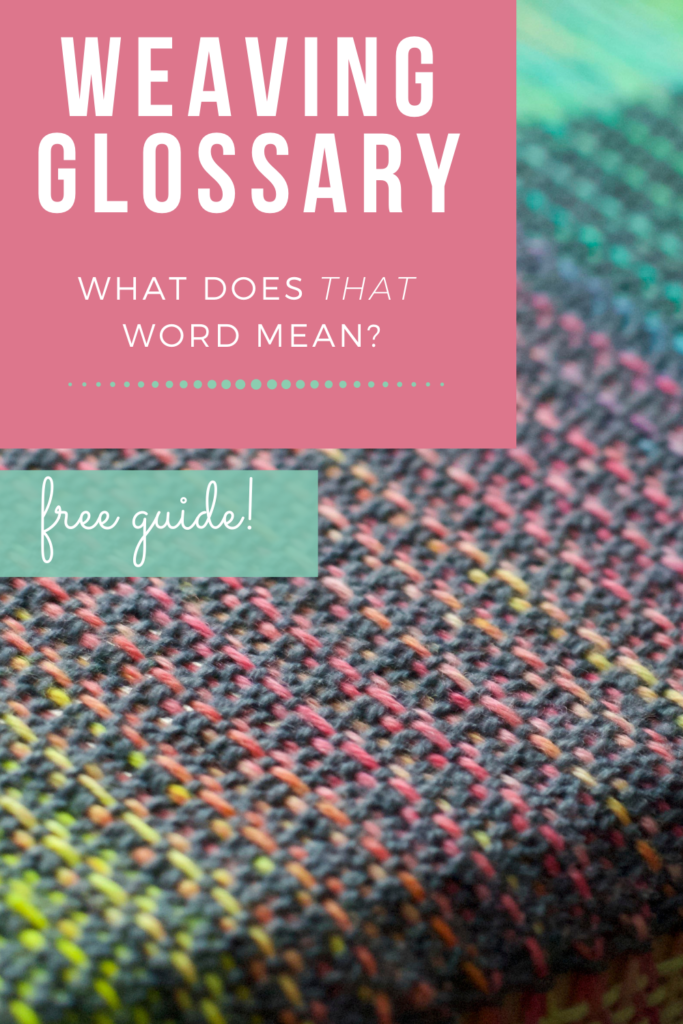
Starting something new can feel overwhelming—especially when it seems like everyone is speaking a different language! Weaving is no exception, with all its unique terms and jargon.
The good news? It won’t take long before these words become second nature. But in the meantime, having a quick reference guide is a lifesaver for those moments when you think, Wait… what does that mean again? That’s exactly why this weaving glossary is here—to help you feel more confident at the loom, one term at a time!
This simple guide is arranged in alphabetical order.
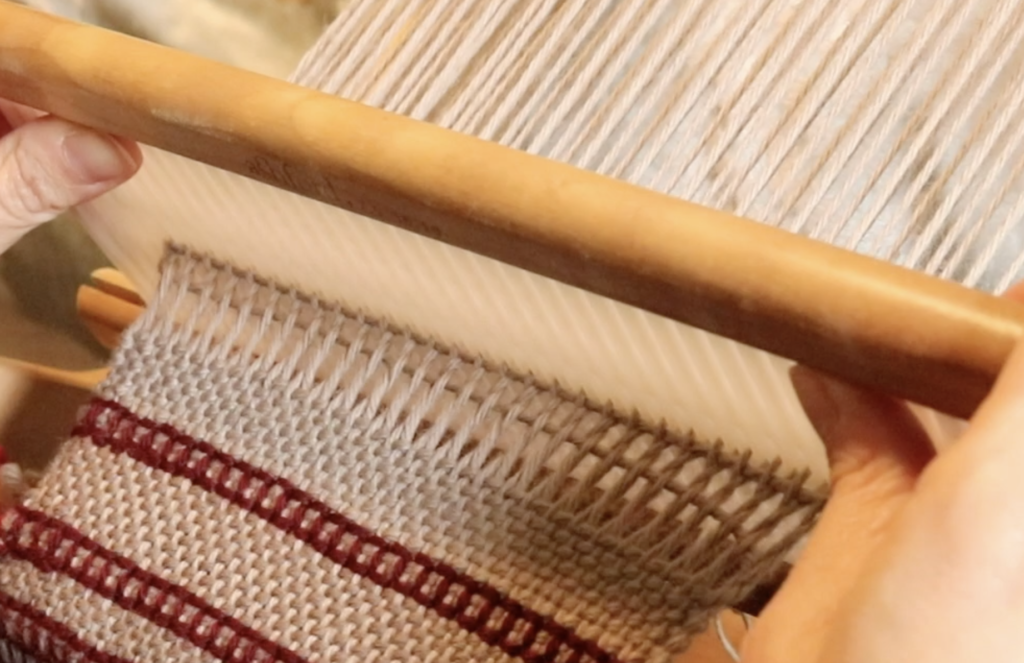
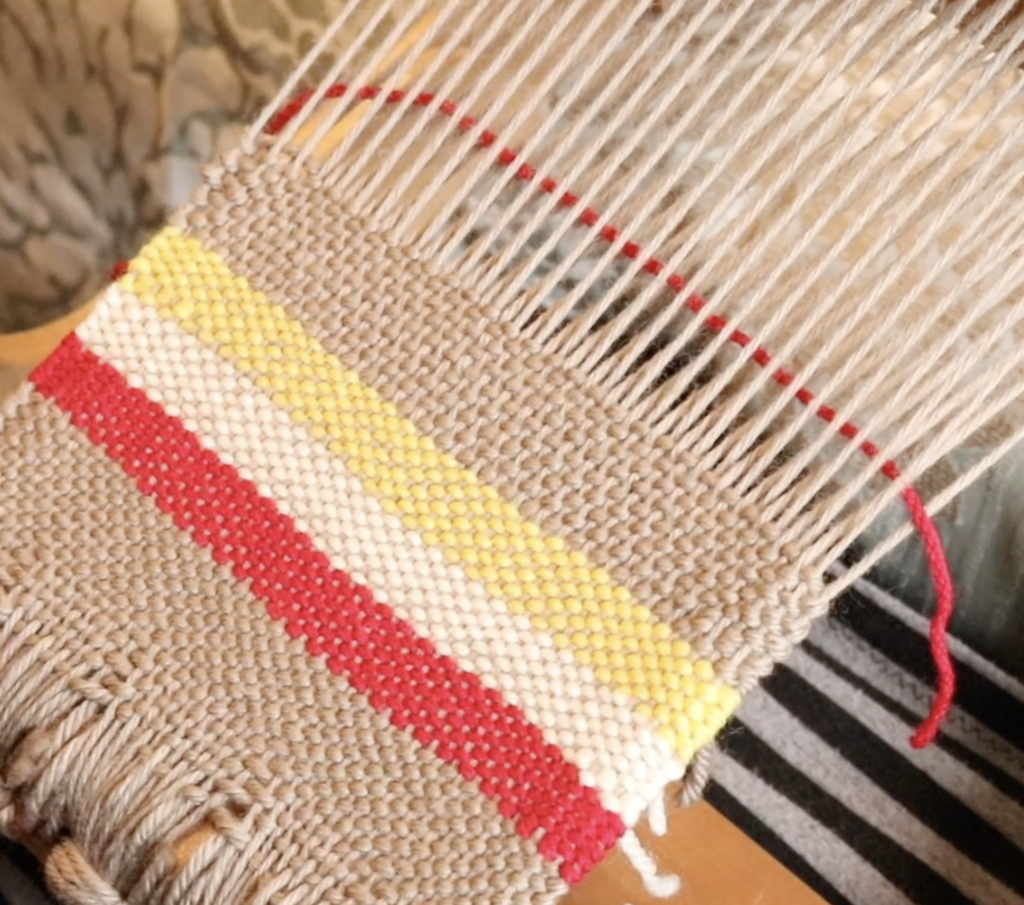
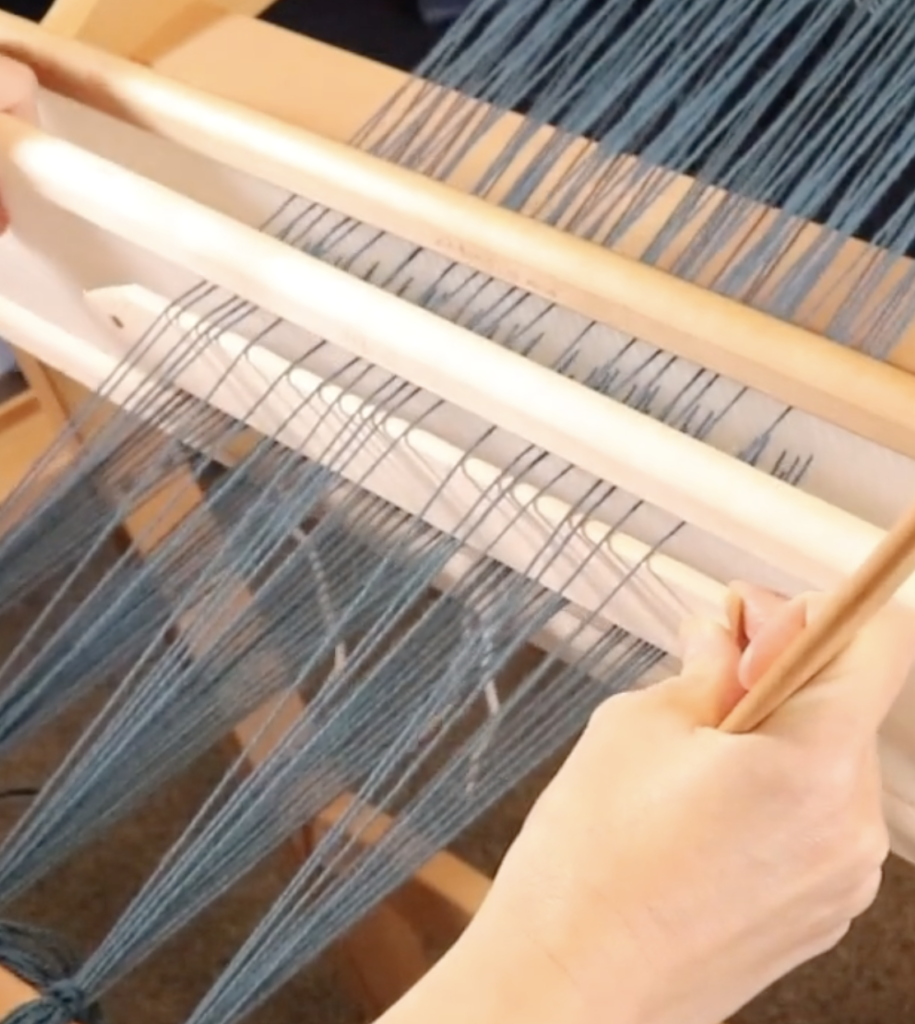
Beat – The action of pressing the weft threads into place. For a rigid heddle loom, this action is performed with the heddle/reed.
Closed shed – No shafts are engaged. In rigid heddle weaving, the heddle would be in neutral. There is no space to weave through. See also “shed”.
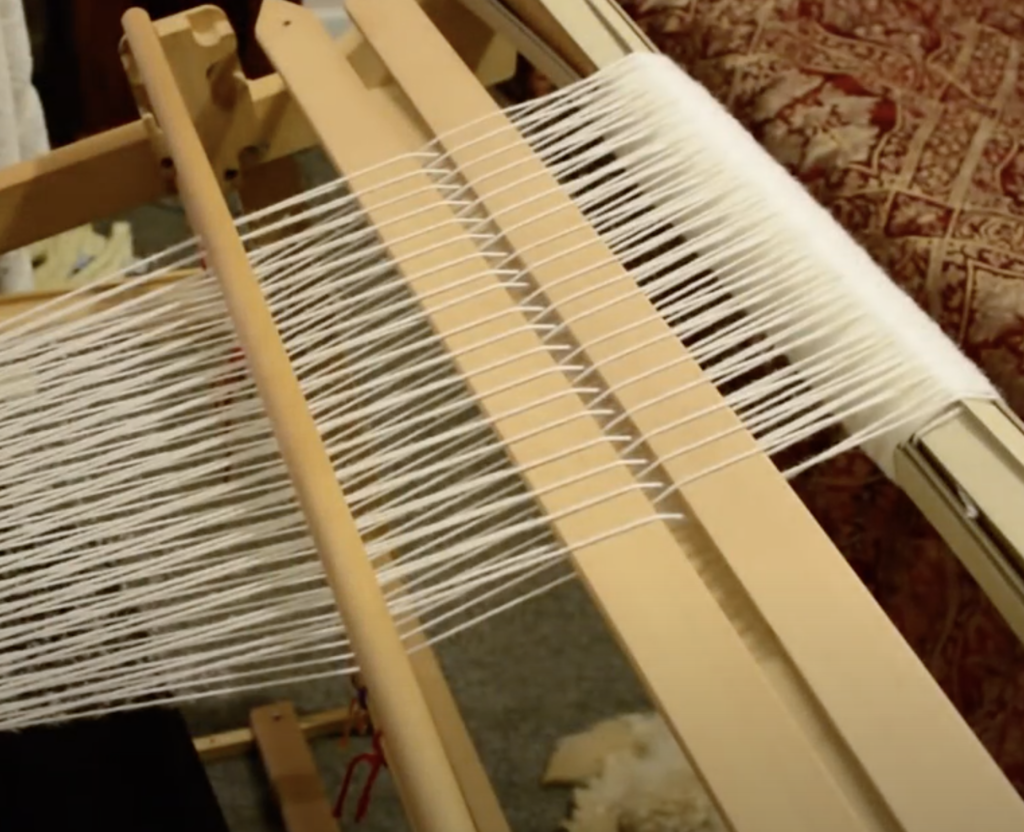
Direct warp– Common with rigid heddle looms, a warping peg is used to make your warp by drawing threads through the heddle/reed and looping them around the peg.
Draw in– The amount that your weaving decreases on the loom. It is expected that you will have at least some draw in and we calculate for that in the project planning stage.
Ends per inch (epi)– The number of warp threads you have in an inch.
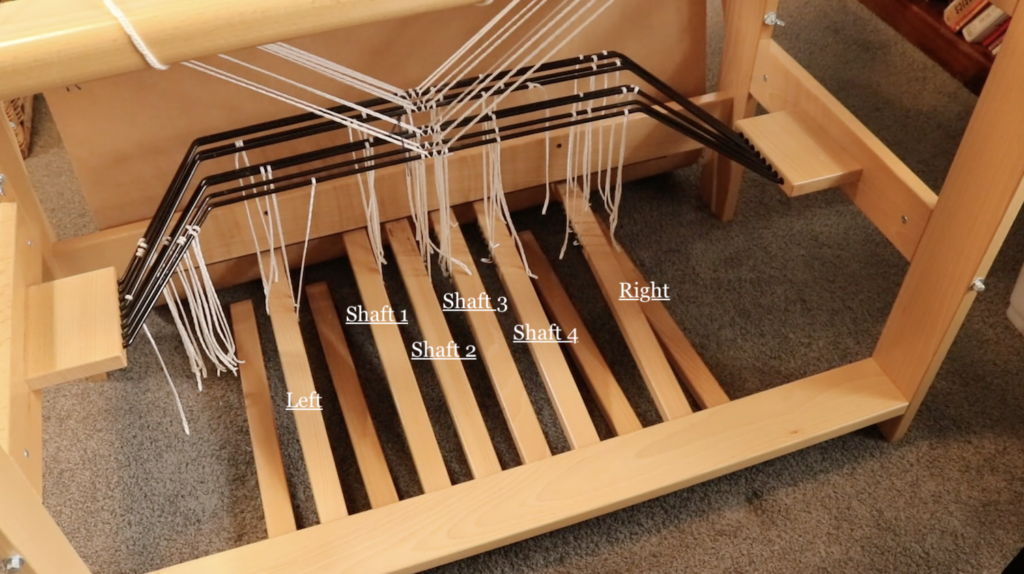
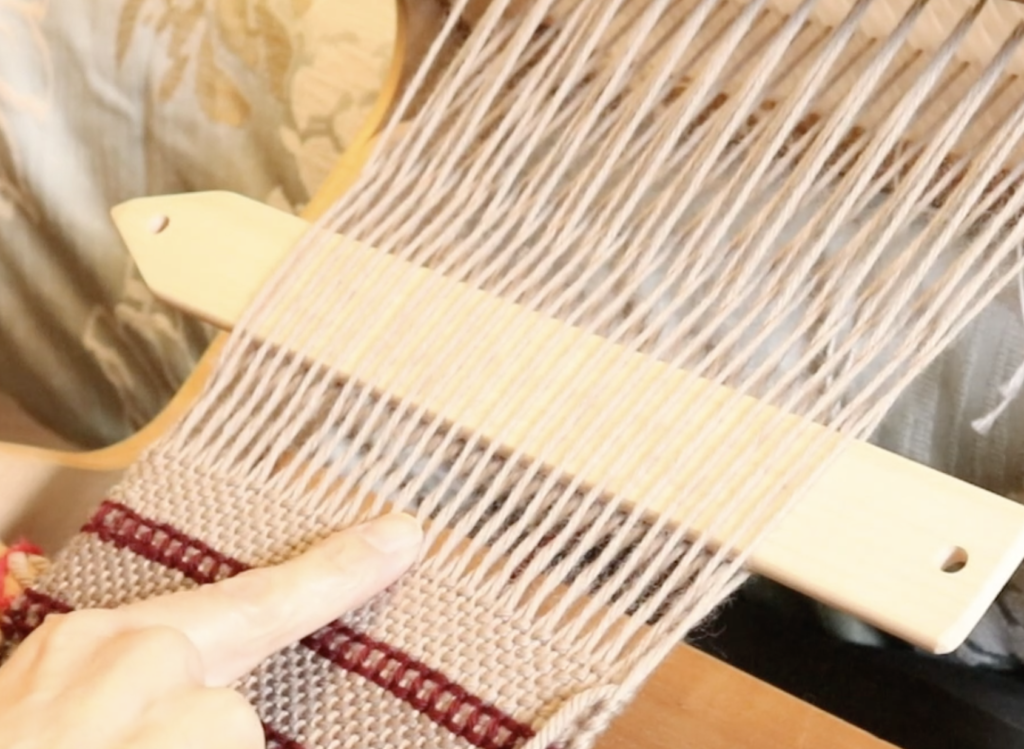
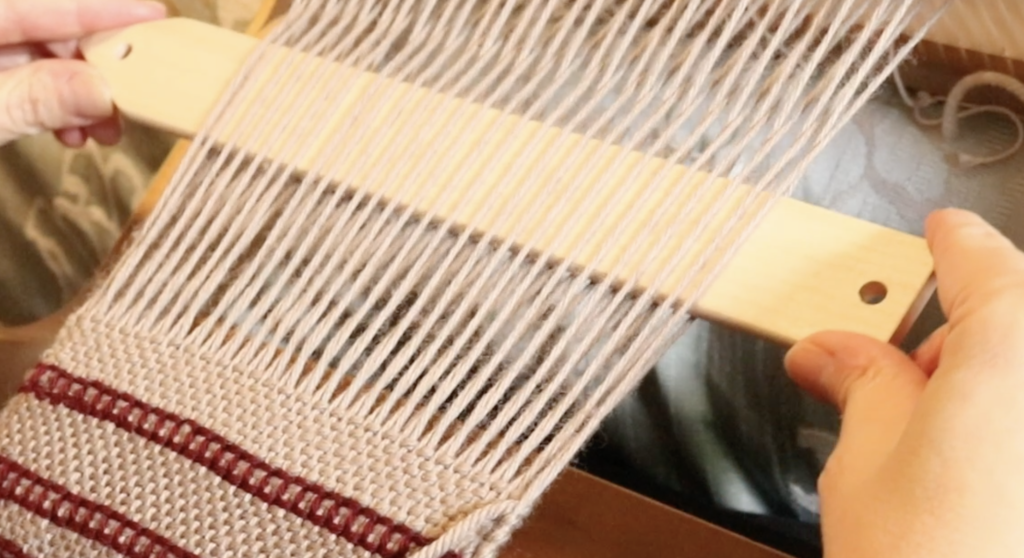
Heddle– In rigid heddle weaving, the terms “heddle” and “reed” are often used interchangeably. For a rigid heddle loom (RHL) the heddle performs multiple functions. The threading of it allows the manipulation of sheds by placing it in the up or down position. It also spaces the warp threads and is used to beat the weaving.
- In floor loom weaving a heddle is a single, detached texsolv cord or metal loop that is positioned on a shaft. It has a hole in the middle, through which the yarn is threaded.
Indirect warp – The warp is made on a warping board or mill and then taken to the loom.
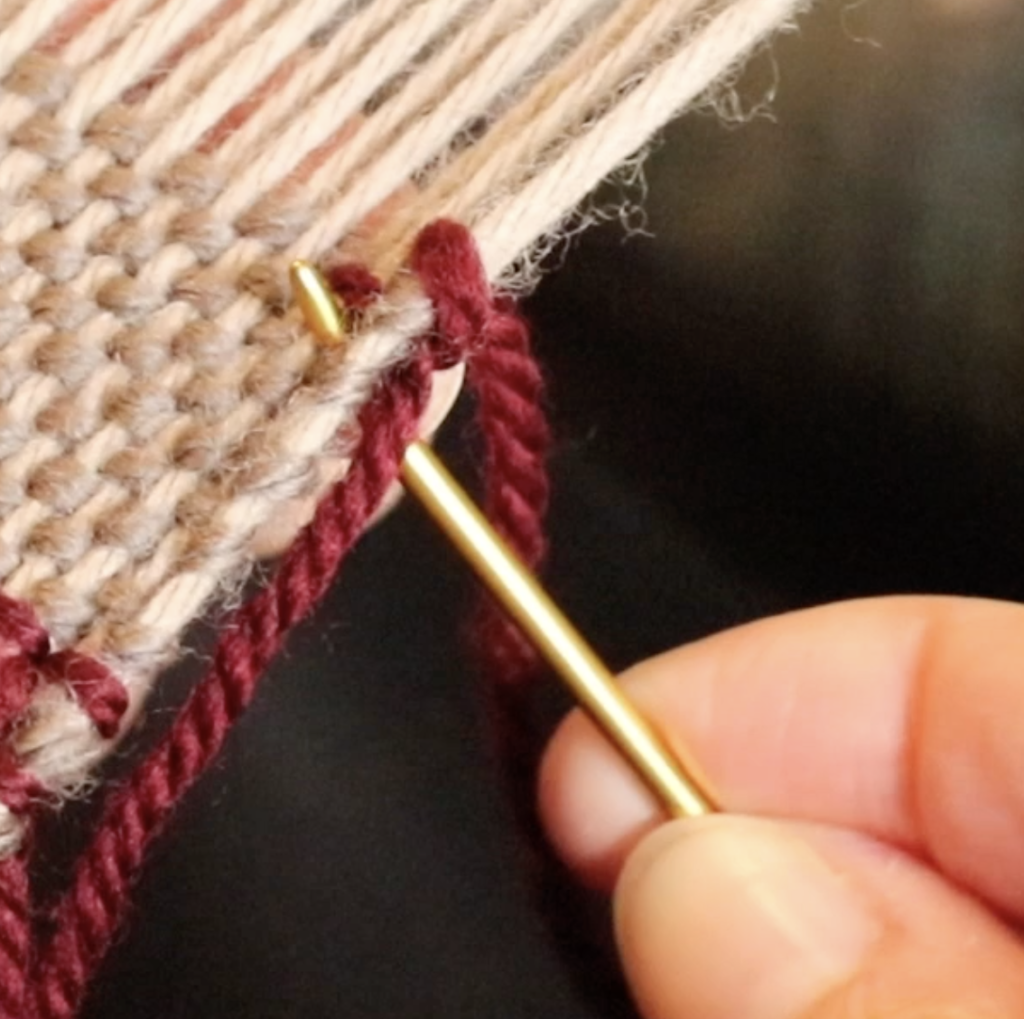
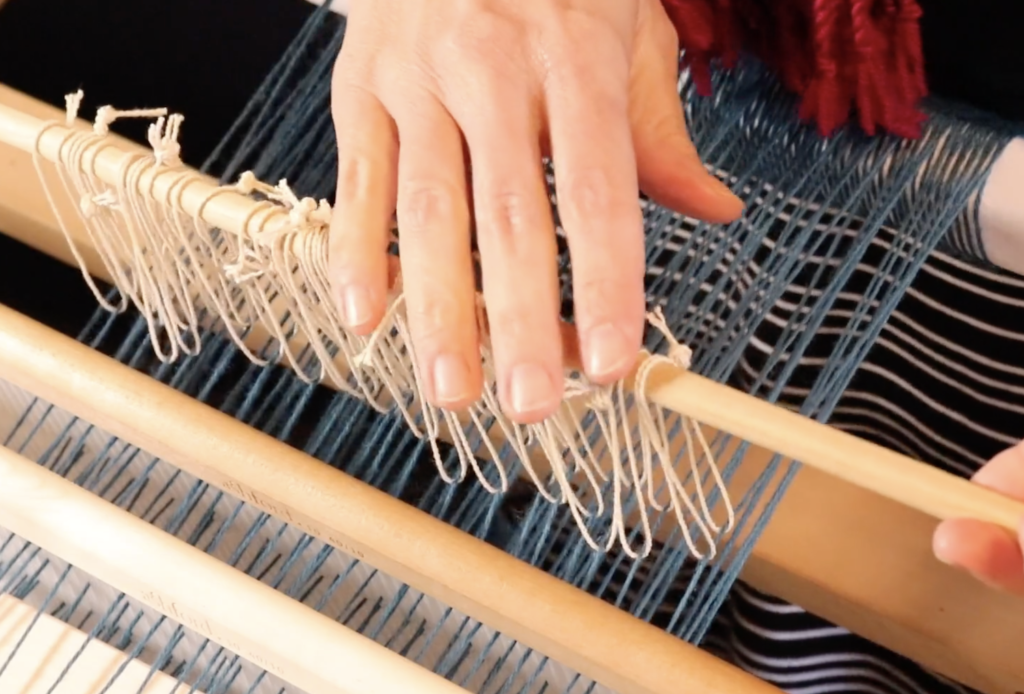
Floating selvedges– An extra warp thread on either side of your weaving that is threaded in a slot and weighted over the back of the loom. Floating selvedges are not necessary for plain weave but are invaluable for other weaving structures where your weft thread may not always wrap around the outer most warp threads.
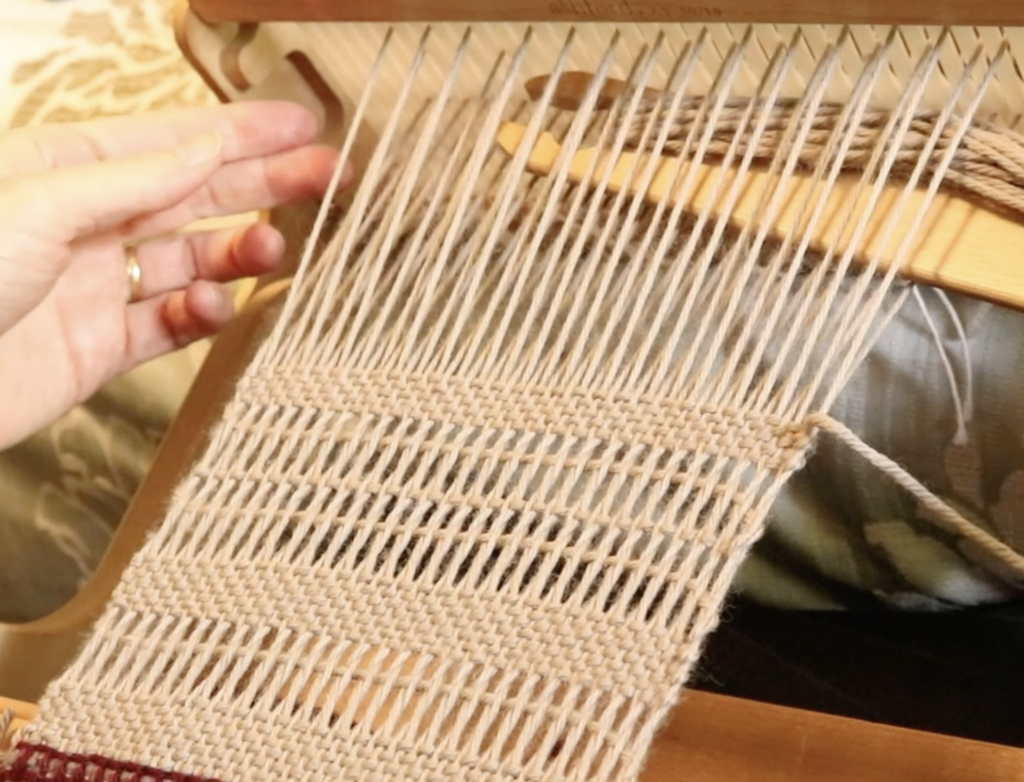
Open shed – Shafts or heddles are engaged. In rigid heddle weaving, an example would be that the heddle is in the up or down position – there is an opening to weave through. See also “shed”.
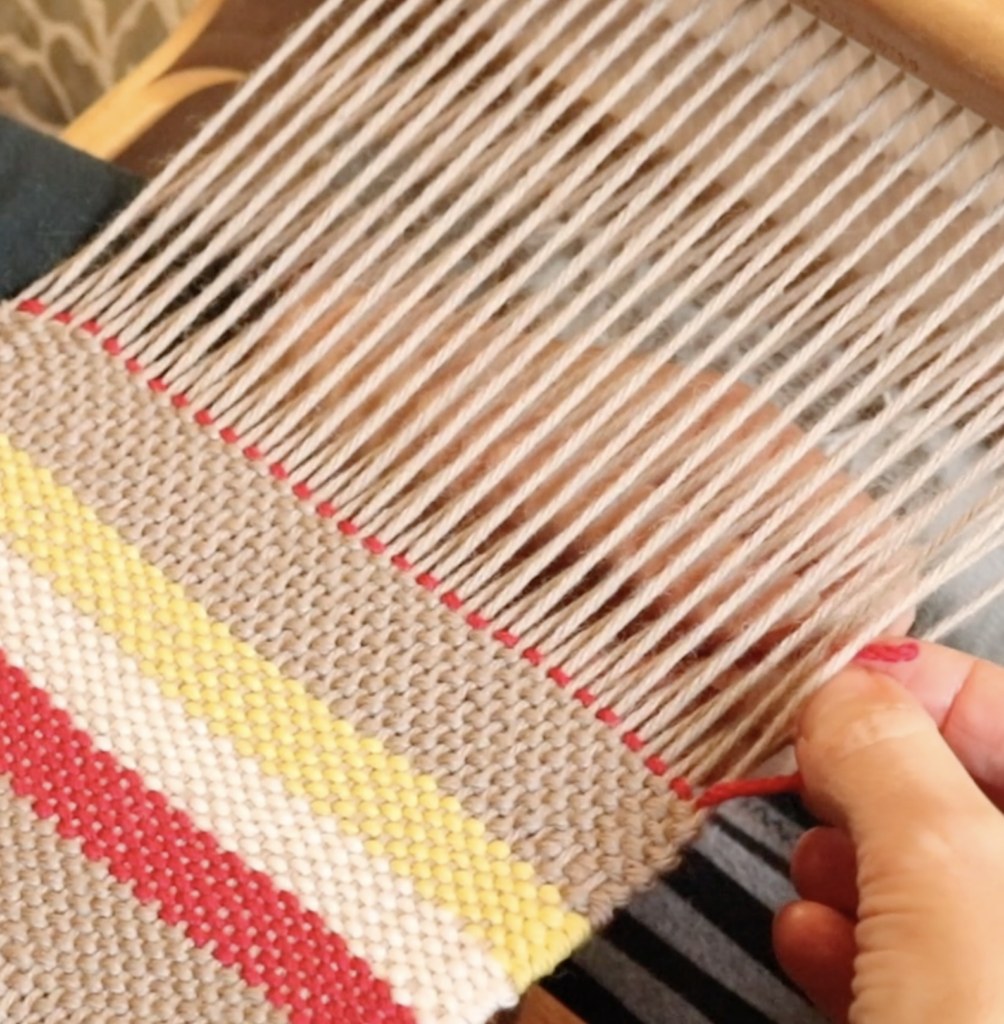
Pick– A weft row
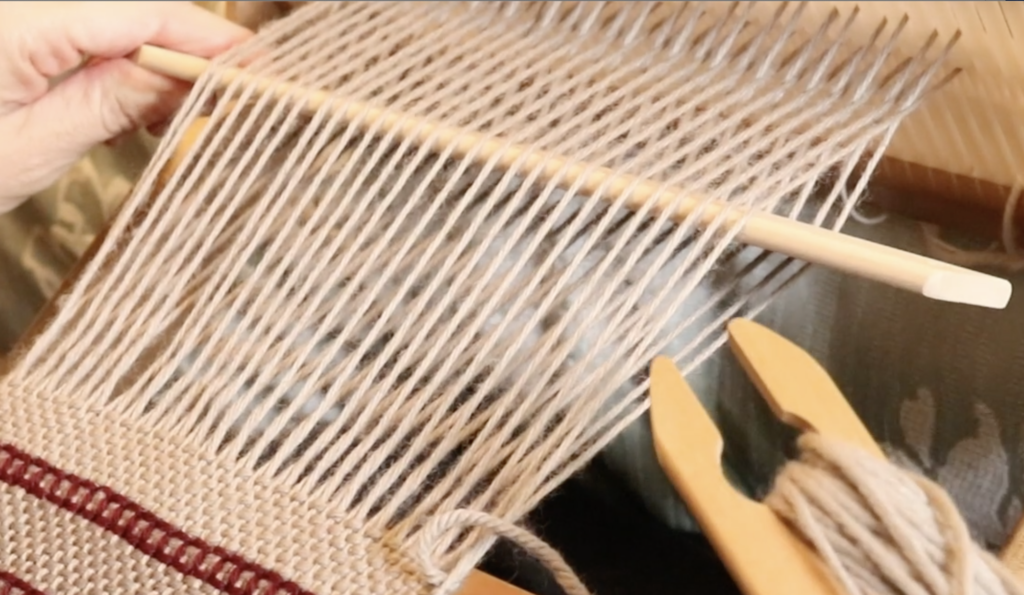
Pick up stick – A smooth, flat stick used to pick up weft or warp threads to create patterning by creating additional sheds or lifting additional threads.
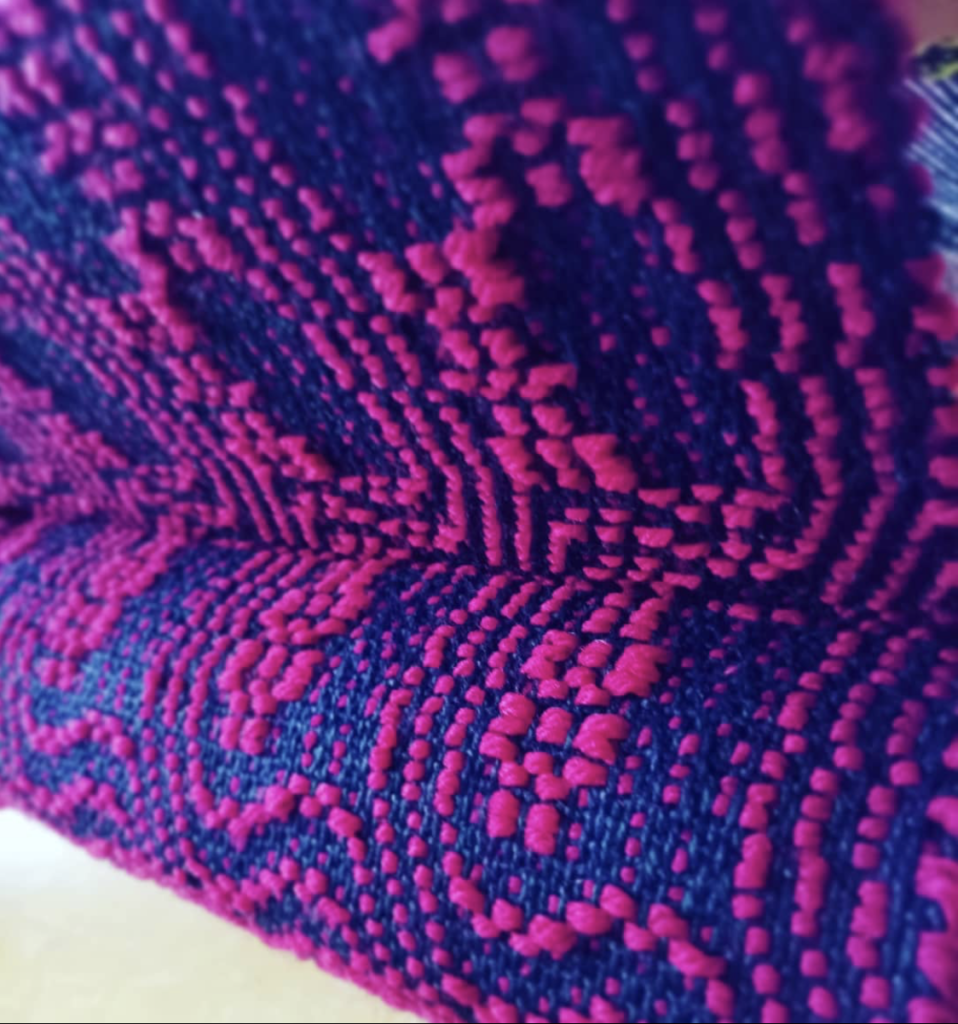
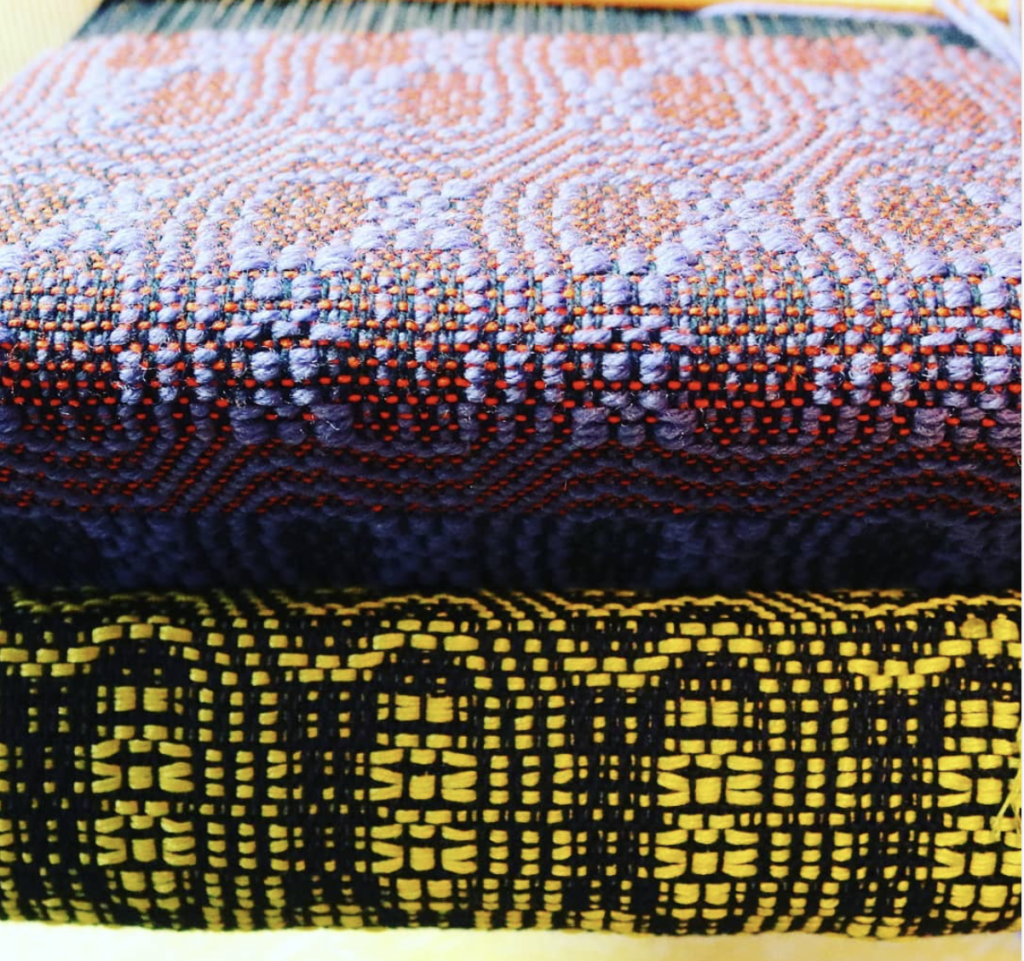
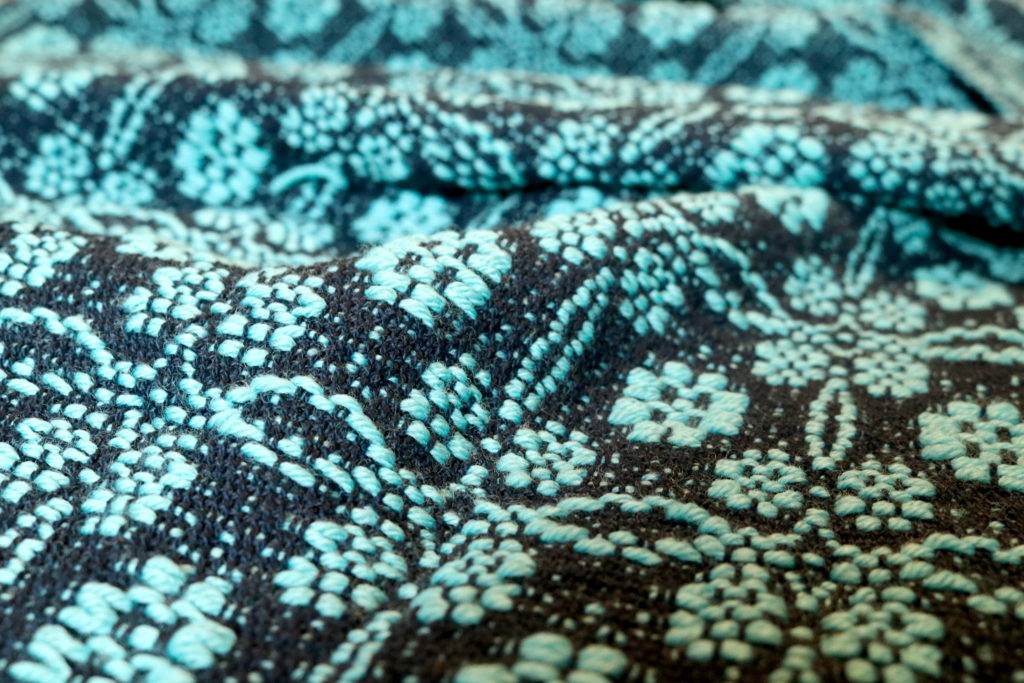
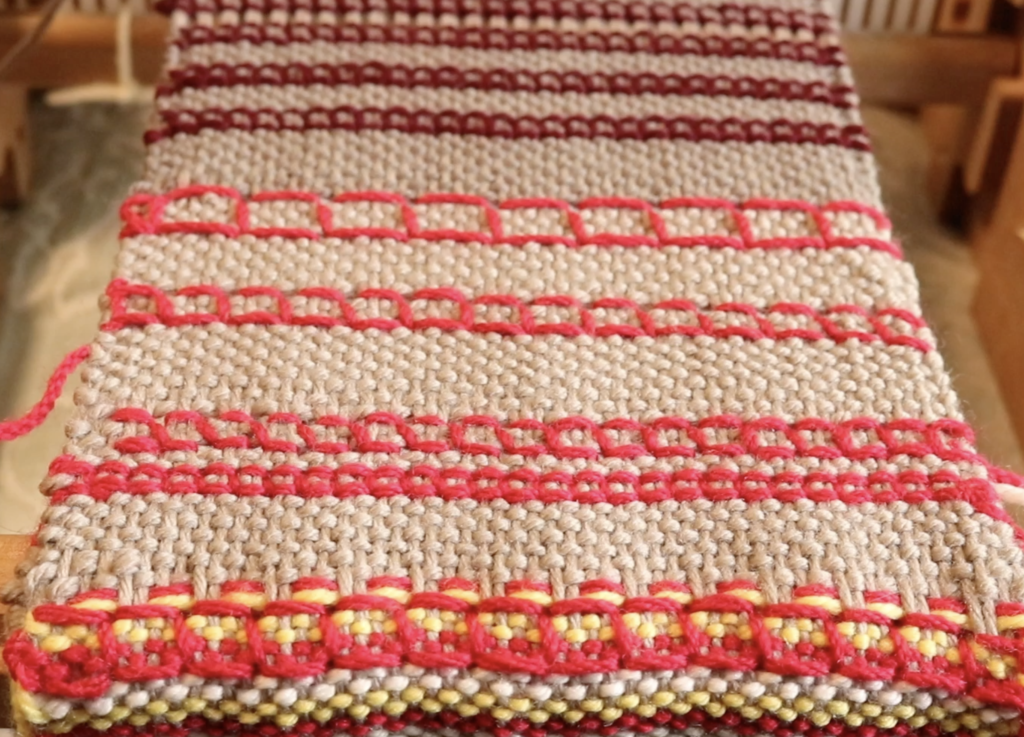
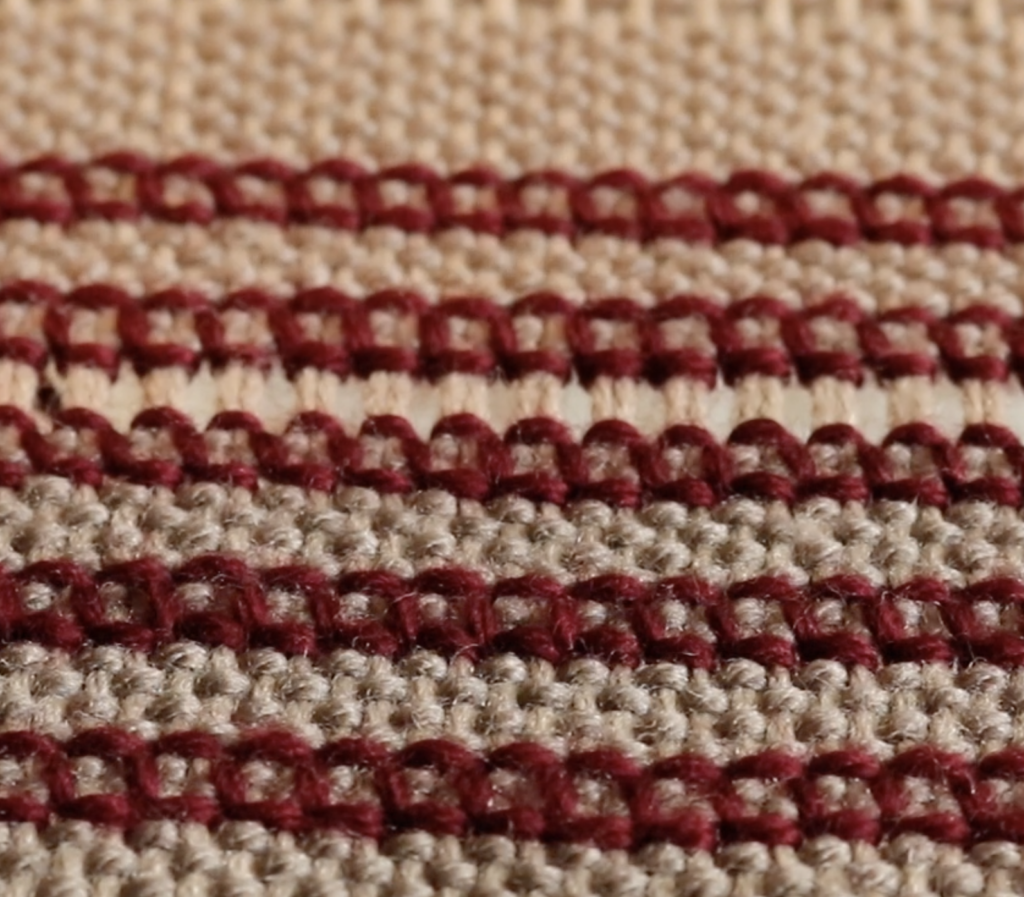
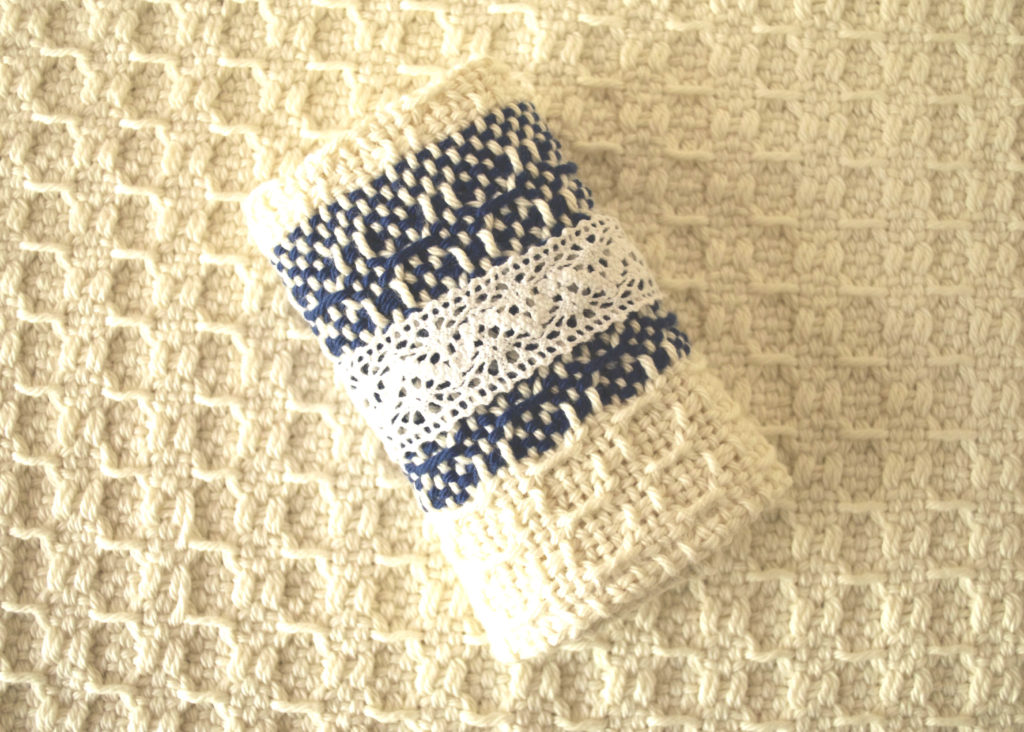
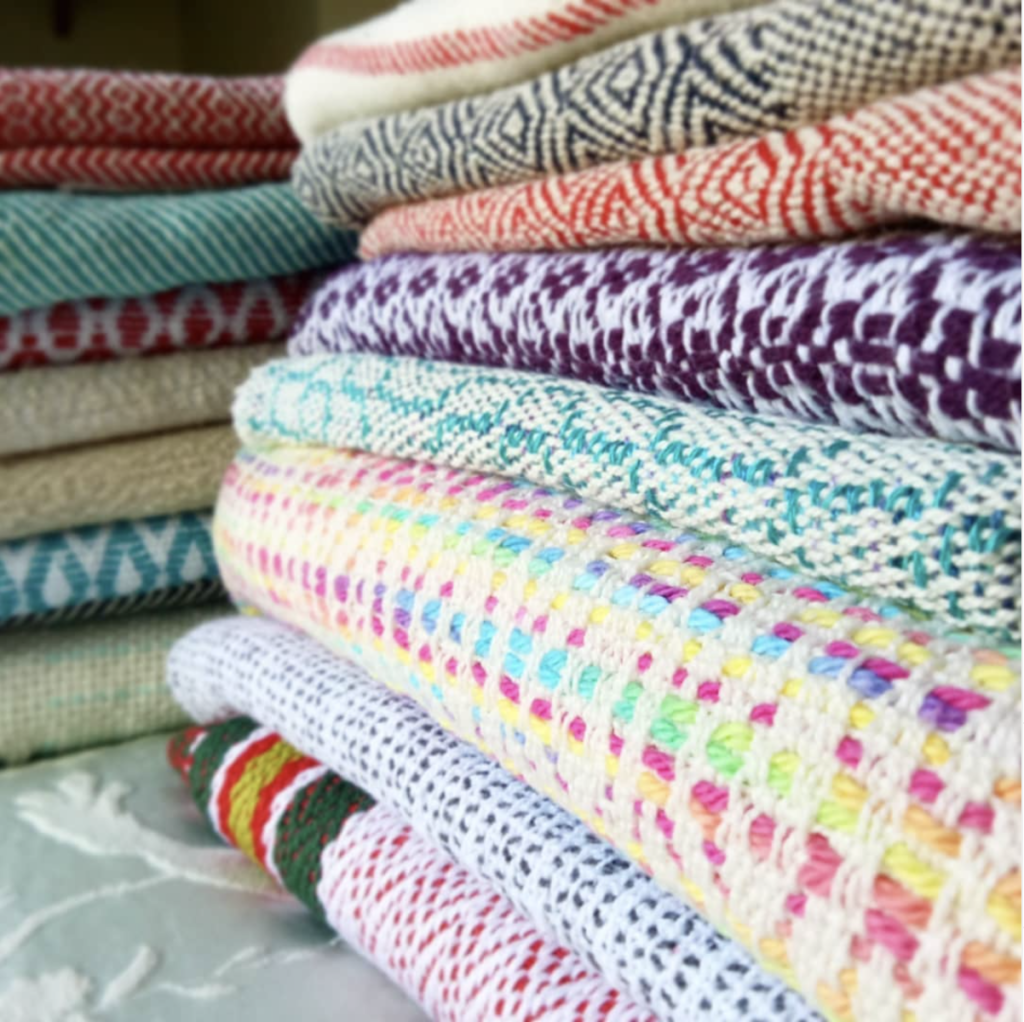
Plain weave– A weave structure with a balanced one over, one under interlacement of warp and weft threads.
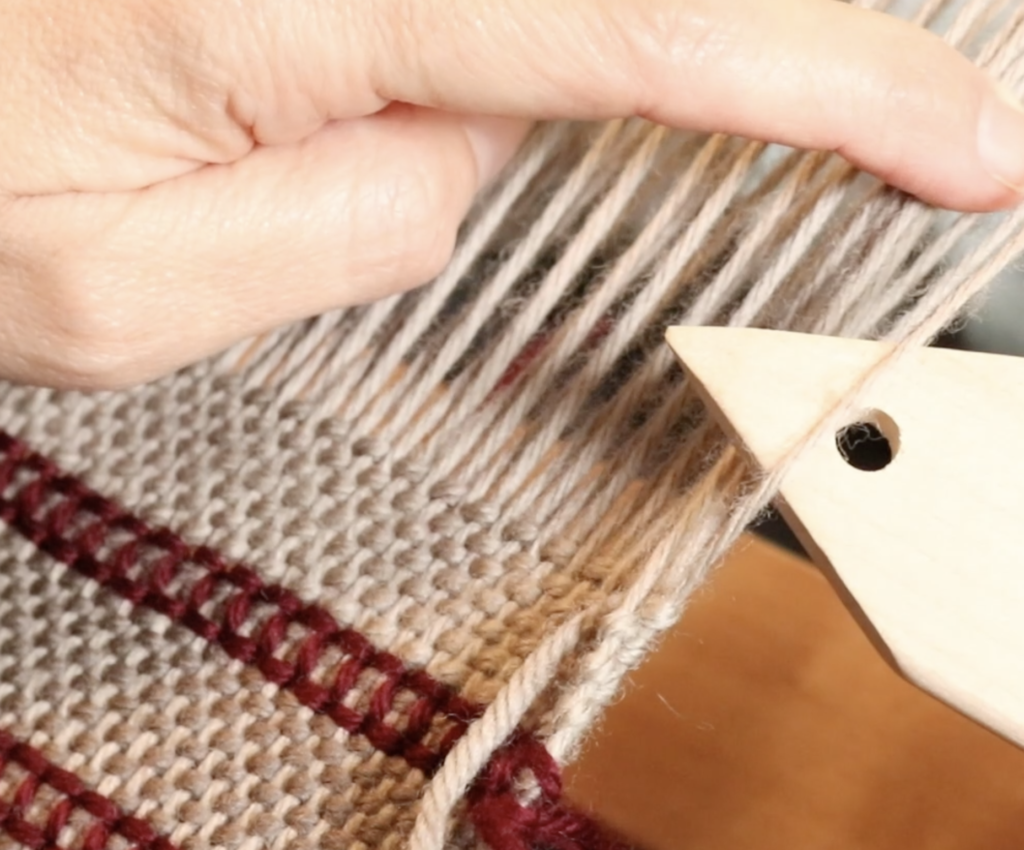
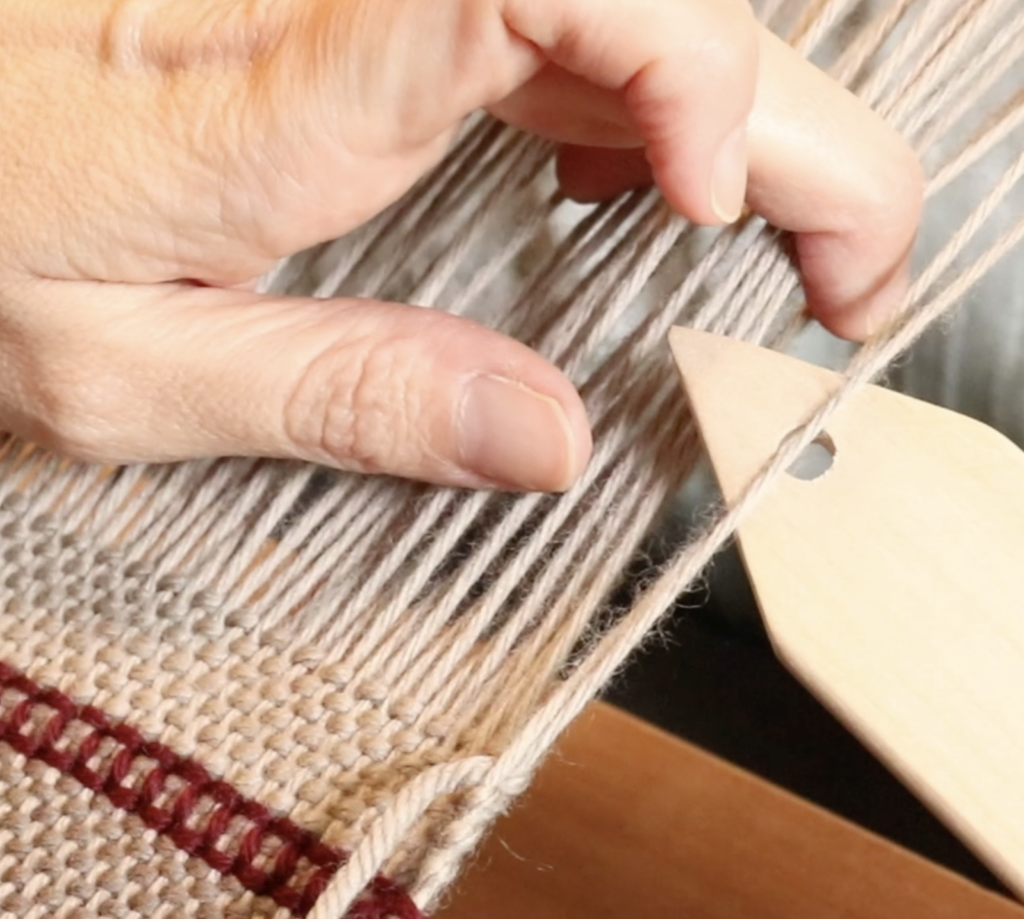
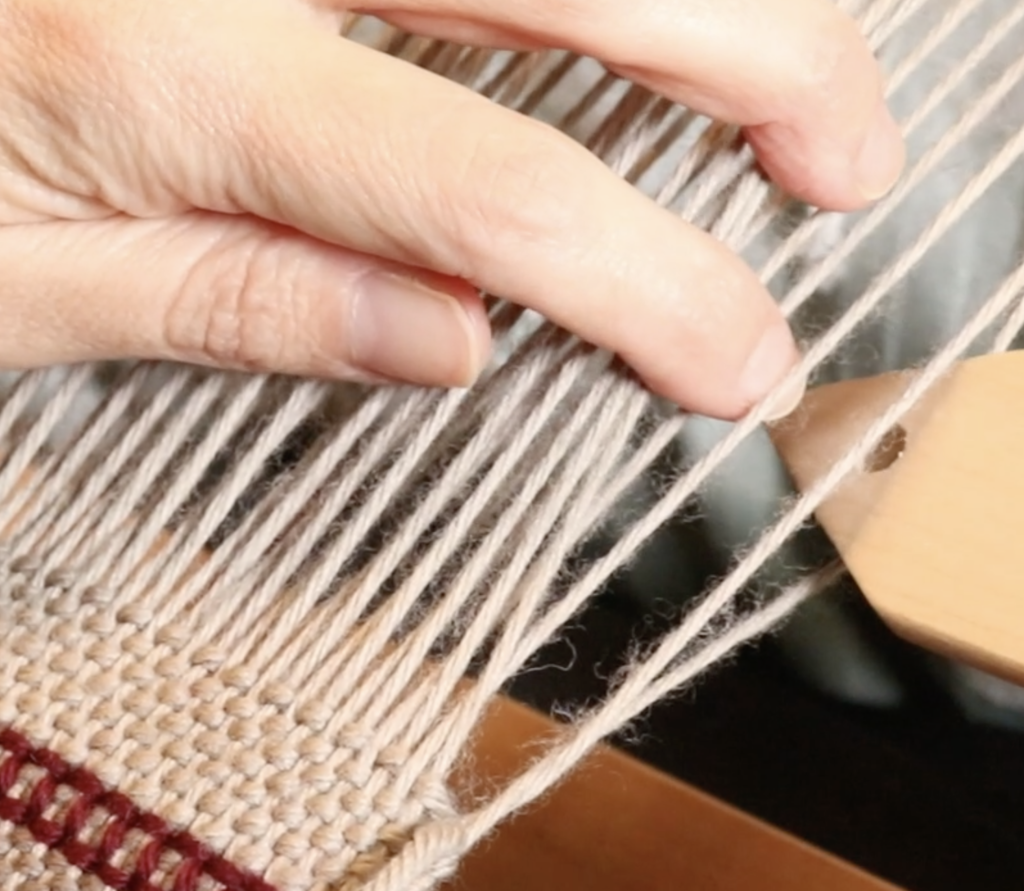
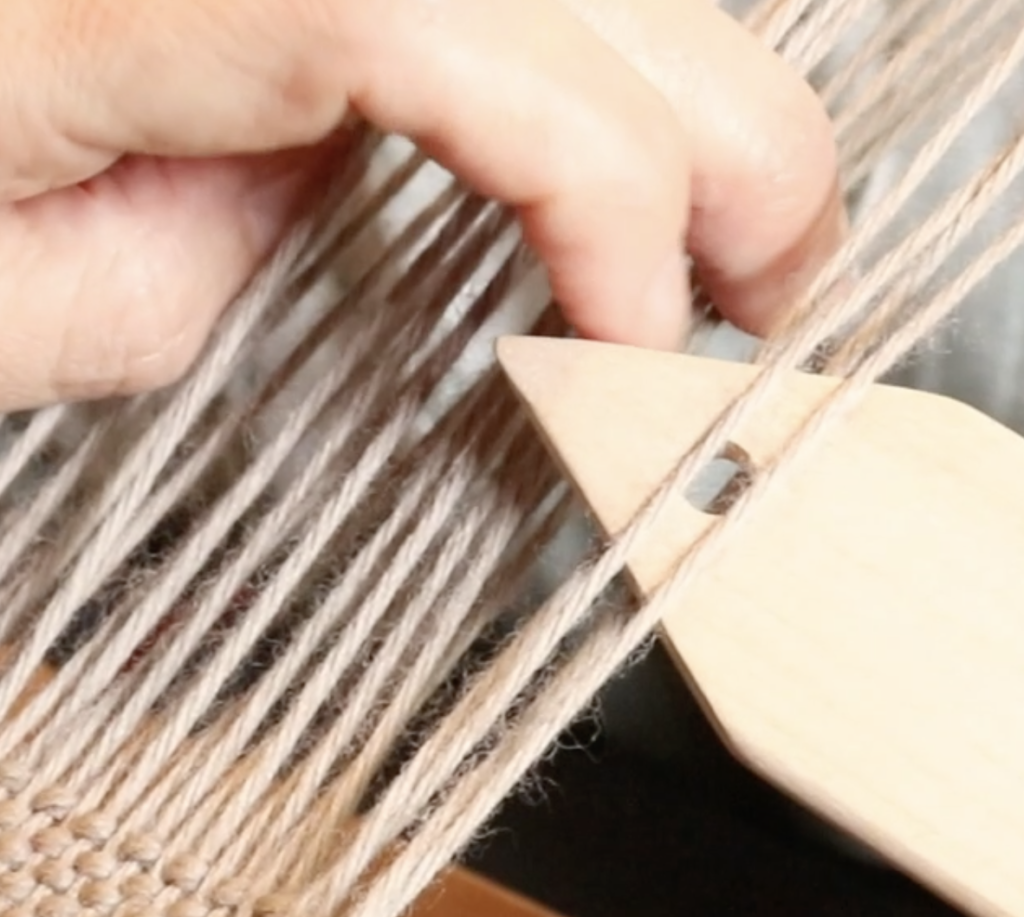
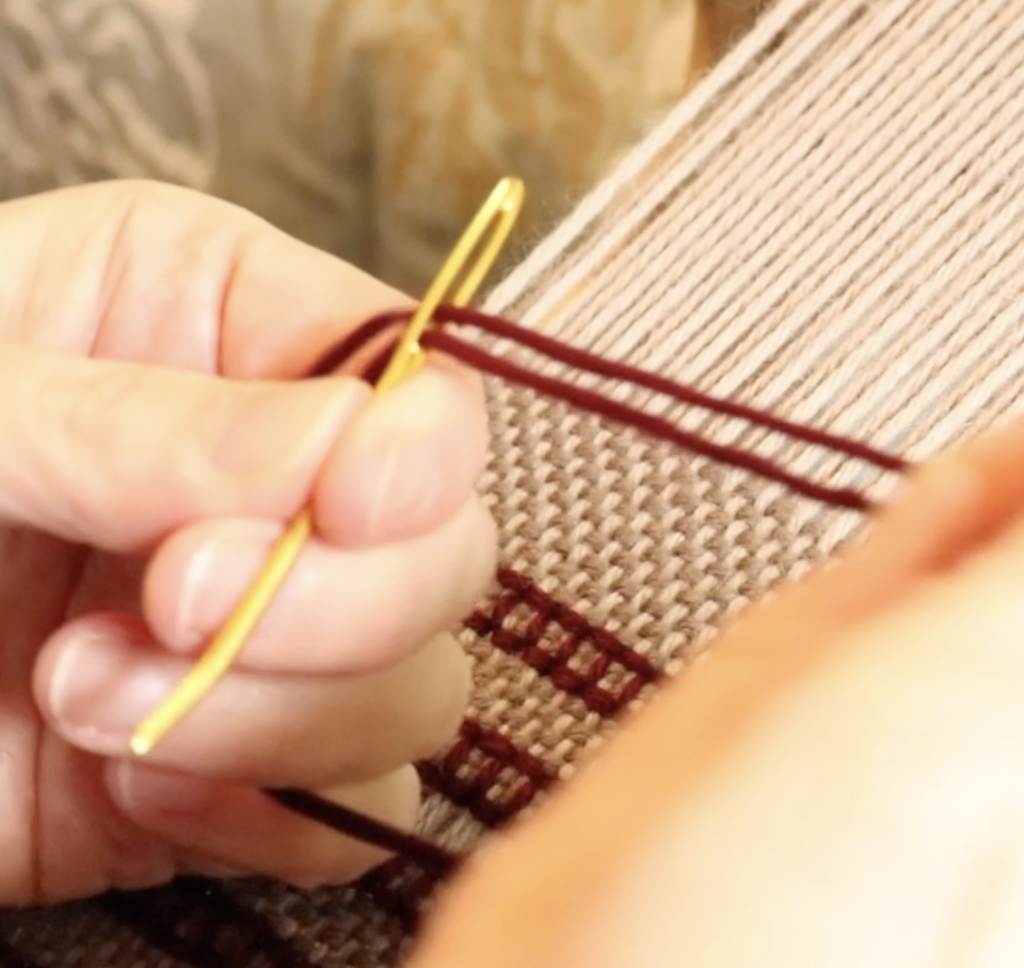
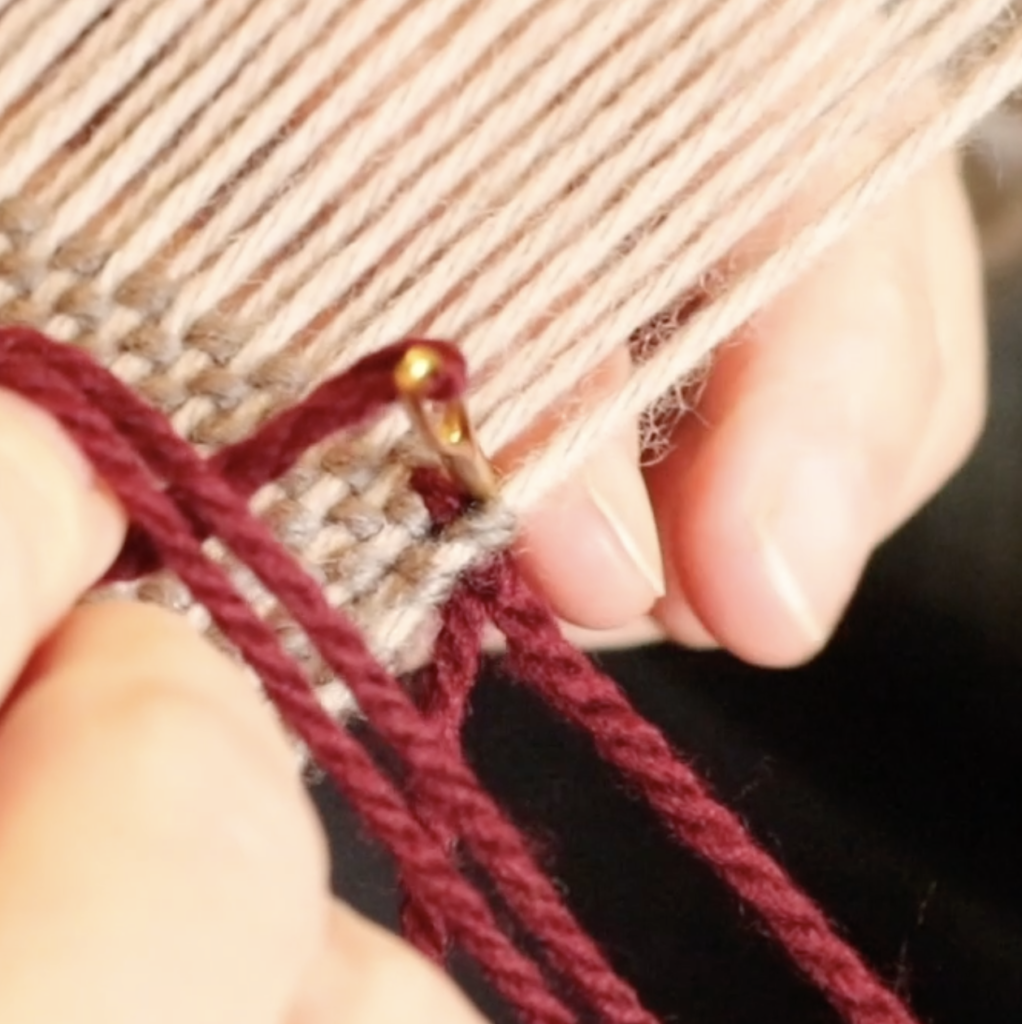
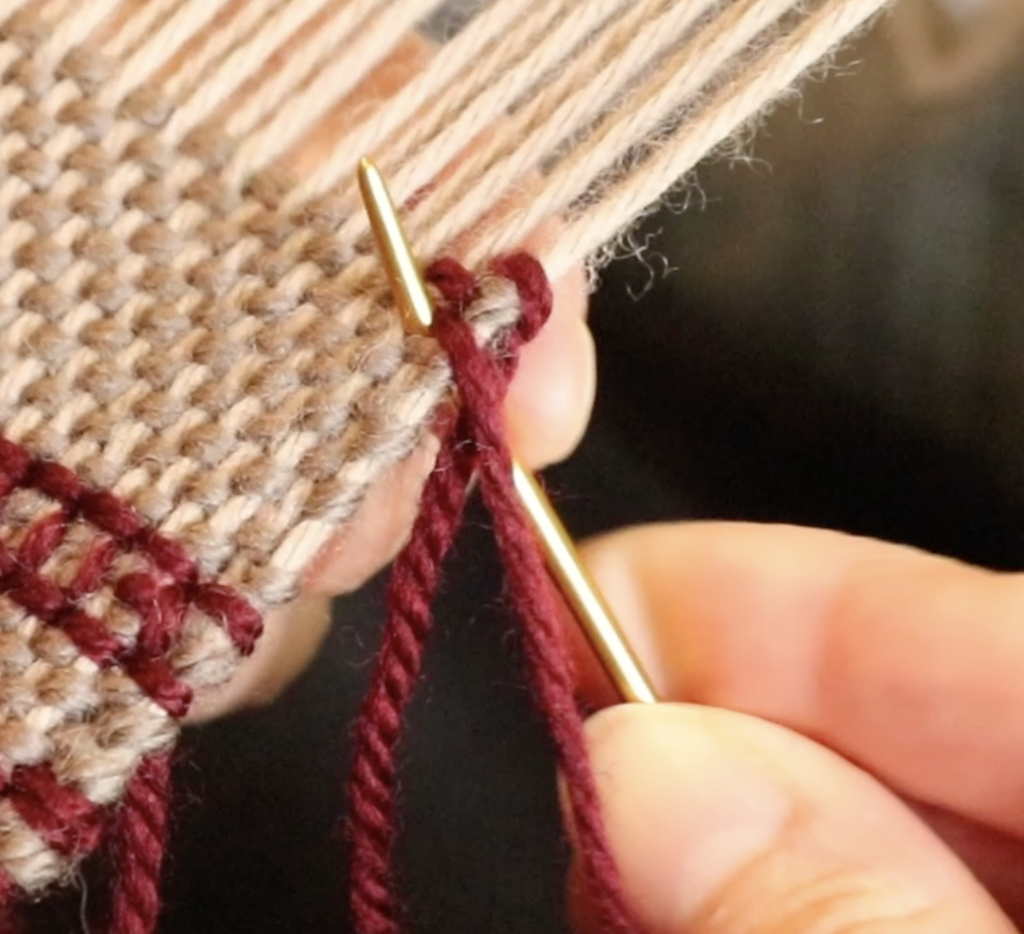
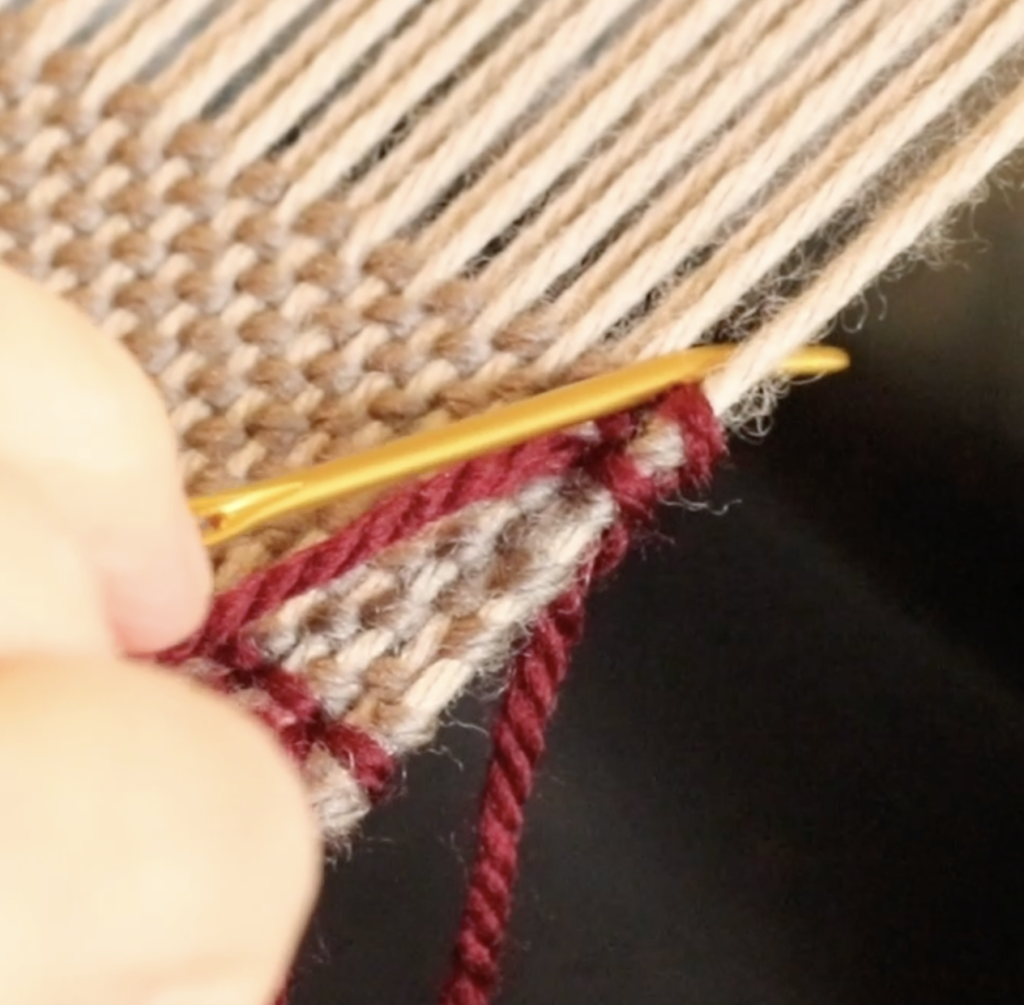
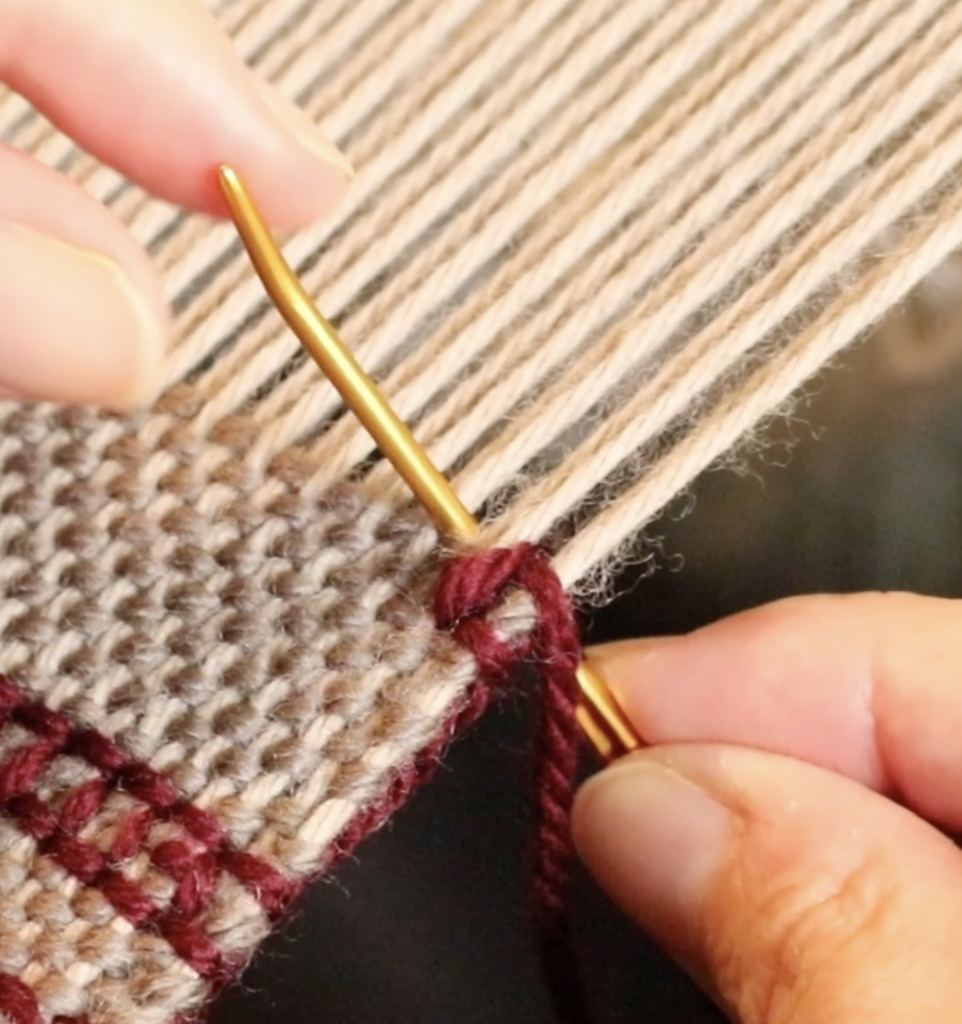
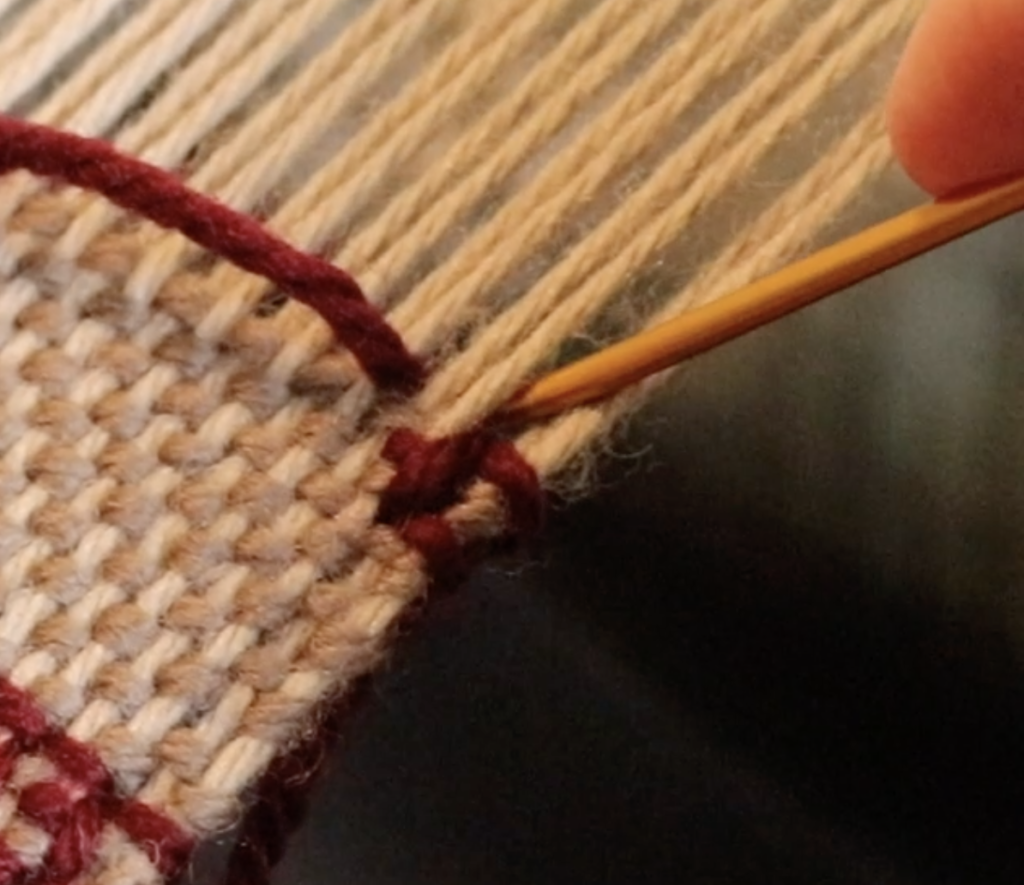
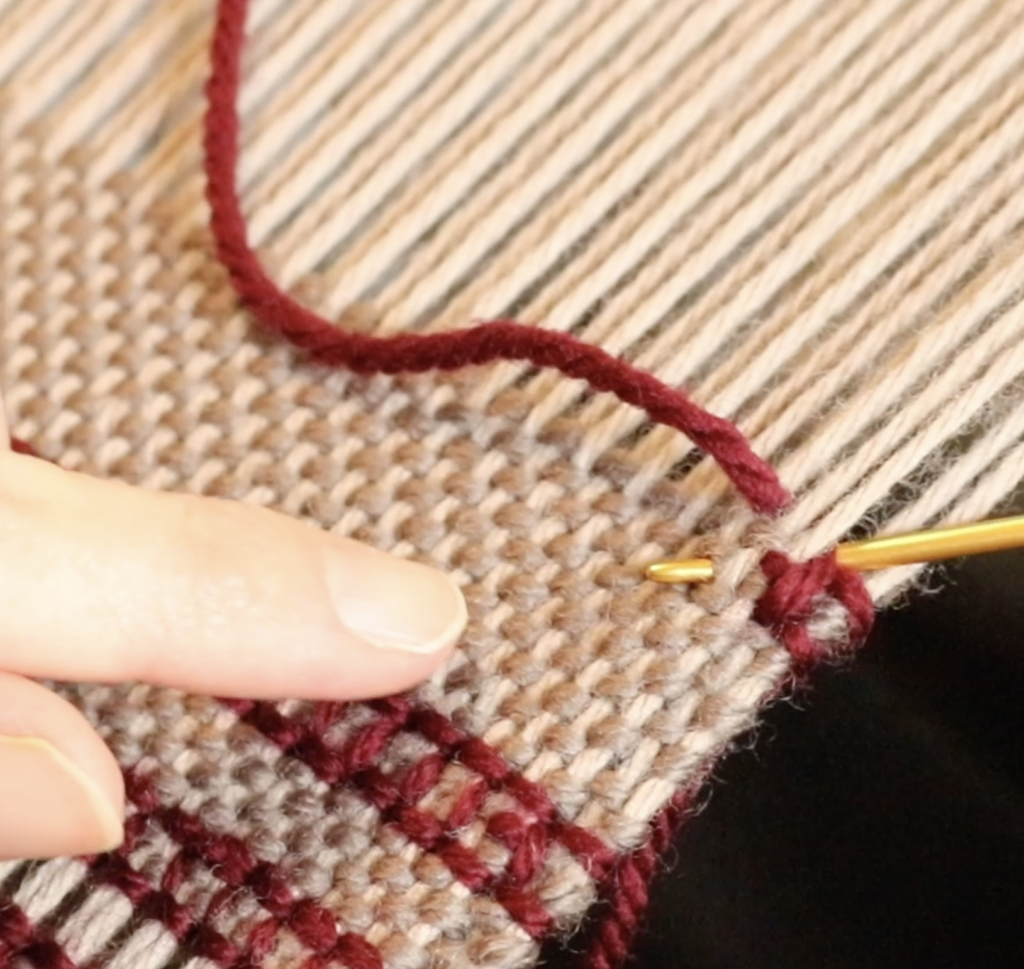
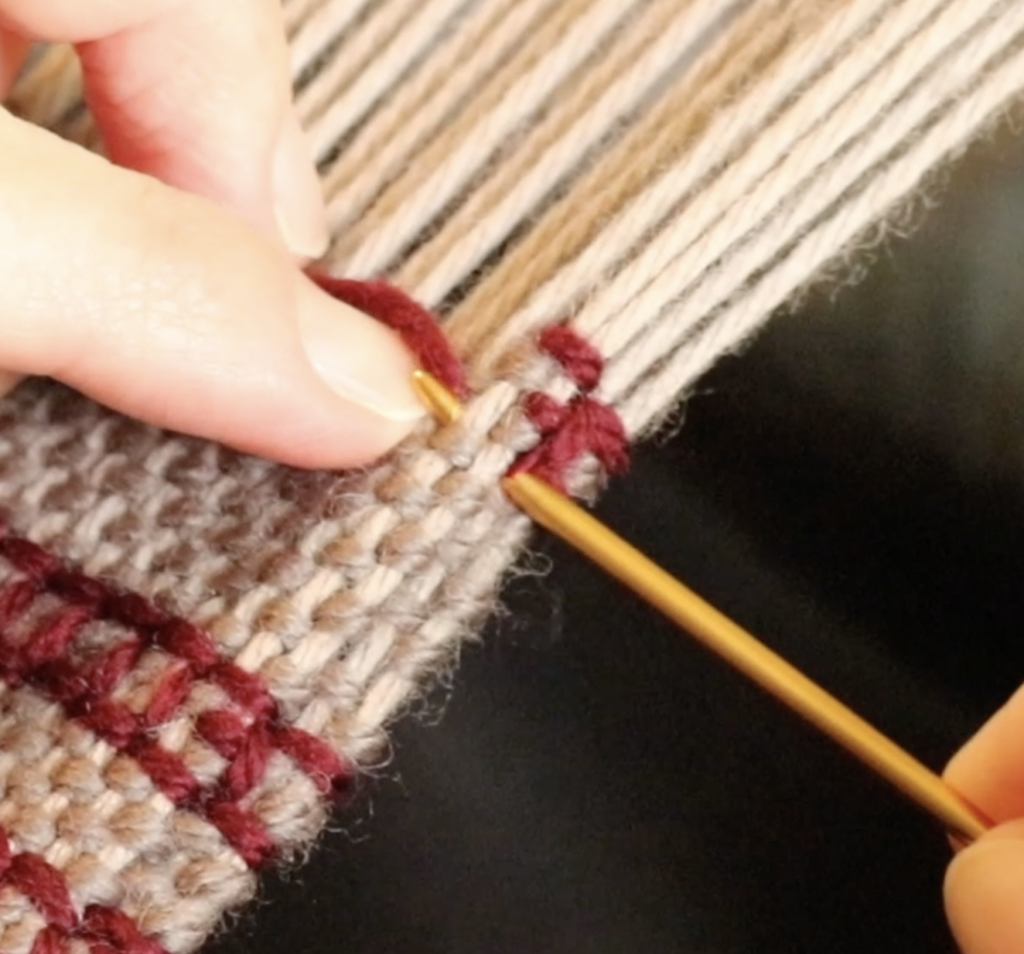
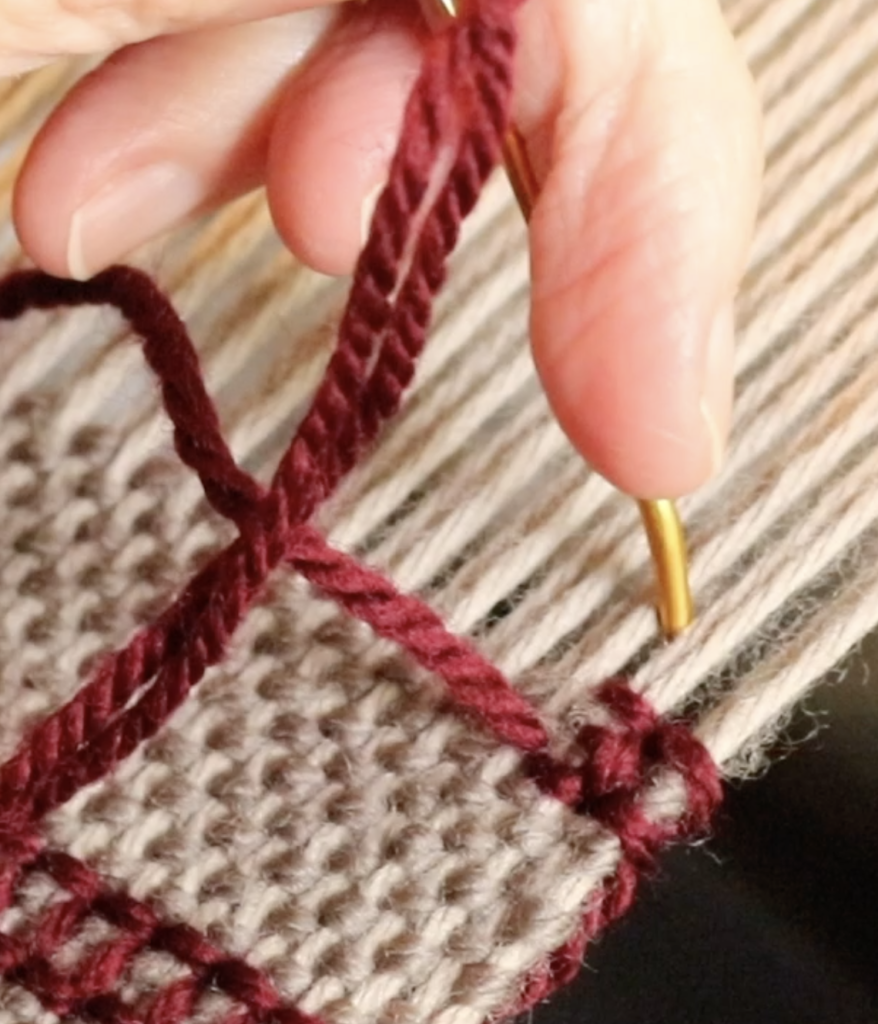
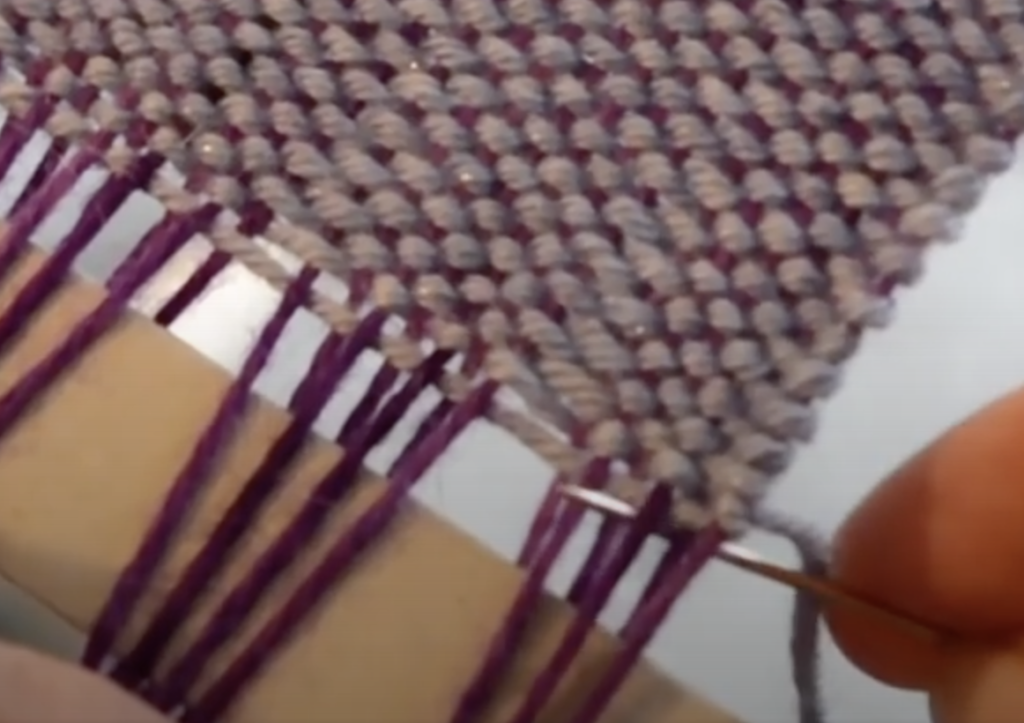
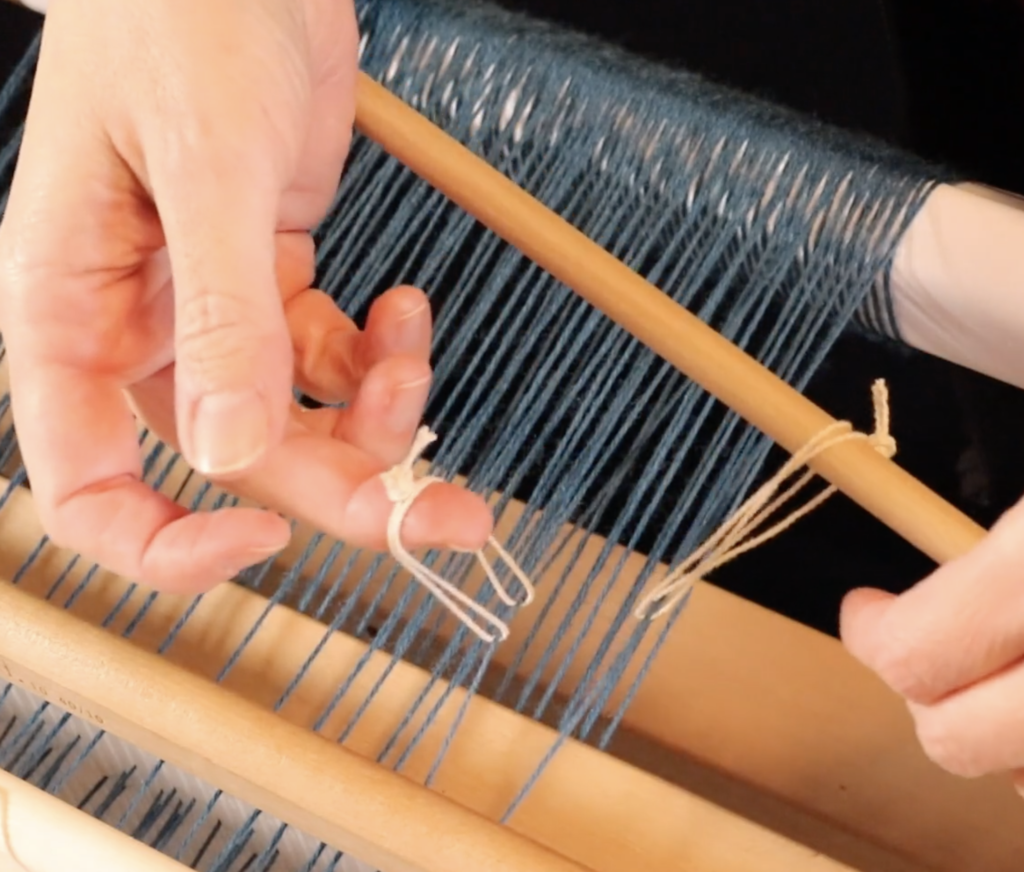
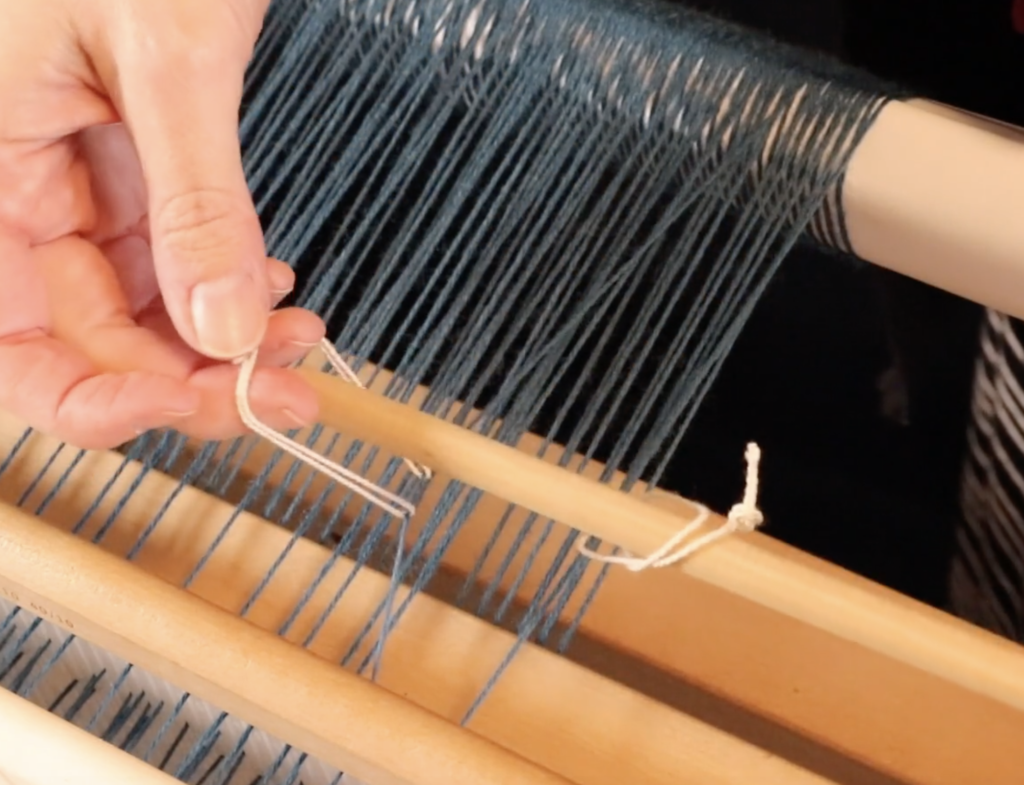
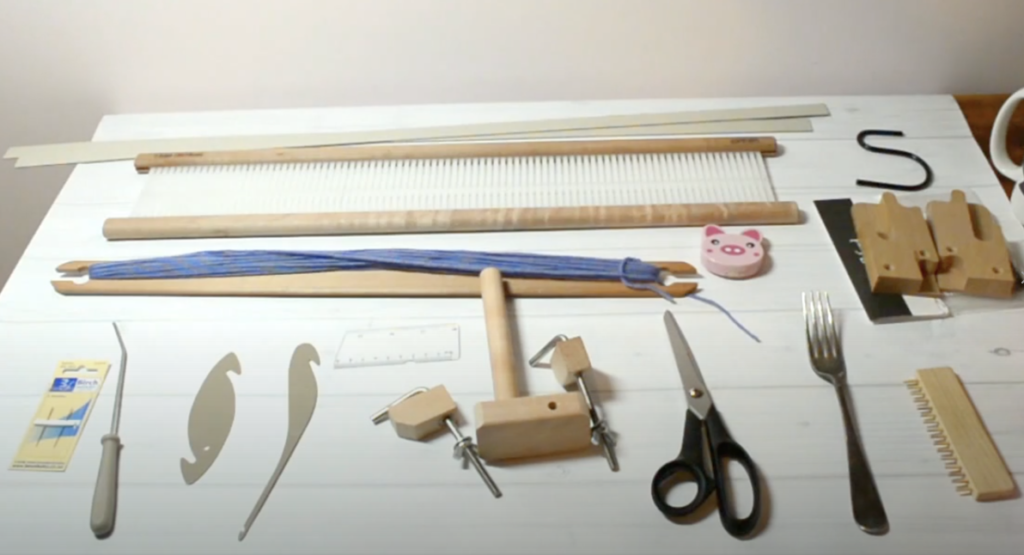
Reed hook- Used to thread or “sley” the reed. In rigid heddle weaving, it is used to thread the slots during direct warping.
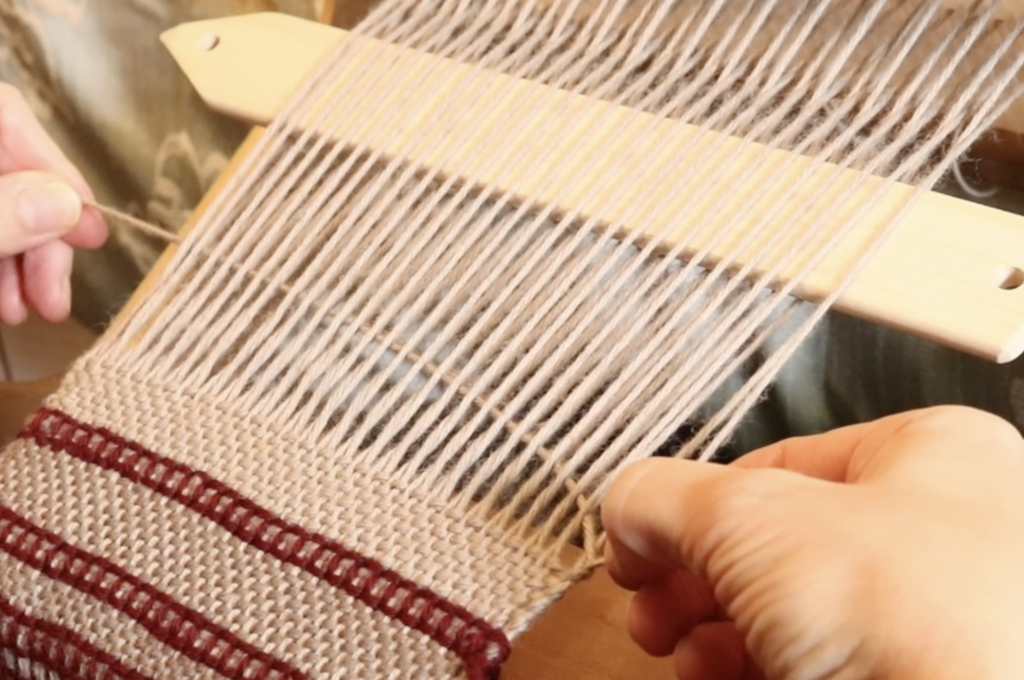
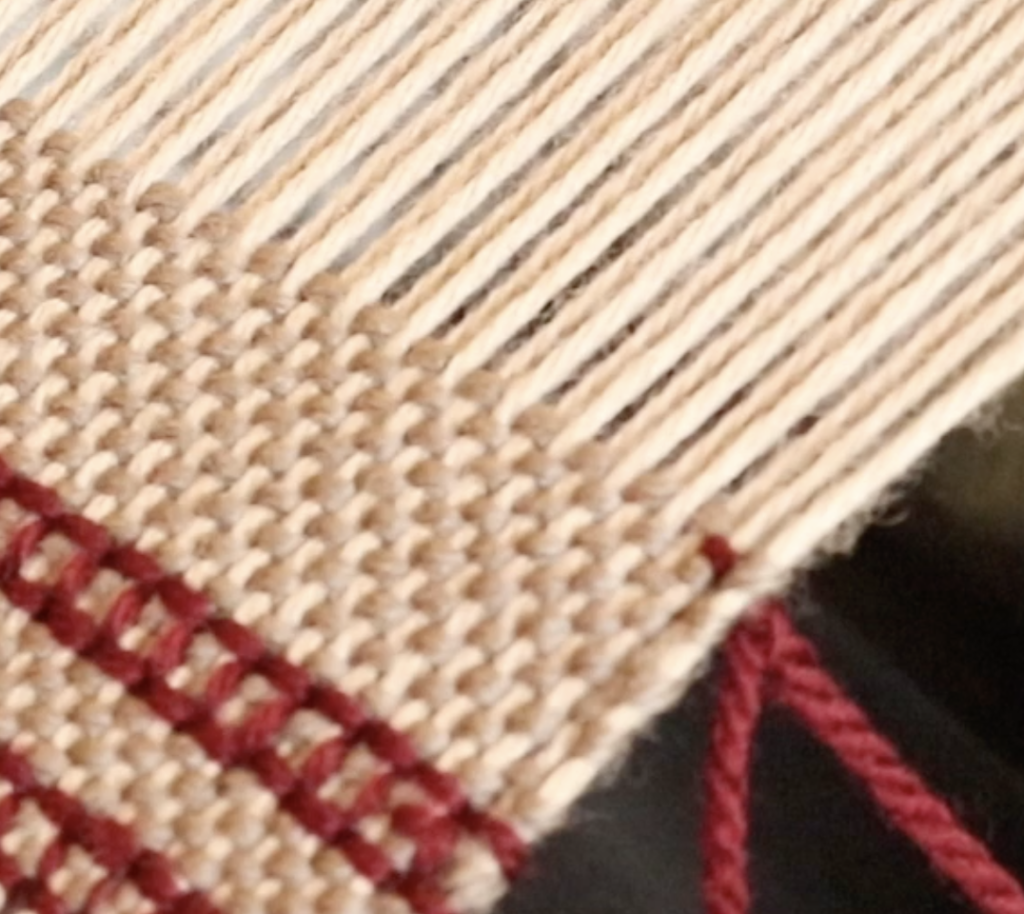
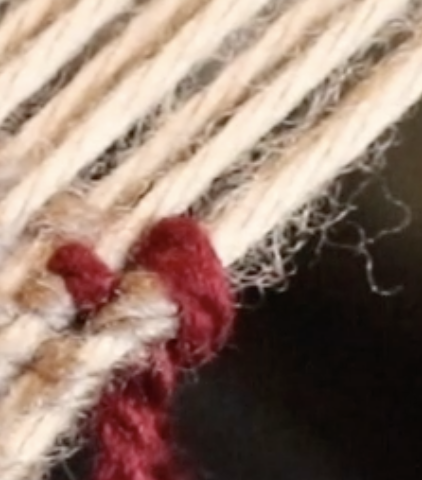
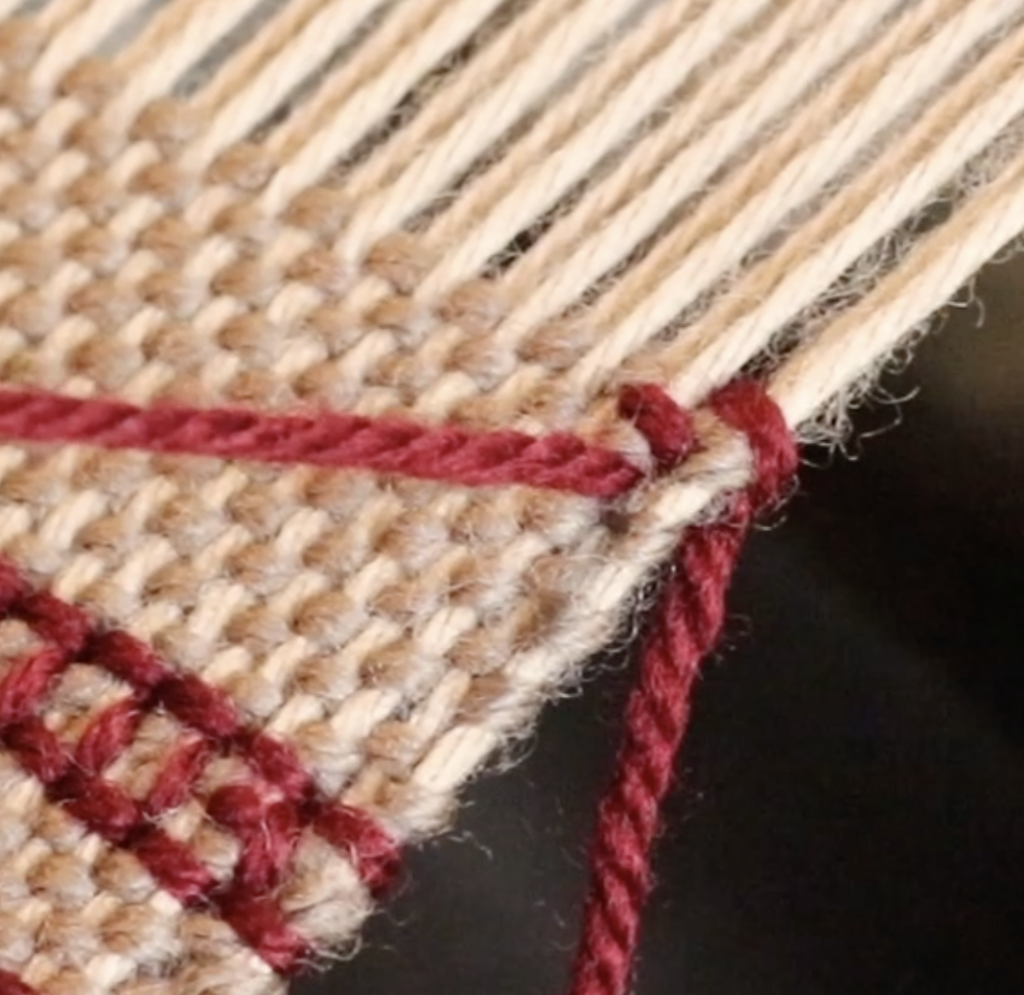
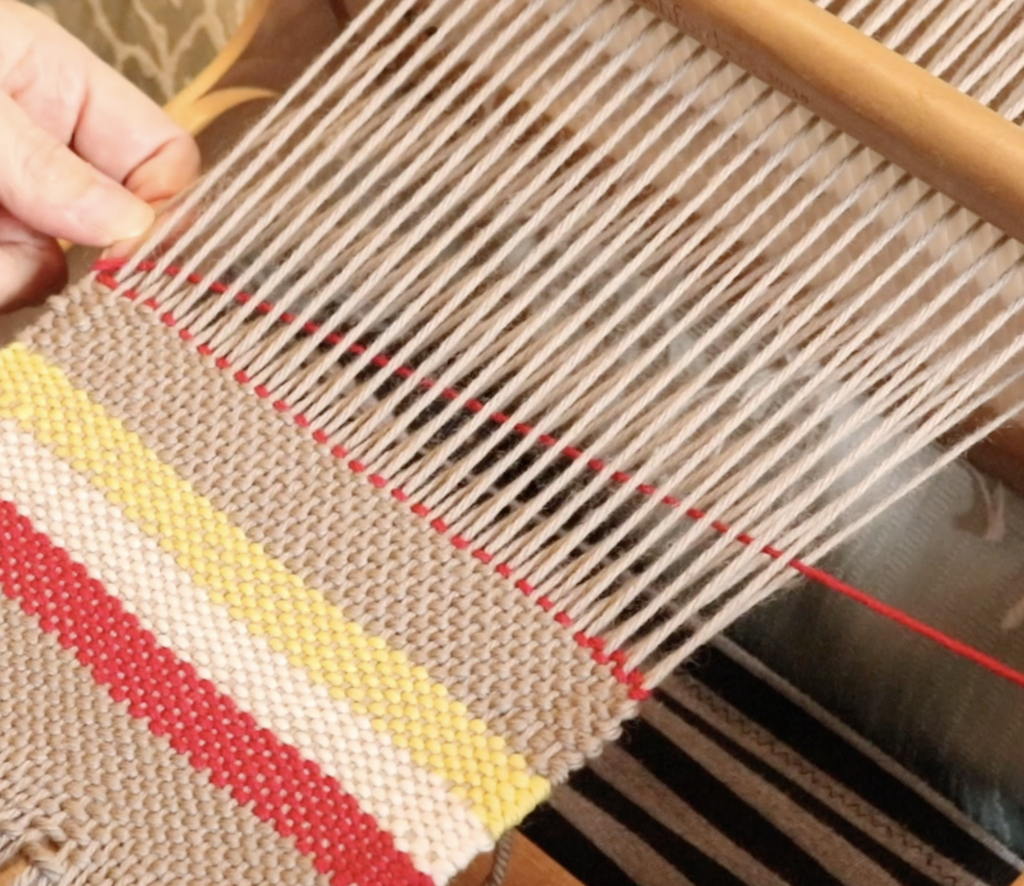
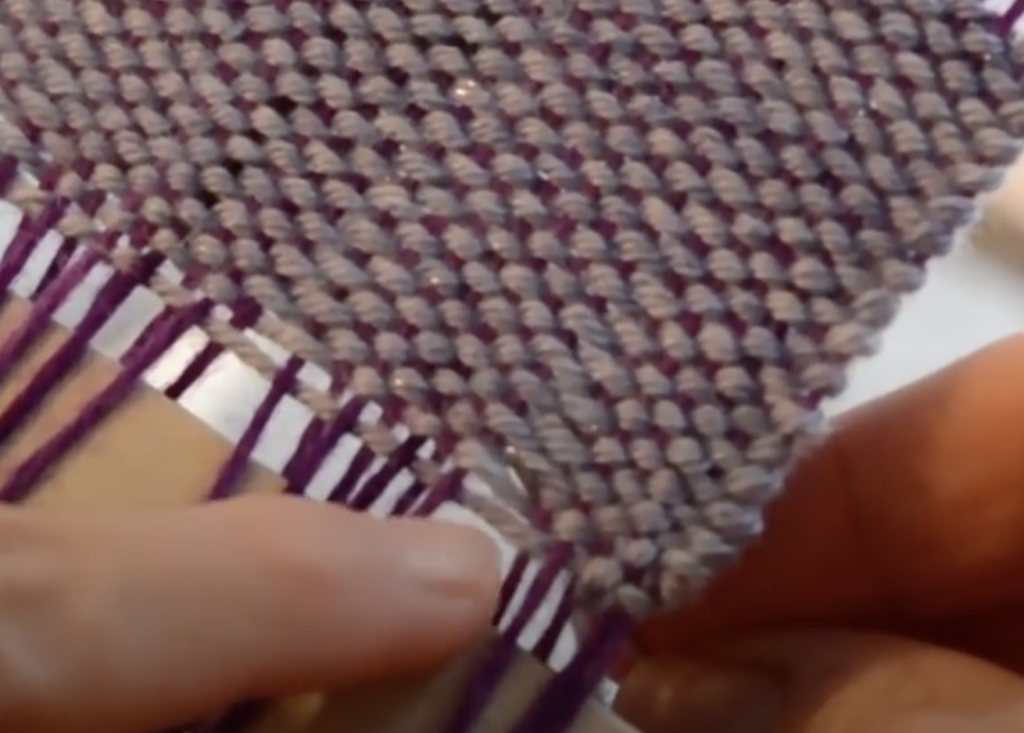
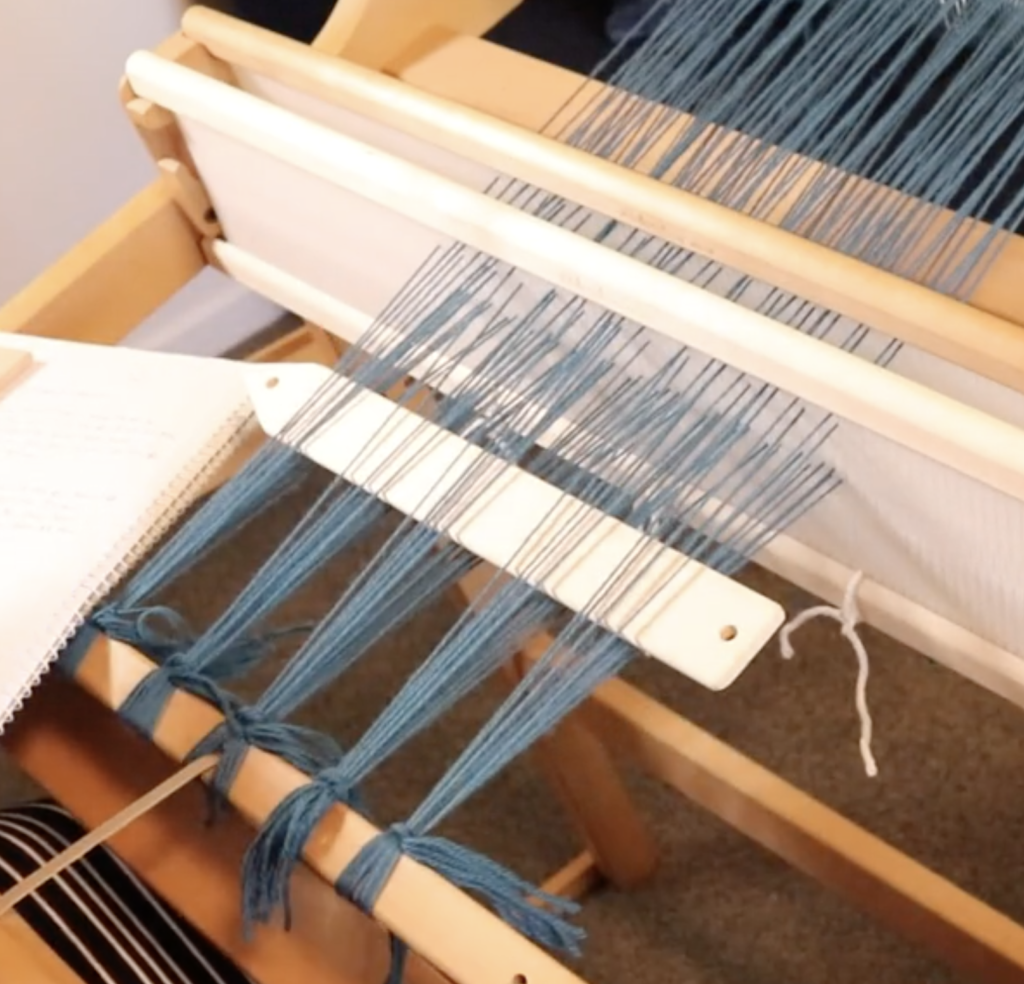
Selvedge– The edges of the woven fabric, or during weaving, the edge threads
Sett- The number of warp threads in an inch. An easy way to think of it is how close together or far apart the warp threads are.
Shed– the space or gap created for the weft shuttle to enter into. In RH weaving, this happens when the heddle is either raised or lowered ie. shed one and shed two.
Shot- Another name for pick or weft row.
Sley- Threading the warp threads through the heddle/reed. In multi shaft weaving, sleying refers to threading the reed. See also “open shed” and “closed shed”.
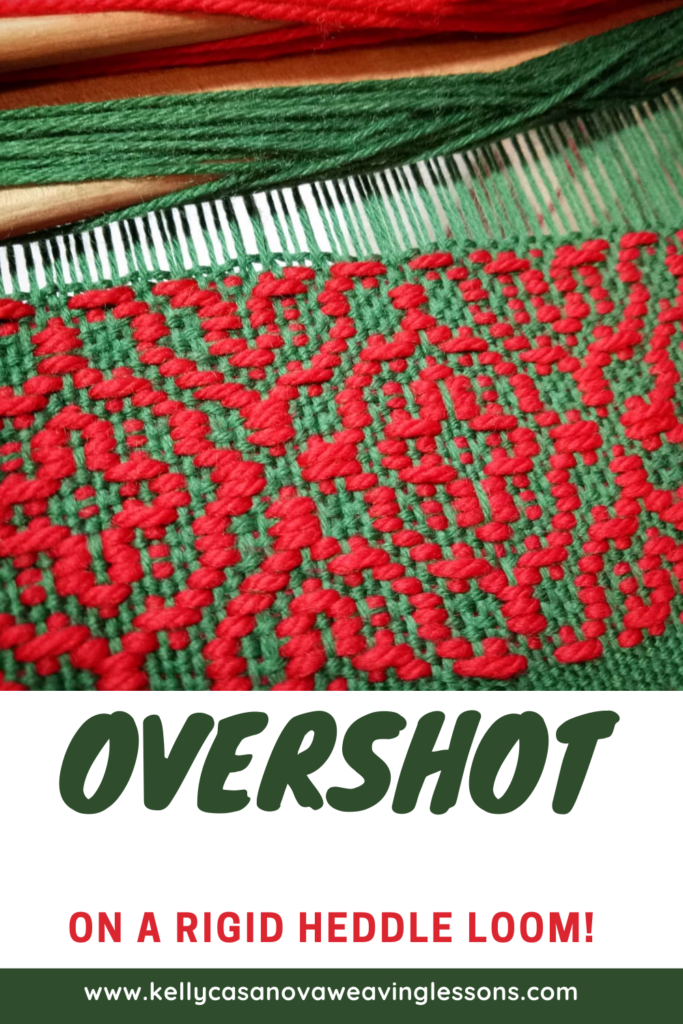
Tabby- another name for plain weave, but particularly used when the plain weave is used to create structure in the fabric in between pattern rows. A classic example is the weave structure overshot.
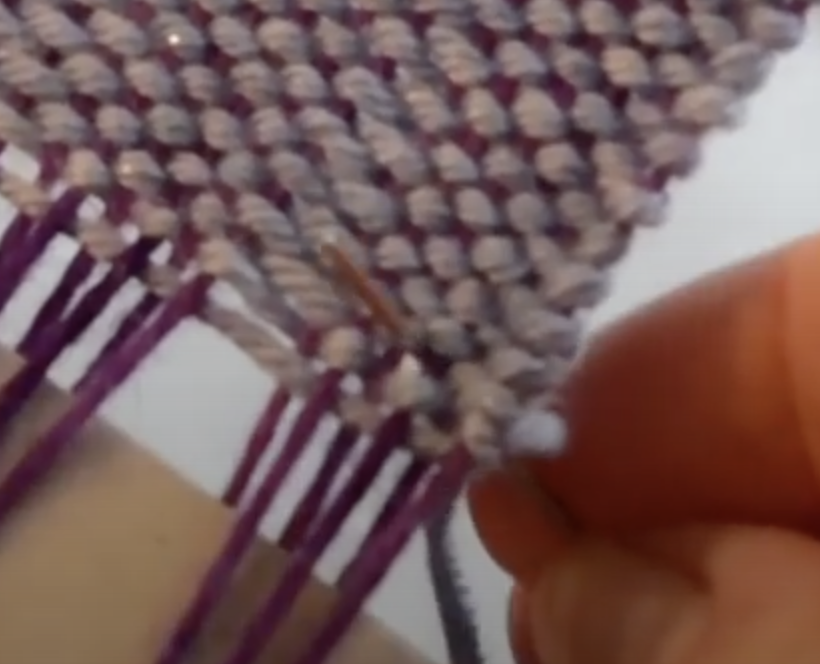
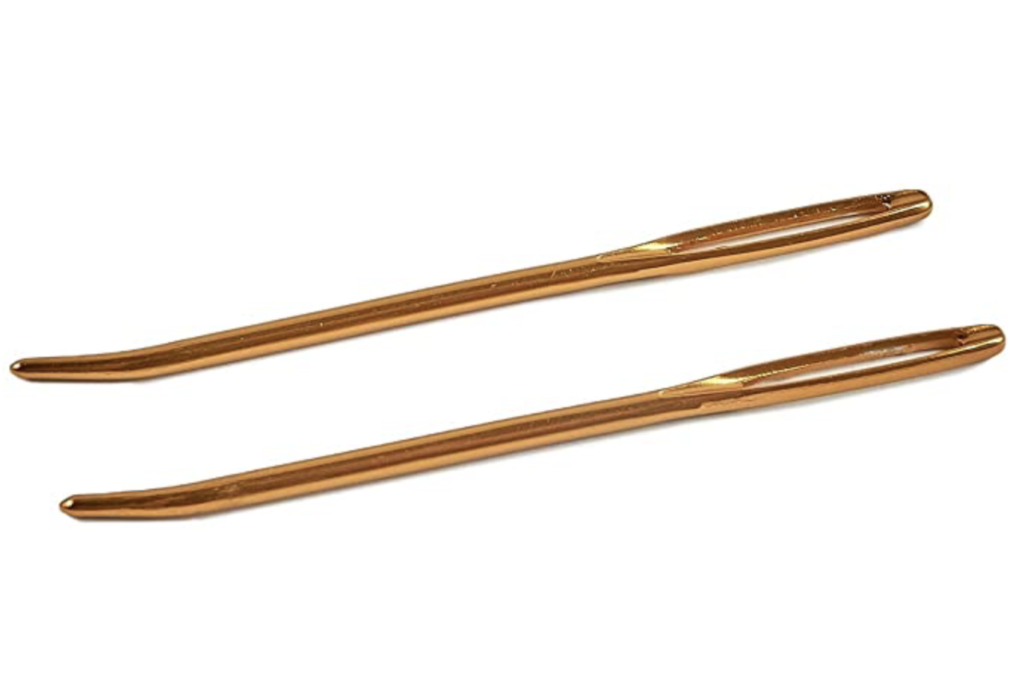
Threading hook– Used to thread the holes in the rigid heddle.
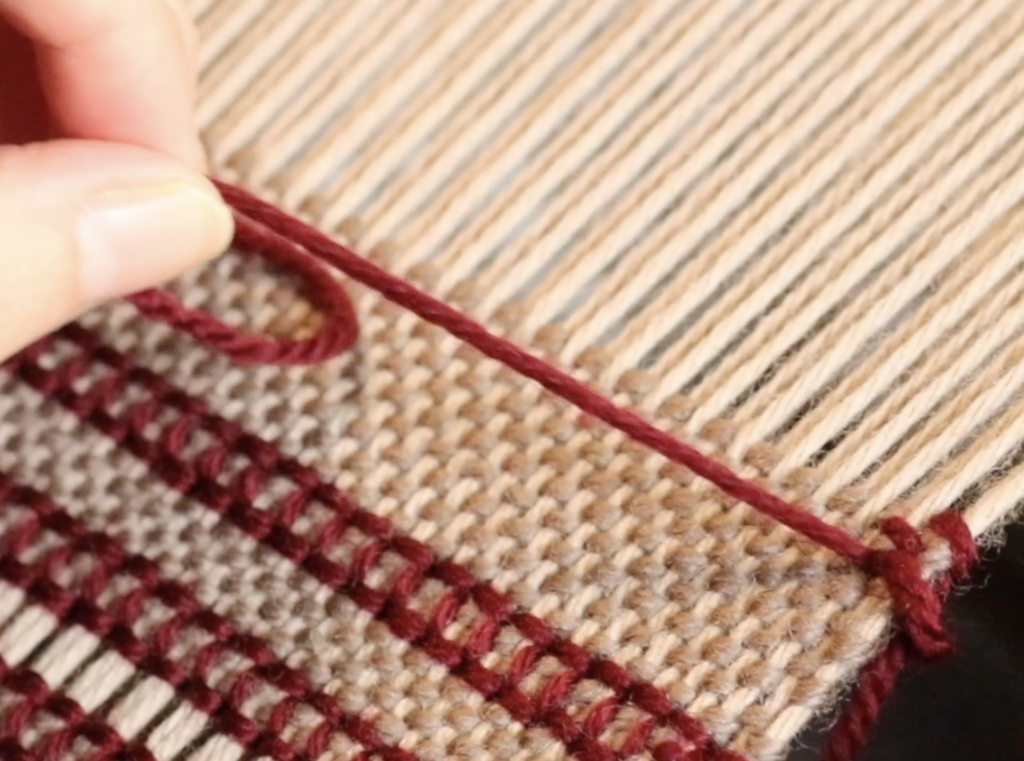
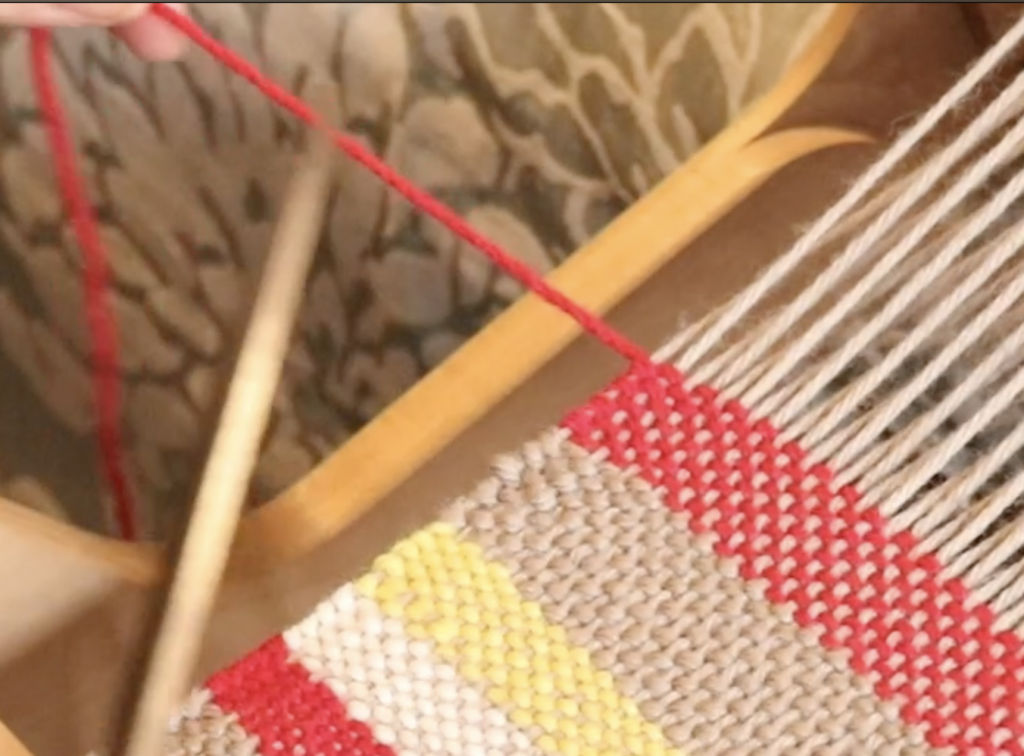
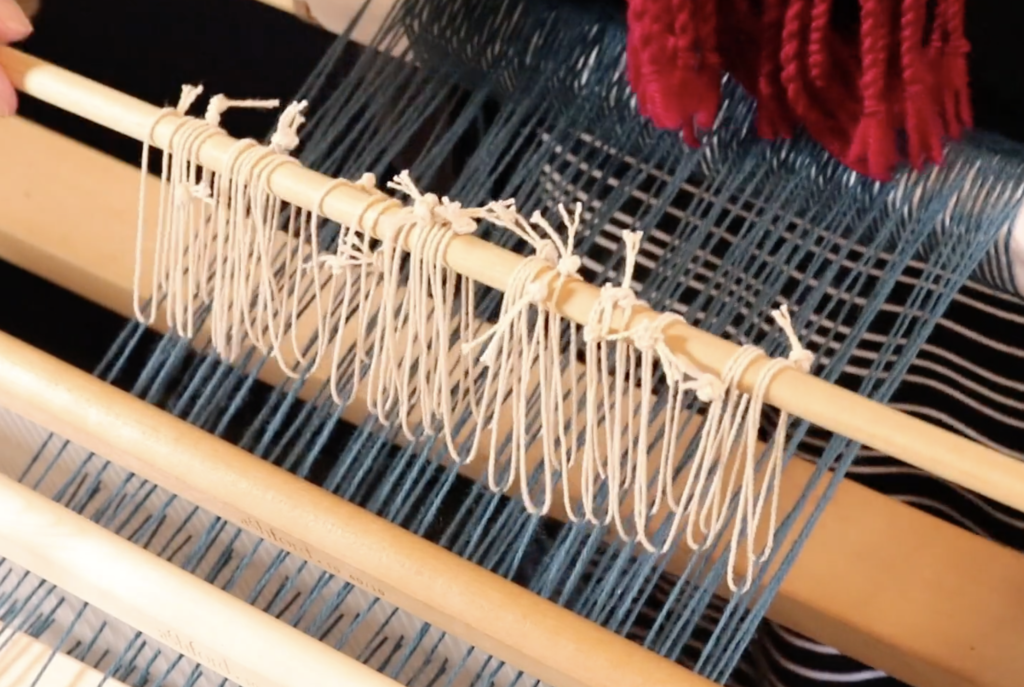
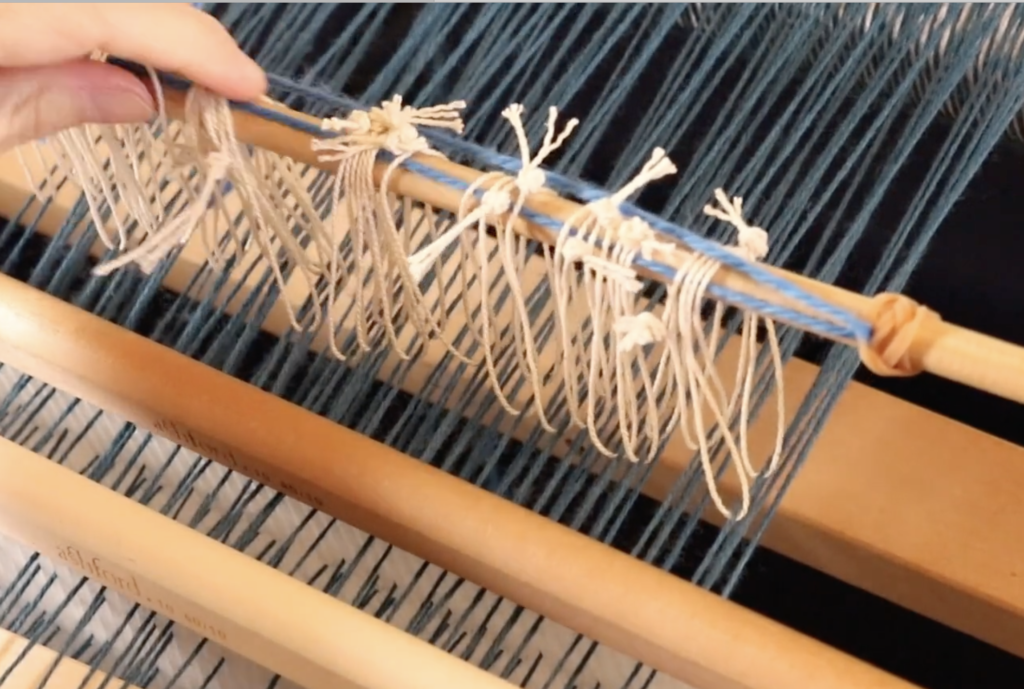
Thrums- loom waste, or amount of thread left over from the loom when the project is finished.
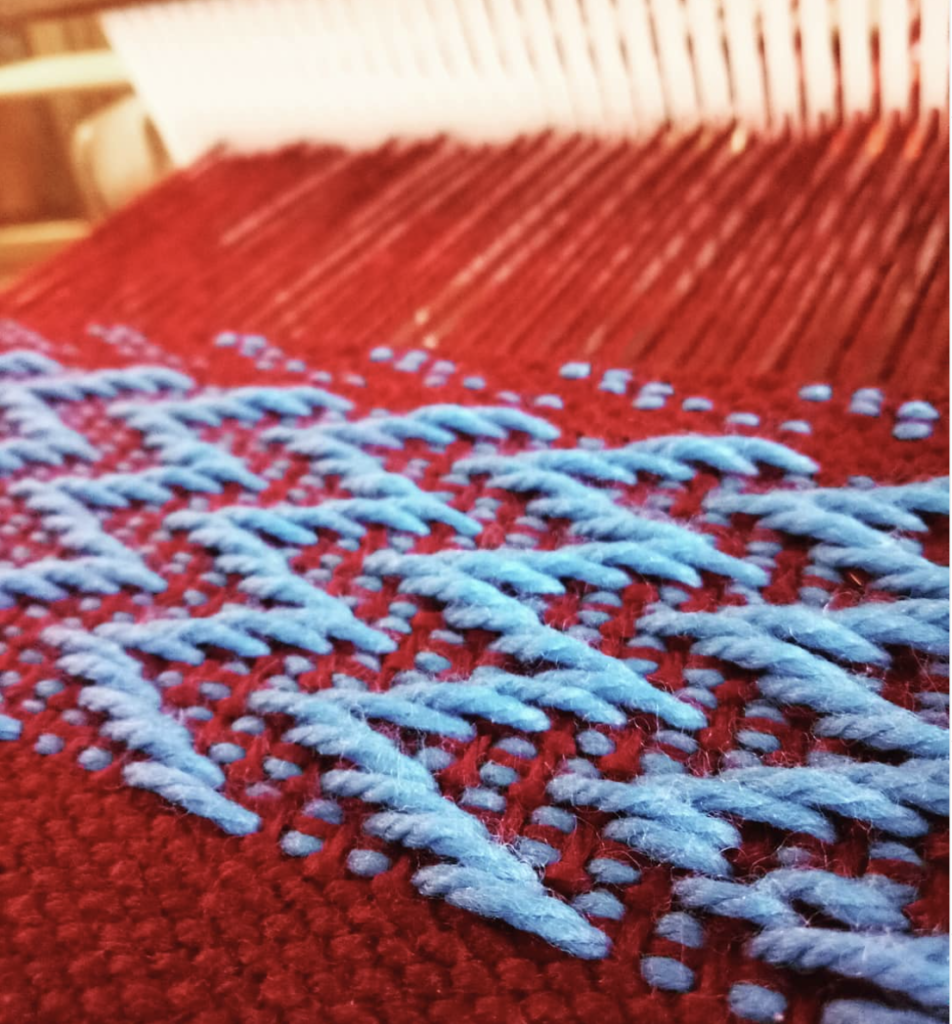
Warp faced– the warp threads are dominant in the weaving. This is not a balanced weave. A good example is inkle weaving, where most of what you see in the end weaving is the colour of the warp.
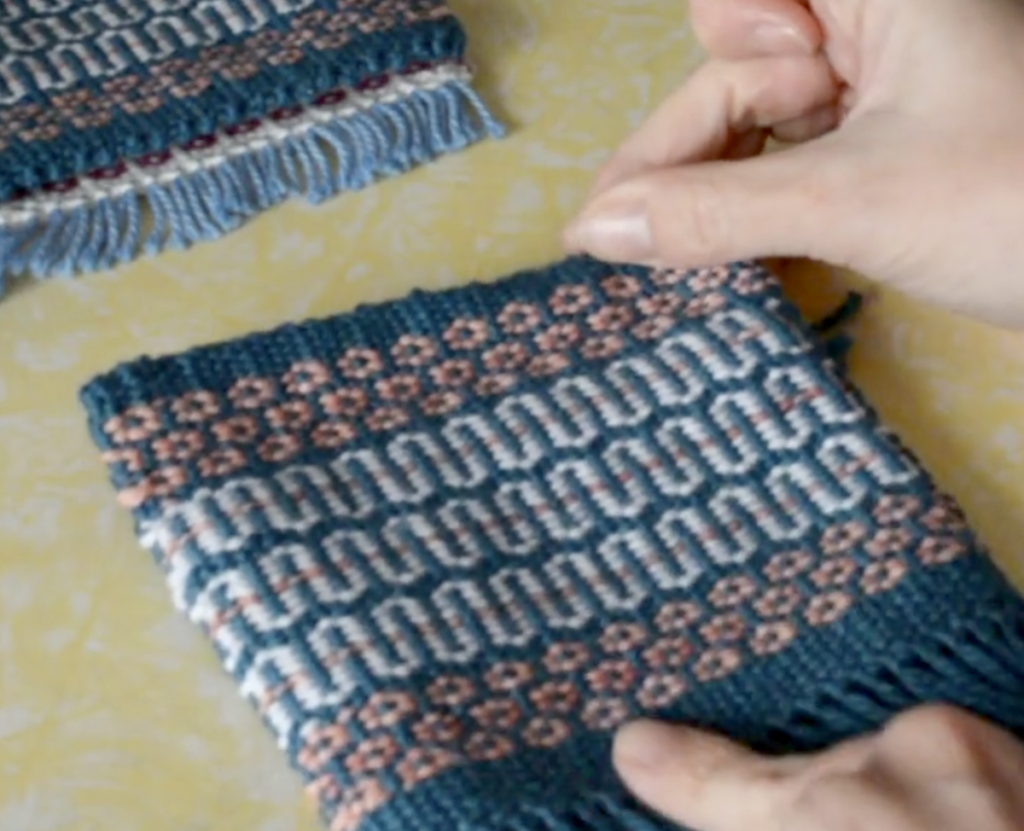
Weft faced– the weft threads are dominant in the weaving. Not a balanced weave. A good example is krokbragd.
Wet finish- The wash process at the end of the weaving that completes the project by allowing yarn to absorb water in order to bloom and settle into place.
This weaving glossary is taken from my super helpful e-booklet, The Weaver’s Toolkit.
I wrote this 22 page toolkit to provide weavers of all levels with a handy reference guide. It is beautifully designed and can be viewed on your screen or printed out.
Included in the guide are:
*Warp and weft calculations sheets
*Project record sheet
*Yarn conversion sheets
*Sett explanations
*Recommended tools
*Measurement conversion sheets
*Size guides for woven pieces
You can find the Weaver’s Toolkit in my design store for a very affordable price.
Until next time…
Happy Weaving!