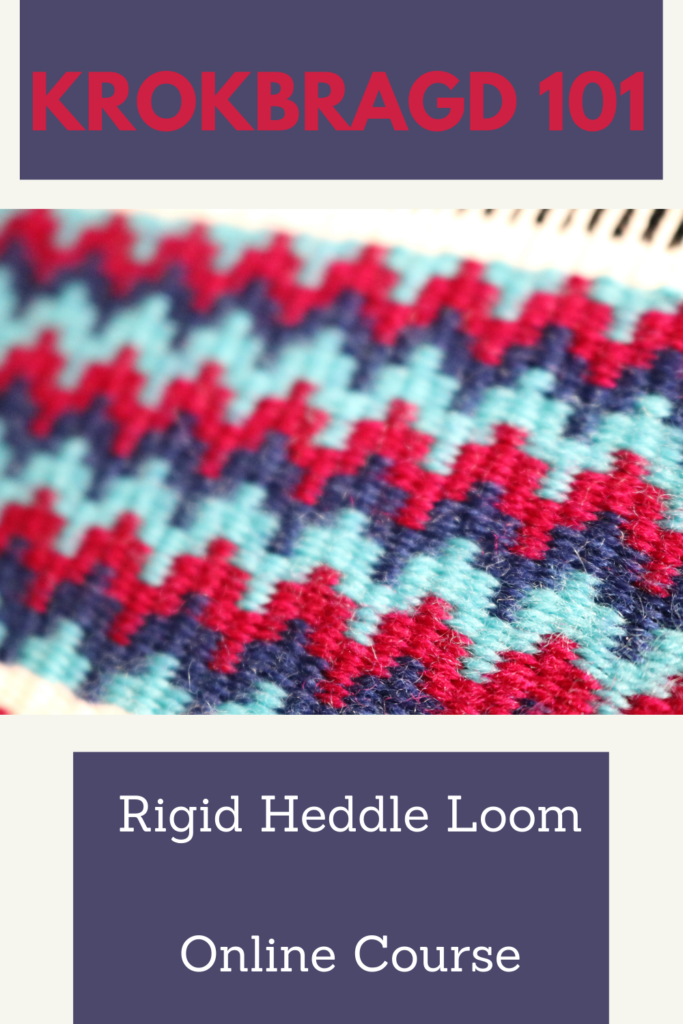
It’s been in my mind for a long time to make a complete “from start to finish” style rigid heddle krokbragd class to add to my Online Weaving School.
My krokbragd videos on Youtube are some of my most popular videos, but many of you have asked me for more. Considering krokbragd is one of my favourite weave structures, I am more than happy to oblige!
*This post contains affiliate links. Please see my disclosure policy for further information.
My aim for this course is to introduce newer weavers to this fabulous weave structure, but also to help more seasoned weavers learn and enjoy weaving krokbragd. I provide two different loom set ups to accommodate for personal preferences, for the equipment you may have on hand and as an additional learning experience.
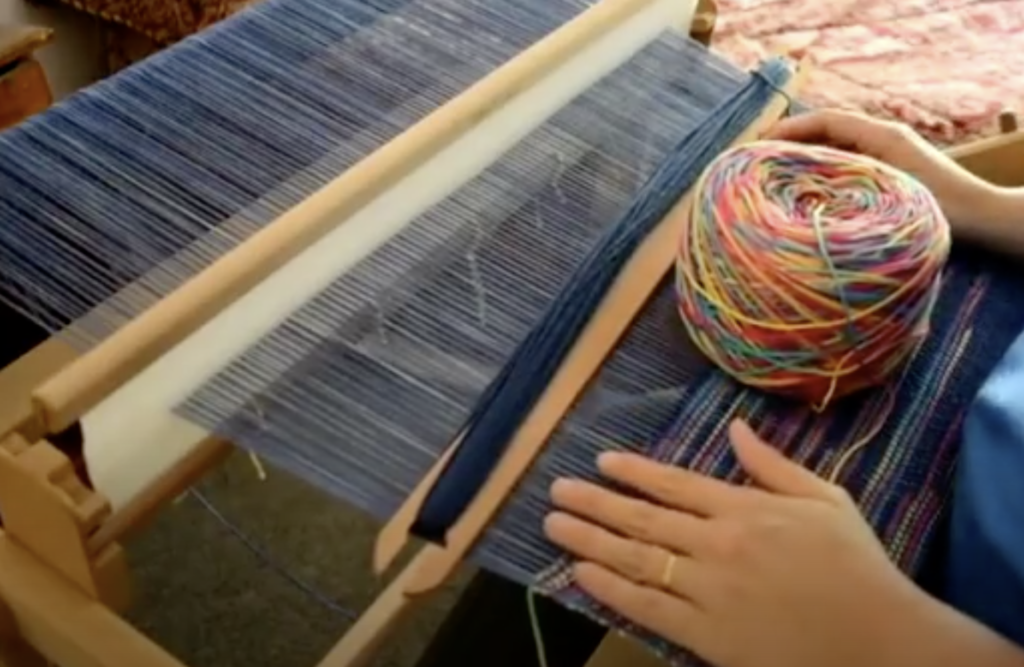
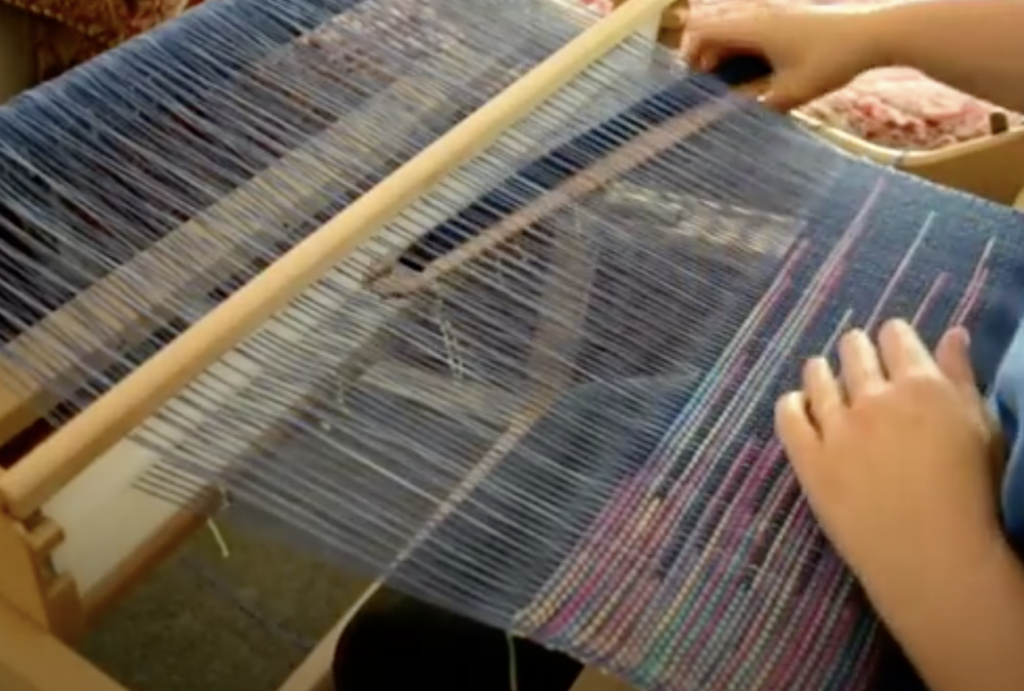
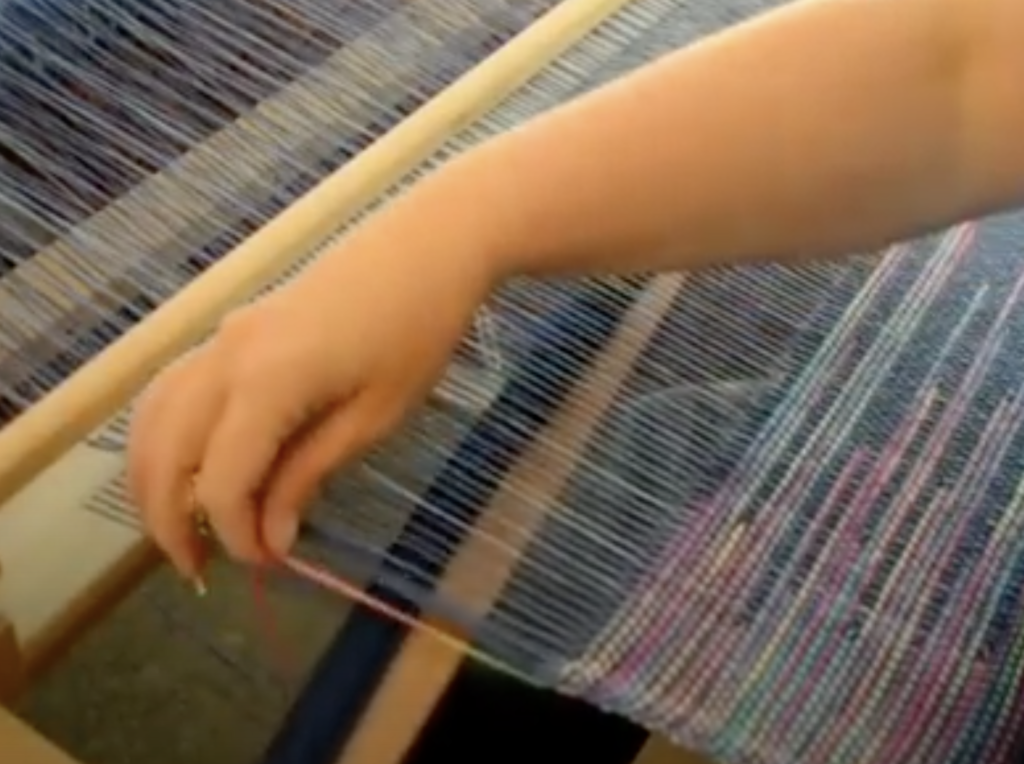
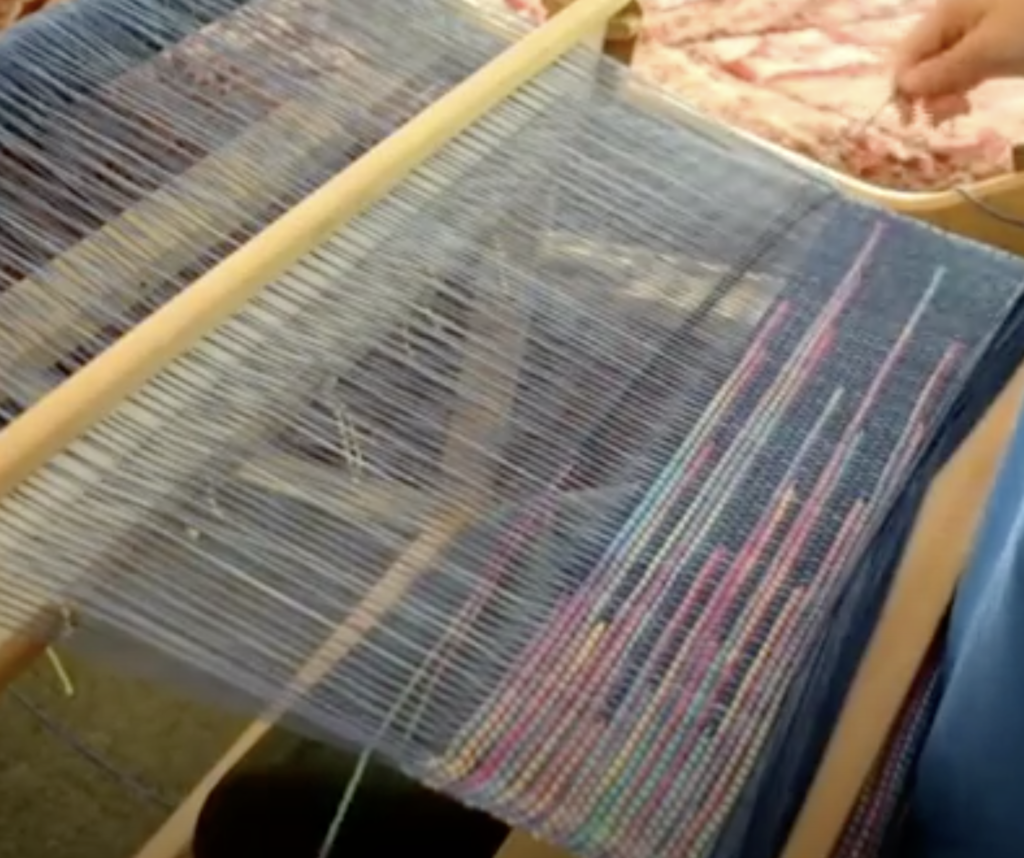
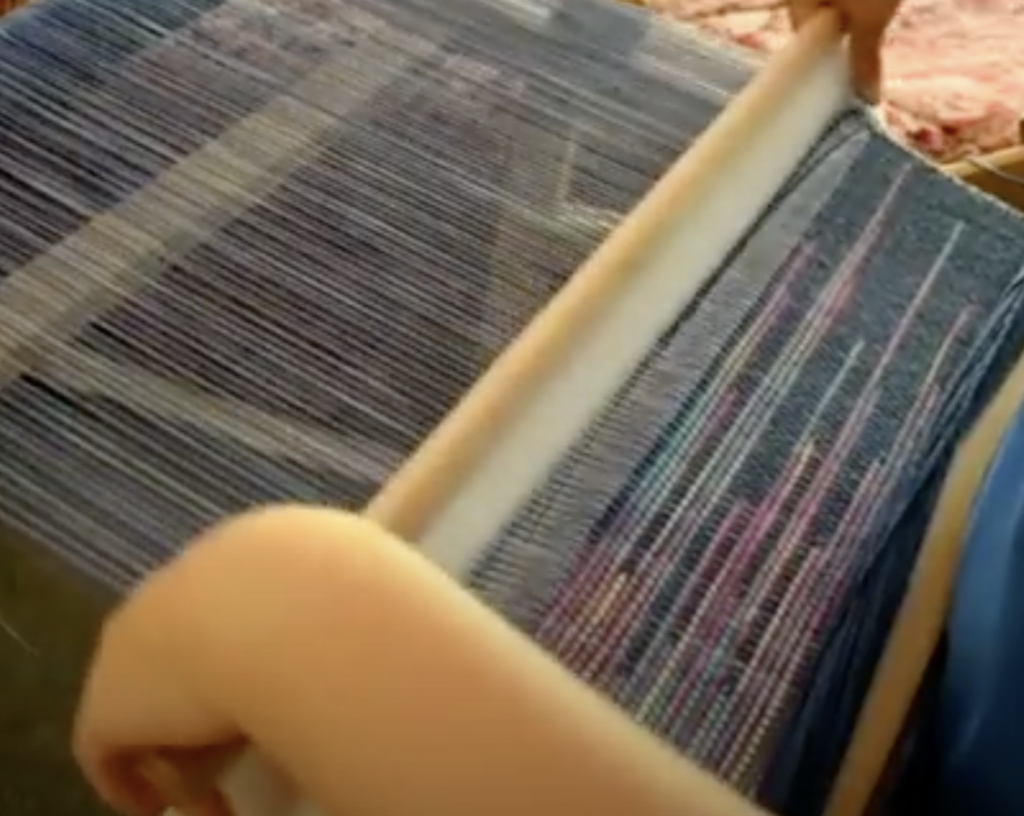
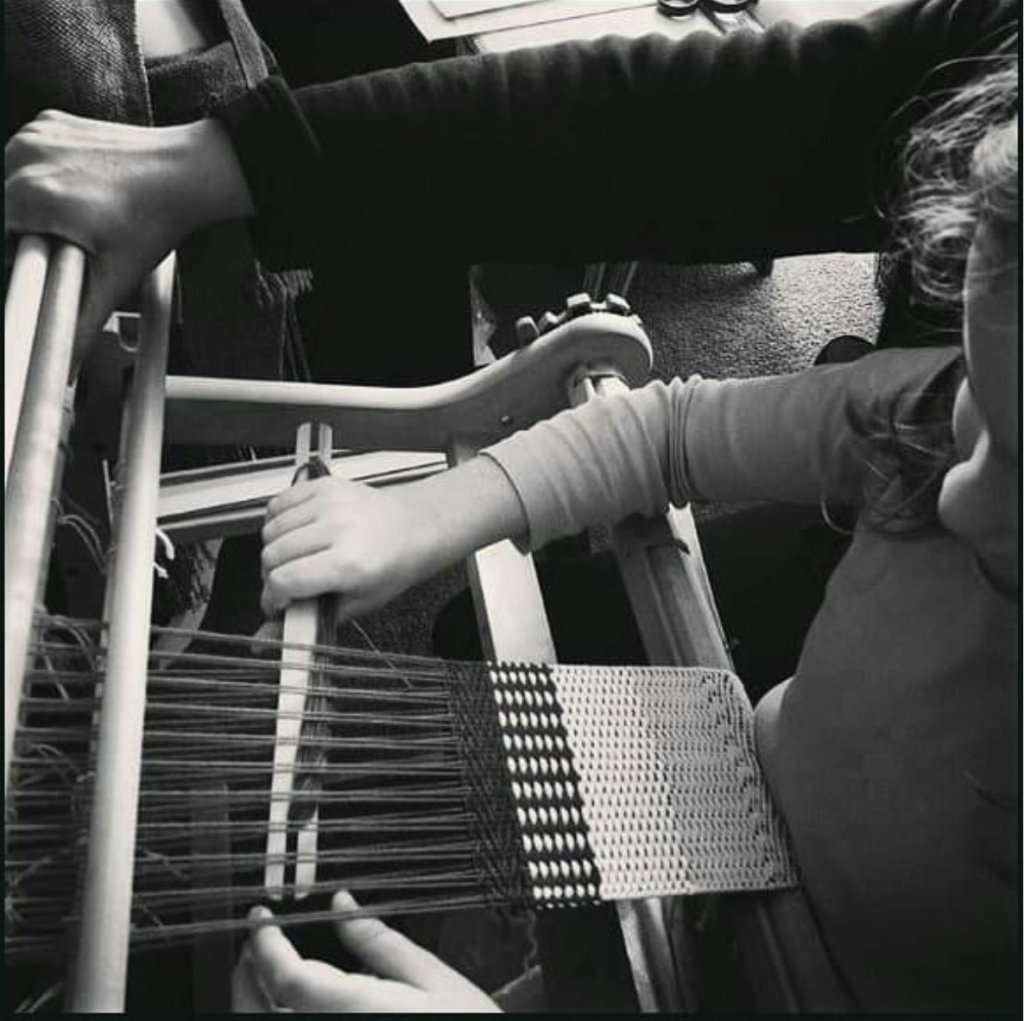
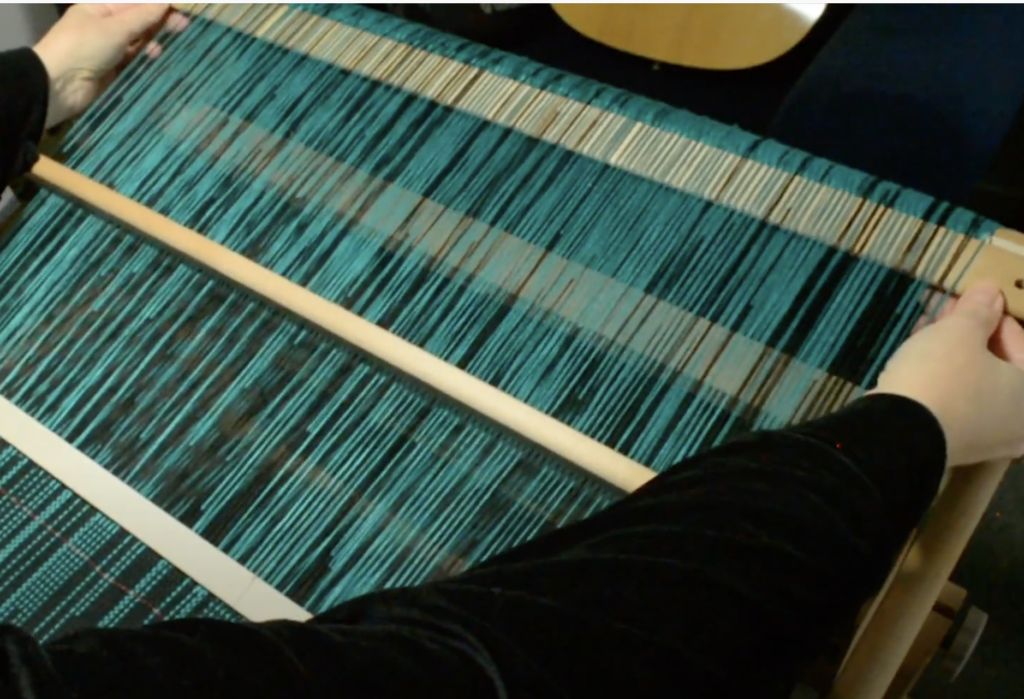
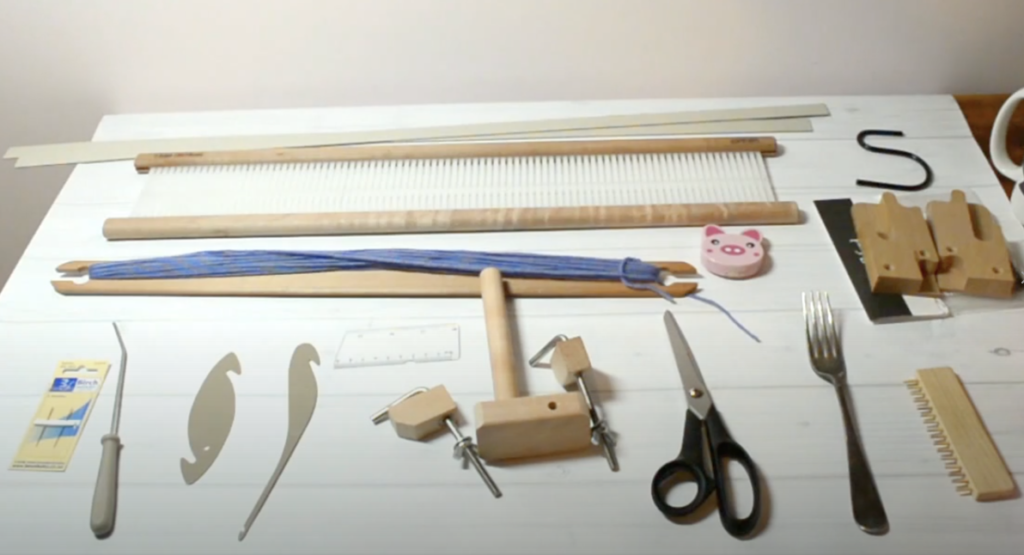
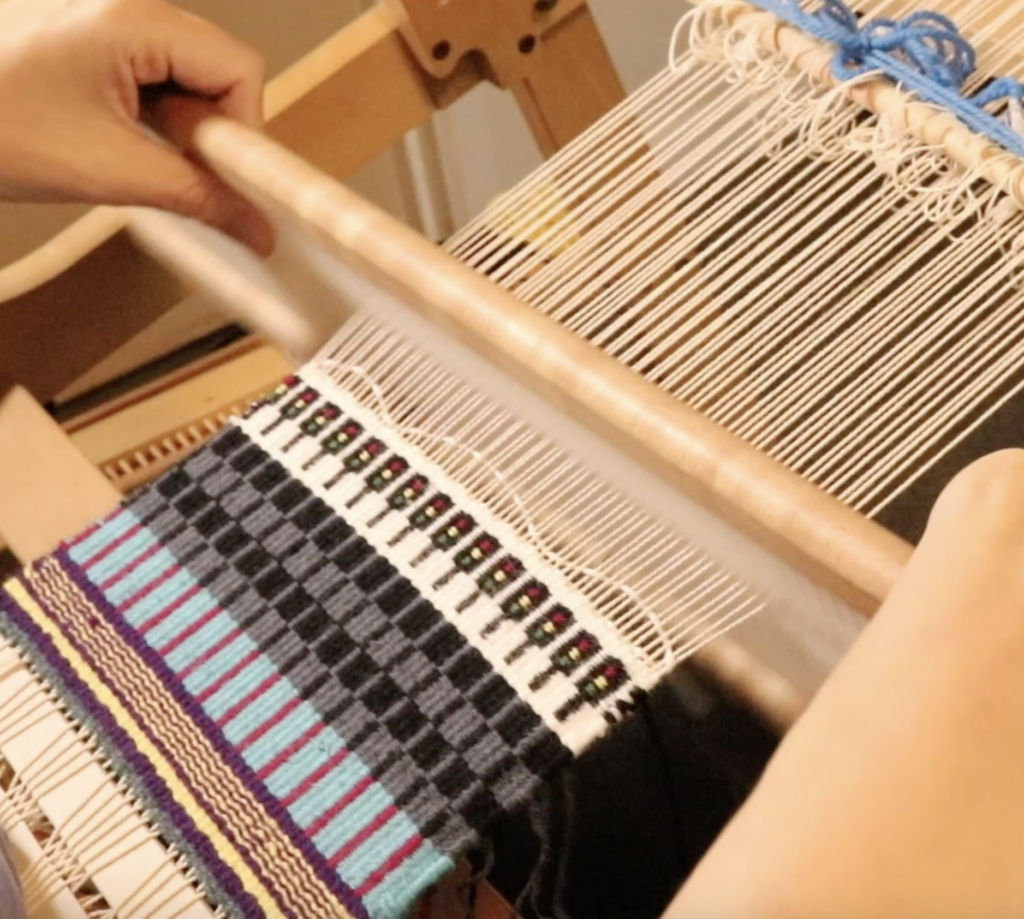
The first section is a sampler woven with a single heddle, a pick up stick and a heddle rod. This is how you will see me weaving krokbragd in my Youtube videos.
The second section is the exact same sampler, but woven using two heddles of the same size.
The student can choose to either weave the sampler twice, practicing both methods of setting up the loom, or weaving the sampler once, choosing the set up method they prefer.
Whichever set up method you choose, step by step instructions are provided.
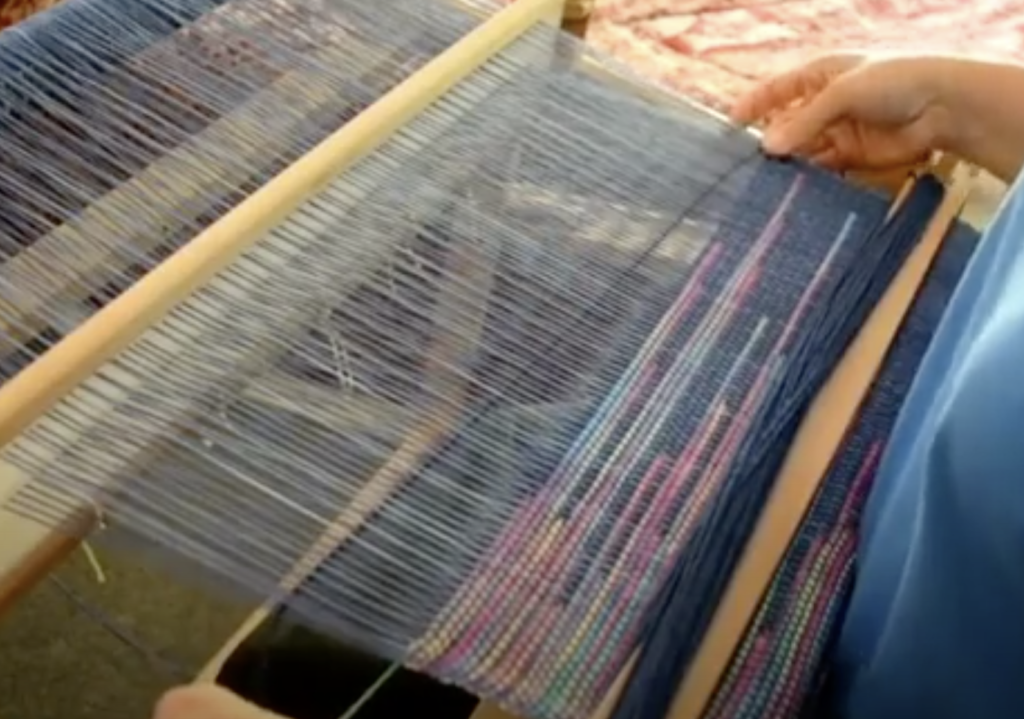
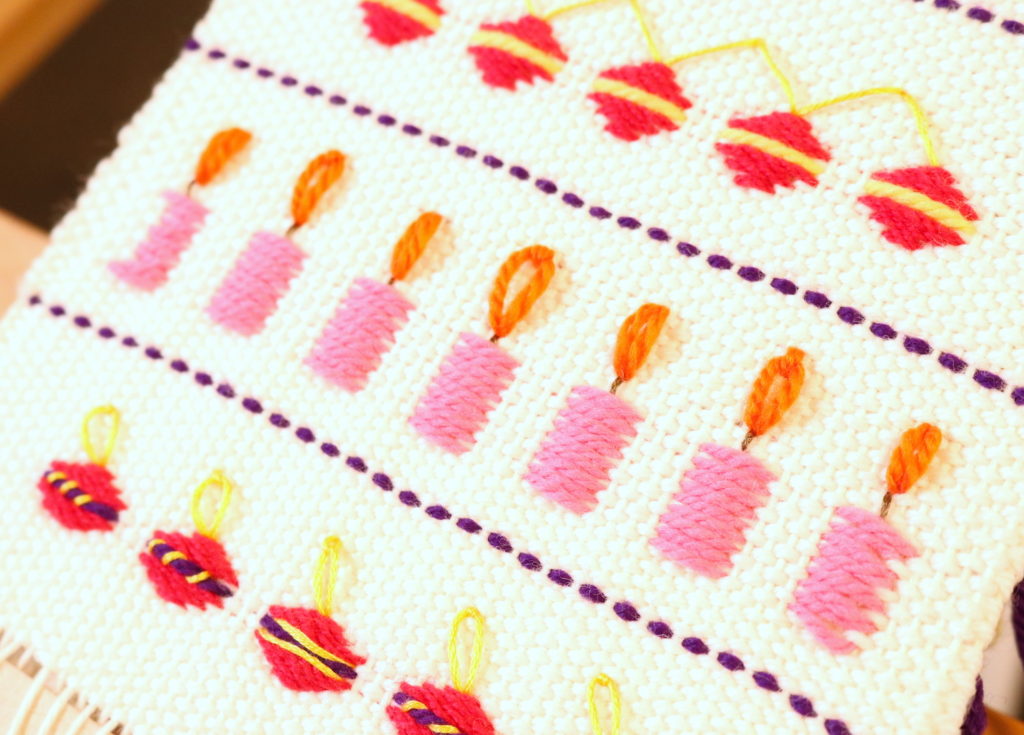
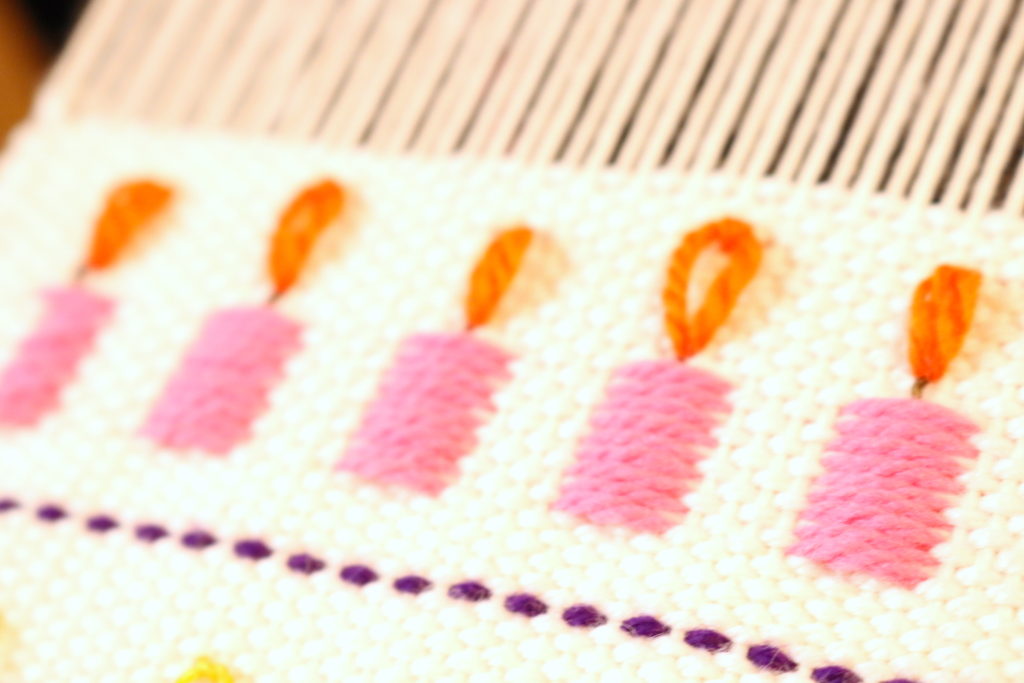
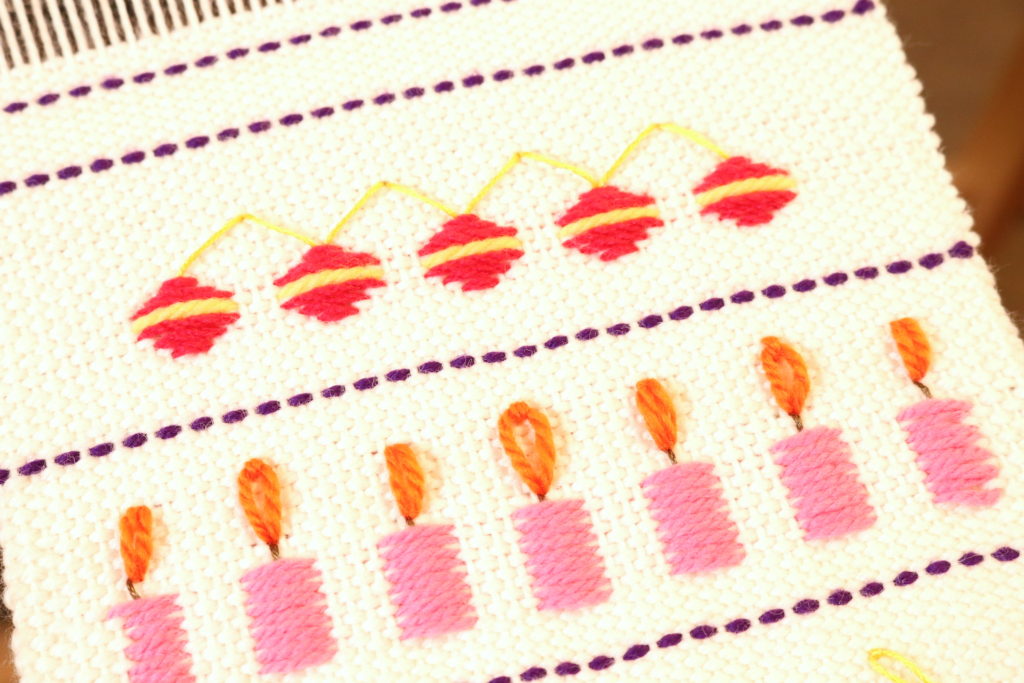
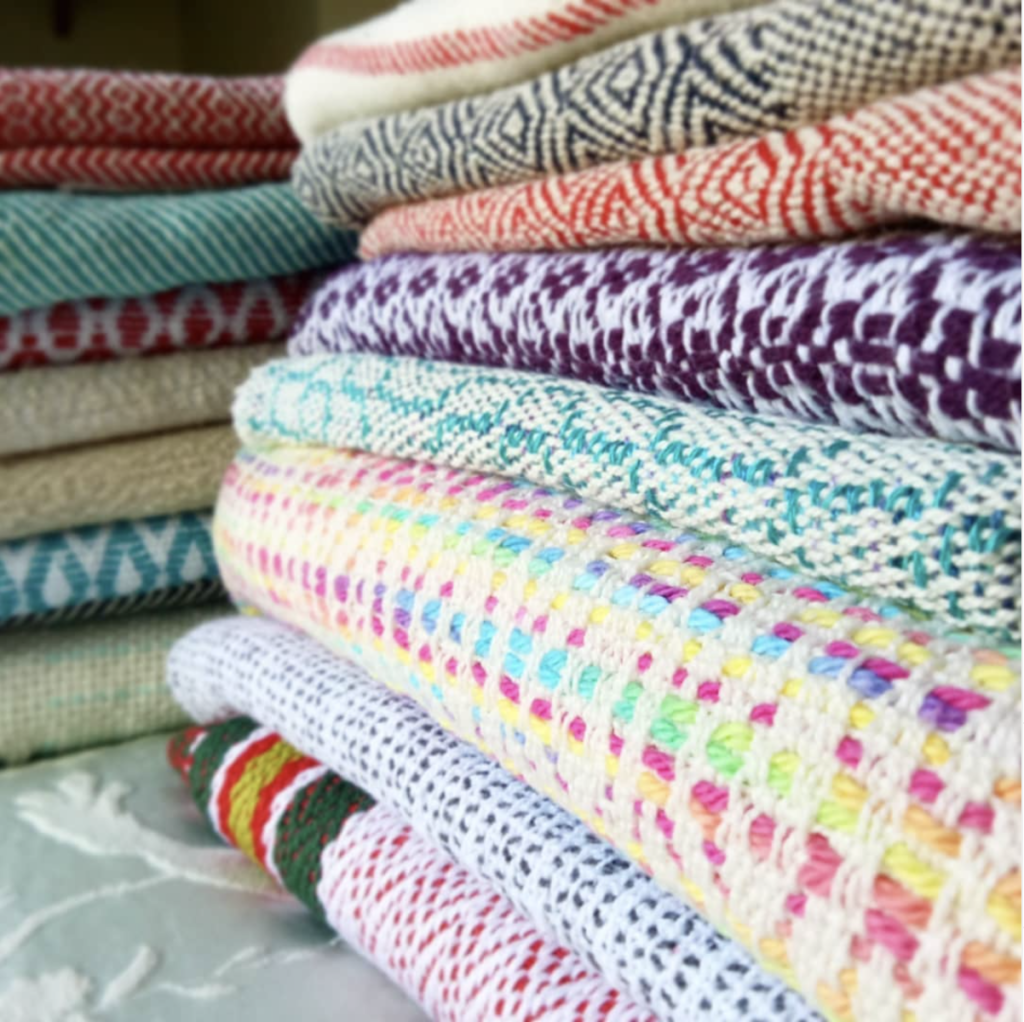
In the sampler we learn to weave some really fun and beautiful designs, including:
- Columns
- Squares
- Stripes
- Flowers
- Flame point, and even
- Traffic lights!
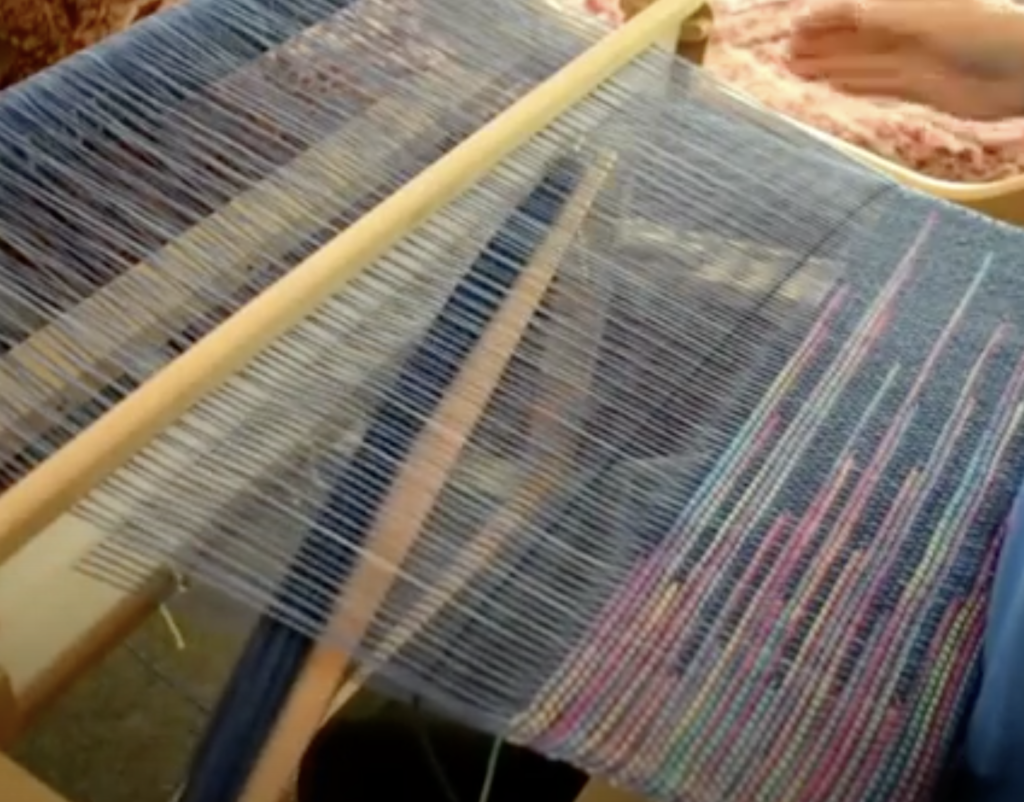
You then have the space and freedom to practice these designs on the same warp or to try some of your own designs!
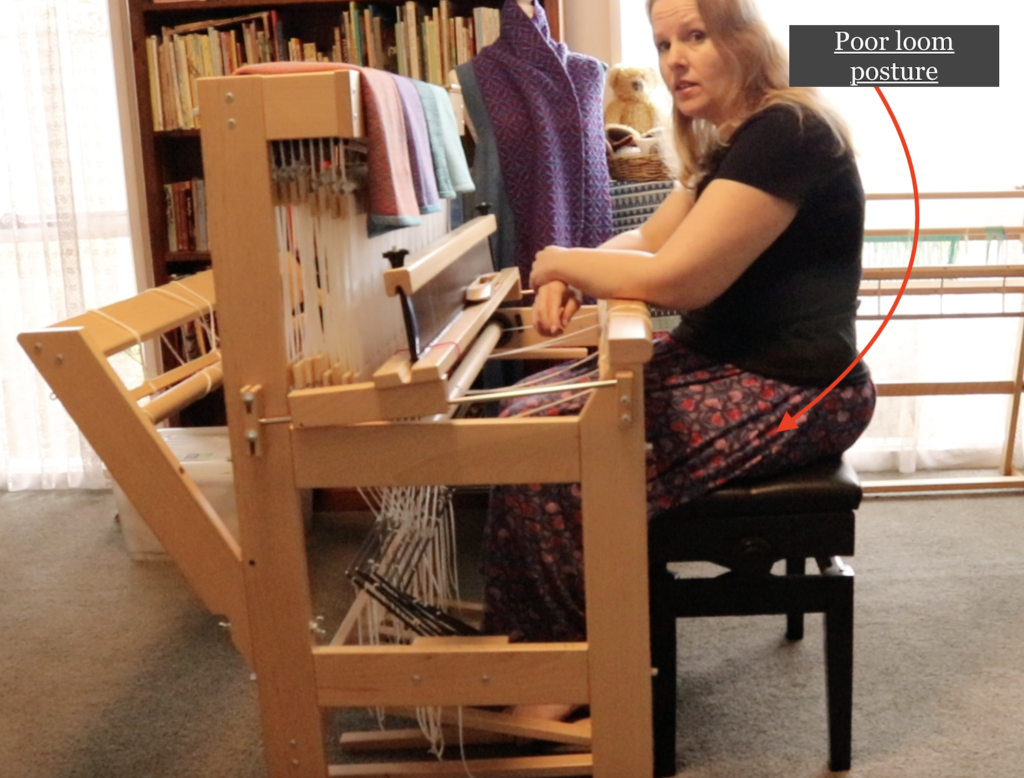
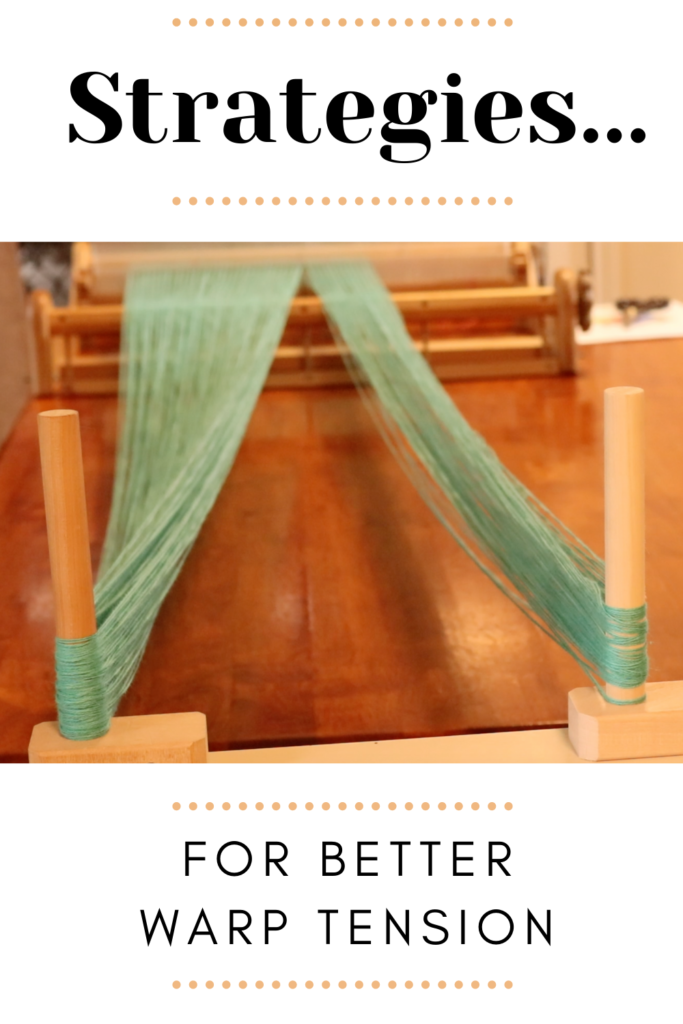
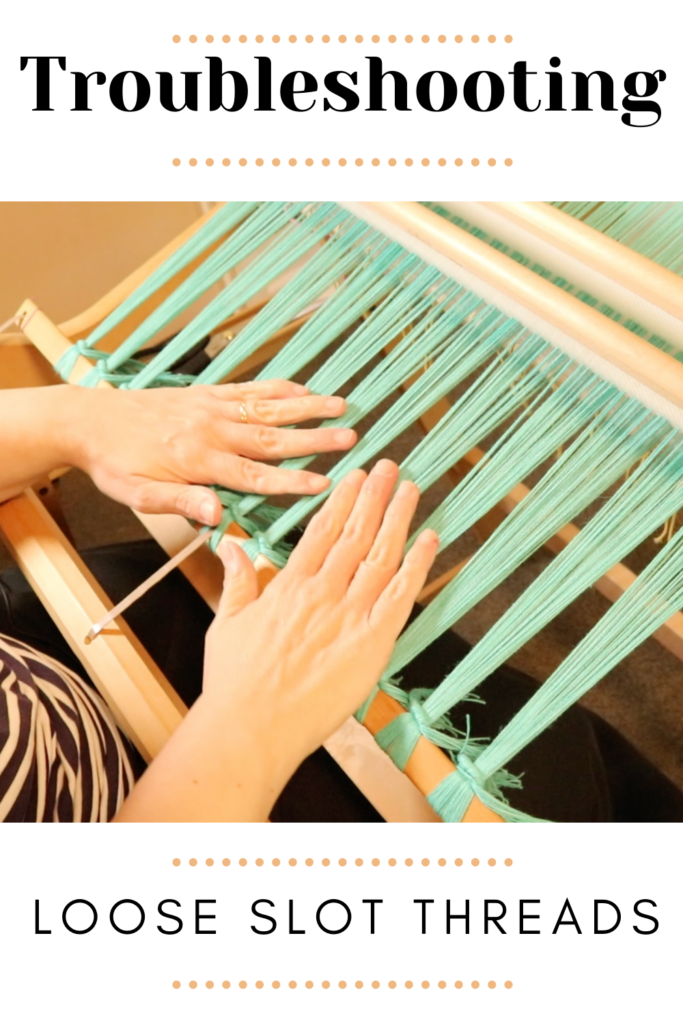
In this course we will be looking at common krokbragd issues like beating tension, appropriate yarns, colour and neat selvedges.
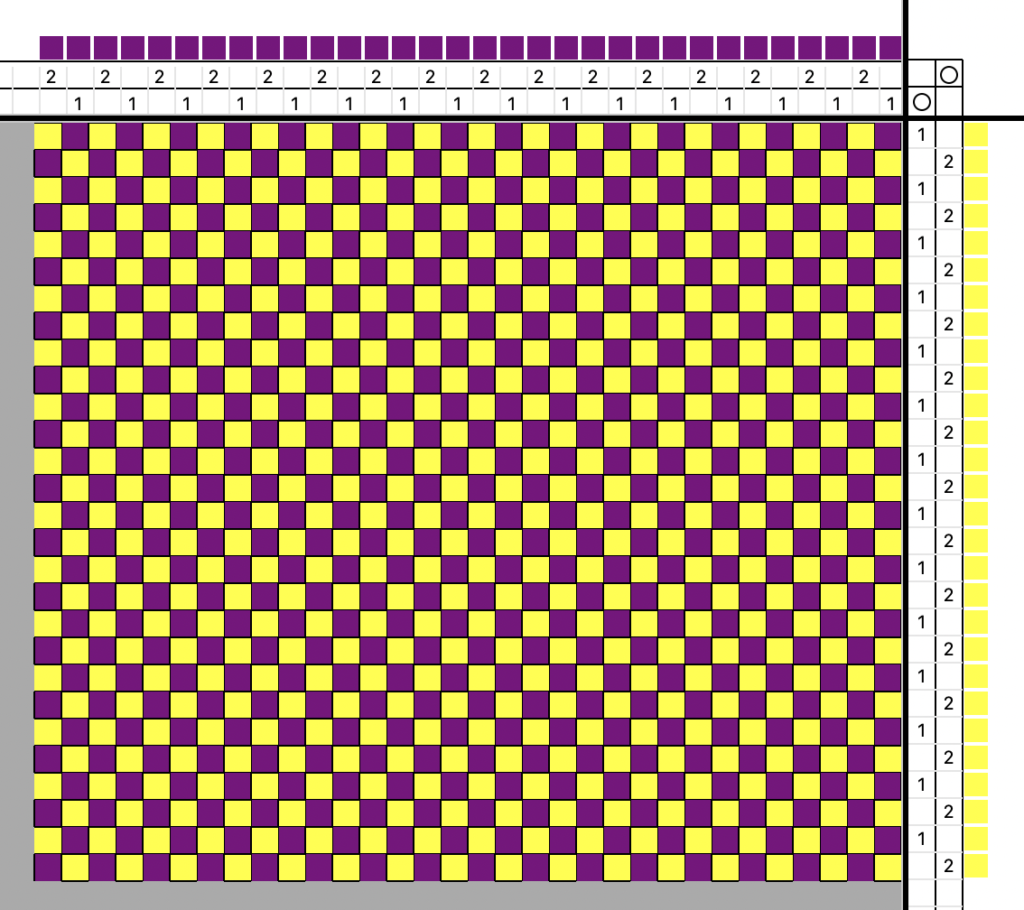
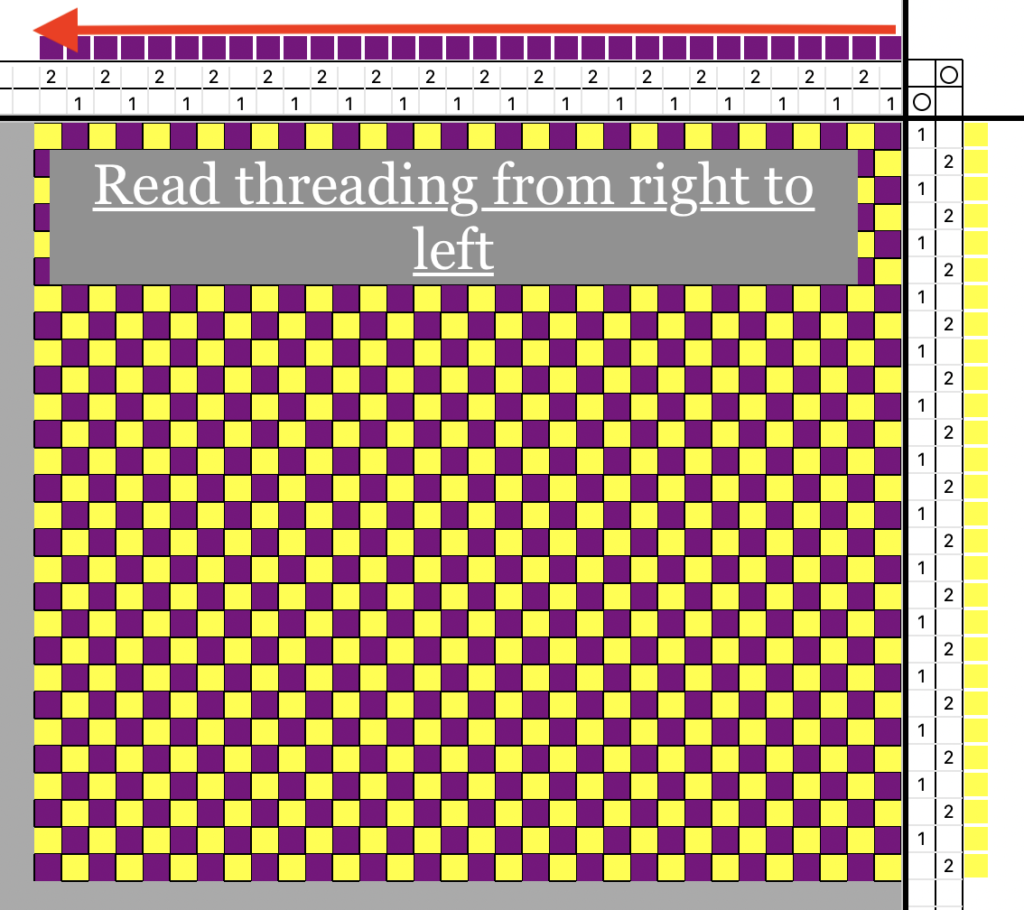
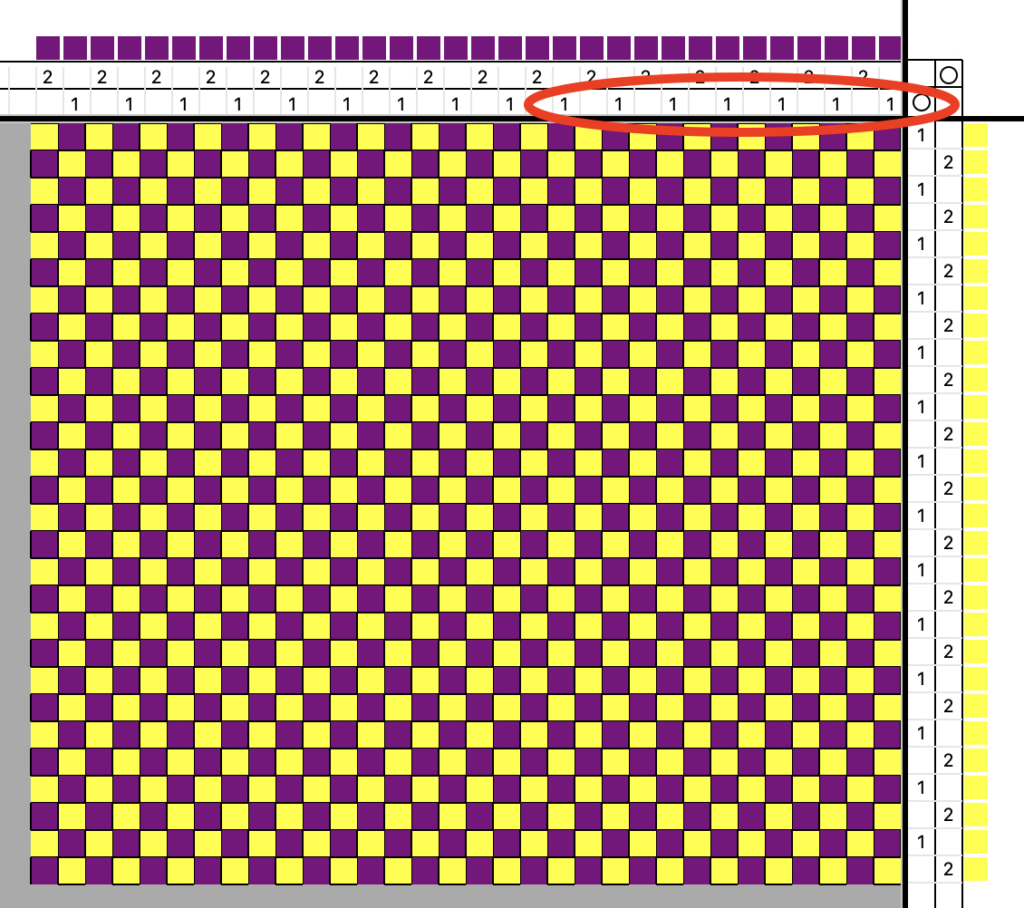
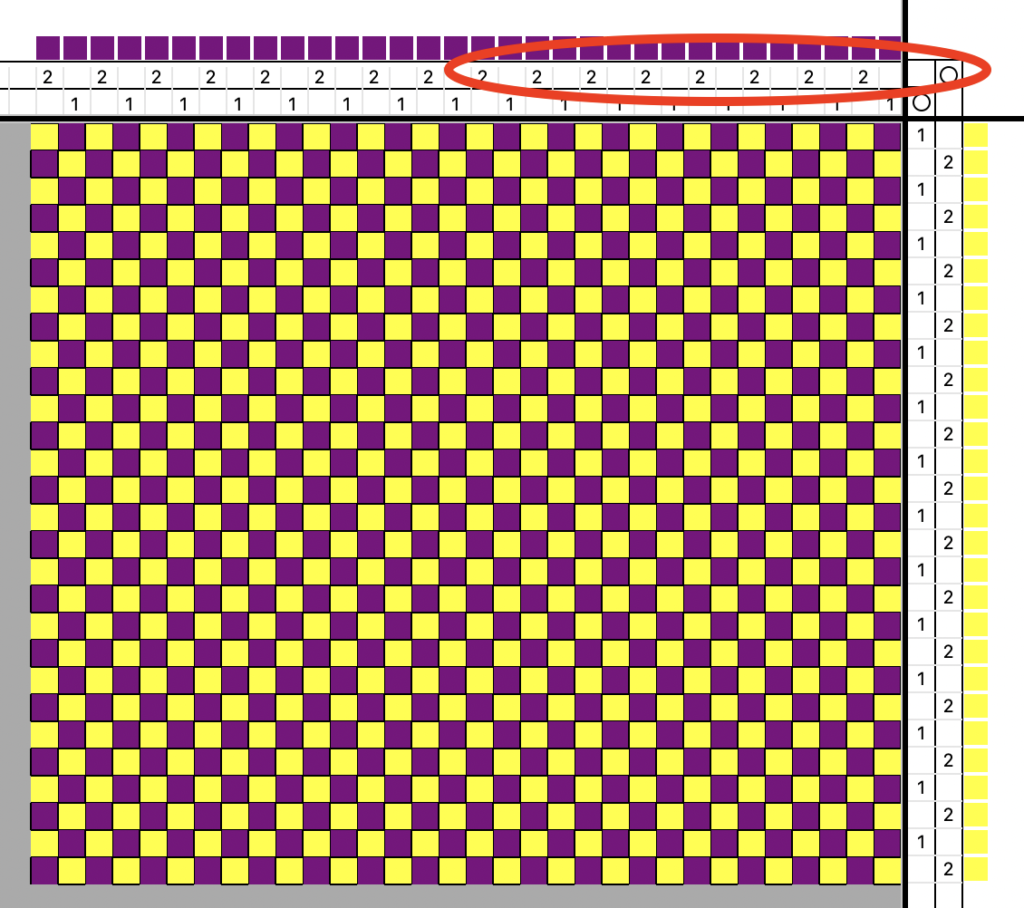
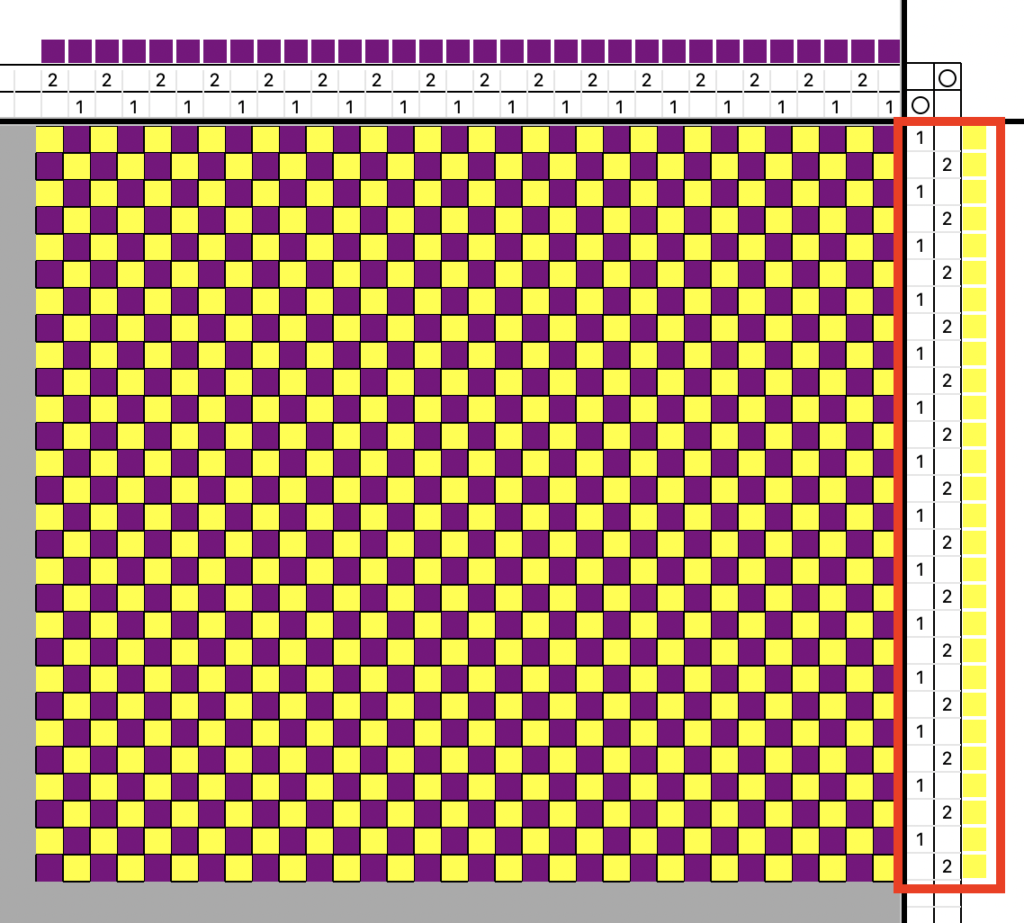
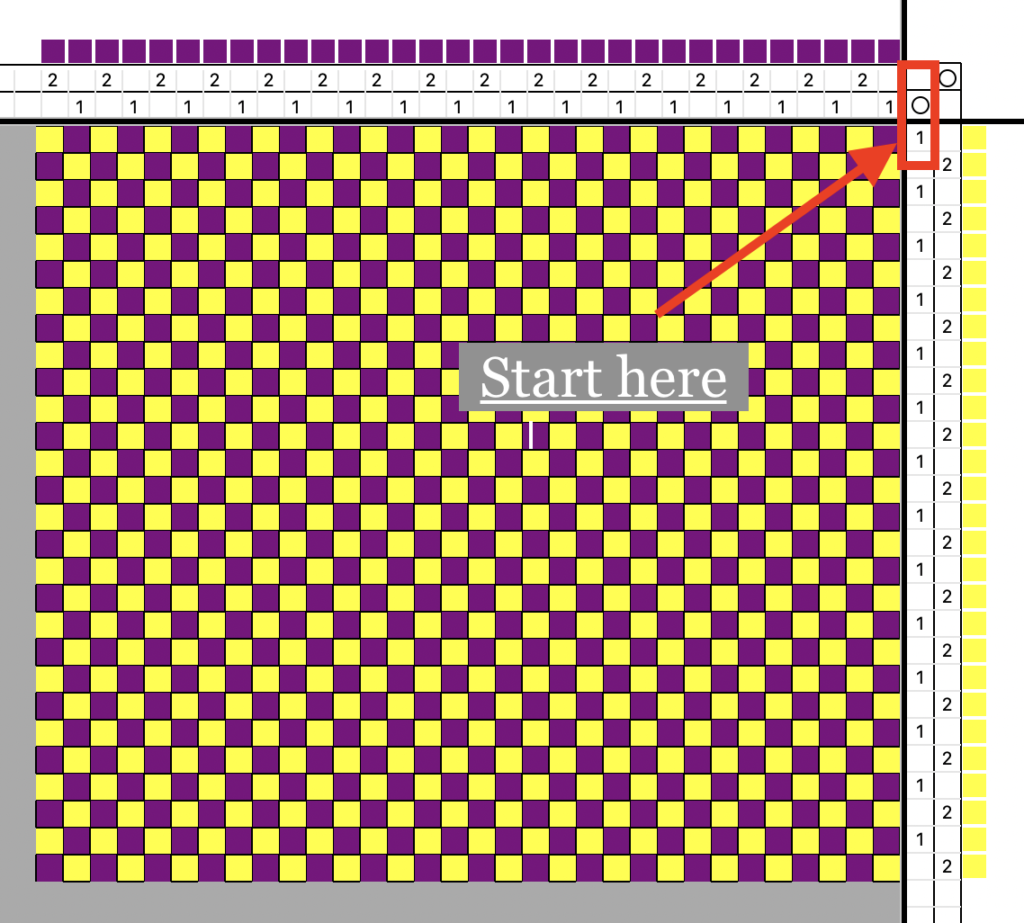
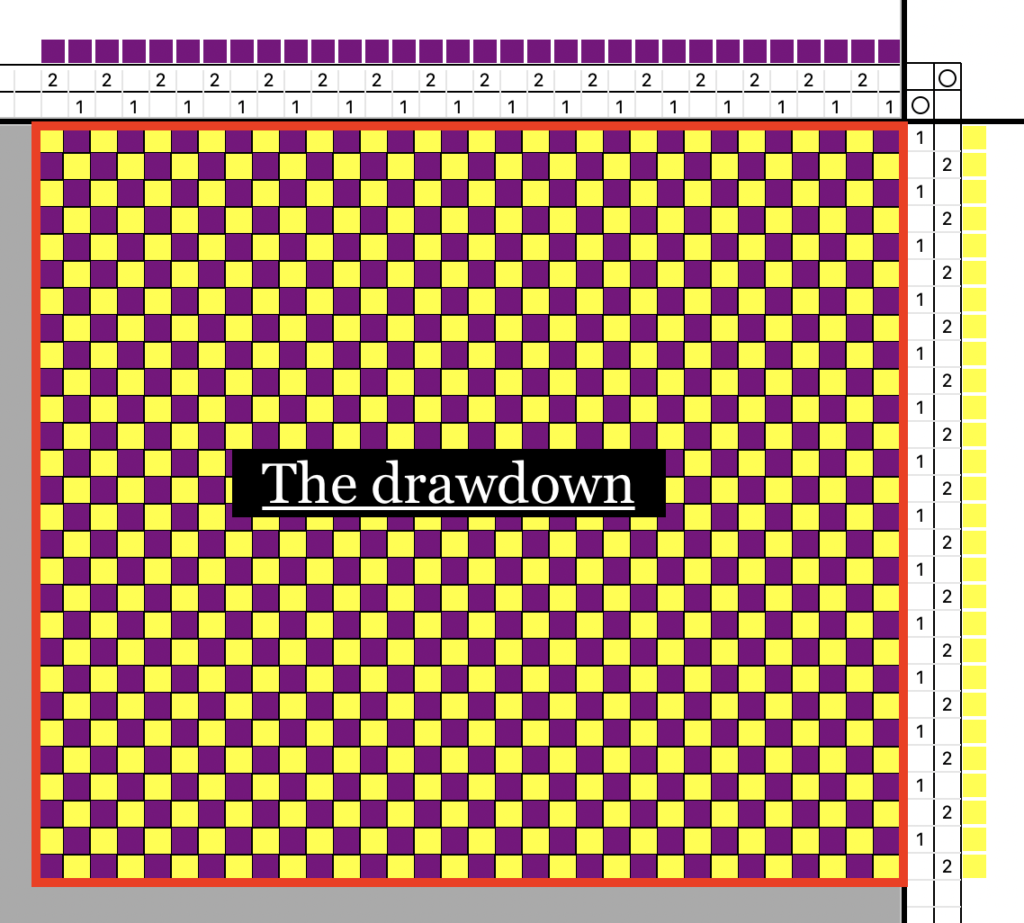
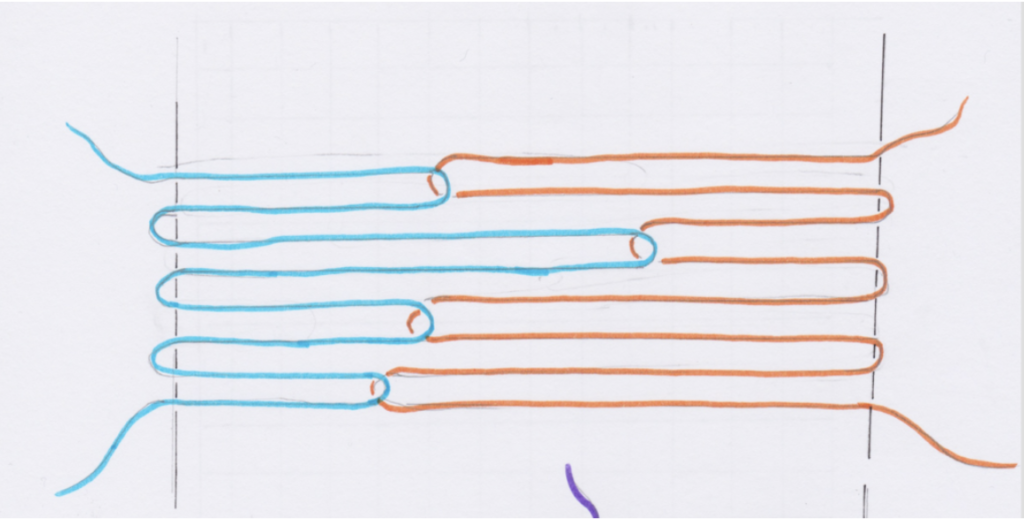
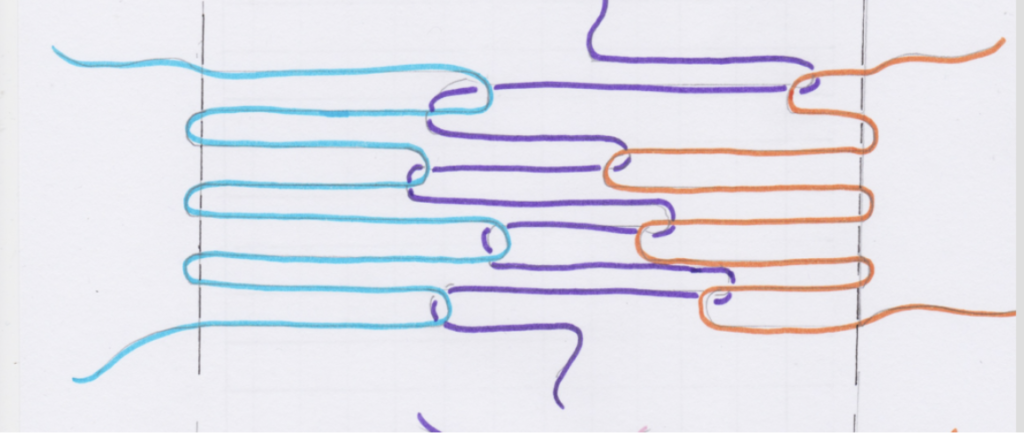
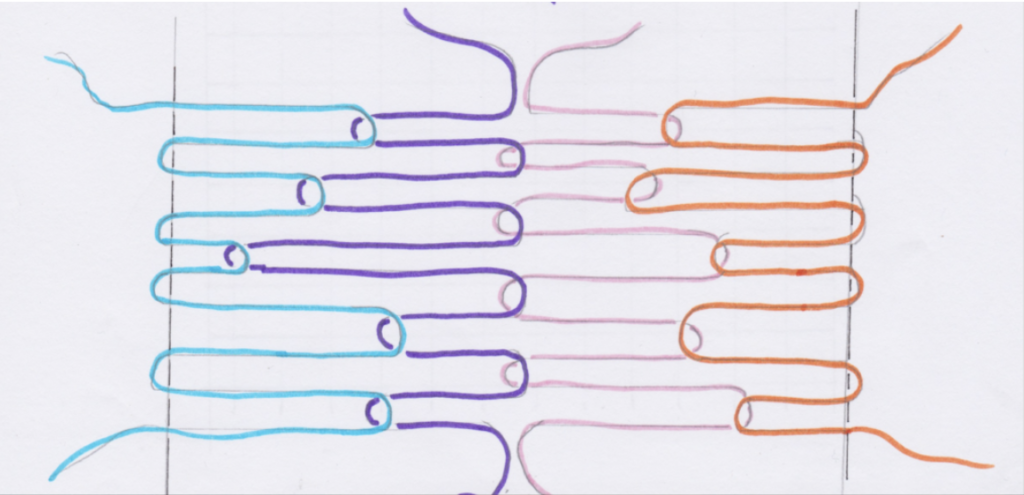
There will be additional visual threading diagrams as well as the video demonstrations.
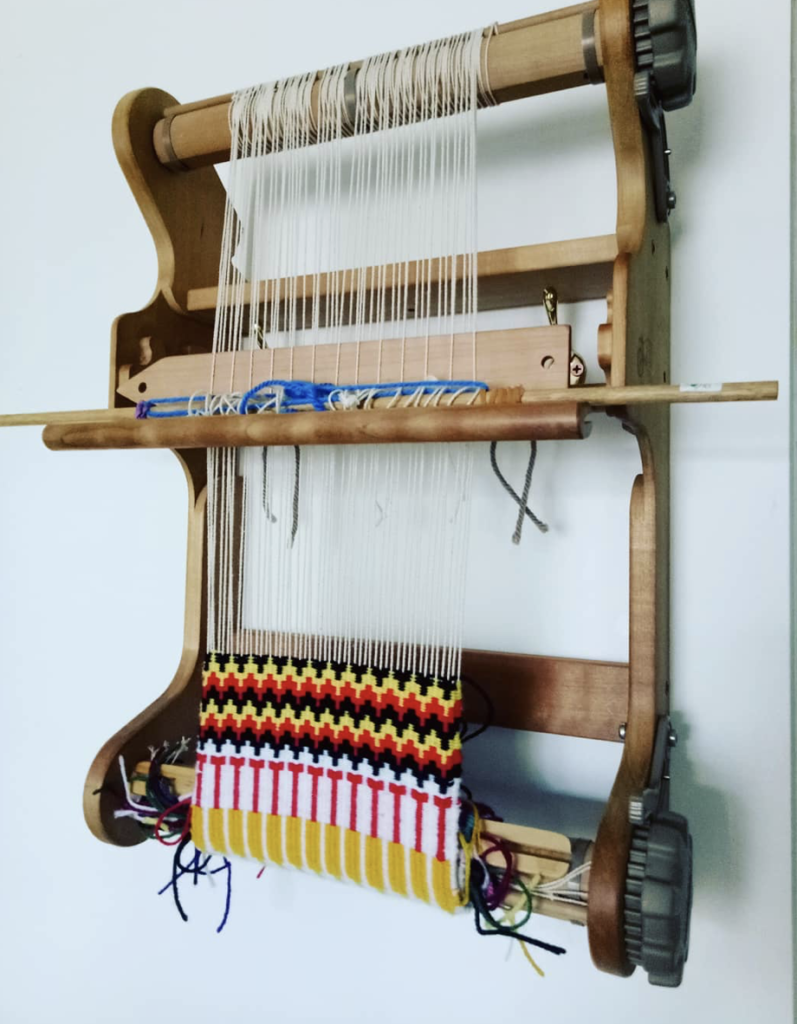
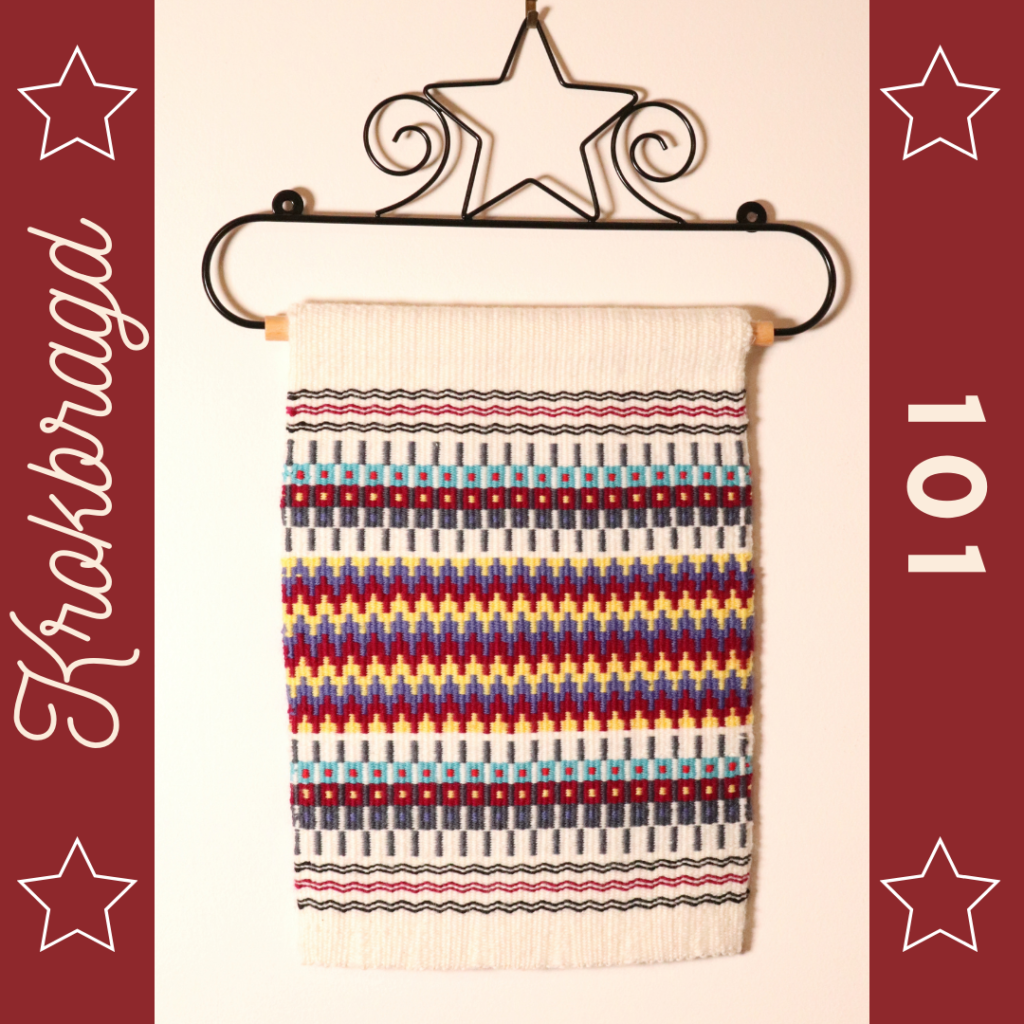
The course culminates in a final project which will be a beautiful, one of a kind wall hanging. I have always wanted to weave a krokbragd wall hanging as an artistic feature for my home and I can’t wait to share this project with all of you!
Krokbragd is so fun, relaxing and rewarding, I just know you are going to LOVE this course!
Gold members of the Online Weaving School have early access to the course as it is being made and uploaded. If you are a Gold member, go to your curriculum list and look for “Krokbragd 101” under “K”. Alternatively, click here for the direct link.
This course will become available to other members upon the release date. It will also be available for single, non member purchase.
This class is now open and can be purchased here.
If you are interested in krokbragd and want to know more prior to the course opening, I have a lot of free resources for you! Start with this post for more information.
Until next time…
Happy Weaving!