Achieving even warp tension on your loom can feel like one of the biggest challenges in weaving – especially when working on a rigid heddle loom. Uneven warp tension can lead to messy looking selvedges, inconsistent beat, floats or skips and frustration during weaving.
While careful warping technique improves with practice, even experienced weavers can run into warp tension problems.
In this article, I’ll show you how to improve warp tension using a simple technique called targeted wedging. This practical method can help you correct uneven tension on the loom without re-warping your entire project.
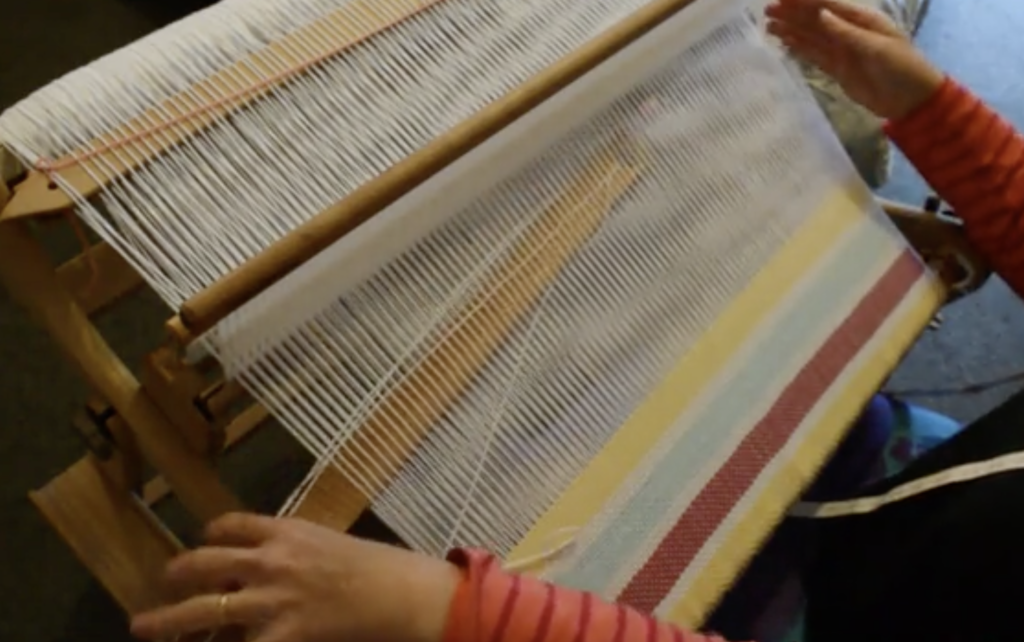
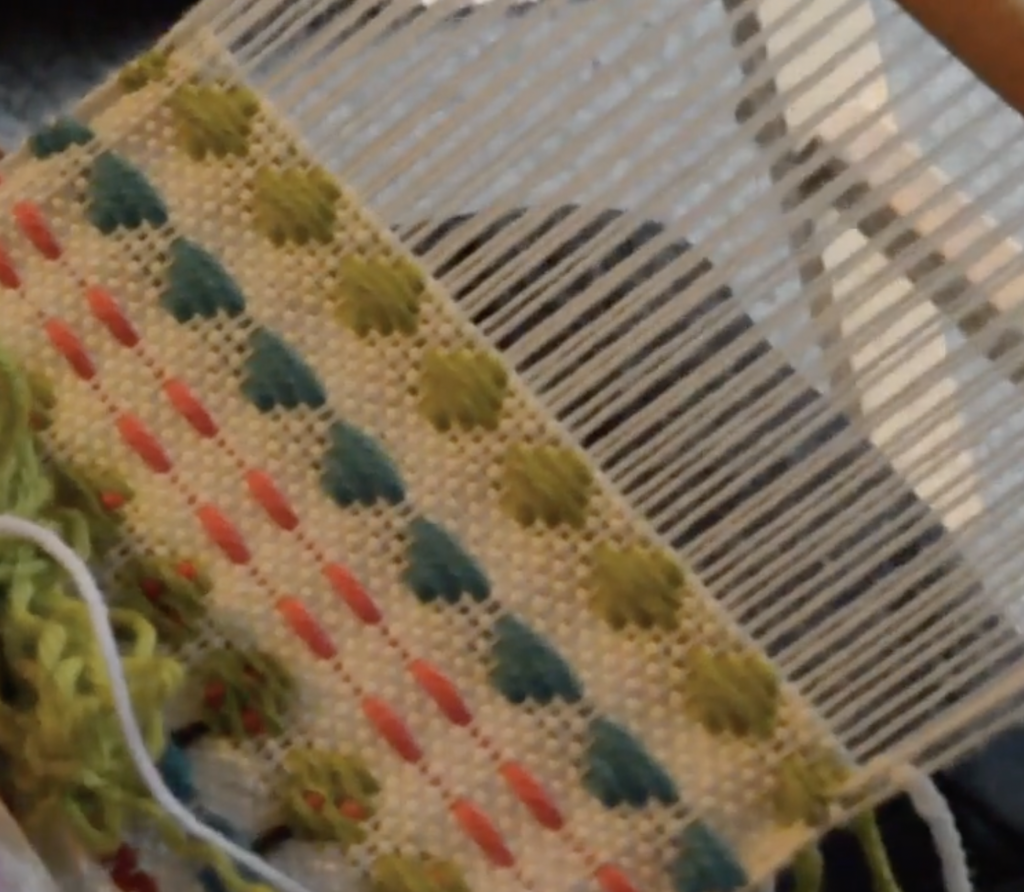
Even for the seasoned weaver, there can be the occasional curve ball just to keep us humble 😆 For me, that was a recent double width project on my rigid heddle loom.

*This post contains affiliate links. For further information, see my disclosure policy.
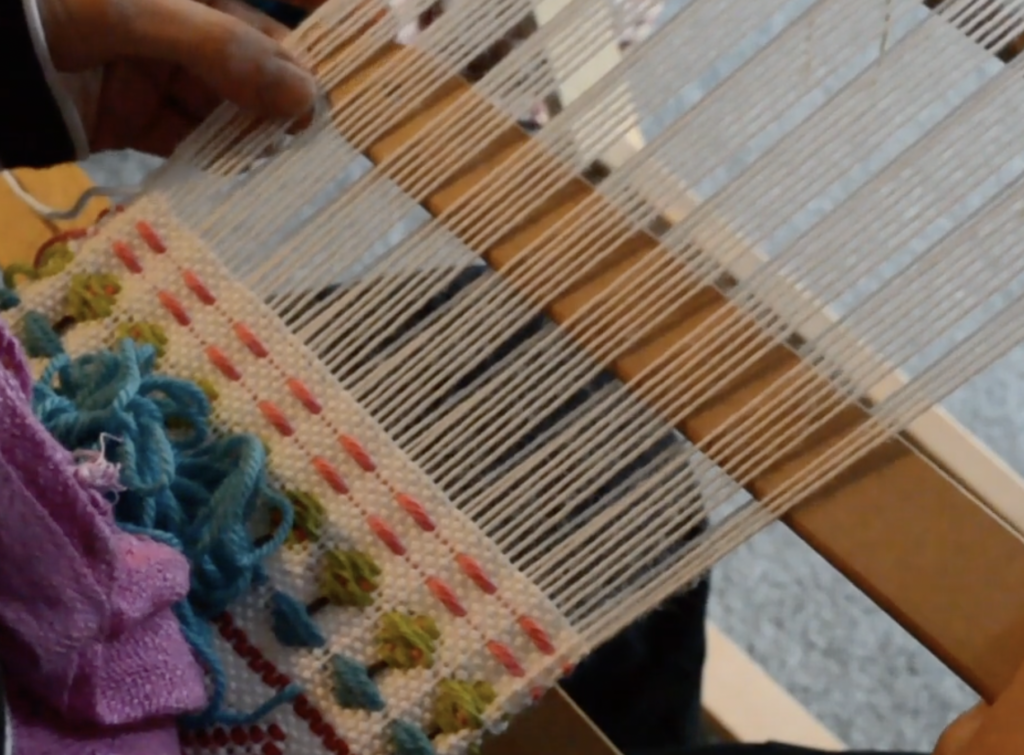
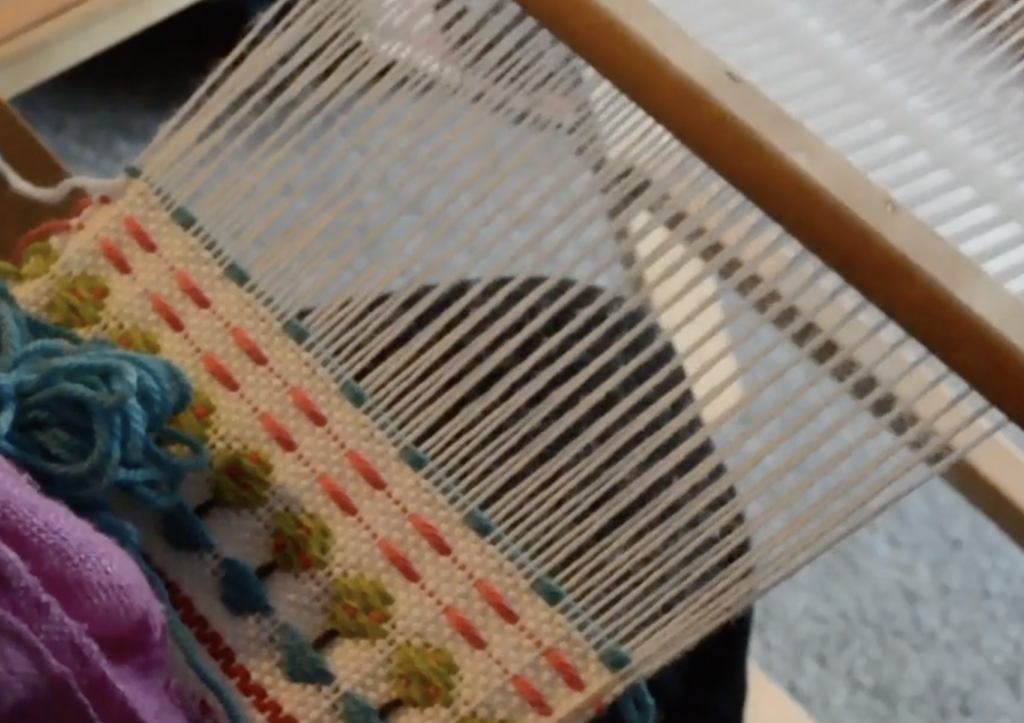
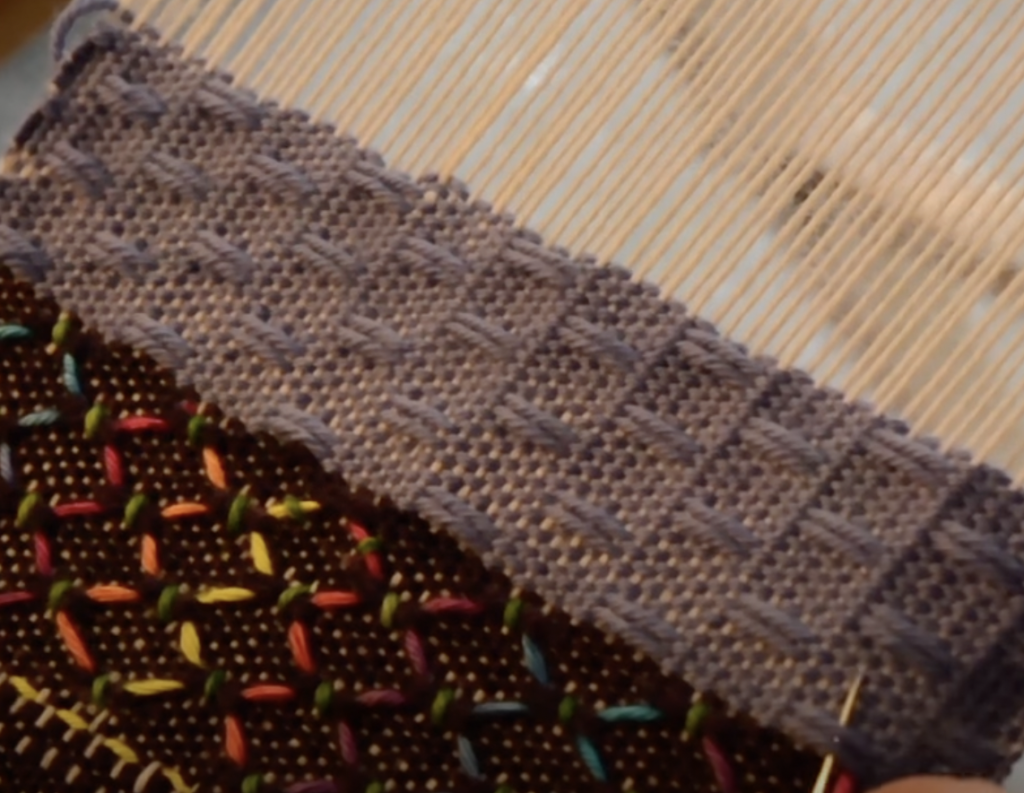
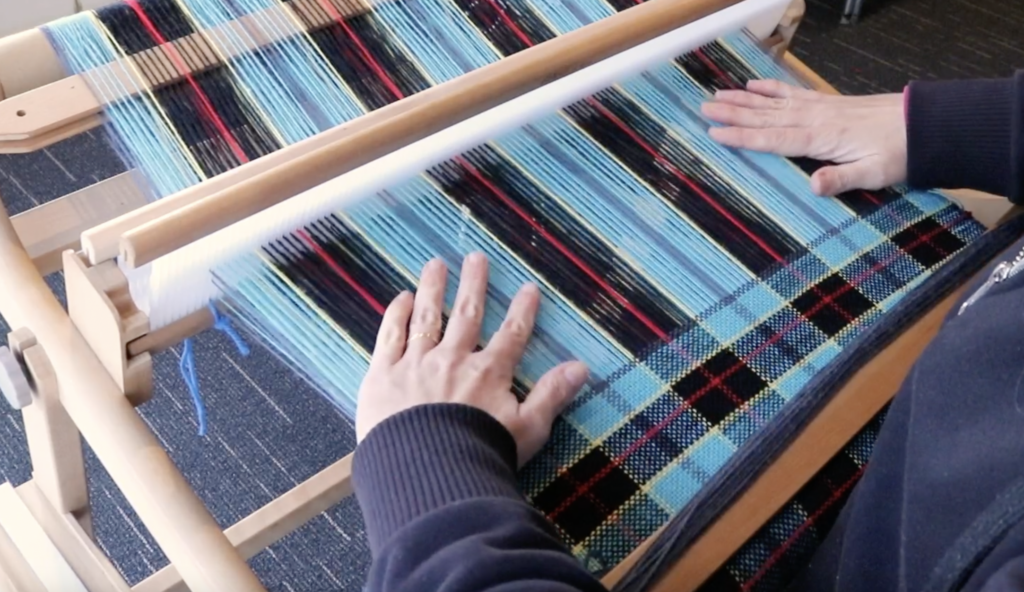
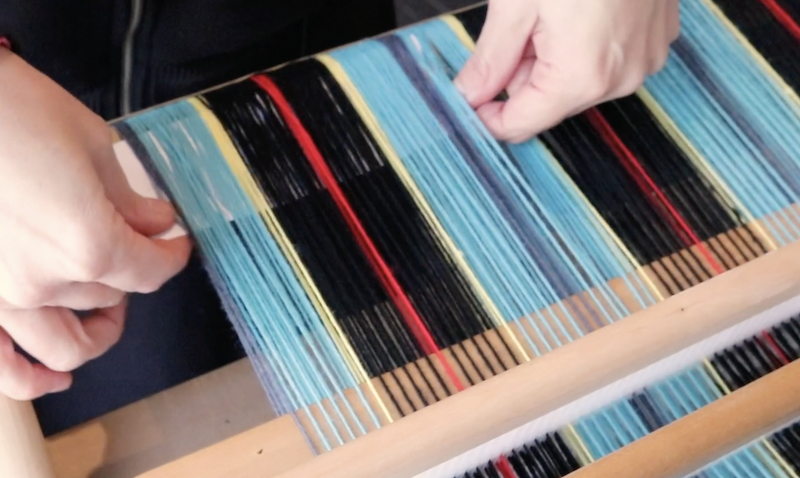
I warped independently, which is do-able but not 100% ideal when you’re using thicker threads and those threads are doubled. When I started weaving, I found that my tension was firmer in the middle than on either side.
This began interfering with the “cleanness” of my sheds, meaning that not all my warp threads were settling into position well when I changed sheds. And for double width weaving, that can be a huge headache!
What Is Wedging?
I’ve covered wedging before, as you can see in this video:
But I also wanted to get a bit more specific about wedging problem areas in your warp. This is very quick and easy to do and can make a big difference to your tension.
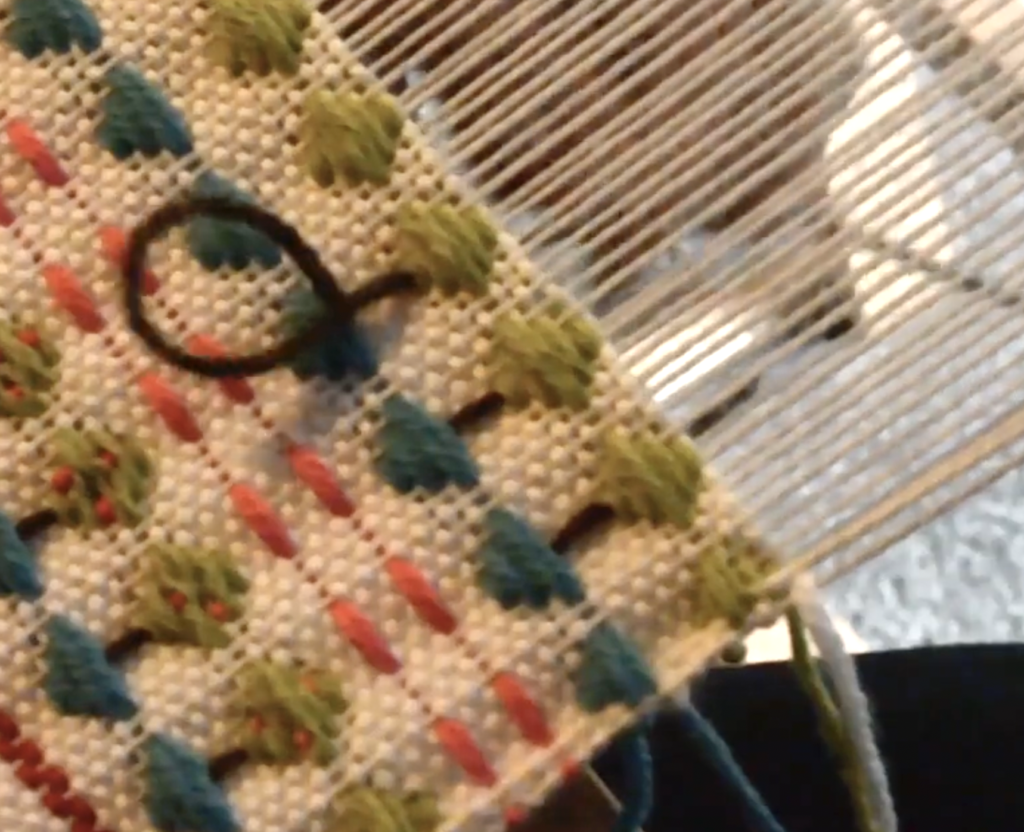
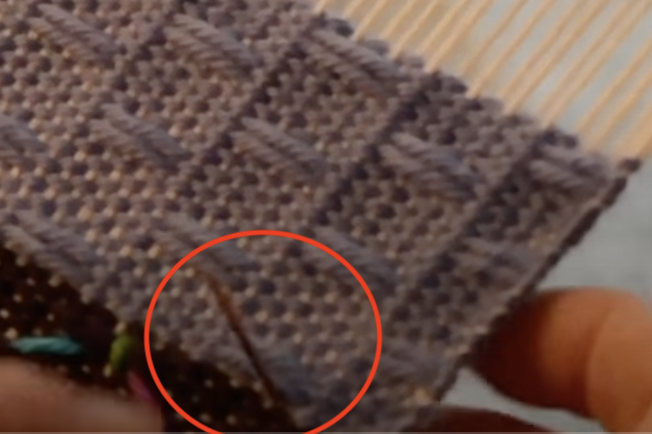
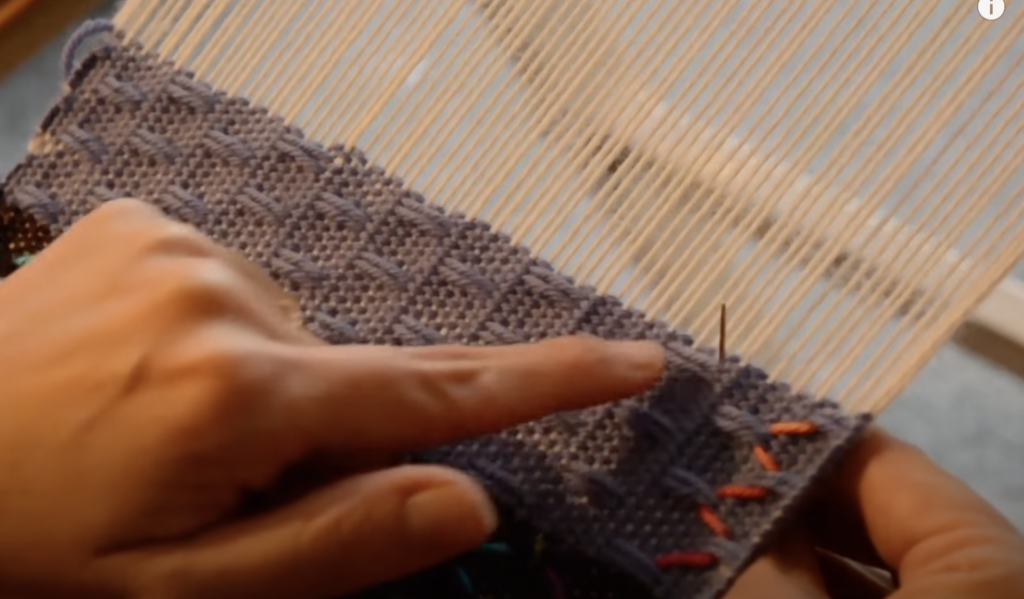
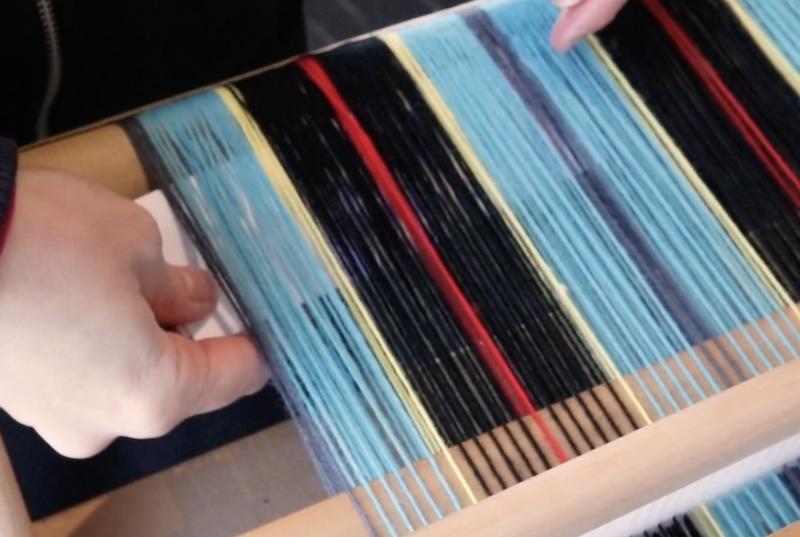
Identifying The Problem Areas
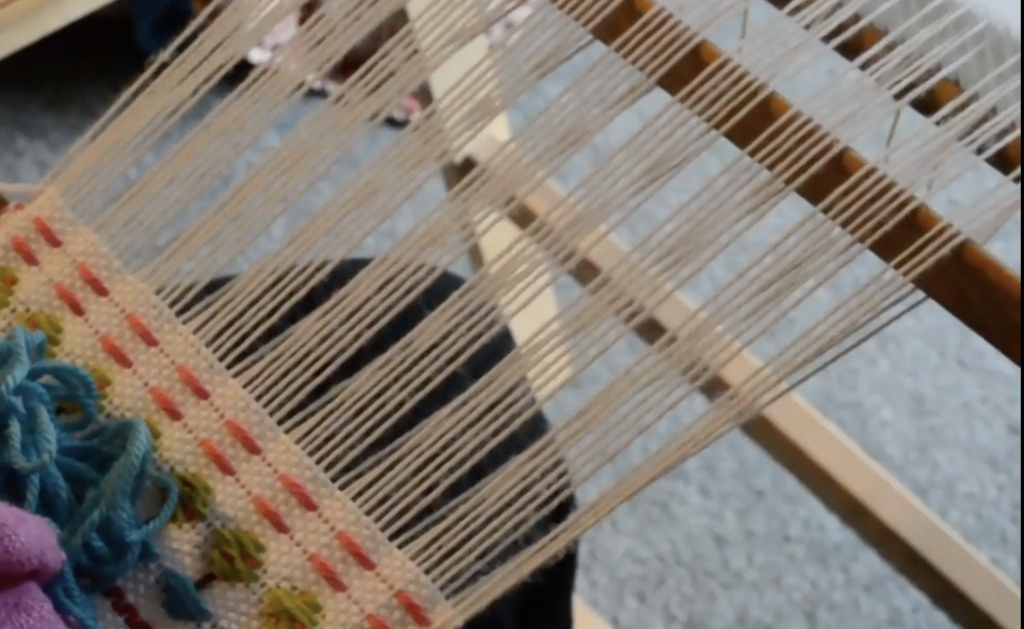
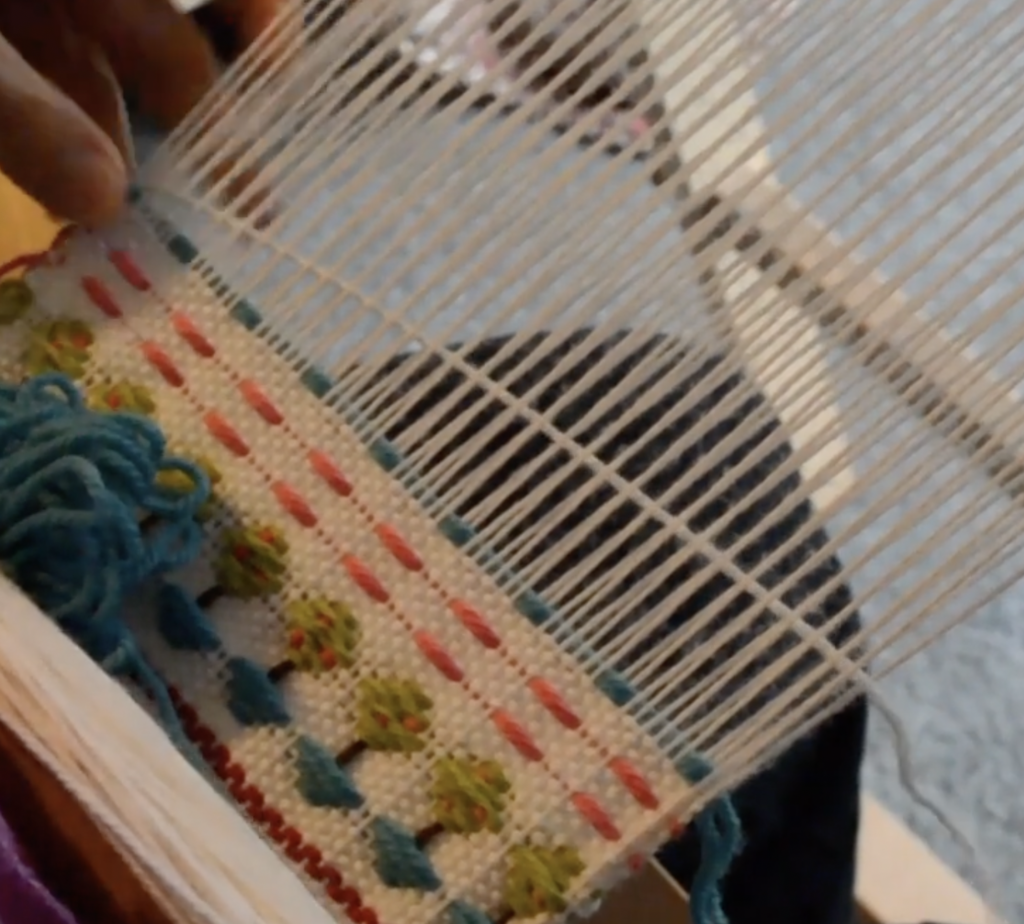
I start out by identifying the areas that need help. For me, that was either side of the middle section, towards the edges. If I wedged all the way across the warp at this point, that would also increase the tension in the mid section, where it is not needed.
Grab Some Basic Materials
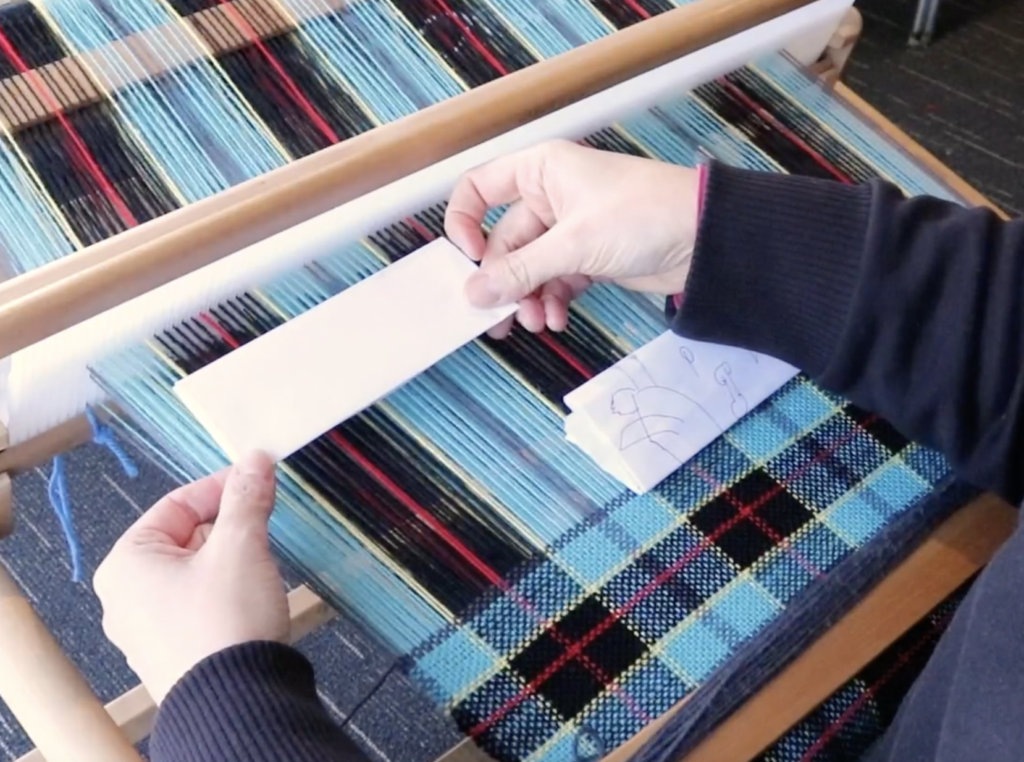
There are several materials you can use for wedging (like cardboard separators, cut to size) but I chose to use everyday A4 printing paper. I folded the paper to the approximate width of the loose warp section so that the paper had been folded about 4 times. This provided me with a bit of thickness, but not too much.
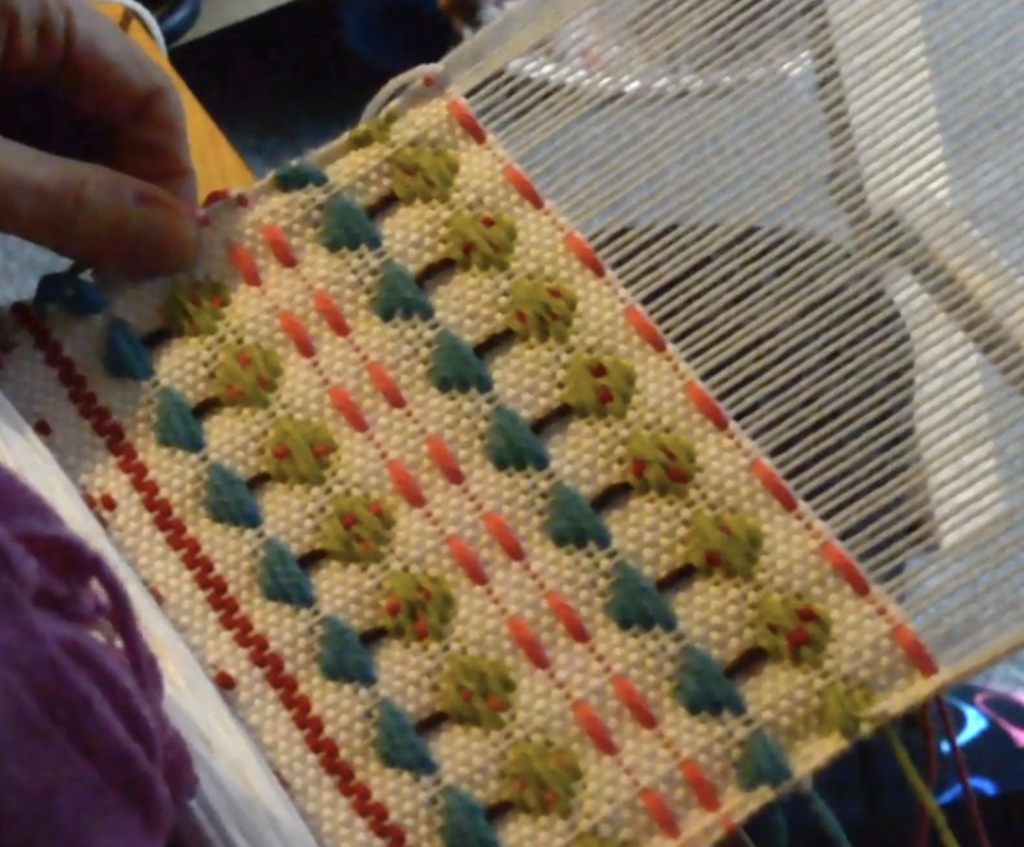
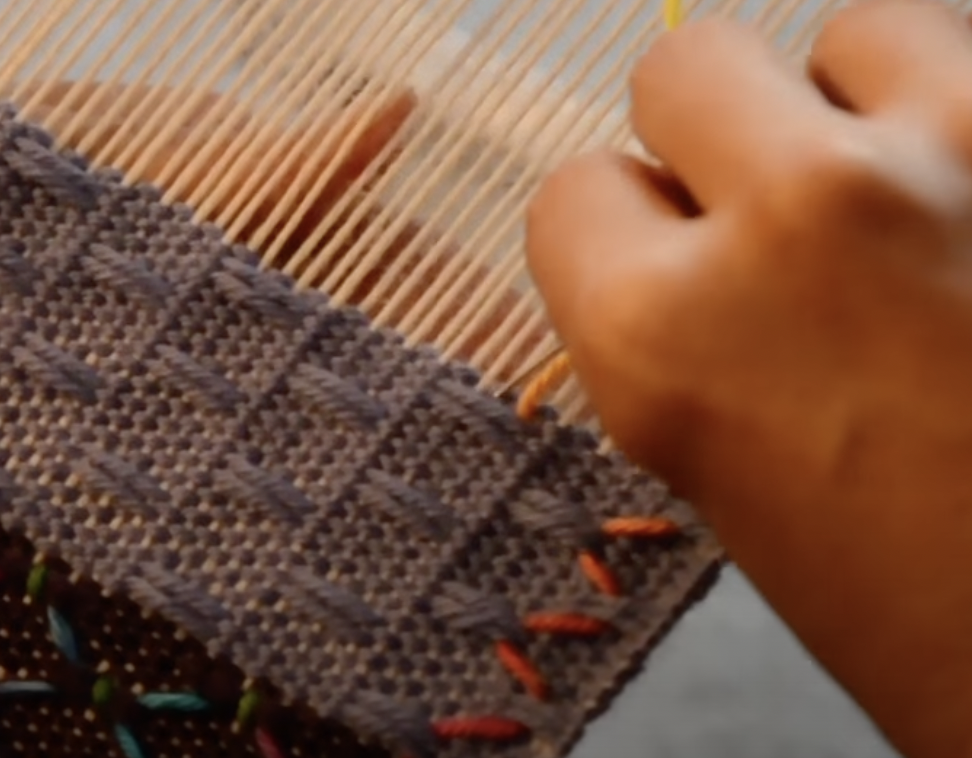
It may be easiest for you to pop around the back of your loom with the paper to get close to the warp.
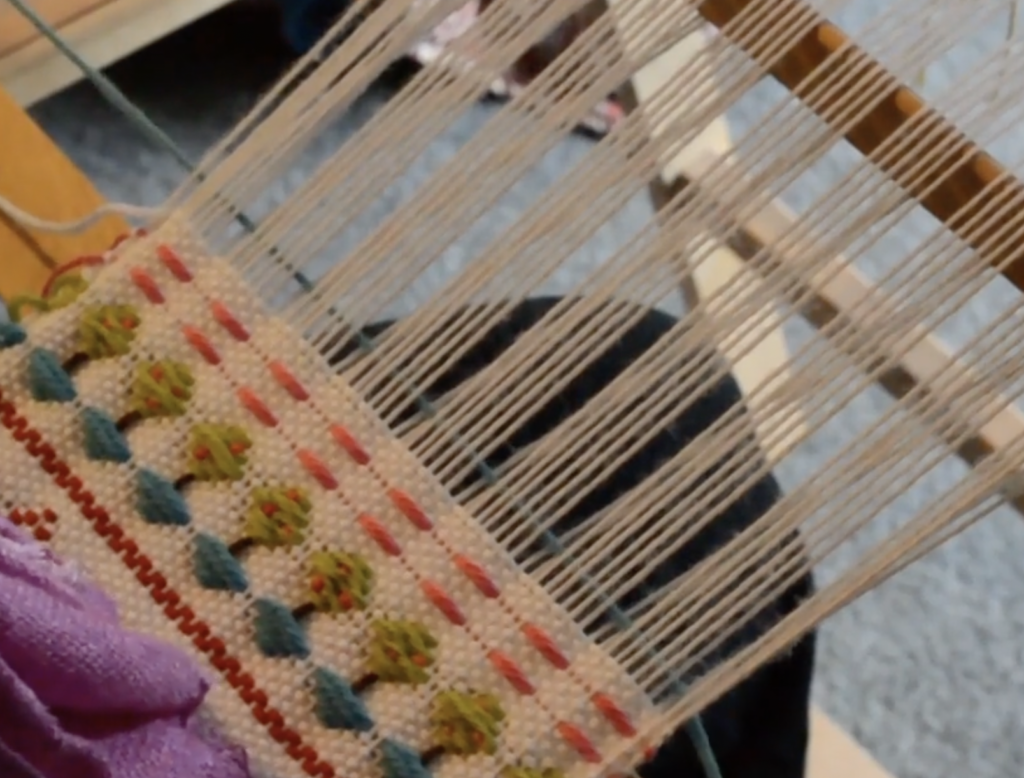
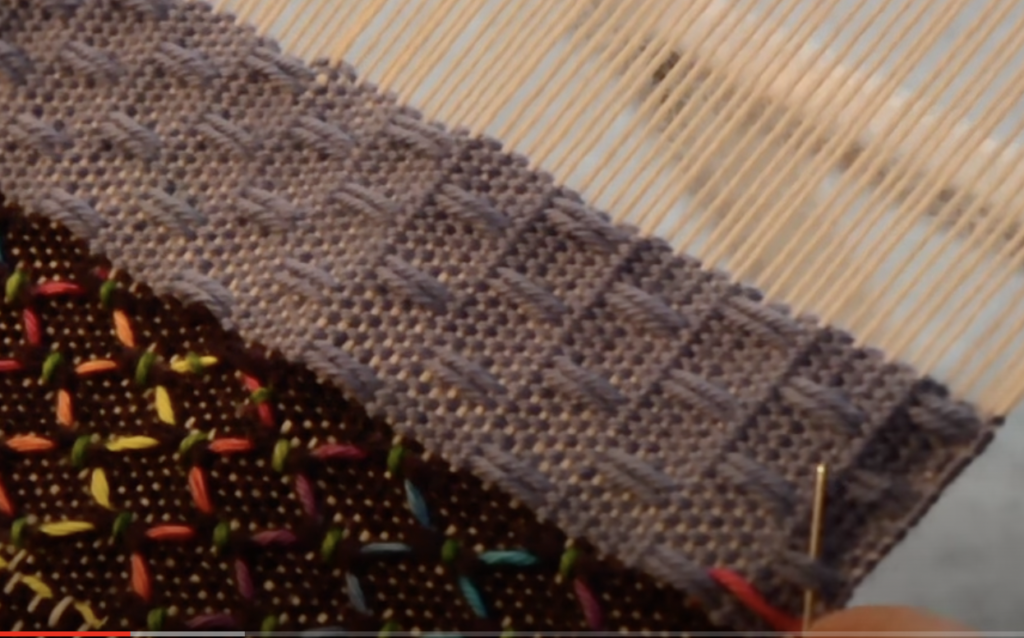
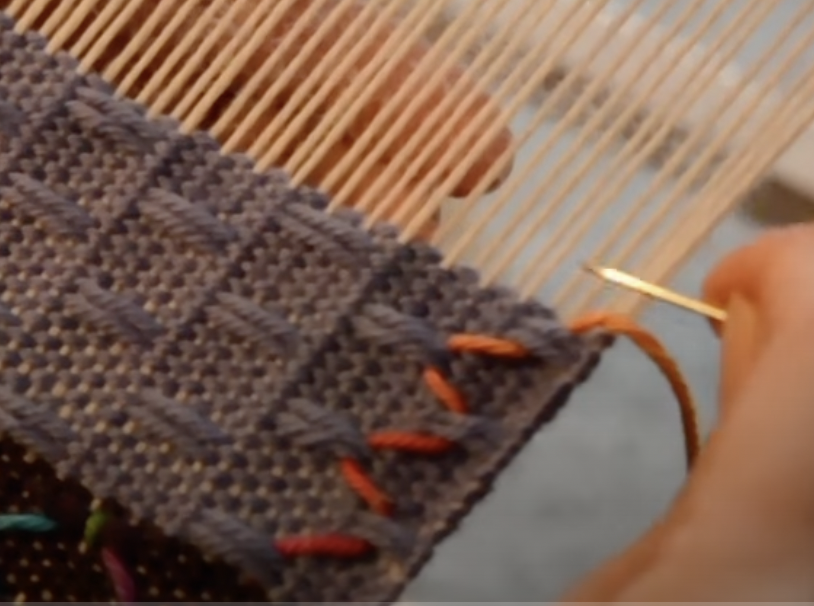
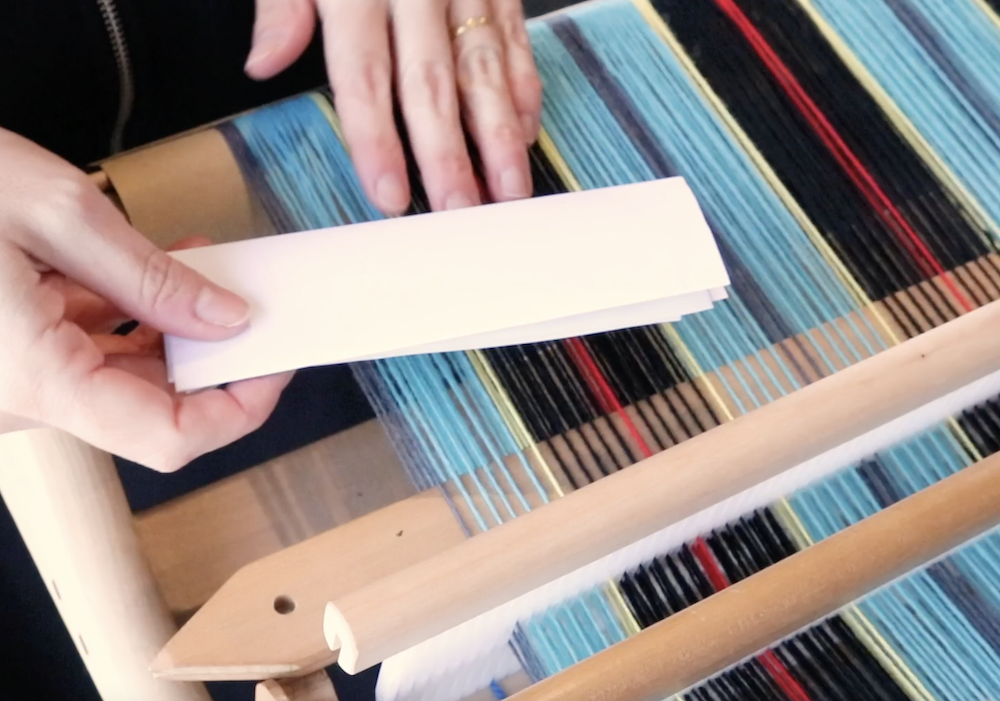
Take the paper underneath the entire warp (both heddles are in neutral at this point) and start to wiggle and jam it into place.
Push the paper in towards the back of the loom. You will feel resistance from the threads and this is good, because you are tightening everything up. There is no set amount for how far back the wedge should be pushed, just until you can feel that the threads have increased in tension in that section.
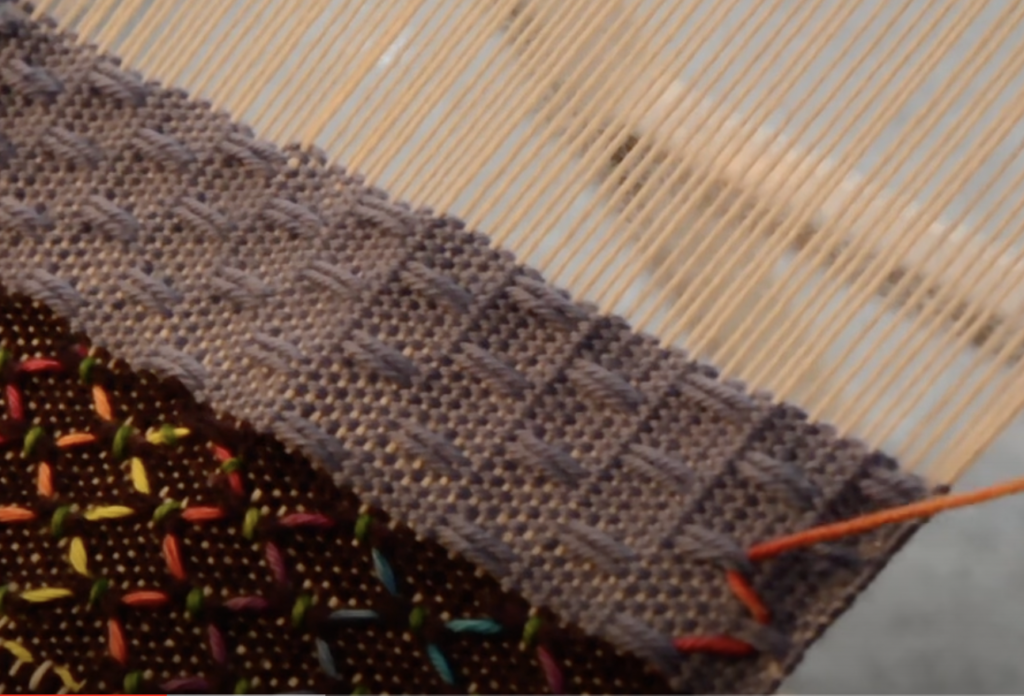
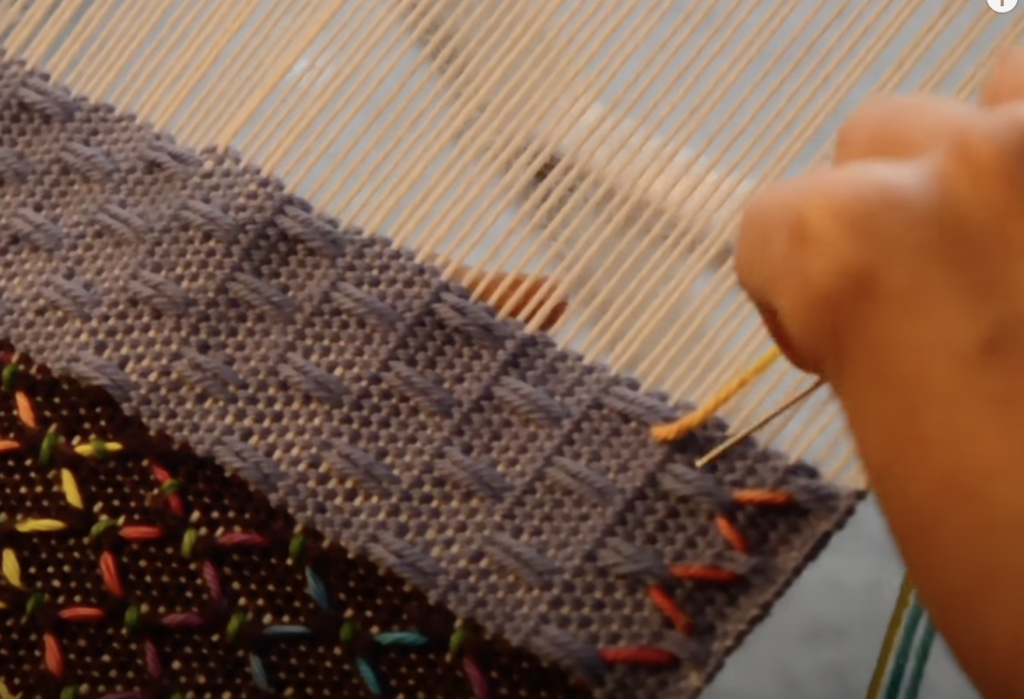
Move The Wedges As You Advance The Warp
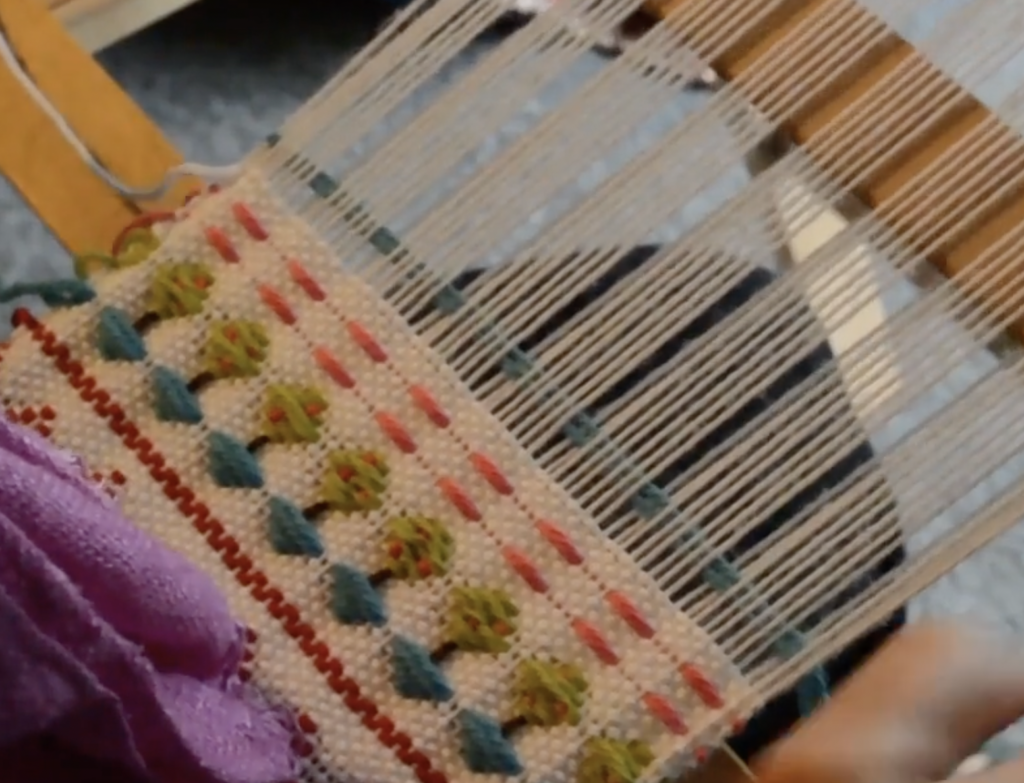
As you weave and advance your warp, your wedges will move out of place and you will need to reposition them at each advance. This is actually a good thing, because it ensures that your looser threads are constantly being re-tensioned!
If you would like to see the way I place the wedges, please check out this video:
I hope this short tutorial was useful to you! Have you used targeted wedging before? Has it made all the difference to your project? Let me know in the comments, I would love to hear from you!
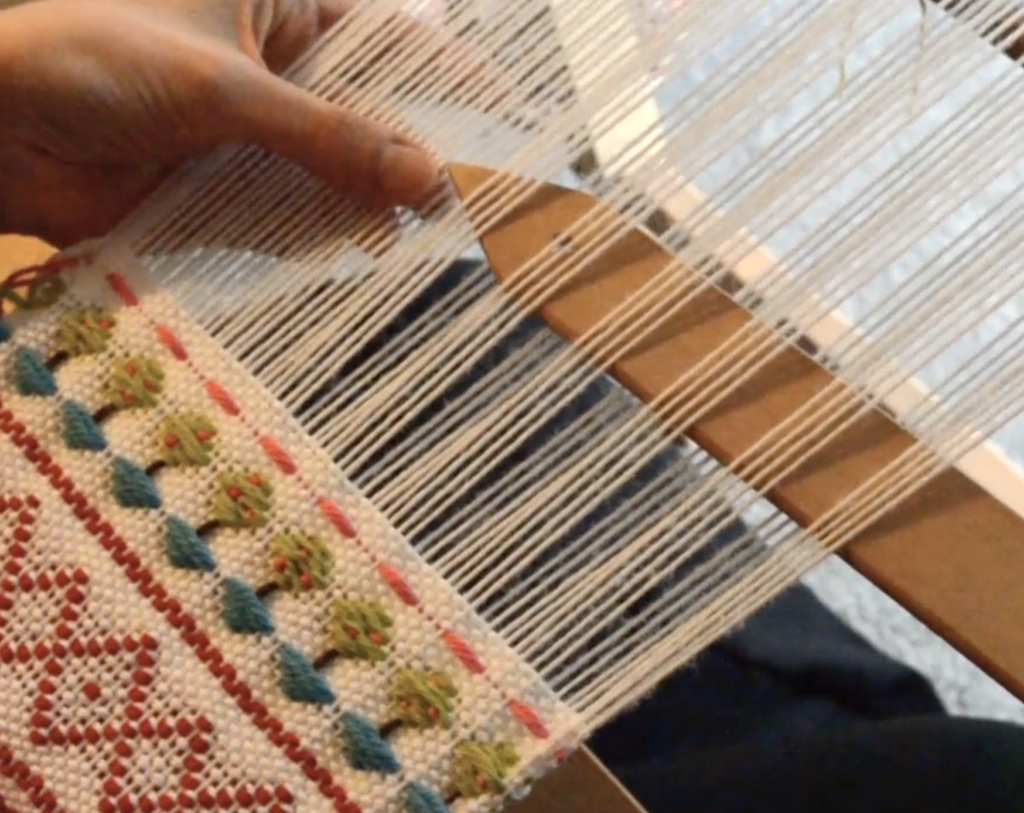
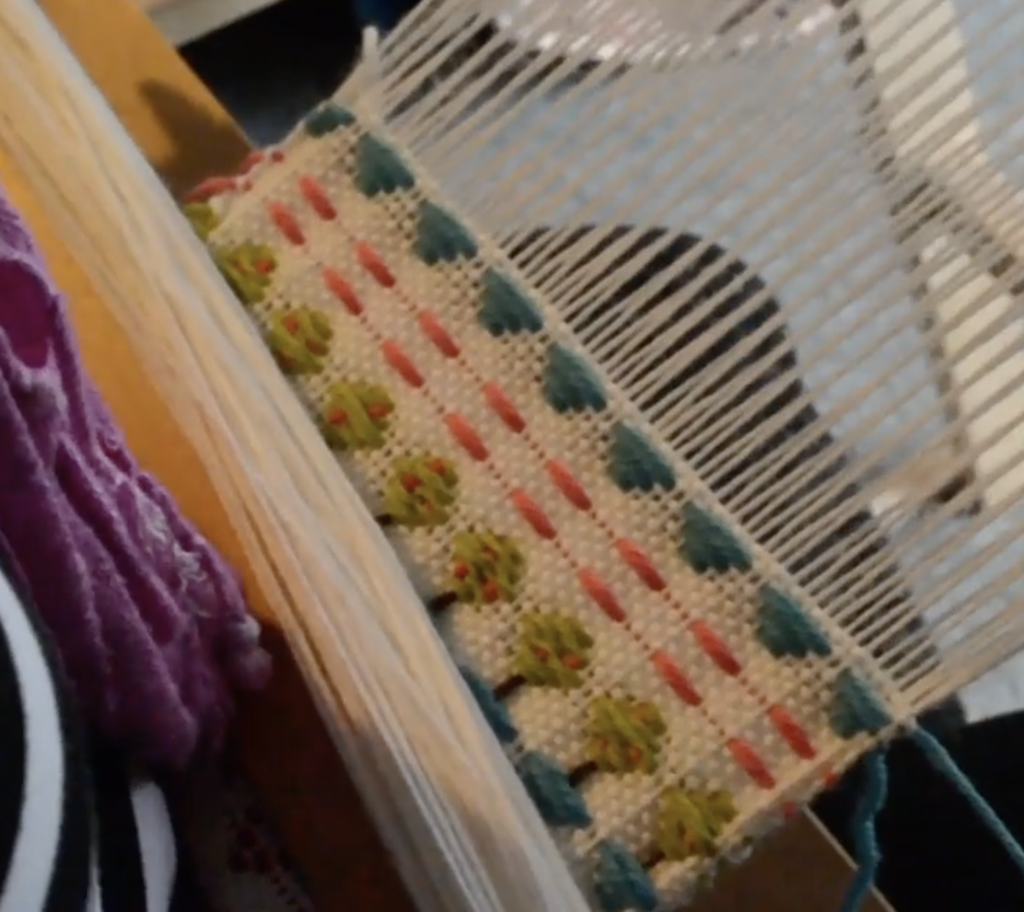
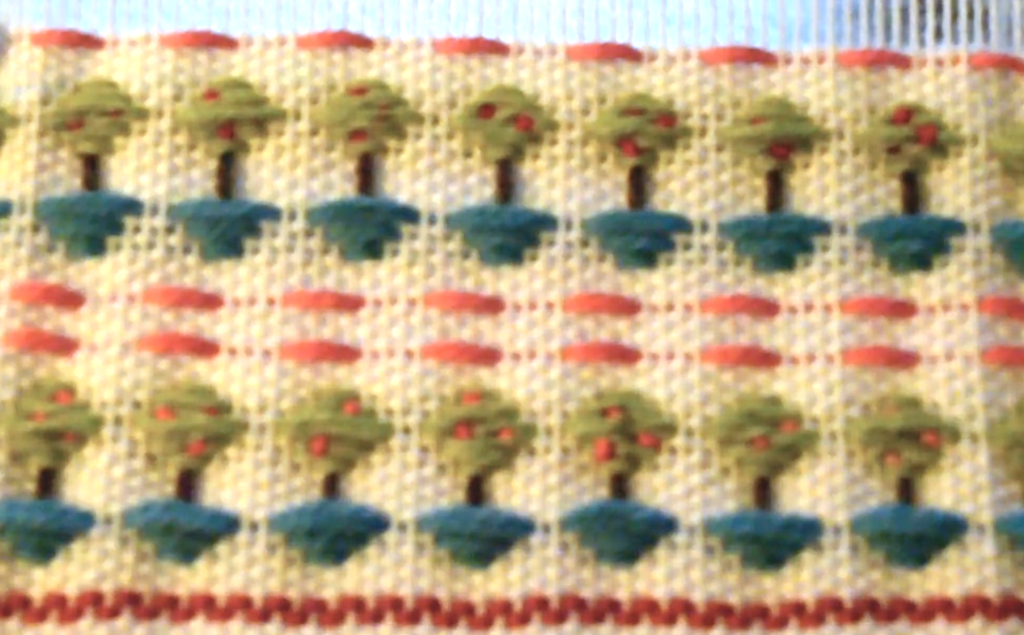
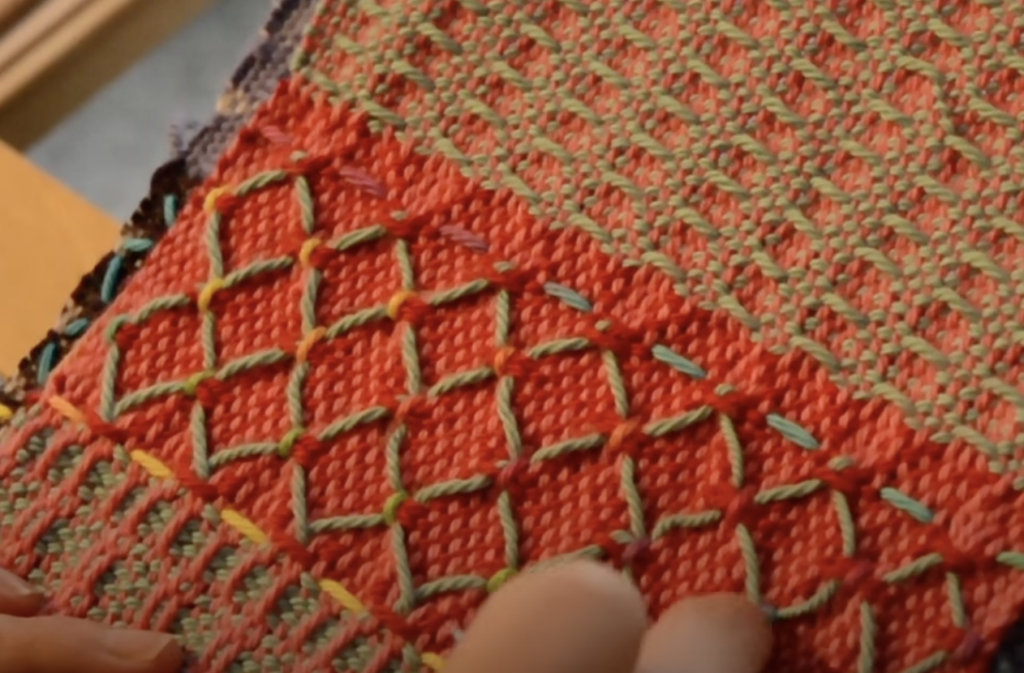
Do you love the look of the project I’m working on in this tutorial? This is from my Plaid Double Width Blanket Ebooklet, which is available now.
Until next time…
Happy Weaving!