Lashing on your warp to the loom is an alternative method to a direct tie on.
I’m going to show you exactly how to do that in a moment, but first I want to talk about why you would choose to lash on rather than tie the warp directly to the front apron rod.
There are certainly advantages and disadvantages to both methods and usually it comes down to a matter of personal preference.
- This post contains affiliate links. For further information, please see my disclosure policy.
Firstly, let’s go over the pros and cons of each method.
Lashing on pros:
- You can achieve excellent, consistent tension across you warp, regardless of the warp width.
- The tension is very adjustable and simple to tweak
- It’s the perfect method for dealing with slippery warp threads that don’t want to hold their direct tie on knots
- It is very yarn efficient
Lashing on cons:
- It takes additional time before you can begin weaving
- You need a long length of strong cotton as the “lash on” yarn. This long length can be a bit of a handful when you’re threading it through your knotted bunches.
Direct tie on pros:
- It’s fast and easy
- If you tie on with surgeon’s knots, these will be adjustable
- Works very well for most yarns
Direct tie on cons:
- Slippery yarns (like silk or tencel) may not hold their knots. They can slip on the apron rod and come undone.
- You have more warp waste because you need that extra length of warp to go around the apron rod and tie on. This is not a problem if you are planning to have fringes, as the tie on knots can be included in fringe allowance.
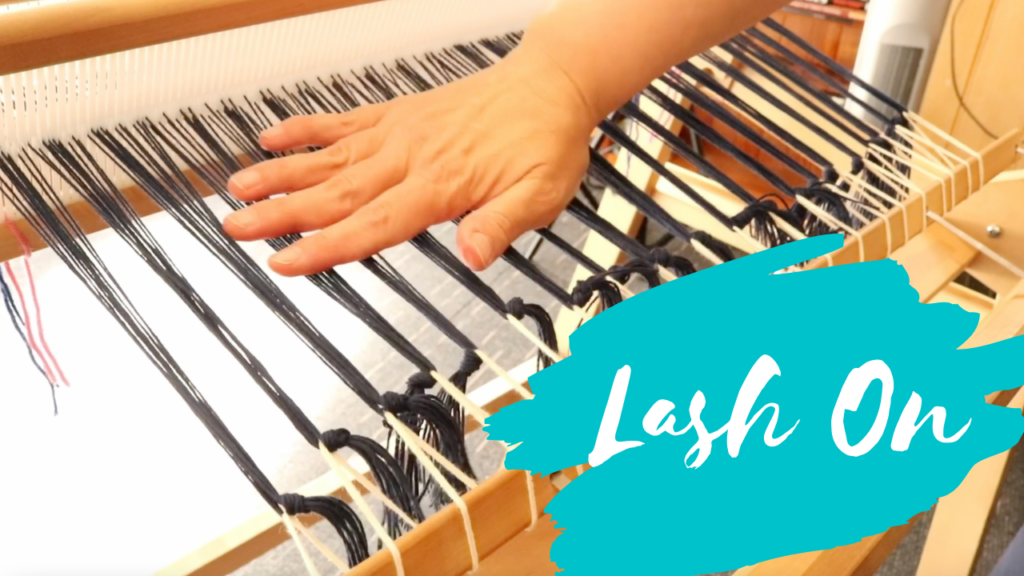
Now let’s have a look at the steps involved in lashing on.
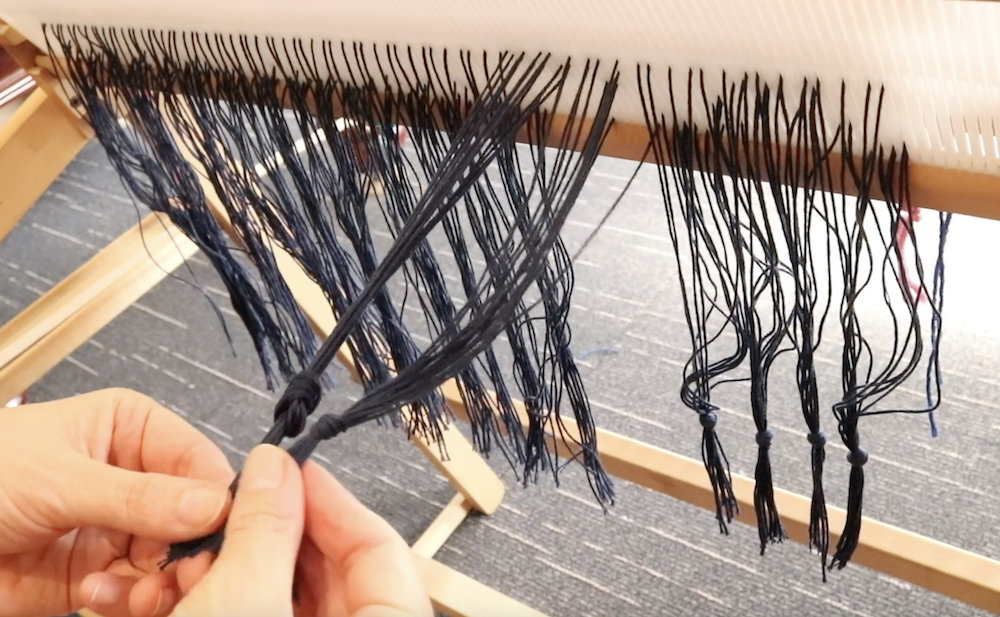
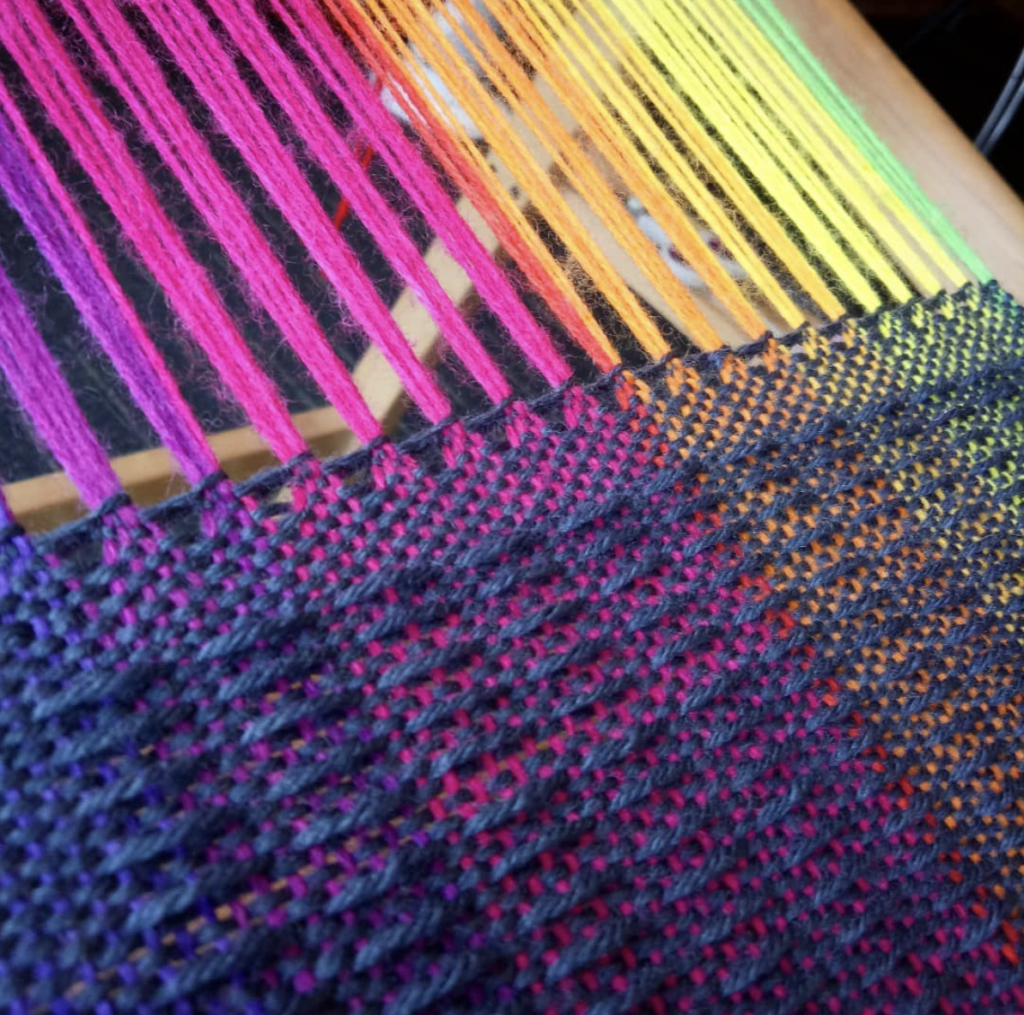
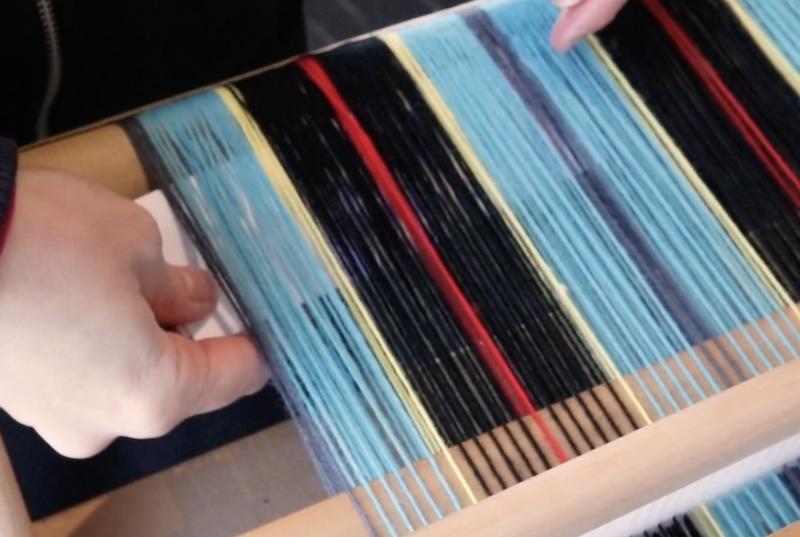
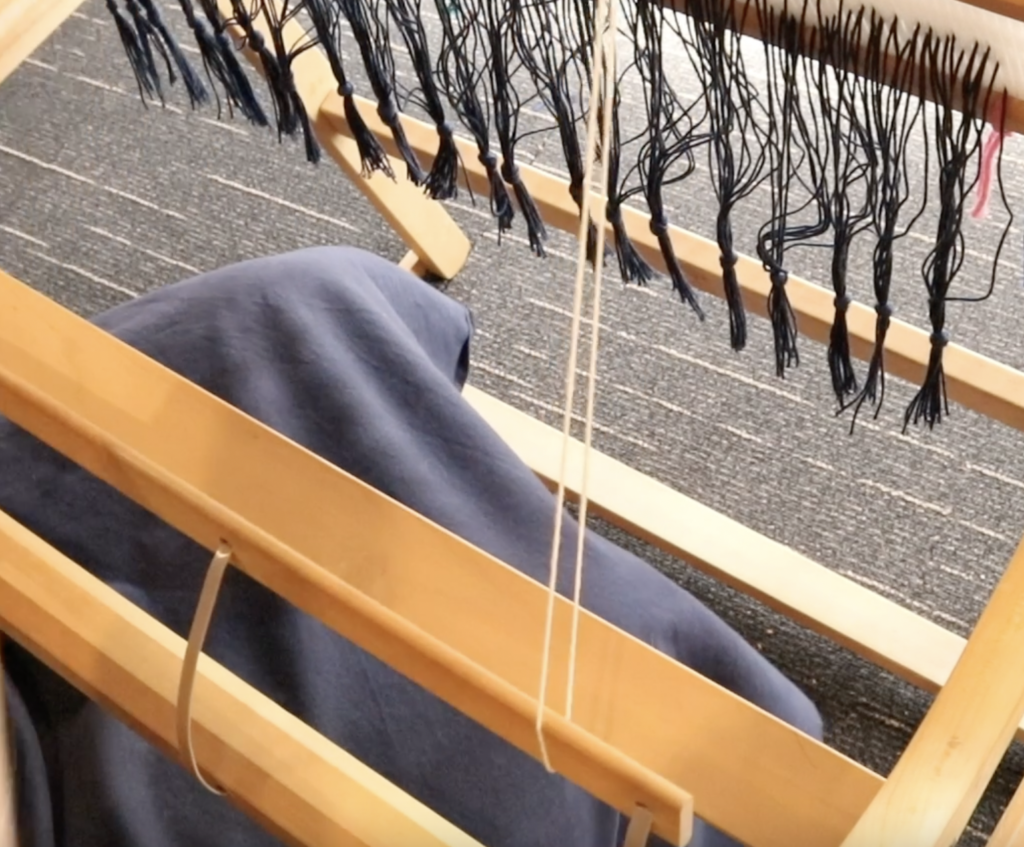
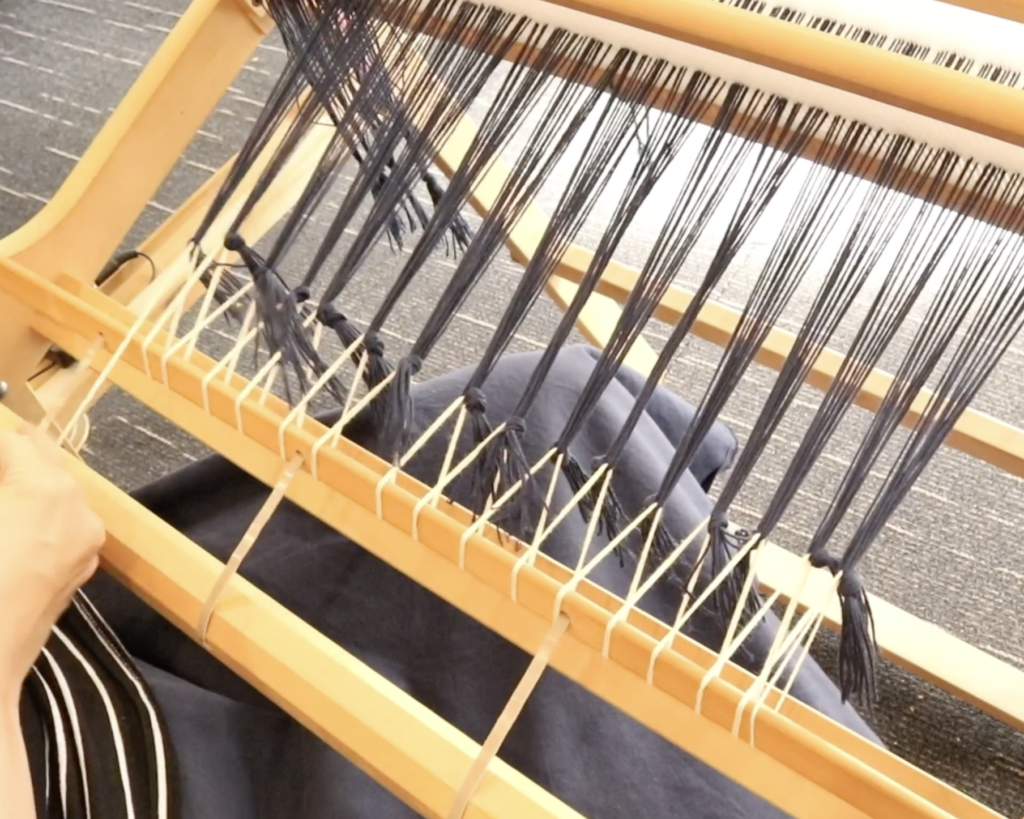
Working from one side to the other, take approximately one inch sections fo warp and make an overhand knot, leaving a couple of inches of tail.
When you full extend your front apron rod, you don’t want the ends of the knotted bunches to touch it, as you need a bit of distance between the bunch and the rod for effective tensioning.
Try to make your knots at about the same place on the bunch each time, it’s helpful to compare the new bunch with the last knotted bunch to try to match up your knots.
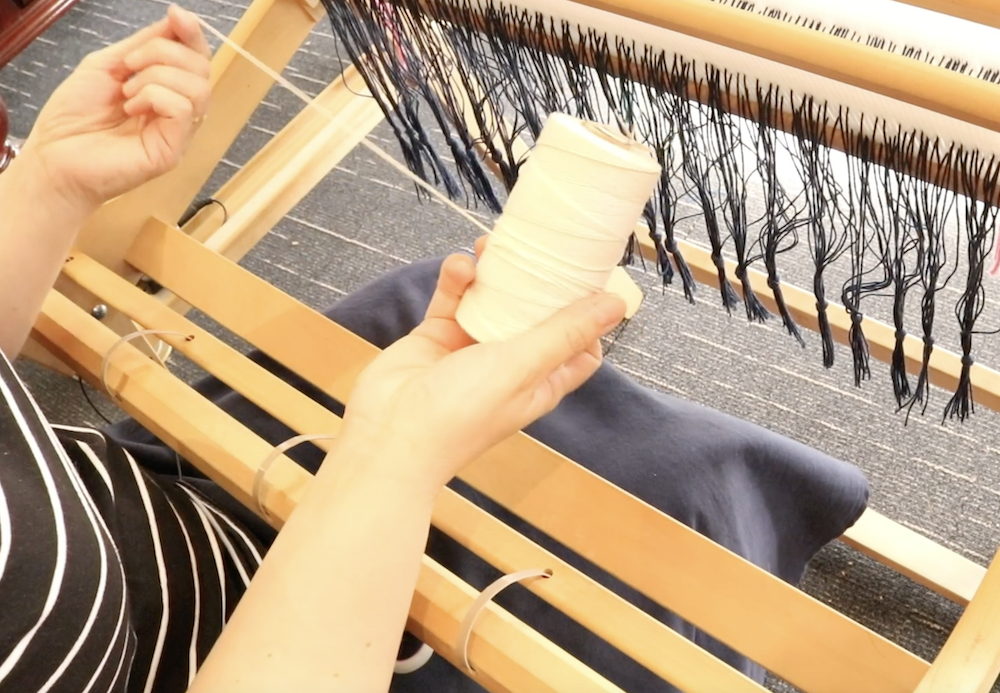
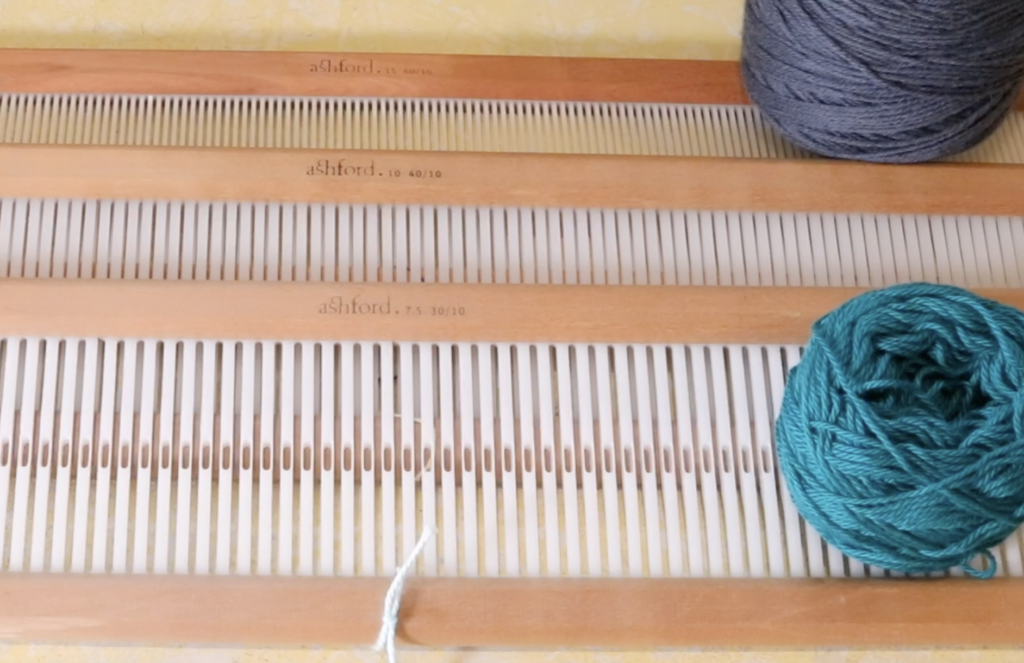
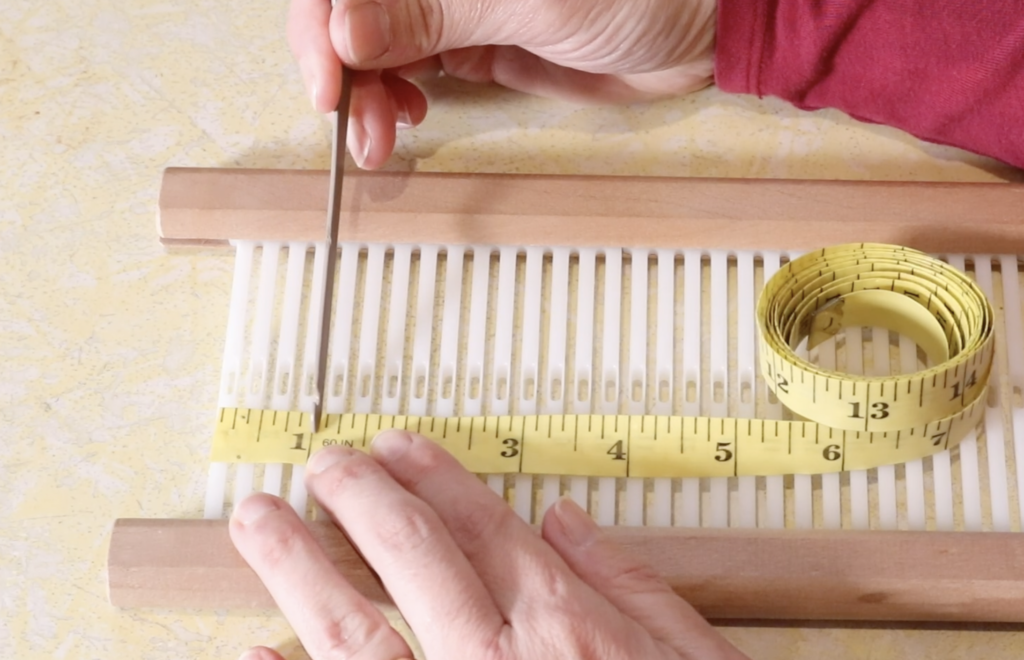
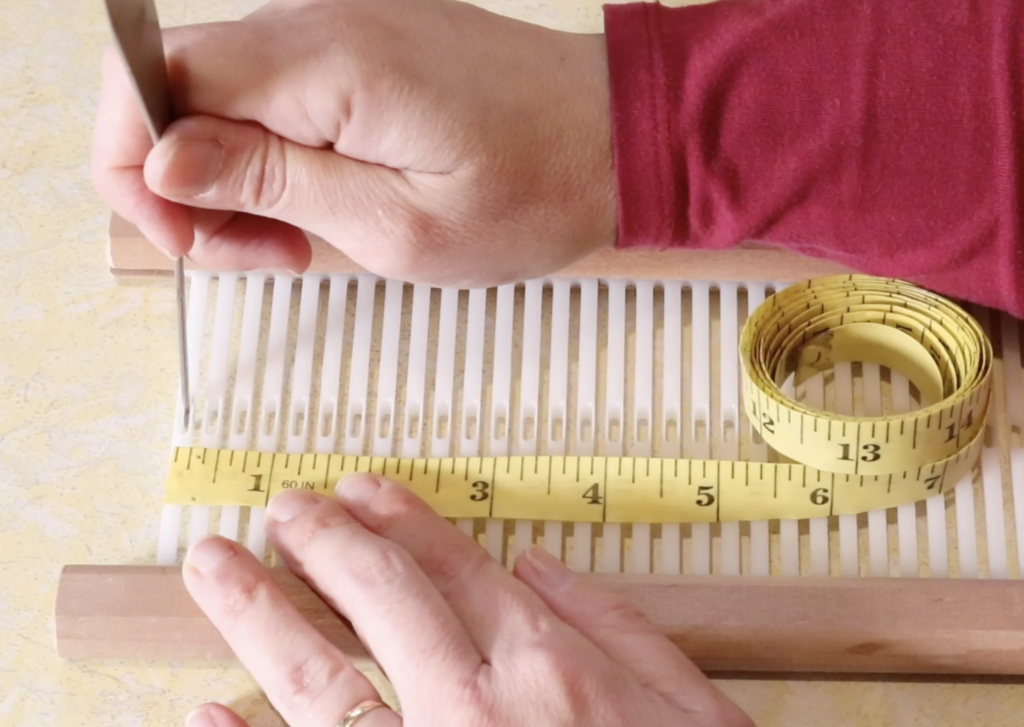
Wind off some tapestry cotton or similar yarn to use as your lashing on yarn. You want this yarn to be strong and not elastic.
Measure around 6 times the width of your warp, and then double that over.
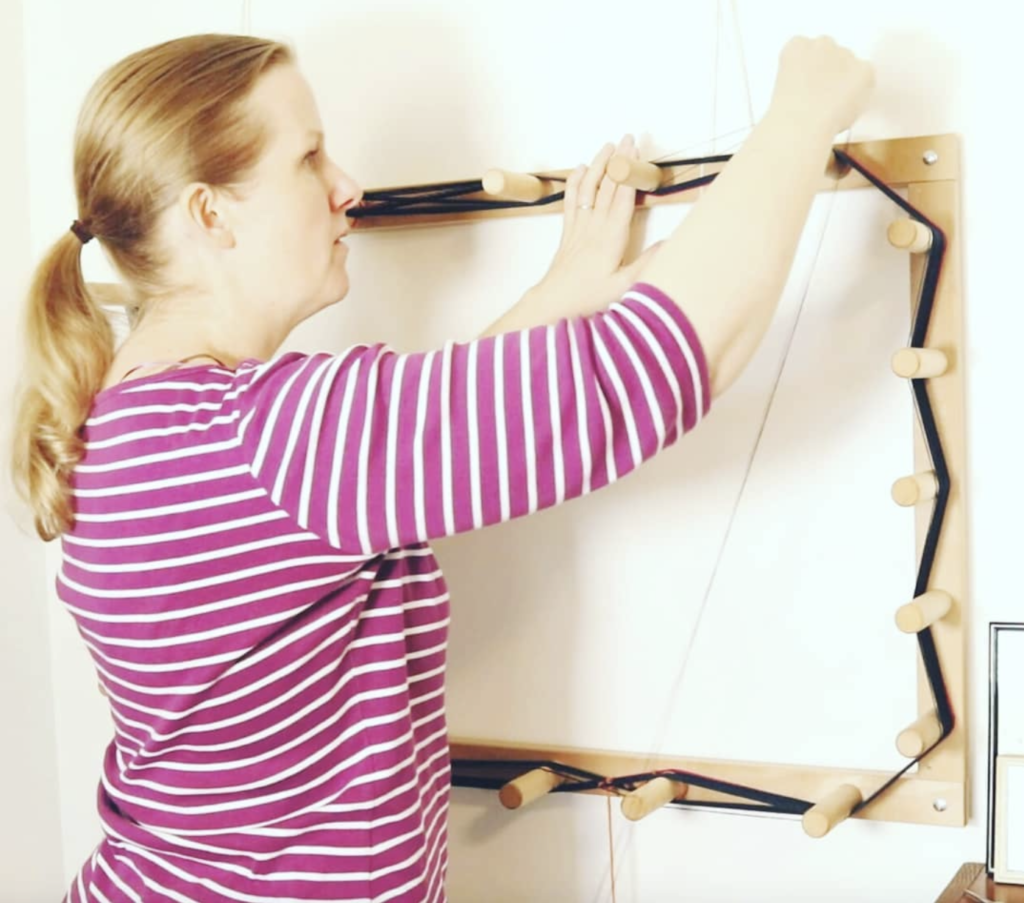
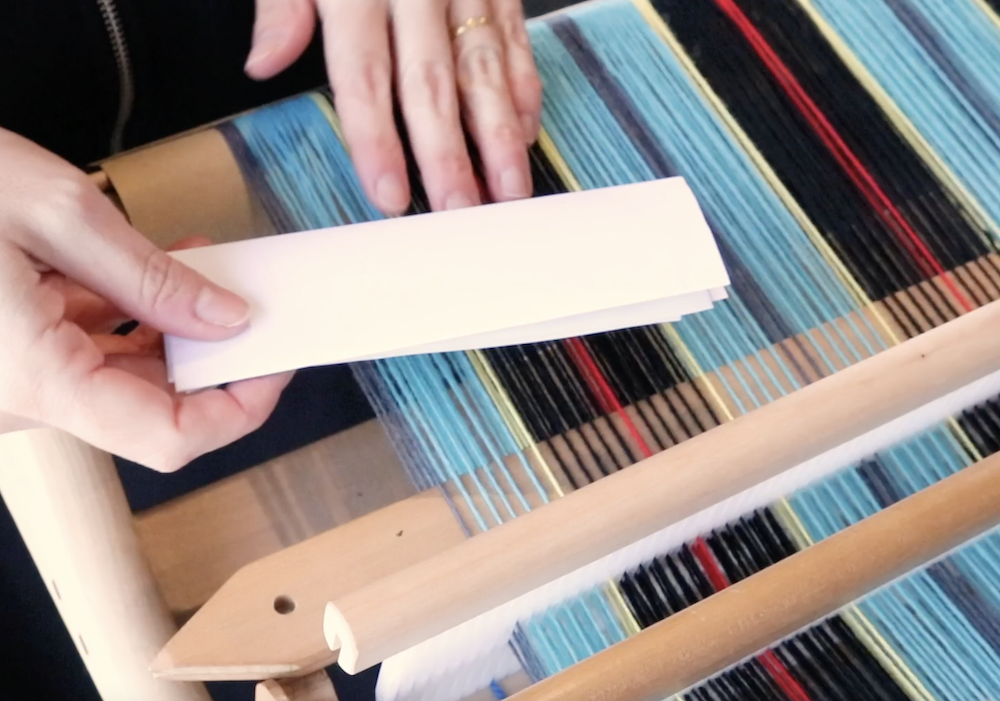
Place the fold of the doubled up yarn on the apron rod. Make sure your front brake is on!
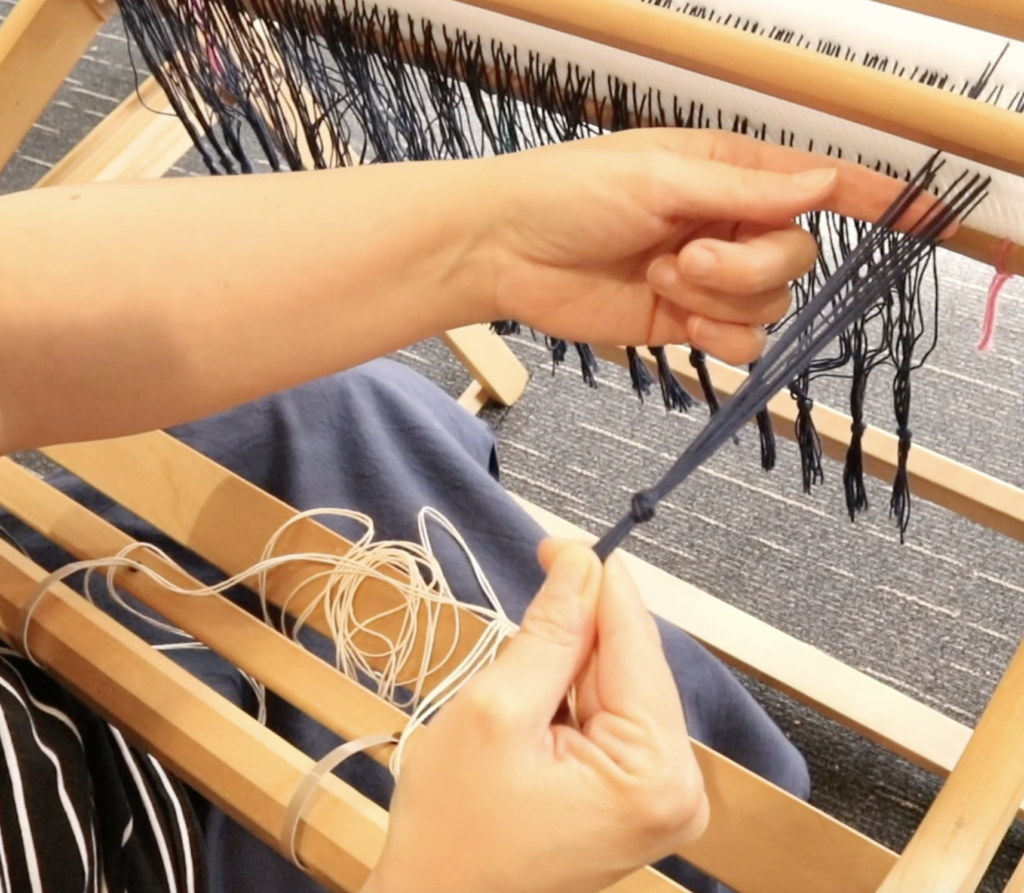
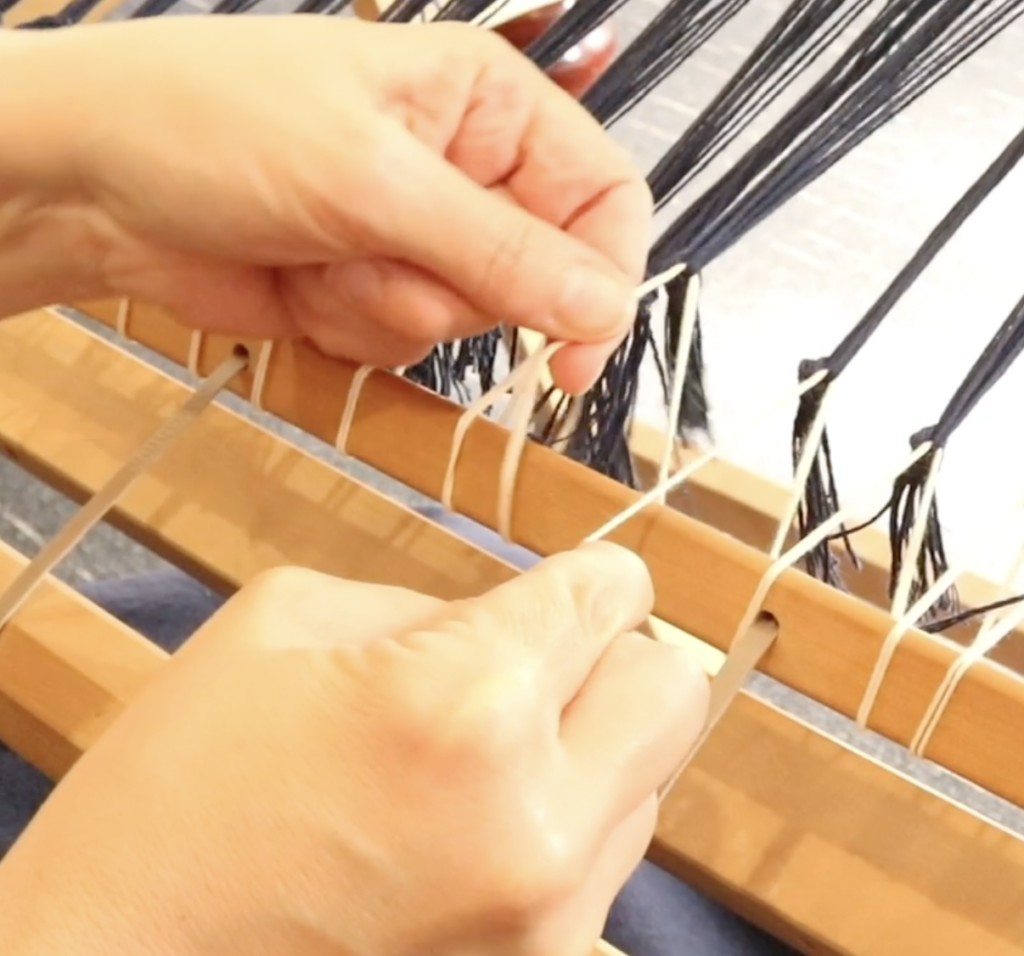
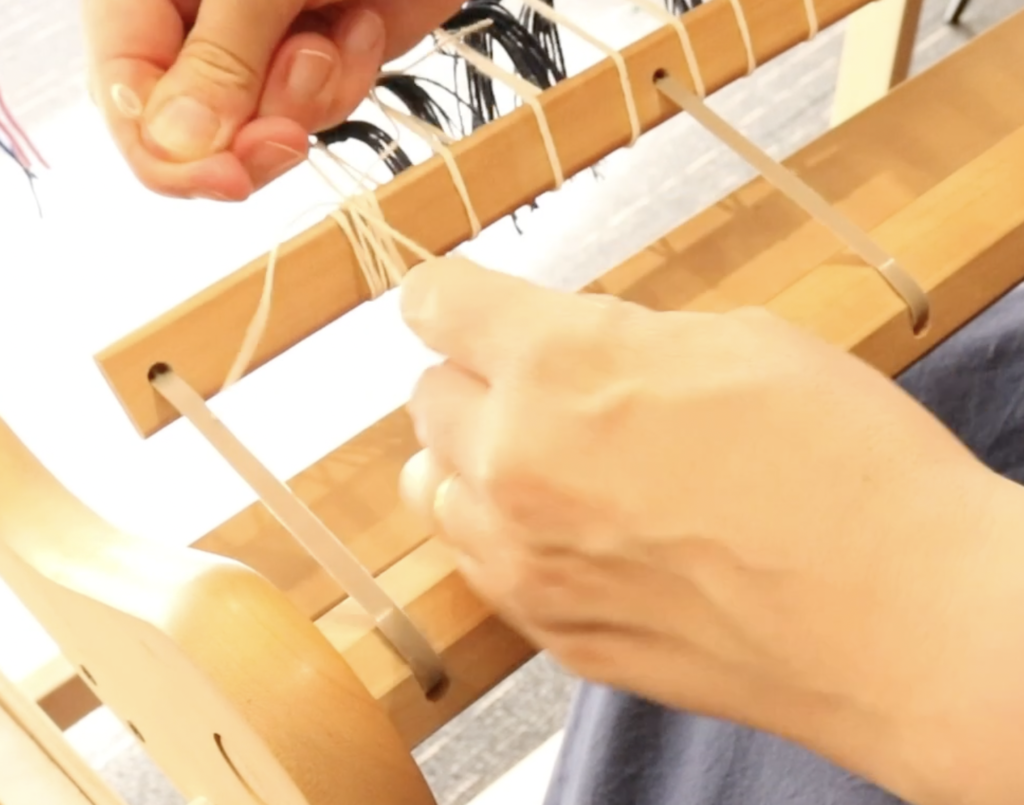
Lift up your first knotted bunch. As you do, you will notice that some threads separate from others, giving you an opening. Insert your index finger into this opening to hold the place.
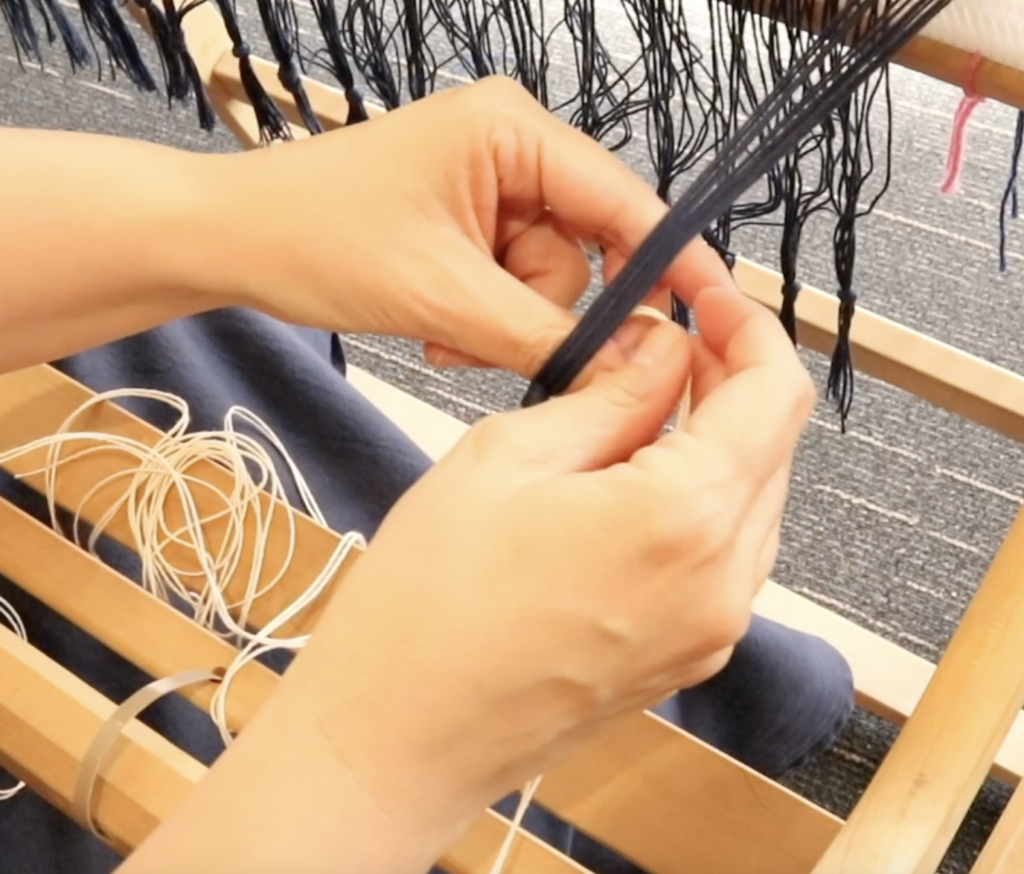
Take the cut ends of your lashing on yarn through the space and pull all the way through.

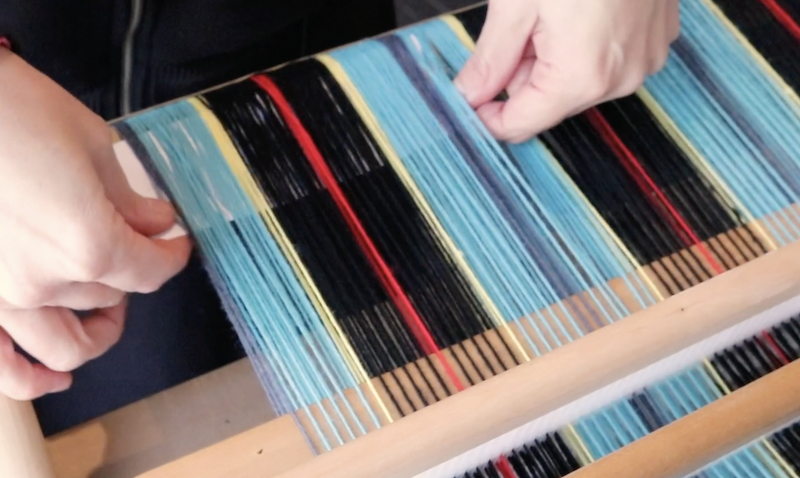
Take the waste yarn over the top and then underneath the apron rod, ready for the next bunch.
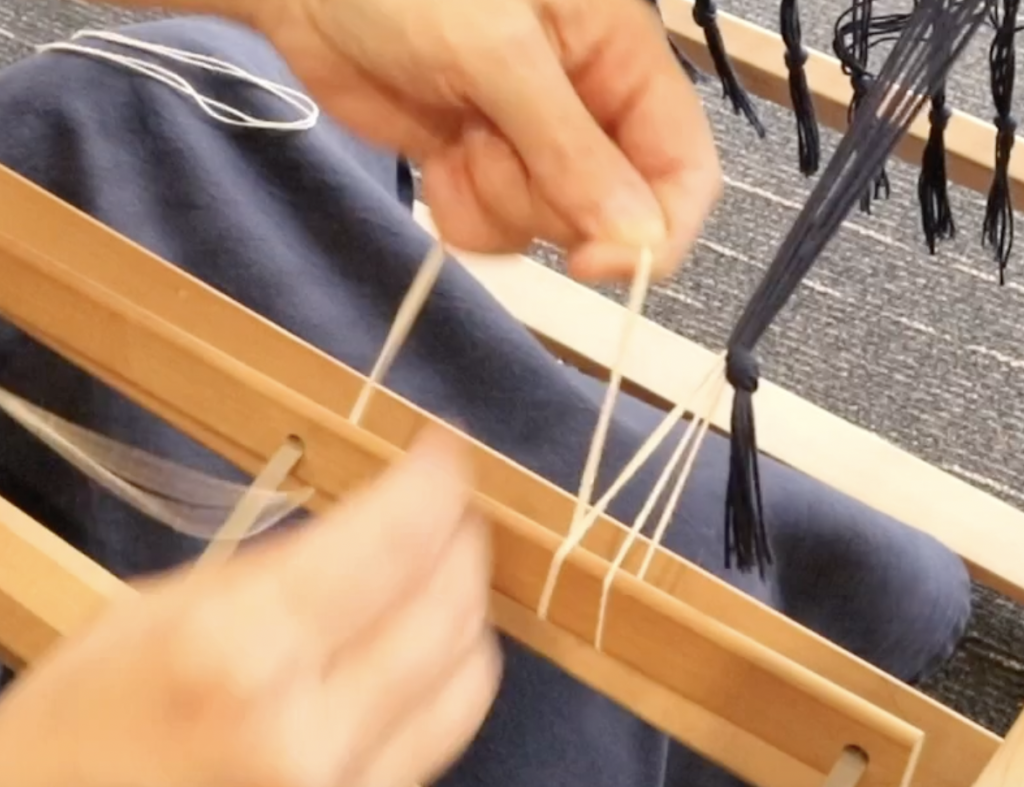
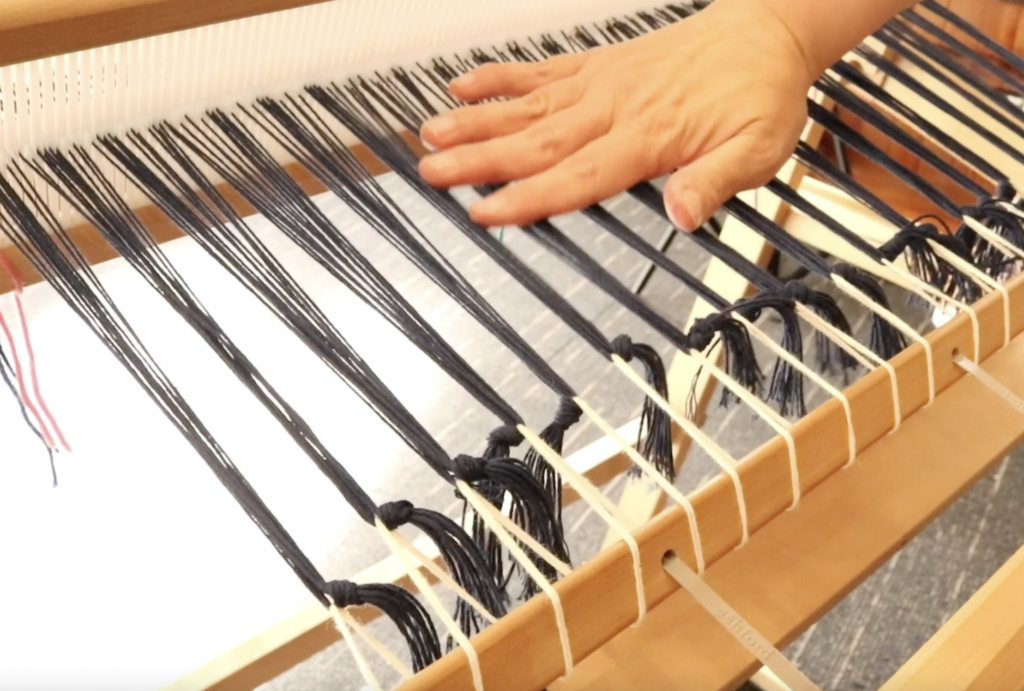
Continue going though your bunches and under the apron rod all the way to the other side of the warp.
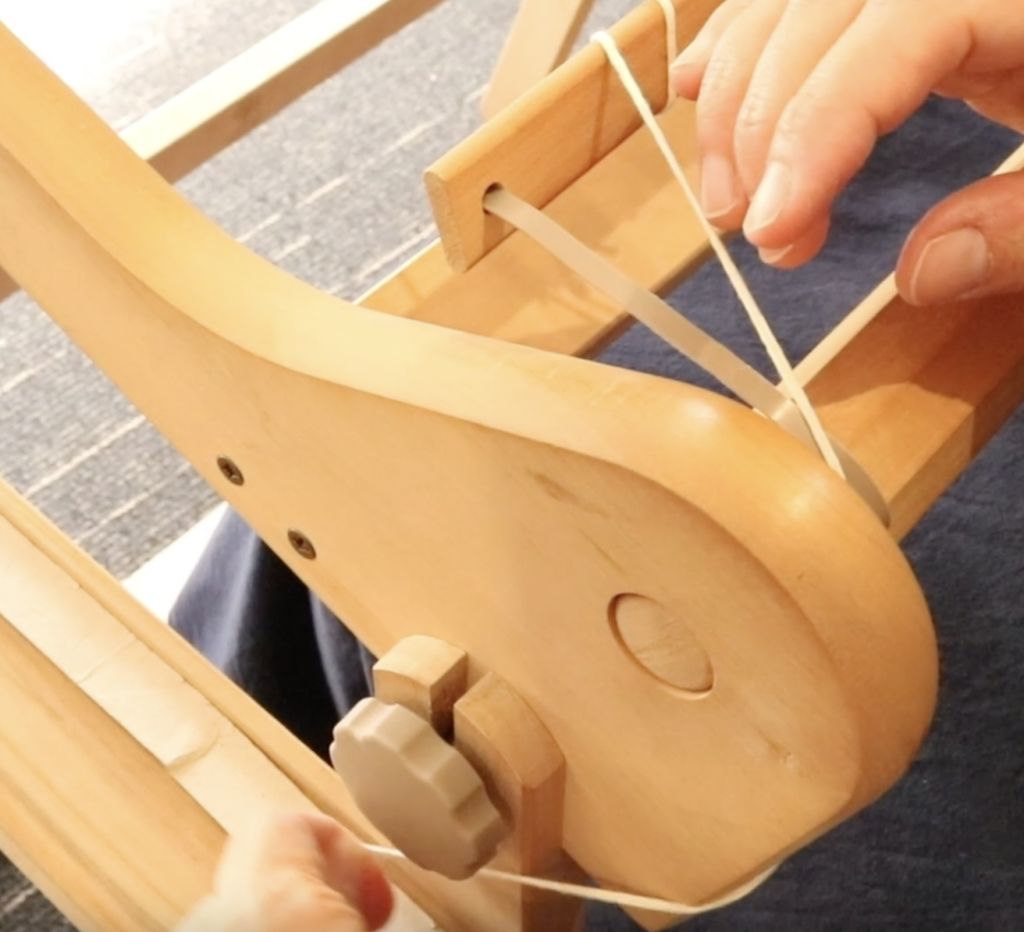
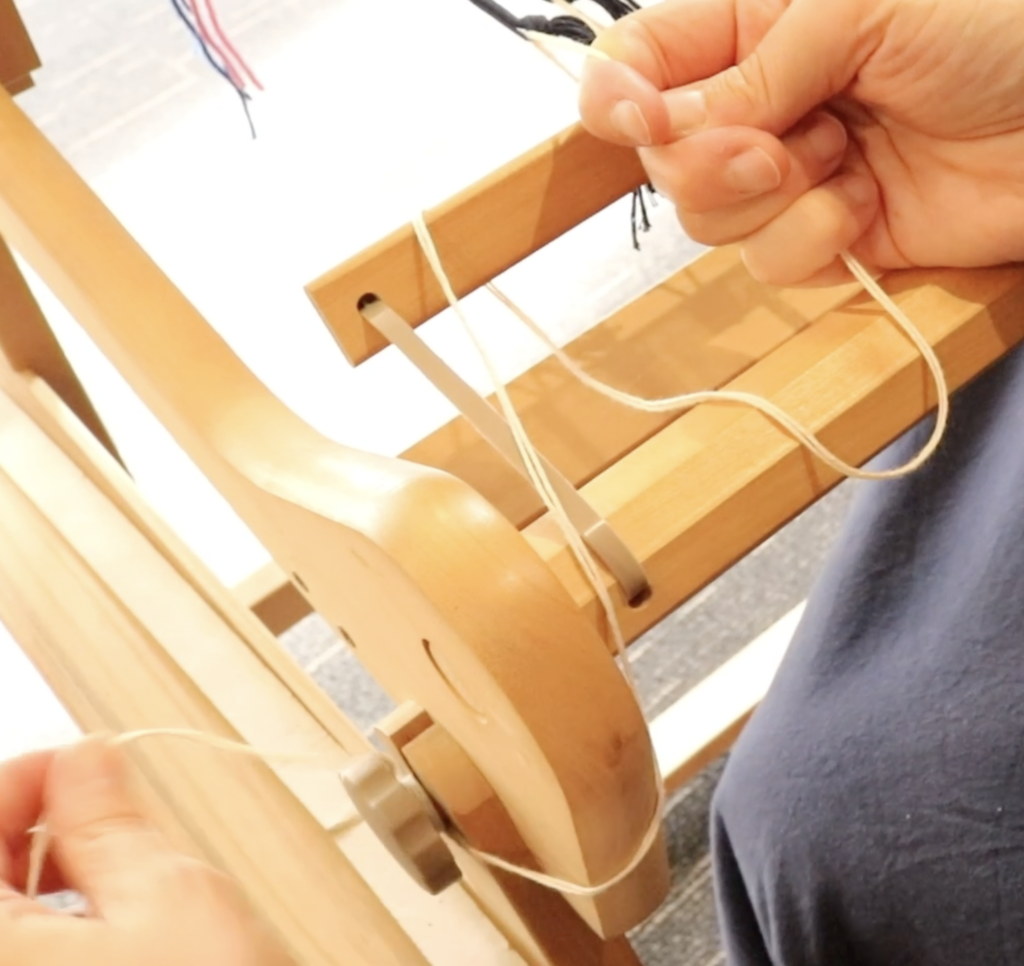
To temporarily secure your lashing yarn, if you have a stand, you can take the yarn under the edge of the loom then around the side knob a couple of times.
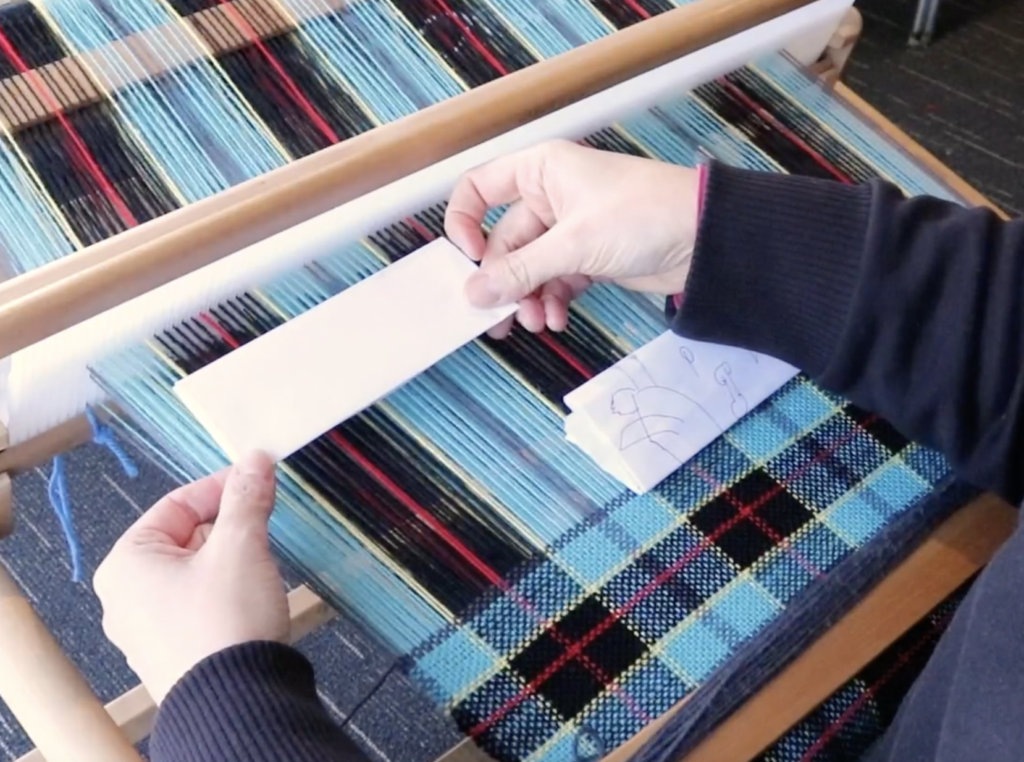
Now is the time to perfect that tension! Starting at the right (or which ever side you made your first bunch) pull down on the lashing yarn firmly, the slack will transfer to the next bunch. Still holding the lashing yarn at the first bunch (to prevent losing that great tension), pull down on the yarn at the second bunch. Hold the tension there, while you go on to the next bunch and work your way across.
When you reach the other side, you should have a good bit of slack on the lashing yarn, and your tension should be nice and uniform across the warp. Don’t let go of the yarn at the end here until you have it fully secured.
This part is much easier to show than to explain, so definitely check out the video below. Basically, you are knotting and securing the end of the yarn to the apron rod in a way that is a very firm hold, but is undoable in case you need to adjust your tension again.
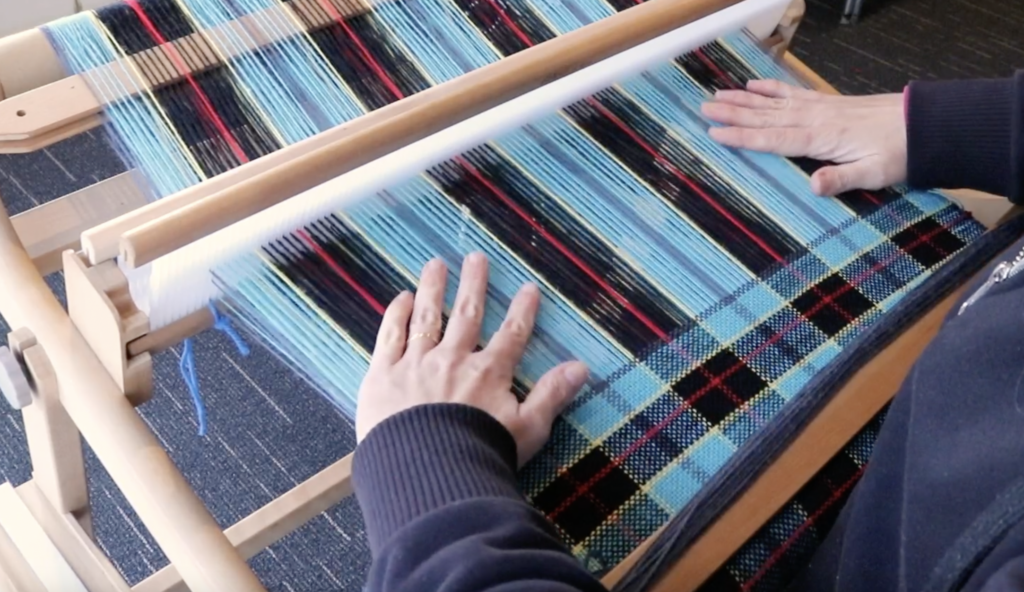
When you bounce your hand from one side of the warp across to the other, all the bunches should feel like they are under the same amount of tension. It feels like a nice light, bouncy trampoline. If you have any loose parts, adjust the tension again by pulling the lashing yarn at the loose section, and transferring the slack as before.
If you would like to see all this in action, check out the video I made for you:
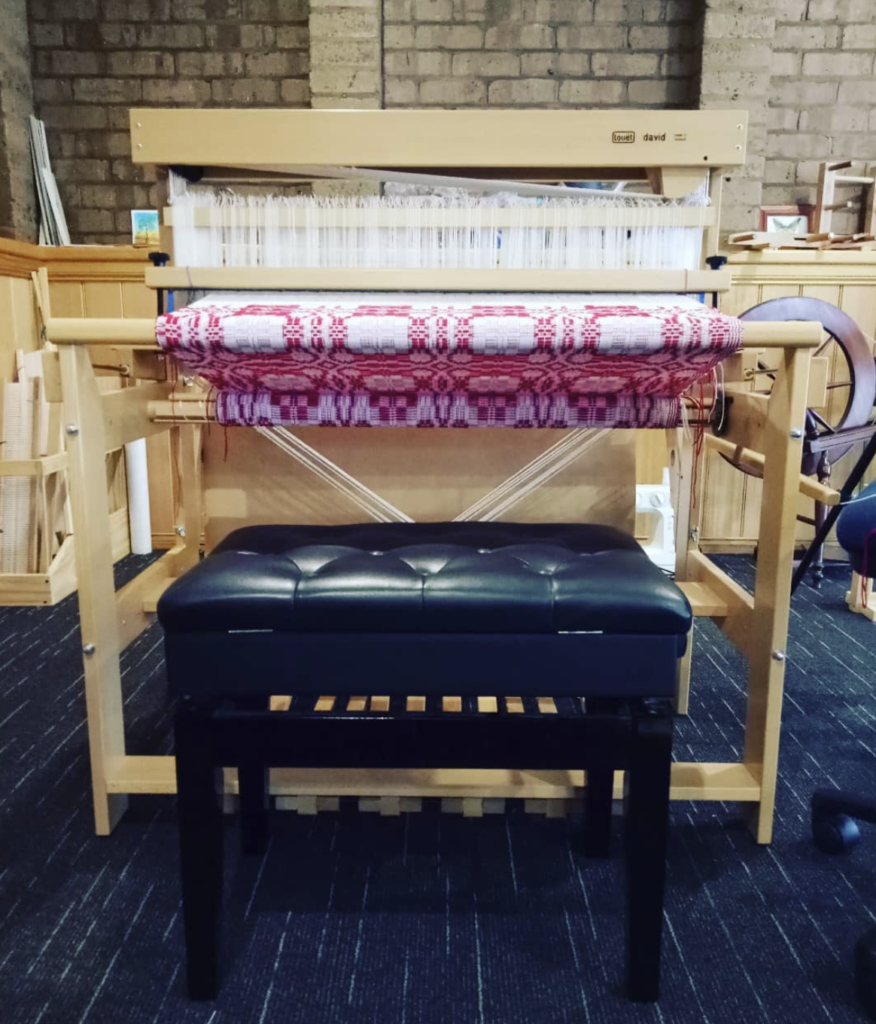
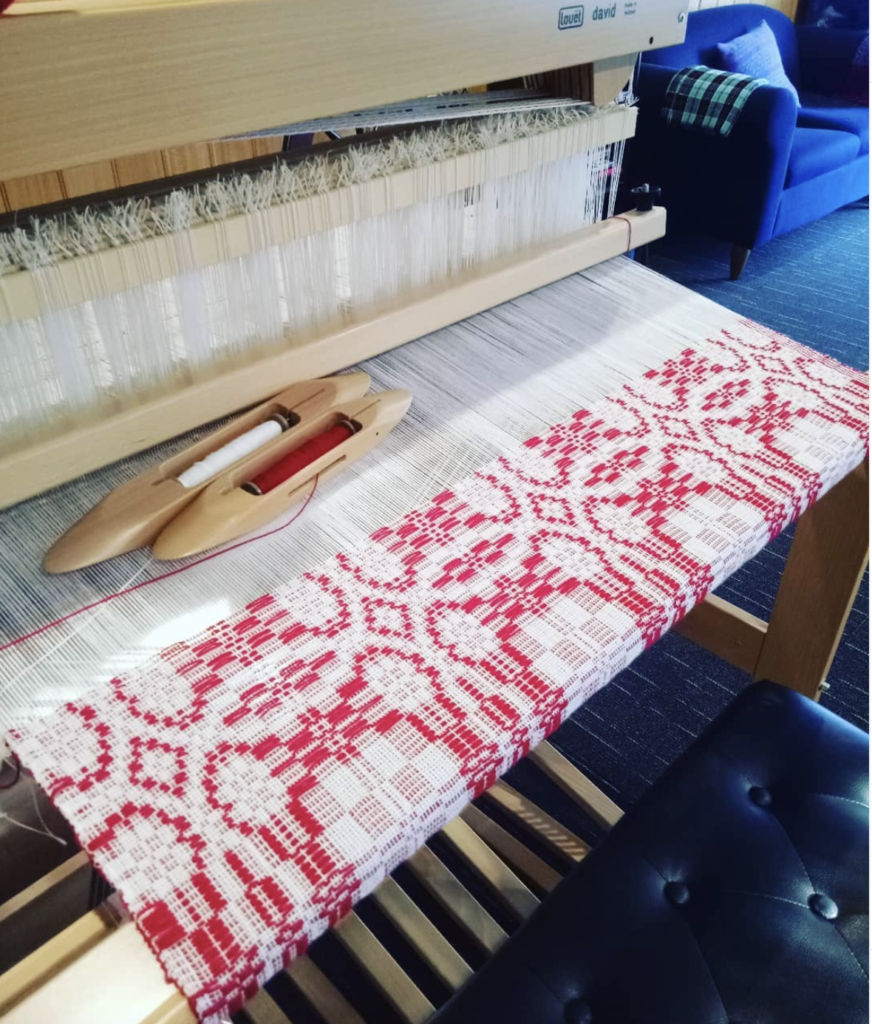
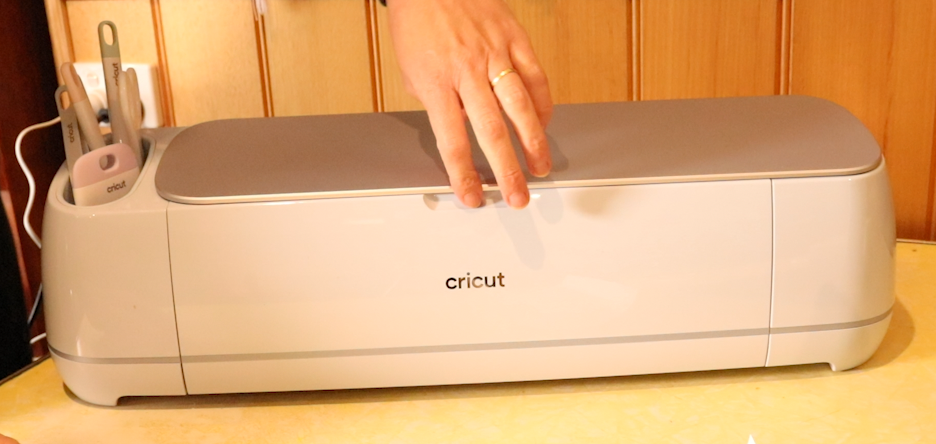
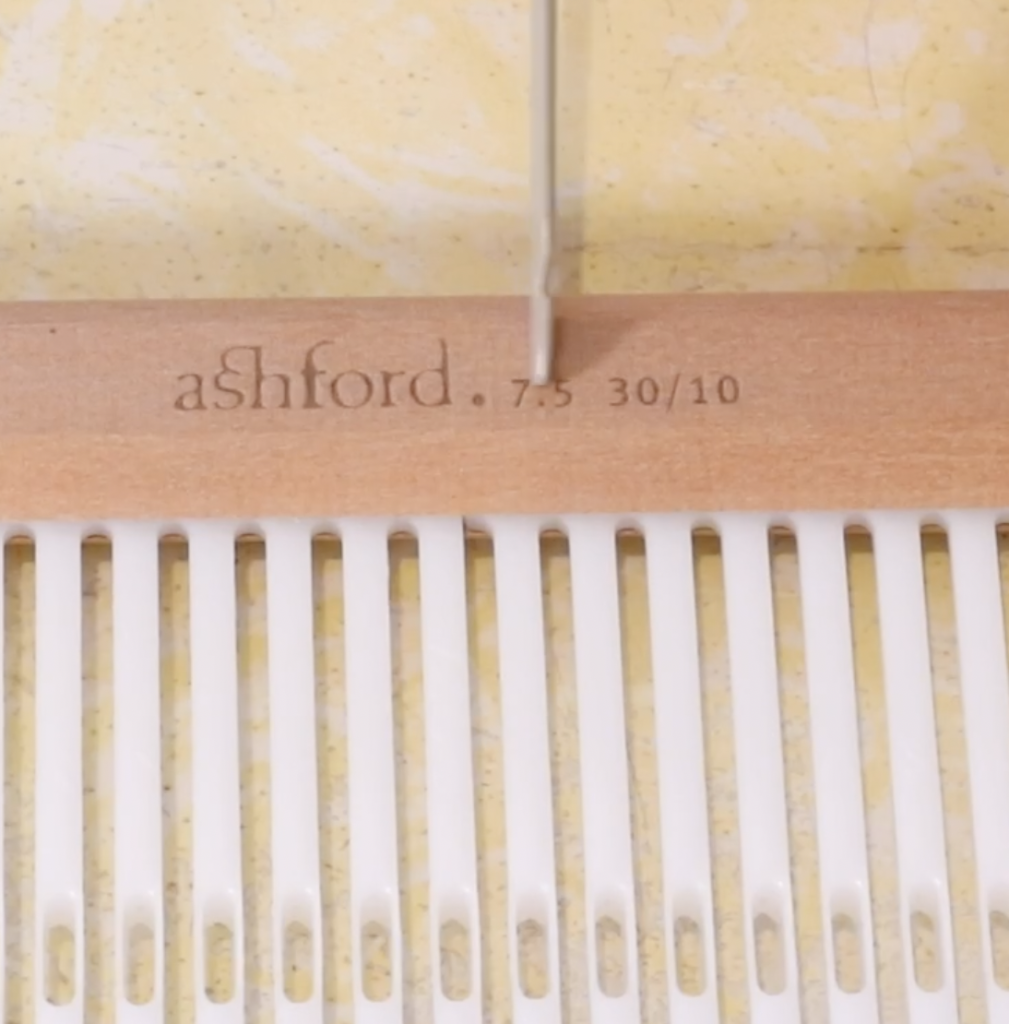
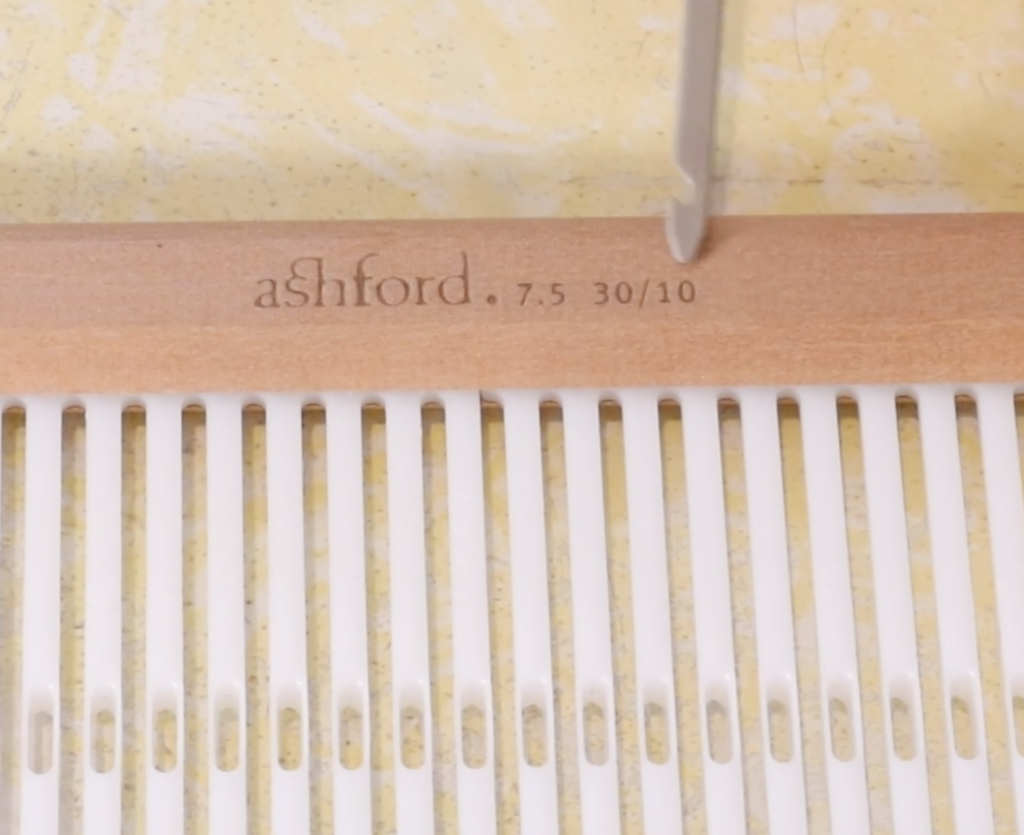
Equipment used in the making of this tutorial:
For detailed weaving lessons, check out my Online Weaving School.
I hope this is helpful to you, leave your questions or comments below.
Until next time…
Happy Weaving!