Many years ago, my sister in law used to make this bread. It was in the days when the zucchinis from the garden were plentiful and Autumn weather had set in. Baking this bread always brings back very fond memories of that time for me.
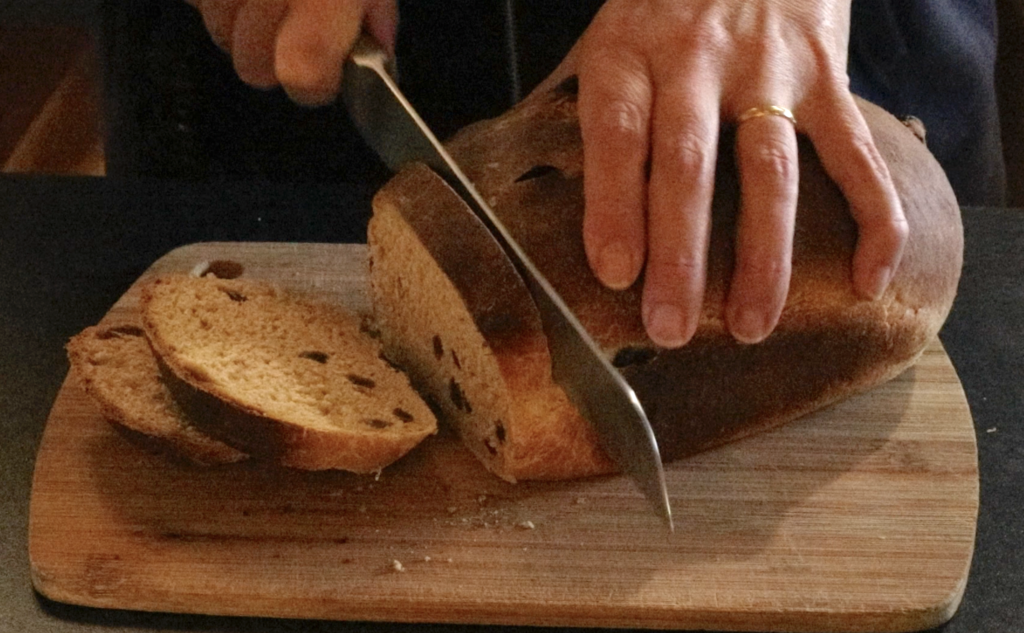
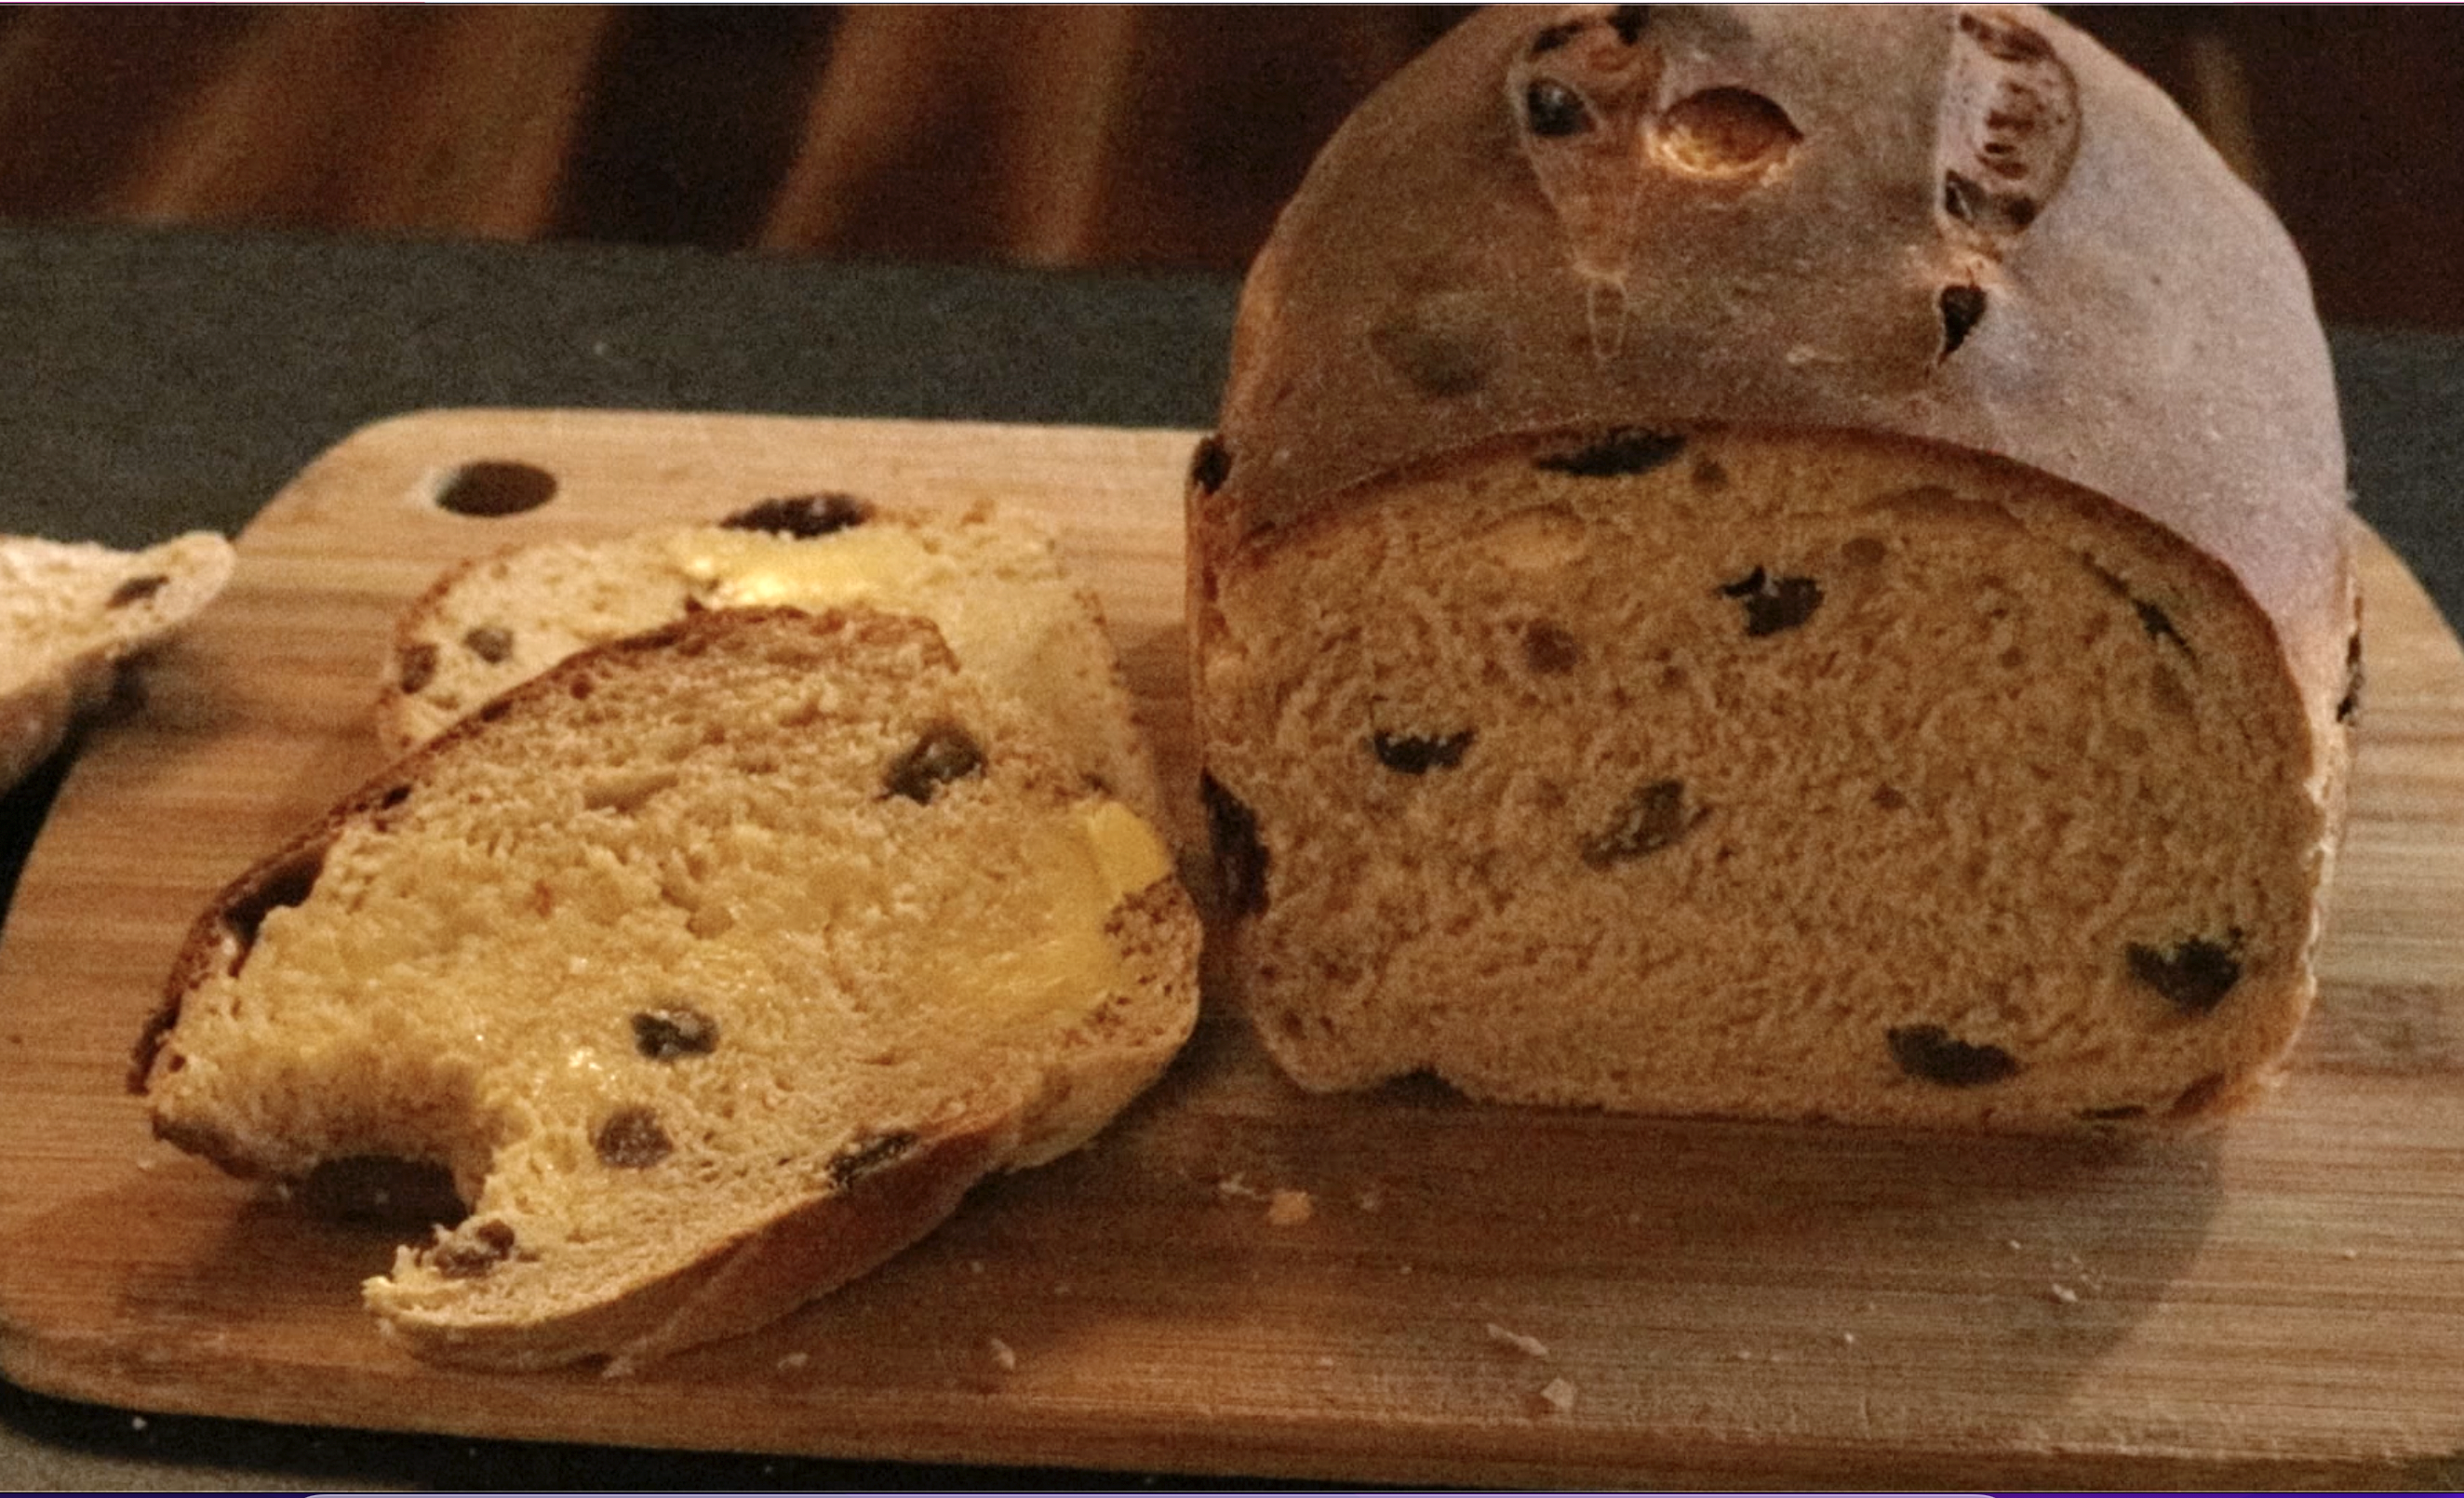
Jump to RecipeI feel that that naming the recipe “bread” is a little misleading, as it’s really more similar to a cake in taste and texture.
- This post contains affiliate links. For further information, see my disclosure policy.
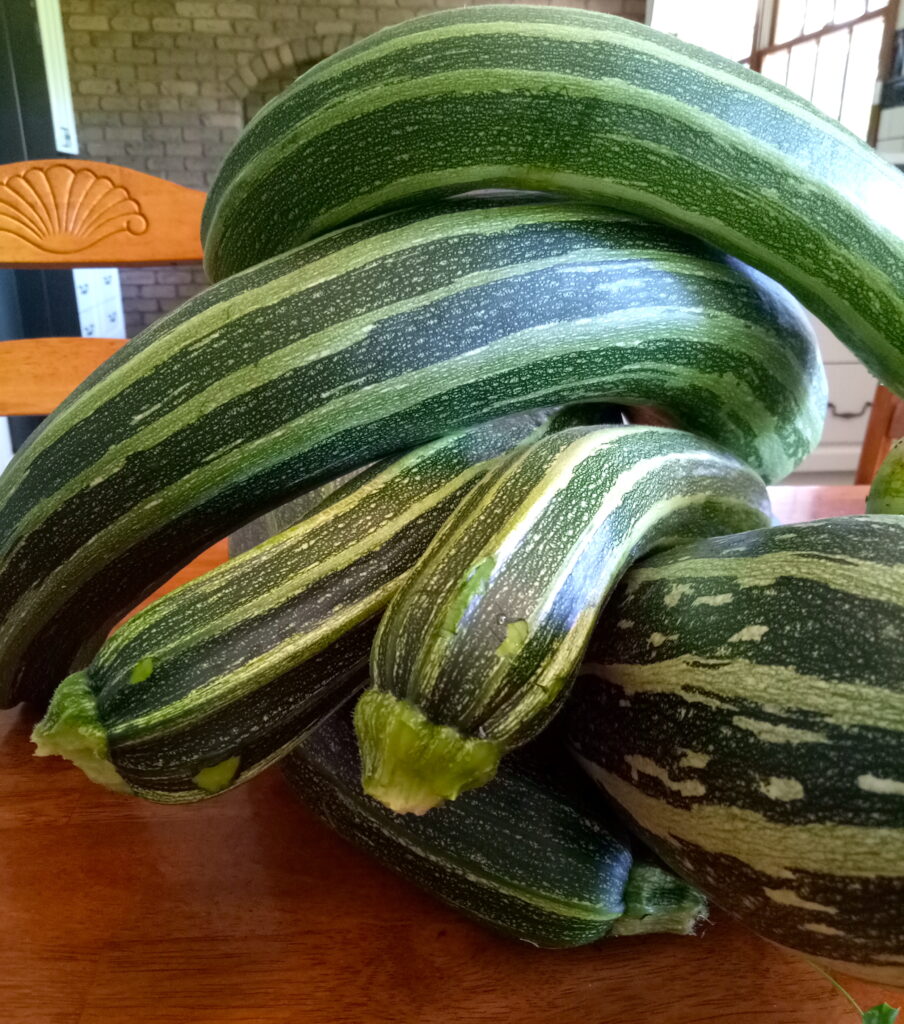
Currently, we are knee deep in zucchinis. So, so many zucchinis. Grating, roasting, steaming, freezing, making relish. So, this beautiful zucchini bread is a lovely treat and a great way to use up excess fresh zucchini.
Another thing I love about this recipe is that it uses everyday ingredients that I always have on hand. Ingredients like flour, sunflower oil, vanilla extract, walnuts and ground cinnamon are all easy to come by.
This is also a very simple, one bowl, mix and bake cake. That’s my kind of baking!
There is no need to skin your zucchinis prior to grating, just make sure they are washed first. Leaving the skin on adds colour and keeps more of the nutrients in the vegetable.
You will need a medium to large mixing bowl to mix up the ingredients. I love to pull out my vintage manual hand beaters for beating the eggs, oil and vanilla.
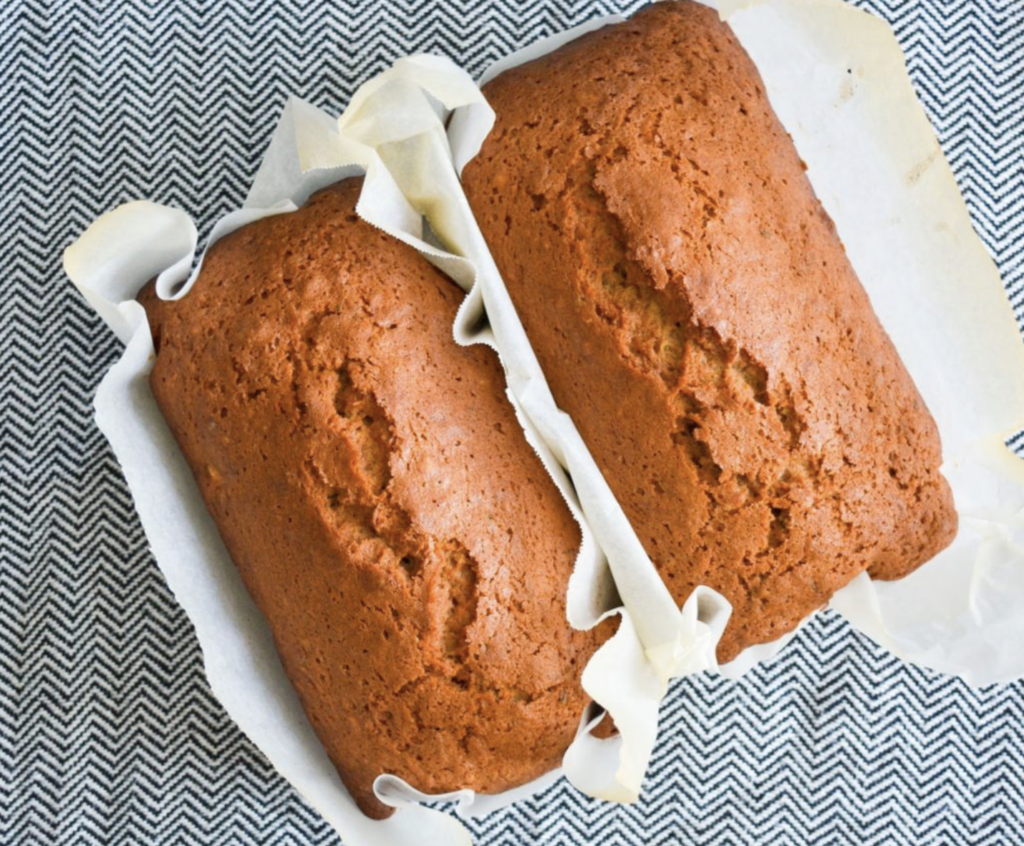
I use loaf baking tins and I always line them with non stick baking paper, even if the tins are non stick. This helps to preserve the tins for a long time, and I use the same sheets of paper over and over until they are no longer useable – I get many uses out of them. This is, of course, optional.
This recipe makes 2 generous sized loaves.

Ingredients
Method
- Preheat oven to 180 degrees celsius (350 Fareneit)
- Grease and line 2 x 14cm x 22cm (5.5″ x 8.5″) bread loaf tins.
- Beat eggs until they become pale in colour and fluffy in consistency.
- Add the sugar, oil and vanilla. Beat until thick.
- Stir in the grated zucchini.
- Sift the flour, baking powder, bicarbonate soda, salt and cinnamon into the wet ingredients. Fold the ingredients together.
- Fold in walnuts, if using.
- Pour equal amounts into the 2 tins. Bake for 1 hour or until a skewer inserted into the centre comes out clean. Allow to sit in tins for 5 minutes before turning out onto a baking rack to cool. Lovely to eat warm or cool.
The sugar content is quite high (though, remember you are making two loaves, not one) and I can imagine that you can substitute or even just reduce the amount, as it is quite sweet anyway.
*Tip* If you have a glut of zucchinis, you can grate and freeze the flesh. That way you can have zucchini on hand throughout the year to make recipes like this one year round. Simply defrost the frozen zucchini and use as normal.
Want to make a double batch and freeze the extra loaves? This recipe is perfect to freeze, so go for it – I do this frequently 😉
I hope you try this recipe, let me know if you try and enjoy it!