In the fiber arts community, we are often surrounded by images of “hustle.” We see weavers finishing beautiful projects in a weekend or posting daily updates of their perfectly manicured studio spaces.
For a long time, I felt I had to participate in that “polished weaving” version of reality. I only showed up on my good days, hiding away when the fatigue or illness took over.
But the truth is, a large portion of the weaving community lives with chronic illness, injury, or the physical changes that come with aging. After all, we are regular people from all different backgrounds and circumstances. If we only talk about weaving when we are at 100%, we leave out the beautiful, quiet work that happens in the “in-between.”
Hiding behind an illness can also be a missed opportunity to share. It’s only through talking about our difficulties that we discover there are others struggling as well.
If you are struggling to balance your love for the loom with a body that needs extra care, this guide is for you. Here are some ways we can adapt our craft to be a source of healing rather than a source of stress and disappointment.
1. Redefining Productivity: The “Investment” Mindset
When you live with a chronic illness, a “bad day” can feel like a failure. I used to spend my resting hours feeling guilty, thinking about the yardage I wasn’t weaving or the classes I wasn’t filming. Not only that – I felt like a burden on those around me.
I’ve had to learn to turn that narrative around. When you are resting, you aren’t “doing nothing” – you are investing in your next good day.
On the days when your body says “no” to the loom, try these low-impact creative investments:
- Passive Learning: This is the perfect time to watch YouTube tutorials or documentaries on weaving, textile history or other crafts you love. It keeps your mind engaged and your skills growing without requiring a single physical movement.
- Digital or Mental Design: Use a tablet or a good old fashioned notebook to sketch out colour palettes, draft patterns and form ideas for future projects.
- The “Baseline” Grace: Accept that some days are only for survival. Your loom will be there when you feel better. Recognizing that you need a “Quiet Day” is a skill in itself.

2. The Ergonomic Loom: Choosing Your Partner
One of the biggest hurdles to weaving with illness is the equipment itself. We often choose looms based on what they can make, but we should be choosing them based on the reality of our ability to use them.
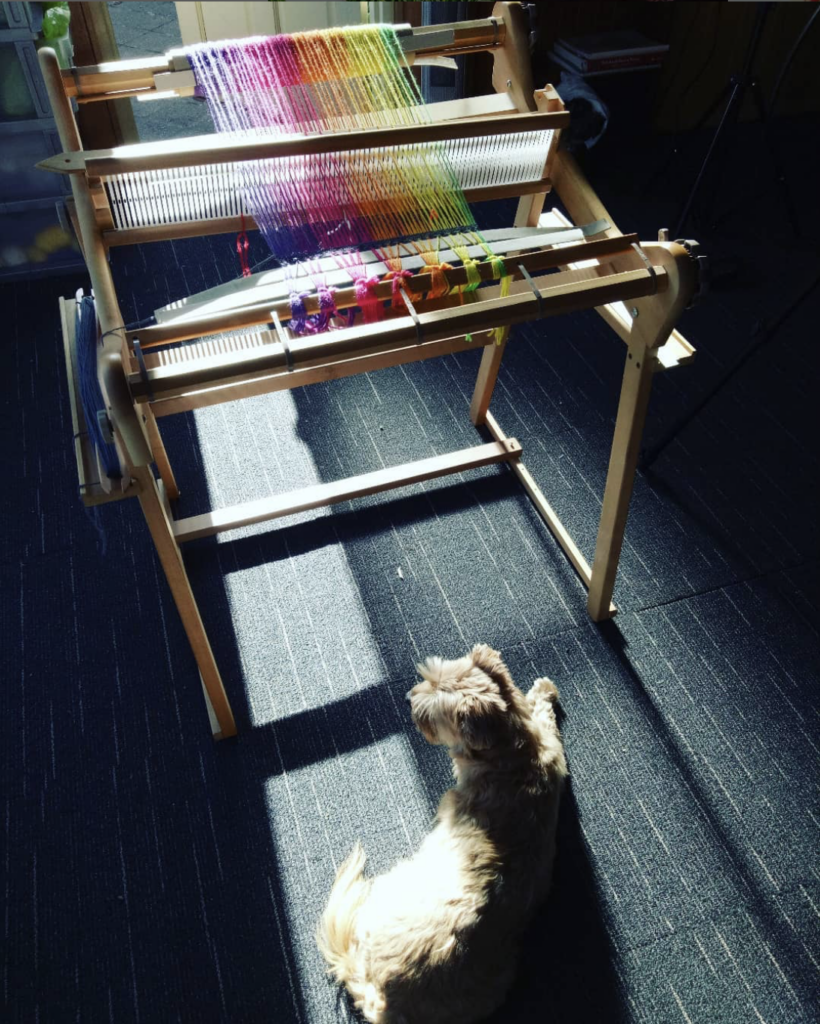
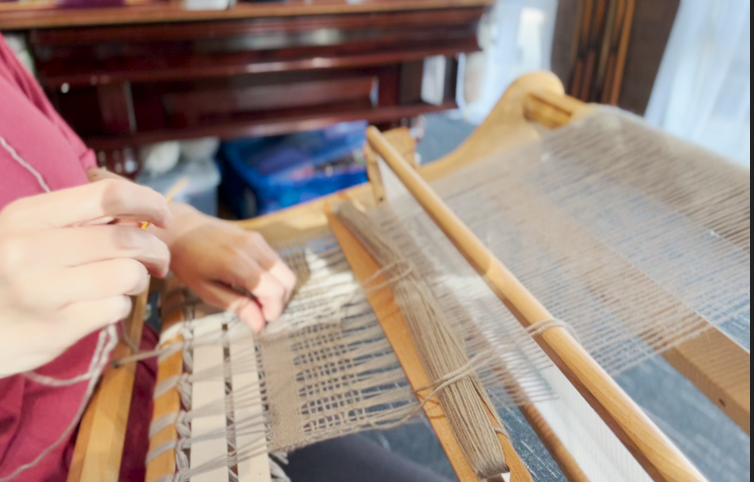
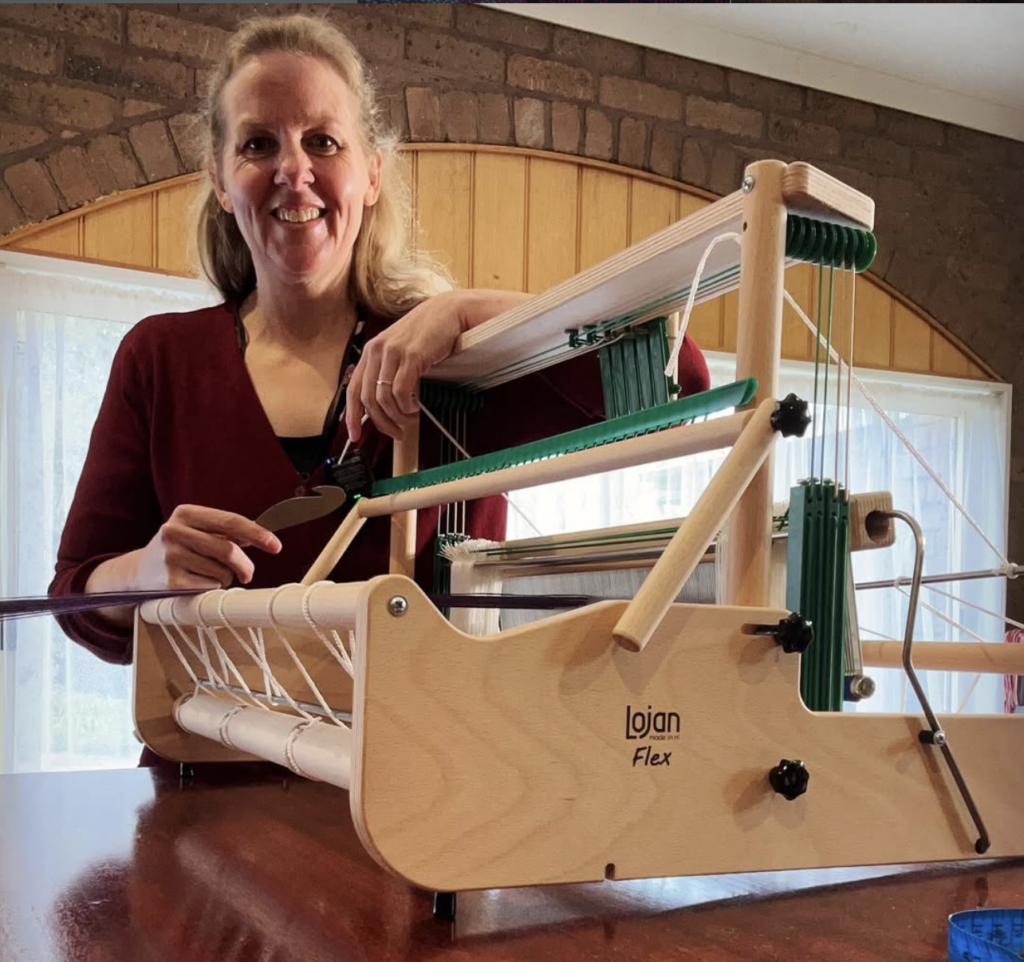
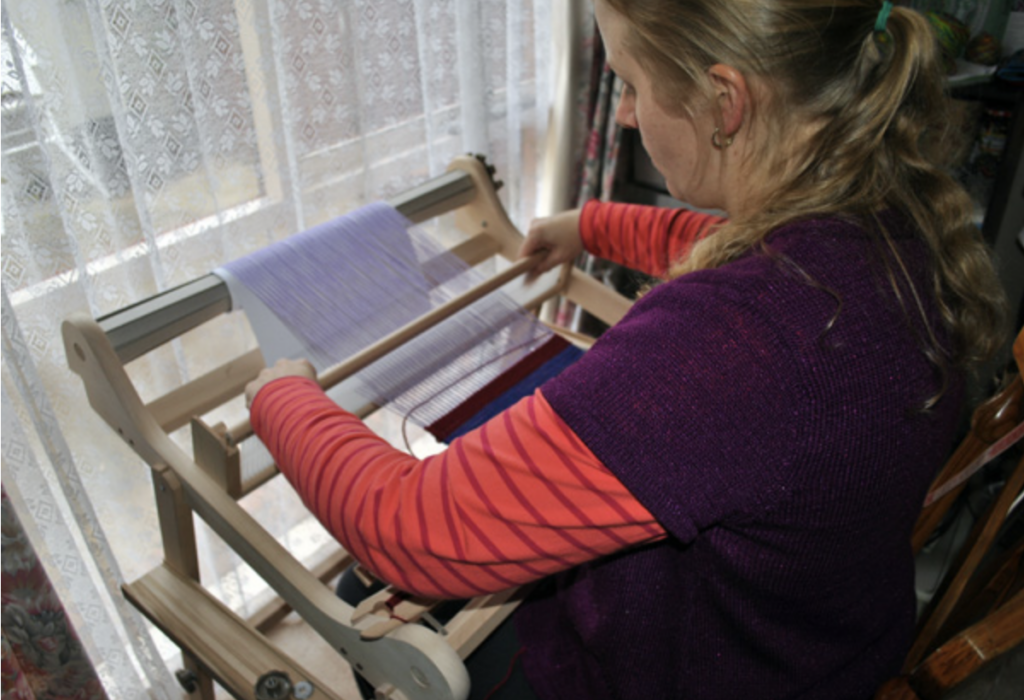
Make Friends with a Rigid Heddle Loom
Rigid heddle looms are typically smaller and for most weavers, they are easy on the body. Pair a rigid heddle loom with a stand and a comfy chair where you can tuck yourself right in against the loom, and you have a very comfy weaving situation!
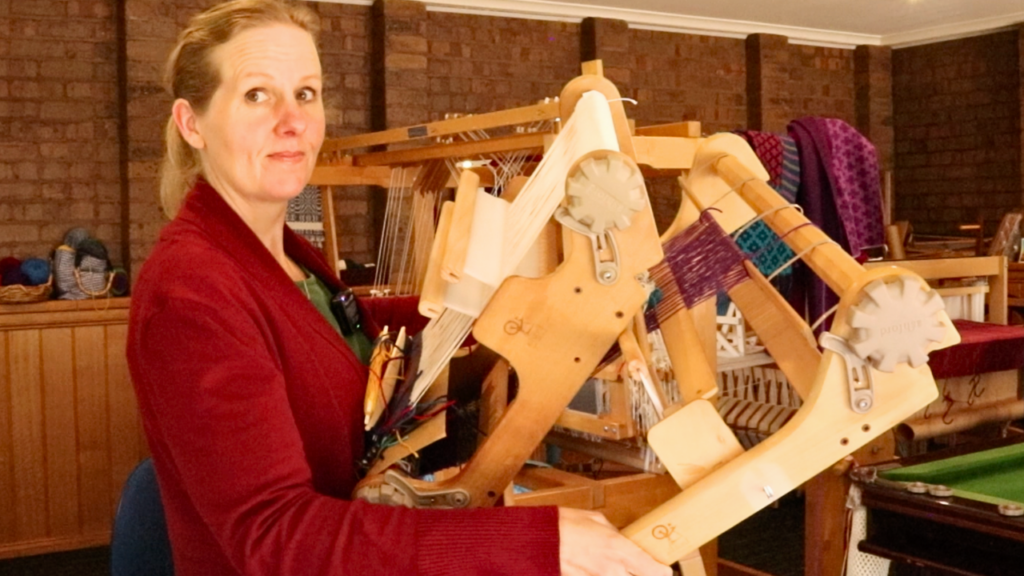
Why a Floor Loom Might Be Better Than a Table Loom
It seems counter-intuitive, but for many with chronic pain, a floor loom is actually more accessible than a table loom.
- Distribution of Work: On a table loom, your upper body does everything. You are constantly reaching for levers and passing the shuttle, which can lead to neck and shoulder strain for some weavers.
- The Floor Loom Advantage: A well-designed floor loom distributes the work. Your legs handle the heavy lifting of opening the shed, while your arms guide the shuttle. This “whole-body” movement is often much more sustainable for longer weaving sessions.
Looking for “Light” Design
If you are in the market for a floor loom, look for words like “light treadling”. For example, my Louet David Floor loom has been a game-changer for me. It’s designed so that the treadling stays light even with complex tie-ups, and the loom itself is light enough to be moved easily across the floor.
3. Creating a “Restful” Creative Kit
I highly recommend having a “Tier 2” creative hobby—something you can do when you are too unwell for the big loom but too restless to do nothing.
- The Lap Loom: Small frame looms or tapestry looms can be used in a recliner or even in bed. They allow you to feel the yarn and play with colour without needing to sit upright at a bench. I like to play around with my inkle loom or zoom loom when I don’t feel up to something larger.
- The Portable Arts: Knitting and crochet are the ultimate companions for chronic illness. They are portable, lightweight, and can be picked up for five minutes or two hours depending on your energy levels.
4. Practical Hacks for the Studio or Creative Space
When you do have the energy to weave, make sure your setup is doing the work for you:
- Lighter Tie-ups: If your floor loom feels heavy, experiment with your tie-up. Sometimes pressing two treadles at once is physically easier than one heavy treadle.
- The Dobby Option: While expensive, Dobby looms (mechanical or electric) are the “gold standard” for aging weavers or those with mobility issues because they automate the most strenuous parts of the process.
- Seated Preparation: When warping, don’t feel like you have to stand at a warping peg. Find ways to sit (try seated warping!), use a warping board at eye level, or take frequent breaks between sections.
5. Weaving Related Activity
You don’t have to be physically weaving to be involved. Tidying up a few things in your weaving space, leafing through your favourite weaving books, prepping yarn or shuttles are simple activities that don’t take a lot of time, but contribute positively towards your next weaving session.
Final Thoughts: You Are Not Alone
The most important point I wanted to share is this: You can still be a weaver. Your limitations might change the way you weave, the speed at which you weave, or the tools you use, but they do not take away your identity as a maker.
Don’t be hard on yourself. Every moment you spend refreshing your body is a moment spent ensuring you can keep weaving for years to come.
And don’t forget gratitude! Be grateful for every minute you get to spend at the loom – it’s a privilege!
I shared a raw and honest video on Youtube about Weaving with a Chronic Illness, you can watch that here:
I’d love to hear from you. How have you adapted your loom or weaving space to fit your needs? Do you have a “go-to” activity for when you’re not well enough to weave? Let’s share our “hacks” and support each other in the comments below.
Until next time…
Happy Weaving!
*This post contains affiliate links. For further information, please see my disclosure policy here.