Have you been wondering about my Online Weaving School? Maybe you have visited already but feel unsure about where to get started? Today I am going to address some of my most frequently asked questions!
What is your Online Weaving School?
It’s a place I’ve created online for weavers of all different levels and abilities to learn. Because the lessons are all online, the student can learn at their own pace, in their own time, and in the comfort of their own home.
How do I take a class?
You need to be registered and have an account to purchase classes. This is a simple process using your email and a password. Making an account does not cost you anything.
You can look through the classes available, read a little about them and view the curriculum. Many of my classes are available as single purchase classes and there are quite a few free classes you can take as well.
What is a membership?
You can also purchase a membership. This gives you access to a library of classes and projects. Some of these classes are only available to members. Members are invited to join a private member’s group where we share photos, discussions and ideas. There are also occasional giveaways and live videos just for members.
Member’s also have access to Member’s Only Classes. There are currently 16 of these classes available that are not available to the public.
You have access to the library of classes while your membership is active. If your membership payments lapse or you cancel, you will no longer have access to the classes.
What is the difference between a monthly and yearly membership?
If you want to purchase a membership, you have several choices. Currently available are the Premium Membership, the 6 month membership and the monthly membership.
What classes are included in a membership?
Currently, all classes are included.
Premium members also enjoy early access to all new classes as I make and upload them. This means that Premium members can access this new content weeks and sometimes months before it’s actual release.
Are memberships always open?
Yes, you can purchase a membership at anytime.
What is Weaving Boot Camp?
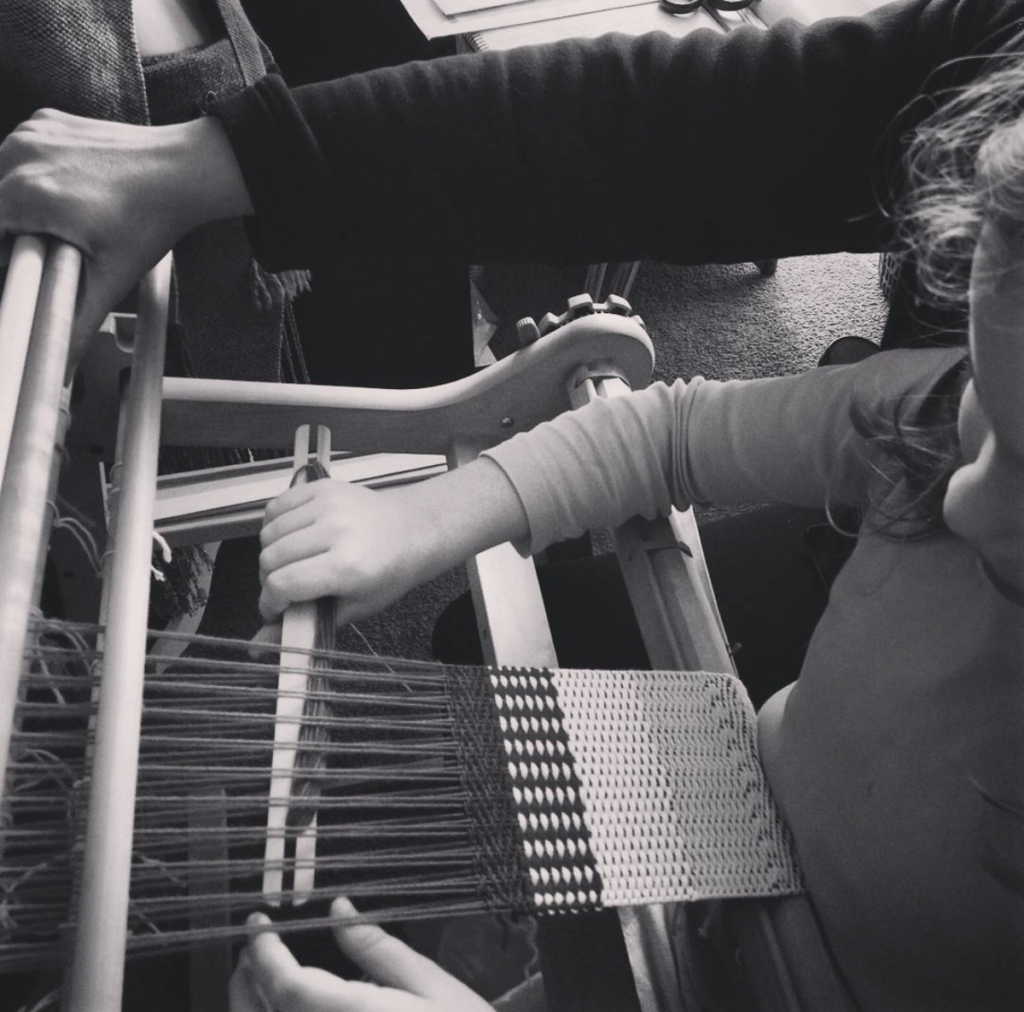
This is a great opportunity for newer rigid heddle weavers, or those who have not yet gained the confidence they desire. The course runs over 4 weeks and is designed to get you going with your loom with step by step instructions and demonstrations. I have had many students tell me that this was the class that solidified weaving for them.
Is Weaving Boot Camp always open?
No. It opens once a year, for a limited time. The best way to keep updated on opening times is through joining my email list.
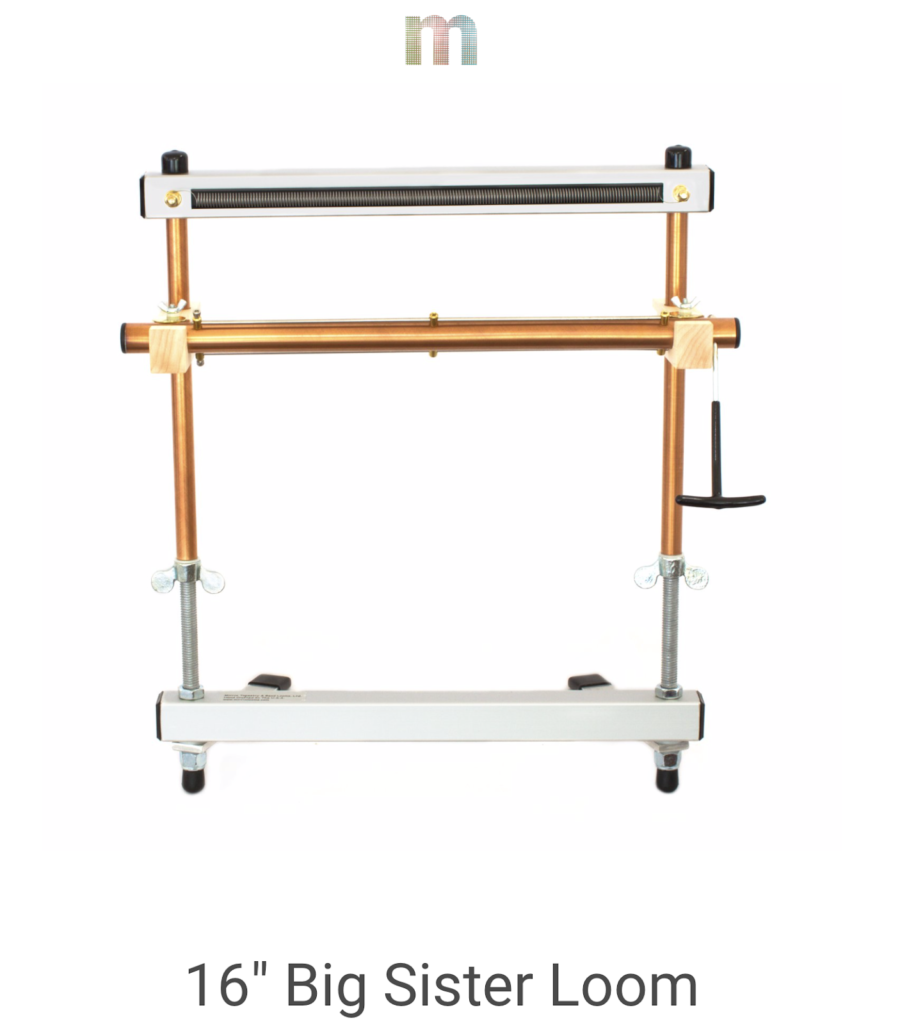
Are all of your classes for the rigid heddle loom?
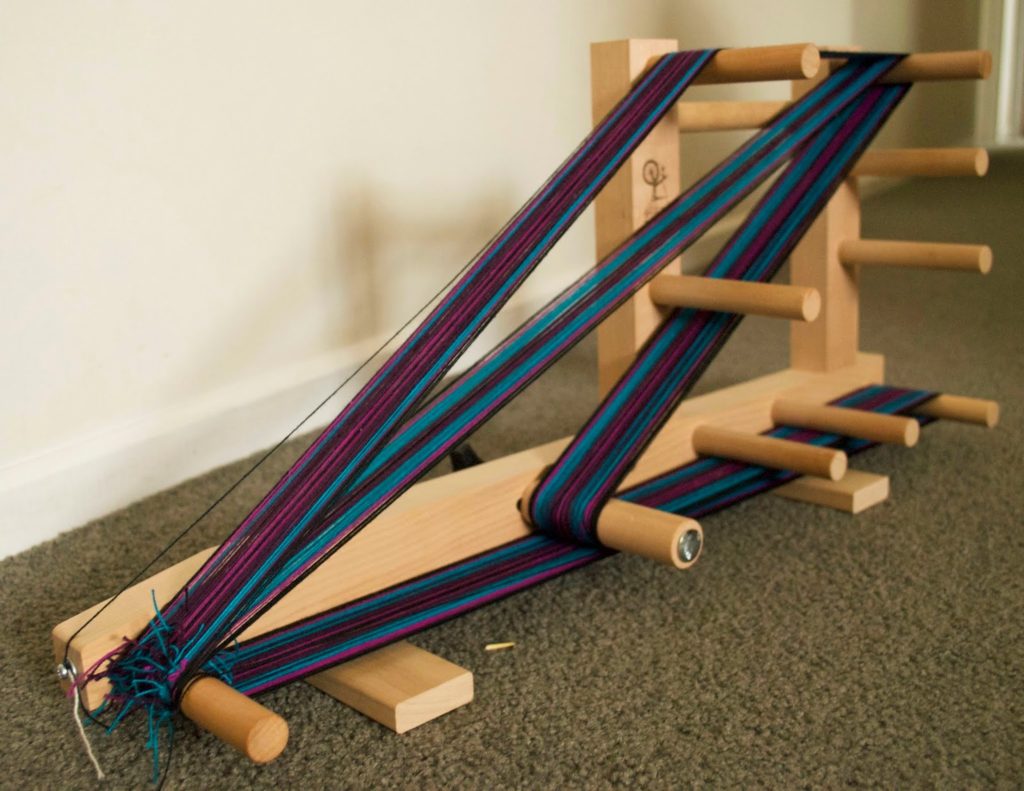
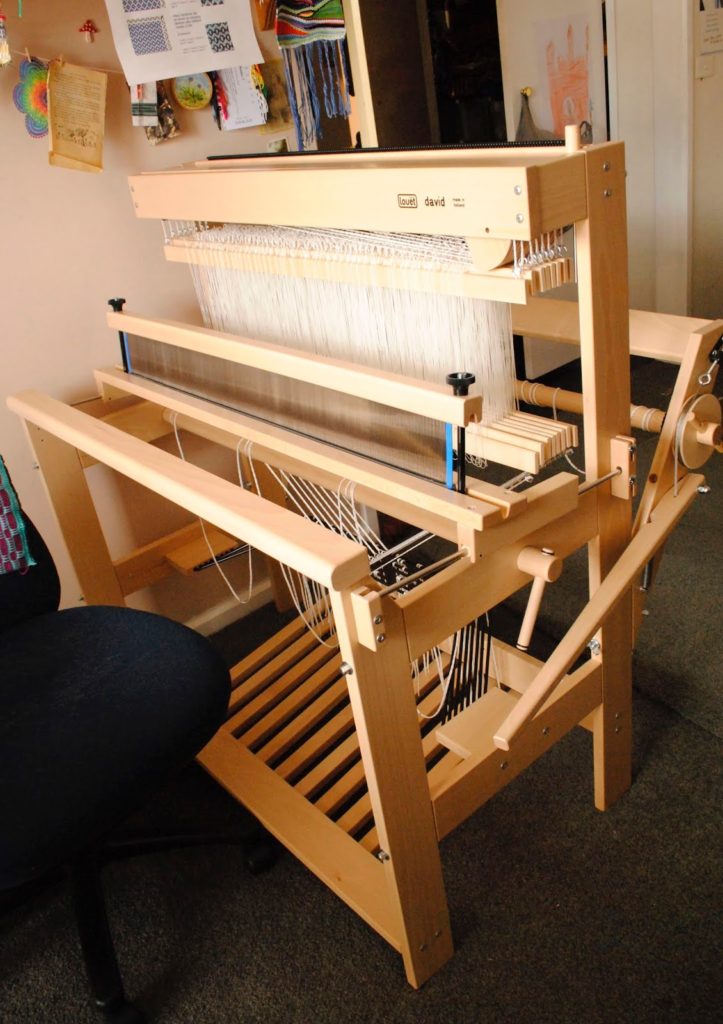
Most are, as they are the most in demand. I also have an introductory class for floor loom weaving plus a follow up to this class. There is the Weaving on a Table Loom course. I also have classes for inkle weaving, and plans for more floor/table loom classes and classes that incorporate other fibre art techniques.
Is there a time limit to watching a class?
No. Once you have purchased a class, you have lifetime access and can view at your leisure. You can go back and rewatch as many times as you wish.
Are memberships always open?
Yes, you can purchase a membership at anytime.
What is Weaving Boot Camp?
This is a great opportunity for newer rigid heddle weavers, or those who have not yet gained the confidence they desire. The course runs over 4 weeks and is designed to get you going with your loom with step by step instructions and demonstrations. I have had many students tell me that this was the class that solidified weaving for them.
Is Weaving Boot Camp always open?
No. It opens once a year, for a limited time. The best way to keep updated on opening times is through joining my email list.
Are all of your classes for the rigid heddle loom?
Most are, as they are the most in demand. I also have an introductory class for floor loom weaving plus a follow up to this class. There is the Weaving on a Table Loom course. I also have classes for inkle weaving, and plans for more floor/table loom classes and classes that incorporate other fibre art techniques.
Is there a time limit to watching a class?
No. Once you have purchased a class, you have lifetime access and can view at your leisure. You can go back and rewatch as many times as you wish.
Are your classes downloadable?
Unfortunately not. Due to the prevalence of online course theft, I do not allow downloads of classes. Instead, when you access your classes they are streamed.
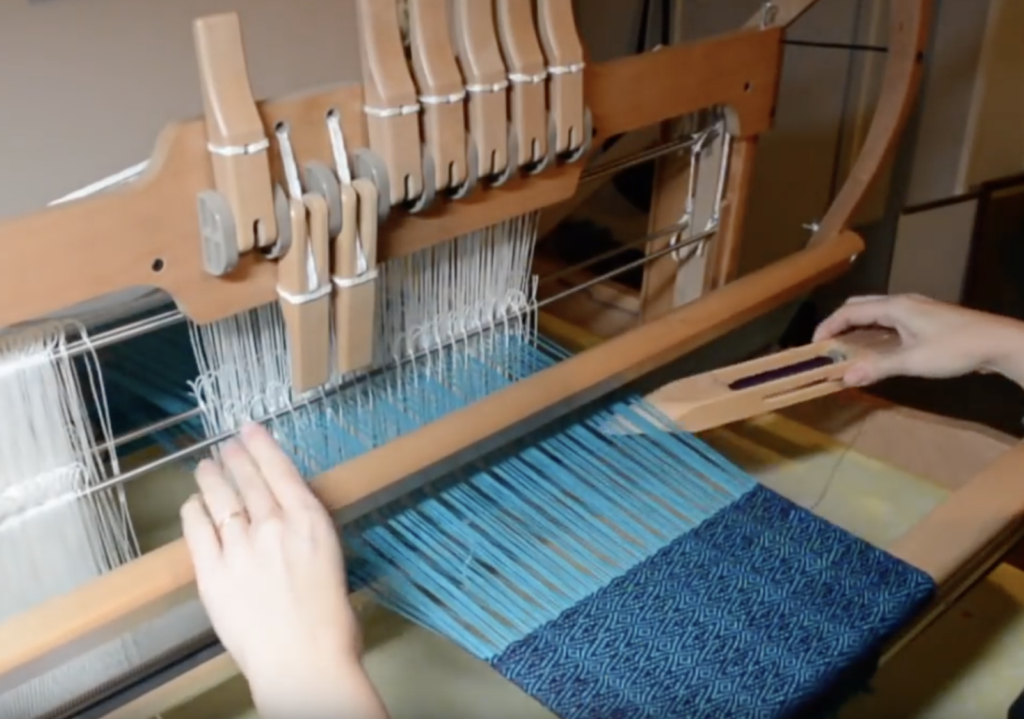
How is your Online Weaving School different to your Youtube channel?
Good question! Youtube is where the idea for my weaving school began. Youtube is mostly a short tutorial format and is fairly basic. My Online Weaving School is not just a learning platform, it is also a community. Classes are usually lengthy, with lots of video content as well as printable PDF’s. The general rule is, if you like my Youtube channel, you will love my weaving school!
Any more questions I need to add to this list? Let me know if I’ve missed any and I’ll either answer in the comments or update to include them in this list.
Happy Weaving!


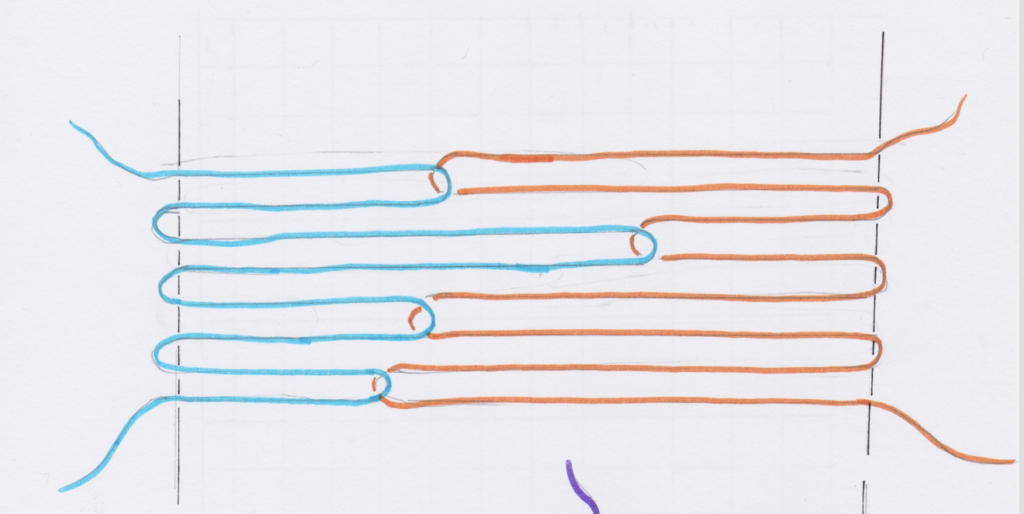
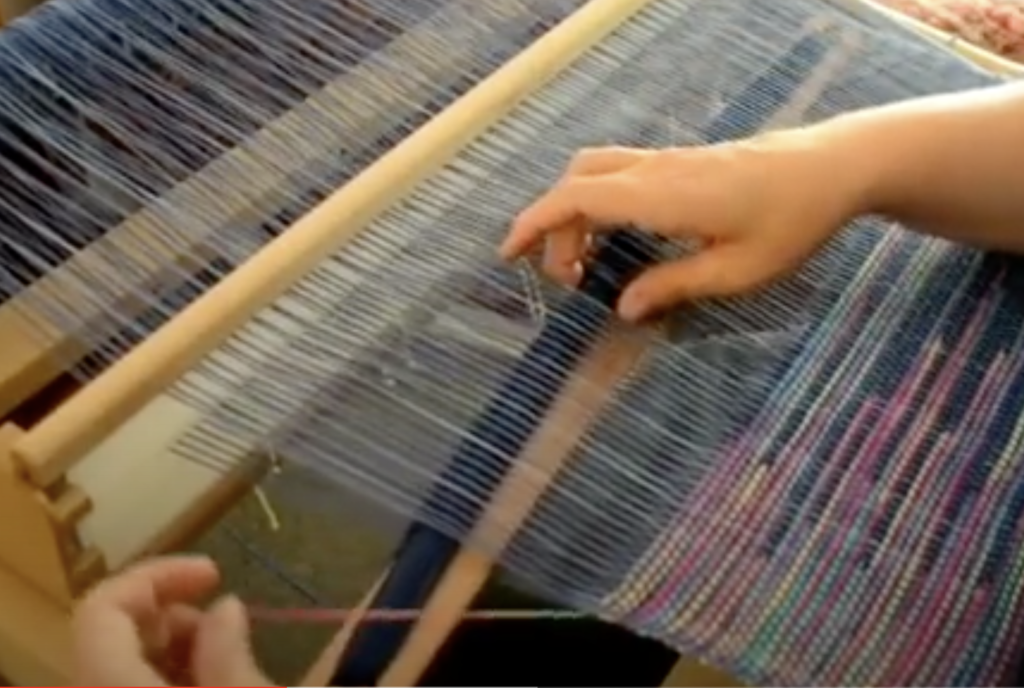
 On the right hand side (where your shuttle entered), tidy up and prepare your weft yarn as though you’re going to beat the pick in. If you’re not familiar with how to do this, watch my free video on