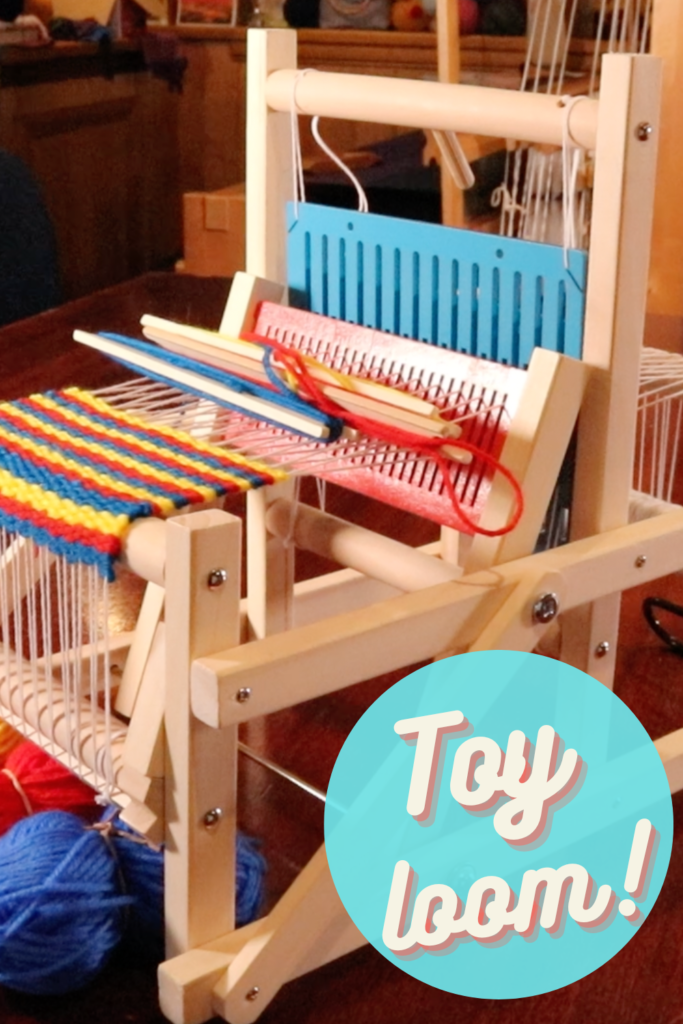
Asking how long a woven scarf “should” be is kind of like asking how long is a piece of string! However, since I personally have woven a heck of a lot of scarves, I can share the lengths that I typically use.
Today’s Ask Kelly question relates to not just the length of scarf, but how long should the warp be to obtain the desired length?
“If I want to create a pattern using different colors of DK 8 ply Bendigo Wool, what should I put on the loom for the length of a scarf?”
Laura
Now, as for the length of scarf, that does depend quite a bit.
When I’m planning a scarf I usually ask myself, do I want to be a “drape around the neck and go” scarf or do I want it to be a “wrap around the neck at least once” scarf?
For a shorter scarf I would generally do about 60” weaving length, then allow for fringes. For a twisted fringe, I would generally add 6-7” on each end of the scarf. So that would be 60 + 14 = 74”. That is without adding on shrinkage and waste allowance.
For a longer scarf I would be thinking 70” weaving length plus fringes and allowances.
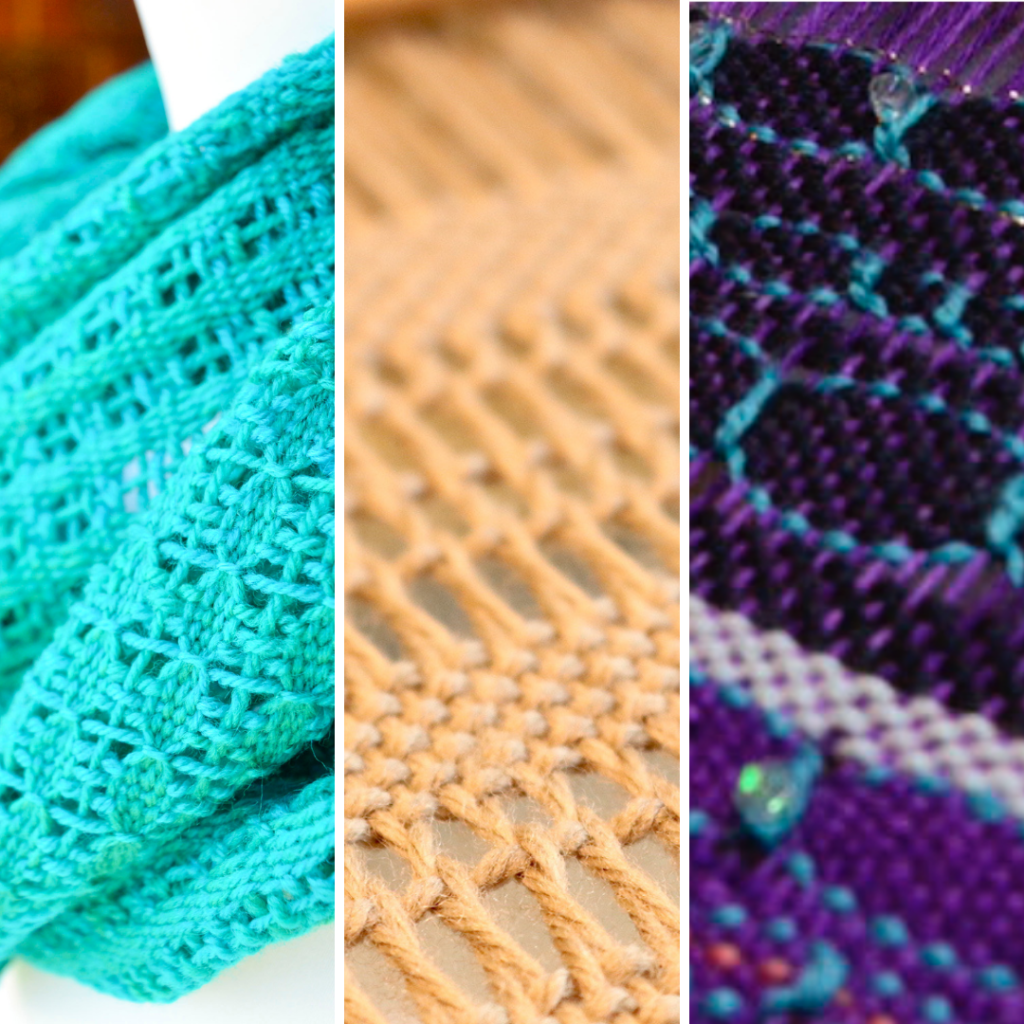
Here are some examples of various scarf lengths I’ve used:
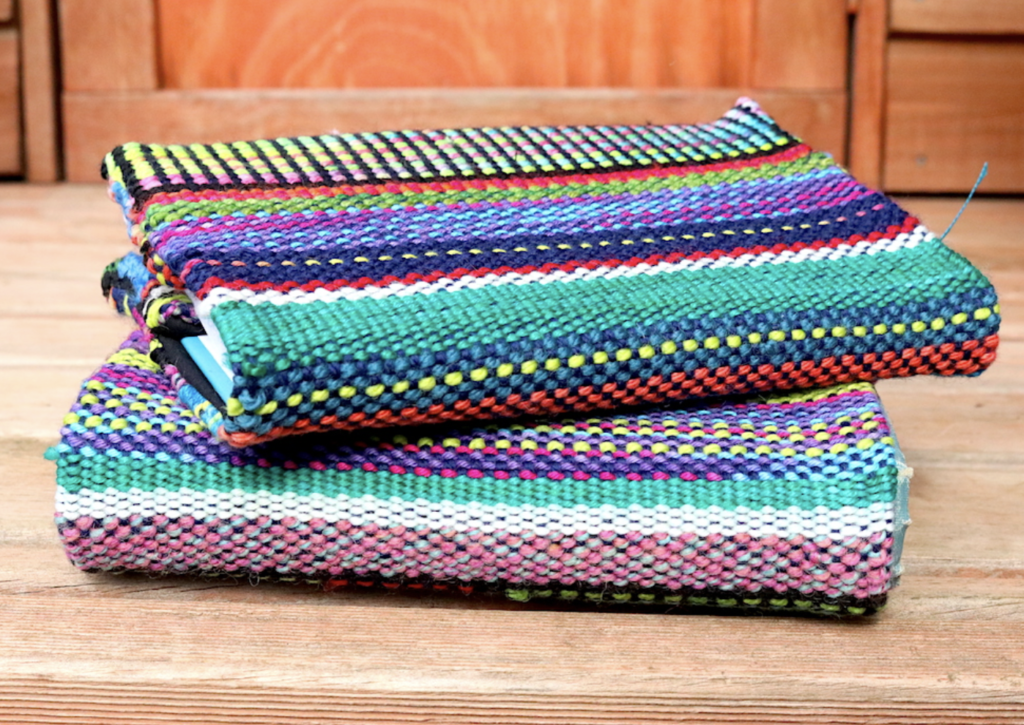
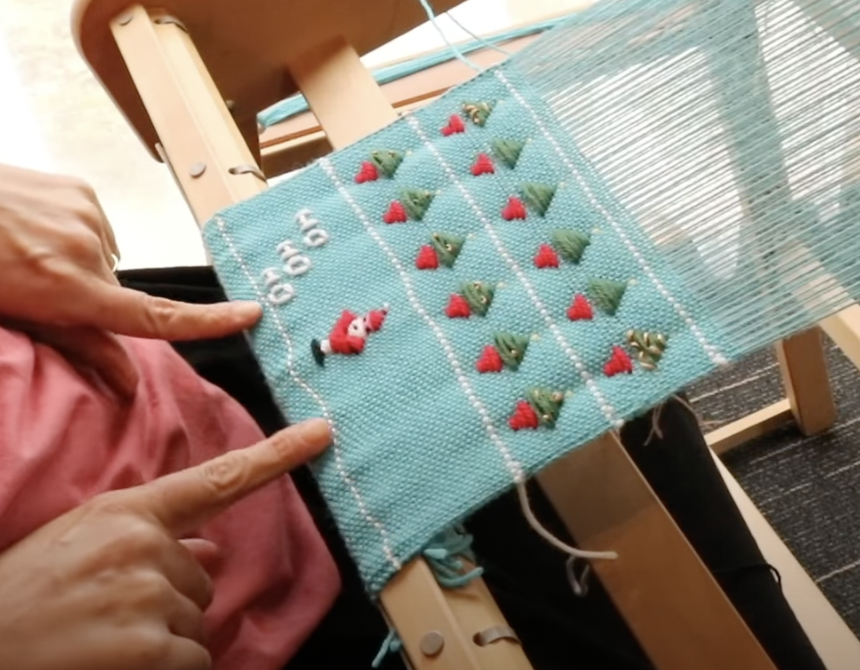
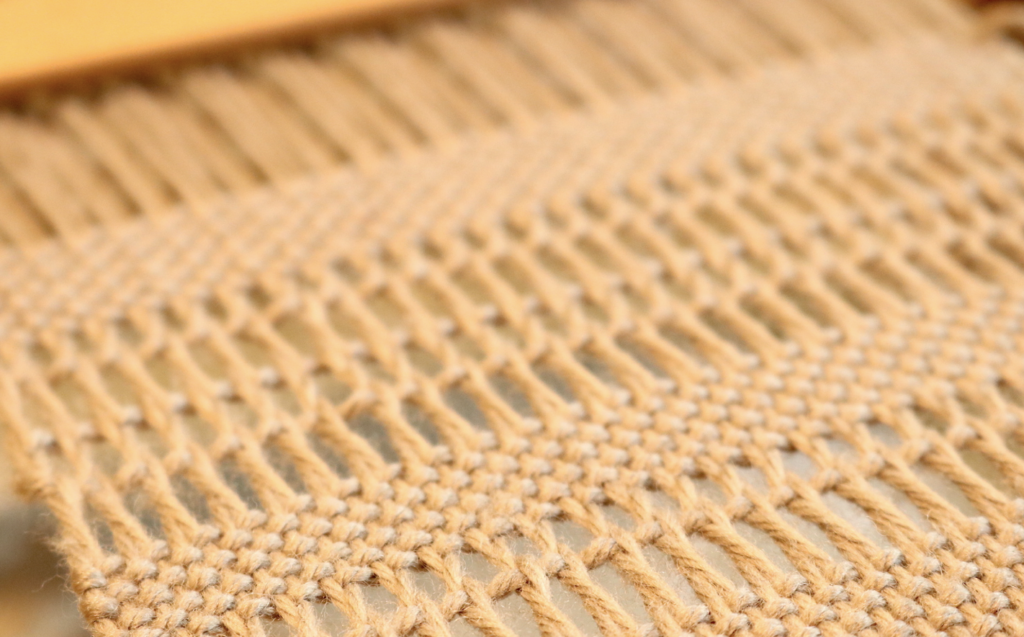
This one was a 68.5” weaving length + fringes.
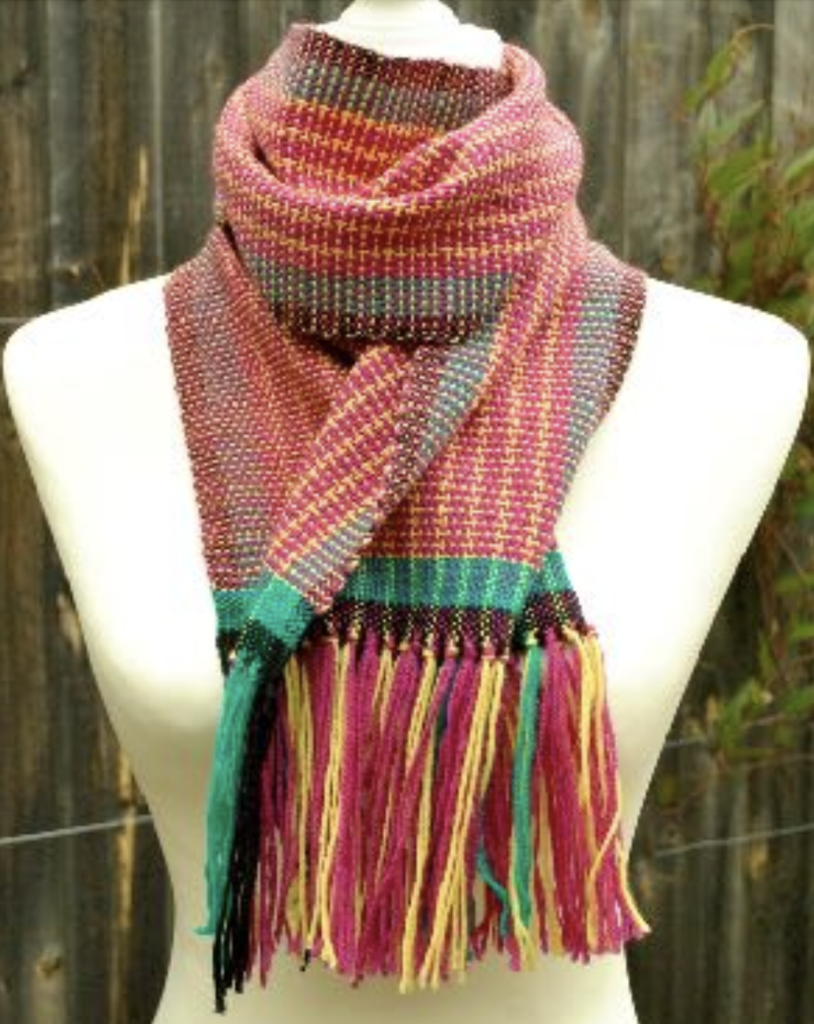
The Candy Store Project
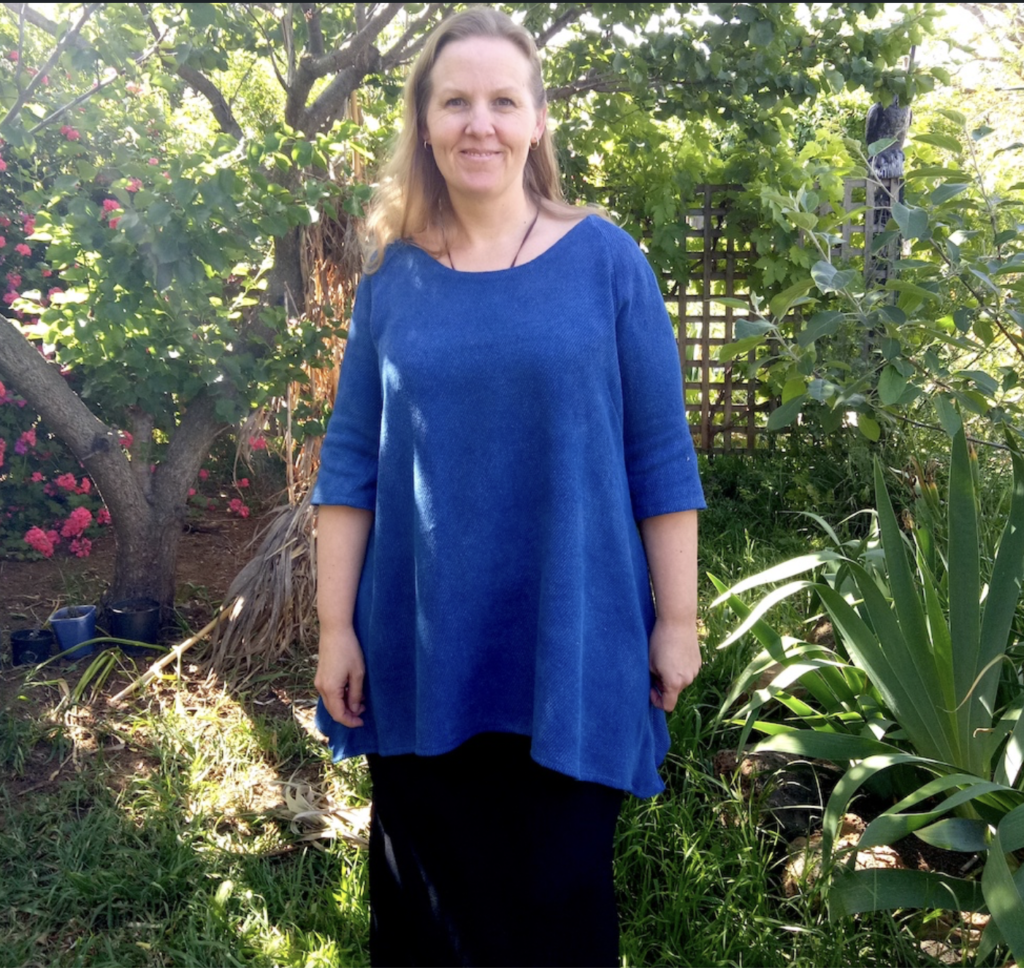
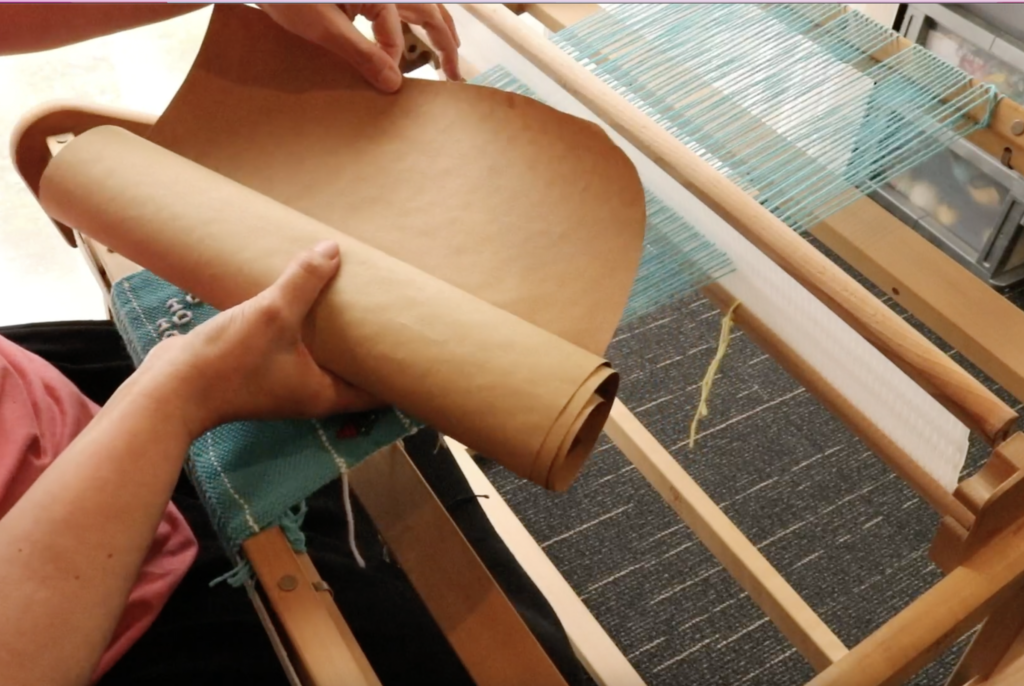
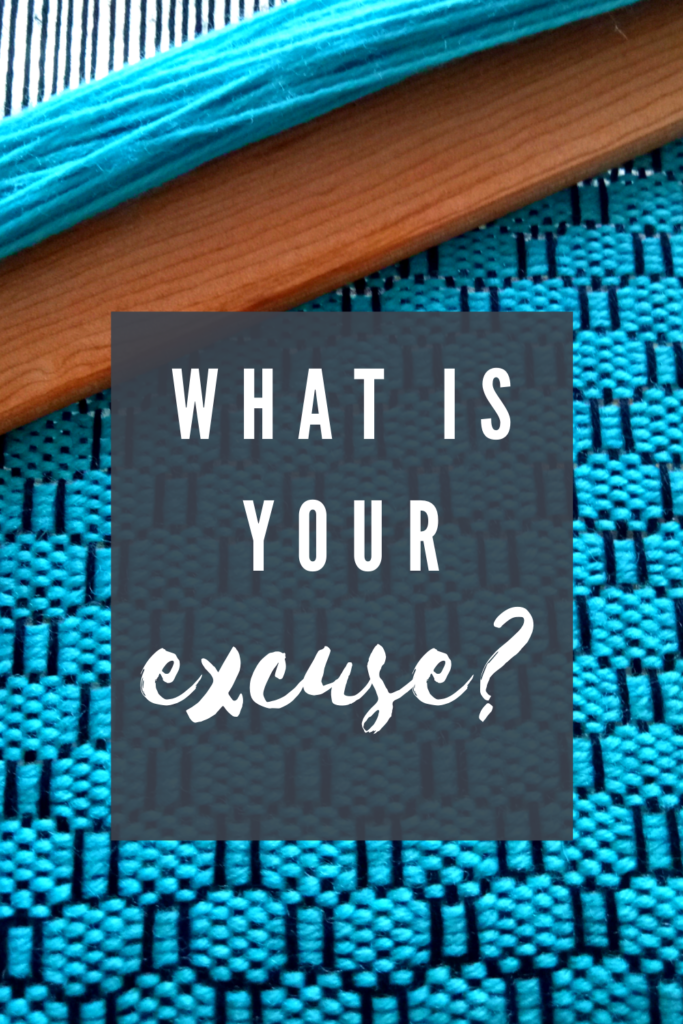
This one was a 60” weaving length. Yes, it is wrapped around but that is on a model that has a skinnier neck than mine. And it’s quite short in length when wrapped.
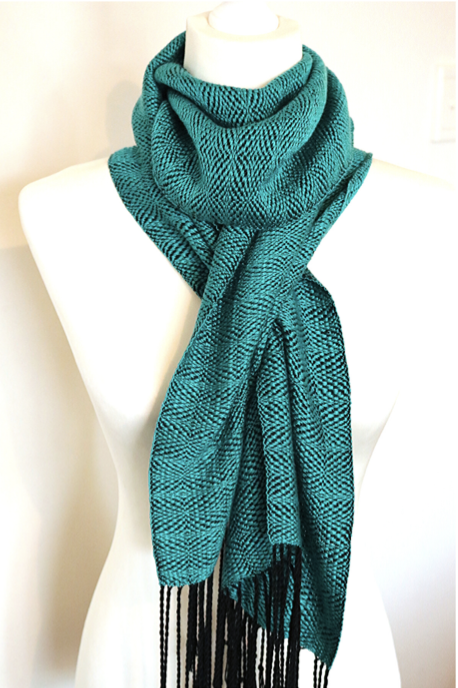
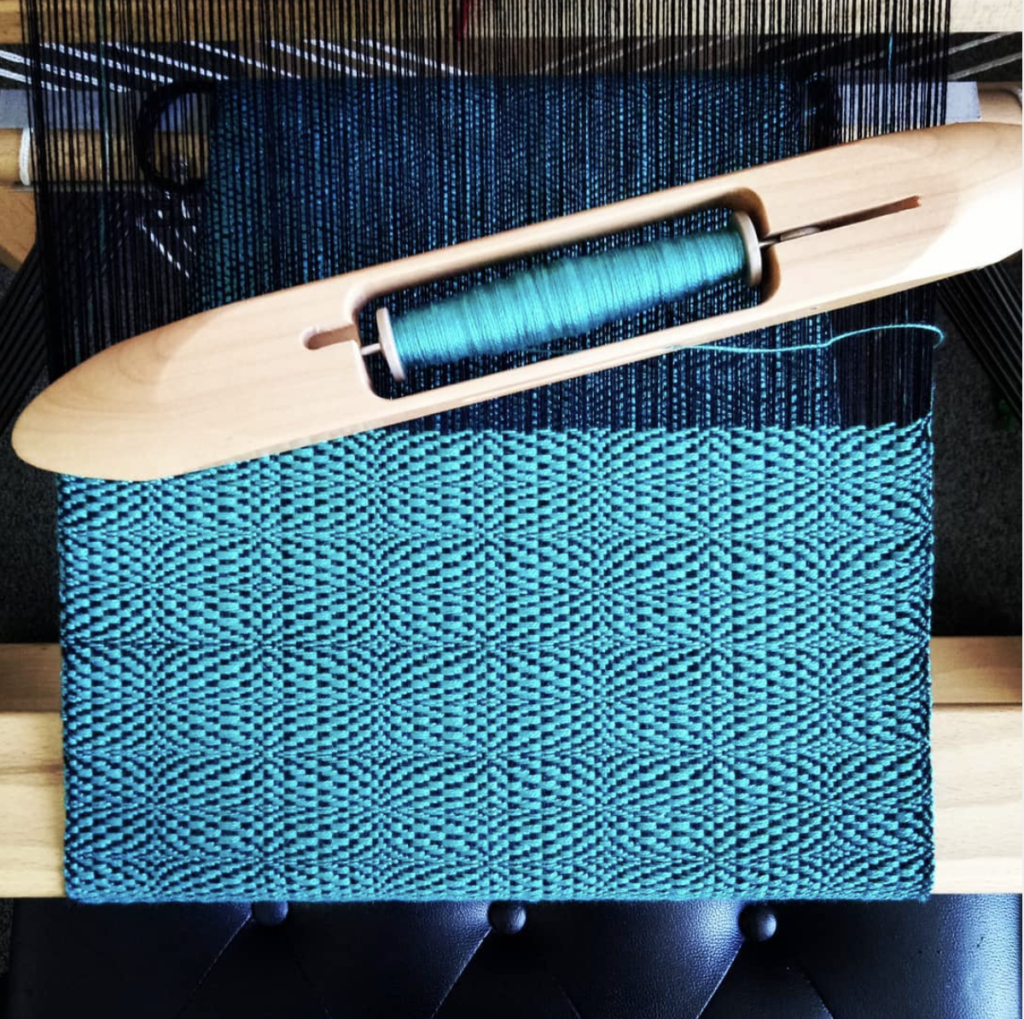
The Aquamarine Scarf
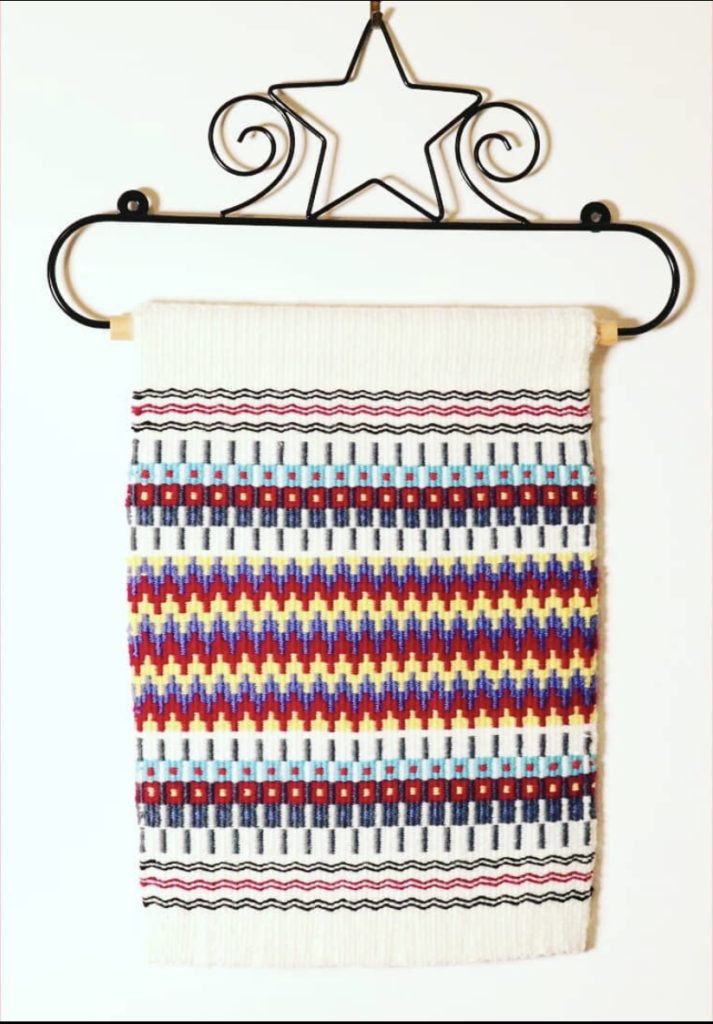
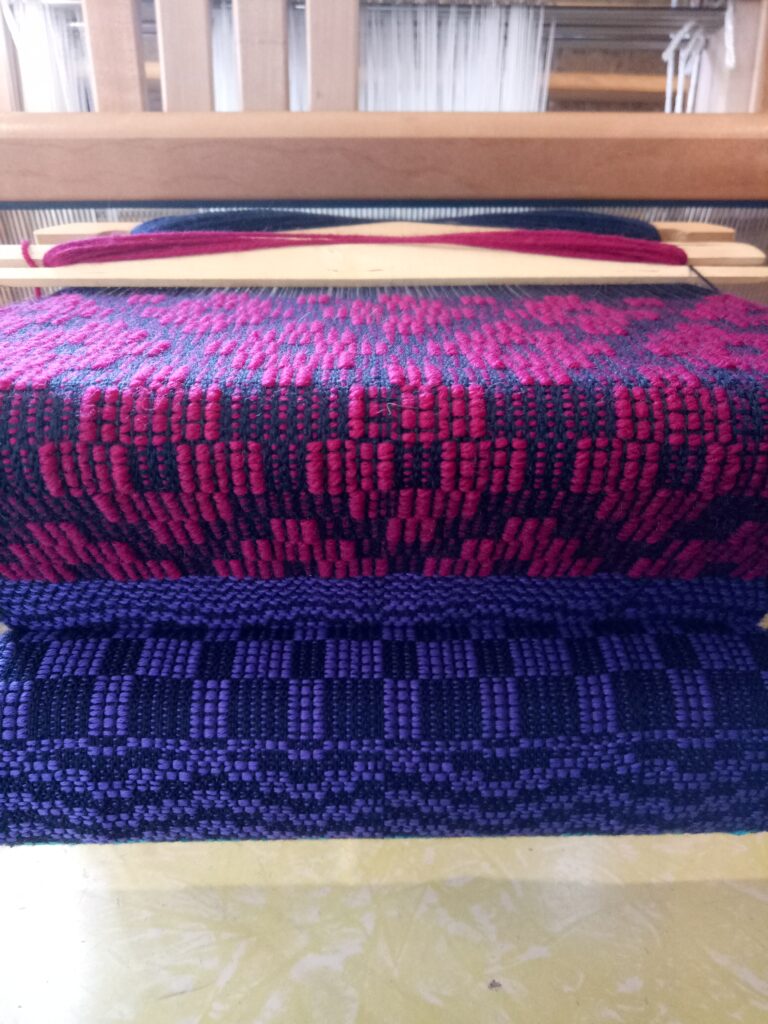
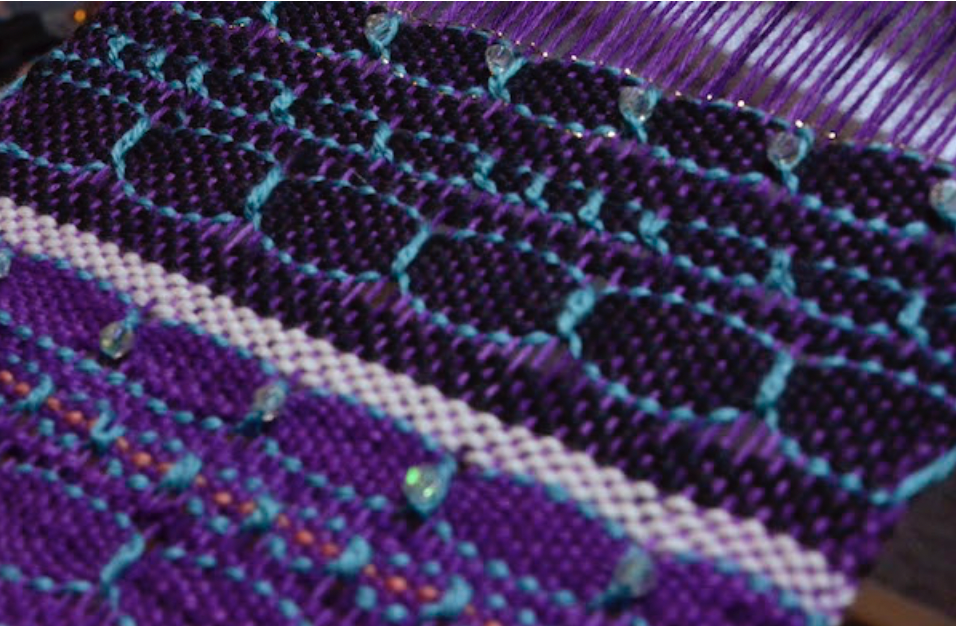
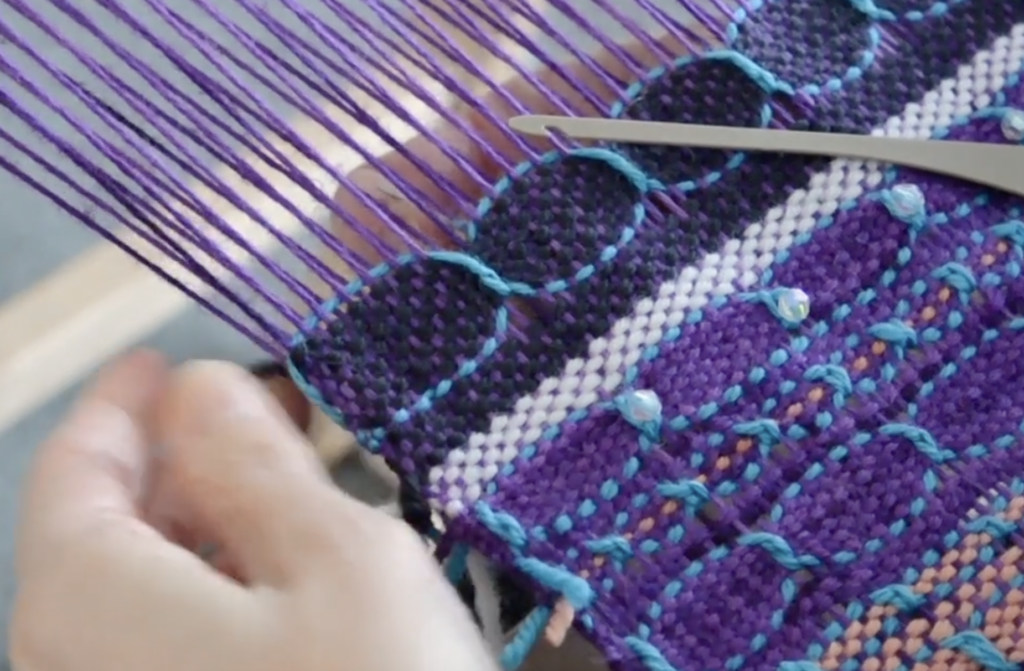
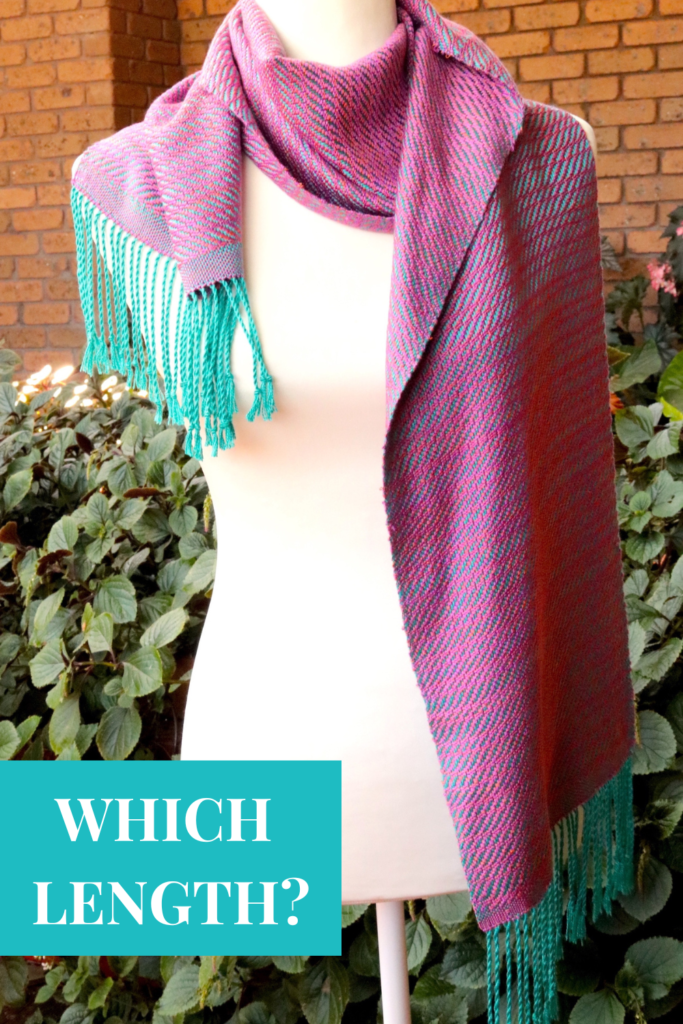
This scarf was around 70” weaving length with longer fringes, you can see it has that extra bit of length.
The scarf lengths I’ve outlined are fairly standard but if you are feeling adventurous and want to go all “Lenny Kravitz Blanket Scarf” you will definitely need some good pre planning to ensure you have enough length in your warp to achieve the length of scarf you want.
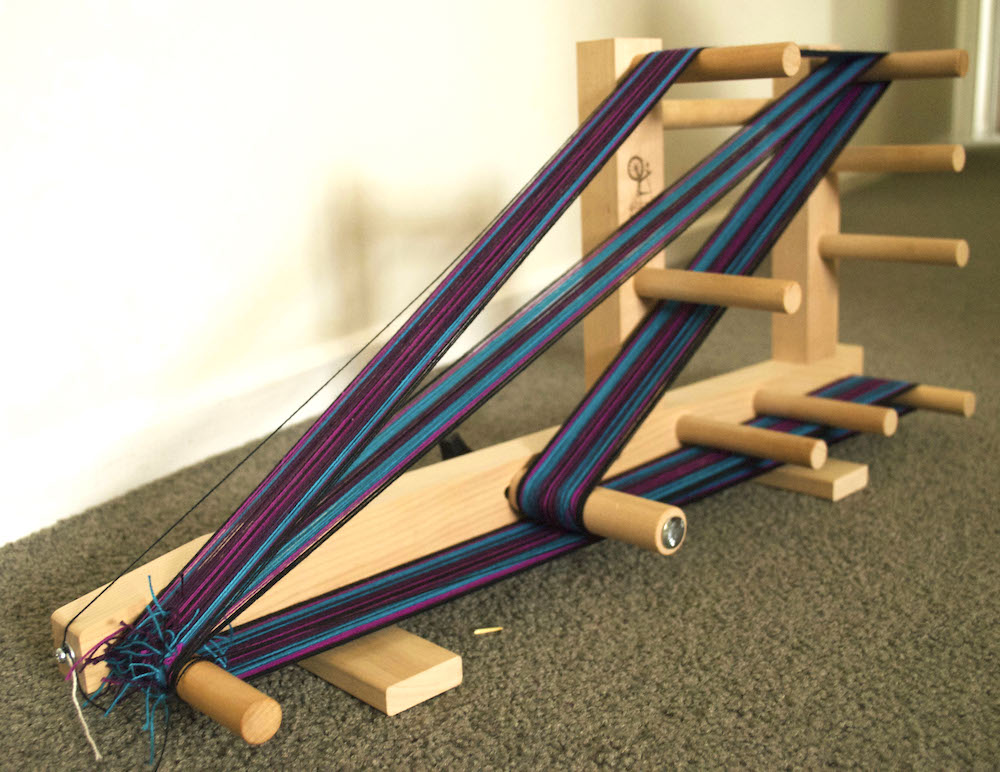
TOTAL WARP LENGTH
In the planning stages of your scarf it is best to use a calculations sheet so that you don’t miss any crucial numbers. It’s also an important focal point for your project – a launching pad or recipe, if you like.
Every project on your loom will have shrinkage, take up and other numbers that need to be accounted for.
I have a FREE project calculations sheet that also comes with an explanatory video. You can access that by registering for an account at the Online Weaving School (it doesn’t cost anything to register).
Check out the free calculations sheet and video here.
I hope this post was helpful to you!
Until next time…
Happy Weaving!