• Skip to main content
  • Skip to primary sidebar

Kelly Casanova Weaving Lessons

  • Hi! I’m Kelly!
    • Disclosure
  • Online Weaving School Class Index
    • Common account issues
    • Common technical issues
    • What do I get with a membership?
  • New to rigid heddle weaving? Start here!
    • Never heard of the rigid heddle loom?
    • How to weave neat edges on the rigid heddle loom
    • Rigid heddle weaving
    • Rigid Heddle Weaving Patterns
  • Patterns
  • Subscribe

Free tutorial

Van Gogh inspired freestyle tapestry!

by Kelly 5 Comments

It’s hard to know what to say about the present world situation. Strange. Unprecedented. Uncertain. At times, scary.

Many people throughout the world are in isolation or quarantine – some self imposed, others enforced. Countries in lockdown.

My mind can’t help thinking that it all feels very much like a suspense movie or novel. But no, this is the reality of 2020 and coronavirus for all of us. Strange times indeed!

Beyond the feeling of bewilderment though, is one of hope and unique opportunity. We may be isolated in our homes, but we live in the age of the internet, where it easy to stay connected to others and share burdens. Many people have more time than they usually would, to explore interests and hobbies. My Youtube channel and Online Weaving School are great places to be right now!

With that in mind, I have a new Youtube project that is long, slow and relaxing. We could all use a bit of that right now!

The project is inspired by the wonderful Van Gogh painting, The Starry Night. I have long admired this art work for it’s colours, movement and mood. I thought it would translate really well to a tapestry, not as a replica but as inspiration.

I thought this would be a great, calming project because it is adaptable, doesn’t require much planning, is relaxing and free flowing. Oh, and the idea is to use stash yarns so you don’t need to go out to buy more!

All the materials plus the warp calculations are provided in this printable PDF-

Van-Gogh-inspired-tapestryDownload

Some of my stash yarns included wool, cotton, silk, acrylic and handspun, tencel and metallic. Weights included 8/2, lace weight, fingering, light worsted/dk and aran. My favourite weight ended up being the fingering.

The video/s are mostly in real time, something I have not done before. It means long videos, but I was figuring some people might appreciate sitting and weaving with me at this time – step by step and no hurry. And I know how some of you love to know all the details.

Begin with video one, which explains my aims for the tapestry and shows you the yarns I used:

Some additional resources that are relevant and helpful are:

My first freestyle tapestry series for Youtube –

You may be interested in my online course, Tapestry on a Rigid Heddle Loom to learn traditional tapestry techniques.

Then there is my review of the Mirrix Big Sister Tapestry Loom –

And my Tapestry Necklace project –

Filed Under: Free tutorial, Inspiration, Rigid heddle weaving, Tapestry Weaving, Tutorials, Weaving Tagged With: freestyle tapestry, tapestry weaving, tutorial, van gogh

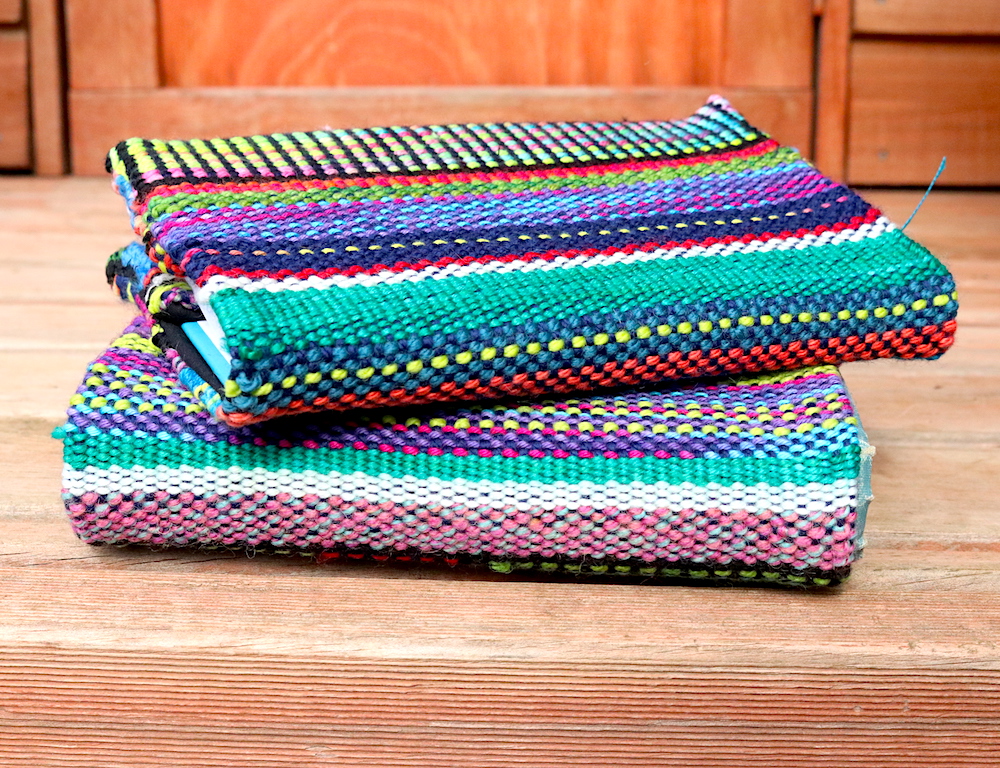
Stashbuster Woven Notebook Covers

by Kelly 9 Comments

Otherwise known as “the project that began with a messy drawer”.

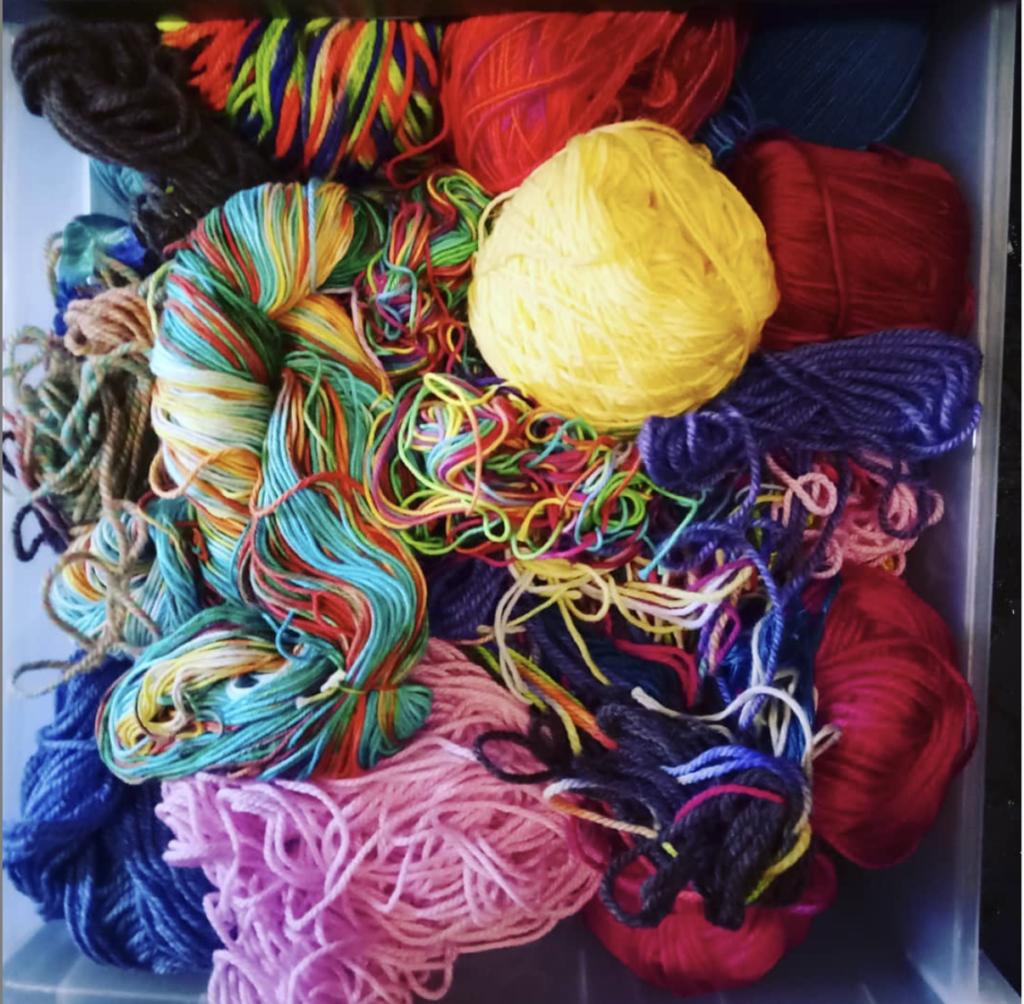
The messy drawer

This is the yarn drawer that my girls have access to. I could use this photo opportunity to blame it all on them, but if we’re being truthful, I’m pretty messy myself!

*This post contains some affiliate links

Anyway, this mess inspired me to make something, so it’s not all negative. A lot of my yarn stash is smaller pieces leftover from warping or are thrums (what is left on the loom when you cut your piece off) and can be difficult to find uses for.

Perfect for the idea that struck me, and it’s also a great project for little loom weavers, as it can be done on a Sampleit.

I had to break this into a series of 3 videos, you can either view them on Youtube or my Online Weaving School. You can download the printable PDF from my weaving school or view the information here:

Notebook Essential Information

I thought it might be a great time of year to do a tutorial for all my followers and students as a thank you for your support. The bonus is that you can make lots of notebook covers as Christmas gifts, they don’t take much yarn and they are quick to weave up.

The only part of the project that you need a longer length of yarn for is the warp. Here are some suggestions for your warp:

Bendigo Woollen Mills Luxury 8ply

Cleckheaton Country 8 ply

Patons Classic dk superwash

I always use Gutermann Sew all thread because it is so strong and multi purpose.

During the video series, you will notice that I mention some other helpful links, I will list them here for easy access:

Clasped weft tutorial

Woe to Go – Beginner Rigid Heddle Weaving

How to weave neat edges

I really hope you enjoy this project! Let me know in the comments if you intend to give it a go.

One more thing! If you like this project I would really appreciate you sharing links with your friends or on social media so that even more weavers can benefit.

Until next time…

Happy Weaving!

Filed Under: Free tutorial, Rigid heddle weaving, Sewing, Tutorials, Weaving Tagged With: free tutorial, notebook covers, youtubetutorial

Winter Trees Scarf

by Kelly 1 Comment

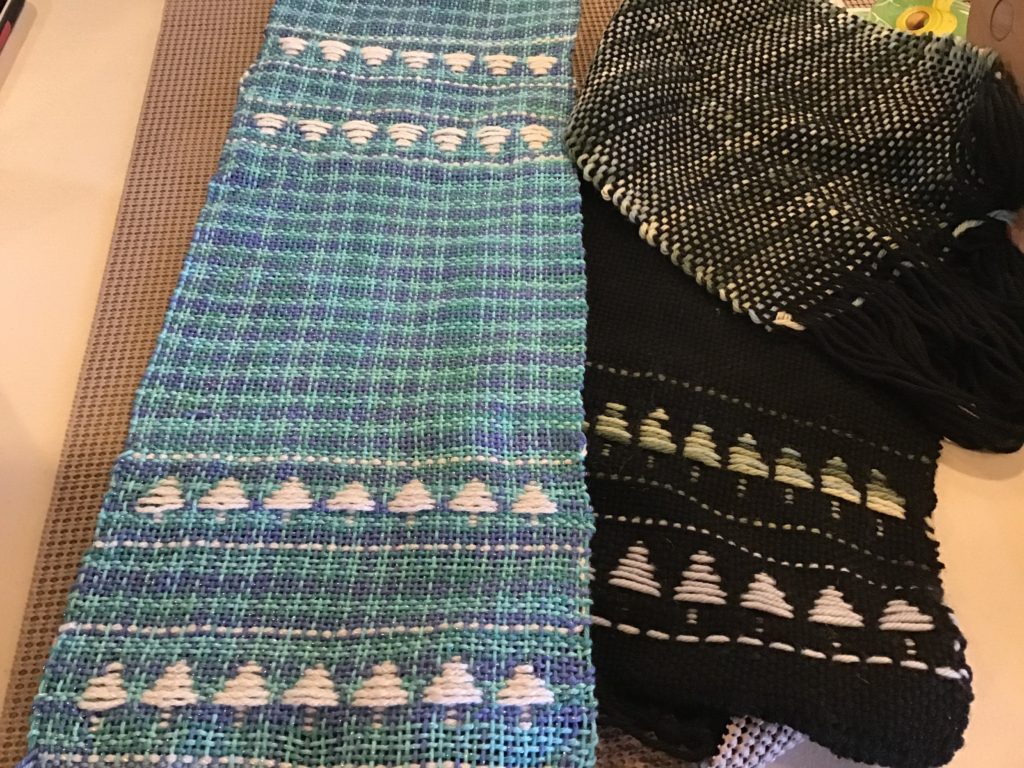
The lovely Robyn from Yarn Cloud in Occoquan, Virginia recently put together a project based on my very popular Winter Trees video on Youtube.

Robyn had the idea of teaching her students how to utilise the pattern and weave it into a scarf. What a terrific idea and so timely for those of you who are approaching Winter at this time of year.

Robyn has been generous enough to offer to share all her pattern notes and instructions with my readers here! She also sent me the samples in the photo above to give you all a visual reference.

You can download and print the instructions here:

Winter Trees Scarf Download

And use the instructional video for visual help:

Many thanks to Robyn for sharing her pattern!

If you are interested in taking a real life class at Yarn Cloud, pop over and check out the classes page for more details. Knitting classes are also available.

Yarn Cloud is a fibre arts supplies store located in a richly historical town in the beautiful state of Virginia. It looks like a wonderful place to visit and pick up some supplies, or stay a little longer to enjoy a class or workshop!

Be sure to let us know if you make a scarf using these instructions, Robyn and I would both love to see your project!

Until next time…

Happy Weaving!

Filed Under: Free tutorial, Rigid heddle weaving, Tutorials Tagged With: free pattern, rigid heddle weaving, rigid heddle weaving tutorial, winter trees, yarn cloud

What is the sett in weaving?

by Kelly 2 Comments

Perhaps one of the most confusing terms to newer weavers is the sett.

What is the sett and why does it matter?

Well, I’ve made a video explaining the basics and narrowing it down in an easy to understand format, so please take a few moments to watch that.


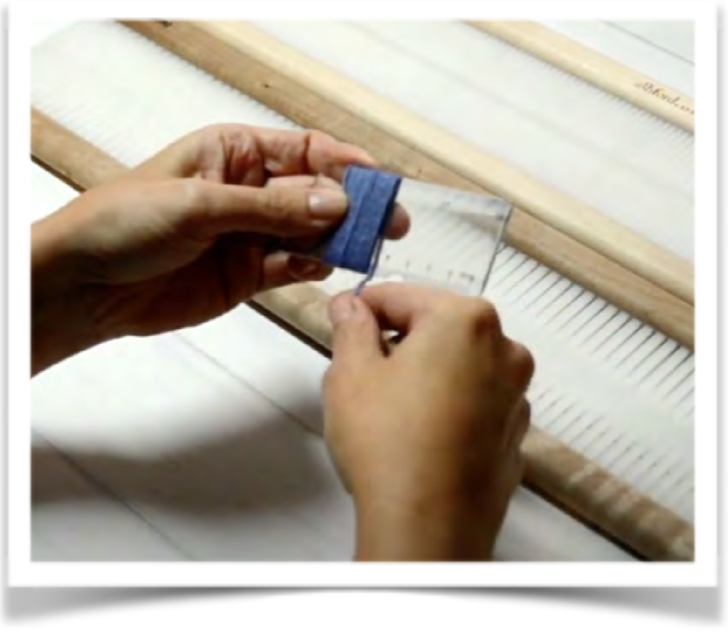
You will usually see the sett referred to as “ends per inch” or “epi”. When obtaining a measurement or calculation to determine your sett, you are figuring out the spacing between your warp threads.

The spacing is important because it affects the end result of your weaving. For example, if I have some really thick yarn that I’m using as warp, and I space it (or sett it) too closely together, I may end up with a fabric that is more like cardboard! If that is the effect you are going for, great – but if not, you need to understand why it happened.

*This post contains affiliate links. This means that if you click the link and purchase, I receive a small commission at no extra cost to you.

So, let’s take a look at how you can determine sett. Once again, I have a video that demonstrates the simple process. All you need is some yarn and an inch ruler!

The beauty of this inch ruler wrap test is that it works with whatever yarn you have. Some weaving threads have a recommended sett when you buy them, but you may not remember or have lost the information. No problem, you can figure it out for yourself.

If you are a rigid heddle weaver and have a good collection of different sized heddles/reeds it is very easy to transfer your calculated sett to the loom – you just choose the heddle/reed that is close or exactly the same as your figure.

Let’s have a look at an example. The yarn I used in the video is an Australian 8 ply (light worsted/ dk). When I wrapped it for an inch, I found that I could wrap the yarn 14 times. Dividing this figure in half gives me the correct sett for a balance plain weave. 14 divided by 2 = 7. My sett would be 7. I don’t have a 7 dent heddle/reed, so I would choose my 7.5 dent. An 8 dent would also be fine.

So, for every weave structure, I divide my wraps in half?

No.

The rules change when the weave structure changes. Plain weave is a balanced interlacement of warp and weft threads. One over, one under, one over and so on. But when it comes to twill, the weft yarn travels differently. It has to travel over more warp threads, so it has further to go. Therefore, when determining sett for twill, we use a different tactic.

Twill is generally sett 2/3 closer than plain weave. For those of us who are not strong on mathematics (hello!) it can be easiest to follow a simple formula. Instead of dividing our wraps per inch in half, we multiply by 0.67.

Let’s use our earlier example with the same yarn to figure out a sett for twill instead of plain weave. Remember that we wrapped the yarn for an inch and got 14 wraps? We take that 14 and multiply it by 0.67. 14 X 0.67 = 9.38. Now I need to make a decision – there is no heddle/reed with a 9.38 dent! So, I choose the closest, which would be a 10 dent.

Are these figures sett in stone? (Pun intended!)
No, they don’t have to be! You can make decisions based on your project as well. Lets say I’m using an 8/2 cotton that would normally be sett between 18 and 24 ends per inch. I want to weave some kitchen towels in plain weave. Experience tells me that a suitable sett would be 20epi, I would double my ends in a 10 dent heddle/reed. Or I could use 2 x 10 dent heddles to double the sett. Experience also tells me that if I use single and not doubled threads as weft, that will be a very pleasing result for the type of towels I prefer.
 
BUT, if I want to use that same 8/2 cotton for weaving a tote bag I need to put my thinking cap on. Knowing that my towel calculations give me a lovely soft but durable fabric, I’m thinking for a tote bag I’m going to want a sturdier fabric. After some consideration and perhaps working a sample, I may decide that my bag fabric will be sett at 24 epi and my weft will be doubled this time.


Sampling is always an excellent idea. It will leave you with no doubts about your project, or it may strike you with the realisation that you need to research and perhaps sample further.

You will get to a point (as all experienced weavers do eventually) of knowing your favourite yarns, projects and the sett you need to use. For a great deal of my projects these days, I don’t calculate the sett formally, it just becomes intuitive. If I buy a new yarn that I’ve never used or undertake a weave structure I haven’t tried, then I will go back to basics and calculate more carefully.

I hope this article has helped you to wrap (oops, there goes another pun!) your head around the whole idea of sett and why it is necessary in weaving.

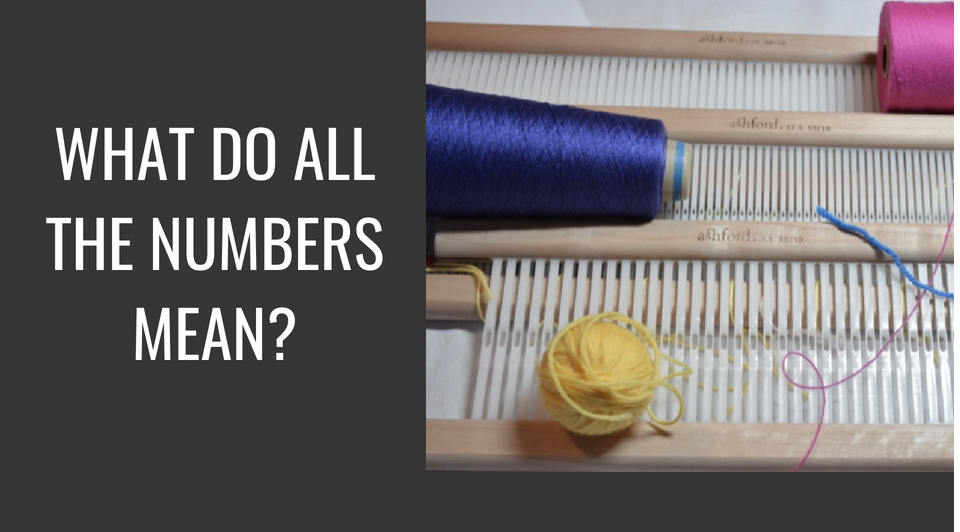
If you feel you want to know more or are interested in delving further in, I have a great short class What do all the Numbers Mean and how do they apply to a Rigid Heddle Loom?

This class goes into the numbers that you see on your weaving thread cones and what they actually mean. It includes two printable yarn charts. One is specifically for weaving yarns and the other for knitting yarns.

Each chart gives you a list of common sizes of yarn and recommended setts, name conversions where necessary, recommended heddle/reed sizes and suggested related projects. It’s well worth a look and is the type of class you can refer back to again and again.

I also have the Weaver’s Toolkit Ebooklet available. This is a 22 page ebook for rigid heddle weavers. It includes many helpful resources like yarn conversion charts, sett explanations and recommendations, weaving yarn sizes and so much more. You can read more about the booklet in this post or you can purchase it from my Etsy shop.

Well, that’s all for today friends, until next time…

Happy Weaving!

Filed Under: Free tutorial, Tutorials, Weaving, Yarn Tagged With: ends per inch, sett

What is Clasped Weft? A step by step tutorial.

by Kelly 23 Comments

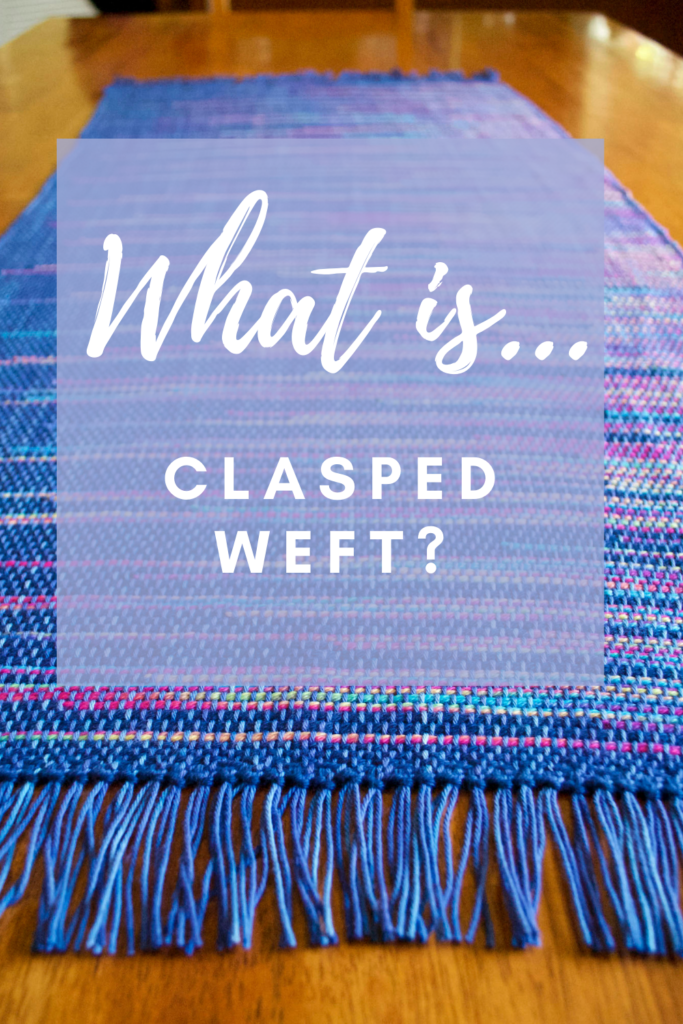
Just when you think you’ve tried everything in weaving, you come across something different, like Clasped Weft.
Clasped weft can be a great “next step” for newer weavers with a few plain weave projects completed and who are ready for something a bit more adventurous.
The cool thing about weaving clasped weft is that, similar to Colour and Weave, most of the work is in using colours to make your weaving look fancy, when in actual fact it is quite simple.
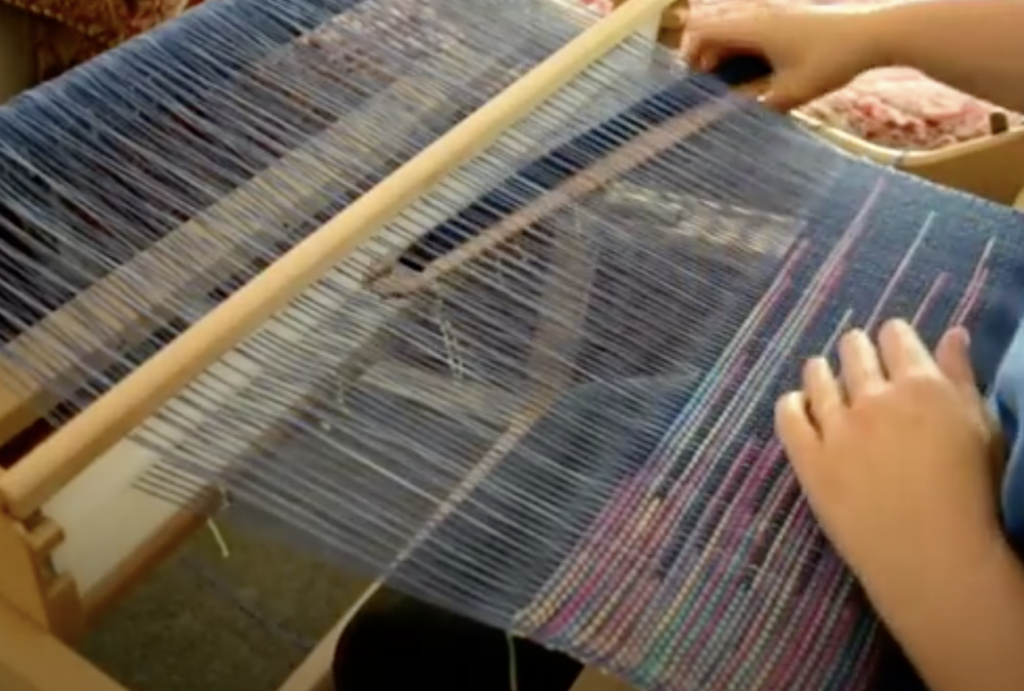
The clasped weft technique uses 2, 3 or 4 interlocking weft colours. Using 2 colours to begin with is the easiest and least complicated approach. If you have done any tapestry, you may already be familiar with the interlocking technique.
*This post contains affiliate links. for more information, see my disclosure policy.

We mainly use a plain weave structure (though clasped weft can actually be used in other structures, such as twill). It is a perfect technique for a rigid heddle loom, because, although it’s simple, it looks special and has big impact.


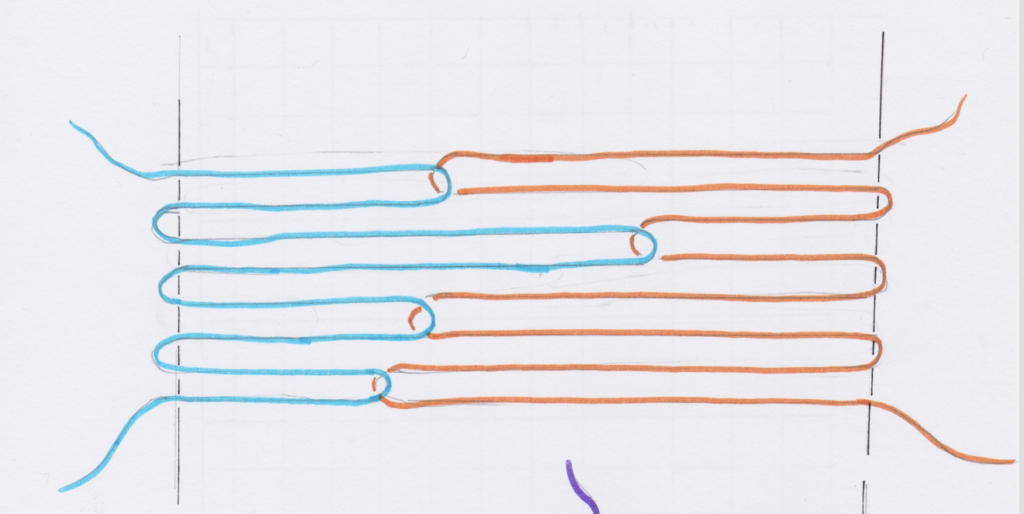
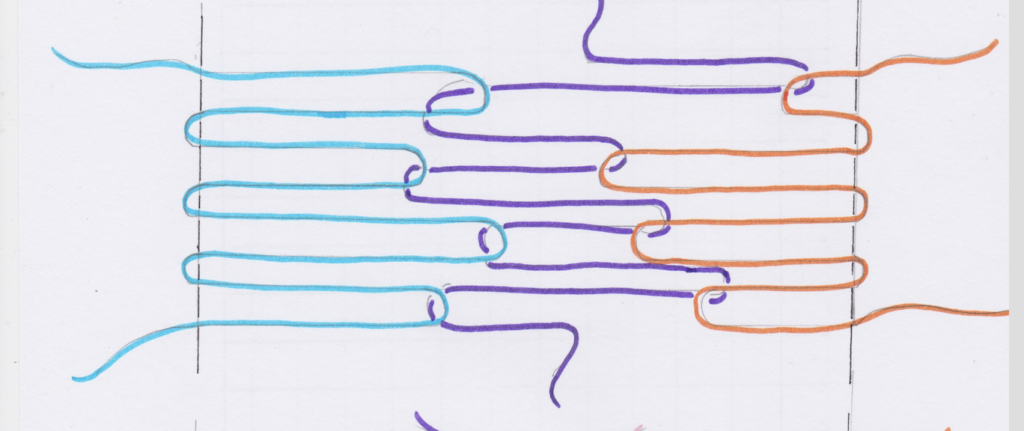
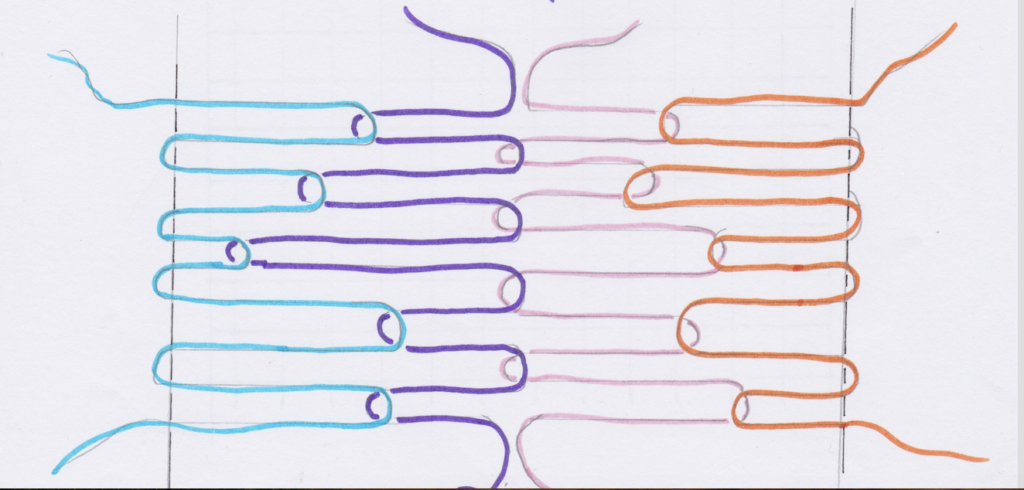
Before we go through the tutorial steps, let’s look at some (rather poorly drawn, sorry about that!) diagrams to get a clearer idea of how this works. The drawings are over simplified, as I haven’t drawn in the warp and weft interlacement, but I have drawn in the edge warp threads:

Clasped weft with 2 weft colours.

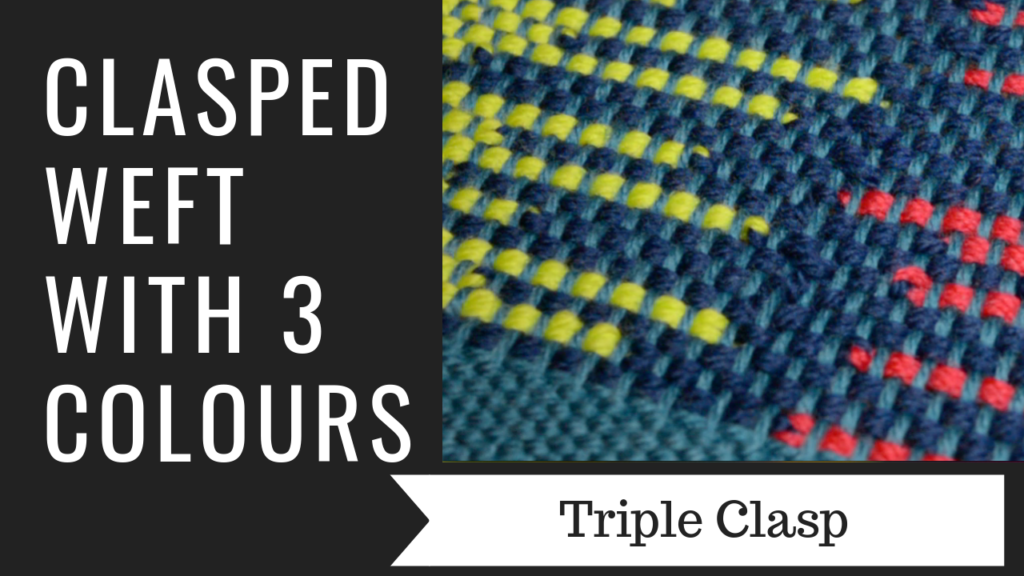
Clasped weft with 3 colours.

Clasped weft with 4 colours.

Now let’s go through the tutorial steps so that you can get clear on how clasped weft is actually woven. Today, we are just focusing on working the two weft colour technique, as I believe this is the best place to begin if you’re not familiar with clasped weft or haven’t attempted it before.
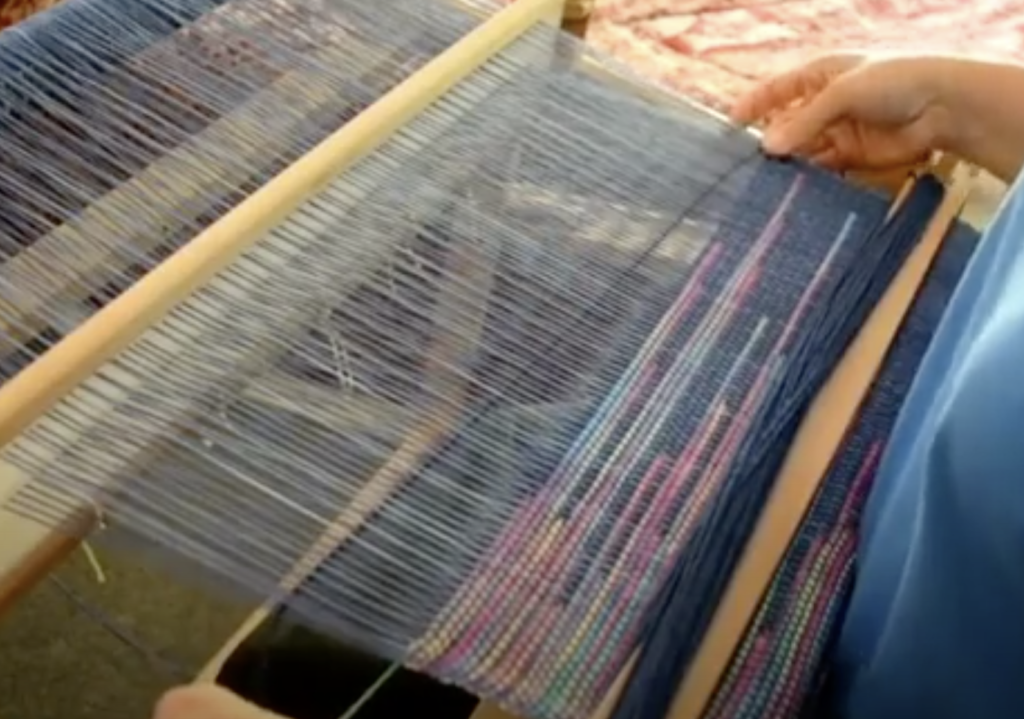
Begin with two contrasting weft yarns of the same weight. I have used one with a dark navy colour and another that is variegated with bright colours.
See the tips section below for more on why variegated works perfectly.
My warp and weft yarns were all light worsted/dk/ Australian 8 ply weight. Wool, acrylic or cotton are all fine.
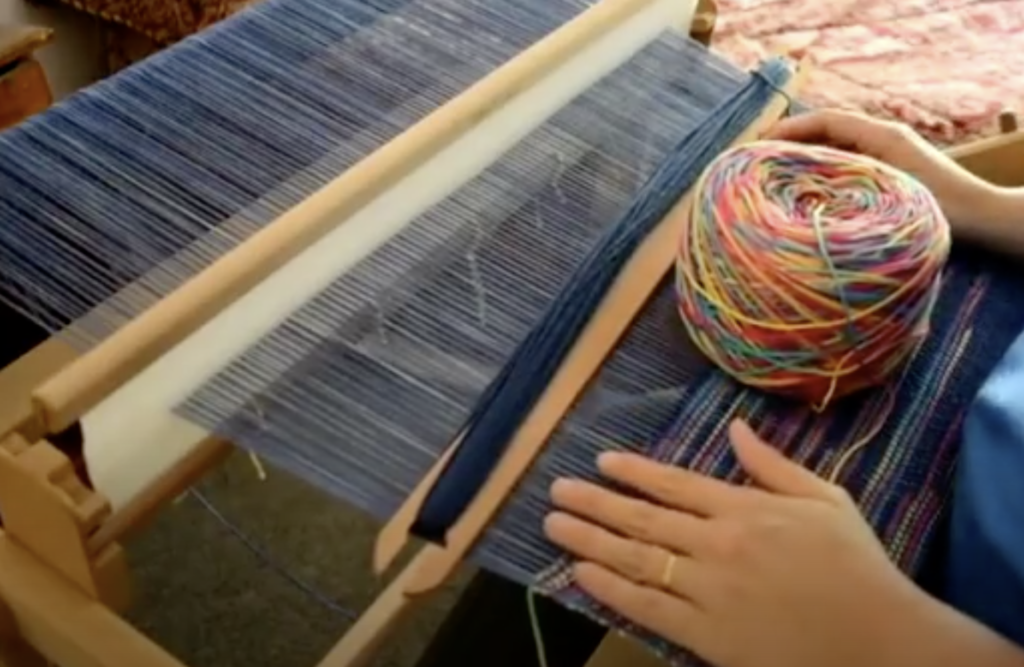
One weft yarn is loaded onto a stick shuttle, in my case this was the dark navy. The other colour is left in a ball or on the cone. My variegated colour was in a skein and so I wound it into a yarn cake with my ball winder.
A yarn cake (also known as a centre pull ball) is particularly good to work with for clasped weft, because it sits nice and flat on the floor and won’t roll away. The yarn also feeds off the yarn cake seamlessly, which makes the whole process that little bit easier. If you have a ball, you may want to sit it in a box or basket on the floor to contain it.
Place the ball of yarn on the floor at your left. It doesn’t matter if you place it on the right or left, but for the purpose of this tutorial it’s on the left.
Because the ball (let’s call it the contrast yarn) is on the left, we enter the shed with the stick shuttle on the right. Again, it doesn’t matter whether you are in the up or down shed, but I am beginning in the down shed.
Take your stick shuttle across from the right hand side to the left as though you’re going to weave a regular plain weave pick.
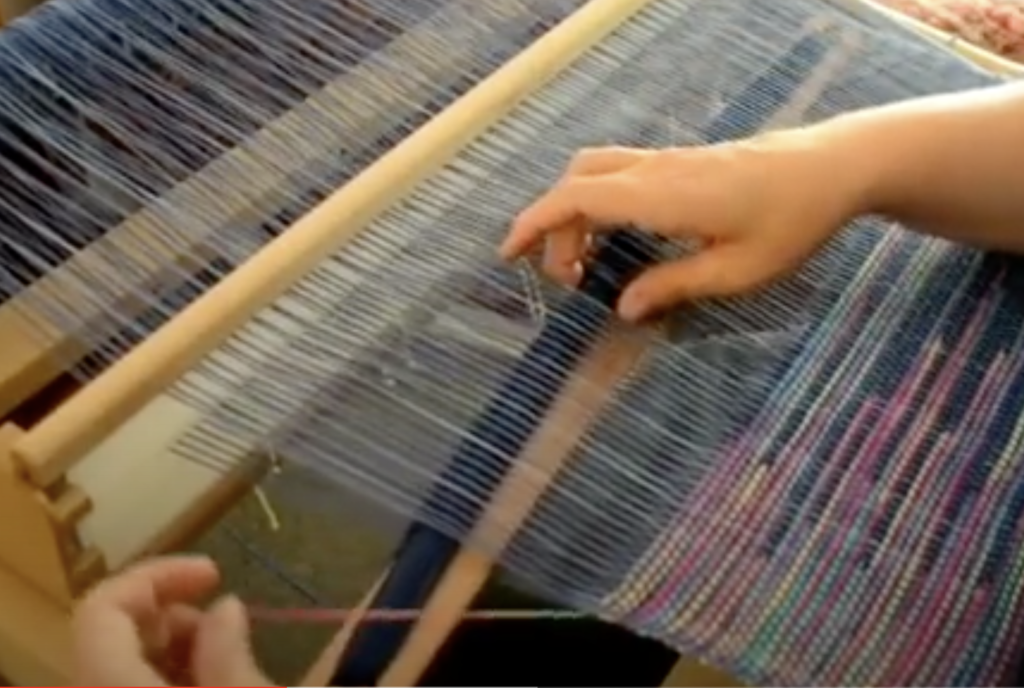
When your shuttle reaches the left hand side, pick up the contrast yarn and place it over the top of the stick shuttle.

Take the shuttle the rest of the way through the shed at the left – as you would for your normal plain weave pick.

On the right hand side (where your shuttle entered), tidy up and prepare your weft yarn as though you’re going to beat the pick in. If you’re not familiar with how to do this, watch my free video on How to Weave Neat Edges.  DON’T BEAT.
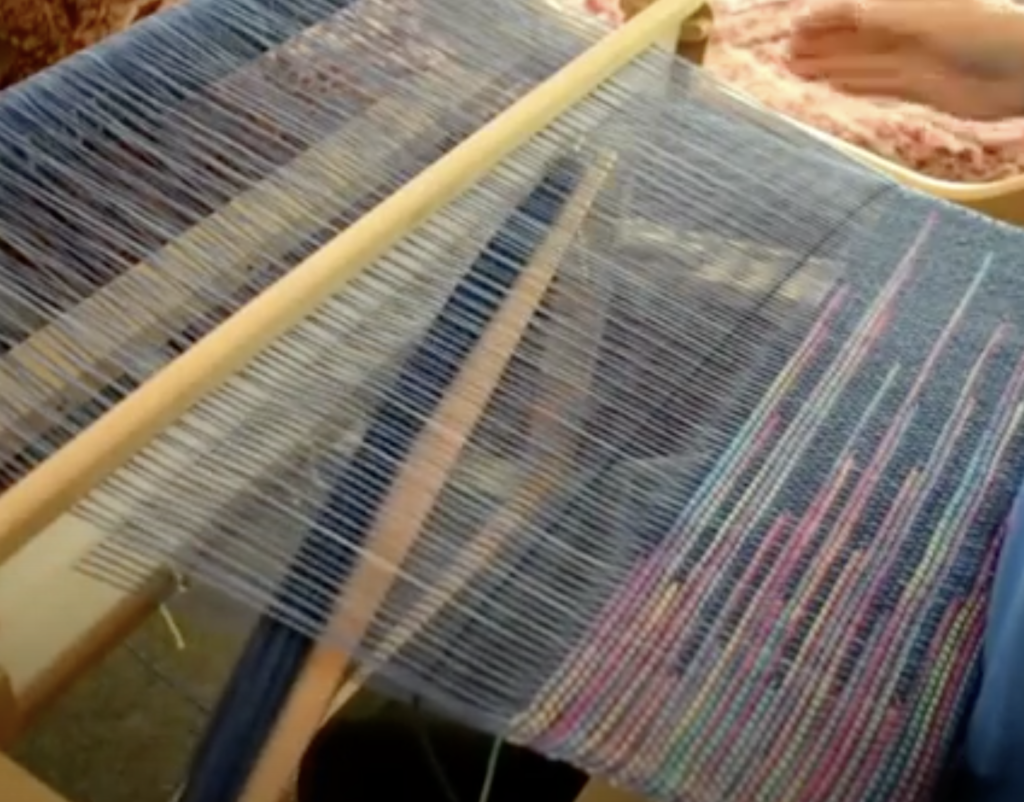
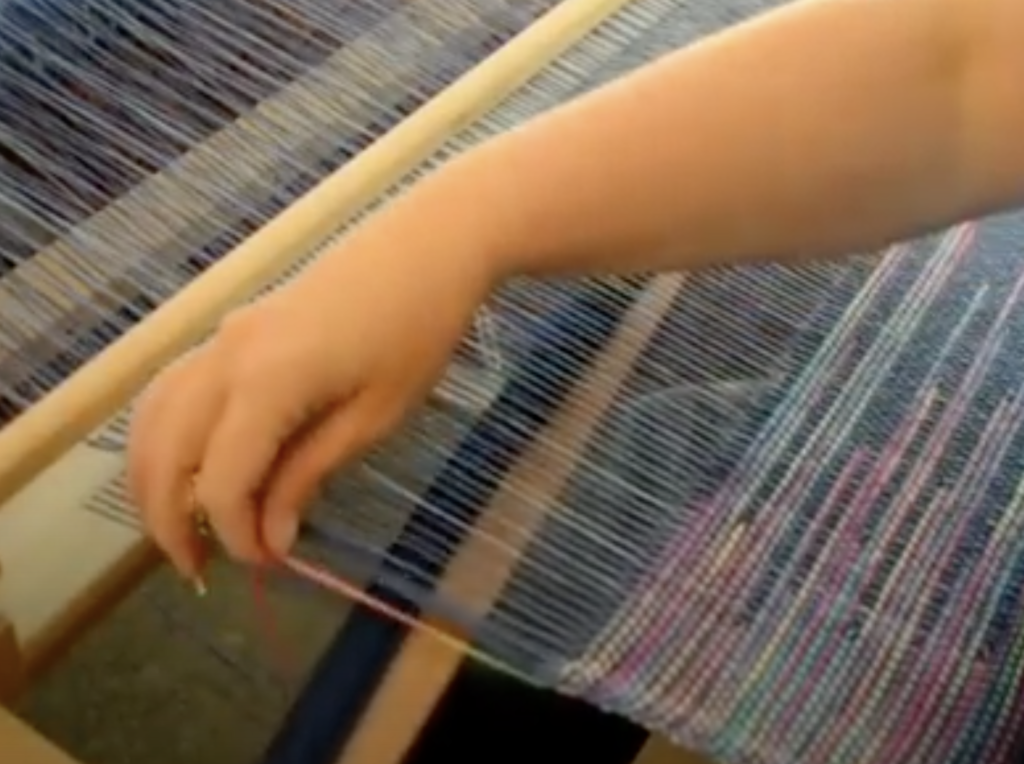
Take the shuttle straight back into the same shed. Don’t change sheds, and don’t beat! Take the shuttle through, back to the right where you first entered the shed.
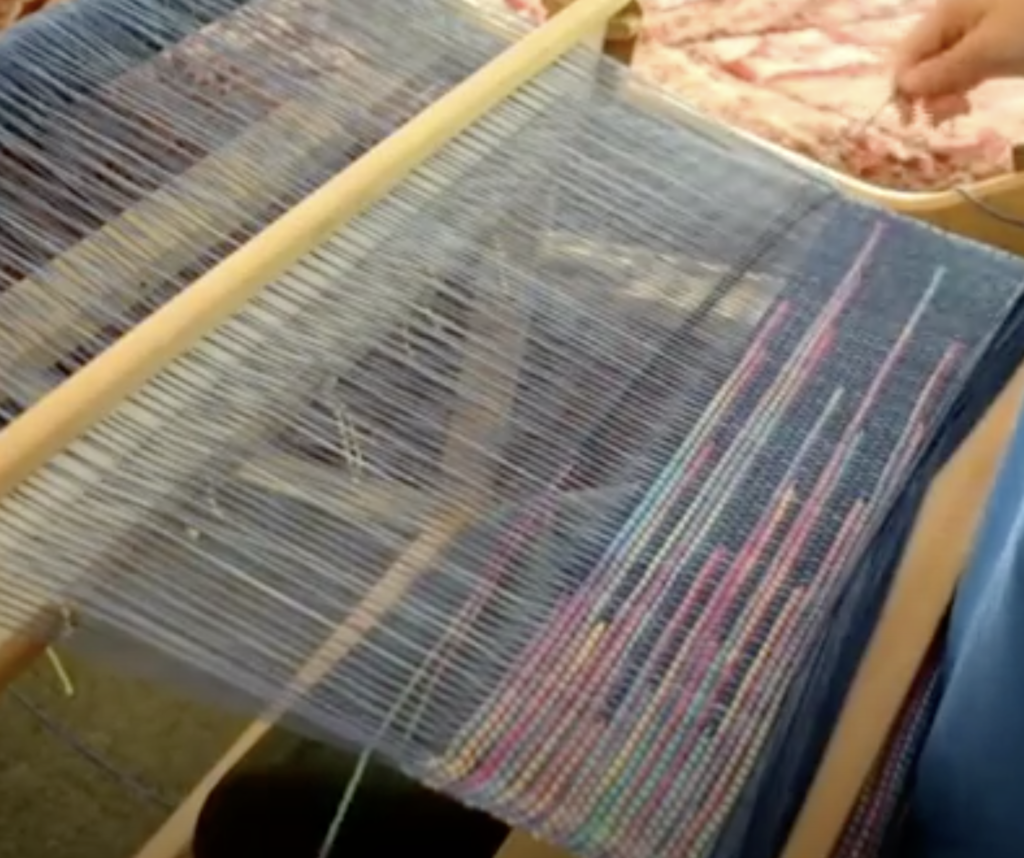
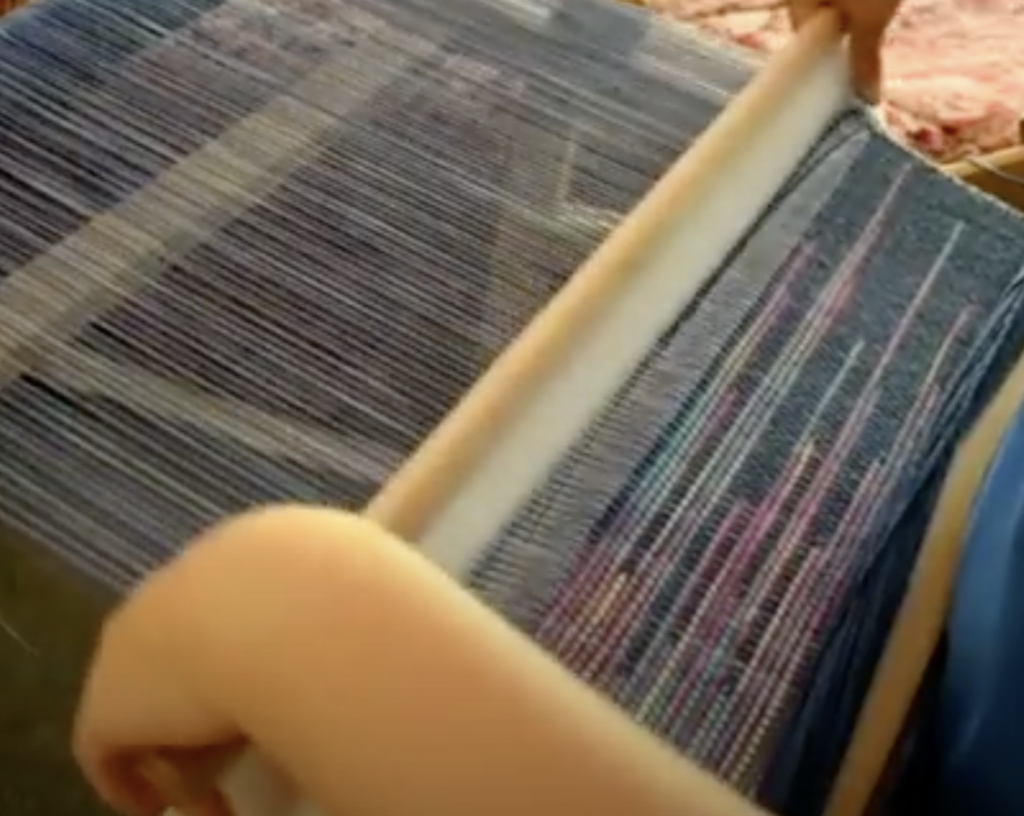
As you return the shuttle to the right, you will find that the navy yarn is linked or clasped with the contrast yarn. This means that the contrast yarn is pulled into the shed. Now you get to decide how far you will pull the contrast yarn into the shed. A little? A lot? Your choice, depending on the effect you want to achieve.
Hold both yarns under tension on either side to manipulate where you want the two yarns to go.
When you’re happy with the yarn positioning, beat the picks into place. You will notice that both yarns are now doubled in the shed.
Change to the next shed (in my case I had been working in the down shed, so I go on to change to the up shed).
Continue weaving in the exact same manner in the new shed and repeat until you’ve finished weaving.
Isn’t your head just swimming with all the possibilities of this wonderful technique?
Clasped weft can be extremely planned or extremely random. It looks wonderful both ways and is just so much fun to weave.
Here are a few recommendations for best results:
1. Use contrasting weft colours.
Light and dark will make the weaving pop. 
2. Use the same weight yarn for both warp and weft.
You will get better results and avoid the not so pretty lumps and bumps that can occur at interlocking points.
3. Variegated yarn is perfect for this.
For the 2 colour clasped weft technique, a variegated yarn with a contrasting yarn looks really cool! (See photos below and above).

              4. Using the same colour as the warp for one of your weft colours works great.

Too much colour can confuse the contrast of the clasped weft lines. In the tutorial, I used the same navy yarn for warp and weft no.1. I then used a contrast yarn for weft no.2.

If you like the look of clasped weft as much as I do, I have some great news for you! I have 3 free Youtube video tutorials that will teach you each of these techniques. Start with video 1 so that you can practice the technique, before moving on to the others. 

Clasped Weft with 2 colours
Clasped Weft with 3 colours
Clasped Weft with 4 colours
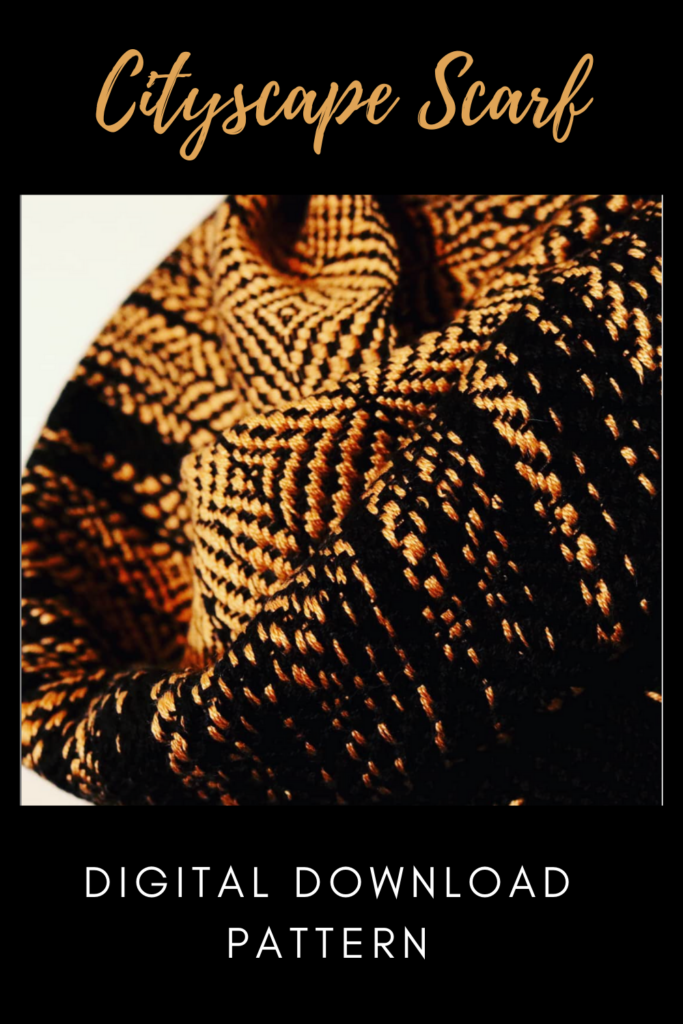
I mentioned that the clasped weft technique can also be used for other weave structures. This can create really interesting and impressive special effects. One of my Etsy patterns, The Cityscape Scarf is a perfect example of a clasped weft combined with a twill.
Try it out and let me know what you think. Leave me a comment here or under any of the Youtube videos, I love to hear from you!
Until next time…
Happy Weaving!

Filed Under: 4 shaft weaving, Free Pattern, Free tutorial, Inspiration, Online Weaving School, Rigid heddle weaving, Rigid Heddle Weaving Patterns, Tutorials, Weaving Tagged With: clasped weft, my youtube channel, rigid heddle weaving tutorial, weaving

Spring Table Runner Free Rigid Heddle Project!

by Kelly Leave a Comment

Winter is fast approaching us here in Australia, but for those in the Northern Hemisphere, you are looking forward to the mildness and beauty of Spring. It’s a wonderful time to be freshening up household linens and table decor with new hand wovens!
 
*This post contains affiliate links
 
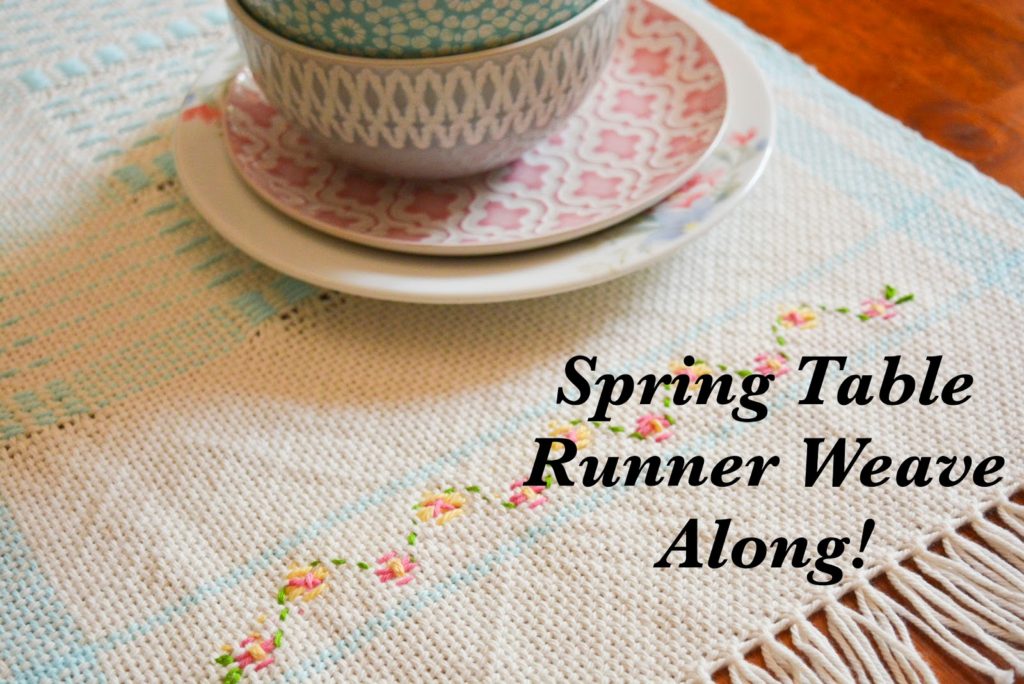
The Spring Table Runner project was initially run as a weave along, but can of course be undertaken at any time. I chose light and pastel colours to give that spring feel and also embroidered a delicate spray of flowers on either end of the runner to really make it feel like Spring.

 
The table runner is woven with lovely thick and soft cotton for easy care. The design is worked by using colour in the warp and weft, plus some simple pick up for additional interest.
 
You can download the free, printable PDF for the Spring Table Runner right here-  
Spring-Table-RunnerPDFDownload

What you will need to complete this project:

*A rigid heddle loom, 20″ or wider

*A 7.5 dent reed/heddle

* 2 x stick shuttles, at least as long as the width of your project

*A pick up stick, longer than the width of your project

*A double ended reed and heddle hook or a separate threading hook and reed hook

I know that many of you do not have access to the same yarns that I do. Let’s have a look at some suitable yarns you could use to complete this project:

For the 10 ply/ worsted/aran weight:

Bendigo Woollen Mills Cotton 10 ply

Lily Sugar n Cream cotton

Lion Brand 24/7 Cotton

Knit Picks Dishie Worsted cotton

Hobby Lobby I Love This Cotton

For the 8 ply/ light worsted/dk weight:

Bendigo Woollen Mills Cotton 8ply

Cestari Old Dominion 100% cotton

Maurice Brassard 8/8 cotton

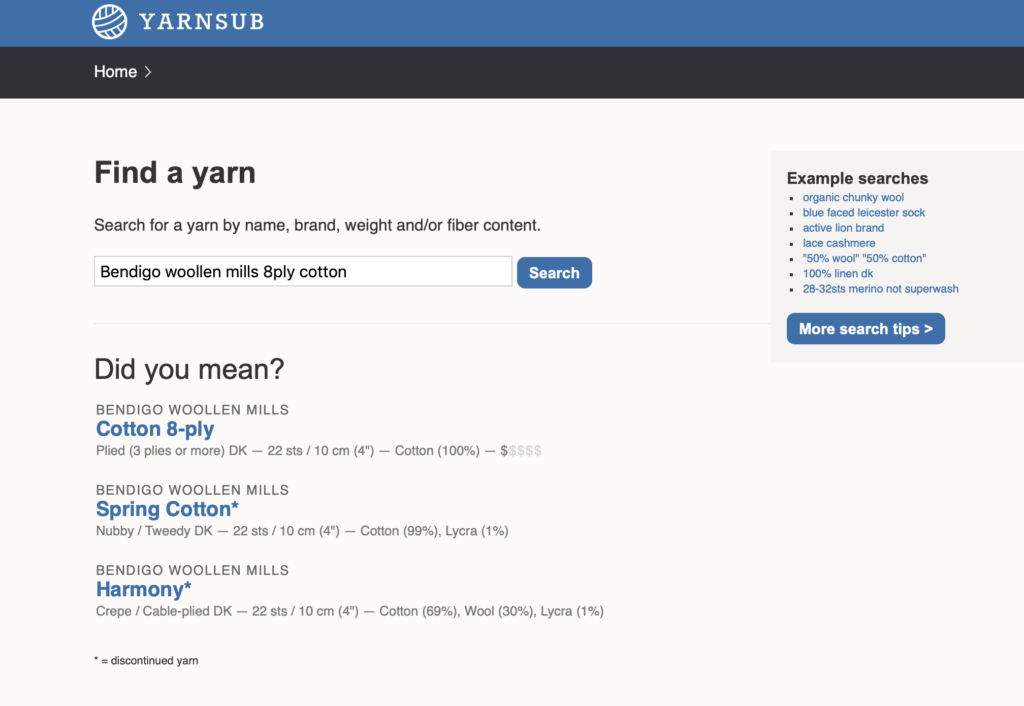
Yarnsub.com is also an excellent resource for finding a variety of yarns with similar characteristics to what I used. It is a simple site to use, but if you’re unsure, here is an example:

On the homepage, enter into the search box the yarn than you wish to substitute. Here I’ve entered “Bendigo Woollen Mills 8ply cotton”.

Hit “enter” on your keyboard or click on the little spy glass. Choose the correct yarn from the list below. In this case, I will click the top yarn.

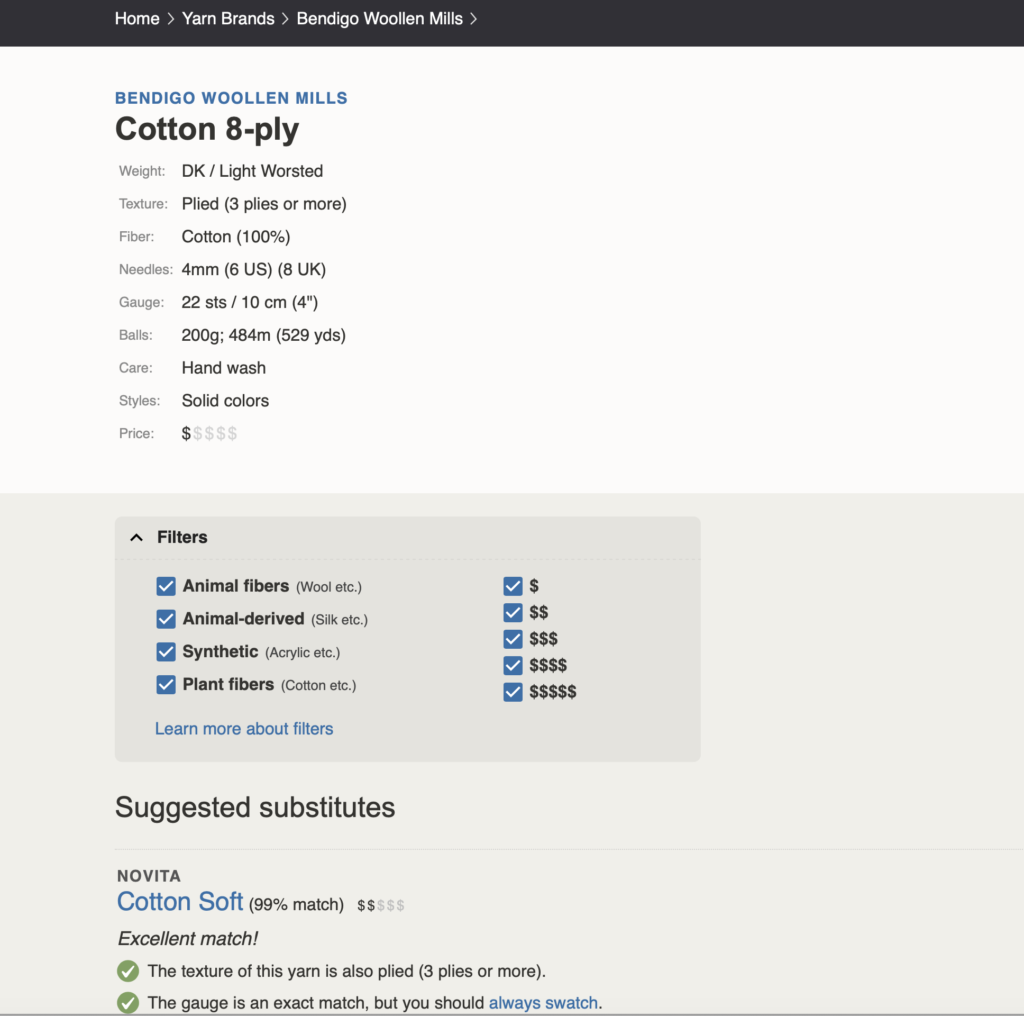
When you see this page, start scrolling down for all of the listed possible matches or near matches. This particular search gave 50 results!! You will see after each suggested yarn there is a percentage match – that will tell you how well the suggested substitute matches your original search. It’s brilliant!

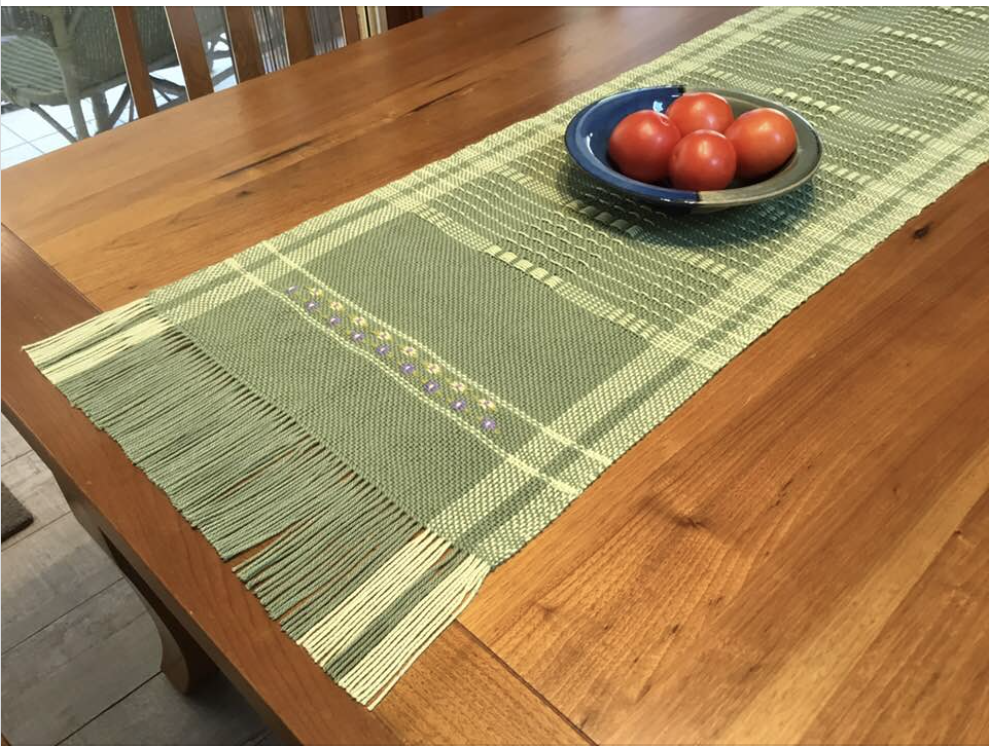
You can of course substitute colours depending on availability and individual tastes. One of my favourite runners that I’ve seen is this one, woven by Juliet.

A very different colour scheme is used here, but still feels very Spring like and is absolutely beautiful!

The entire playlist of videos for the class can be found here-

The video series plus PDF can also be viewed at my Online Weaving School, if you prefer.

I really hope that this Spring Table Runner brings a little freshness to your table and joy into your home!

If you have any questions or comments, please leave them under this post, I would love to hear from you.

Until next time…

Happy Weaving!

Filed Under: Free Pattern, Free tutorial, Health and home, Inspiration, Rigid heddle weaving, Tutorials, Weaving Tagged With: Kelly casanova weaving lessons, rigid heddle weaving, rigid heddle weaving tutorial, spring table runner

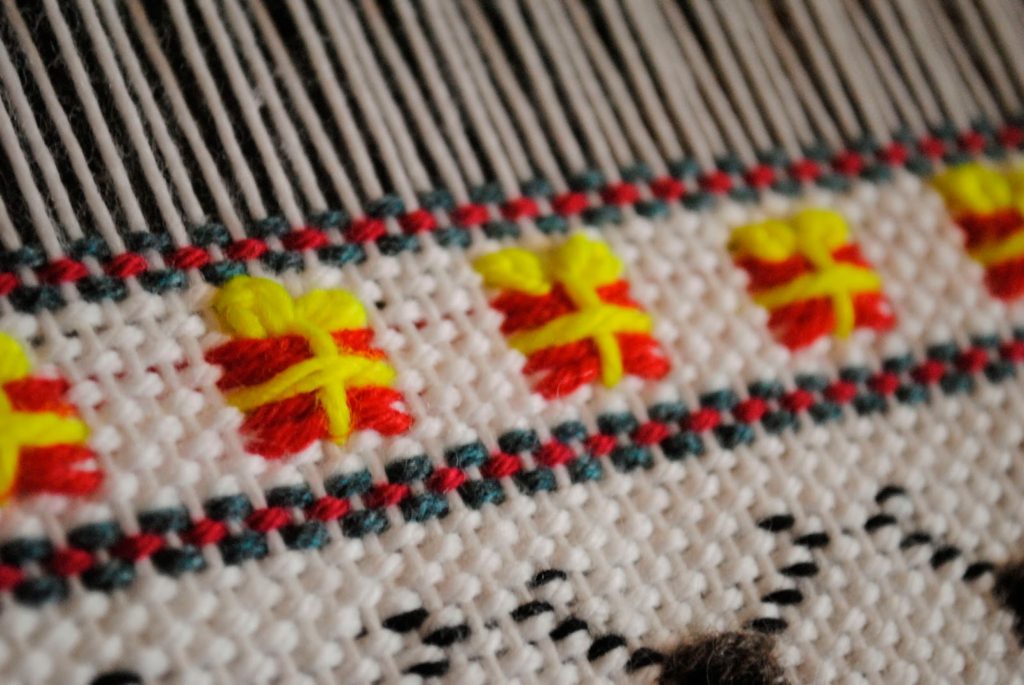
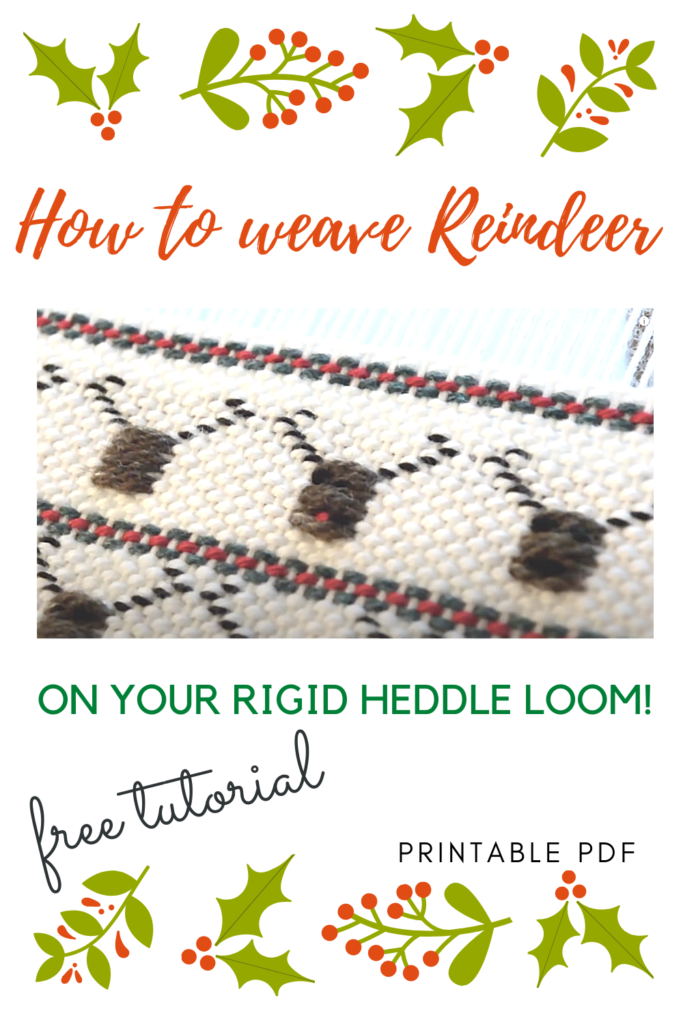
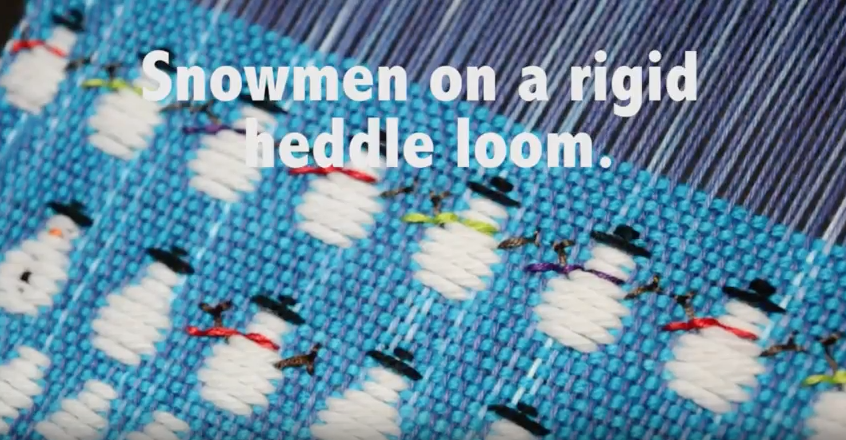
Weaving for Christmas

by Kelly 3 Comments

My favourite time of the year is coming and what better way to celebrate the festivities than by weaving for family, friends and your home!


I have quite a few free video tutorials to get those creative juices flowing:

Reindeer on a rigid heddle loom


Handwoven No Sew Christmas Hearts


Gift boxes on a rigid heddle loom

Winter Trees

Snowmen on a rigid heddle loom

I also have some festive classes available at my Online Weaving School:
Exploring branoe 
                                                Christmas Table Runner
 
Christmas Bunting

I hope these inspire you to add some beautiful hand woven

Christmas cheer to your home or someone else’s!

Until next time…

Happy Weaving!

🎄 🎄🎄🎄🎄🎄

Filed Under: Free tutorial, Inspiration, Online Weaving School, Rigid heddle weaving, Rigid Heddle Weaving Patterns, Tutorials, Weaving Tagged With: Celebrations, christmas, Kelly casanova weaving lessons, rigid heddle weaving, rigid heddle weaving tutorial

Double heddle weaving

by Kelly 1 Comment

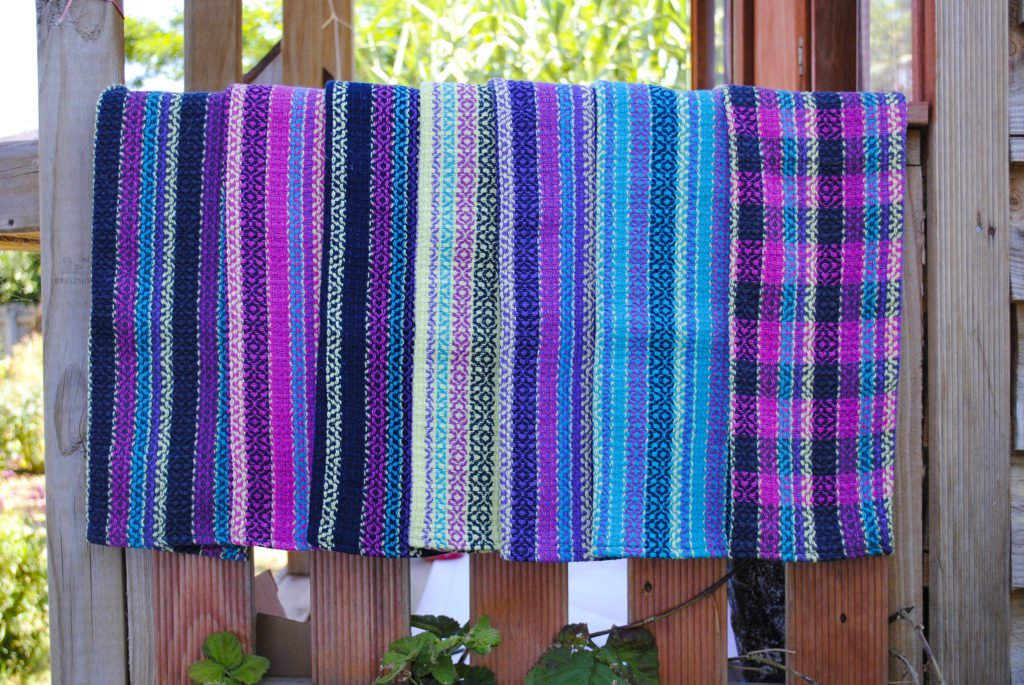
Recently on my Weaving Lessons channel, we explored some of the possibilities of weaving with two heddles on a rigid heddle loom. It’s these sort of techniques that really open up the imagination of what can be achieved on this humble loom. We covered sett, patterning, twill, double layer and tube weaving. Fascinating stuff! 

I love to polish off a series with a project or two, to enable students to see the new techniques in action and apply them practically.

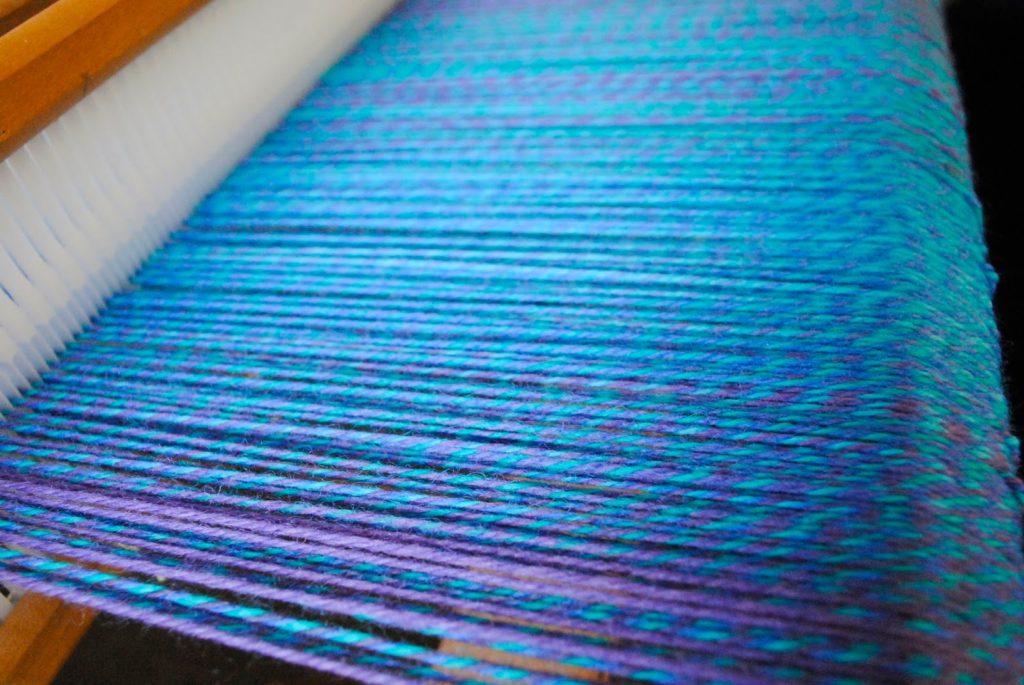
I’m not telling what the project is (yet), but if this warp is anything to go by, it’s going to be a beauty! This pure new wool is “Bloom” from Bendigo Woollen Mills and is just a delight to look at, a beautiful intricacy of colours.

I’ll be back once the videos for this project are posted, stay tuned!

Filed Under: Free tutorial, Online Weaving School, Rigid heddle weaving, Rigid Heddle Weaving Patterns, Tutorials, Weaving Tagged With: my youtube channel, rigid heddle weaving, rigid heddle weaving tutorial, weaving, wool

Honeycomb without the calories

by Kelly 6 Comments


The title is a little misleading, I am, of course referring to the weave structure honeycomb rather than something edible. 

It is a gorgeous structure though, and one that is easy to achieve despite the fact that it looks quite involved. 

Check out my latest video series on weaving honeycomb on a rigid heddle loom.

Follow this link to the introductory video!

Filed Under: Free tutorial, Rigid heddle weaving, Rigid Heddle Weaving Patterns, Tutorials Tagged With: honeycomb, my youtube channel, rigid heddle weaving, rigid heddle weaving tutorial

Clasped Weft weaving on a rigid heddle loom

by Kelly 1 Comment

My latest video is now available to view, I hope you enjoy it!

Filed Under: Free Pattern, Free tutorial, Rigid heddle weaving Tagged With: clasped weft, rigid heddle weaving tutorial, weaving

  • « Go to Previous Page
  • Page 1
  • Interim pages omitted …
  • Page 3
  • Page 4
  • Page 5
  • Page 6
  • Go to Next Page »

Primary Sidebar

Categories

Archives

Meta

  • Log in
  • Entries feed
  • Comments feed
  • WordPress.org

Copyright © 2025 Kelly Casanova Weaving Lessons on the Foodie Pro Theme