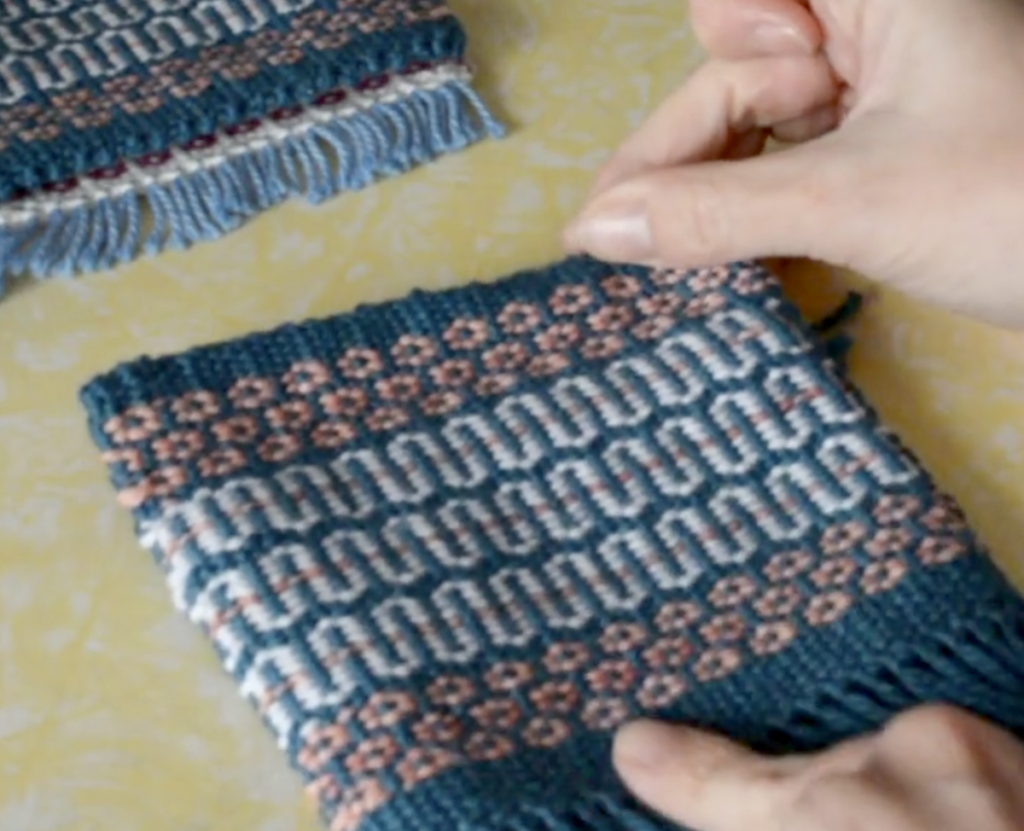
You spend countless hours warping, weaving and finishing your unique hand woven pieces. It only seems right that you honour that process with some photos that show how beautiful your finished products really are.
Whether you want to take photos to share on social media, with friends and family or whether you sell your weaving online and want to present your pieces in their best possible light, it is well worth taking a bit of time to learn a few basic photographic principles that will help you level up with your photos.
*This post contains affiliate links. For further information, please see my disclosure policy.
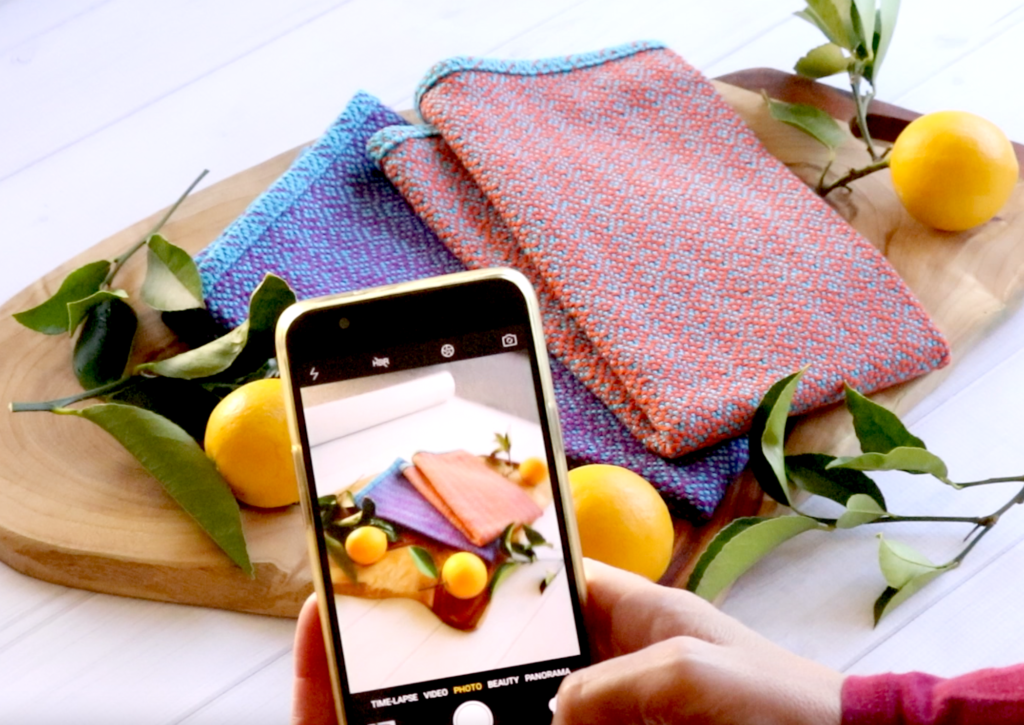
The good news is that, these days you don’t need a super duper fancy camera to take good photos. I do use my DSLR camera when I want to take photographs for classes and my patterns, however for everyday use and social media, I always use my phone.
Phone cameras are now way more advanced than they used to be and can make your “photo to platform” experience really quick and seamless. Considering most of us possess a fairly modern phone, (though at nearly 5 years old, I’m not sure my phone could be considered modern any more!) it makes sense to be familiar with your phone camera and make the most of it.
I’ll start with what I consider 3 essentials to taking a good photograph:
Light
Clarity
Composition
We’ll begin with light. If you’re taking photos indoors, try to choose a sunny rather than dark or overcast day. Set up close to a window at a time of day where the sun is not shining directly onto the area you want to photograph. This will avoid too much shadow and the possibility of patches of light and dark.
I often use my studio lights for filming classes but rarely for photography. This is because natural light will always trump artificial, and give lovely tones to your photo without harshness of light and shadow.
Next is clarity. This is so important! No one wants to look at a blurry photo. Hold your phone or camera still or, if this is a challenge for you, use a tripod to unsure stillness. Also, if you have enough light, this greatly decreases the chances of your photo lacking sharpness.
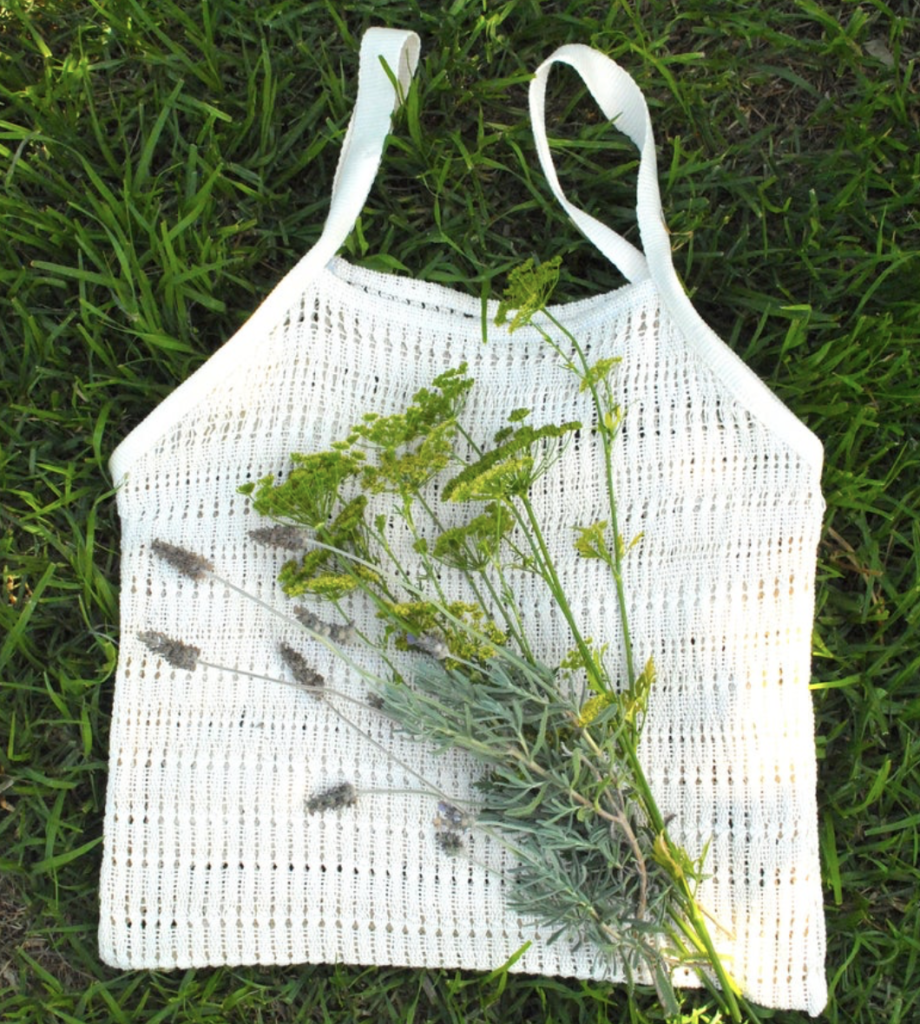
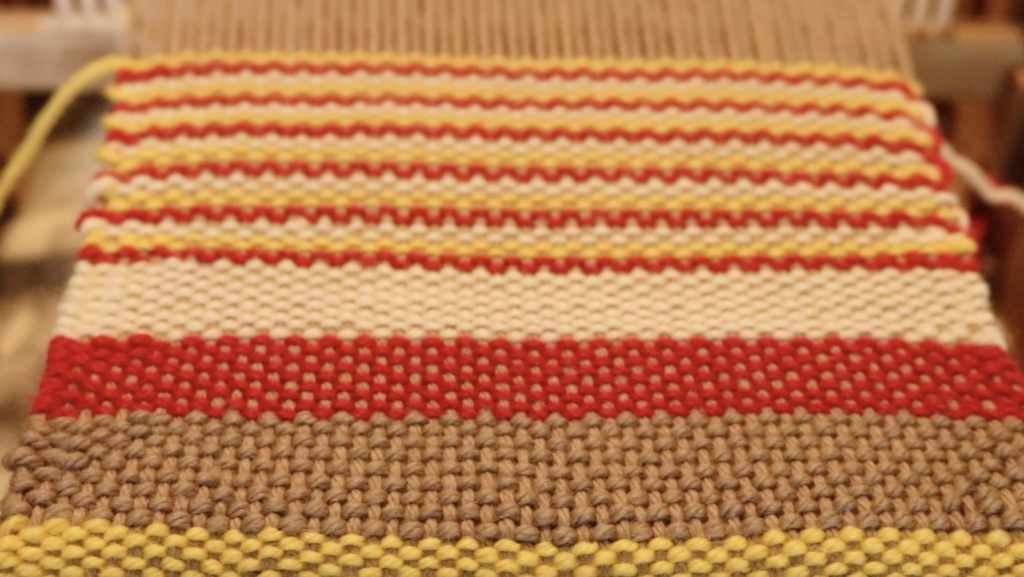
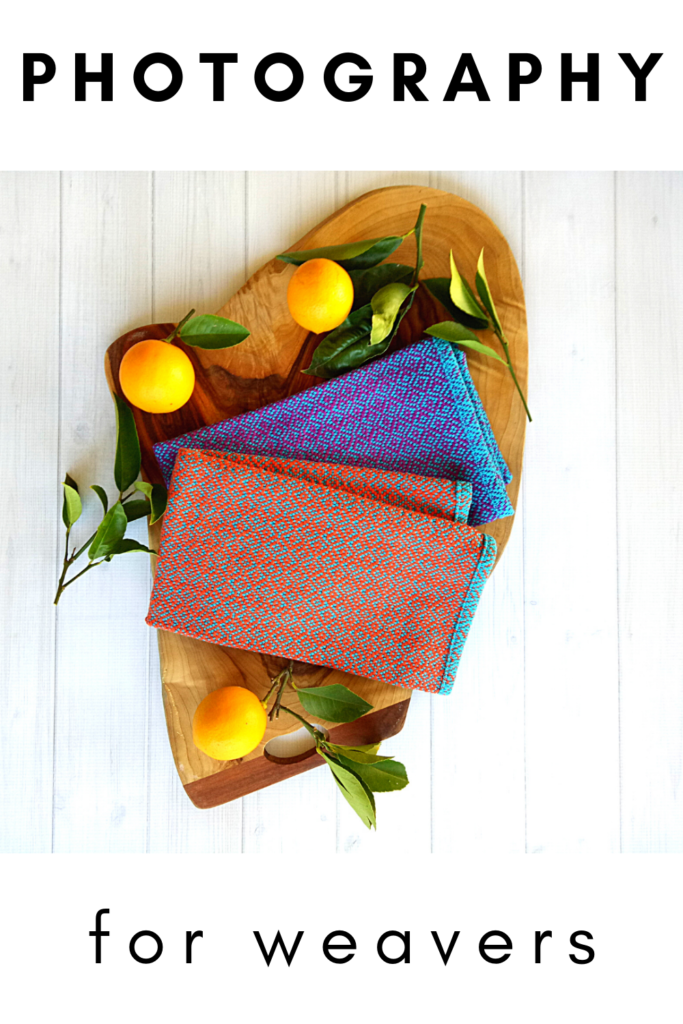
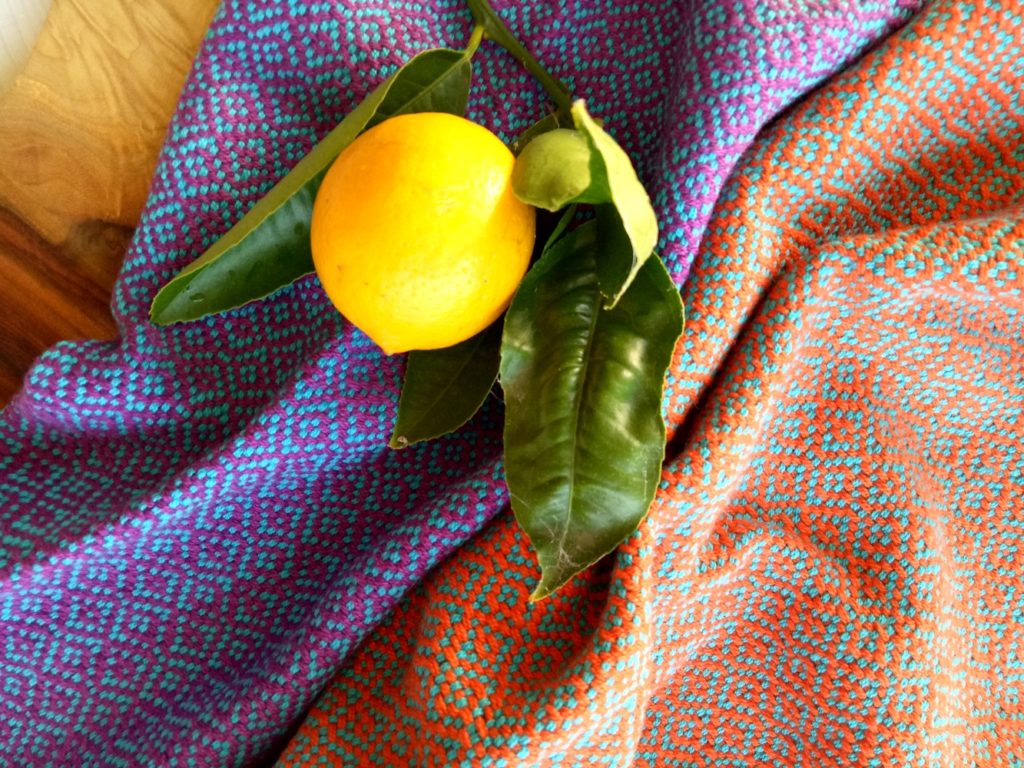
Composition is something you can practice to improve on if it doesn’t come naturally. It’s basically about arranging and framing your “scene” so that it is visually pleasing and balanced. Try out lots of arrangements. Introduce some props to add interest and relevance to your photos eg. lemons with kitchen towels. Try folding, draping, scrunching your hand wovens. Have fun and don’t worry if some of your photos don’t look so great, that’s the point of experimenting – to find out what you like.
A word about editing.
Editing is a great photography tool and an excellent way to finish off and give that final polish to your photos. But it should never be relied upon to “fix” a photo. The aim is to get the best photo that can, in camera, so that when it comes to editing time you hardly have any work to do.
Photography for sellers.
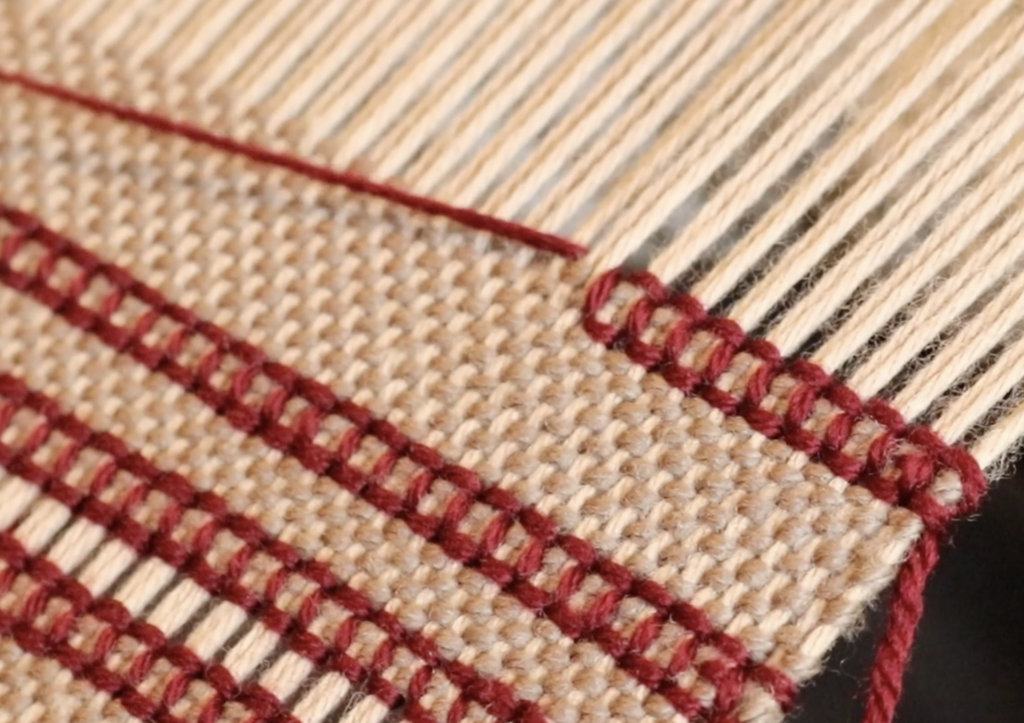
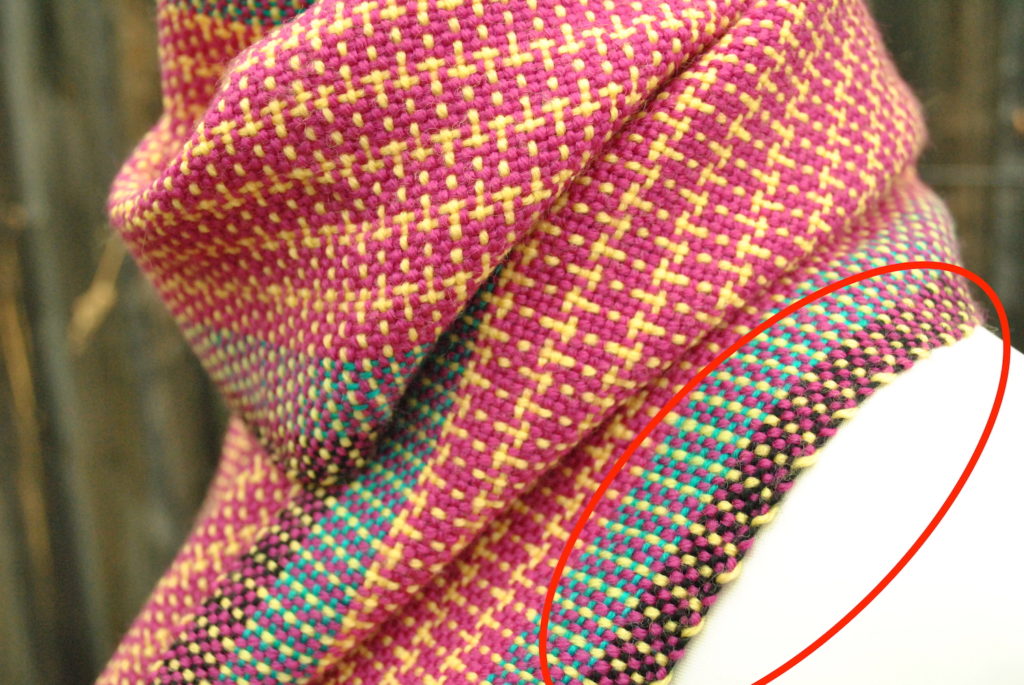
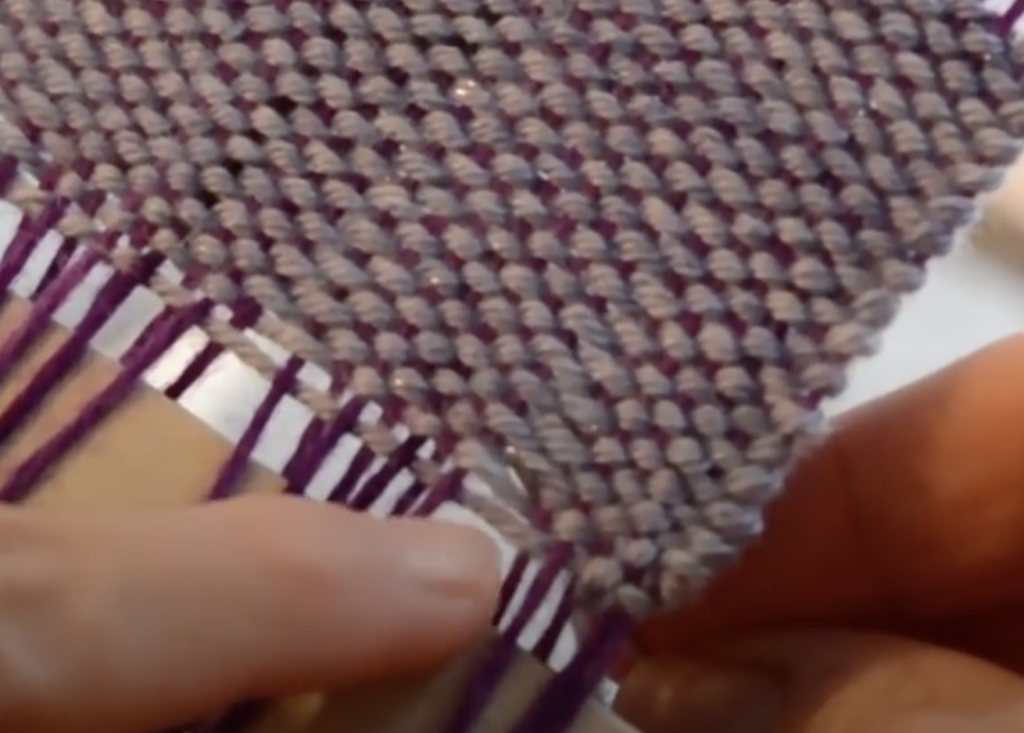
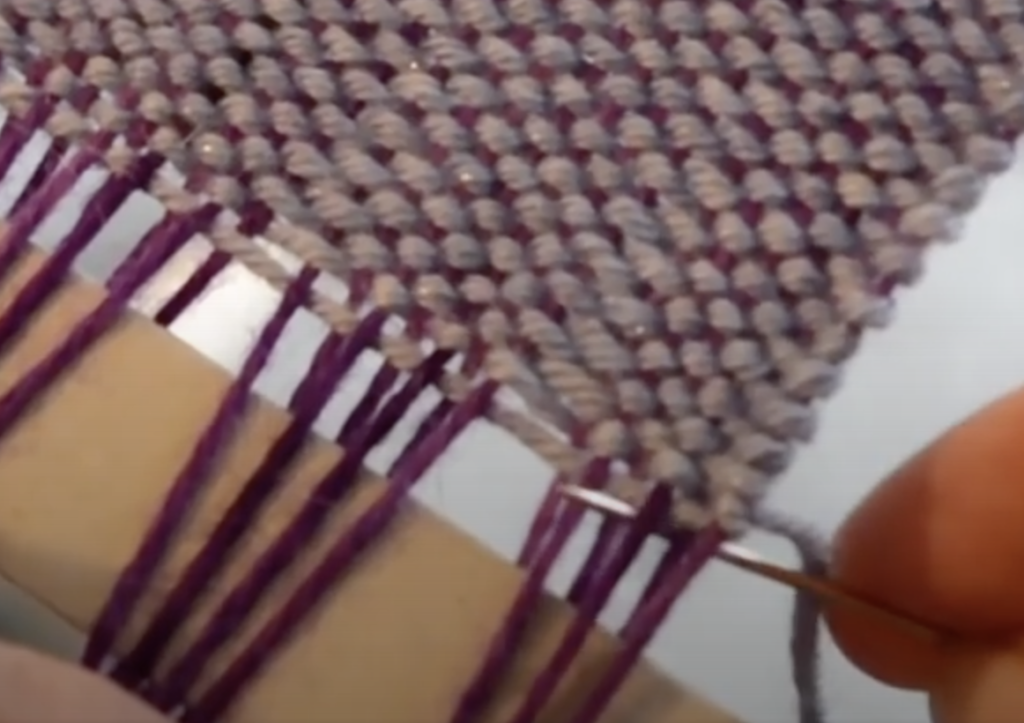
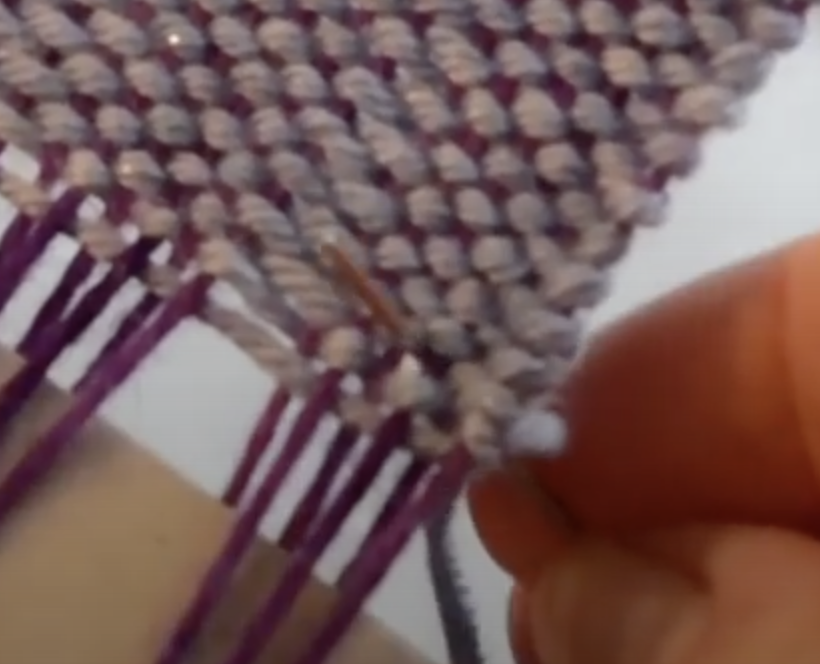
If you are selling your hand woven pieces, good photography is really crucial. Remember that your potential customer can’t see and touch the items the way you can. You want to be able to bring them as close to “knowing” the piece as possible. Provide as many photos as you can from different angles. Include close ups with detail as well as distance shots.
Ensure you have an appropriate backdrop. Carpet and tiles are not a good look. If you think about it, if you were buying some beautiful hand woven towels, would you find them as appealing if they were photographed on a bare floor? I use professional vinyl photography backdrops for many of my photos. These are expensive, but well worth the investment if you are taking a lot of product photographs. I bought mine from Oz Backdrops and Props in Australia, but these backdrops are very similar.
If you are interested in learning more about photographing your hand wovens using your phone, check out my 49 minute Photography for Weavers Workshop. In this workshop, I take you through exactly how I set up product photos for my Diamond Stripe Towels and show you other arrangement possibilities to inspire you. I also take you into the free weaving software Canva, and show you how it can be used for basic editing.
Did you enjoy this post? Let me know in the comments below, I would love to hear from you!
Until next time…
Happy Weaving!