A frequently asked question is “how do I best show off my warp?” and it’s usually asked in relation to having bright colours, lots of colours or a gradient in the warp.
If you have spent a lot of time on your warp to arrange the colours just the way you want to, you certainly don’t want to obscure all that beauty by weaving with an inappropriate weft.
If you’re one of those people who feels a bit bewildered when it comes to choosing colours for a project, check out this article on Basic Colour Theory first 😉
Plan Warp Colours Before You Start
In the planning stages of your warp, you will want to think a lot about how your warp colours will look side by side. There are several ways to visualise this. You can use colouring pencils to just draw and colour in bands of colour next to each other on a blank piece of paper to see if they look pleasing to you.
You can also grab some short lengths of the intended colours in the yarn you are using and twist them together a couple of times. They will twirl around each other and give you an idea of how they will behave side by side.
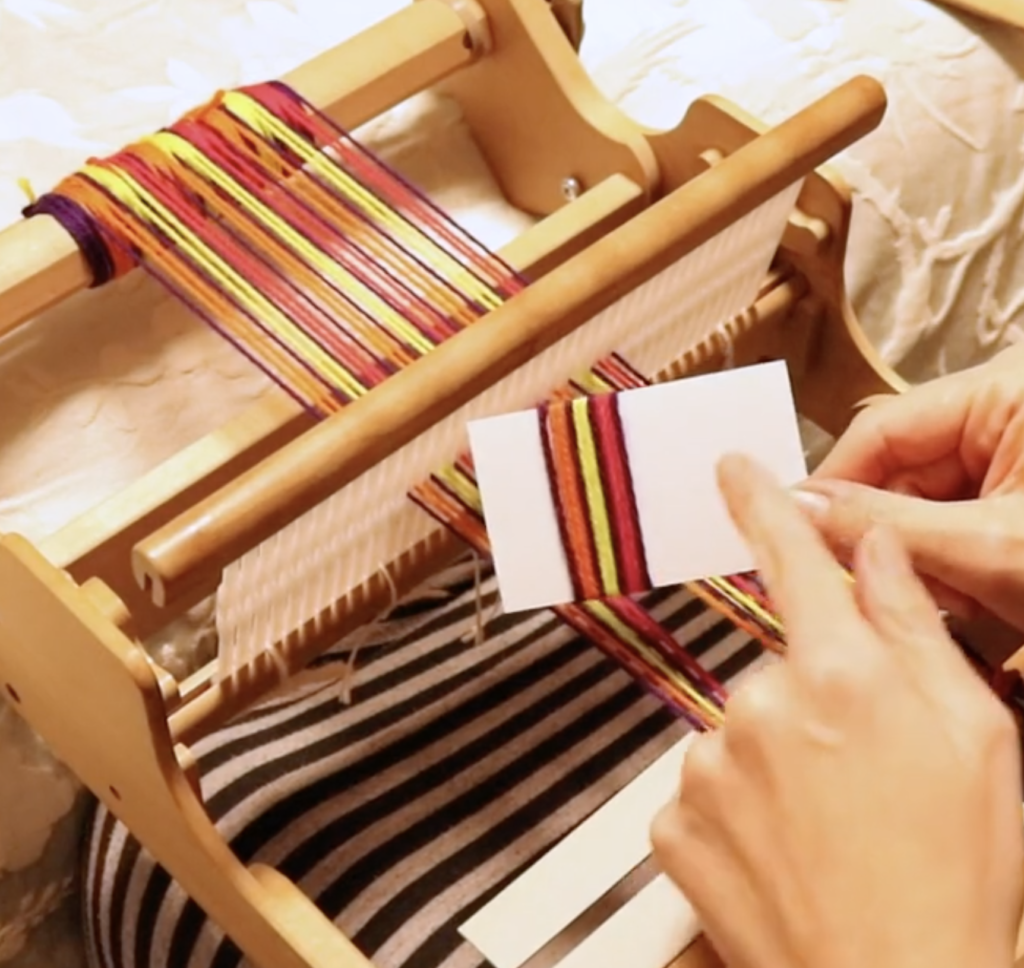
You can also do a wrapping as I have here, which gives a great visual representation of colours and thicknesses of stripes. I teach you how to do this in my members only Gaining Confidence with Colour class.
Don’t Forget The Weft!
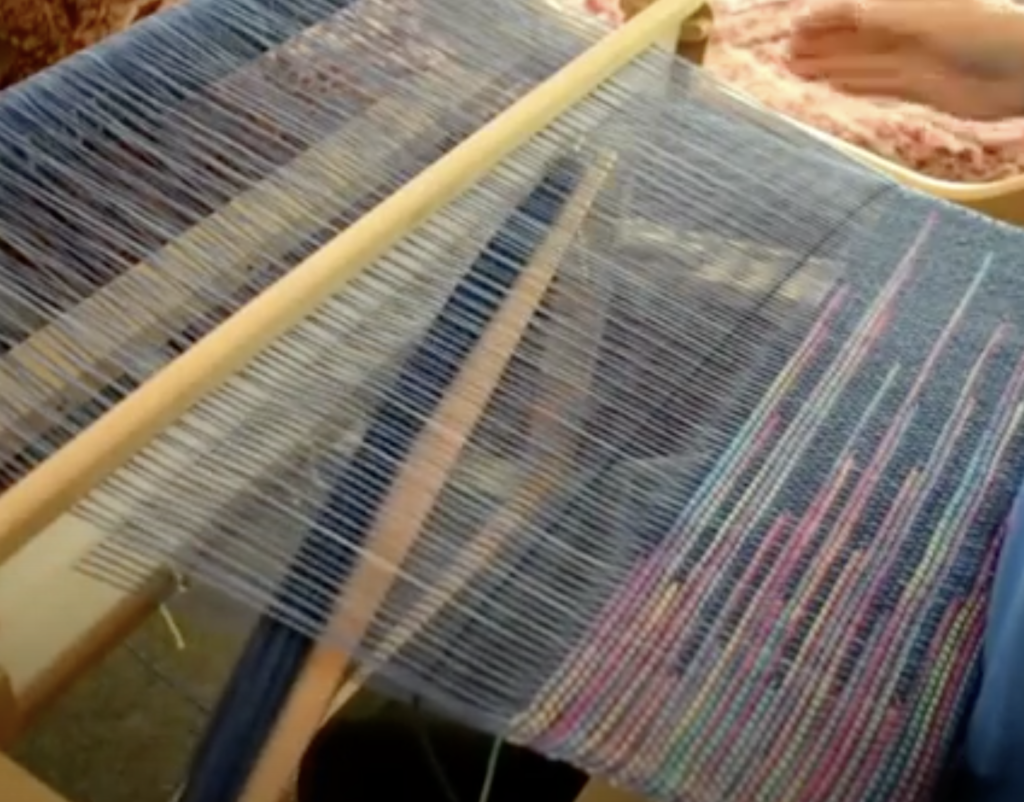
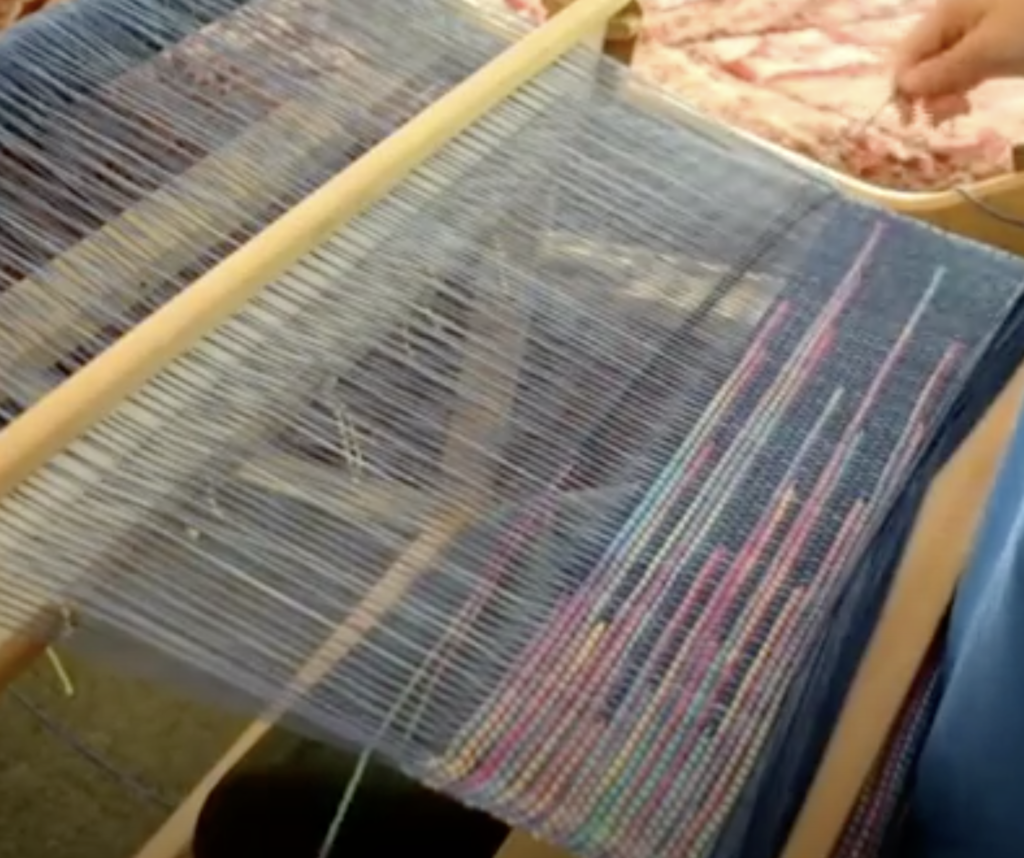
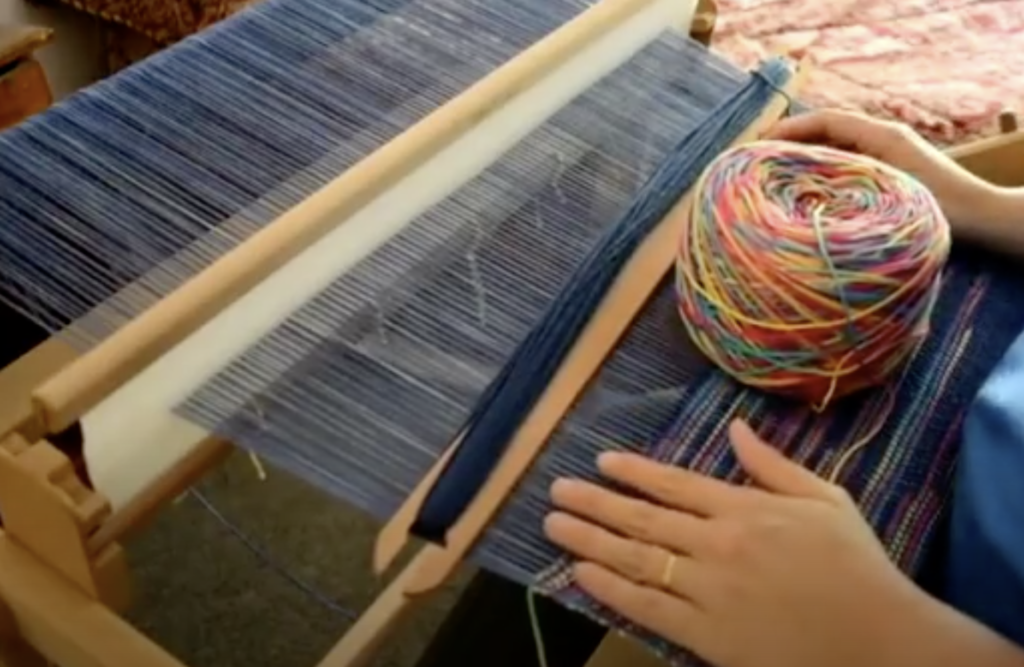
It is best that you also plan which weft you will use, but it can be hard to know how different colours and yarns will look on the loom. I highly recommend that you take the time and a little extra yarn to warp up a sampler, which will take all of the guess work out of the project.
In this article, I am sharing some of my samples from my new members only Options for Showing Warp Colours class. The class goes into plenty of detail with yarns used, weaving structures and demonstrations that will give you lots of ideas for your next colourful warp.
Let’s Look At Some Samples
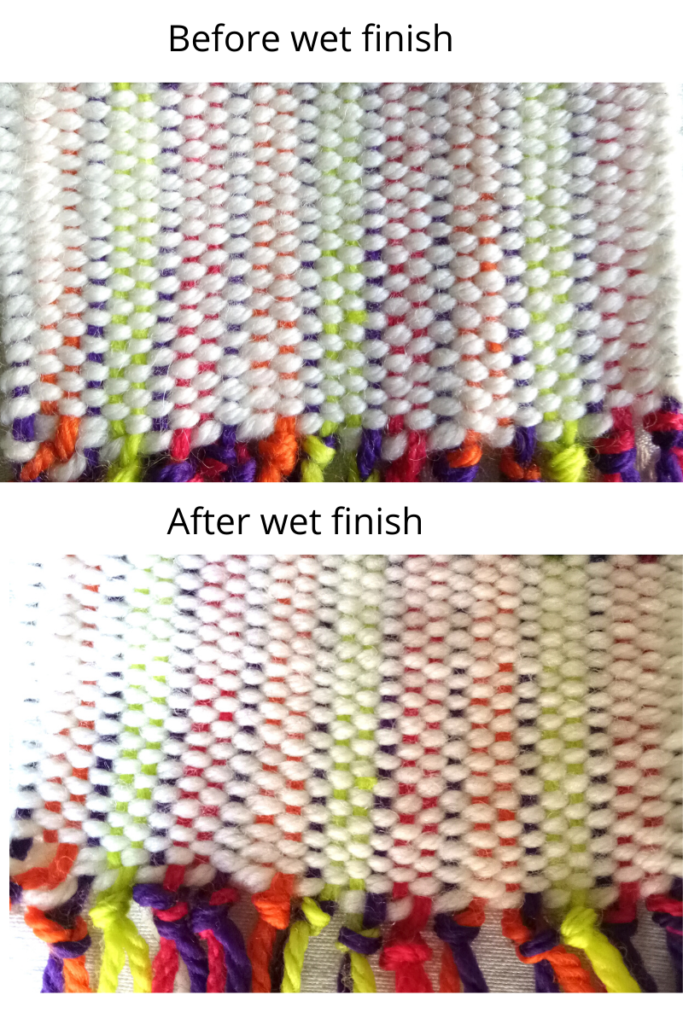
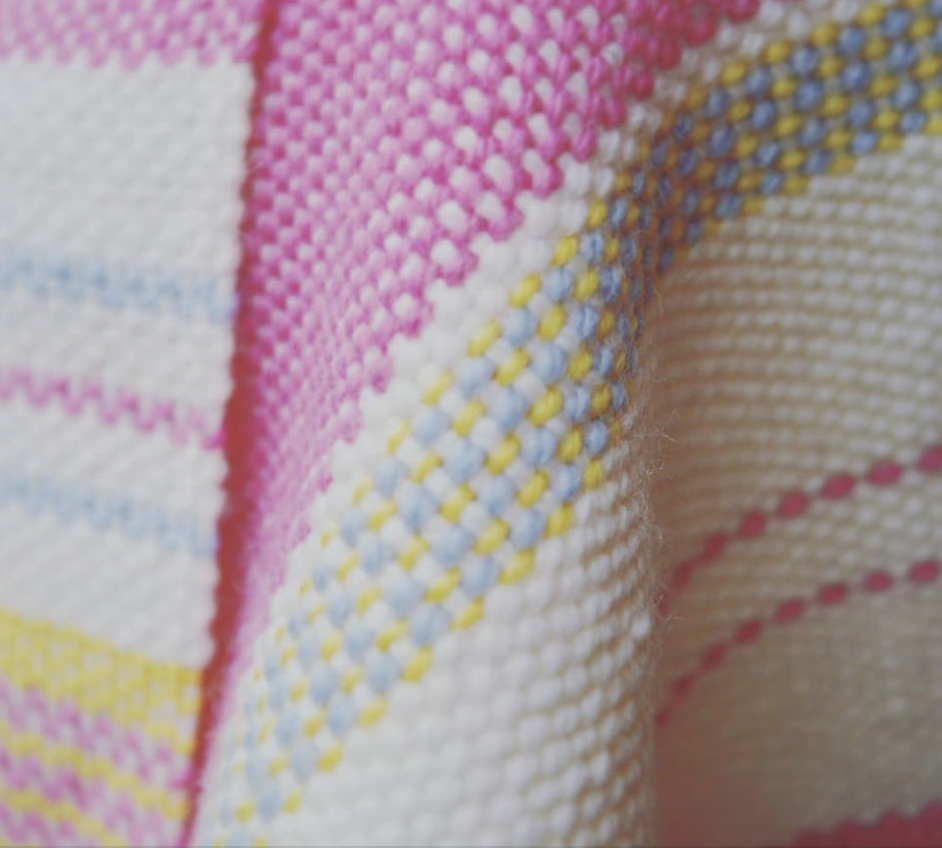
All my samples, excepting one, were woven with woollen yarn but not all in the same thickness. My first sample was a white wool. I particularly wanted to show you how a white weft has the effect of toning bright colours right down. That can be desirable in some circumstances, and not in others. It’s best to know these things before you begin your project to avoid disappointment!
Sample 1
I’ll readily admit that this sample makes me cringe, but perhaps for another weaver it might be just to their taste. Once again, sampling is invaluable in helping to reveal your own personal likes and dislikes. So, while this balanced plain weave sample doesn’t appeal to me in the slightest, that doesn’t mean that I’m against all white wefts!
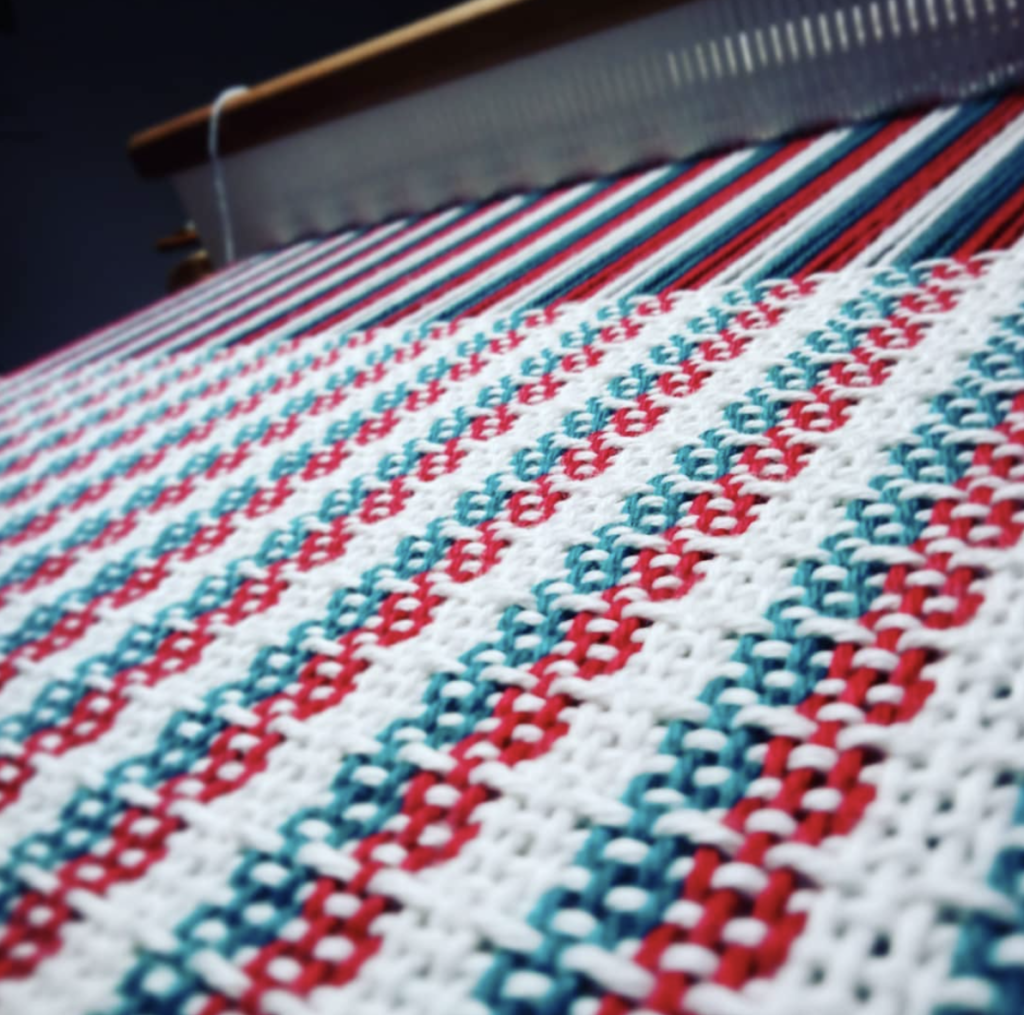
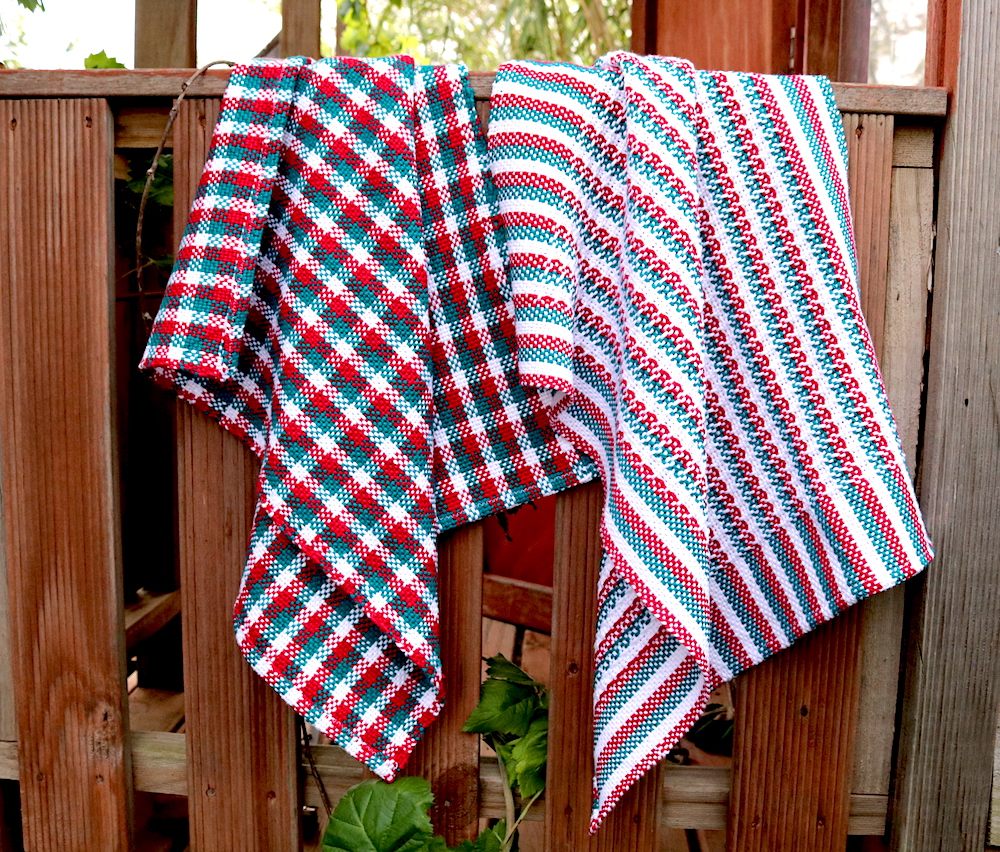
For my second Wash Your Hands Towel I also used a white weft, but look at the difference! In this case, due to the arrangement of colours in the weft and a lovely pick up pattern, white really makes this towel pop in a way that I love.
Sample 2
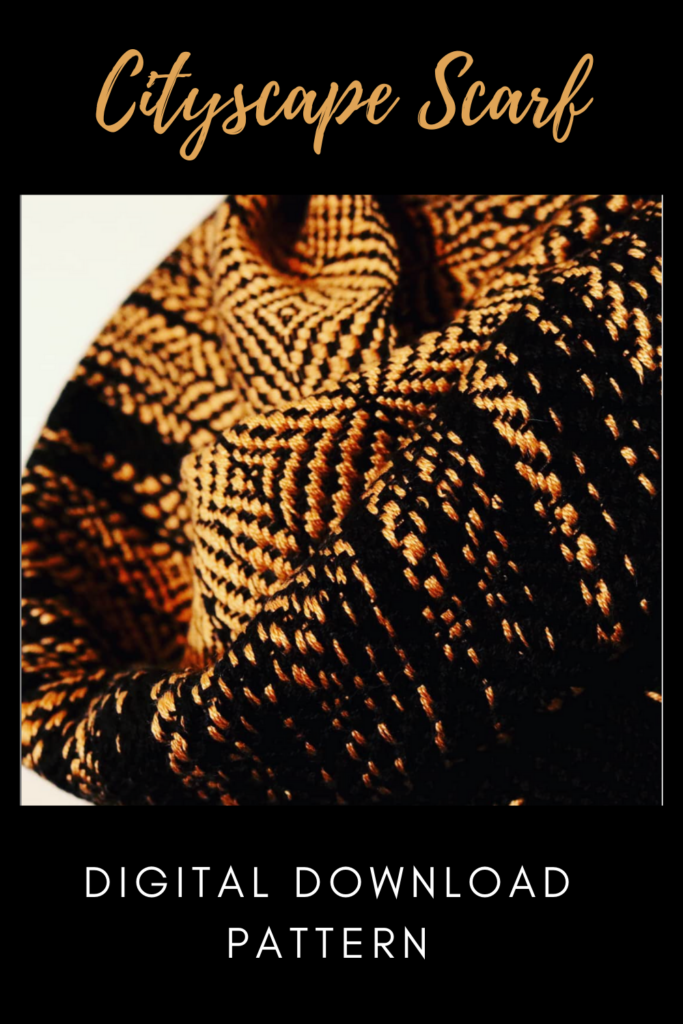
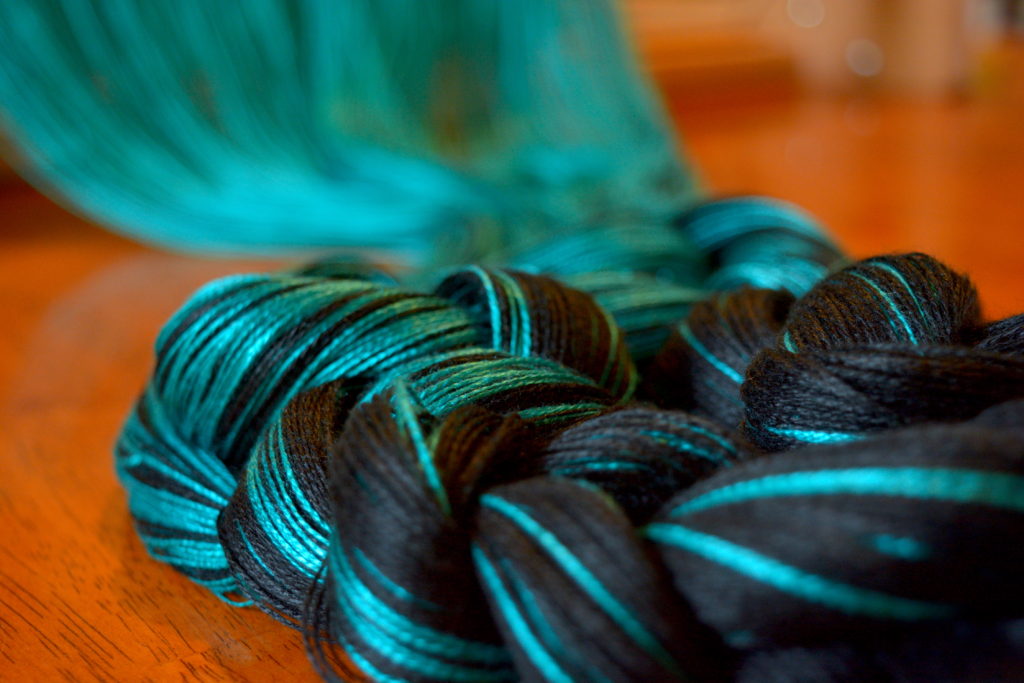
The second sample is the opposite of the first in that it uses black as the weft. I didn’t have any black in the same weight as the warp, so I used a lighter weight. I had to be careful to beat gently to avoid obscuring the warp altogether. I don’t often use much black in my weaving, as it tends to be so dominant. It can be perfect when pairing with another solid, contrasting colour and an interesting pattern, but for plain weave, once again, I’m not a fan.
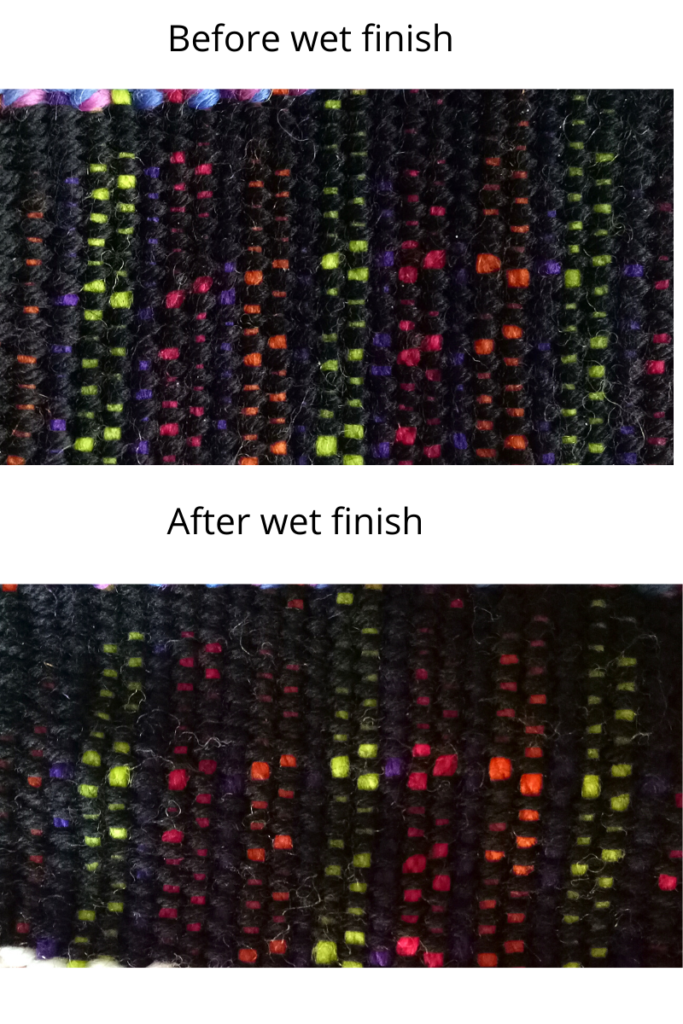
I don’t mind the way the black has little pops of the warp colour, but I do feel that it just wants to take over all those colours I spent time carefully warping!
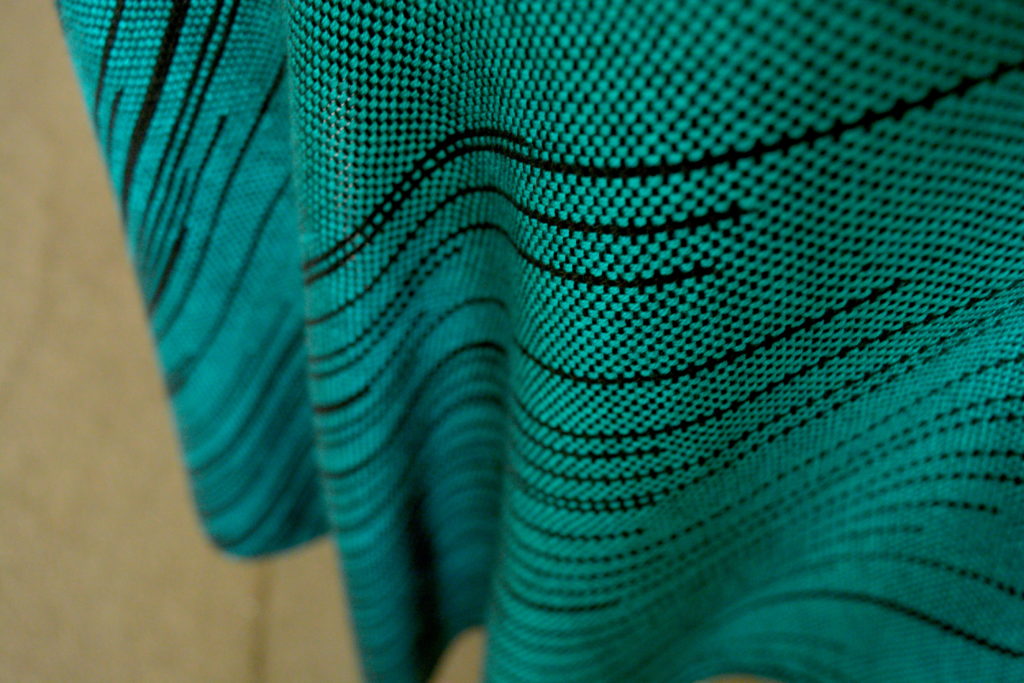
Sample 3
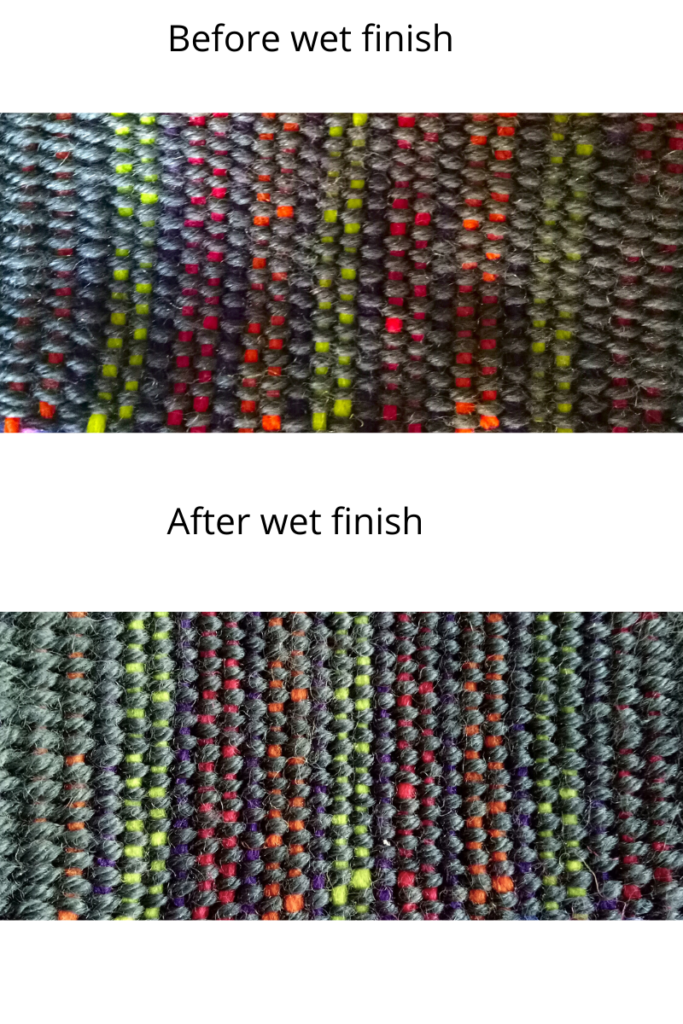
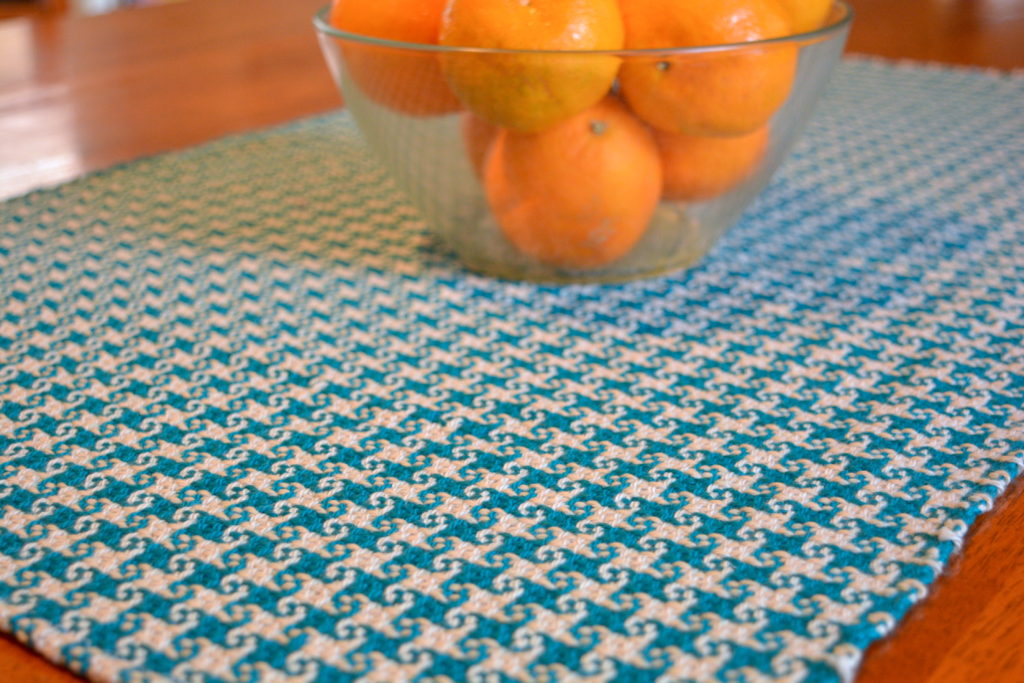
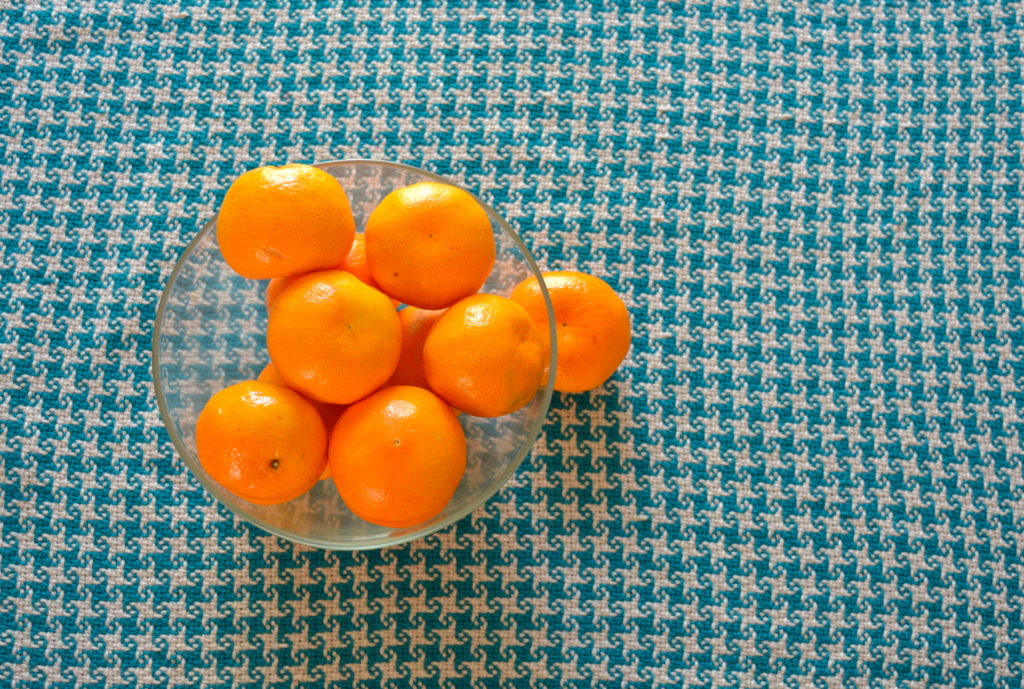
The third sample was a plain weave in dark grey. Dark grey is my preferred option for when I want my warp colours to shine. It seems to harmonise and compliment rather than dominate.
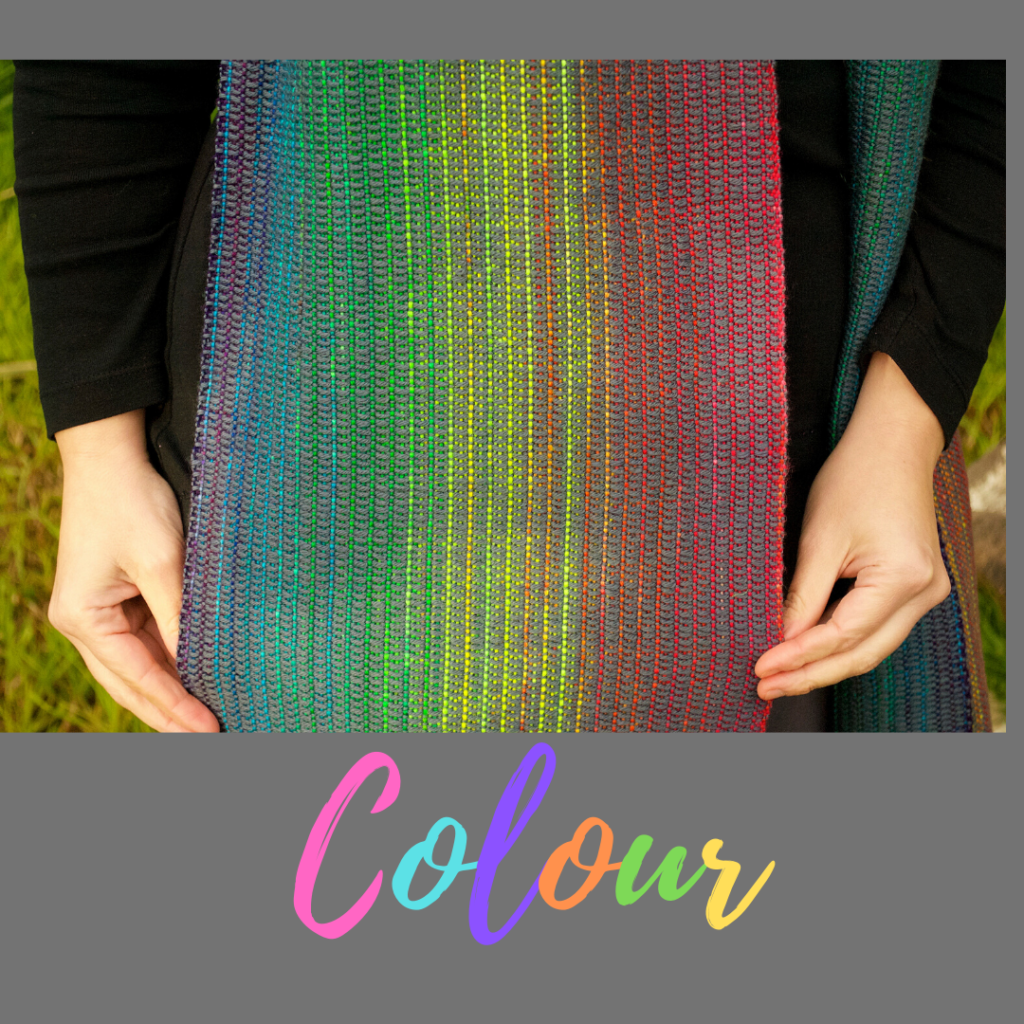
Sample 4
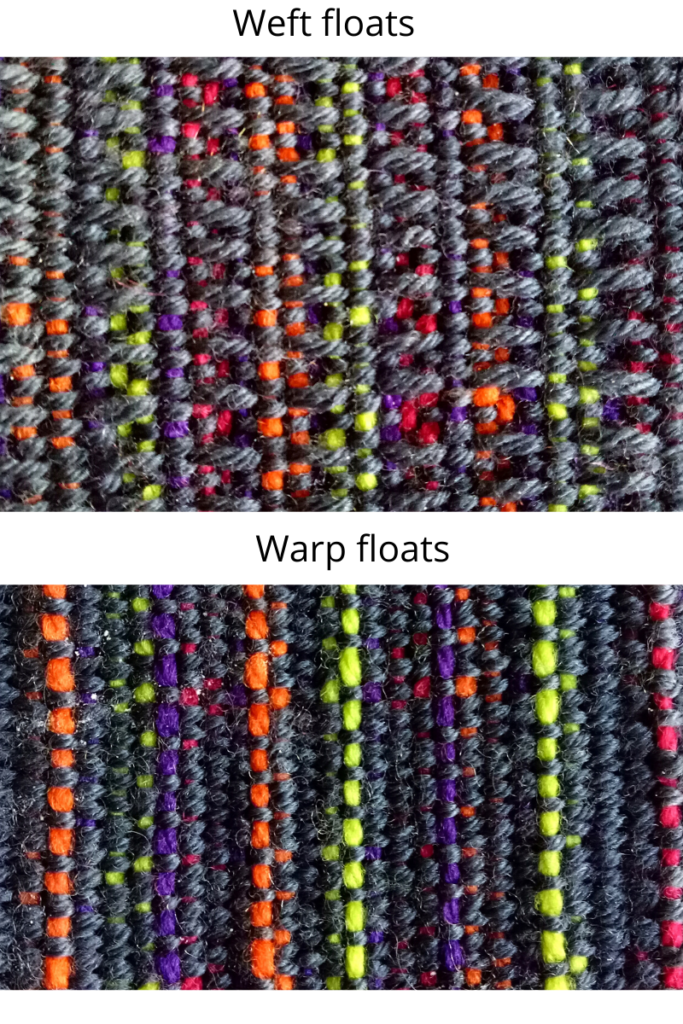
Now on to my favourite option – grey with pick up. This is a total win win situation in my opinion. You have the non obtrusive grey and the openness of the pick up to allow that warp to shine. I find this the most complimentary combination of weft and warp.
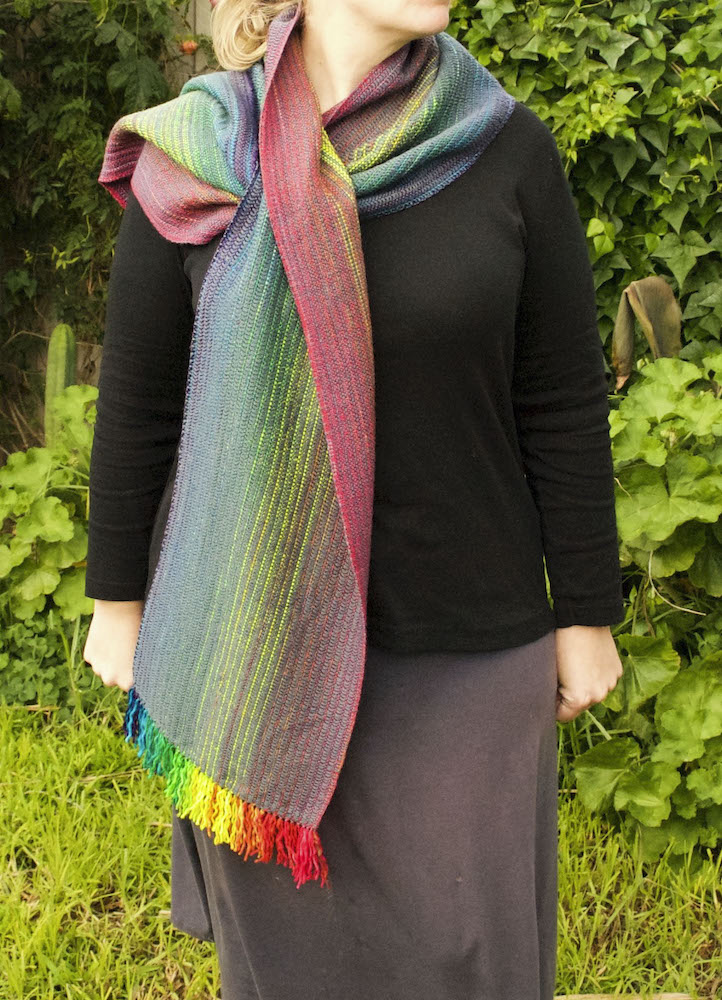
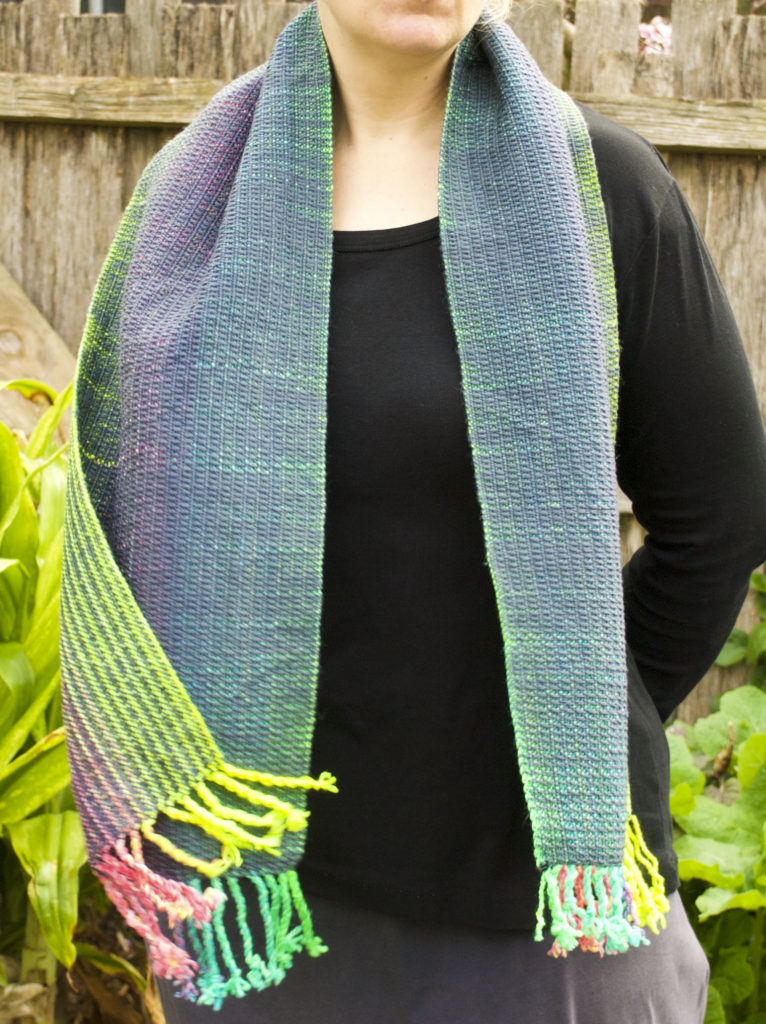
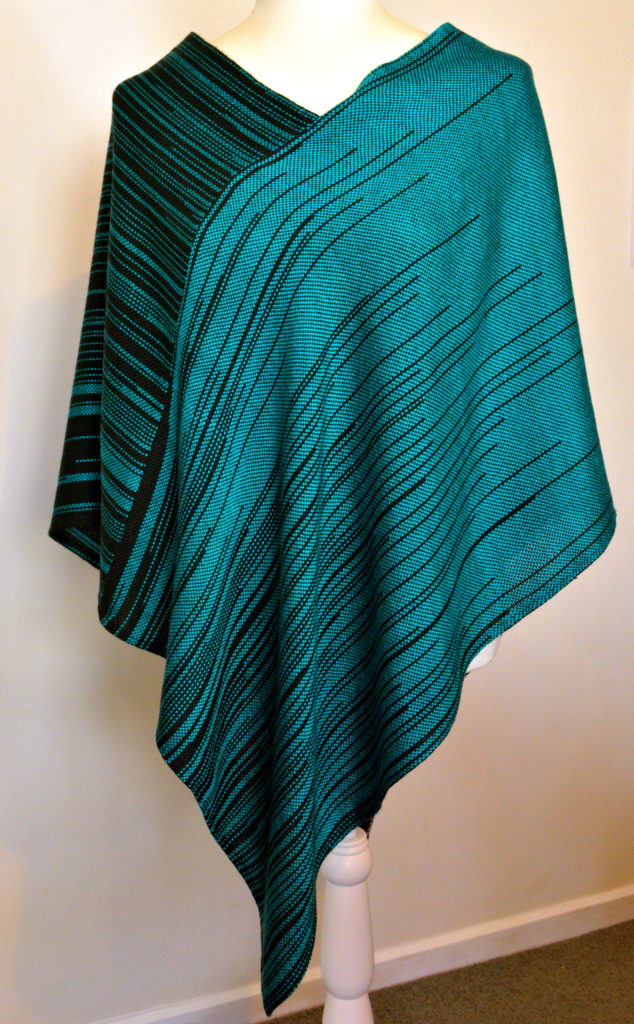
My Personal Favourites
Before I go, I want to show you some of my favourite projects woven with colourful, gradient warps and grey weft in pick up patterns, just to inspire you!
I hope this post has helped you to think about ways that you might use wefts to make your warp a stand out. If topics like this are interesting and useful to you, I’m sure you will love my Online Weaving School. There are single classes or memberships available for purchase.
If you are interested to know more about pick up sticks, you will find this article very useful.
I also have available an 11 page printable guide which includes 5 additional pick up stick patterns for you to try out plus a tips and tricks page. You can grab that here 👇
As always, if you have any questions or if you enjoyed reading this, please leave me a comment, I love to read them!
Until next time…
Happy Weaving!


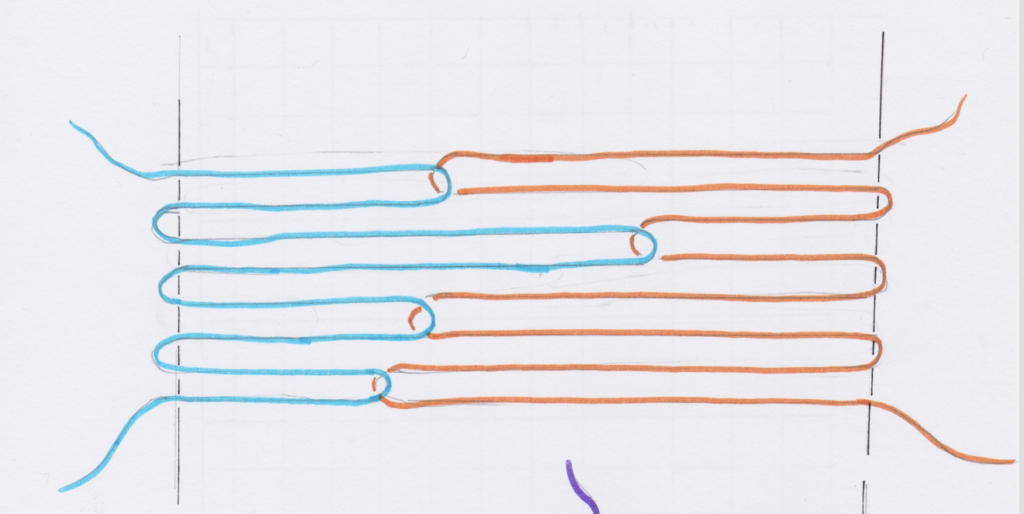
 On the right hand side (where your shuttle entered), tidy up and prepare your weft yarn as though you’re going to beat the pick in. If you’re not familiar with how to do this, watch my free video on