Quite a few years ago now, we bought our first family DSLR camera. I loved photography when I was in high school and spent as much time doing it as I was allowed. I think one thing I loved about it was it was the only subject in which I felt free and unrestricted.
I could take one of the school’s SLR (pre- digital days!) cameras home when I wanted. I was given access to the school dark room in my spare time, and thankfully, my parents paid the bills for the photo paper and chemicals without grumbling.
*This post contains affiliate links. For further information, please see my disclosure policy.

So, getting our first entry level DSLR was like reliving a bit of that favourable part of my teenage life. It wasn’t long before I decided I wanted to take a course to learn the camera inside out. I enrolled in an online course, which was quite an investment for our single income family at the time, and started learning.
I became completely engrossed. I lived and breathed photography for the best part of a year. I loved the assignment challenges and started making my own challenges. Thankfully, I had 4 beautiful children who were my willing subjects. I started to dream up themes for photos. I made costumes, visited beautiful locations and used interesting props.

So, what does all this have to do with weaving?
Well, I was already a weaver when I started the photography course. But I was in a “not so positive place” with it. I was trying to learn new and interesting techniques, but it was really hard. I was putting pressure on myself to make perfect, Instagram worthy pieces that I just wasn’t ready to undertake.
Homeschooling, mothering, attempting to supplement our income didn’t leave much time for creative pursuits. Photography fit well, because the children were very often my subjects and were always with me when I was doing it, so it fit well.
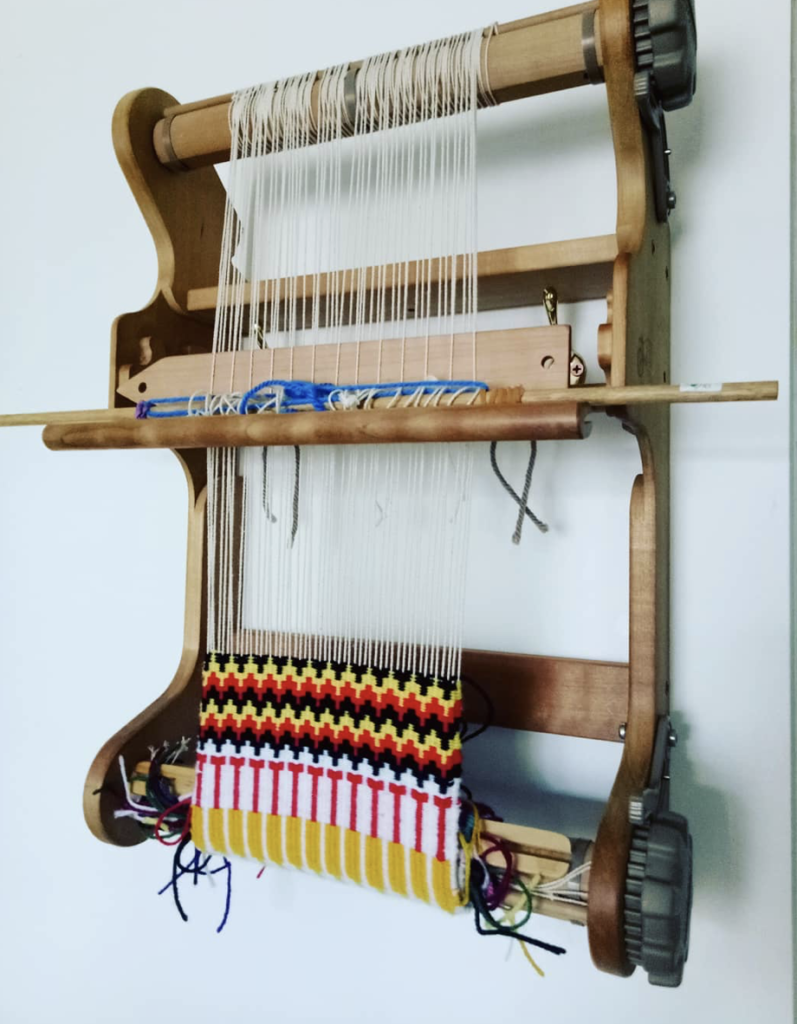
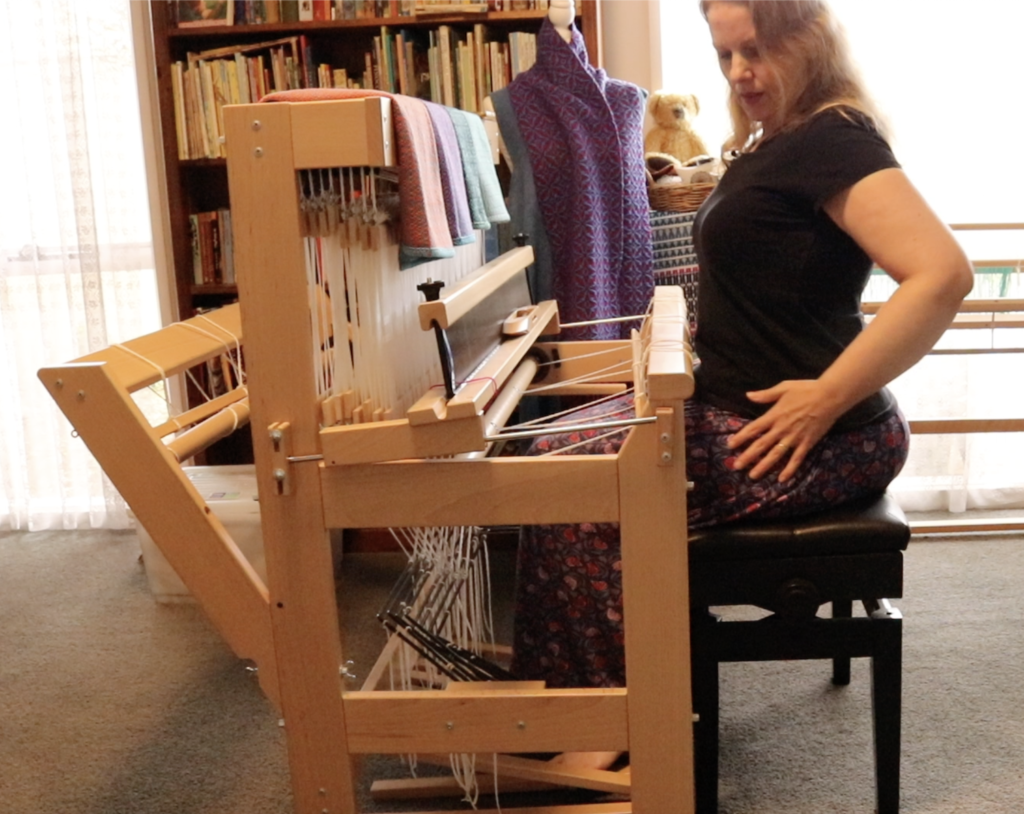
As time went on, I wondered whether weaving was really the right thing for me. My rigid heddle loom sat empty month after month. My husband had bought it for me as a gift. I felt guilty that I wasn’t using it.
Most of all, I felt that I wasn’t capable of learning all I wanted to on this loom, and so my motivation lagged completely.
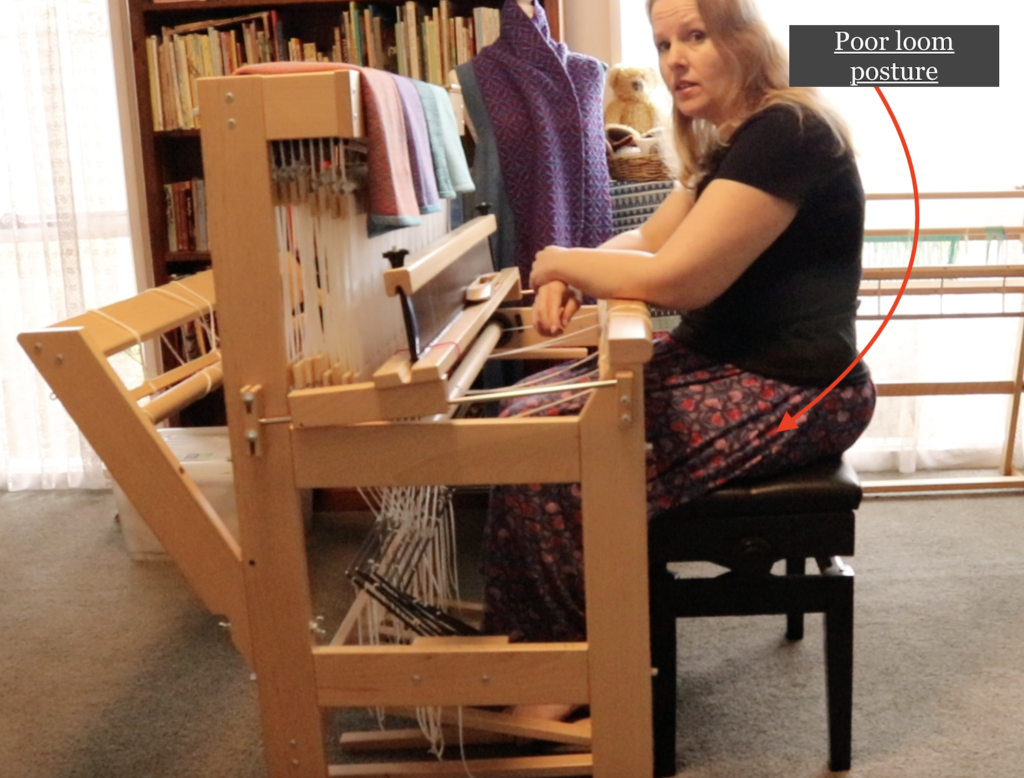
The frustrations that I’d been having with weaving built up in my mind and sat upon my shoulders as a heavy burden. Guilt, annoyance, frustration, lack of motivation – all these negative emotions around weaving were just penned up. I didn’t share this with anyone, and so it went on, and so the loom continued to sit empty.
And this was my biggest mistake.

So, what happened? Well, eventually the novelty of lugging that somewhat heavy camera around, countless hours of making costumes and finding new locations began to wear off. I started to remember what had attracted me to weaving in the first place, and why I felt compelled to make my own cloth. I started to notice beautiful yarns again. Ideas began to bubble up in my mind.
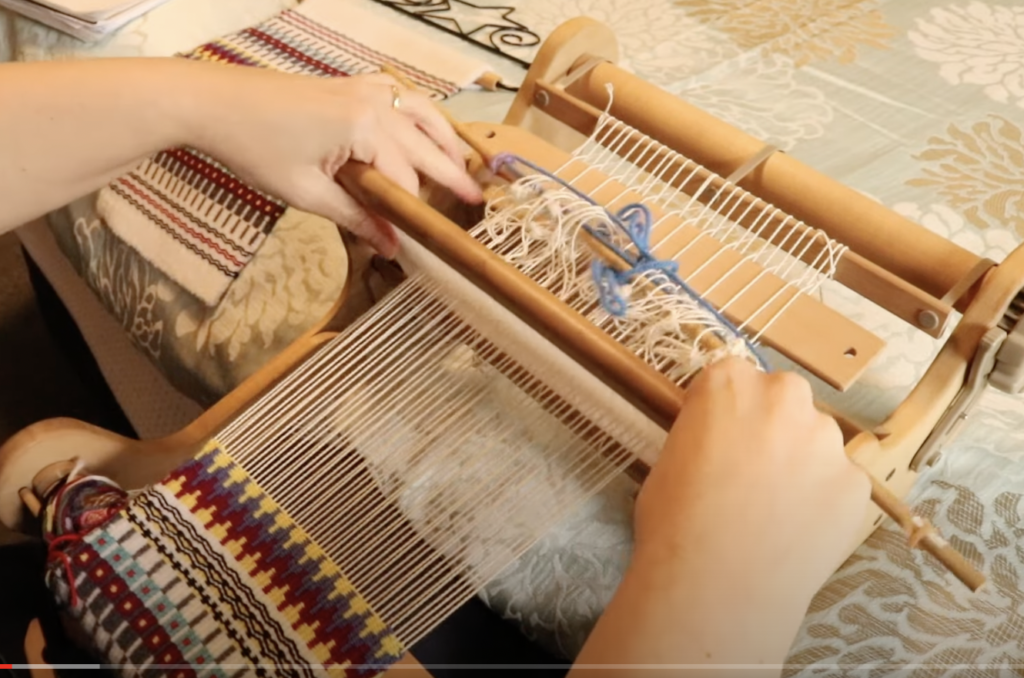
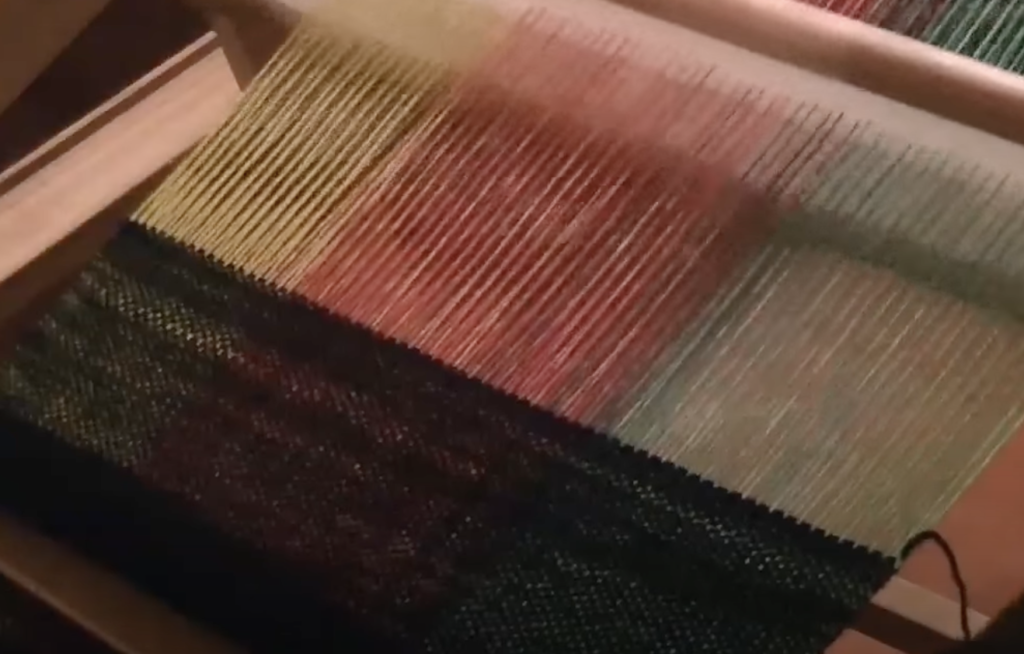
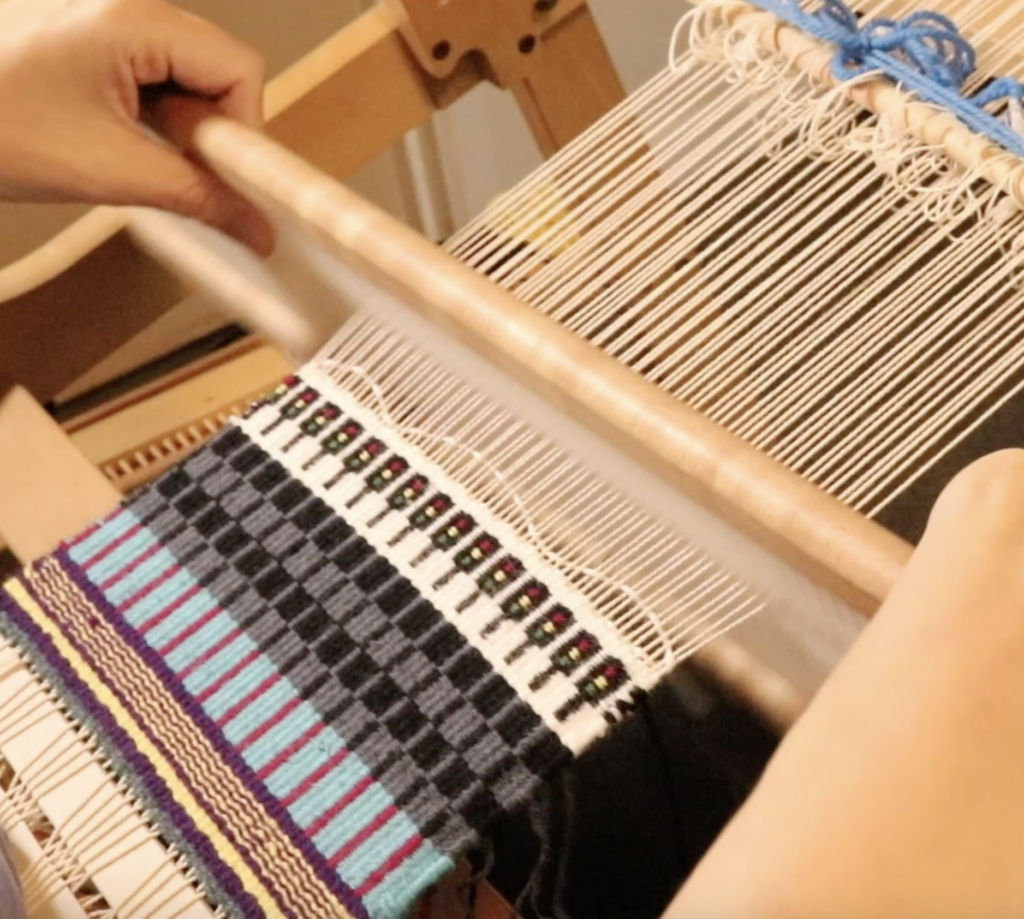
But the most important thing that happened is that I just put a warp on the loom.
I took a step. I don’t remember what it was that I made. Maybe it was just a simple, fun, non committal, explorative weave. Maybe it was something to wear or something for my kids to use in their play house. I really don’t remember, and it doesn’t really matter. The point is that I just did it.
I do still get weaver’s block to this very day, especially when I’m challenging myself to learn something new, but the difference is in how I handle it. I ensure that whenever those negative weaving feeling start creeping back in, I do something about it!
I have many resources that can help you get past the frustrated weaver point and on to weaving beautiful things. Here are a few suggestions:
- Keep a weaving journal. Document your projects and how far you’ve come. Add in your future weaving plans, include pictures, colours, snippets of yarn. Use your past projects to build on.
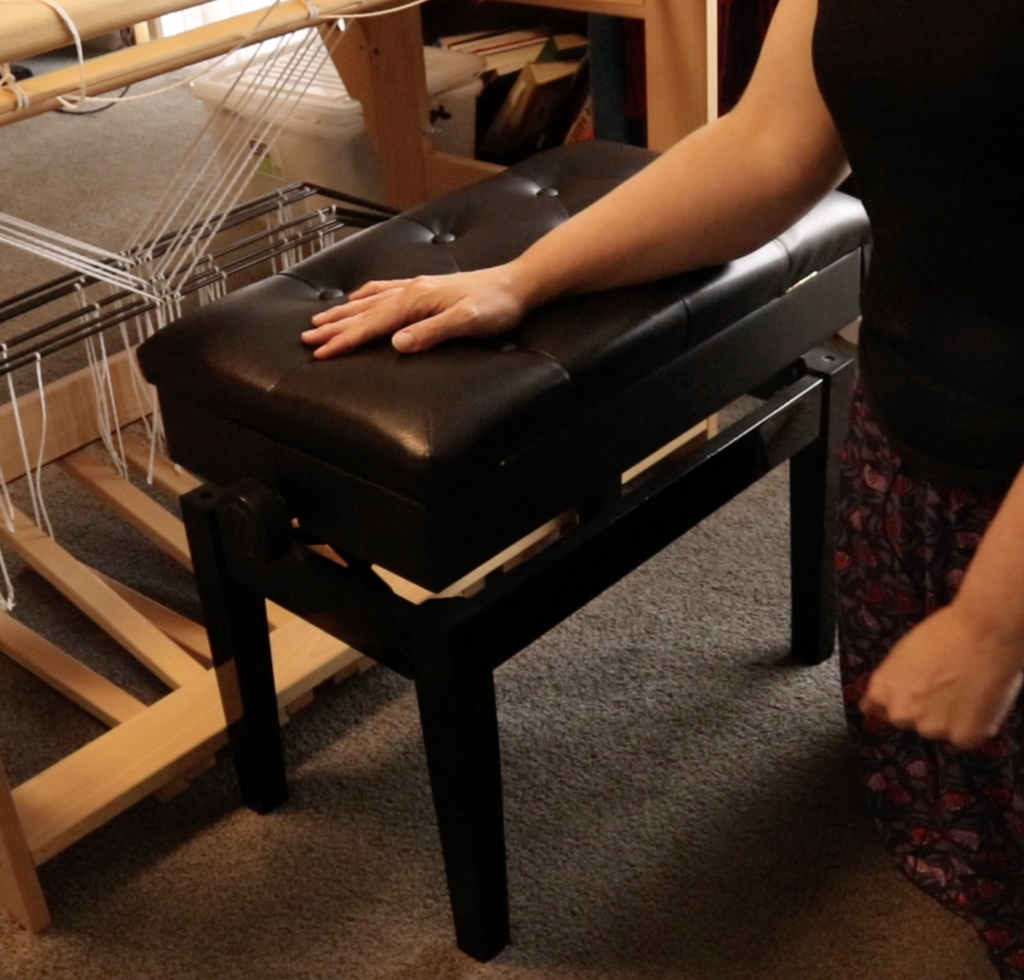
- Make a creative space. This is not possible for everyone, but even just a corner of a room, somewhere you can set up your loom and some yarns can help. If you don’t have to lug out all your materials every time you want to weave, you will be more likely to do it.
- Make time for regular weaving – even if it’s 15 minutes at a time. You will make progress if you keep at it.
- Make a Pinterest board or a mood board for inspiration. This can be as loose or as planned as you like.
- Immerse yourself in the weaving community. Join groups (online or face to face), watch Youtube videos, listen to podcasts. These will help keep you motivated and prevent feeling isolated.
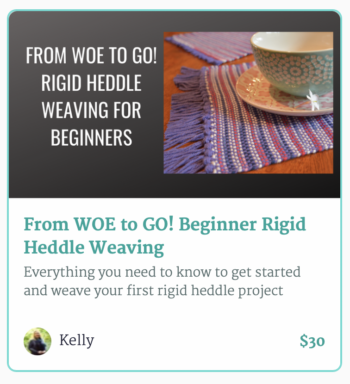
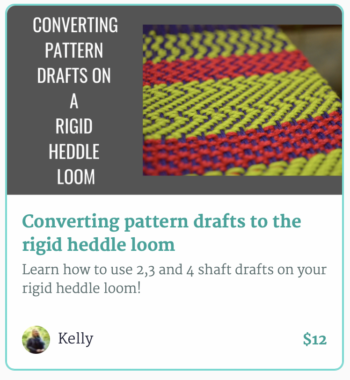
- Join the Online Weaving School. When you purchase a membership, not only do you get access to the class library full of courses for all different weaving levels, you also receive an invitation to join a wonderful weaving community.
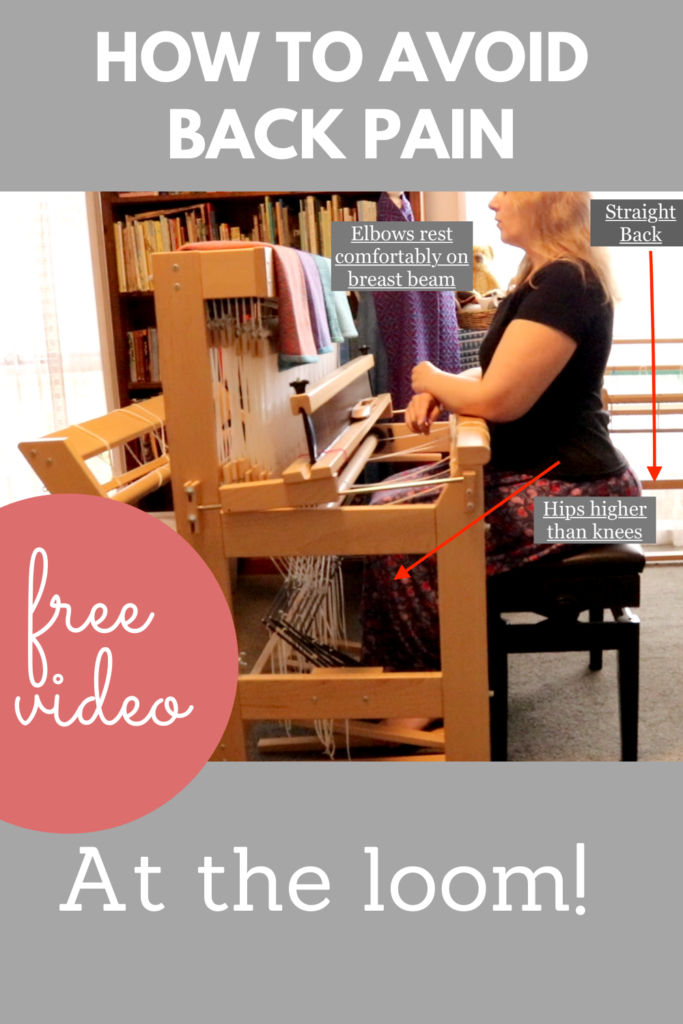
You may also be interested in these relevant videos:
Have you ever felt paralysed in your weaving journey? What helped you out of it? Or, if you are in a rut, what are you going to doing about it? Let me know in the comments below so we can keep the discussion going.
I hope this post inspires you to warp up your loom and get weaving!
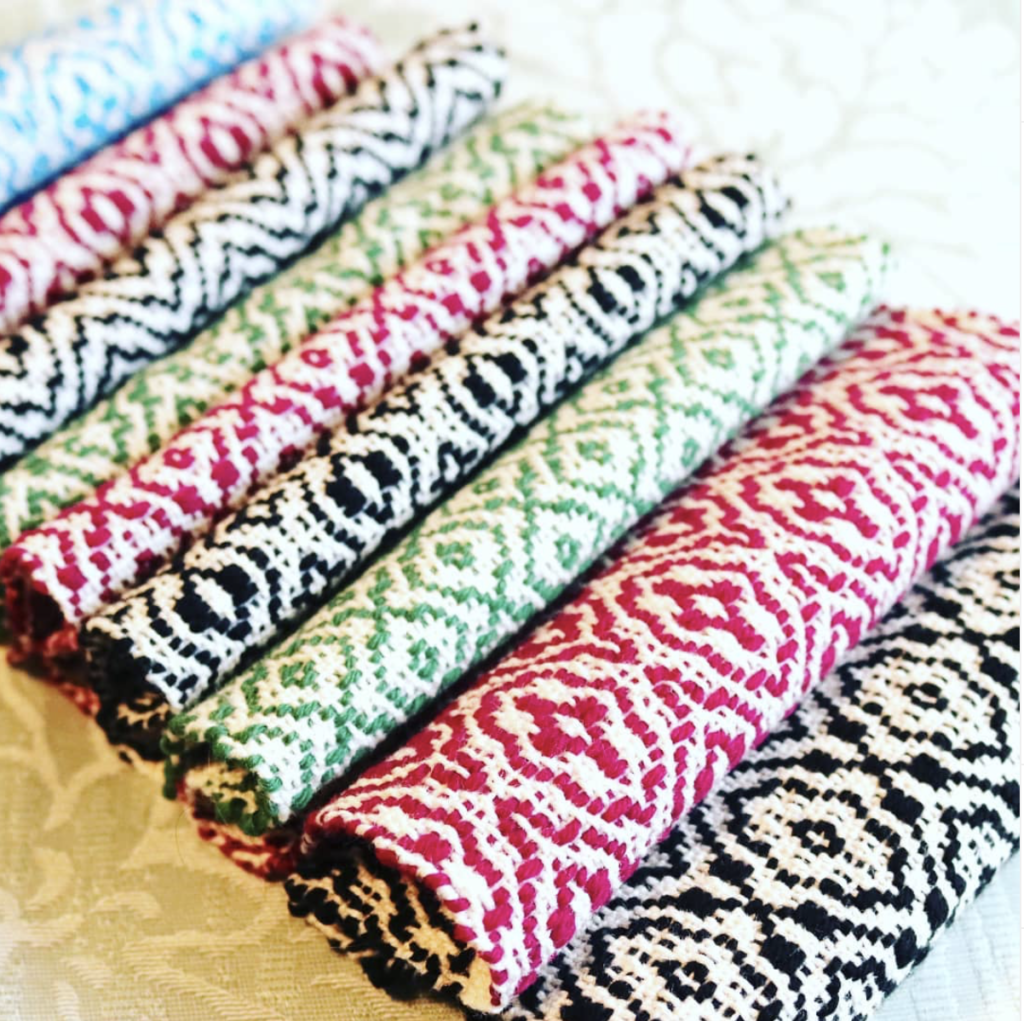
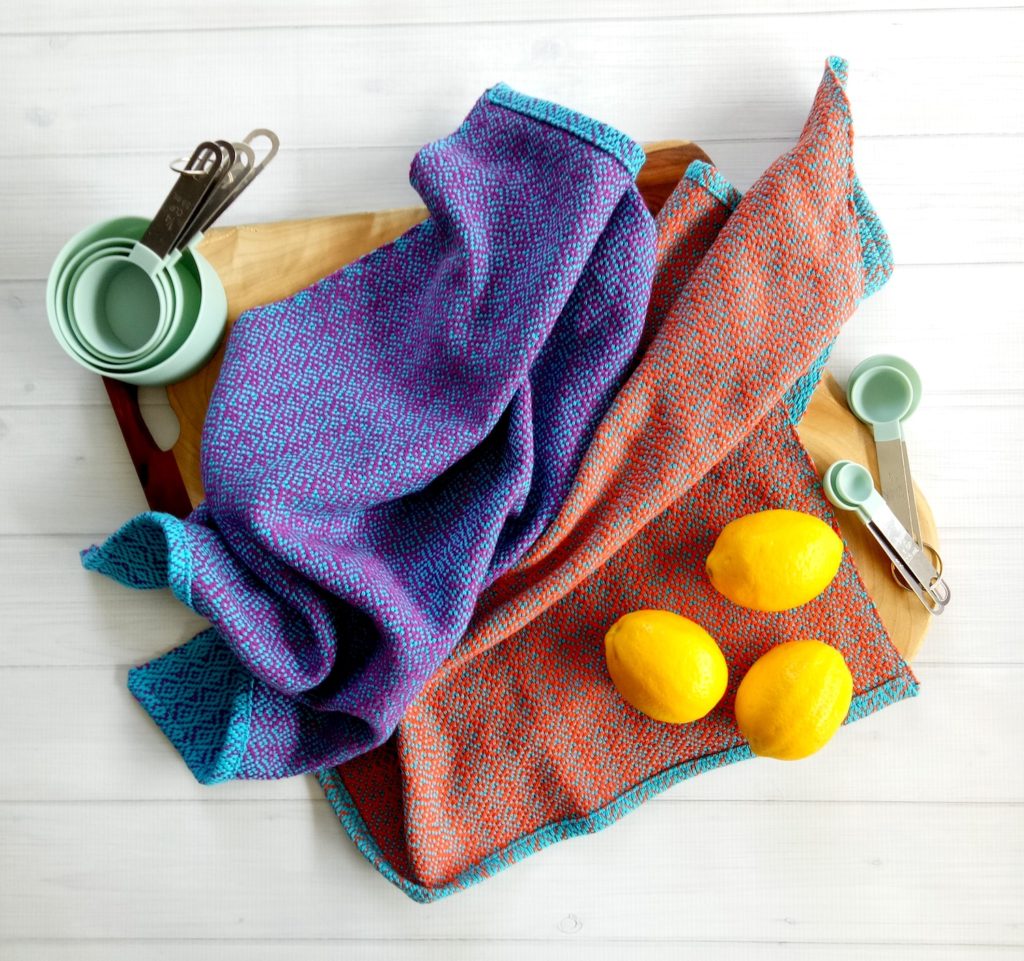
Oh, and I do still indulge in photography from time to time, but I must admit that my newer Canon DSLR is used a lot more for filming classes than anything else! The big plus from all my photography practice is that I’m now capable of taking some pretty decent photos of my weaving.
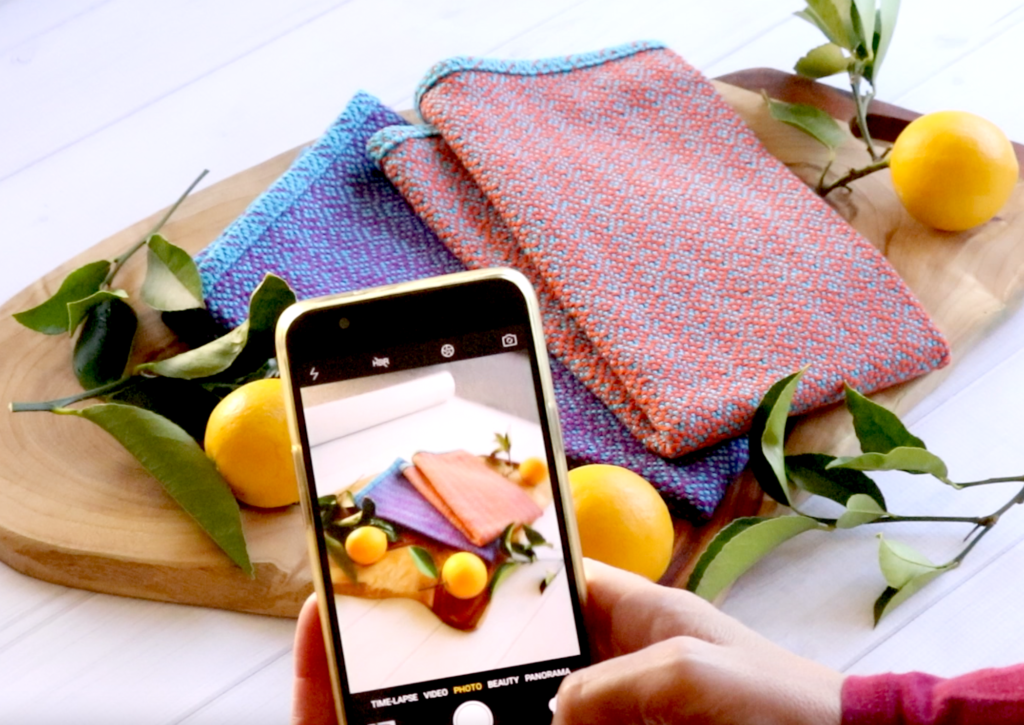
If you’re interested in improving your photography for weaving purposes, check out my Photography for Weavers class. All you need is a phone and some of your hand weaving to get started!
Until next time…
Happy Weaving!