I had a long post, all ready to go. It was a little bit of weaving and a LOT of life. I’m glad I didn’t hit “publish” on that post right away. I’ll explain…
The post was written at the end of a really busy week. I had launched a new class for my Online Weaving School, I had made a Youtube video, I had promoted the new class everywhere I could think of to promote it, I had homeschooled the kids and cared for my family, we had been on educational outings, appointments and activities. Yeh, I was pretty tired at the end of that week. And then I sat down to write a blog post.
A little bit of advice to you all – don’t write blog posts when you’re over tired. And if you do write them, don’t publish them! That’s all I’ll say on the subject for now, except to add that I have now caught up on some much needed sleep and rest and am thankful that, not only did I get over my little self pity party, but also that I decided not to inflict my Whingefest upon your eyes and minds!
Now, let’s get to the fun stuff.
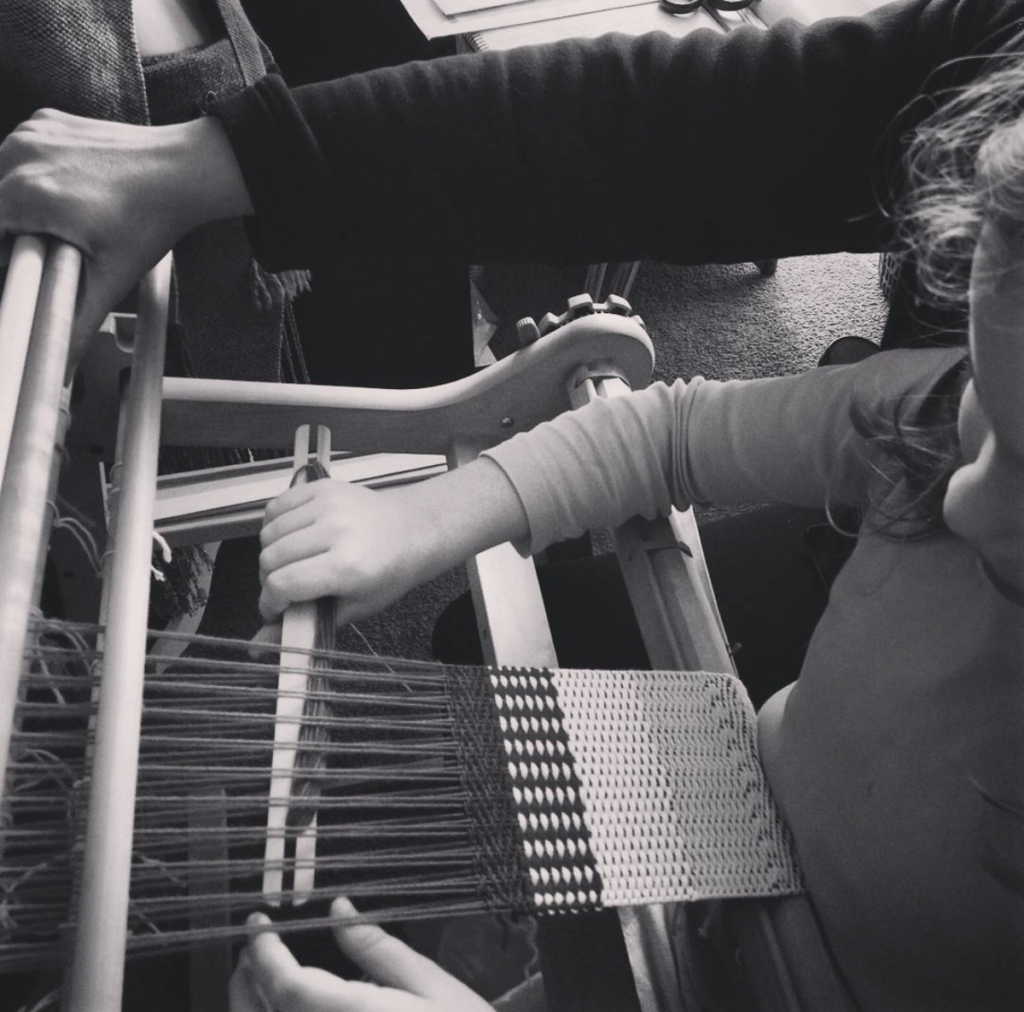
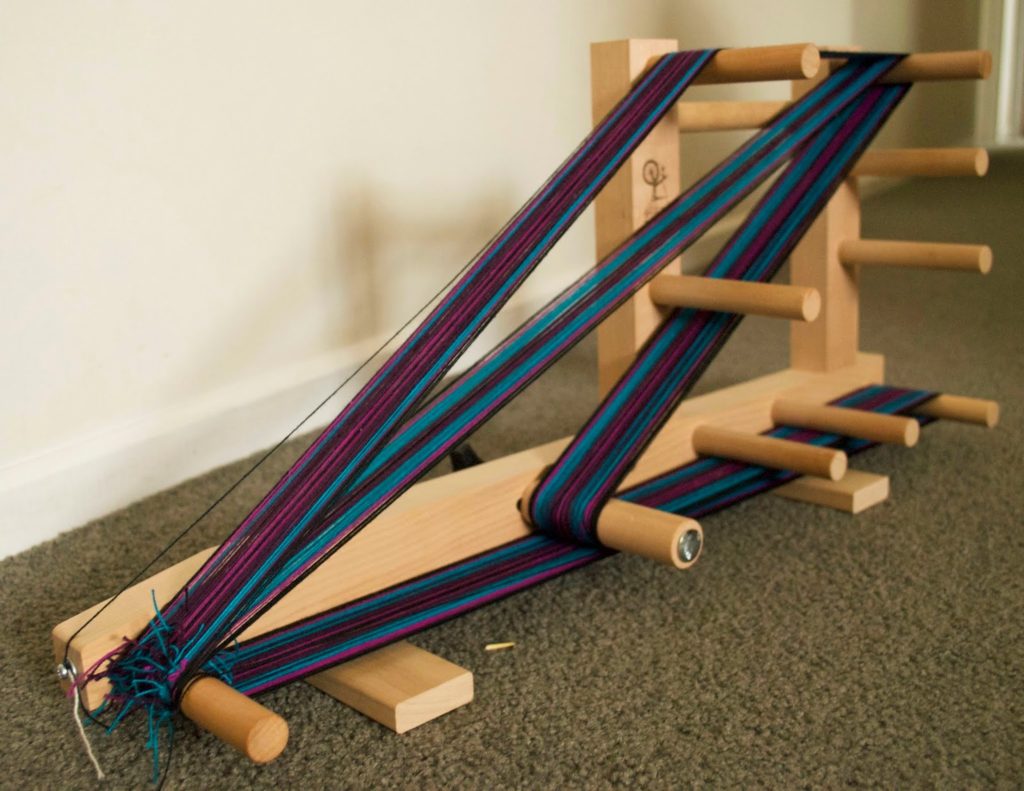
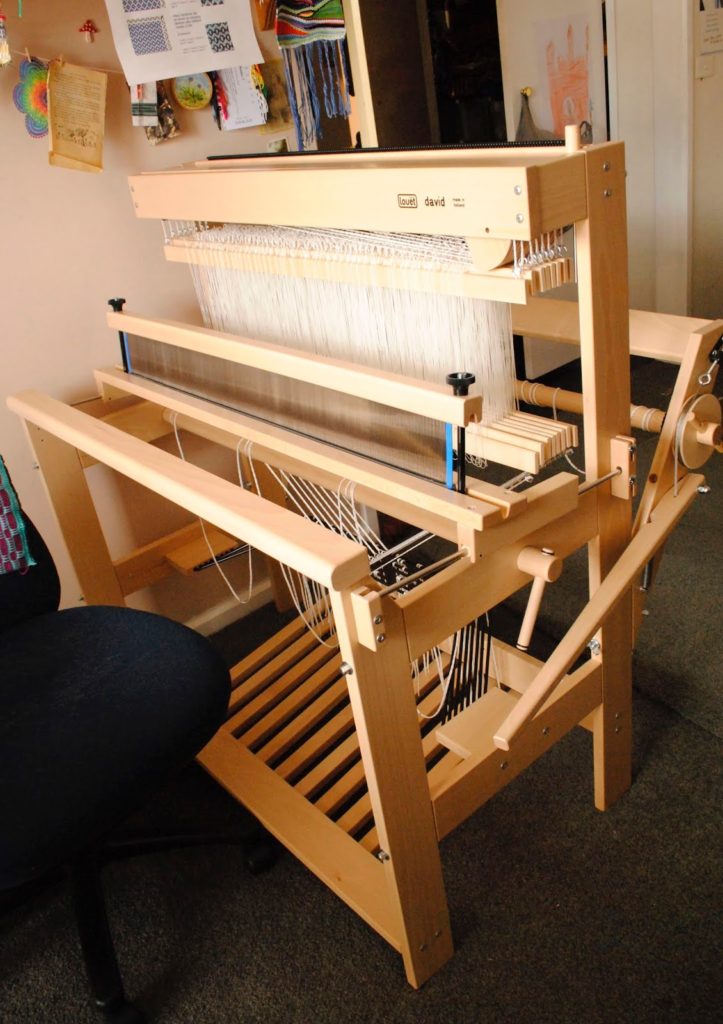
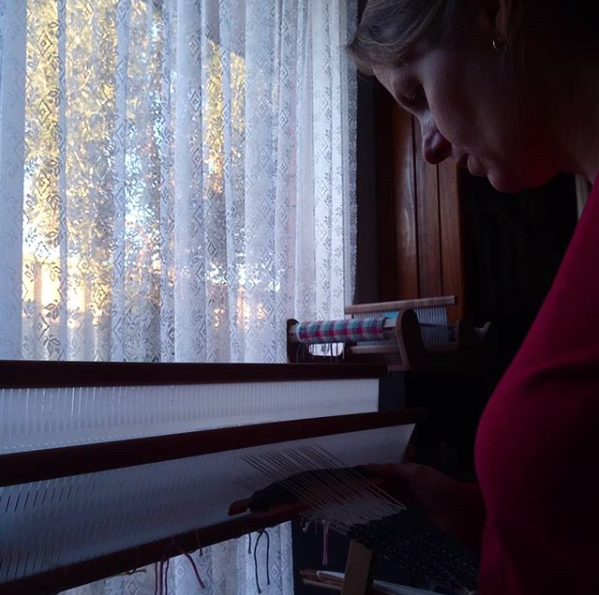
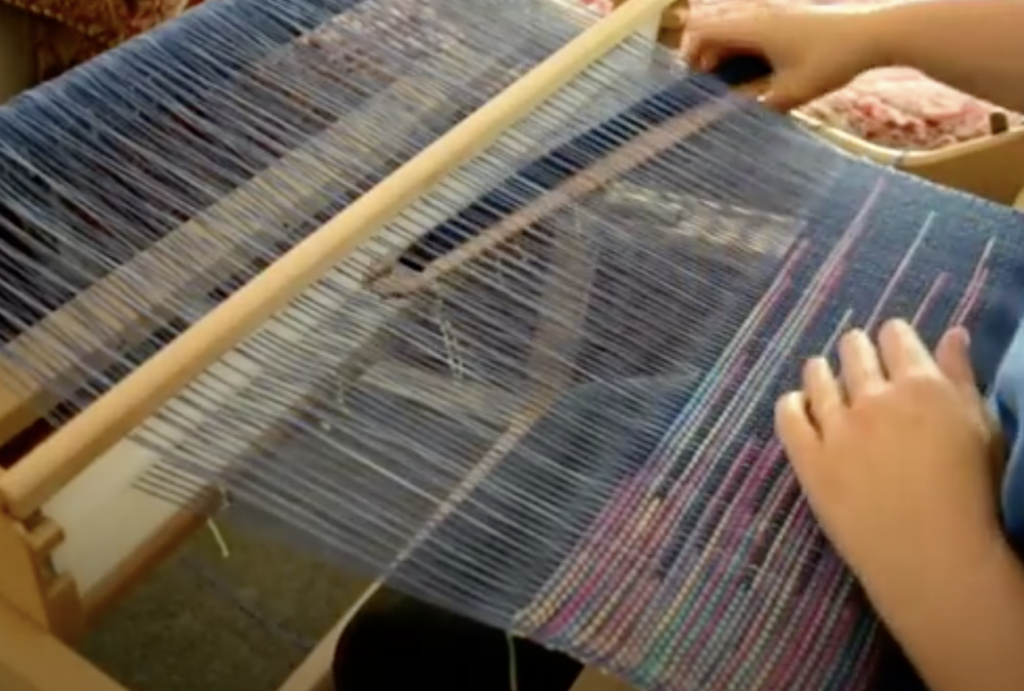
I had been wanting to warp up my inkle loom for quite some time, as it has been sadly neglected and I do so enjoy weaving on it, just for something a bit different. My loom is the Ashford Inkle, which is the larger version, they also make the Inklette, which is more petite for smaller and narrower bands.
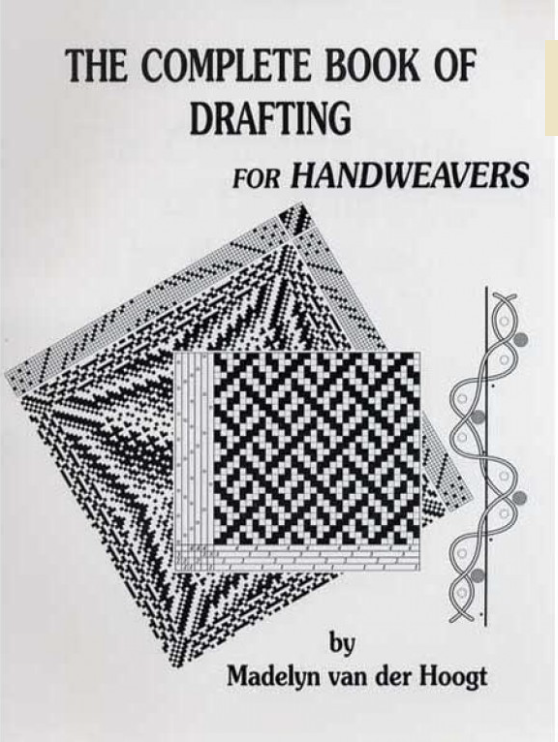
I didn’t know what to warp up, so I took a flick through my go – to Inkle book, The Weaver’s Pattern Directory by Anne Dixon. I often recommend Anne’s Handweaver’s Pattern Directory for 4 shafts, as it is so packed with drafts and quality information and her inkle book is no exception.
The post was written at the end of a really busy week. I had launched a new class for my Online Weaving School, I had made a Youtube video, I had promoted the new class everywhere I could think of to promote it, I had homeschooled the kids and cared for my family, we had been on educational outings, appointments and activities. Yeh, I was pretty tired at the end of that week. And then I sat down to write a blog post.
A little bit of advice to you all – don’t write blog posts when you’re over tired. And if you do write them, don’t publish them! That’s all I’ll say on the subject for now, except to add that I have now caught up on some much needed sleep and rest and am thankful that, not only did I get over my little self pity party, but also that I decided not to inflict my Whingefest upon your eyes and minds!
Now, let’s get to the fun stuff.
I had been wanting to warp up my inkle loom for quite some time, as it has been sadly neglected and I do so enjoy weaving on it, just for something a bit different. My loom is the Ashford Inkle, which is the larger version, they also make the Inklette, which is more petite for smaller and narrower bands.
I didn’t know what to warp up, so I took a flick through my go – to Inkle book, The Weaver’s Pattern Directory by Anne Dixon. I often recommend Anne’s Handweaver’s Pattern Directory for 4 shafts, as it is so packed with drafts and quality information and her inkle book is no exception.
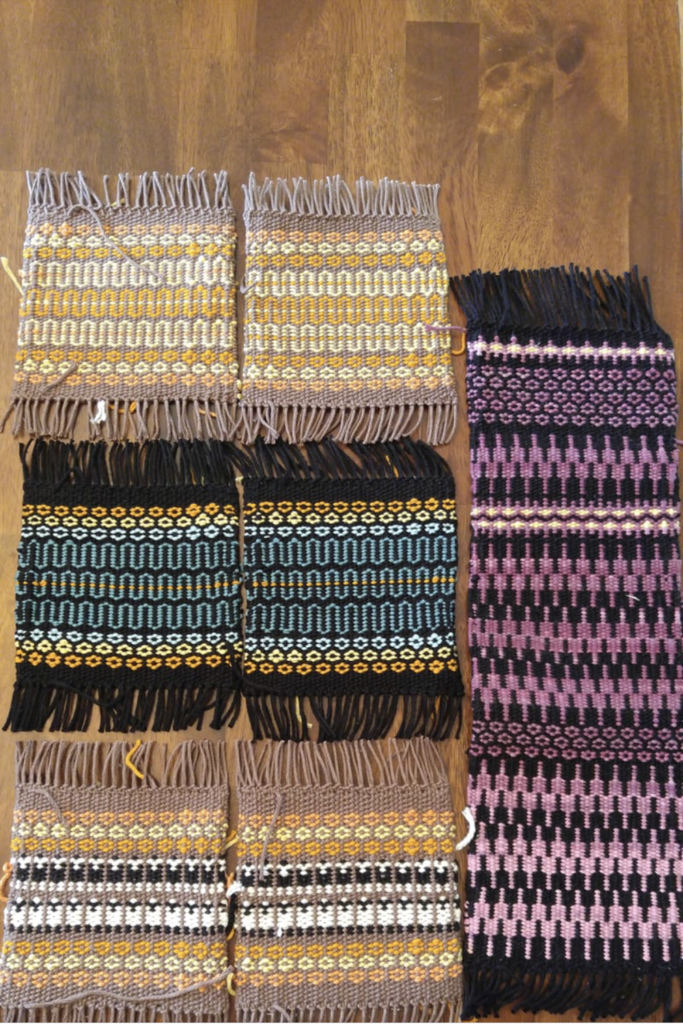
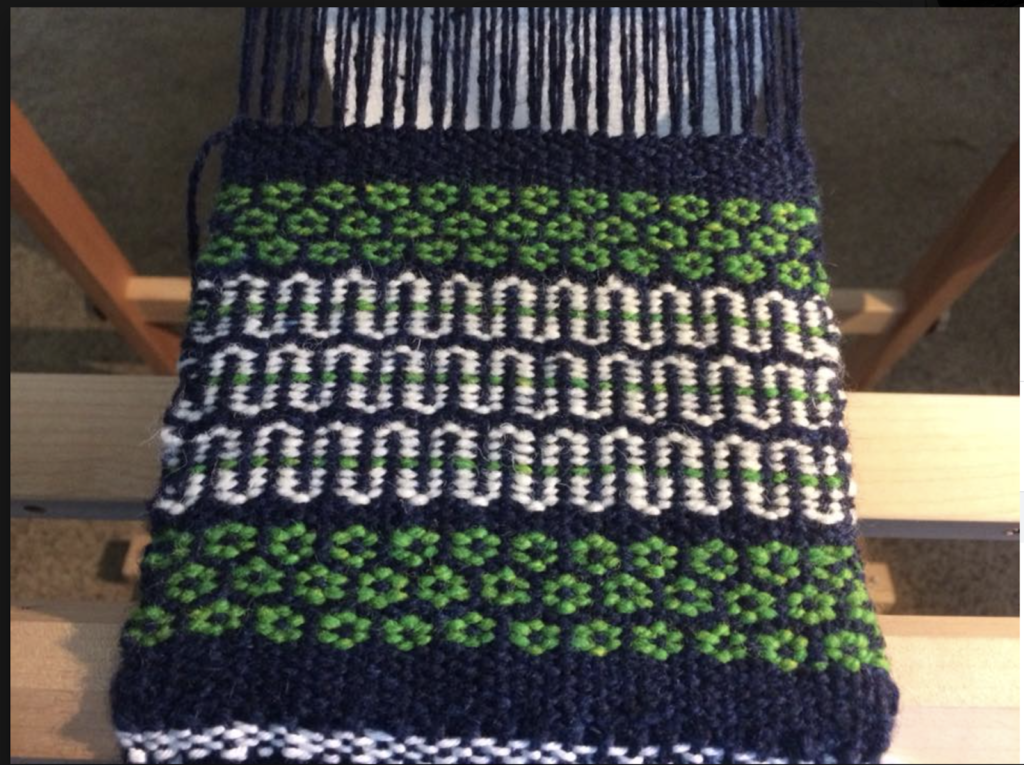
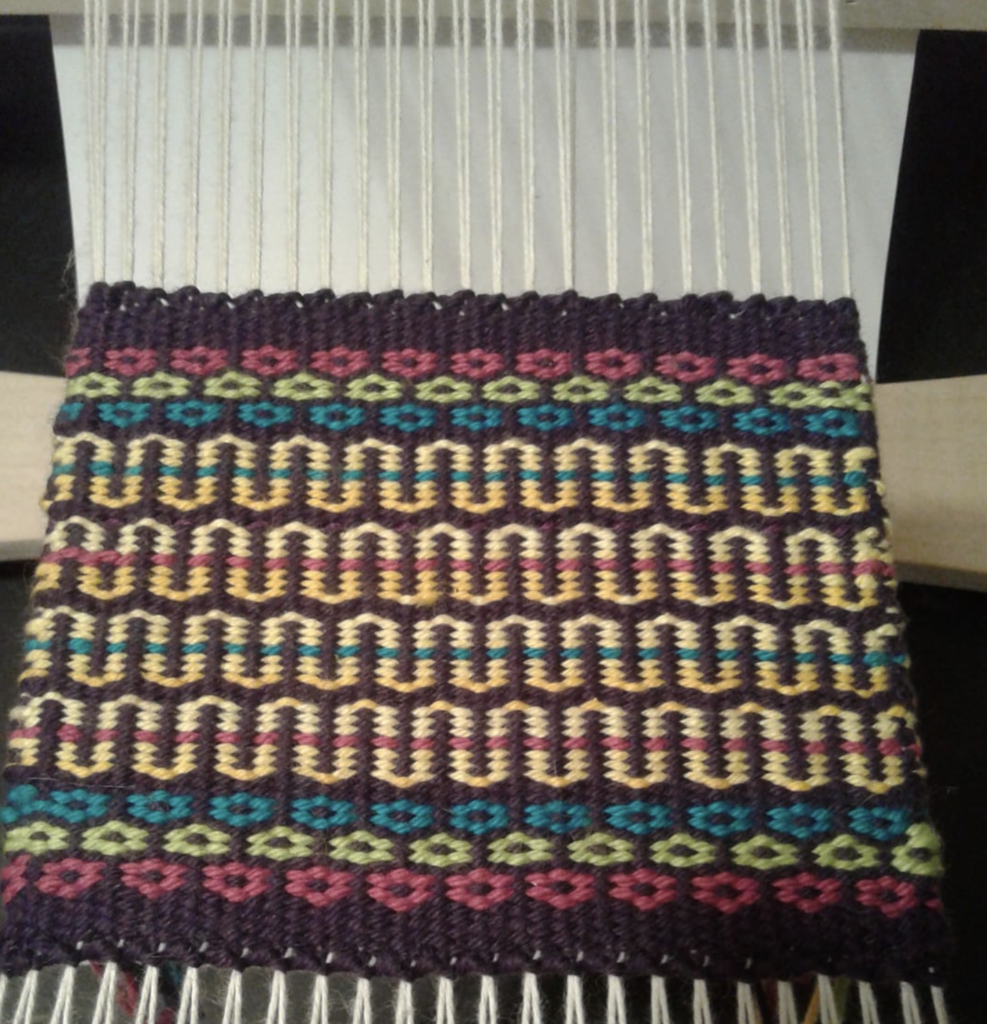
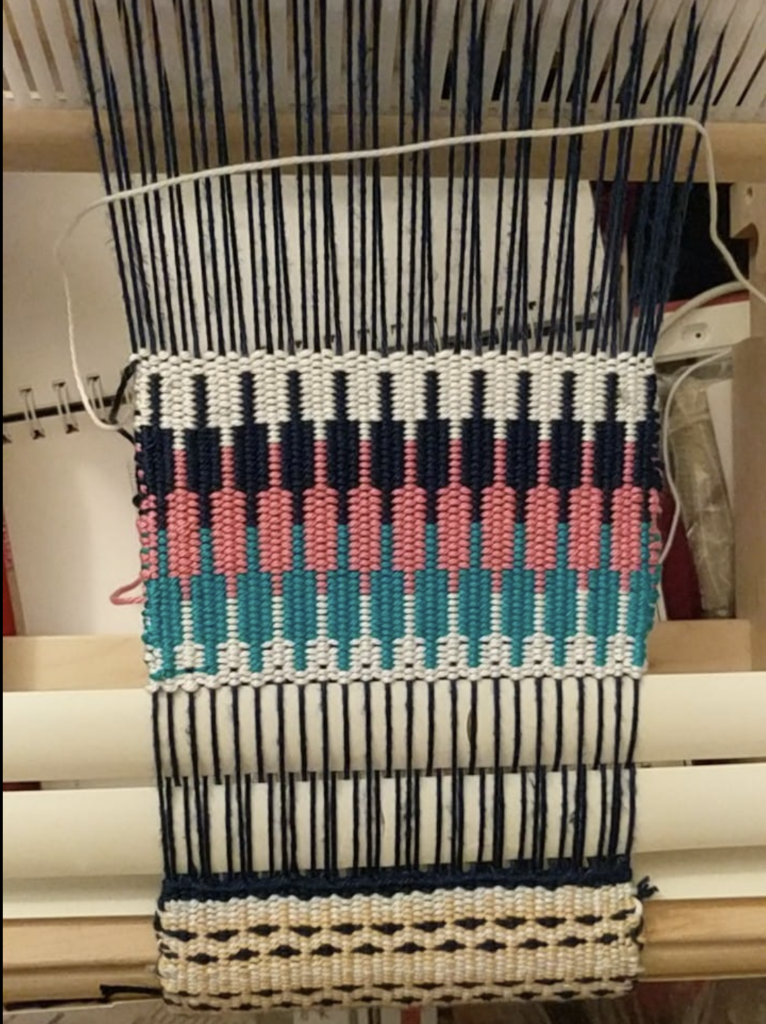
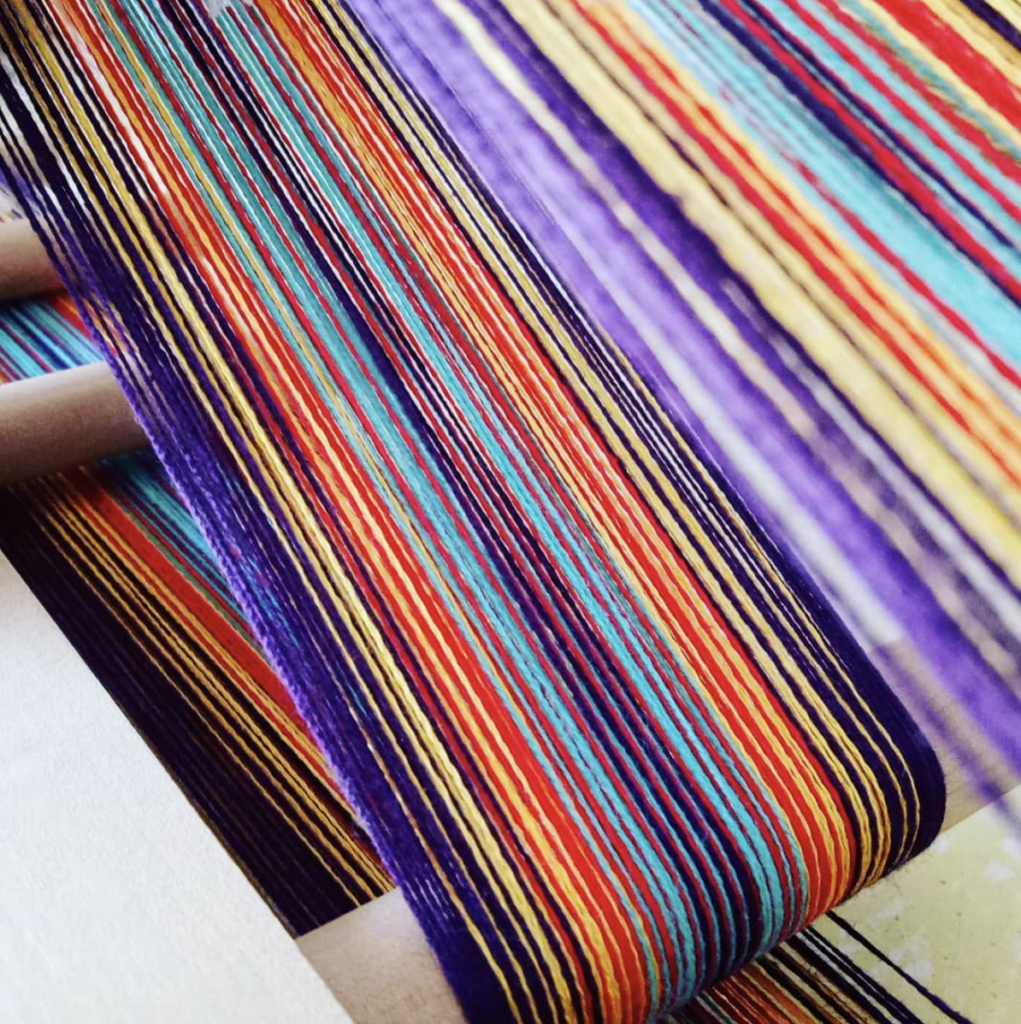
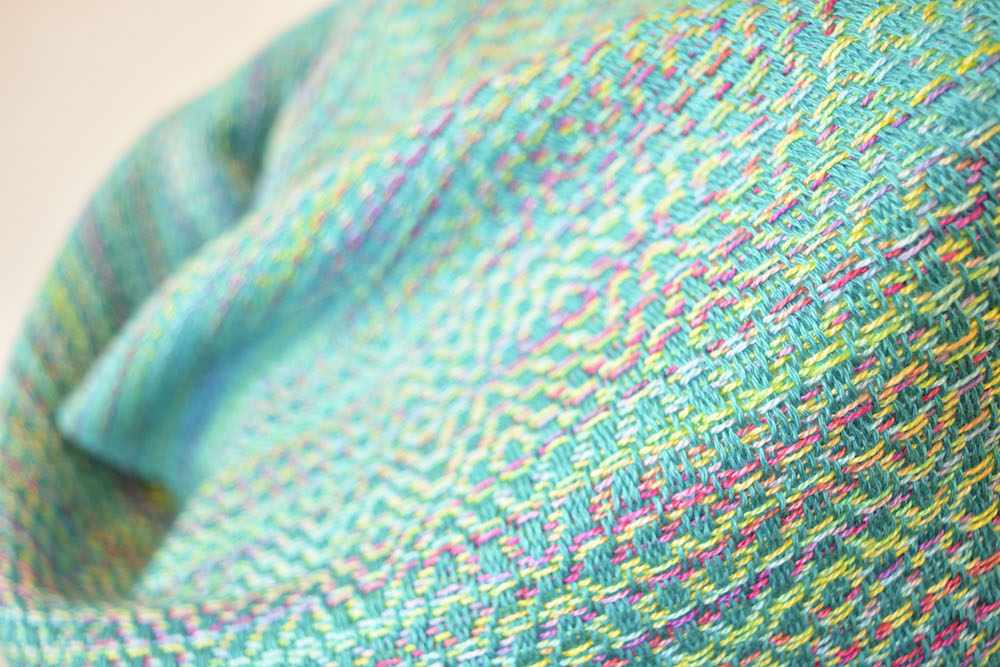
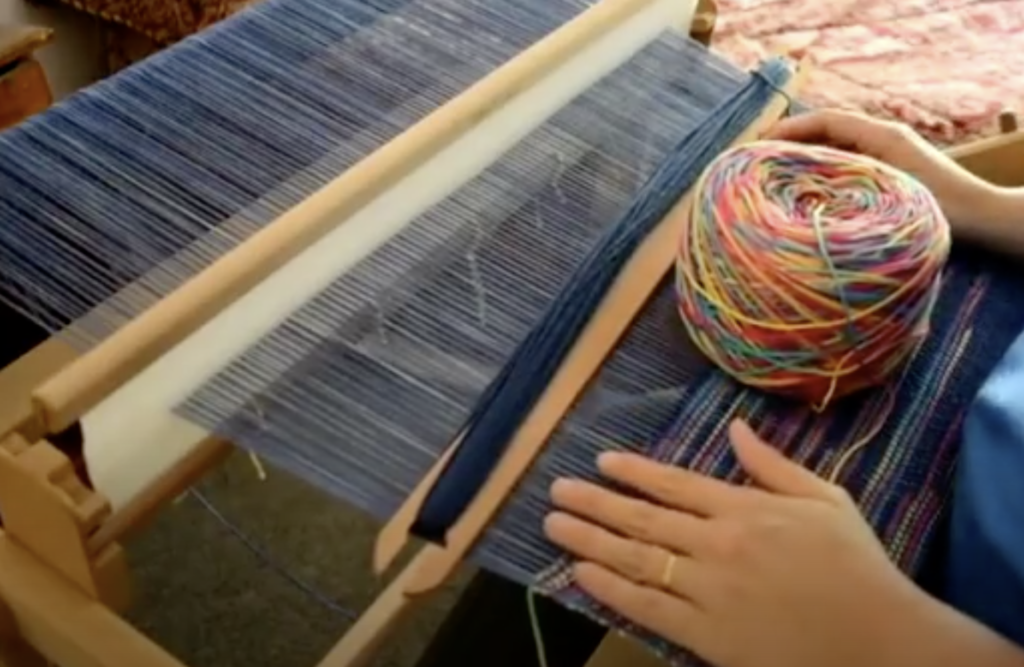
I started by picking out some colours from my stash that I love (always a good way to start a project, even if you’re not that confident with colour choices). I ended up with a mixture of mercerised and unmercerised 8/2 cottons. If you’re unfamiliar with 8/2 cottons I often use Maurice Brassard as they are great quality and come in heaps of colours. Here is an example of MB 8/2 unmercerised. A comment from Gai has just reminded me of something I wanted to add about mercerised cotton. In general, I don’t like to use it on a larger loom, it twists up on itself and is a general pain in the neck. However, on the Inkle loom it’s different. Because you warp directly on to the pegs without having to do extra threading or moving of the warp, it behaves itself very well. It is constantly under high tension, so is easy to use and does add a lovely “gleam” to the project.
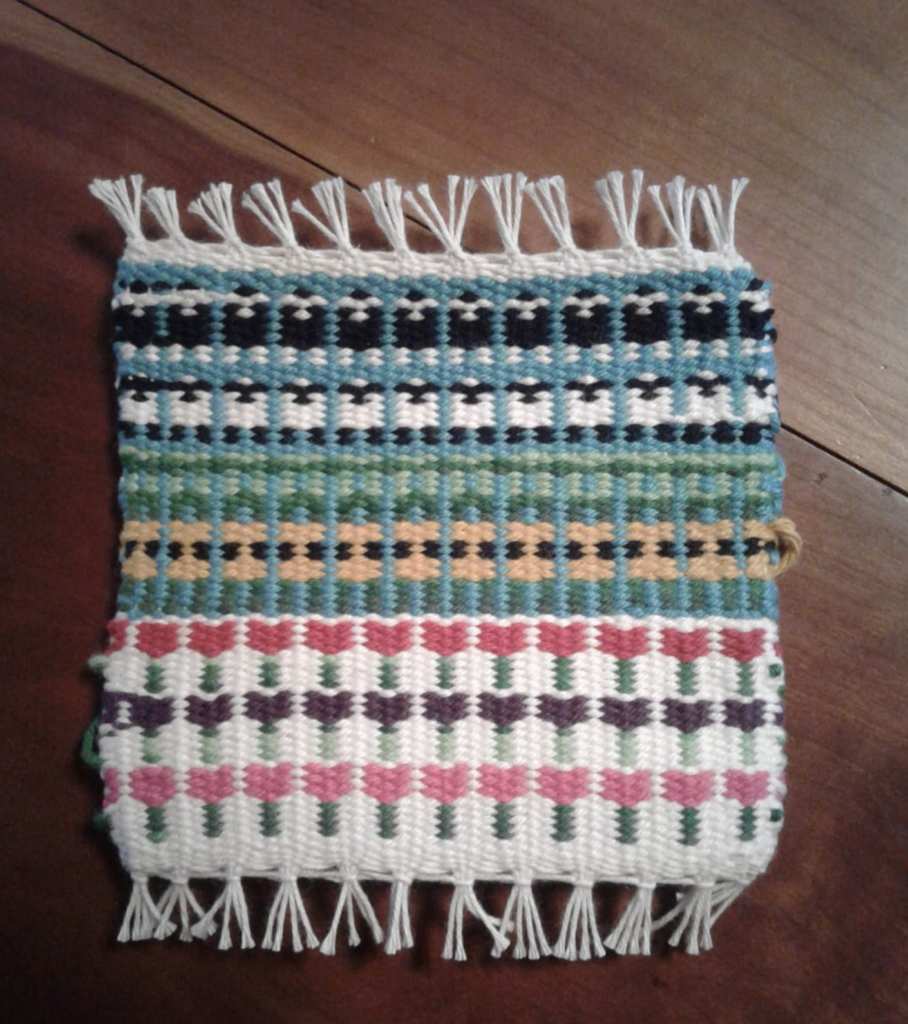
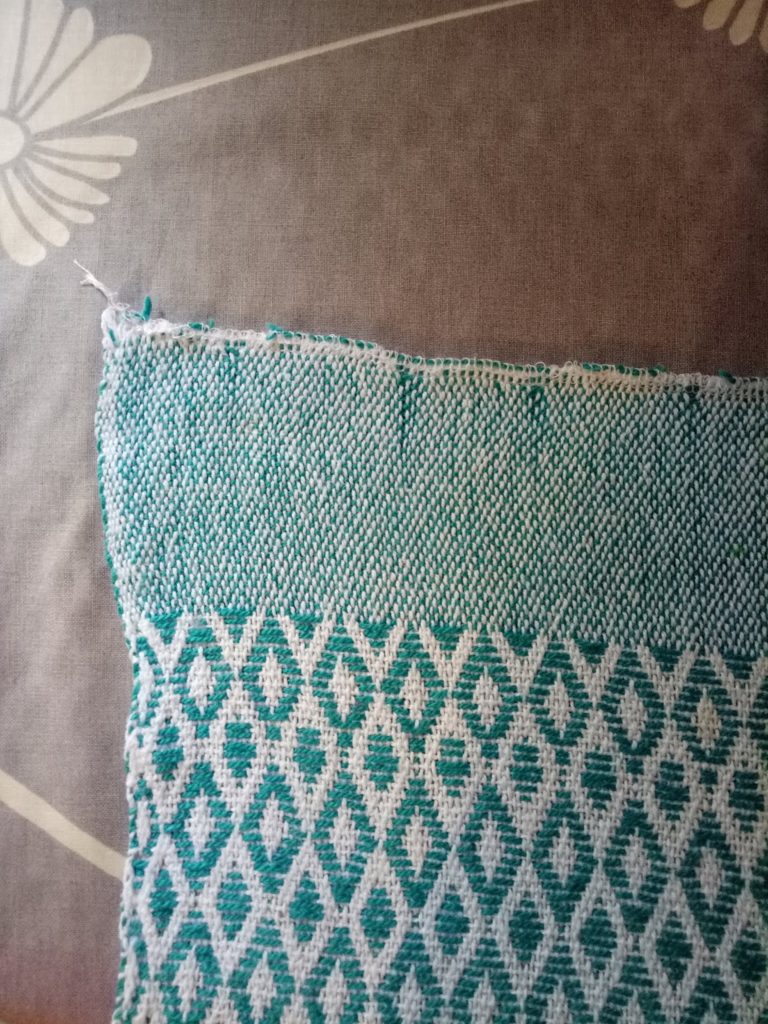
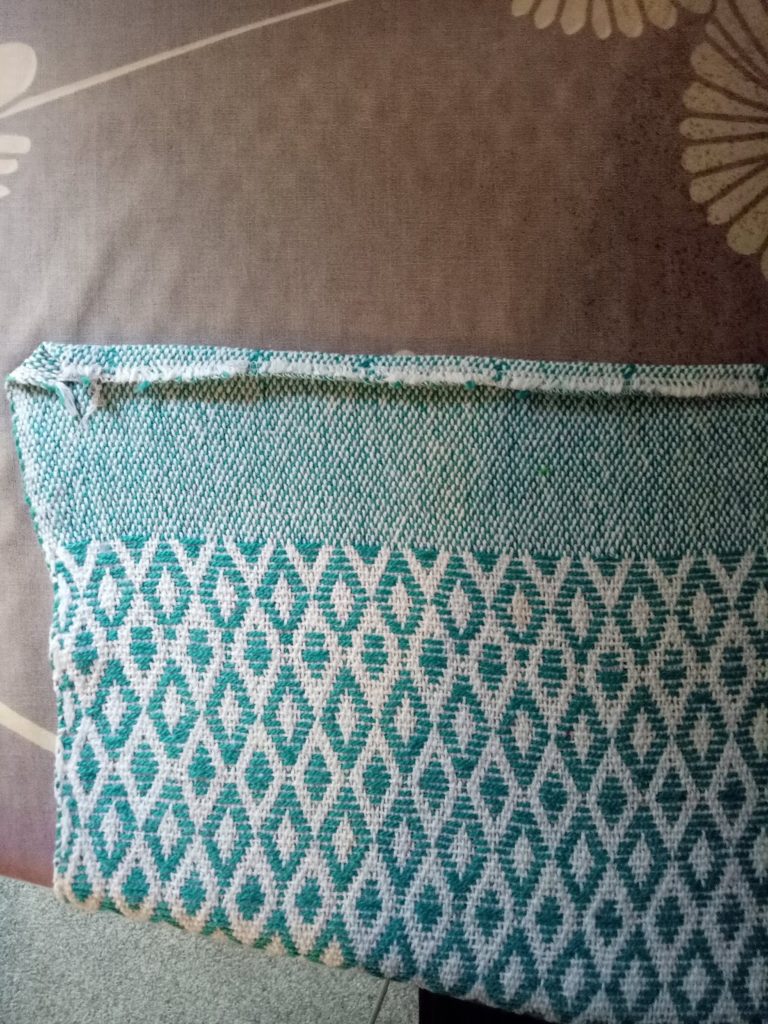
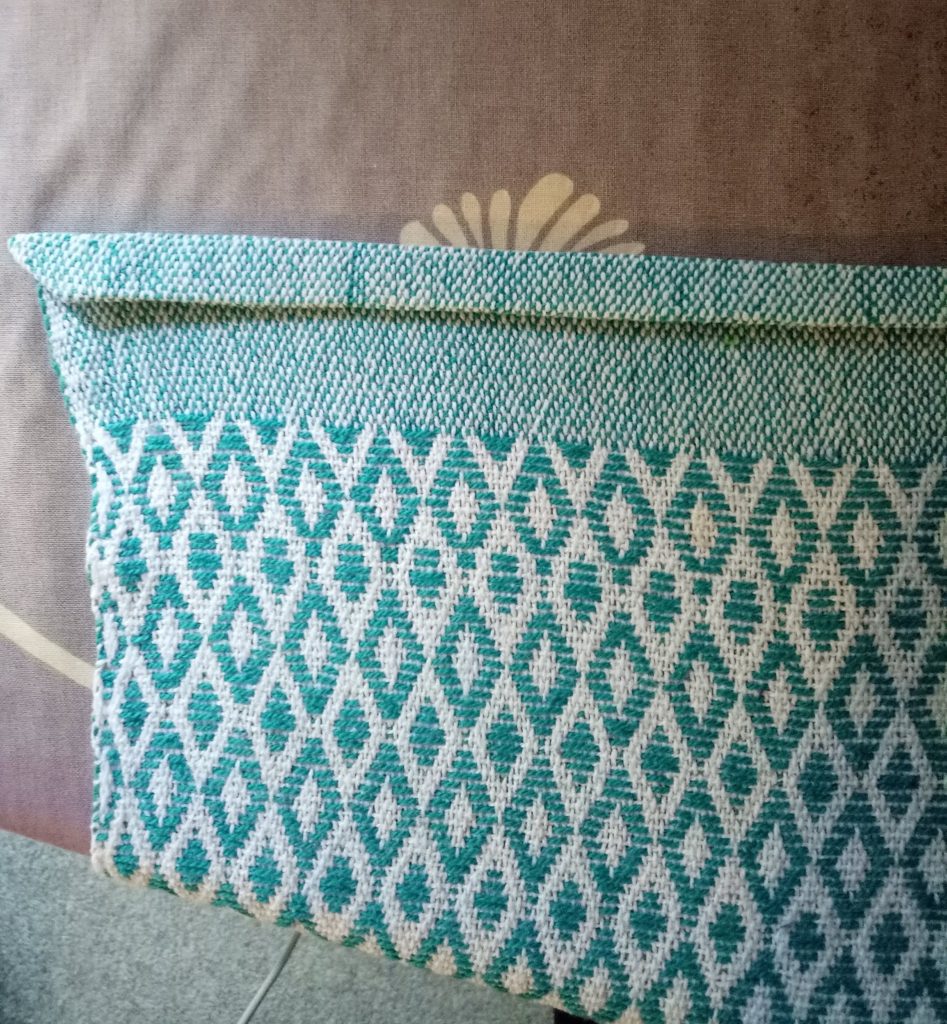
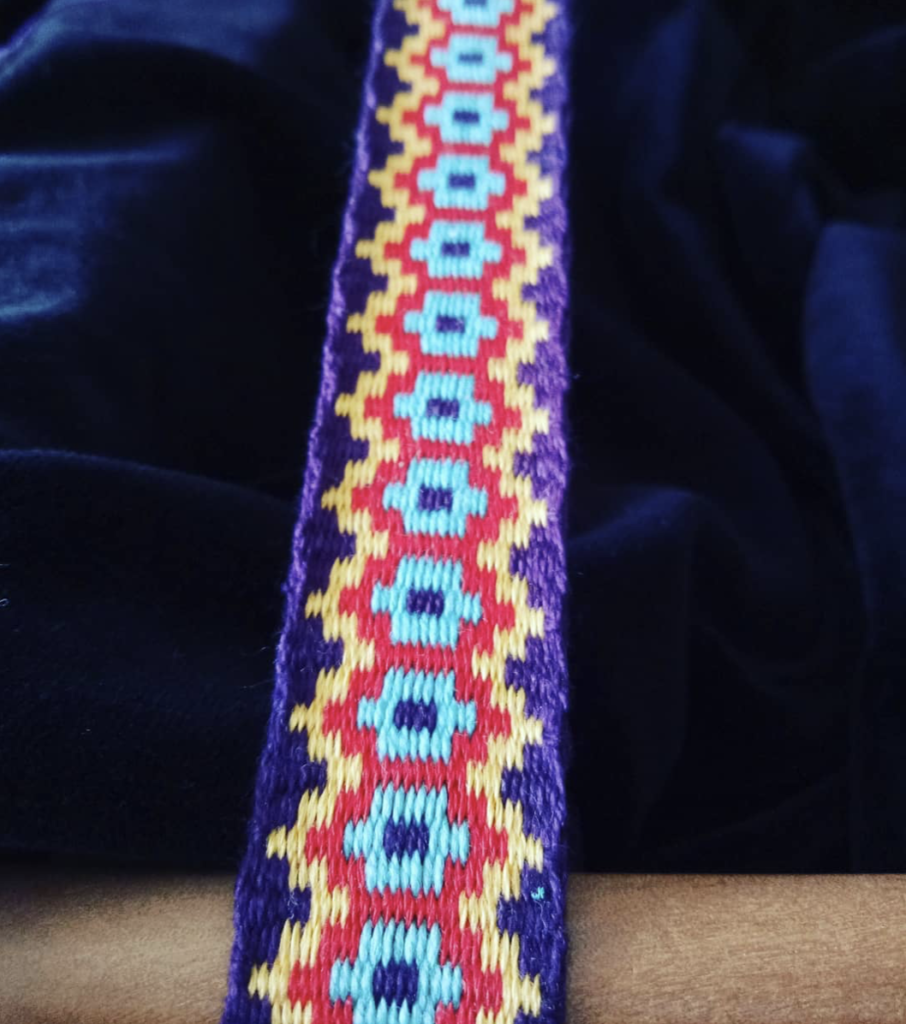
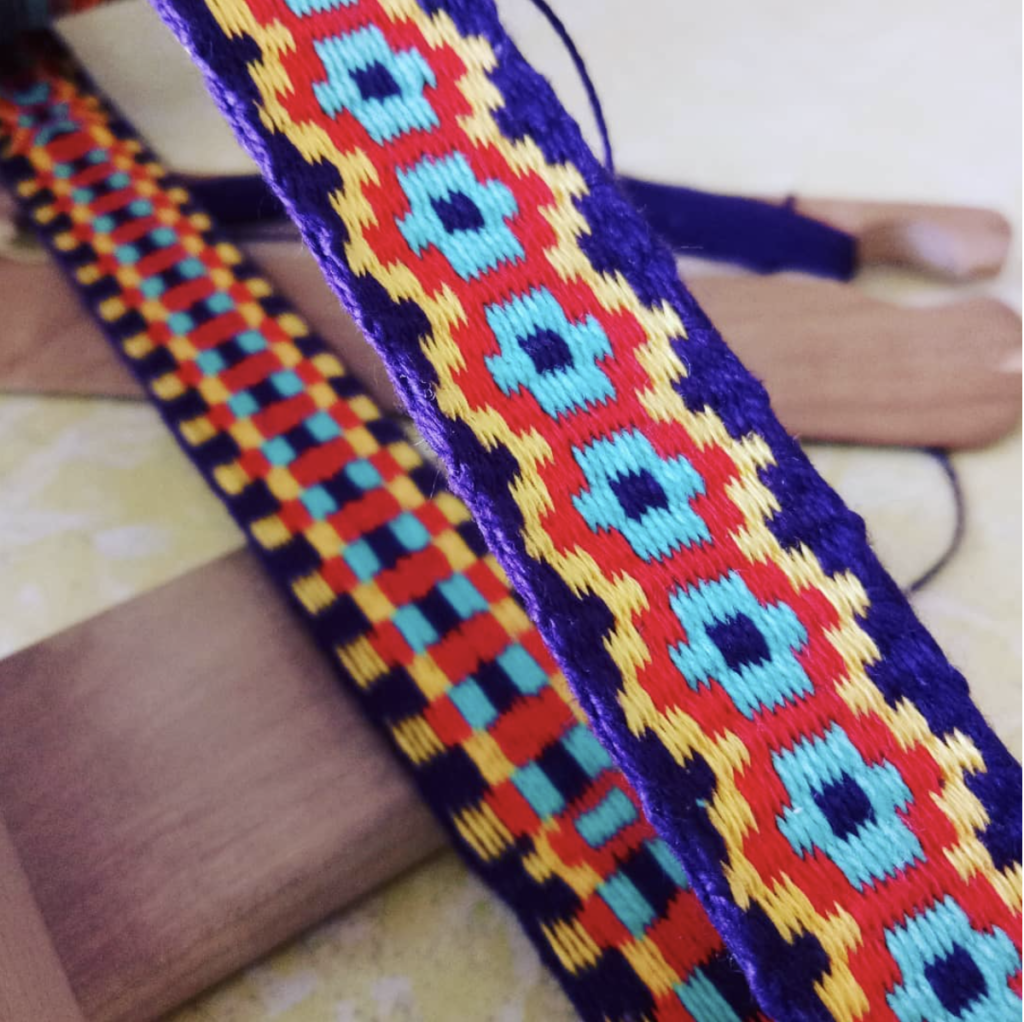
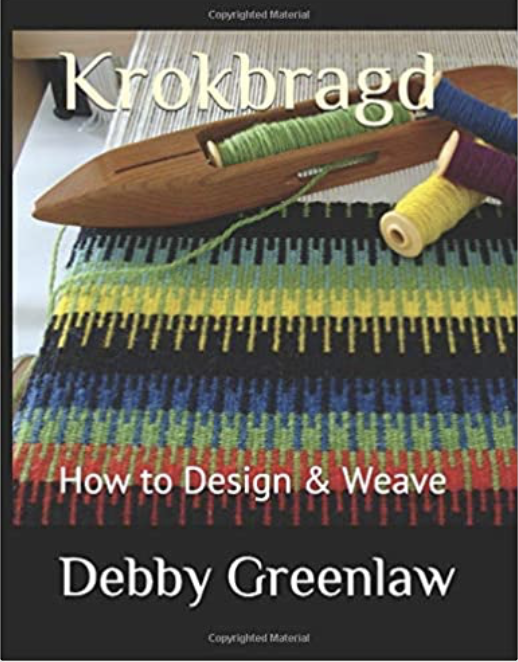
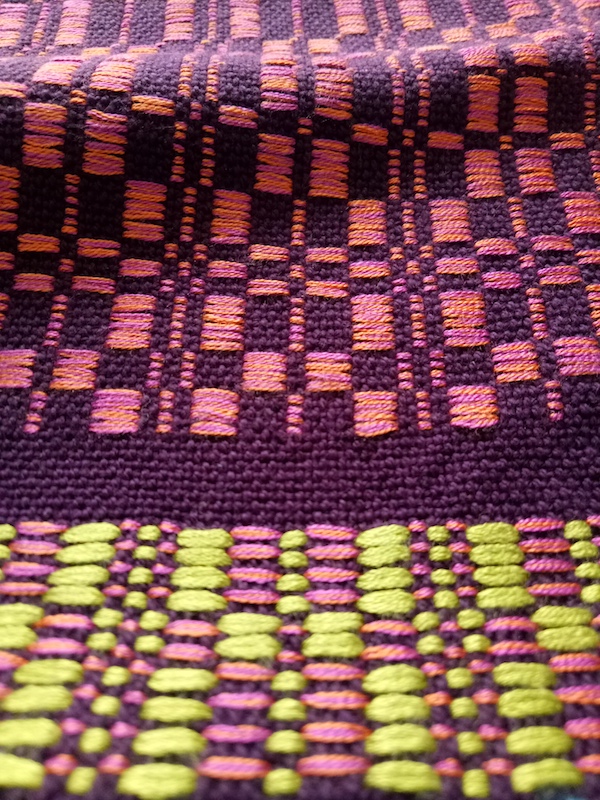
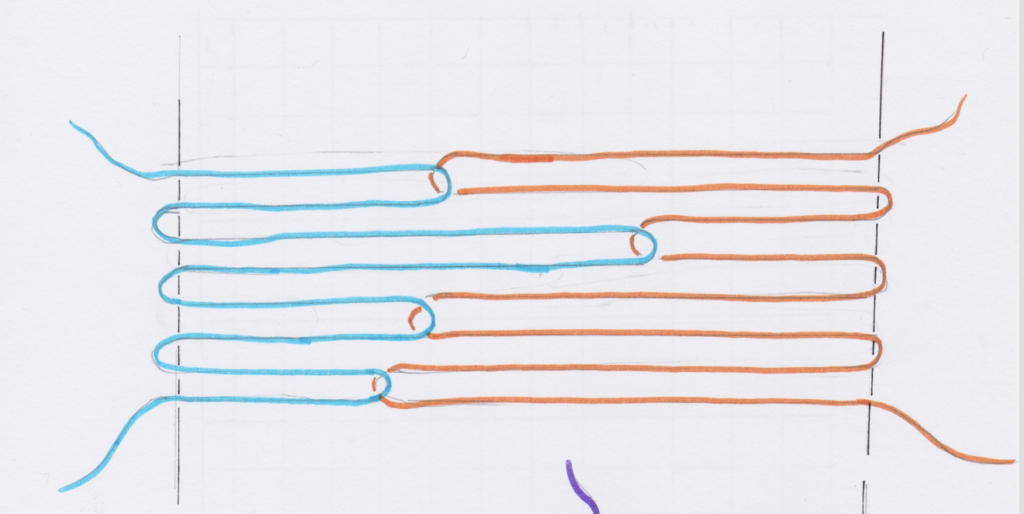
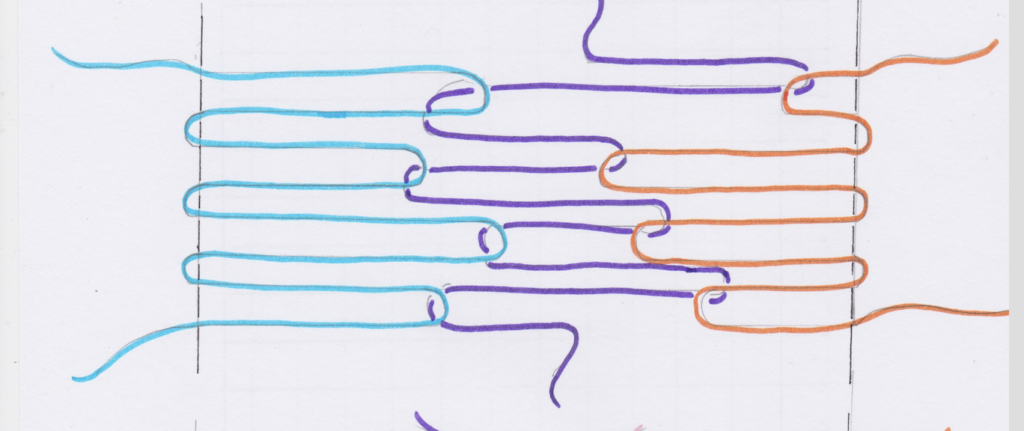
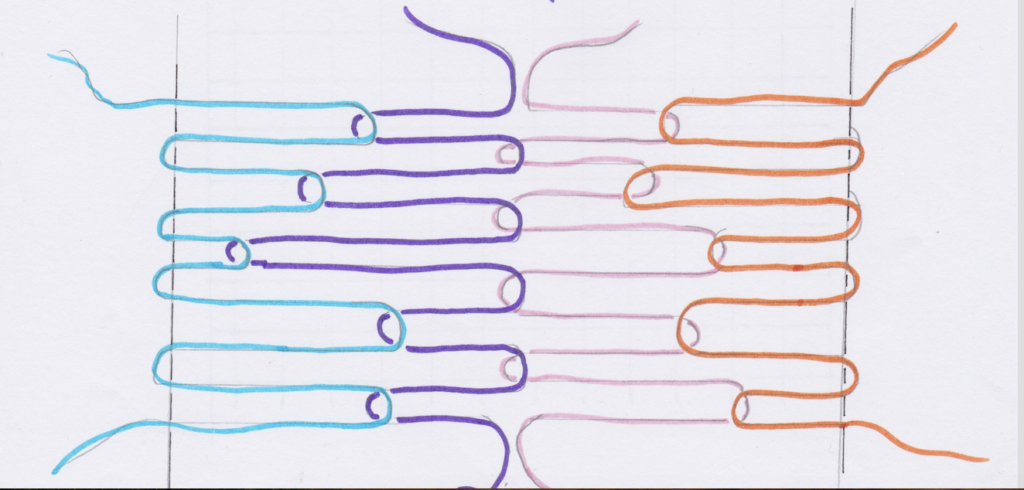
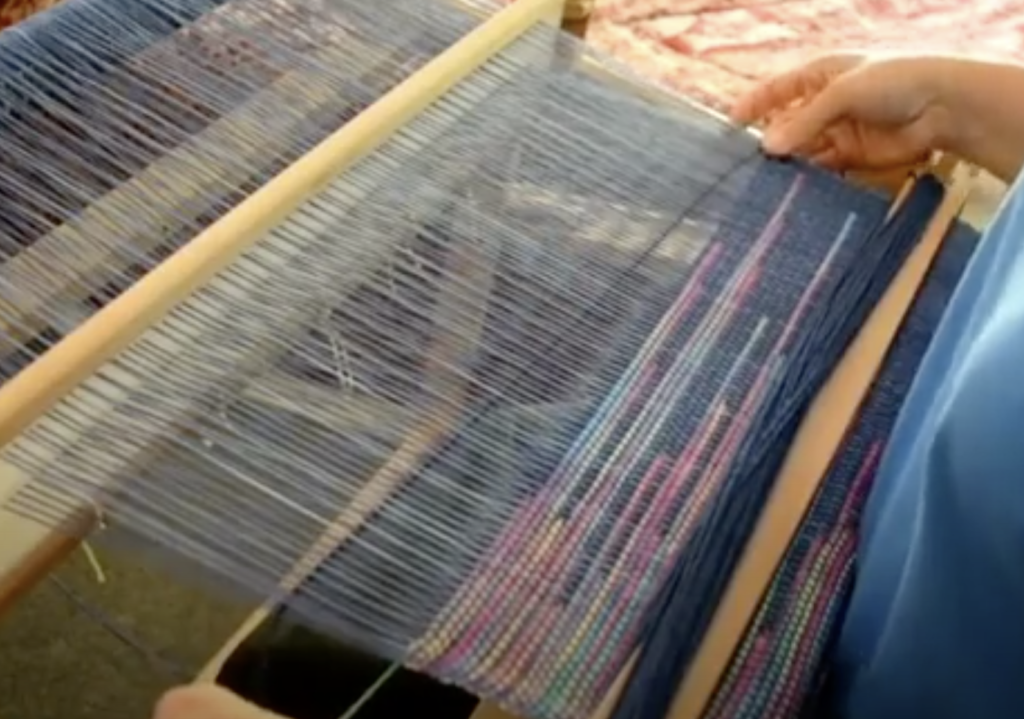
Being the lover of the weave structure Krokbragd that I am, it was a natural choice. Did you know you can weave krokbragd on an inkle loom? Yes, you totally can!
And, did you know that a krokbragd band is as equally gorgeous as a larger loom project? Yes, it totally is!
So now I’m really excited about the design possibilities for this, though I admit that the design aspect is different to what I’m accustomed to – it’s proving quite a challenge for me and is a bit to get my head around. I’ll keep plugging away at it though, and I’m sure I’ll get there.
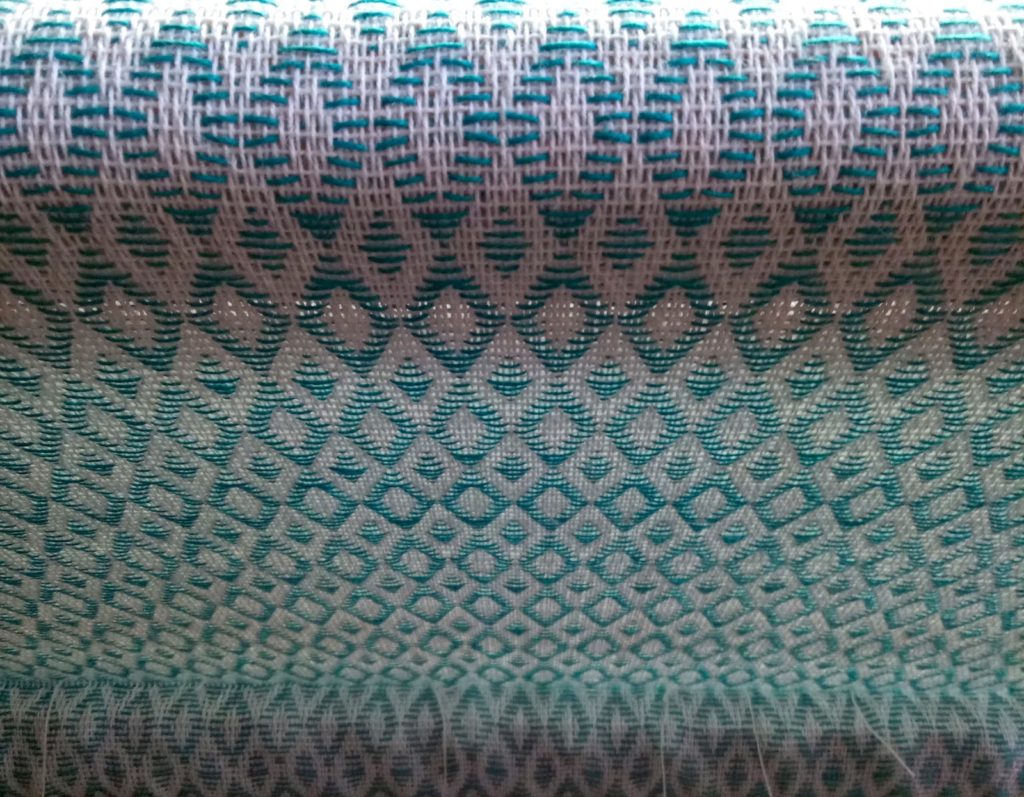
I love that the reverse side is just as striking as the front.
As soon as I posted these on social media, people were asking me for a class, which I would love to do once I have some of my own designs up and running. In the meantime, if you have Anne’s book or are interested in purchasing (perhaps your library might have it?) this krokbragd design is from page 107.
And, if krokbragd band weaving is of interest to you, there will definitely be more to come!
Thanks for reading, until next time…
Happy Weaving!
*Please note – this post contains affiliate links, meaning that if you click and purchase, I will receive a small percentage of the sale. I only recommend products that I own and love.
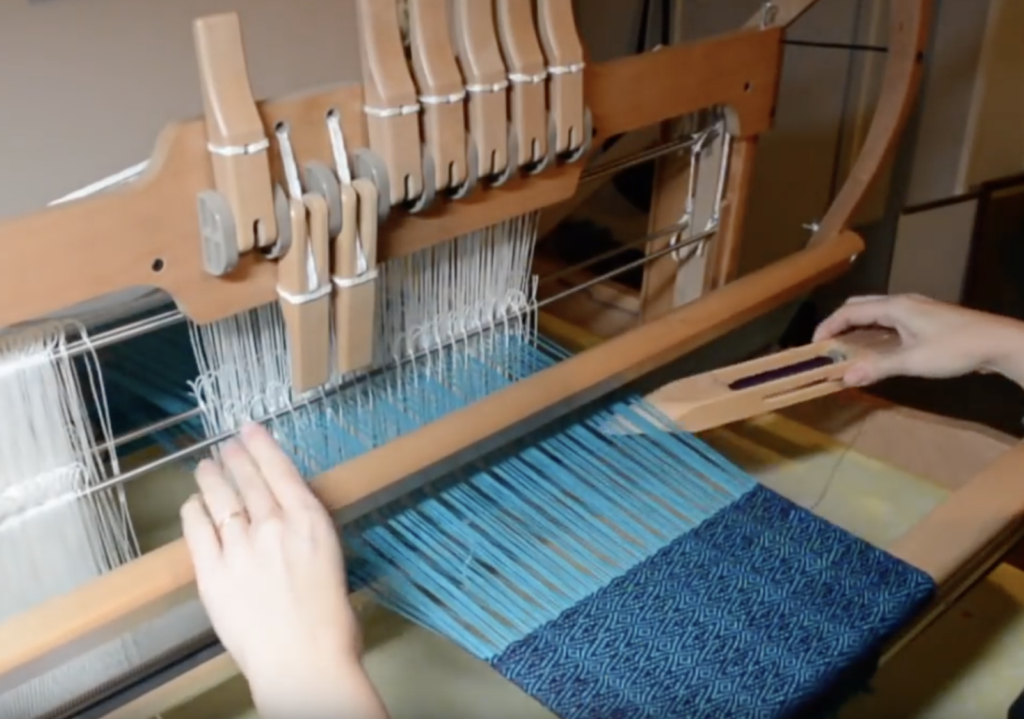


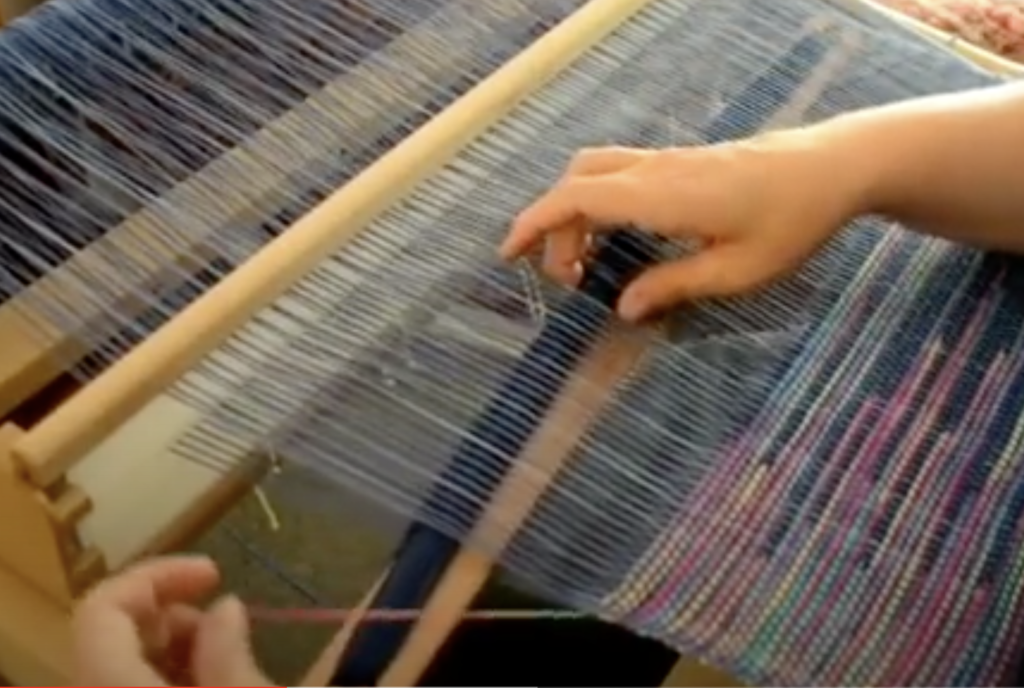
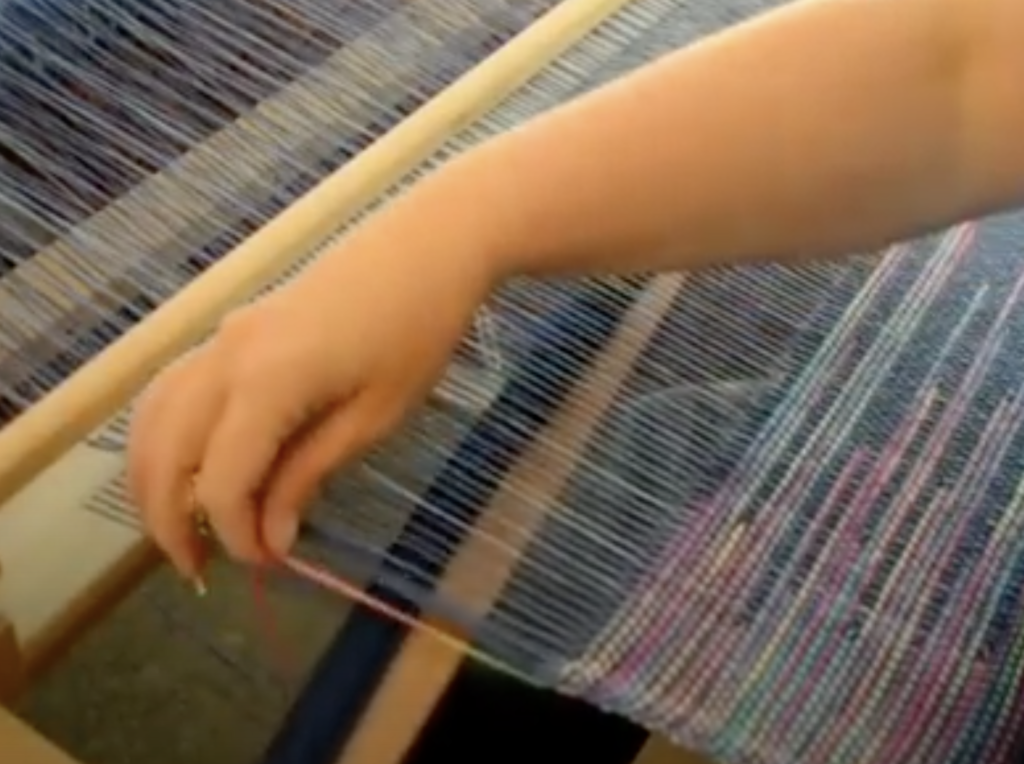
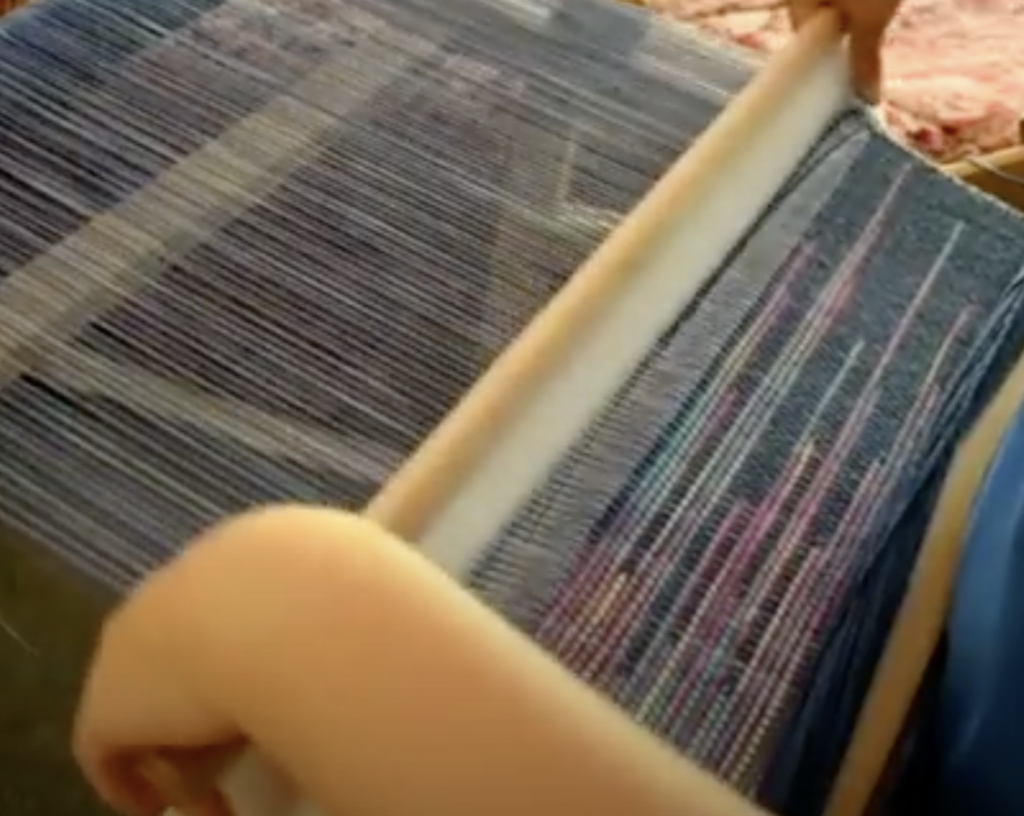
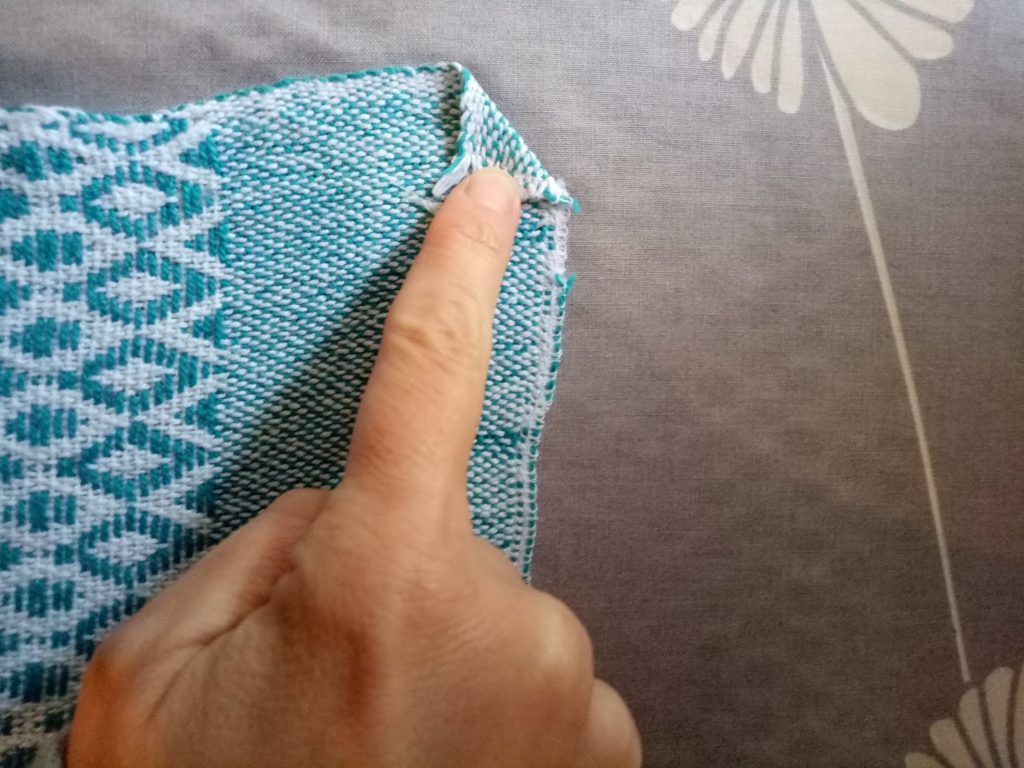
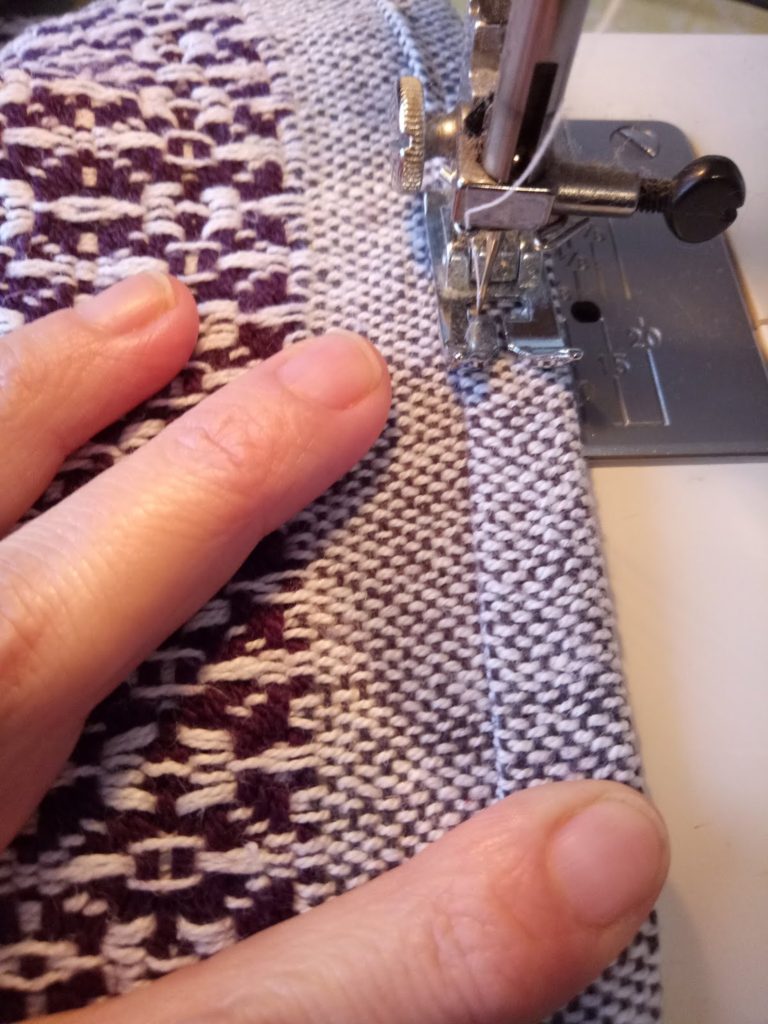
 On the right hand side (where your shuttle entered), tidy up and prepare your weft yarn as though you’re going to beat the pick in. If you’re not familiar with how to do this, watch my free video on