• Skip to main content
  • Skip to primary sidebar

Kelly Casanova Weaving Lessons

  • Hi! I’m Kelly!
    • Disclosure
  • Online Weaving School Class Index
    • Common account issues
    • Common technical issues
    • What do I get with a membership?
  • New to rigid heddle weaving? Start here!
    • Never heard of the rigid heddle loom?
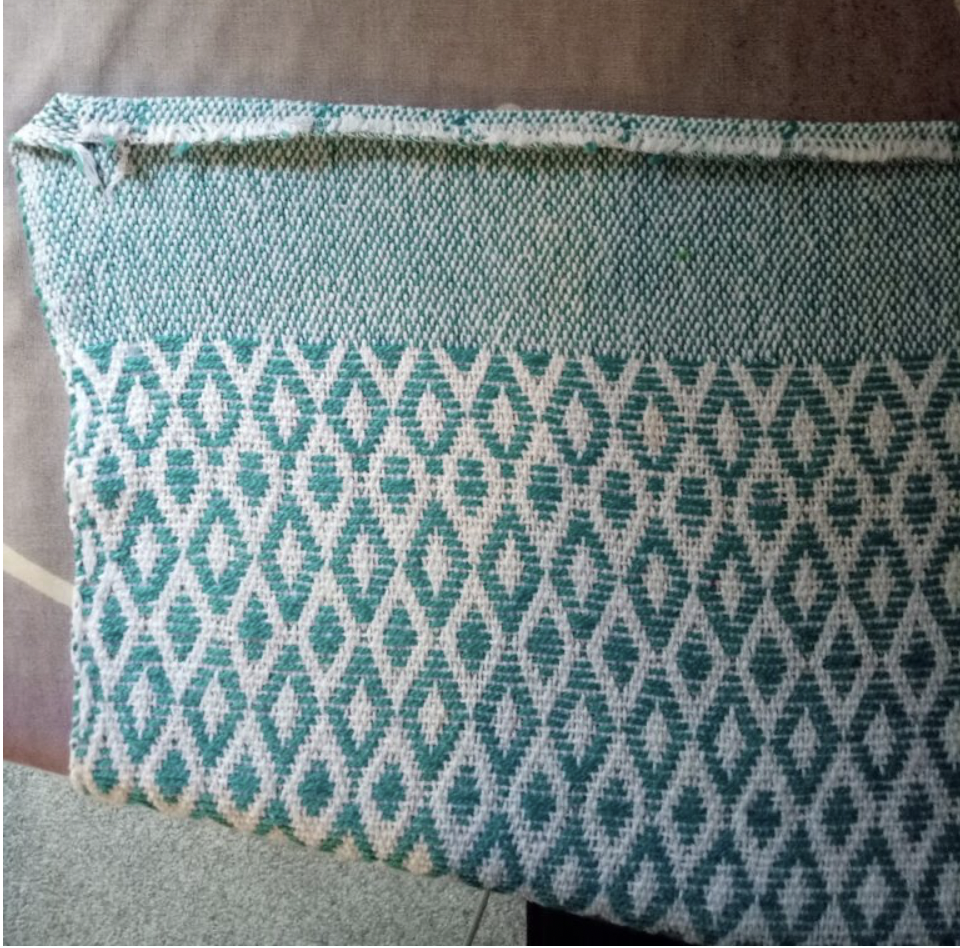
    • How to weave neat edges on the rigid heddle loom
    • Rigid heddle weaving
    • Rigid Heddle Weaving Patterns
  • Patterns
  • Subscribe

Weaving

Ask Kelly – Specific actions for neater edges

by Kelly Leave a Comment

Ah, neat edges, aren’t they every weaver’s dream?

While I do think that sometimes we can tend to over obsess about obtaining the neatest edges possible, I still have to acknowledge that straight edges on hand woven fabric are a joy to behold.

Today’s Ask Kelly question addresses the straight edges conundrum and provides some specific steps that I know will make a difference to your woven edges. I’ll be particularly speaking to weaving neater edges on a rigid heddle loom.

Read right to the end to find links for further learning!

“Thanks for your very informative weaving videos. I have been learning a lot. I am a brand new weaver (month one) and have done a few projects on my Cricket rigid heddle loom. Still learning the terminology and have definitely not been able to get straight edges even after watching your video about it. Need more details about what you are doing specifically – you make it look easy but mine do not look like yours.“

Denise

Hi Denise,

Neat edges are one of the biggest challenges to the newer weaver and probably what I get asked about the most 😊

Yes, you do need to be patient and get lots of practice in. Over time you will start to notice a difference. You will start to understand more about what good warp tension feels like (this is actually crucial to weaving neat edges), you will get to know different yarns, weave structures etc. 

You may also be interested in trying a technique where you thread both edge threads in a hole. This helps your edge threads to be under a more similar tension and can make a big difference to how your edges look. I have a video for doing that here-

Of course, there is so much more I could say on this topic, but I’m trying to focus on the main points that will make a difference to your weaving.

An important point to make is that if you’re weaving anything other than plain weave, your best bet will be to install floating selvedges to ensure that your weft thread always wraps at the edges. Floating selvedges are easy to install, check out these resources:

What are floating selvedges?…

How to use floating selvedges…

So, what about those specific actions for neater edges?

  • Really good warp tension.
  • The pinching technique
  • Angled weft
  • Correct weft tension
  • Appropriate yarns

Great warp tension is really essential to neat edges (and to a successful project too!) You can learn more about how to obtain great warp tension in these online classes:

Woe to Go Beginner’s class

Setting up for Success class (member’s only)

And here are some more resources to help set you on the journey of weaving neater edges:

Help, my edges are wonky!

Troubleshooting loose slot threads…

Lifeline selvedges technique…

Yet another neat edges tutorial…

*This post may contain affiliate links. For further information, please see my disclosure policy.

The last point that I want to make is to not worry if your edges are less than perfect. The best solution to slightly wonky woven edges is really just time and practice. Your edges will get better, just keep going!

Until next time…

Happy Weaving!

Filed Under: Warping, Weaving Tagged With: neat edges, warp tension, warping

Ask Kelly – How sturdy is hemstitching?

by Kelly 5 Comments

Hemstitching must be one of my favourite topics to discuss.

Why?

Because I love things that are both beautiful and functional, and hemstitching fits that bill perfectly. I just think it’s a glorious way to finish a woven piece when you want to maintain a fringe.

Personally, I think the hemstitch is an essential for any weaver’s skill library.

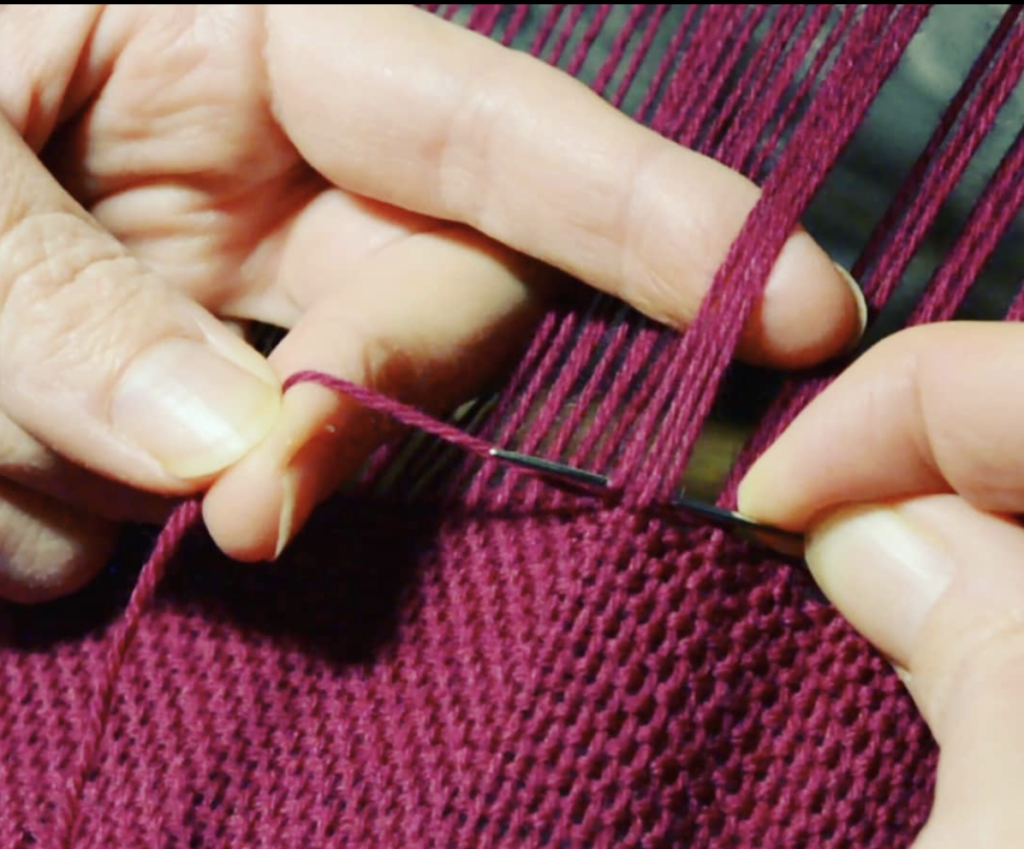
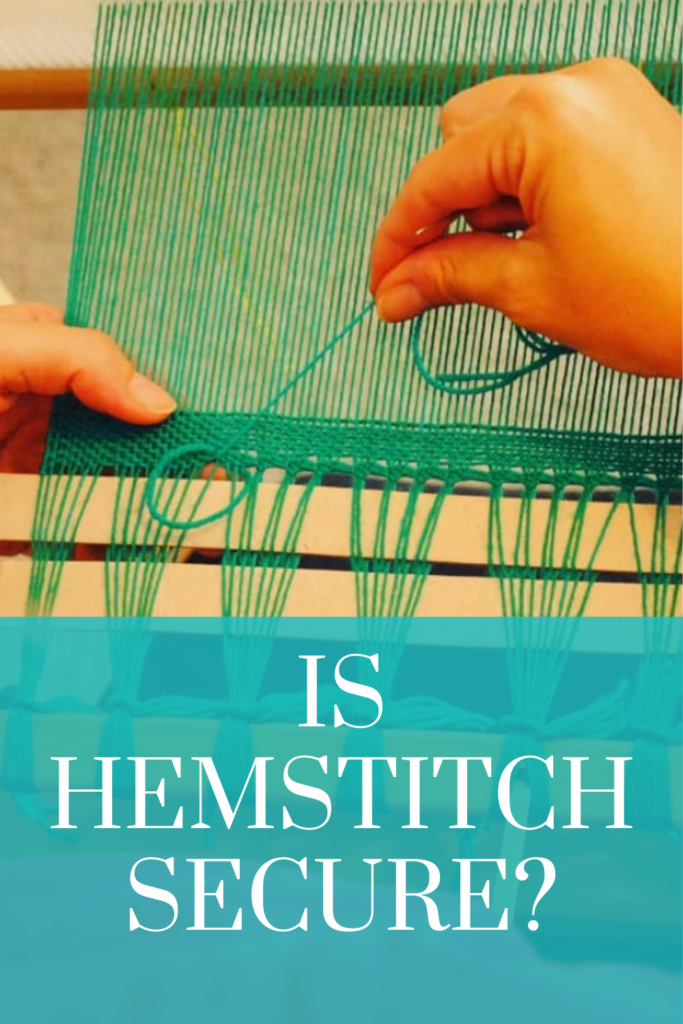
And the good news is, you really only need a tapestry needle to do it. Plus (and this is a big bonus, in my opinion!) you can hemstitch the piece while it’s on the loom.

This means that when you remove the piece from the loom, it’s secure and the ends are finished!

Oh, and in addition to the benefits already mentioned, almost any yarn used in a woven project is suitable for hemstitching.

*This post contains affiliate links. For further information, please see my disclosure policy.

If you are looking for resources on learning to hemstitch, I have a lot of those. Make sure you read to the end of the article to find extra helpful links.

This week’s Ask Kelly question is related to hemstitching. It’s a great question and the answer is important to know:

“When you do the hem stitch on the edge of the weaving can you cut the warp and wear it without it coming adrift or do you have to weave the ends buck up into the fabric, for extra security?

So far I have done the hem stitch but then gone over it with the sewing machine and/ or added bias binding for necklines etc.

I’m thinking this may be unnecessary overkill.”

Leonie

If you’re using hemstitch and then having a fringe, it is fine to just hemstitch and then not do any further fringe treatment and you don’t need to further stitch over the ends. However, you do want to leave some length for fringe. If you cut too close to the hemstitch because you don’t want a fringe, then the hemstitch will unravel.

I have found hemstitching to be extremely reliable as a way to secure edges, again, as long as that fringe is present and not cut too close to your hemstitched knots.

If you are hemstitching but don’t want a fringe, you can always, as you suggested, weave the ends in.

Also, I generally only use hemstitching for fringed or sometimes for tapestry etc where I weave the ends back in. If I want to use the fabric to sew with then I serge the raw edges. With a sewing machine, you could do a double row of zig zag stitch to secure edges.

OK, now let’s have a look at those extra hemstitch resources I mentioned before:

Hemstitch Basics Ebook…

Italian Hemstitch Tutorial…

All about hemstitching…

Hemstitch Youtube Playlist…

Hemstitch as a feature (member’s only class)

Until next time…

Happy Weaving!

Filed Under: Ask Kelly, Hemstitching, Weaving Tagged With: ask kelly, hemstitching

Hem handwoven fabric on a sewing machine

by Kelly 4 Comments

I’ll be the first to admit that hemming a project is not my favourite past time, I would prefer if it could just be magically done for me (picture the elves and the shoemaker and you’re on the right track!)

What I do love though, is the crisp, professional finish that hemming hand wovens with a sewing machine gives. Not only does it look really, really good, it is also highly functional with a strong edge.

*This post contains affiliate links. For further information, please see my disclosure policy.

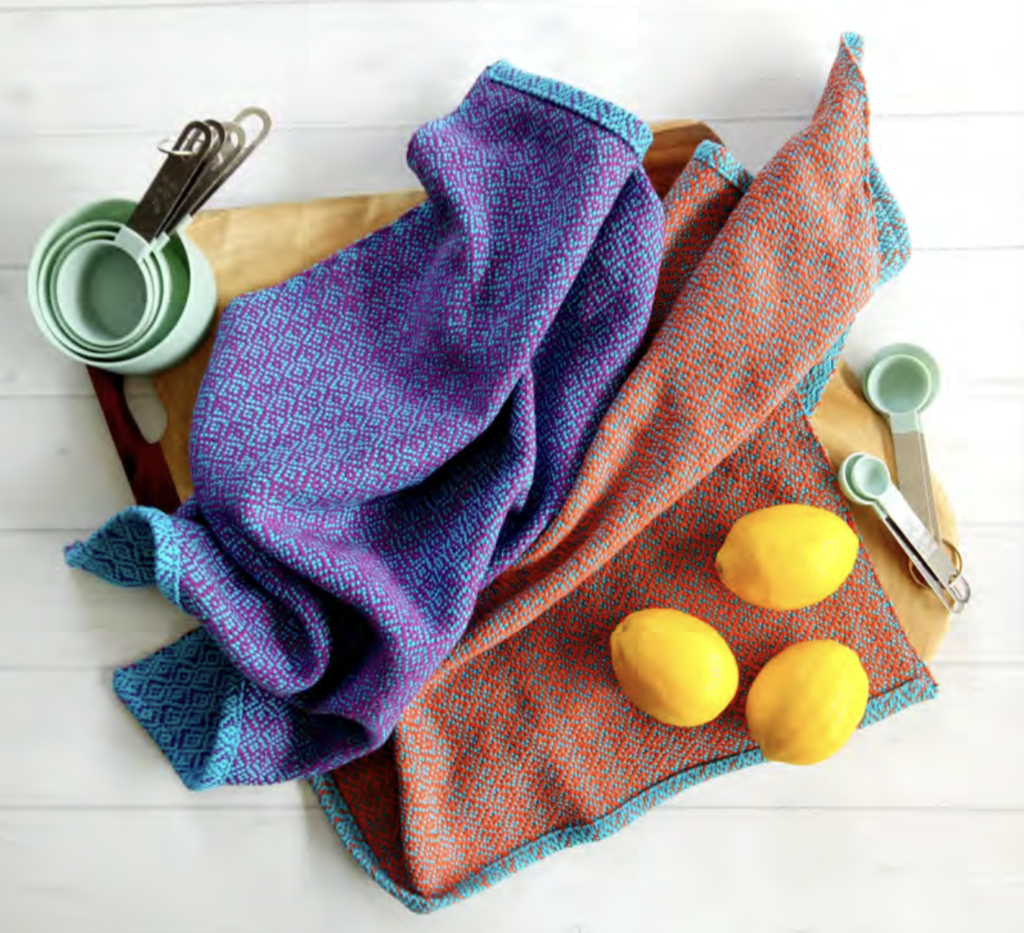
I have my own particular ways of hemming hand woven fabric on my machine and I’m going to take you through the process step by step today with some of my kitchen towels!

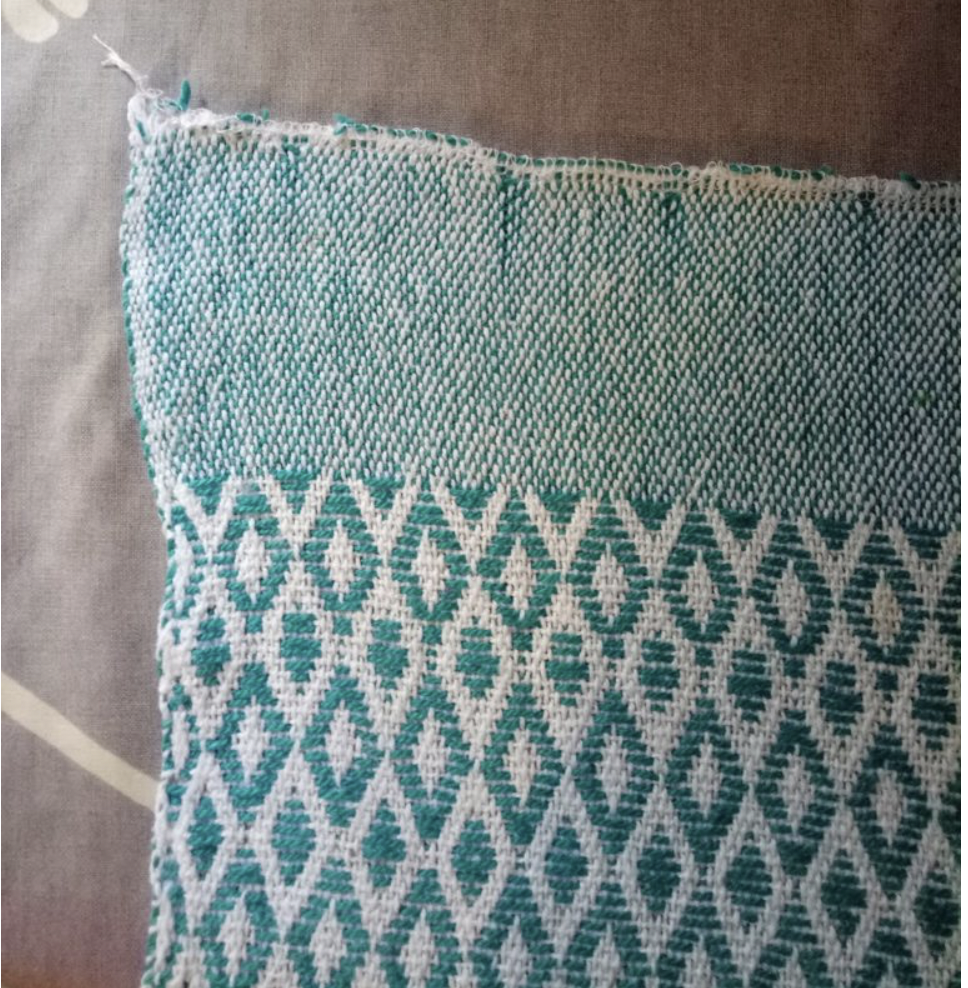
You can see that my raw edge is secured on a serger to prevent any unravelling during the wet finishing process. It is helpful to give the whole woven piece a good press before beginning, it’s always easier to work with pressed fabric.

For some of my towels I will weave a band of plain weave on either end of my towel (this does help to reduce bulk a little and can be a very effective look). For other towels, I will just weave the pattern throughout the whole towel. This also works just fine for hemming as long as the fabric is not super bulky.

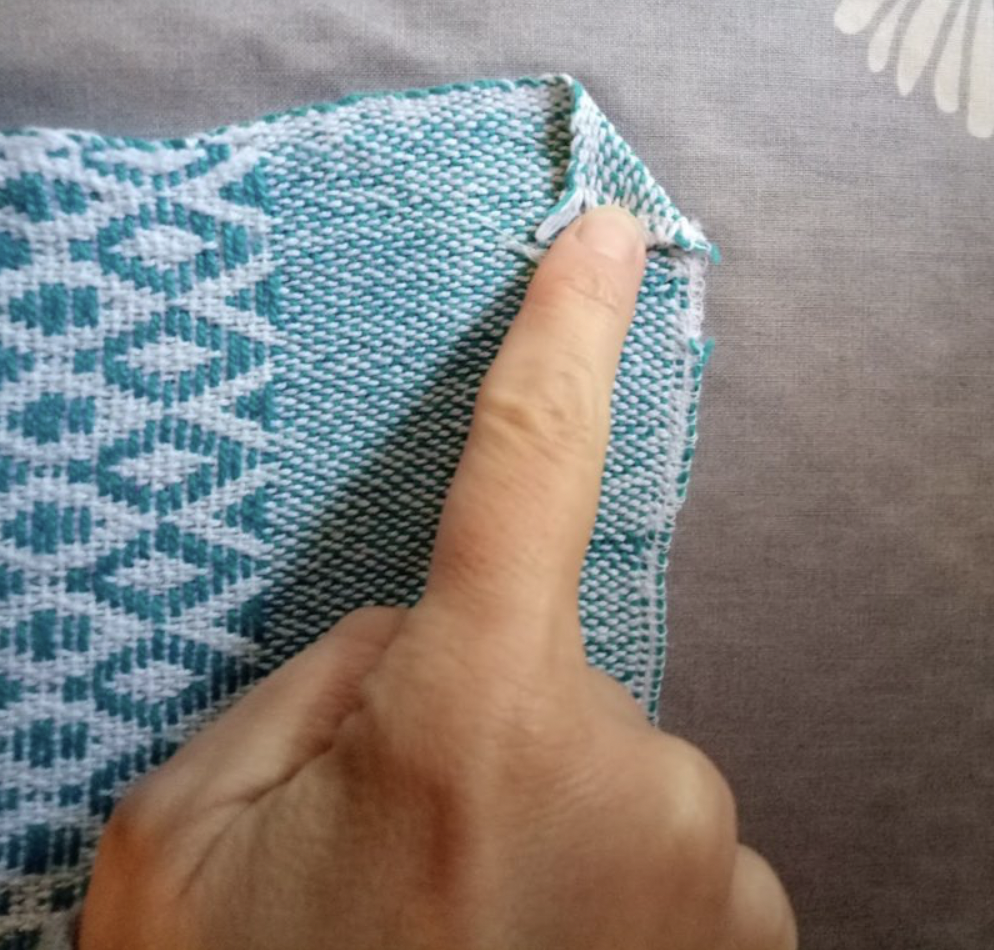
This is what I call my “dog ear” technique.  Fold in a corner on each side of the hem and press down with an iron. There are 2 reasons for this – 

1. The corners can get ugly and a bit ragged in the washing process – I want to hide them!

2. Towels have a tendency to be wider at each end. This reduces a little of that “flared out” look.

Once my dog ears are pressed down neatly, I take the raw edge and fold it over, usually around 1/4″ but more if it’s particularly raggy. I try to make this folded edge nice and straight. Press with the iron.

Now I fold again, this time 1/2″ or more and press. Now all raw edges and corners should be completely encased and hidden. Once pressed, you can also place pins along to hold everything in place if you wish.

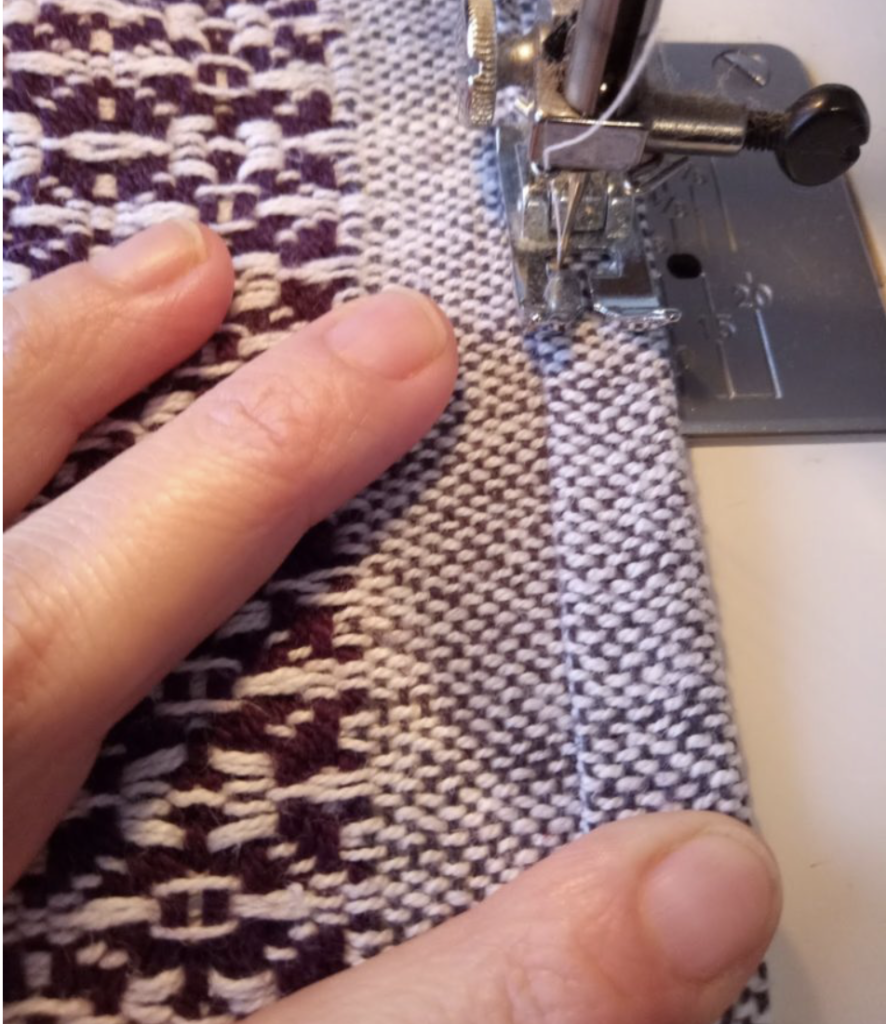
Take it to the sewing machine (different towel in this photo but the same process). I use Gutermann sewing thread. I learned early in my sewing journey that life is too short to sew with cheap threads that will break over and over! Sew with a straight, medium stitch close to the folded edge (roughly 1/4 – 1/8″).

Sometimes I will choose to do a medium zig zag stitch, which also looks great. Again, stitch close to the folded edge but not over it. Don’t forget to reverse stitch at the start and finish.

For an almost invisible finish, you can hand hem with a needle and thread, you can find that tutorial here.

If you would love to make better use of your sewing machine but lack the confidence, check out my free beginner’s series here:

What about the long edges?

Sometimes you may also wish to hem the long edges, particularly if the woven piece is a towel. For most of my own kitchen towels, I don’t do this extra step, as I’m usually happy with my edges the way they are.

However, if you find that your long edges are not as presentable as you would like, a simple solution is a single fold hem. The edges are technically already “finished” ie. they won’t unravel, so folding them over about 1/4″ and sewing close to the edge will provide an attractive, straight edge.

There are two things to note if you intend to use this method though:

  • It is best to plan for this extra hem so that it can be calculated into the project in the beginning. This will ensure that your project is the width you intended.
  • I find it best to complete the side hem first, before completing the end hems. This way the less bulky hem (the long sides) can tuck neatly into the double folded hem at the ends.

I now have a comprehensive online class for members of the Online Weaving School that covers many different aspects of finishing your hand woven cloth, from cutting to securing raw edges and all manner of hemming options.

While we’re talking about towels, perhaps you will be interested in the towel projects I have on offer!

Online class:

Happy Fibonnaci Towels

Diamond Stripe Towel Weave Along (currently only open to members of the Online Weaving School)

PDF Patterns:

Lux Hand Towels

Happy Fibonnaci Towels

Diamond Stripe Towels

Until next time…

Happy Weaving!

Filed Under: Hemming, Sewing, Weaving Tagged With: hemming, hemming hand woven

Ask Kelly – Independent warping issues

by Kelly 14 Comments

Today’s question is in two parts, but both are related to direct warping a rigid heddle loom.

Personally, I love direct warping, it’s one thing that makes the rigid heddle loom so attractive to me. Direct warping is fast and efficient and I just love it.

Starting out direct warping can be made more painless when someone has shared the best tips and tricks with you, and that is where I come in!

This post contains affiliate links. For further information, please see my disclosure policy.

Read on to find out some of my tips for more successful direct warping.

“Hi Kelly!

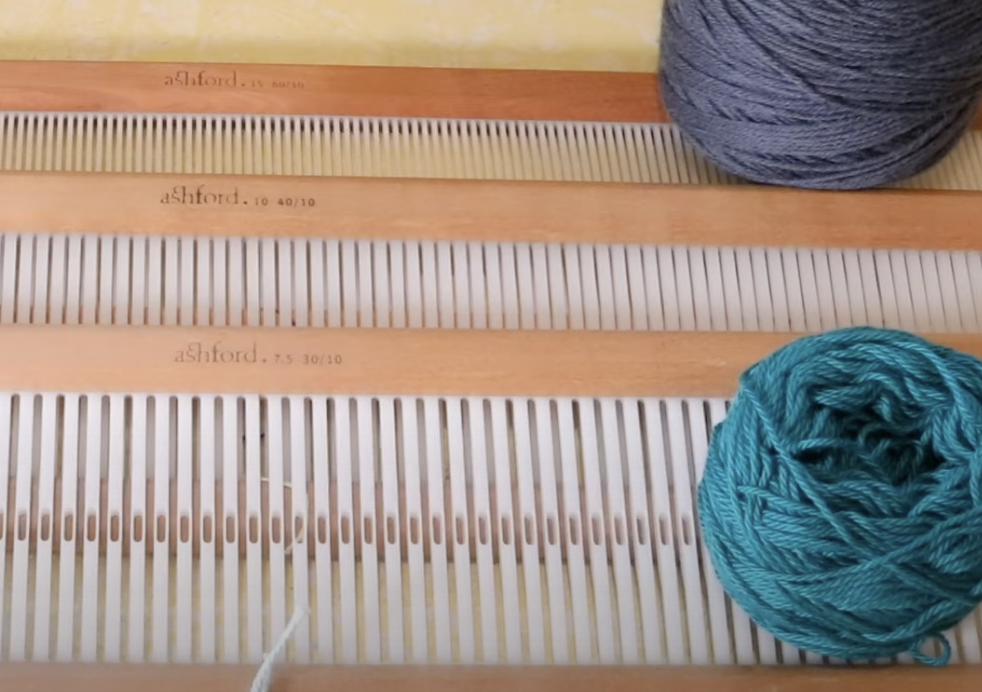
Can you help me with two problems I had with warping for a baby blanket when the warp has to be 62 inches?  I’m working on a Ashford rigid heddle – 24 inch with acrylic worsted yarn and 7.5 10/30 shaft/heddle.

  1. When winding the yarn, the peg can’t hold the yarn – I have to start overlapping it to get it all on the peg, plus I’m having great difficulty in not pulling too hard on each strand so it doesn’t pull the peg off the table. If I go loose, then I have terribly loose first warp thread that I have to tighten and the next and the next….so I lose a lot of yarn and time.

2. When taking the yarn off the peg and winding on to the back bar,  I tried to  hold the yarn myself – which I have done successfully for shorted warp length (I’m single and there’s no one else in the house)…didn’t work well because the middle yarns became too loose.  Do I just need to get someone else to hold the yarn while I wind the back bar?   How else to do this?

Greatly appreciate your help…“

Elizabeth

Hi Elizabeth,

From what you describe, I’m seeing a few potential issues:

1. Acrylic yarn. Acrylics are so varied that sometimes you don’t know what you’re going to get. I’ve heard of some weaver’s warping disasters where the acrylic actually stretches as they’re trying to tension and they end up with a saggy mess no matter what they try.

I have used a few acrylics but not a lot. It has mostly been a positive experience for me, but admittedly they are not my yarn of choice for a bunch of reasons. I think the key to using acrylics successfully is to know your yarn before warping a project with it. The only way you can really know a yarn you’re not familiar with is by sampling. You only need to do this once for a new yarn, then you can determine whether it’s really going to be suitable for your project or not.

2. The weight of your yarn. It sounds to me like the weight is going to be too heavy for a 10 dent reed. Did you do a sett test before starting? 

3. Single peg. If your yarn is overlapping on the peg, a second peg would be ideal. Then you can place half of the warp on one peg and the second half on another. This helps distribute all of those threads and will also help to alleviate the other problem you were having – loose middle yarns as you’re warping. 

Additional tips:

When warping by yourself, you do need to pay particular attention to that mid section of warp because you are clenching the warp threads all together and the outer threads will naturally be more tensioned than the threads all buried in the middle of your hand. Take your time with the warp, roll a little bit and then go back to the front of the loom, finger comb and re-tension the warp before going to the back to roll again. If you just roll and roll, you don’t have time to nurture the warp with good tension.

Make sure you use good separation at the back beam, a roll of thick brown craft paper is ideal but use cardboard warping sticks or whatever you have on hand. The key here is to not have the warp rolling onto itself, threads on threads that slip in amongst each other as you rotate. By using separators, you’re providing a hard surface for the threads to face against as they roll on and you’re also providing resistance as you roll, which means better tension!

OK, I could go on because there are just so many little nuances that improve a warping experience but I think these are the main things that will help you at this point.

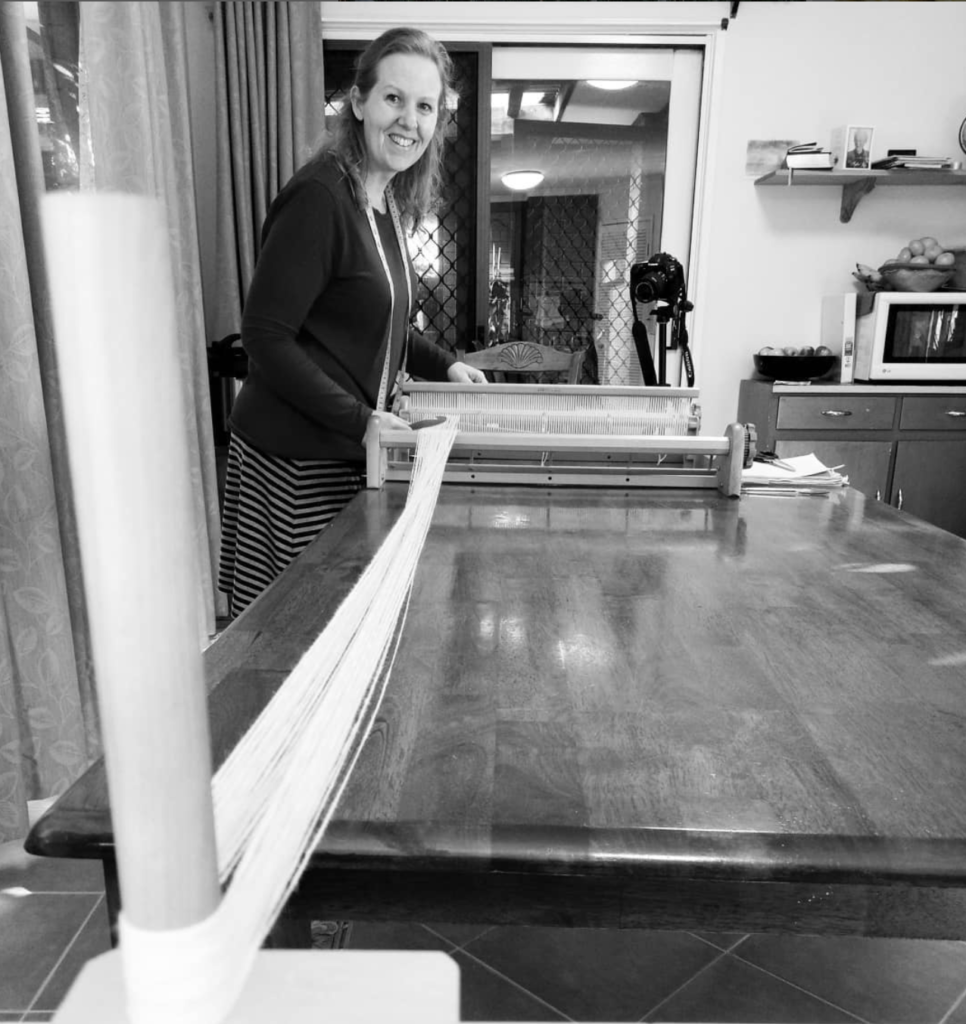
Don’t look at you independent warping as a disadvantage because it absolutely does not have to be, I warp exclusively on my own and have done for many years. 

Until next time…

Happy Weaving!

Filed Under: Ask Kelly, Rigid heddle weaving, Weaving Tagged With: ask kelly, direct warping, rigid heddle weaving, warping

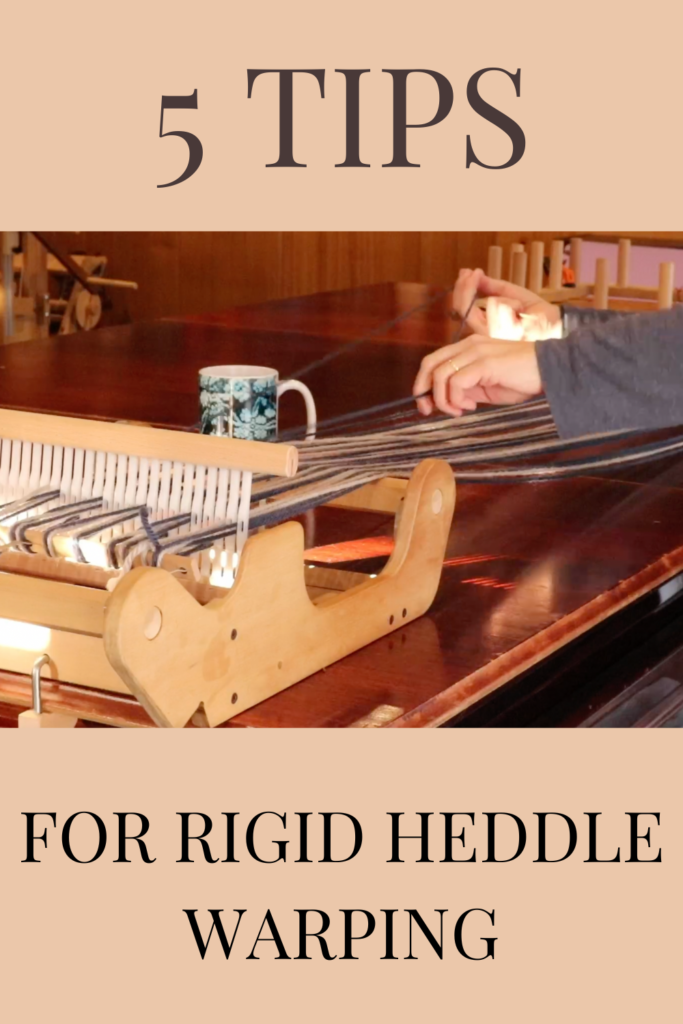
Rigid heddle warping tips

by Kelly 2 Comments

  1. Don’t over complicate it

Warping a rigid heddle loom using the direct warping method is really very simple. Yes, it will take you a couple of warps to start to feel more comfortable with the “newness” of it all (like anything!).

But something I’ve realised, especially after using the more complicated and time consuming table and floor looms, is that direct warping a rigid heddle loom is fast and easy.

Get the key ingredients for warping right and you will be well on your way to being a happy warper (if that’s a thing!)

Over complicating the warping process will lead to frustration, it is so much better to narrow it down and take baby steps without the worry.

2. Use a calculations sheet

A calculations sheet will take all the guess work out of the project for you. It will give you a step by step process to follow and prevent you from accidentally forgetting an important step in the warp.

If you struggle with the mathematical side of weaving, you don’t have to worry, as I think you only need a fairly basic maths level for weaving (hello calculator!) but the sheet will also help with ordering the numbers so that they make sense to you.

I have a free rigid heddle calculations sheet for you to download and use, plus a free video on how to use it available here.

3. Taking threads to the warping peg

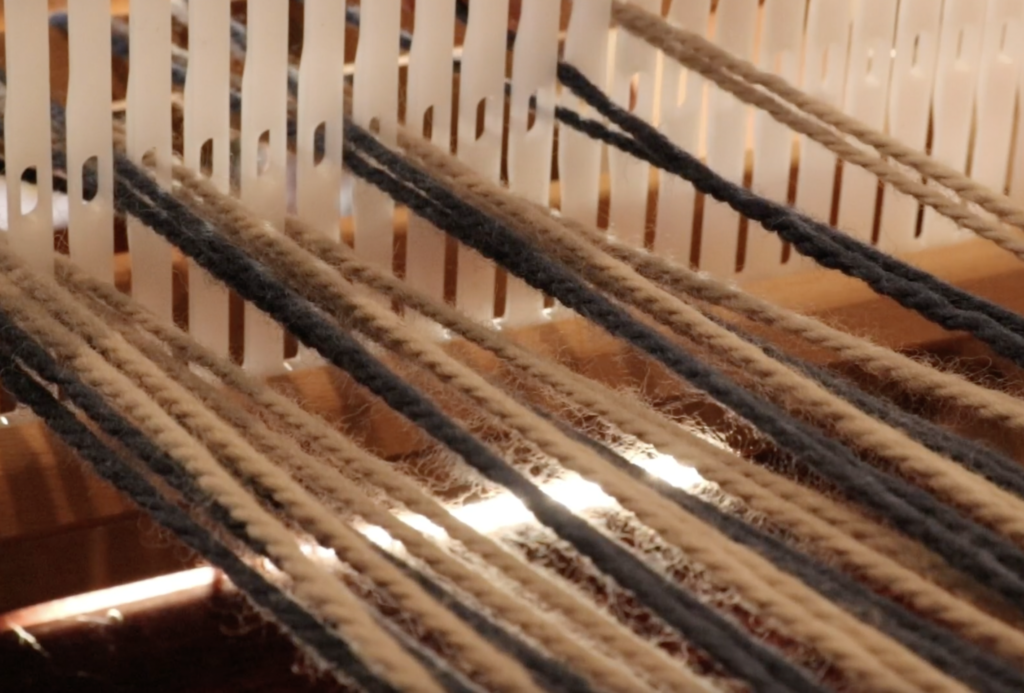
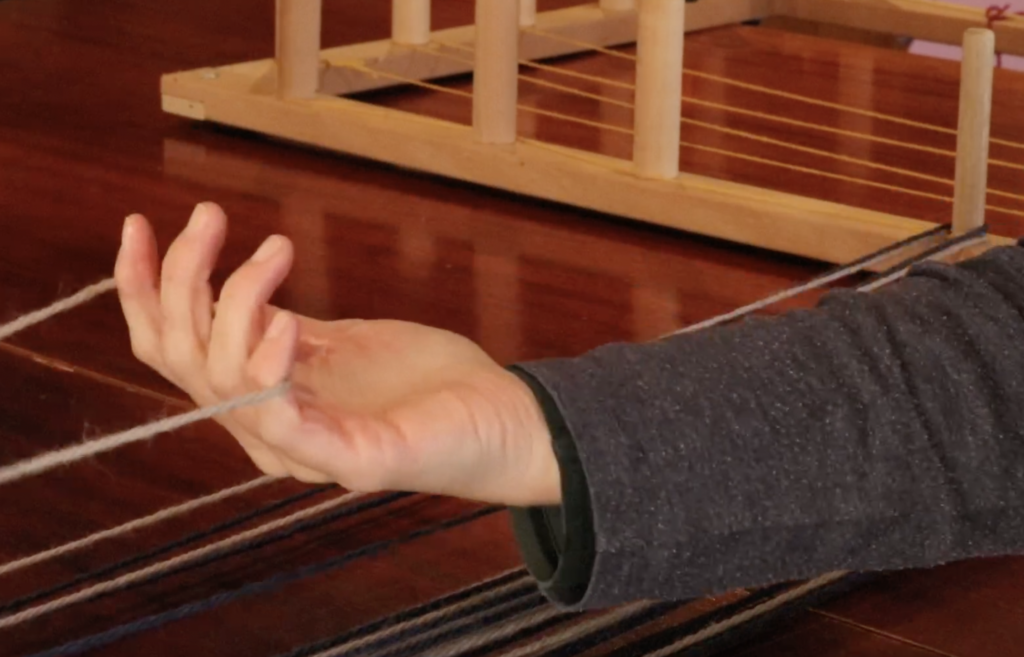
When you bring your threads through the slots in the warping process, keep everything straight and open. Keep the loop open and don’t twist your loop as you place it on the peg.

4. Keep threads in order on the warping peg

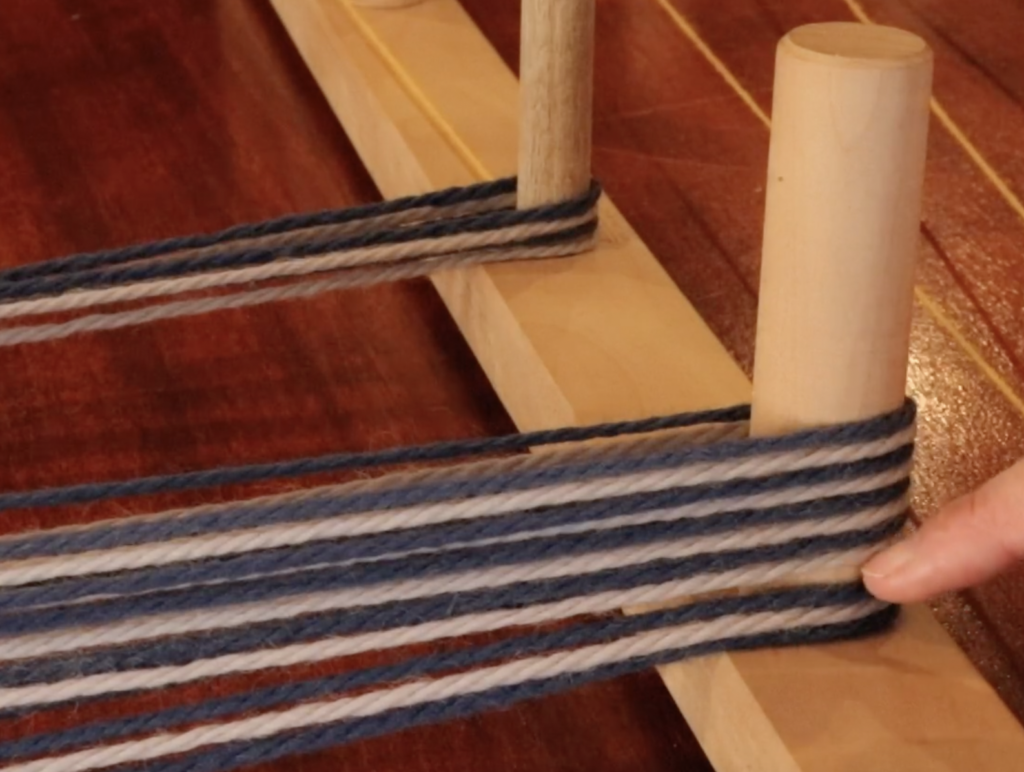
Place your loops on the warping peg one at a time and in order. Don’t just shove them on there willy nilly – there is a benefit to preserving order as when you come to rolling on the warp you will find a lovely, laid out warp that is well behaved!

Each loop sits just above the last one on the peg, there is no need for bunching. Keep the loops loose enough that you have space to get a finger in behind them, this will make lifting the warp off the peg easy and trouble free.

5. If you’re not enjoying warping, look at the reasons why

This will help you to determine steps to take to make it better and easier.

Try to make it a relaxing process, have a hot beverage or put on some music. If you make a mistake, it’s ok, mistakes are fixable! Take your time, no need to rush.

Perhaps you need some help in the form of an online class? My best selling class is my Woe to Go Beginner’s Rigid Heddle course. This class will take the mystery out of the rigid heddle loom with simple and achievable steps.

If you would like to view this post in video format, please watch here:

The photos you can see in this post are from The Weekend Scarf project. This is a great beginner’s or newer weaver’s project and is also great for anyone who wants a fast and fun project.

If you’re new to rigid heddle weaving, check out my free list of resources here.

I hope this article was helpful to you and until next time…

Happy Weaving!

*This post contains affiliate links. For further information, please see my disclosure policy.

Filed Under: Rigid heddle weaving, Warping, Weaving Tagged With: rigid heddle weaving, warping, warping tips

I bought a toy loom! Was it worth it?

by Kelly 5 Comments

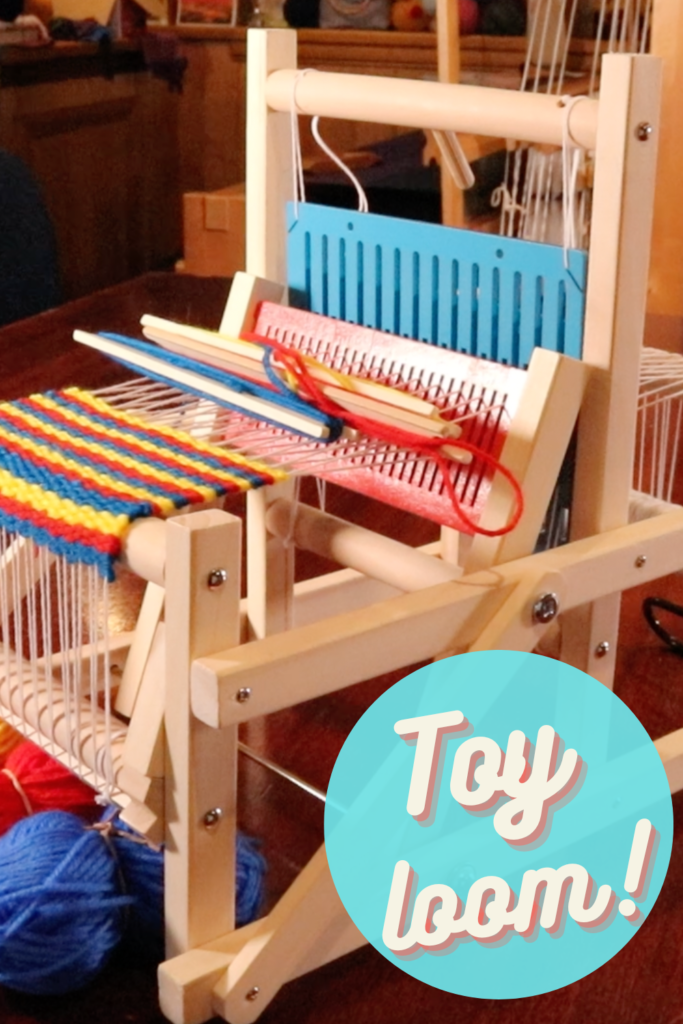
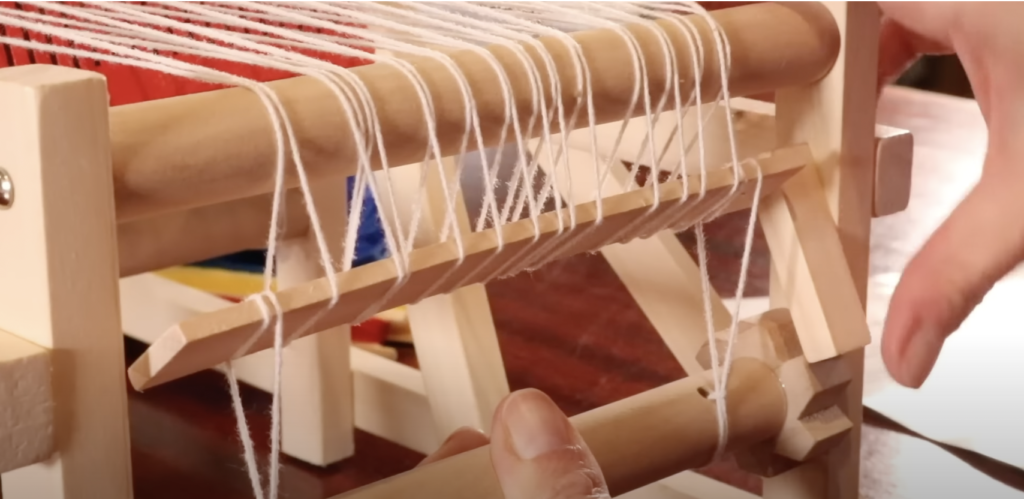
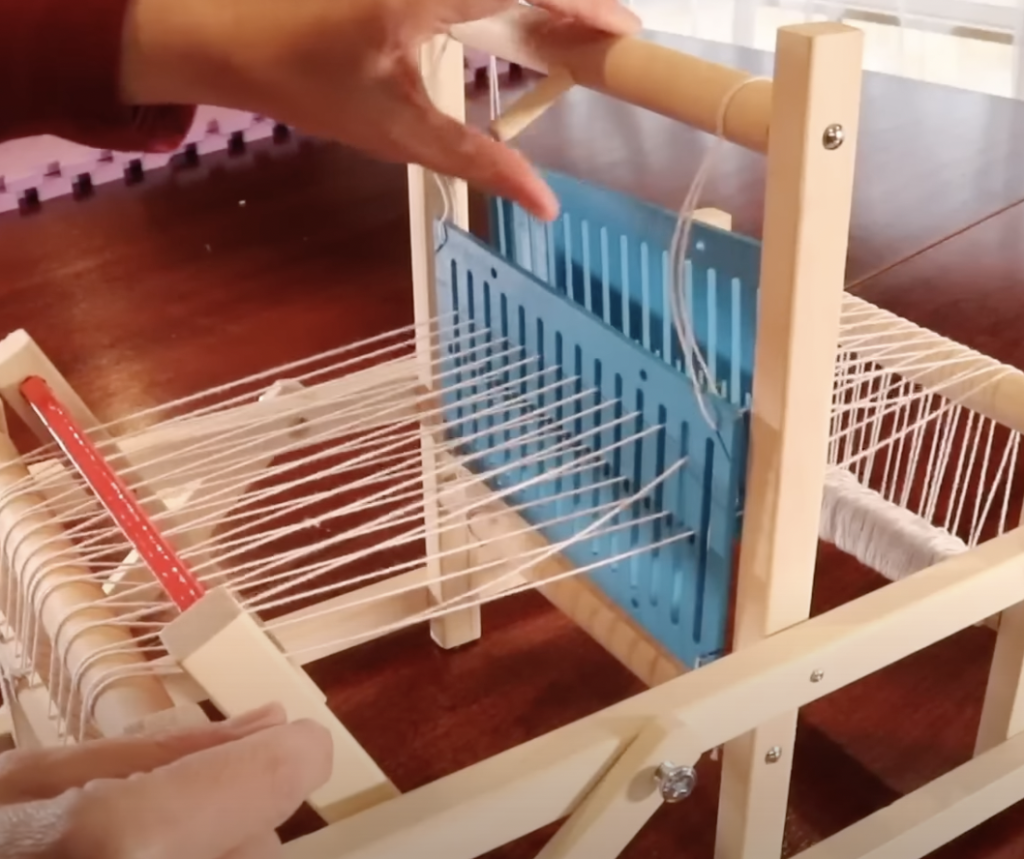
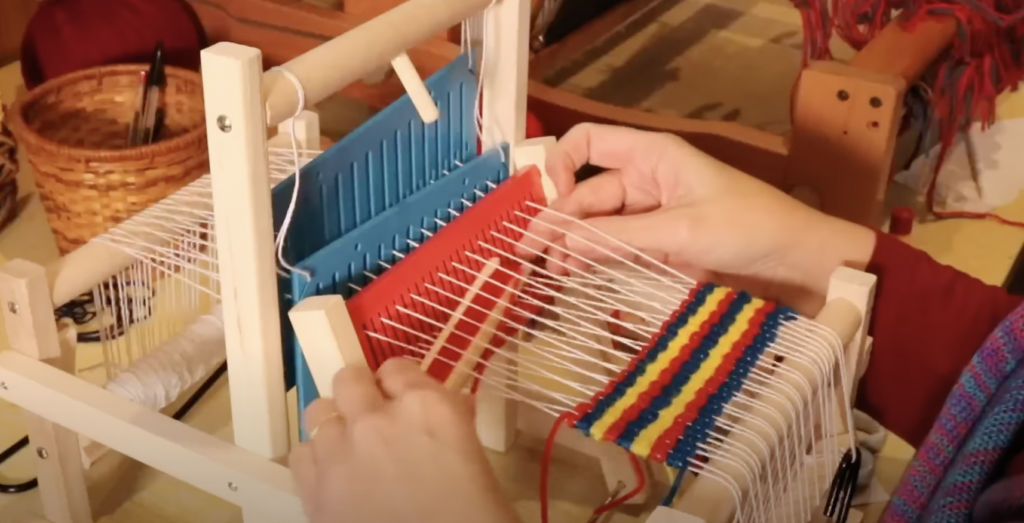
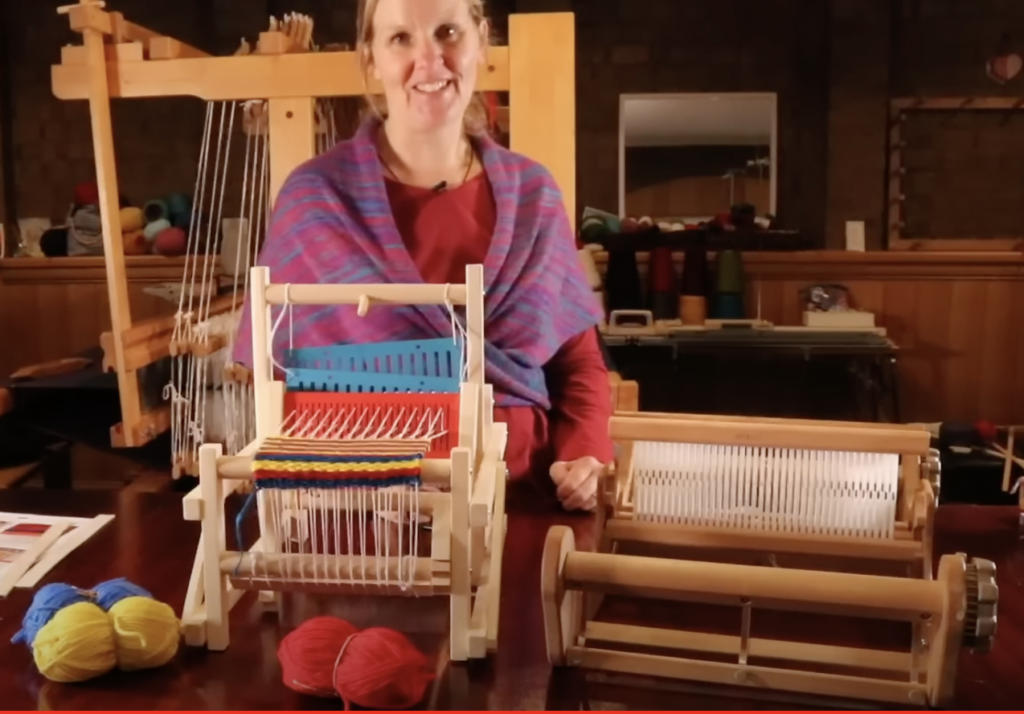
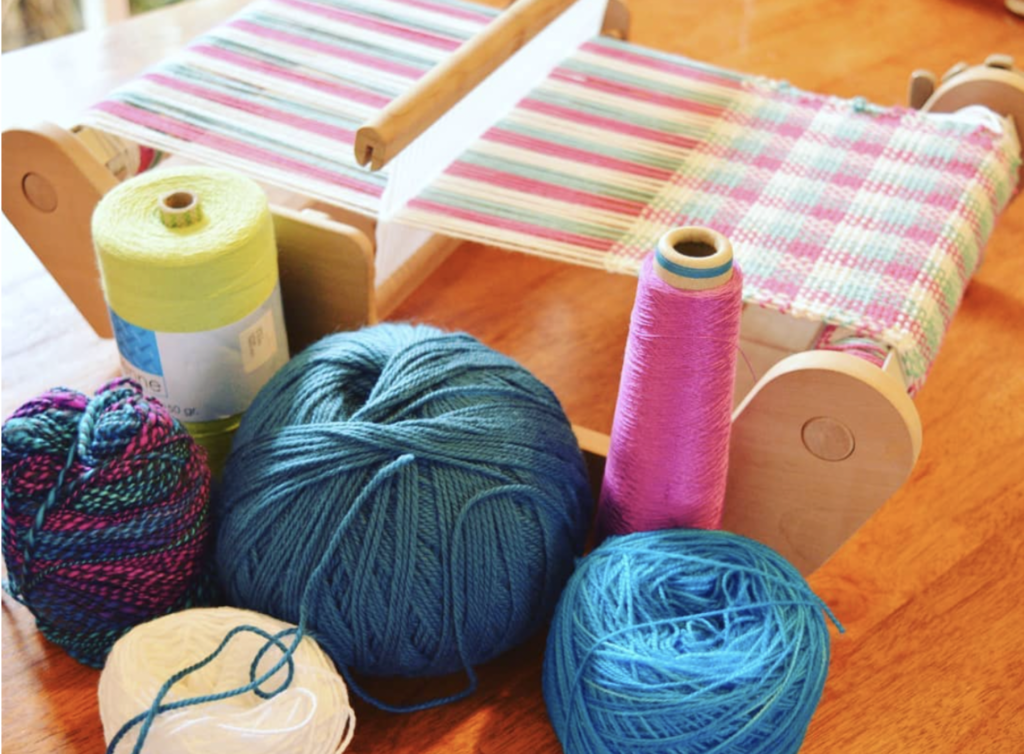
Recently I purchased a Lavievert Toy Weaving Loom.

My motivation for doing so was twofold – firstly, I was curious and thought it might be a fun experience and secondly, I’m always on the lookout for ways of advising newer weavers on ways that they can get into weaving more economically.

*This post contains affiliate links. For further information, please see my disclosure policy.

Naturally, before I recommend any product I need to first use it and review it myself!

The only other toy or children’s loom I’ve used is a very cheap and basic frame loom, so this loom from Lavievert seemed quite a step up and more similar to a rigid heddle loom.

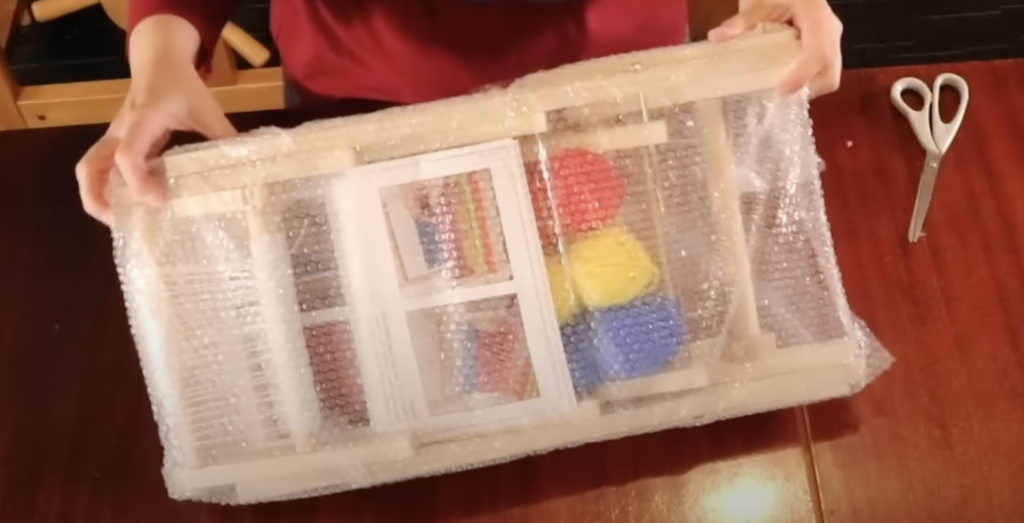
This loom is very small, compact and lightweight. The initial setup couldn’t really be easier – it comes pre-warped and simply unfolds and then is held in place by a couple of screws.

It also comes with 3 balls of acrylic yarn, 3 little stick shuttles (already loaded!) and a very basic instructions booklet. The booklet only really tells you how to unfold the loom, start weaving and advance your warp – there are no instructions for future warping, which could have been a useful addition to new weavers!

It is made of a lightweight wood, has 2 wooden heddles and wooden beater, and the warp is released and advanced by manually moving the back or front roller. A piece of wood, along with a cog hold the tension. These cogs slip very easily, so it can be difficult to achieve a decent tension, though this does seem to improve as you weave and advance the warp.

The heddles are similar to a rigid heddle, in that they have holes and slots. For the warp that came on the loom, they had it threaded through the holes on both heddles. The heddles are operated by rotating the top beam that both heddles are tied to, which causes the heddles to alternate in rising and lowering, providing two sheds to weave in and producing a plain weave fabric.

Upon measuring these heddles, I found that they are sized at 5 dents per inch – pretty wide apart for such a thin warp. So, when you weave, you get quite a weft faced fabric and it’s better to beat gently to avoid the fabric being too dense (unless of course, you really want a weft faced fabric).

The most frustrating aspect to using this loom was the tension. The warp that came on the loom was very loose in some sections. It seems that the loom is probably not strong enough to hold really good tension but I want to experiment with this further in the future by warping it myself.

The maximum weaving width is around 5.5″, so definitely only a small item loom – again, great for kids who might want to weave doll’s blankets or squares to sew together to make a larger item. Some adult weavers have also told me that they use this loom for sampling for larger projects.

While I found this a fun little loom to weave on, there is definitely a lot of room for improvement! My plan to move forward with it is to re-warp it with a thicker yarn, possibly thread the heddles differently and then to play around with pick up sticks to increase the shaft possibilities.

What I would recommend though, is that if you are serious about getting into weaving, save up the extra money to buy a quality loom. Something like the Ashford Sampleit is a really great place to start, and you won’t have to worry about not achieving good tension or possibly breaking parts.

If you would like to see me unpacking, setting up and weaving on this toy loom, watch this video:

Since writing this article I have used this toy loom more extensively. My experiments lead me to replace some parts of the loom, re-warp the loom and weave some pick up on it. To learn more about that, please see this video:

Until next time…

Happy Weaving!

Filed Under: All about looms, Weaving Tagged With: toy loom, weaving, weaving with children

You are a failure at weaving!

by Kelly 26 Comments

I don’t think I need to ask whether you have that little voice in your head that tells you negative things.

The one that, if you listen too much, will convince you that you are a failure. That you’re not smart enough. Not capable enough. Nope, sorry kid, you’re just not gonna make it!

I’ve heard a lot of people tell me they are a weaving failure. When I hear that, I inwardly sigh. I’ve been there, I know how it feels to be sure that you just can’t do it.

“But Kelly, how you can understand, you’re so good at weaving! You teach weaving to thousands of people all over the world! You’re so talented!“, I hear you thinking, even if you don’t say it.

What some people don’t realise is that I got to where I am today simply because I did not give up. I wanted to be a weaver and so I was determined to make it work.

“Failures are finger posts on the road to achievement.” – C.S. Lewis

Sometimes it was really hard. Often I wanted to give up. I didn’t want to feel that I was failing over and over. Like most people, I wanted instant success. I still do – it’s a journey.

Oh, and by the way, about that talent thing? Hard work and persistence trump talent any day. Put in the work, do it consistently, learn from your mistakes and just keep going. That is the simple formula for weaving success.

“Success is stumbling from failure to failure with no loss of enthusiasm.” – Winston Churchill

What if we switch this failure thing on it’s head here for a minute? So, you’ve started to learn how to weave and it’s difficult, probably quite a bit more difficult than you envisioned. It’s frustrating, and the only time you’re having fun is at the occasional magic moment when it all comes together and works.

Here are some thoughts that might be running through your head in the moments of frustration:

“I’m not suited to this”.

“I’m not smart enough to do this”.

“I simply lack the ability to do this”.

“It’s too hard!”

Now we will turn those statements around so that we are still acknowledging the frustration, but in a positive rather than negative way:

  • “I’m not suited to this” – “This all feels so unfamiliar at the moment, but I will get past that”.
  • “I’m not smart enough to do this” – “Anyone can learn this, myself included”.
  • “I simply lack the ability to do this” – “I will keep practicing to learn the skills I need”.
  • “It’s too hard!” – “This sure is a challenge, but I know it won’t always feel that way”.

The first statements are what I think of as “giving up” statements. The second statements are you being your own little cheer squad 😀

“I have not failed. I’ve just found 10,000 ways that won’t work.” – Thomas A. Edison

I see a lot of newer weavers who are simply too hard on themselves. There is a plethora of reasons as to why we (myself included) put ourselves down and talk negatively to our inner selves. The power of the mind is huge and can work to our disadvantage or advantage.

There are so many common traits that I see, and so many of them can be easily remedied.

  • Impatience. Oh yeah, you know it. We are an impatient lot these days. We want what we want and we want it now! But does it make us happy? Indeed, it does not!
  • High expectations. As I’ve said before, it’s better to have high hopes than high expectations.
  • Unrealistic goals. Goals are great, I love setting personal goals. But setting goals that are waaaay beyond your current skill level with not always be beneficial. Be realistic about what you know now, what you want to learn next, and how you can use those skills in your next project.
  • Comparison. I’m sure that you’ve heard the quote “comparison is the thief of joy“. Don’t try to start at somebody else’s finish. There are so many different learning styles, levels of comprehension and learning paces. It’s OK to learn the way YOU learn!

Finally, I’d like to leave you with this most excellent quote:

“Remember that failure is an event, not a person” – Zig Ziglar

Your weaving project is just some yarn on a loom, if it’s not going well, don’t internalise it.

I hope this article was helpful to you!

If you feel that you would benefit from some help in your weaving, check out the Online Weaving School for a huge variety of classes for all skill levels.

If you sign up for a membership, you also receive access to the private member’s group. This wonderful community may be just what you need to boost your confidence.

Until next time…

Happy Weaving

Filed Under: Inspiration, Online Weaving School, Weaving Tagged With: encouragement, fear of failure

Online Weaving School 6th Birthday Giveaway!

by Kelly 452 Comments

How amazing that 6 years have passed since I took a leap of faith and opened the Online Weaving School!

It has been so humbling to watch this little school grow from a handful of students in the beginning to something I never dreamed would be possible for someone like me. I am so grateful for all who have learned with me and supported me.

If you’re interested in learning more about the story of the weaving school, you can read this post from a few years ago.

The weaving school now has over 1500 memberships and over 10,000 registered users. Unbelievable!

This year I wanted to do something a bit special to celebrate the 6th birthday of the Online Weaving School.

I am very excited to share that I will be giving away an Ashford Sampleit 10″ rigid heddle loom!

Want to know more about what you can weave on little looms? Check out this article:

What can I weave on a small loom?..

This giveaway is now closed. Please scroll to the bottom for the winner announcement.

WINNER ANNOUNCEMENT

Congratulations to Helen Ashenfelter! Helen commented:

“I would gift this to a friend- Libby- who would like to learn to weave but feels she can’t invest in the loom. She makes things for a local shop who gives to worthy causes in our area!”

Thank you to all who entered. There were so many worthy entries and causes, I do so wish that you could all be winners and I’m sorry if you missed out. Maybe next time it will be your turn 🥰

*This post may contain affiliate links. For more information, please see my disclosure policy.

**This giveaway is run solely by Kelly Casanova Weaving Lessons and is not affiliated with Ashford or any other party. The giveaway prize is one Sampleit loom and there will be one winner. The photos in this post are representative only – yarns and warps are not included.

Filed Under: Weaving Tagged With: celebration, giveaway, online weaving school, rigid heddle weaving

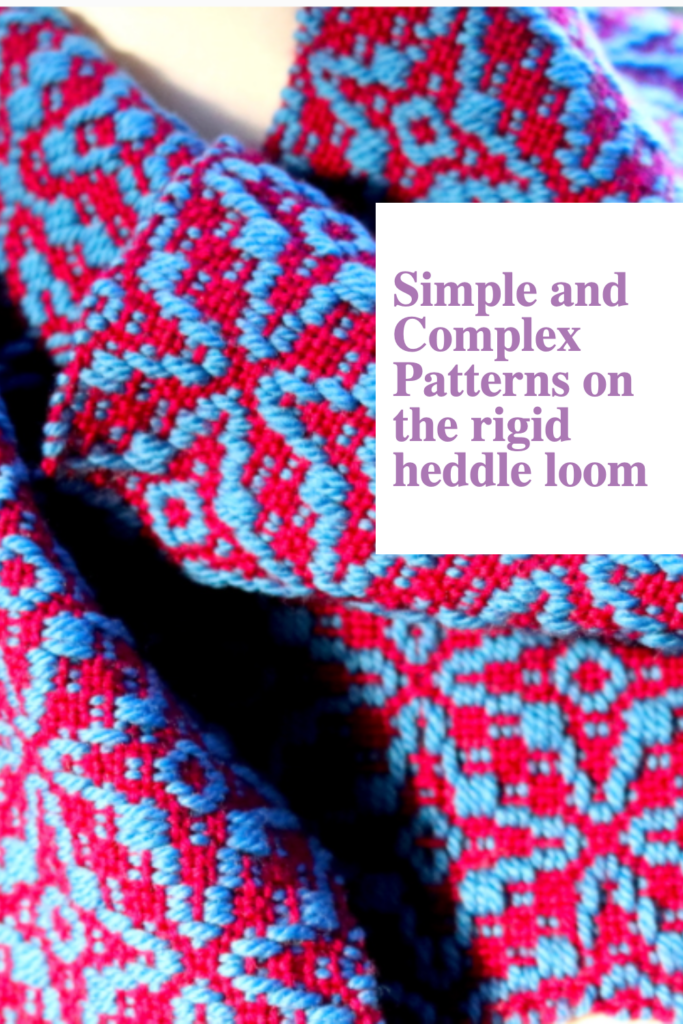
Simple and Complex Patterns on the rigid heddle loom

by Kelly 9 Comments

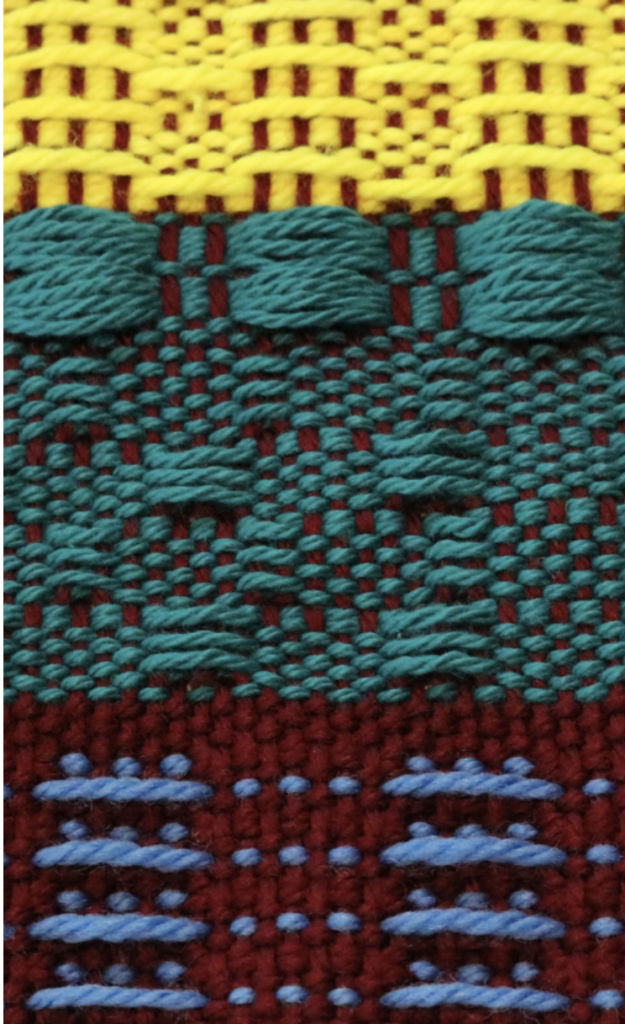
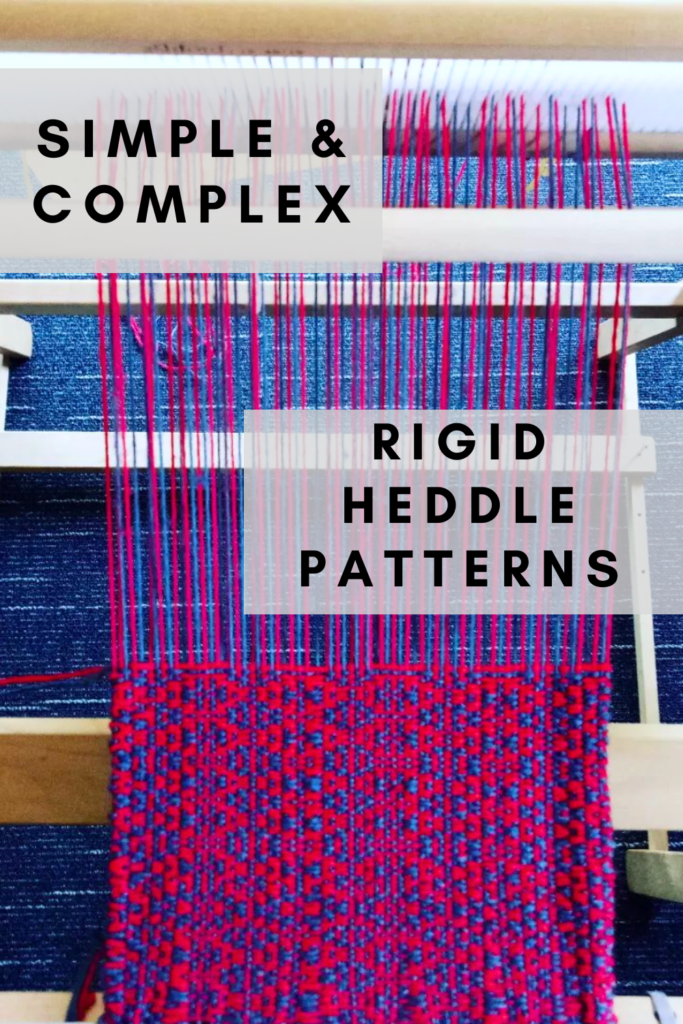
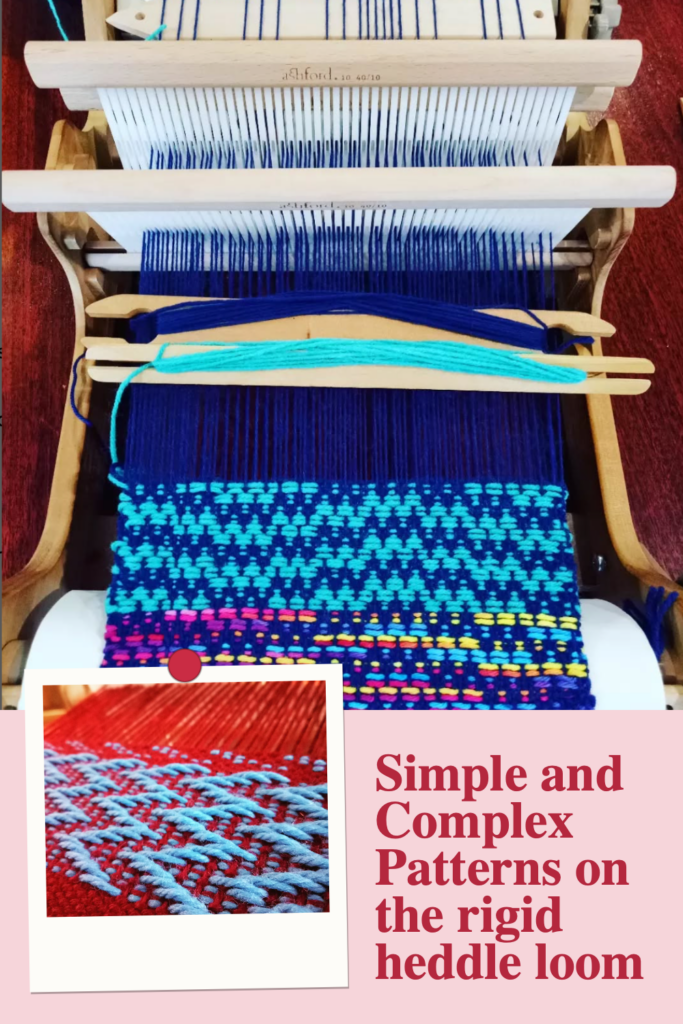
The rigid heddle loom is an incredibly versatile tool for weavers of all levels. While its construction is simple, it opens the door to endless weaving possibilities, from basic plain weave to intricate patterns that rival those created on multi-shaft looms.

In this guide, we’ll explore options for weaving simple and complex pattern on the rigid heddle loom. Whether you’re sticking with simple patterns or diving into more complex techniques, there’s a world of creative opportunities waiting for you.

Weaving on a Rigid Heddle Loom: Choose Your Own Adventure

Remember the “Choose your own adventure” books from the early 1980’s? Gosh, I loved those books as a kid! Being given the ability to choose to keep the story small and simple or keep the fun going by selecting a longer and more adventurous continuation.

You could start out as a student on a regular school day, going to classes and planning to meet friends later and end the day by having fought and defeated incredible beasts and monsters! So much fun 😊

The beauty of the humble rigid heddle loom is that you, as the weaver, can choose your own adventure!

You can start out with the very beautiful plain weave, at some point introduce a pick up stick or two and before you know it, you’re wrangling multiple heddles, sticks and rods!

Maybe you just enjoy the plain weave so much that you choose to stay in that groove.

Or maybe you find that you need more of a challenge, and so you start looking at multi shaft patterns and how you might adapt some of them to the 2 shaft rigid heddle loom.

Whichever ways suits you is the best way, remember, we all choose our own adventures.

Today we’re going to discuss simple and more complex patterns you can achieve weaving on a rigid heddle loom – what is involved in the set up for each and the considerations you need to make before embarking on different patterns. I have so many resources and tutorials to get you started on either the simple or more complex path, and I’ll be sharing these with you too.

We’ll begin with the most simple patterns and work our way up to the more complex.

Start Simple: Mastering Plain Weave

The most simple pattern you can weave on your rigid heddle loom is plain weave. This is what the rigid heddle loom was built for, and excels at. To weave plain weave, you need only 2 shafts. This is made possible on a RH loom with just one heddle because of the unique design of the reed or heddle.

When we thread a rigid heddle loom, we thread both the slots and the holes. Then, once we’ve tied the warp onto the loom, we create 2 different sheds or spaces in which our shuttle can pass through. It’s these sheds, or more specifically, what the warp threads are doing in those sheds, that determine the pattern.

Plain weave is achieved by placing the heddle in the “up” position, passing the shuttle through the shed, then beating the weft down into place (the heddle is also used as a beater). For the next shed, the heddle is placed in the “down” position, the shuttle is passed through and the weft beaten down. Then back to “up” again, and so on. Doing this gives you an over, under interlacement that is both lovely to look at and also a very stable fabric.

This fabric can be used for a huge array of purposes, from a scarf to kitchen towels, to fabric to sew clothing with.

Starting out on a rigid heddle loom can be a bit of a learning curve, but is made so much easier if someone with a wee bit of experience shows you how. In my From Woe to Go! online beginner’s course, I share everything you need to know to get up and weaving on your rigid heddle loom, plus I show you all the helpful things you didn’t know you needed to know!

Some weavers will find that they tire of only weaving plain weave, but there are techniques that can easily be introduced without the need to learn more specialist skills or purchase any extra equipment (let’s face it, that particular rabbit hole goes very deep!)

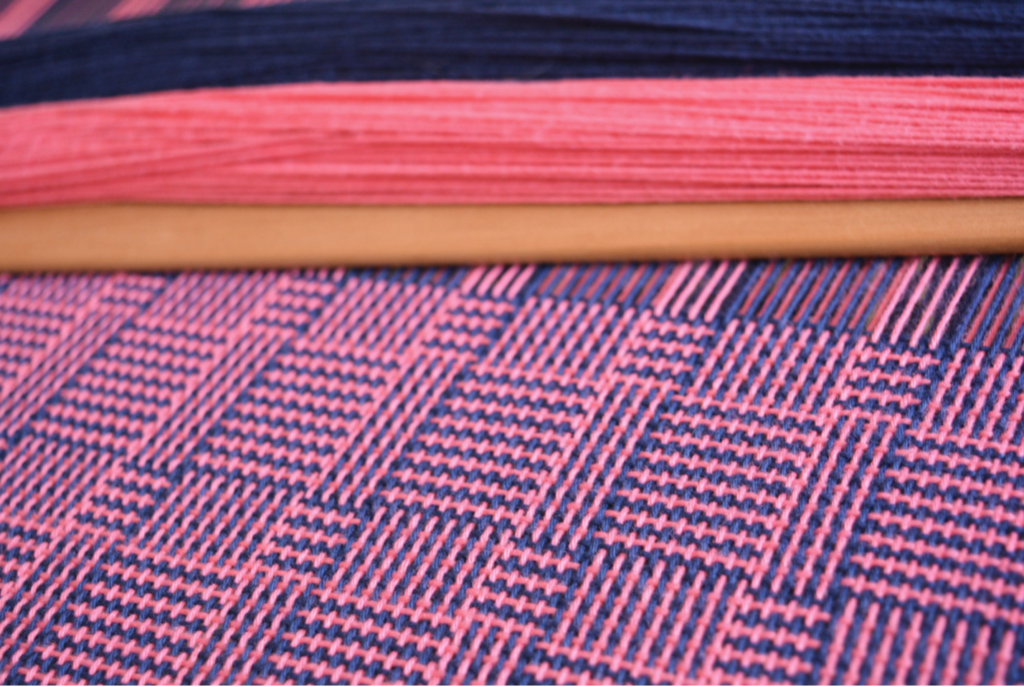
The first that comes to mind is the wonderful technique of colour and weave. In it’s most basic form, this is simply the introduction of colour, strategically placed in your warp and weft. You don’t need any additional tools, just a little bit of patience as the warping takes extra time. Boy, is it worth the effort when you get to the weaving though!

Log Cabin and Houndstooth are gorgeous examples of colour and weave. And yes, it’s still just plain weave!

Another option for taking your plain weave setup further is finger controlled (FC) techniques. These are just SO fun because again, you don’t need extra tools, just extra patience, you weave them on a plain weave set up, so you can introduce them to your plain weave warp at any time (use as a border feature within the plain weave piece, OR combine the plain weave and FC technique, OR weave the entire piece using the FC technique).

Some examples of finger controlled techniques include Brook’s Bouquet, Danish Medallions and Leno. I have a free tutorial for how to weave Leno here if you’re interested in checking that out.

Take It Up a Notch: Adding Pickup Sticks

Pick up sticks are a really natural progression from plain weave because, again, you can use pick up techniques on a plain weave warp. You do need extra tools this time, in the form of a pick up stick or two, but these are very affordable and some weavers will make their own from scrap wood or paint stirring sticks.

This humble length of timber can open up your design possibilities like you wouldn’t believe! And you don’t even need to understand what you’re doing to get started!

Basically, you use slot threads and a pick up stick to create extra sheds (spaces) through which your shuttle can pass. These spaces will be different to your regular plain weave sheds and will give you different weave interlacements. I know some weavers feel intimidated by the idea of using pick up sticks but really, it’s so simple and easy.

If you want to see how non scary it really is, check out my free tutorial here. I also have an online class, Pick Up Perfection.

As I pointed out before, you don’t need to understand exactly what is happening on the loom when you use pick up sticks, just follow the instructions you have to get the results. The understanding can come later, if you want it to, or if you’re happy to keep following directions, do that!

But if you are interested in understanding the why, I can give a simple explanation. You know that the rigid heddle loom has 2 shafts available (holes and slots). By using a pick up stick, you are creating an extra shaft (shed/space). The slot threads that are already threaded in your heddle are free to move up and down, the hole threads are not. So, we can make use of those slot threads by placing some of them onto a pick up stick. When operate the pick up stick, I’m giving the loom a chance to make new interlacements beyond plain weave. This creates pattern.

Think of it like this:

Hole threads – shaft 1 (shed 1)

Slot threads – shaft 2 (shed 2)

Pick up stick threads (shed 3)

Now you have turned your 2 shaft loom temporarily into a 3 shaft loom! What if you add another pick up stick? Hello 4 shafts! 😀

Advanced Techniques: Multiple Heddles and Multi-Shaft Patterns

Now we come to the more complex component of this post, weaving 3,4 or more shafts on a rigid heddle loom. Is it possible? Yes, of course! Just like in the previous section on pick up sticks, we just need to make more shafts (sheds).

Let’s look at the 2 main ways we can do this:

  • Heddle, rods and sticks

Besides the 2 shafts available with a single heddle (holes and slots), if you want extra shafts, you’re going to have to make them! A simple and economical way to do this is with pick up sticks. However, after inserting one pick up stick, you will often find that the sheds you have created will not allow the pick up sticks to slide past one another to open up the new sheds you need to create your pattern. How frustrating!

But not to fear, this is where the heddle rod steps in to save the day. A heddle rod is just another way of creating an extra shaft by placing the threads from a pick up stick onto a rod with string heddles. The only materials you need to do this is some wooden dowel and extra yarns suitable for making string heddles. I have a lot of resources for making heddle rods but I recommend you start here. It can be used in combination with a pick up stick, as it will allow the pick up stick to slide freely back and forth.

Here is just one example for how a 4 shaft pattern set up might look on your rigid heddle loom:

  • Shaft 1 – heddle holes
  • Shaft 2 – heddle slots
  • Shaft 3 – heddle rod
  • Shaft 4 – pick up stick

Let’s look at another method for weaving complex patterns:

  • Additional heddles

Most rigid heddle looms can accommodate three heddles (there won’t usually be space for more than that) and many 4 shaft patterns can be woven with just those three heddles. Some 4 shaft patterns need to include tabby (plain weave), such as overshot, and for these patterns it can be easier to use a combination of heddles and a pick up stick to make the lift combinations or weaving sequences more possible.

Purchasing extra heddles if obviously not the cheapest option and one of the rules to weaving this way is that ALL the heddles need to be the same dent. So, 3 x 10 dent heddles or 3 x 7.5 dent heddles, depending on your individual project.

Here is an example of how a 4 shaft pattern might be set up on the rigid heddle loom with 3 heddles (keep in mind that there are many ways to setup so this is just one example 😉):

  • Shaft 1 – heddle 1, holes
  • Shaft 2 – heddle 2, holes
  • Shaft 3 – heddle 3, holes
  • Shaft 4 – heddle 1,2 &3, slots

One of the challenges with rigid heddles is that they are, well… rigid! When you’re using them as multiple shafts, you as the weaver have to decide on warp thread placement. Rather than flexible heddles that are fixed to shafts (like on a table or floor loom) we have to make our threads fit within a fixed space. We also have to make sure that they don’t space too close together or too far apart. All these decisions will impact on the finished look of your pattern.

If you are interested in beginning to weave like this on your rigid heddle loom, I have made specific resources to help with that:

Converting Drafts to the rigid heddle loom, online course

Weaving 3 and 4 shaft patterns on a rigid heddle loom, ebook

Your next question may be, “well, how many shafts exactly can I weave on a rigid heddle loom?” I can’t give a definitive answer, but I’ve seen weavers set up for 8 shaft patterns. Have I done it? No.

I am spoiled with loom choices, so for anything over 4 shafts I always choose my table loom or one of my floor looms, after all, they are set up with 8-10 shafts already and are purpose built for that.

I keep saying that one day I will see how far I can challenge myself on the rigid heddle loom, but whether it’s moving up to 6, 8 or 10 shafts remains to be seen!

Choosing Your Weaving Adventure

Whether you stick with the simplicity of plain weave or dive into advanced techniques, the rigid heddle loom lets you weave your way. The best part? There’s no right or wrong path—just the joy of creating something beautiful with your own hands.

Until next time…

Happy Weaving!

*This post contains affiliate links. For more information please see my disclosure policy.

Filed Under: Rigid heddle weaving, Rigid Heddle Weaving Patterns, Weaving Tagged With: rigid heddle weaving, rigid heddle weaving patterns, weaving patterns

3 Etsy Essentials

by Kelly Leave a Comment

There can be a lot to learn when you make the decision to open an Etsy shop to sell your handmade products. However, rather than trying to learn “all the things” I always recommend to new sellers that they narrow it down to the most important things.

There are the obvious must haves like ensuring you are selling a quality product at a price that is fair to both you and the buyer, having policies in place and shipping on time.

In my experience as a handmade Etsy seller over the past 15 years and after almost 10,000 sales, I think there are 3 essentials that will best set you up for success on Etsy.

Before I talk about my recommended essentials, I’d like to point out why I think Etsy is a great place for beginner (and veteran) sellers.

Etsy has been around for a long time now and unlike some online platforms, you won’t have to jump through hoops to set up an account, list some items and start getting sales. The process is very simple and doesn’t require special technical knowledge.

Etsy takes care of all the payment processing for you and although they do take a percentage of each sale as commission, it takes that additional stress off you when you’re starting out.

Etsy is a marketplace, meaning shoppers can search for what they are wanting to buy. It’s a great way to get found and start building a customer base.

According to Capital One’s Research Report, there are over 100 million people worldwide using Etsy to buy and sell. They say that there are 277 million visits by shoppers every month to the platform. That is a lot of potential eyeballs on your products!

Now let’s have a look at my 3 Etsy essentials!

  1. Photos

This is an absolute non negotiable for Etsy success. The only real downside to selling online is that the buyer does not have the ability to see and touch your handmade item in person. Your goal should be to bring that in person experience to them as much as possible. Excellent photos are a must.

You can present your handmade items best by ensuring your photographs are well lit (natural light is best when possible), clear (nothing will turn off a buyer like a blurry photo will!) and appropriate composition.

If you don’t have any experience with photography, don’t worry! Almost any smartphone these days will take very nice photos and they are basically point and shoot.

If you are brand new to photography or feel that you can make some improvements, I have an excellent free resource for you:

Photography for Weavers…

2. Customer Service

When selling online, customer service begins when you list your item, ensuring you have great photos and descriptions so that the buyer can make a well informed decision. For some transactions, that is as far as the customer service needs to go.

But quite often you will need to have some form of contact with the buyer. On Etsy, this happens through direct messaging. It’s a great opportunity to answer buyer questions and to assure them of their purchase.

This is your time to shine as a seller. Your job is to make the sale as easy and positive for the buyer as you possibly can. A happy sale means a happy buyer and this is crucial to a successful business. Why?

Well, firstly, a happy customer will tell others about you. Never underestimate the value of word of mouth advertising (and it’s free for you as the seller!) Secondly, a happy customer will leave you a positive review which will tell other potential buyers that your business can be trusted. And thirdly, a happy buyer will likely become a repeat and loyal customer. Win, win, win!

One simple move that you can make towards providing great customer service on Etsy is to check your messages regularly and respond to them promptly. A 24 hour time frame is good, but if you can reply sooner than that, even better. Buyers love a fast response – remember, they are waiting to make a decision on whether to buy or not, so that is time sensitive.

When you do respond to messages, make sure your reply is friendly and polite. Check your grammar and spelling. If the buyer has a problem, offer a resolution. It’s not always easy to convey meaning within the confines of text, so read over any of your messages before sending to make sure they are coherent and professional.

3. Description

Your description section can be so much more than simply describing the item you are selling. I think of it as one of the little pieces of real estate available in my Etsy shop. I use it to let shoppers know more about the item they are interested in, but I also use it to let shoppers get to know me a little more by the tone I use. It’s also the perfect space to tell a story about the item – the way it was made, what it means to you, how it will enrich the life of the buyer.

Here is an example of one of my actual listings for a PDF download pattern in my shop. The listing text is in italics and my commentary is in bold.

Description

Please note – this is a PDF pattern, not a finished item. (Telling the buyer exactly what they’re purchasing).

This project is designed for those who are familiar with the basics of rigid heddle weaving.  (Is this skill level appropriate to the buyer?)

This wrap is inspired by and dedicated to Cheryl. Cheryl was a student of the Online Weaving School and a valued member of the private member’s group.

Sadly, Cheryl lost her battle with cancer in October 2021. 

Weaving brought great joy to her life during her illness and I know she would have loved this wrap. (Telling the story of how the pattern came about and why).

When you complete this project, you can choose from either a long version (pictured) for luxurious multiple wrapping, or a shorter, more scarf like version. (Giving the buyer choices or variations).

You will need:

Rigid heddle loom with a width 16 inches or wider

1x 10 dent heddle

A stick shuttle longer than the width of the project or a boat shuttle

A warping board or frame for hybrid warping (if you are weaving the longer version).

A reed and threading hook

Tapestry needle

A fringe twister is very handy

Full yarn and materials list is given when you purchase the pattern. (Telling the buyer what they need for the project, so there are no surprises).

The printable PDF file is 30 pages long and includes instructions, lots of colour photos and video tutorial links to ensure your success. (Instilling confidence in the buyer that they can complete the project).

This PDF is not just a pattern, it’s a lesson!

In the additional resource pages, you will learn all about colcolastic yarn and the hybrid warping method. 

Any questions? Simply message me and I’ll get back to you ASAP. (Ensuring support to the buyer).

What happens when you purchase a digital file? (Further information for a smooth transaction).

Following checkout you will receive an email from Etsy with a download link. If you don’t see the email in a timely matter, please check your spam/junk email folder.

If for any reason you are not able to access your file in this way, you can find it by logging into your Etsy account, clicking on your profile picture in the top right hand corner of your page, then choosing “Purchases and Reviews” from the drop down menu.

If you need further help, please feel free to message me 😊

I finish this listing my linking to my other available scarf patterns in my shop, using that available real estate to advertise my other products that could be of interest to the buyer.

If you are interested in selling your handmade pieces, I have a number of resources that you will find most helpful:

3 ways to start selling online for free…

Do you want to start selling your weaving?..

10 things I’ve learned about Etsy in 10 years…

I hope you found this post interesting and useful, feel free to leave a comment or ask any questions down below!

Until next time…

Happy Weaving!
*This post may contain affiliate links. For further information, please see my disclosure policy.

Filed Under: Business, Etsy, Selling, Weaving Tagged With: Etsy, handmade business, selling, selling on etsy

  • « Go to Previous Page
  • Page 1
  • Interim pages omitted …
  • Page 6
  • Page 7
  • Page 8
  • Page 9
  • Page 10
  • Interim pages omitted …
  • Page 25
  • Go to Next Page »

Primary Sidebar

Hand crafted boat shuttles

Categories

Archives

Meta

  • Log in
  • Entries feed
  • Comments feed
  • WordPress.org

Copyright © 2025 Kelly Casanova Weaving Lessons on the Foodie Pro Theme