When you start a brand new hobby, it is easy to feel that you need to buy “all the tools” before you can begin and weaving is certainly no different.
But, once you have your loom (and the tools that come with the loom) there is not actually too much more you need to make a start.
And really, why overwhelm yourself by having to learn every new gadget and gizmo available when you can minimise your tools, stay within your budget and focus on using your loom?
*This post contains affiliate links. For more information, please see my disclosure policy.
Today I want to share with you the affordable tools I own and use constantly in my weaving studio.
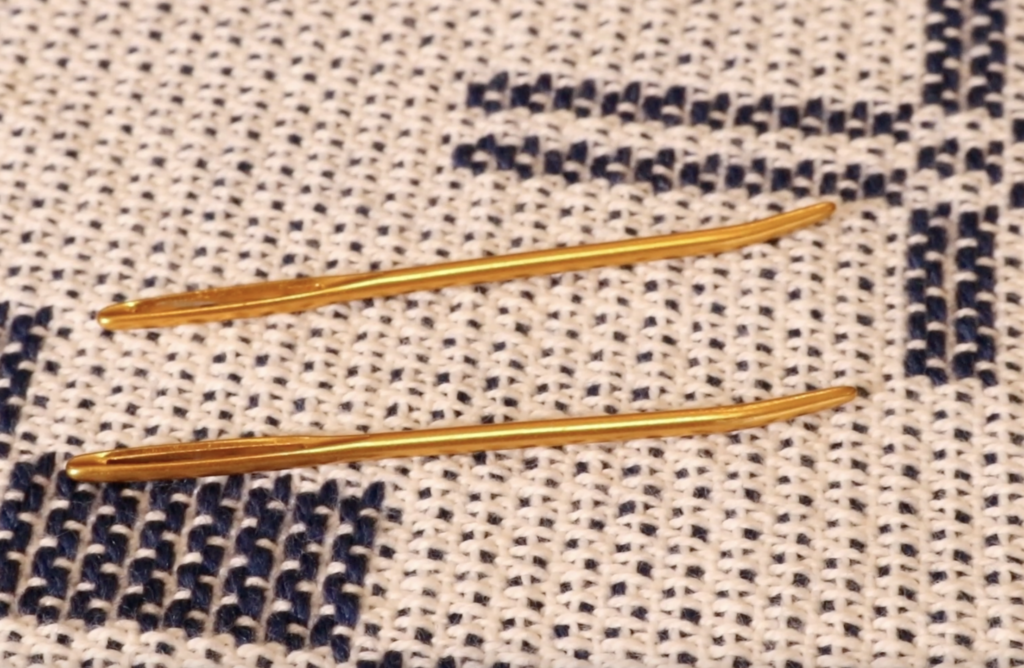
I have talked about these needles frequently (ok, perhaps a little too often!) but I can’t really sing their praises highly enough.
If you do hemstitching with any amount of regularity, you need these needles in your life. They are smooth but not slippery to hold, they have a large eye for easy threading, they slide through hand woven cloth like butter, they are gold (so they are hard to lose!) and the bent tip makes the angling of the needle for hemstitching just right.
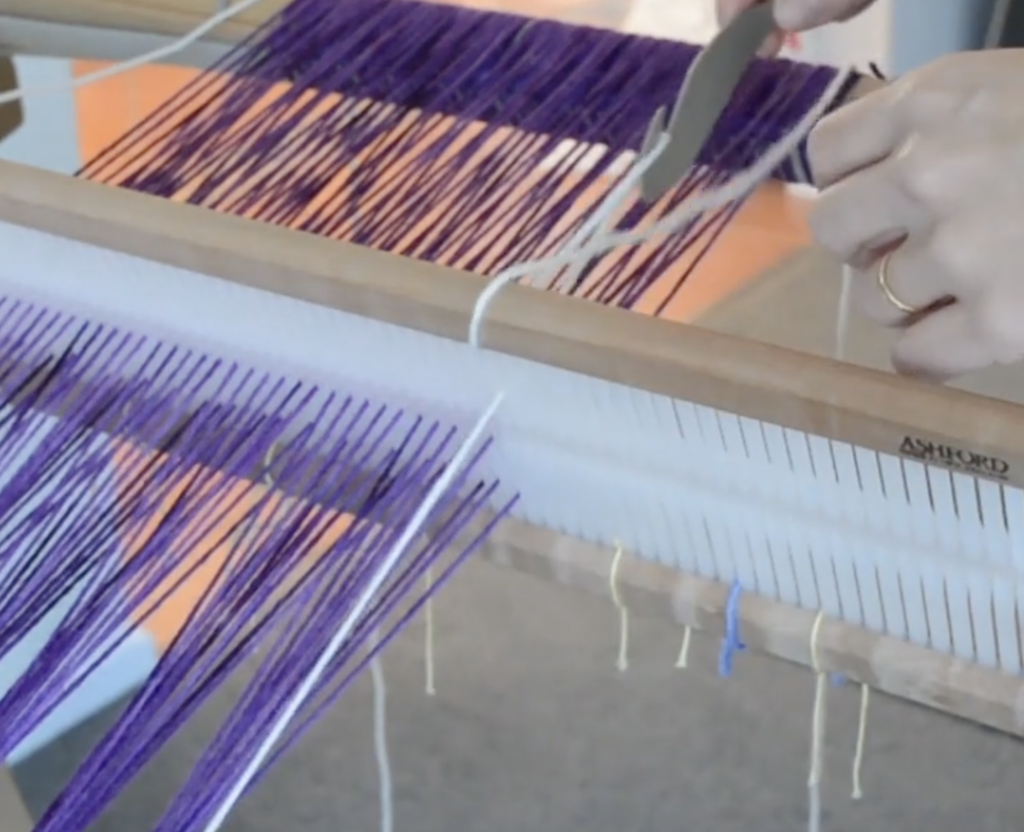
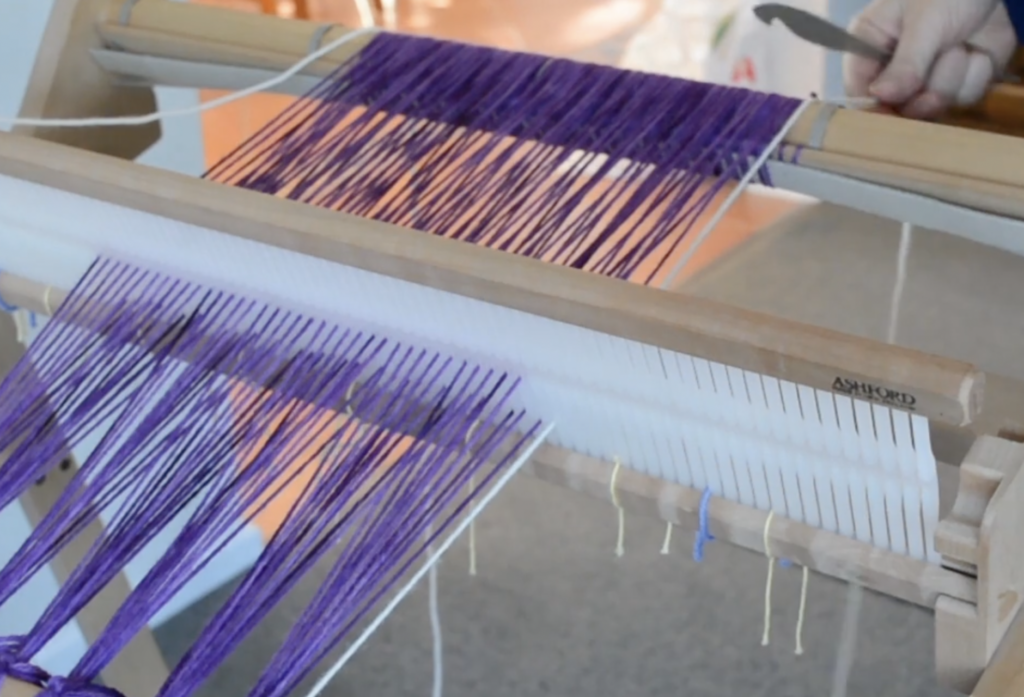
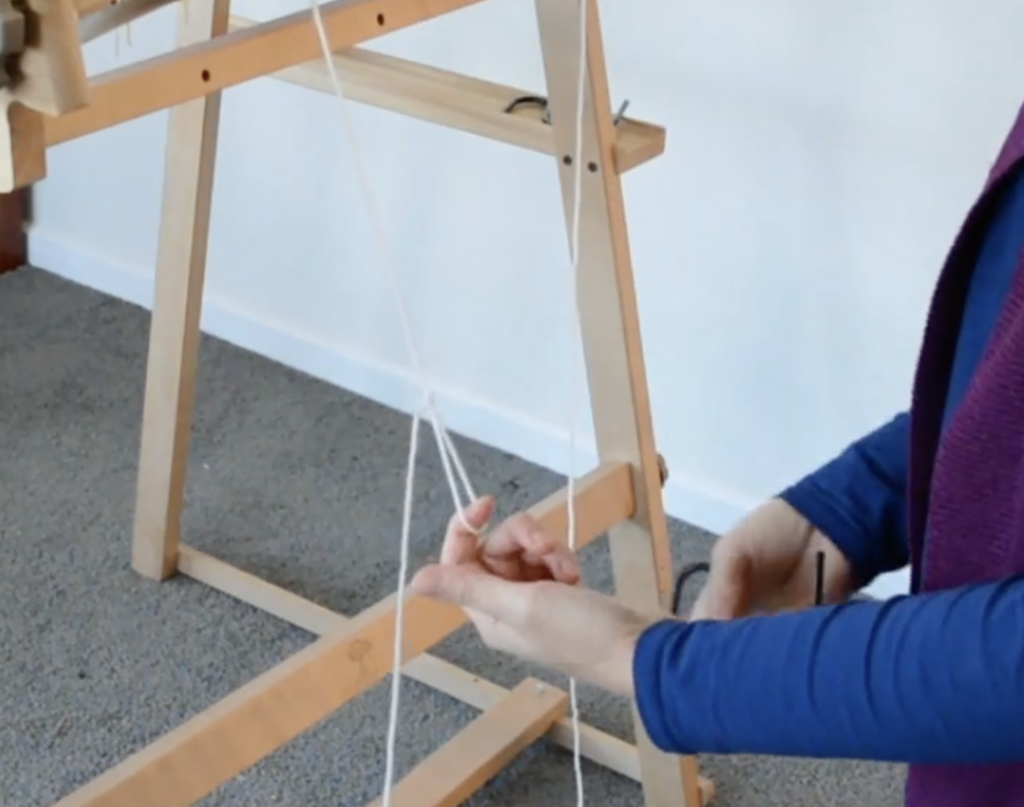
2. Ashford Double Ended Threading Hook
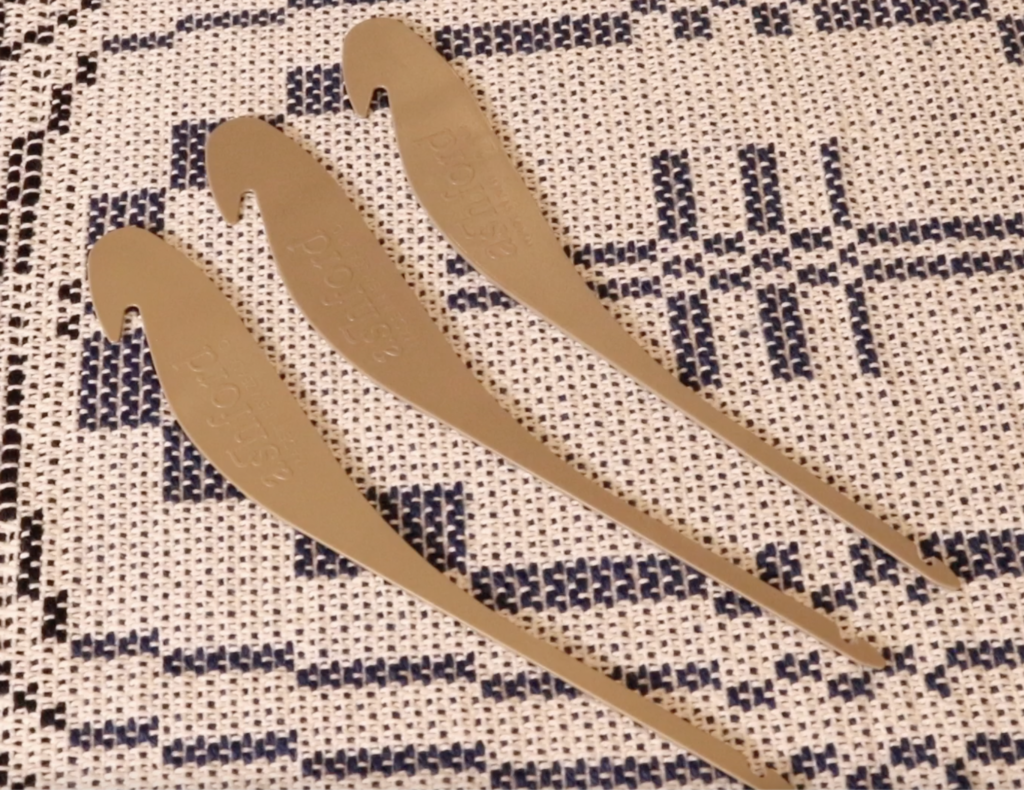
I was so happy when I first discovered these double purpose hooks. I abandoned my former metal threading hook and separate reed hook very quickly and have not used them since!
These double ended hooks are made of flat, durable, flexible plastic, which makes them perfect for manoeuvring through holes and slots on your rigid heddle loom. I also use them for floor loom and table loom weaving, the hole threading end is just right for threading string heddles.
Rather than having to use two different tools, you simple switch the end of the hook with a quick hand swivel to swap between threading holes and slots or string heddles and reed dents.
Their flat design makes them easy to store (I even use them as bookmarks in a pinch!) I suggest that you have several in order to have spares for the times you, ahem… can’t quite locate one when you need it! 🤭
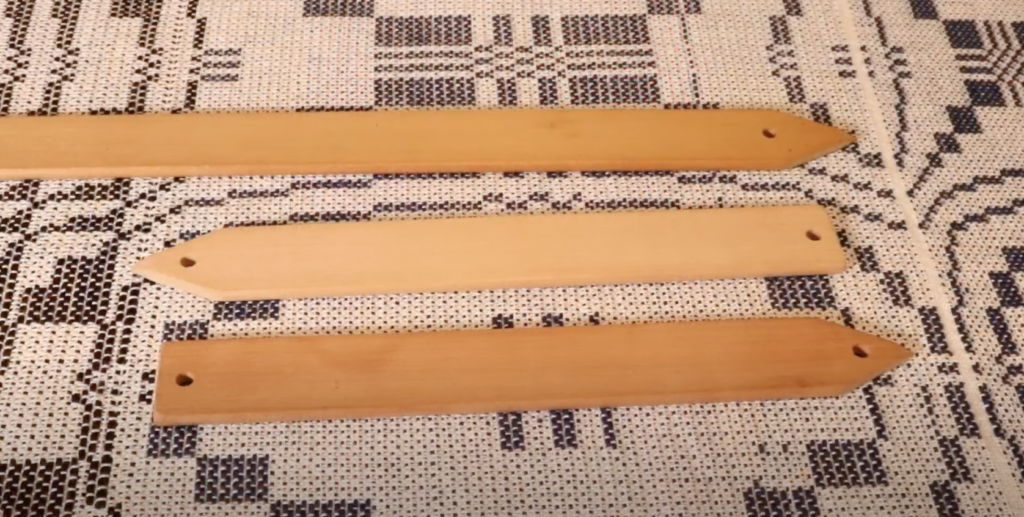
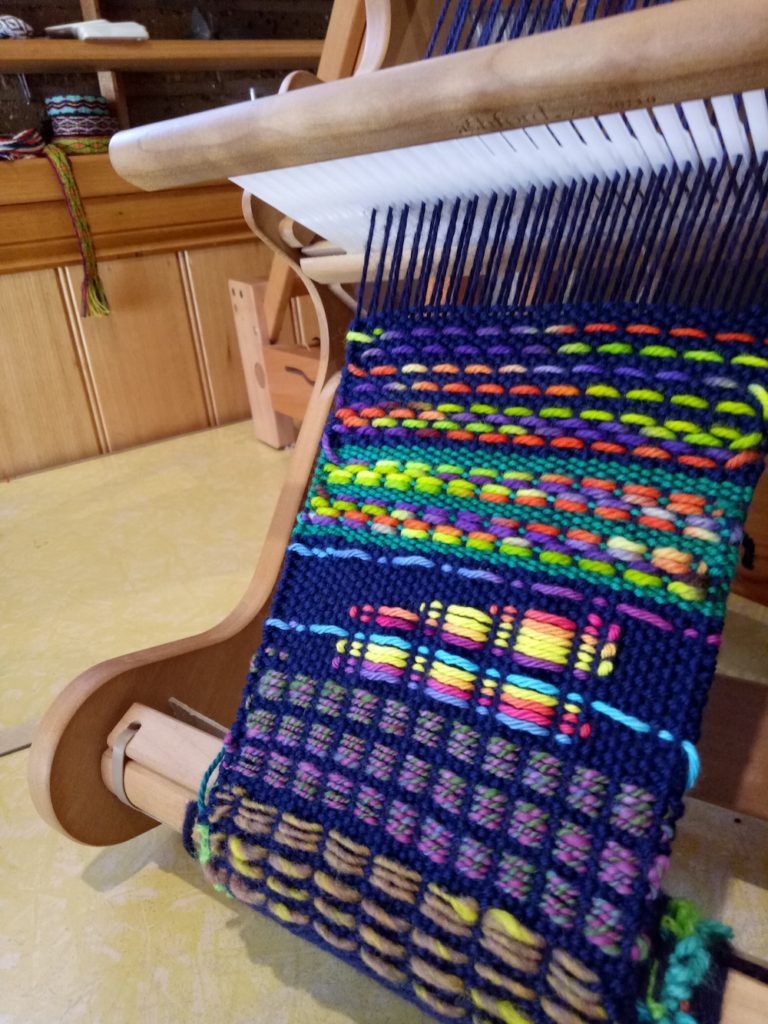
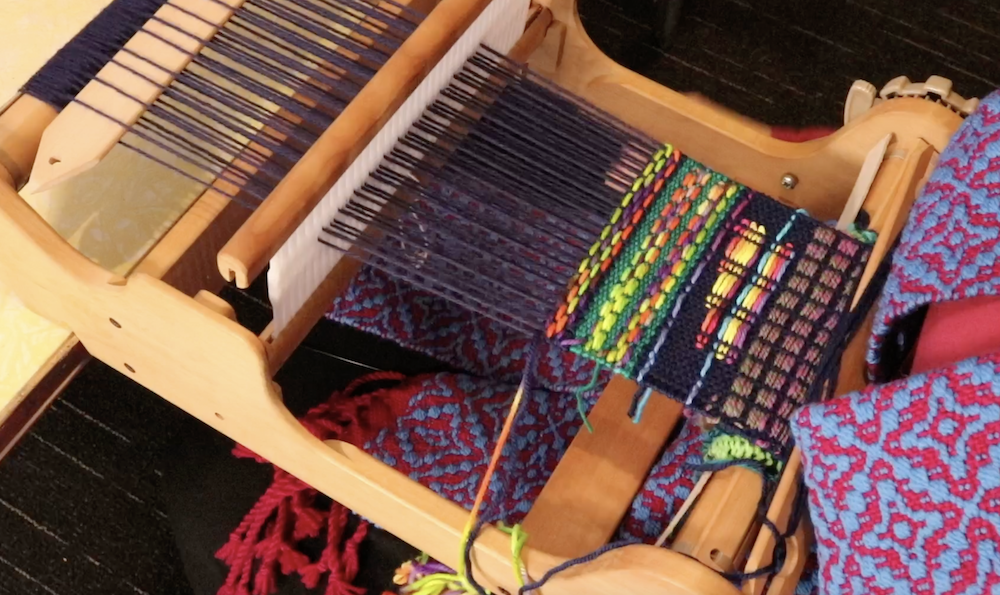
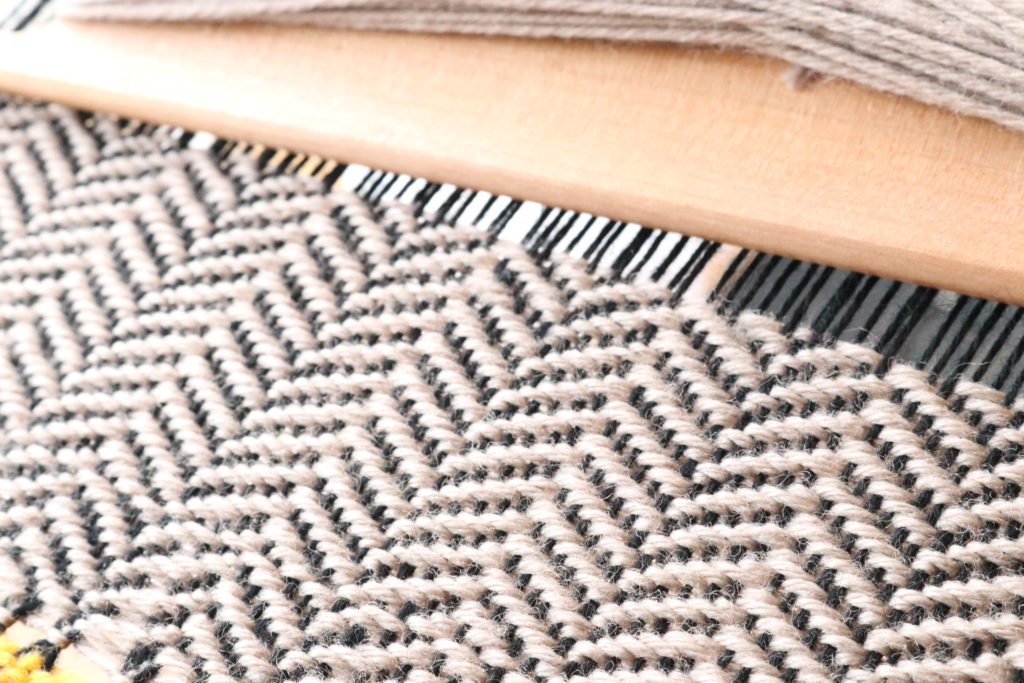
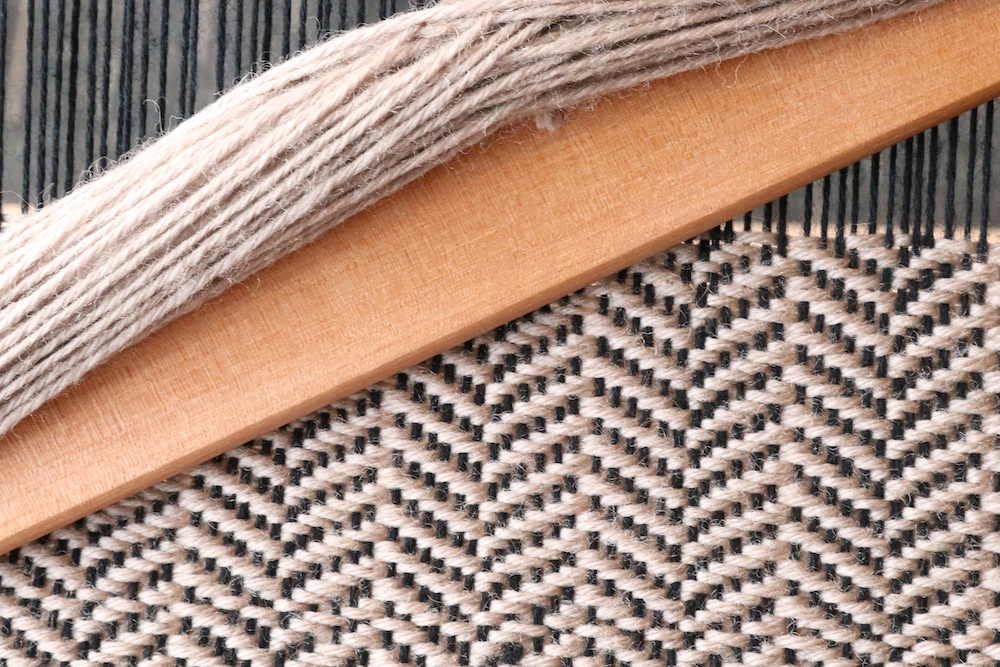
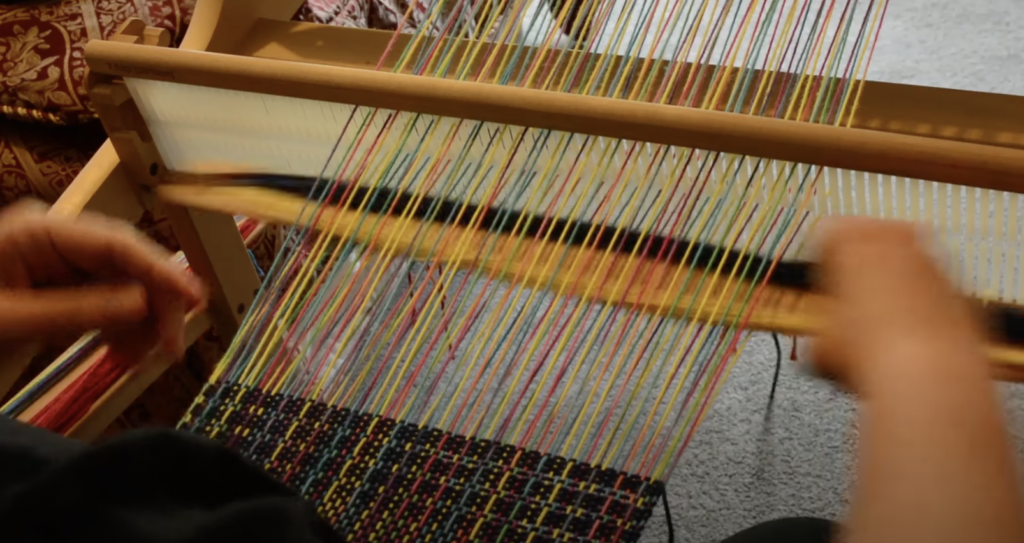
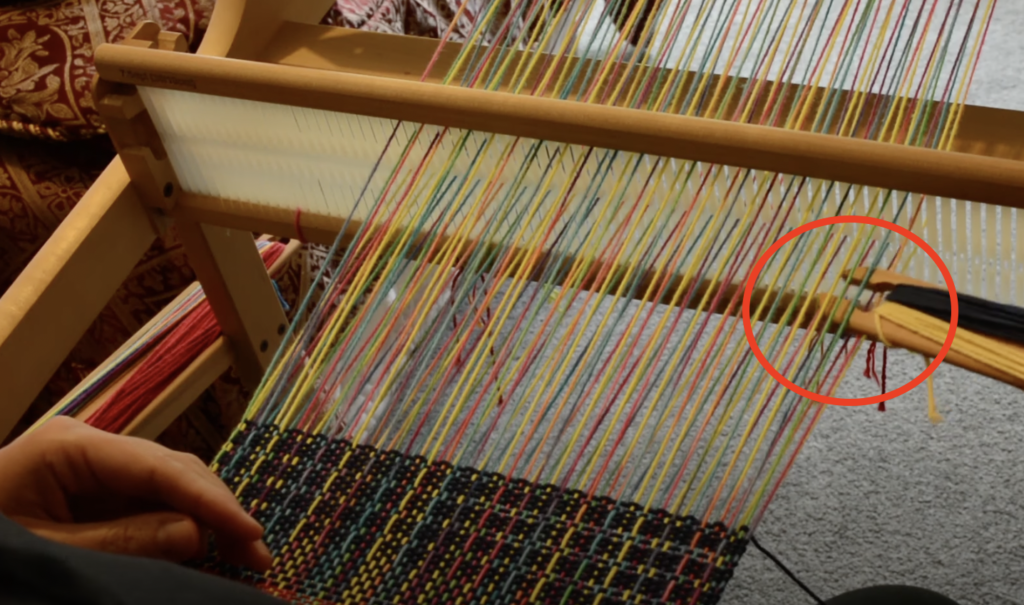
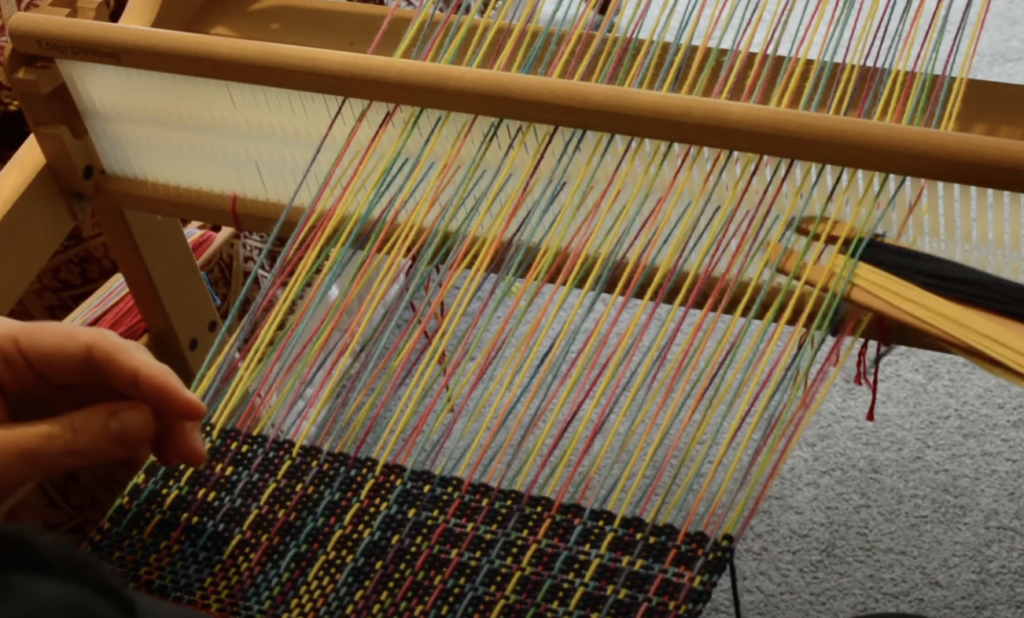
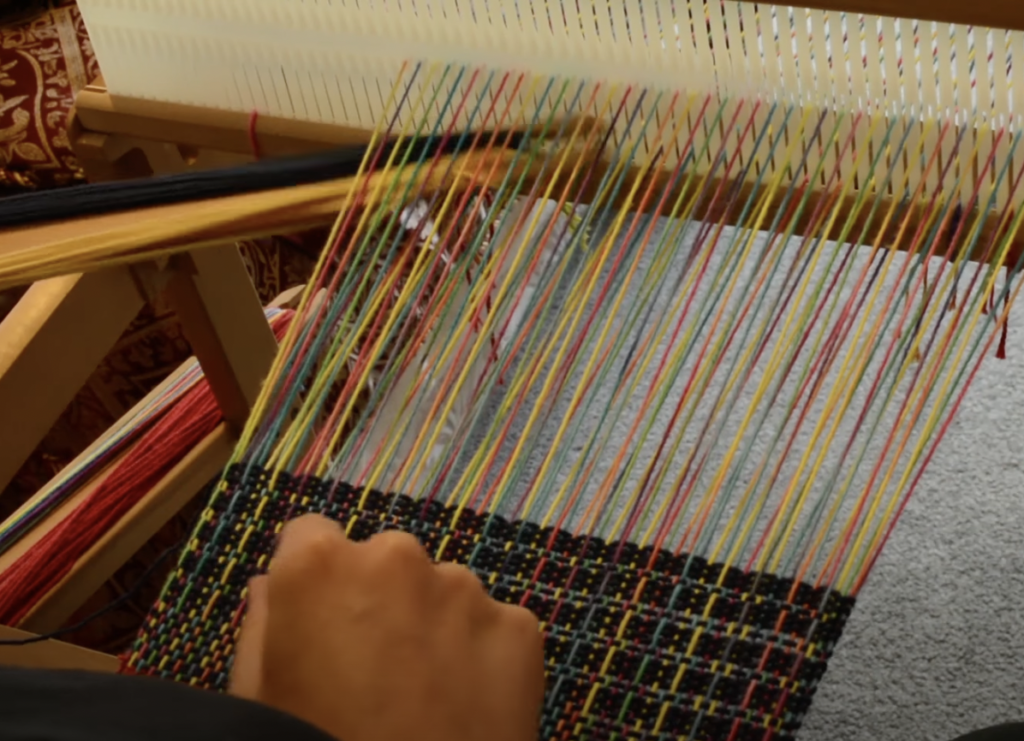
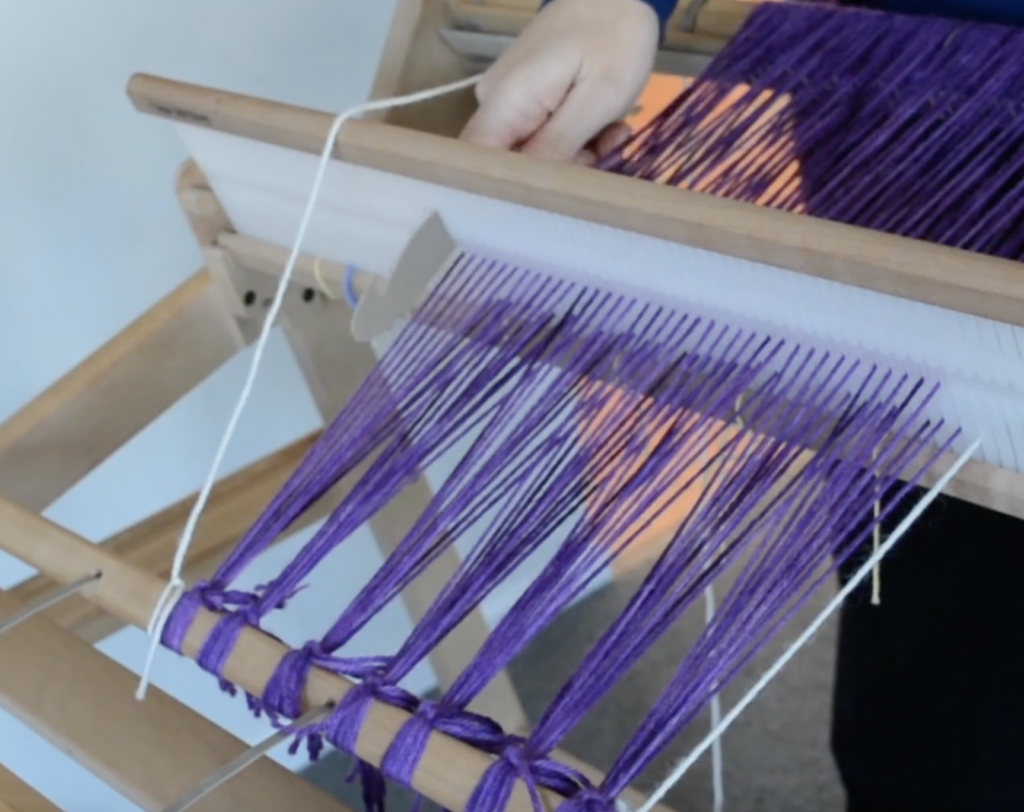
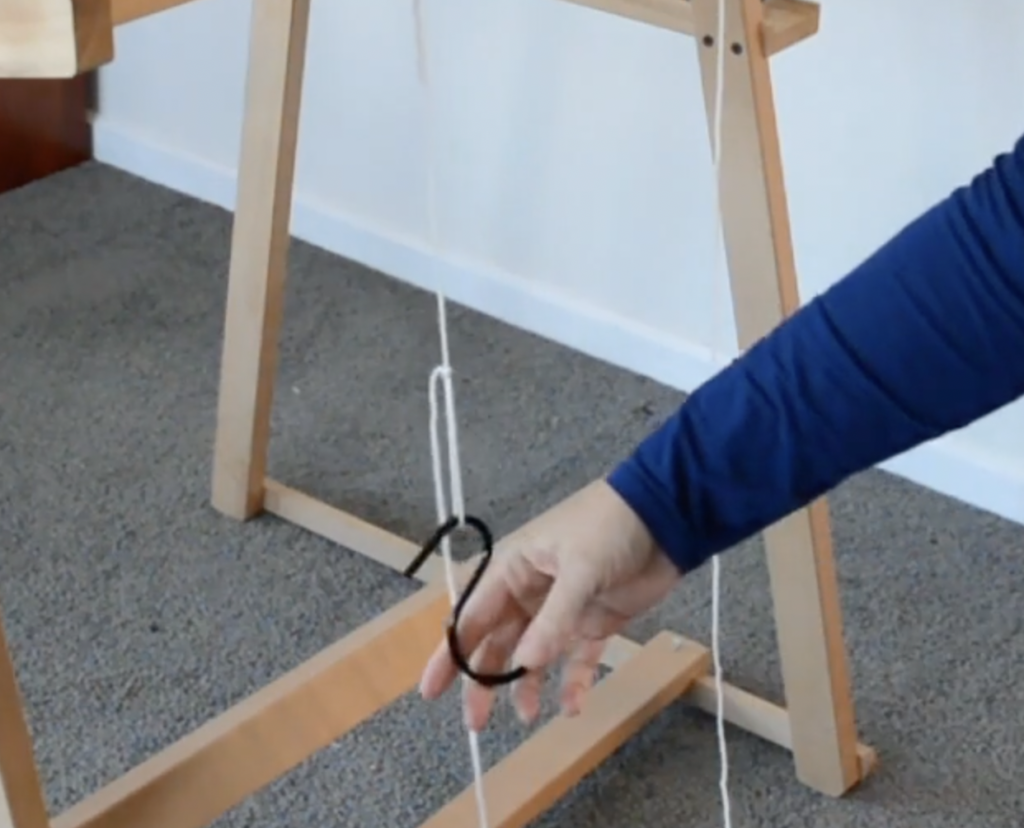
Pick up sticks are one of the most economical ways to drastically increase the possibilities of weaving patterns on your rigid heddle loom.
A multi shaft loom can be quite a financial investment, but with your rigid heddle loom and a couple of pick up sticks, maybe a heddle rod or two, you can increase your shafts from two to three, four or more!
Using pick up sticks can be completely planned or quite random, depending on what you want to do. I think the really cool part for newer weavers is that you don’t really need to know what you’re doing to get some awesome results.
They are low cost to purchase new, or if you or someone you know are crafty with wood, you can make your own.
4. Boat Shuttle

This is a bit of a luxury item, but something that you may want to consider purchasing eventually. You can certainly just use your stick shuttles with no problems, but if you’re going to be weaving with finer yarns very often, a boat shuttle is really useful for quick weft winding and smooth weaving.
One thing to be aware of is the price difference in boat shuttles, depending on the company of manufacture, size and function, the wood used and whether it’s hand or machine crafted. My Ashford boat shuttles have served me very well for many years and were very affordable.
One day I may splash out on a special shuttle, but I’m very happy with these for now.
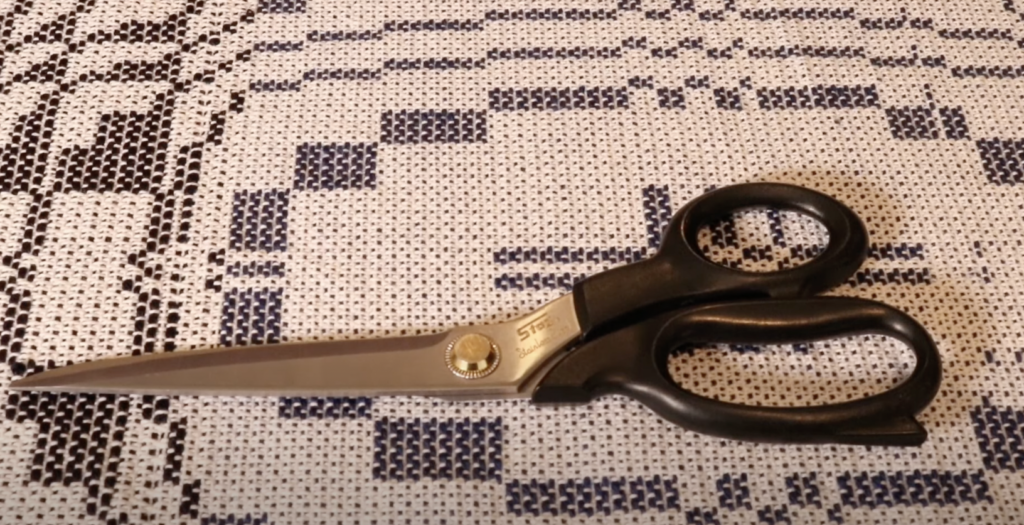
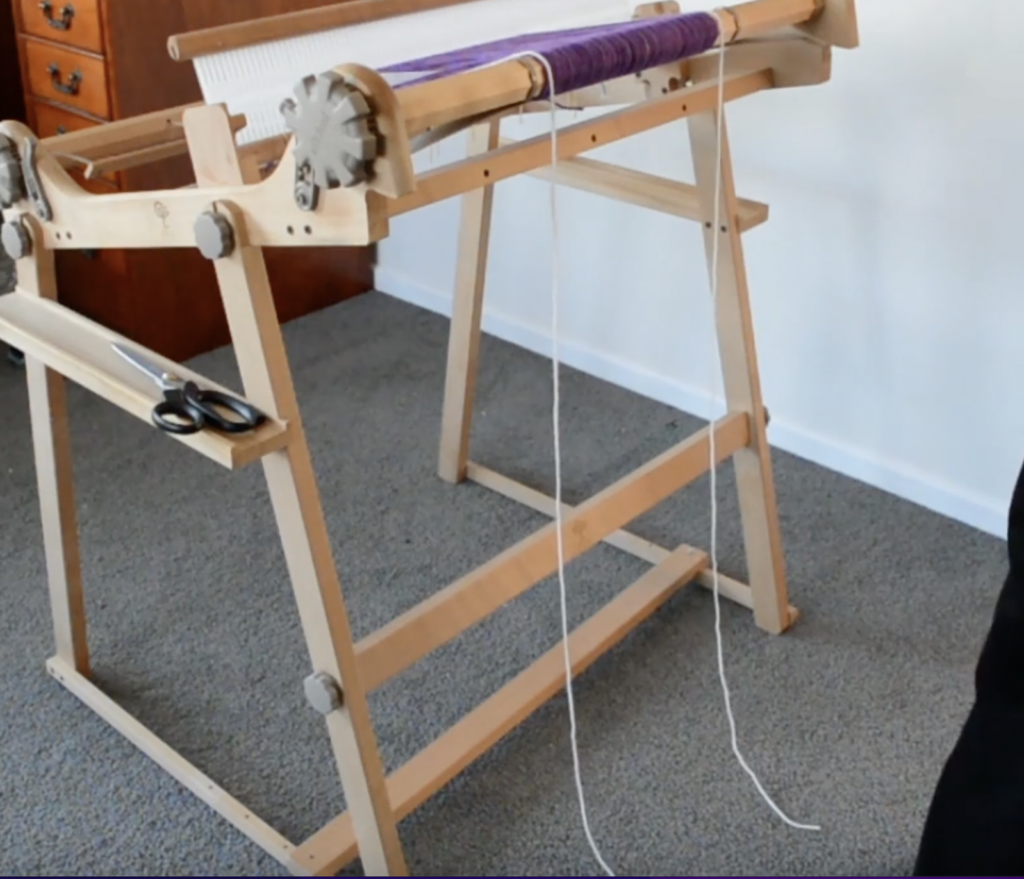
I love my dressmaker’s shears and have been using them for around 15 years. In that time, I’ve only had them sharpened a few times, so they have been a great deal for me.
My shears are the Stag brand, which unfortunately does not seem readily available now.
What I recommend is to not buy the cheapest, nor the dearest pair of shears, but go for the middle ground. Something similar to these looks good.
So, why dressmakers shears as opposed to regular or smaller scissors? Adaptability!
I can use my shears to snip yarn at the loom, make my warp, cut across my warp to take it off the loom AND cut through my handwoven fabric when I want to do that for a project. All of these things can be done with the one pair of shears, making them a very economical tool.
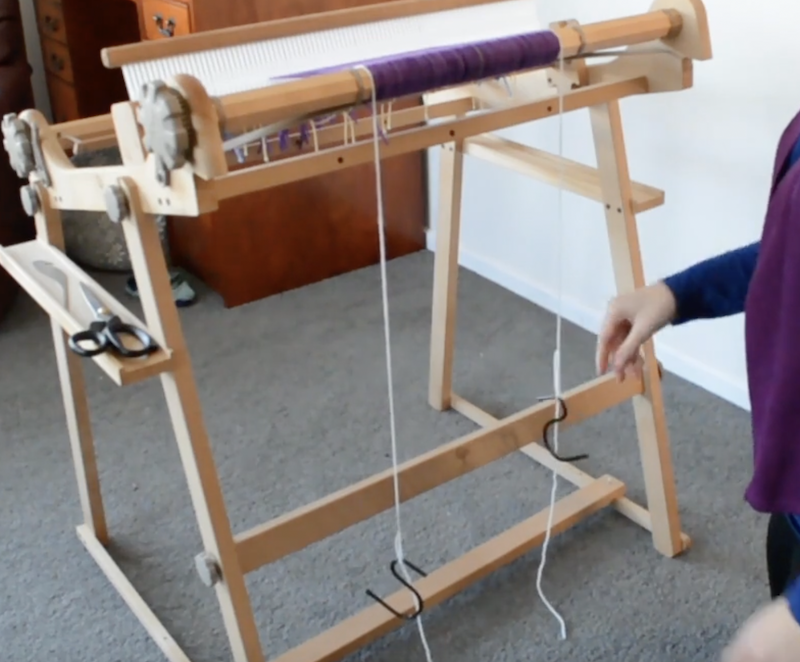
Well friends, although I do use other weaving tools, these 5 tools are the ones that are on regular standby and that I use almost daily in my weaving studio.
I hope this has been an informative and interesting post for you! If you would like to see this in video format you can do that right here:
Until next time…
Happy Weaving!