• Skip to main content
  • Skip to primary sidebar

Kelly Casanova Weaving Lessons

  • Hi! I’m Kelly!
    • Affiliates Disclosure
  • Online Weaving School Class Index
    • Common account issues
    • Common technical issues
    • What do I get with a membership?
  • New to rigid heddle weaving? Start here!
    • Never heard of the rigid heddle loom?
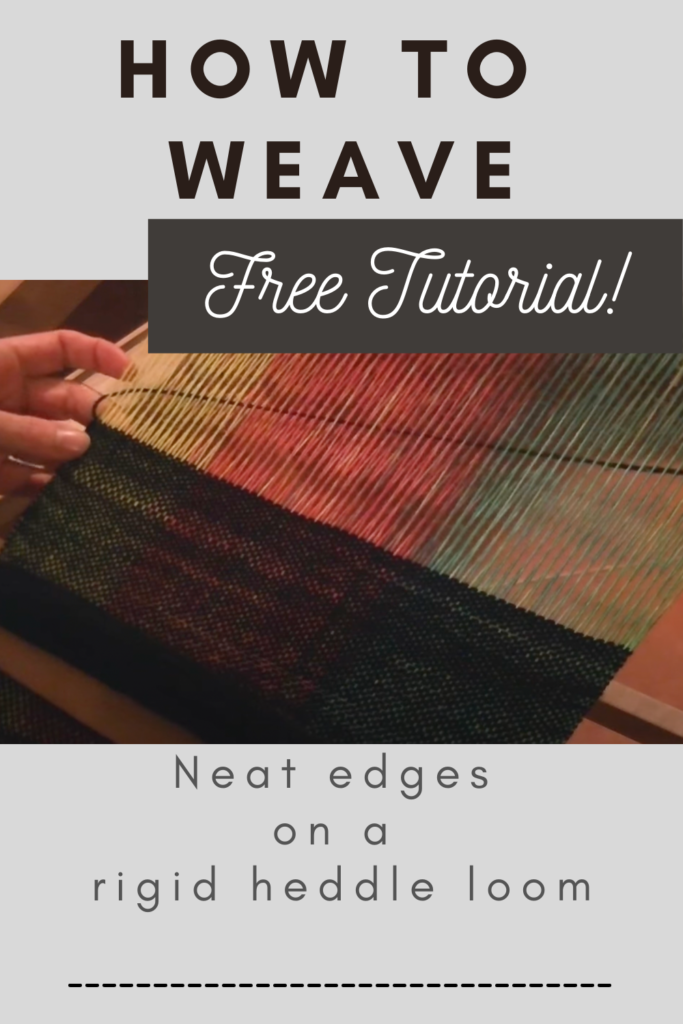
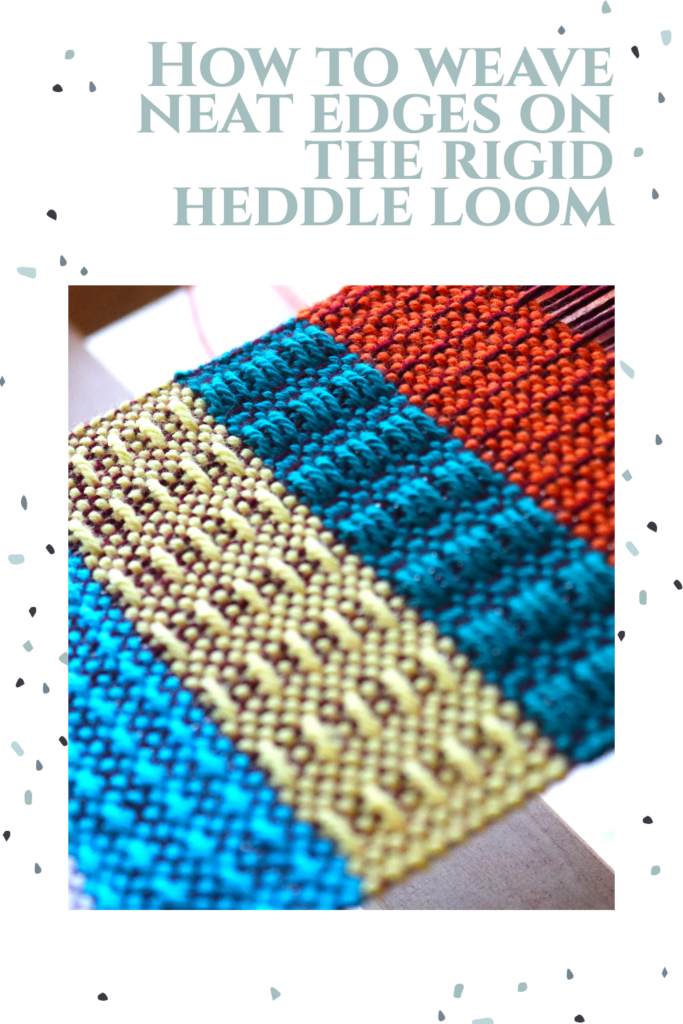
    • How to weave neat edges on the rigid heddle loom
    • Rigid heddle weaving
    • Rigid Heddle Weaving Patterns
  • Patterns
  • Subscribe

Rigid heddle weaving

Crazyshot Book Review and Giveaway

by Kelly 408 Comments

Myra Wood is a well known fibre artist with an impressive array of artistic skills and talents. In fact, I’m quite amazed by all her achievements in teaching, writing books and creating. She is a huge inspiration!

*This post contains affiliate links. For more information, please see my disclosure policy.

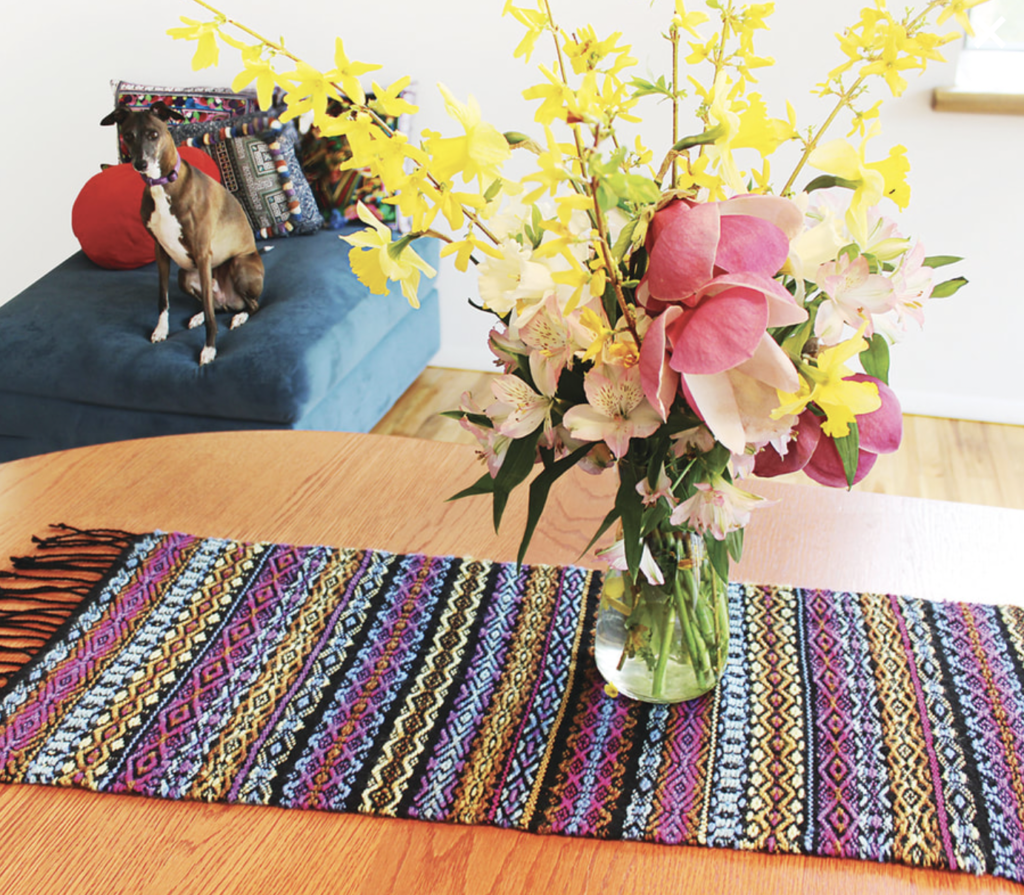
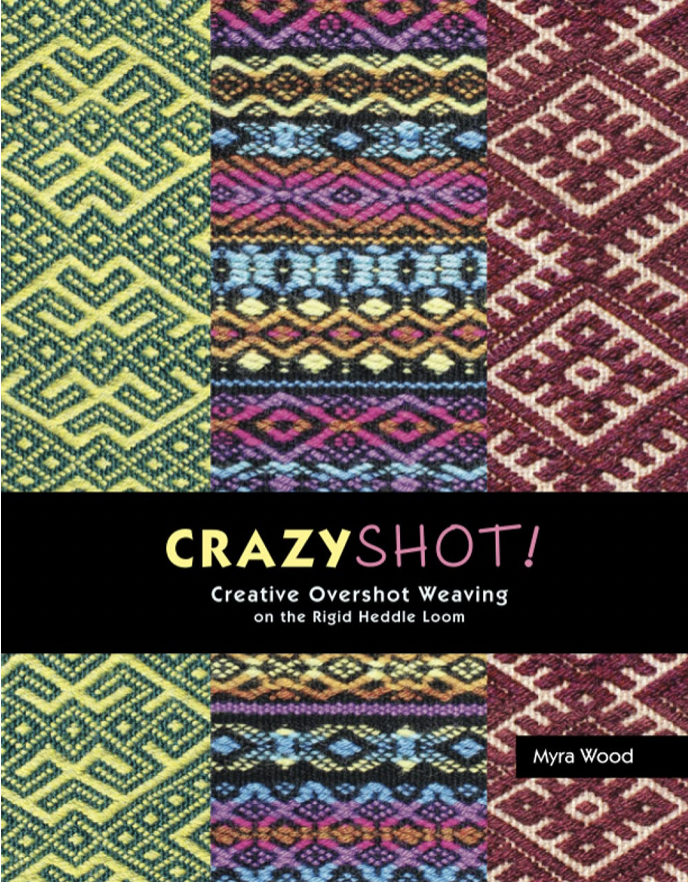
Myra has just released a wonderful new weaving book that I am so excited to tell you about – “Crazyshot! Creative Overshot Weaving on the Rigid Heddle Loom”. “Crazyshot” is creative overshot weaving for the rigid heddle with bold patterns and colours.

The book provides beautiful colour photo, step by step instructions and explanations. The patterns look extremely complex and yet are achieved with just one heddle and one pick up stick! There are 14 stunning projects included.

You may be thinking “this looks way too advanced for me!”, but that is the beauty of it. All you need is the basics, plus a good dose of patience and an adventurous attitude.

Let’s have a chat with Myra and find out more about her and how the new book came about.

Tell us a little about your background in fibre arts.

“I was a pretty crafty kid. My mom taught me how to sew and crochet and we made tons of Barbie doll and kid’s clothes. I continued crafting through adulthood, adding new crafts every couple of years- more sewing, quilting, embroidery, tapestry and bead weaving, tatting, you name it, always with an emphasis on creative expression. In 2003 I started teaching knitting classes at a local yarn store and within a couple years I began teaching knitting and crochet on the US national circuit for XRX/Stitches, Vogue Knitting, guilds and special events. Along the way, I taught 5 classes for Craftsy and wrote 3 books and published lots of patterns. Up until Covid, I was traveling around the US almost every month. ( I don’t miss the airports but I do miss seeing everybody in person).“

When and how did you first become interested in weaving?

“In 2012, I saw my first rigid heddle loom at a trade show and had to have one. I dove right into the deep end buying a 20” with a stand while I was there and all the rigid heddle books I could find. Needless to say, my yarn stash was already a bit ridiculous so when I found out I could use the same yarns I was ready to go. My loom arrived a couple weeks later and it’s been a love affair ever since. I now own 4 rigid heddle looms, all of which are usually warped with some experiment or another.“

Crazyshot is not the first book you’ve published, but it is your first weaving book. What was the inspiration behind the book?

“In all honesty, your Branoe class blew me away. I kept thinking about Fair Isle and Mosaic knitting and other charted needlework while I was learning. I looked for more info on Branoe and found very little but I did discover a rich history of supplemental weft weaving from all different cultures throughout time. So I started experimenting and this book is the result of combining lots of different ideas from various charted needlework. Many times my books have come out of wanting to see the book I wish was already out there.“

Something that students often ask me about is how to choose colours for a project. I noticed that in “Crazyshot” your project colours are strikingly beautiful and harmonious. Do you have any tips for those who are nervous combining and choosing colours?

“Absolutely! I love color and I’m not afraid to use it but lots of times I find myself in color ruts. Give me some blue, green, aqua and purple yarn and I’m off to the races. When I want to step outside my comfort zone, I like to take a skein of a long color repeat yarn like Noro Kureyon and match up all the solid colors I have in my stash to the colors in the yarn. The dyers are very experienced with color and often put together colors I’d never think of combining. I’ve also used variegated yarns to start with and even printed fabrics I love. Color is the most essential element for me so before I start any project, once my colors are chosen, I stick to that palette. I always say you have to love the colors together before you start or you won’t like the end result. I always start with color.“

With all of the creative pursuits you are involved with, how do you organise your time effectively in order to achieve such variety?

“I tend to get fairly obsessive about one craft at a time. I’m passionate about learning as much as possible and experimenting with all the different ways I can express myself with it.

Eventually something else strikes my fancy and I abandon the previous one for the latest obsession. Many times I’ve rediscovered my love for a particular craft years after I thought I was done with it. I feel like I have a great toolbox to work with and I love combining ideas from different crafts.

I’m so lucky to have a dedicated studio and spend my days in it from morning till night. (I told you I was obsessive). As I’m aging, I find I can’t spend the hours I used to working with my hands before they start aching so I try and take breaks and do other things like clean the house and exercise. I did say try. I spend more time reflecting and relaxing now but my wheels are always turning with new ideas so I’m actually planning another book already!“

********************************************************************************************************************

And now for some more exciting news. Myra has one signed print copy of “Crazyshot” to gift to one of you lucky readers!

To enter, leave a comment below telling me what appeals to you most about this technique.

  • THIS GIVEAWAY IS NOW CLOSED. CONGRATULATIONS TO CATHY MURPHY! THANK YOU TO ALL WHO ENTERED.

You can purchase “Crazyshot” in either digital or print version from Amazon or from Myra’s website.

If you would like a video course on the Branoe technique, check out my Exploring Branoe course at the Online Weaving School.

I also have some free videos on Youtube to help get you started:

Until next time…

Happy Weaving!

Filed Under: Books, Giveaways, Inspiration, Interviews, Overshot, Rigid heddle weaving, Rigid Heddle Weaving Patterns, Weaving Tagged With: book reviews, crazyshot, giveaway, overshot, weaving books

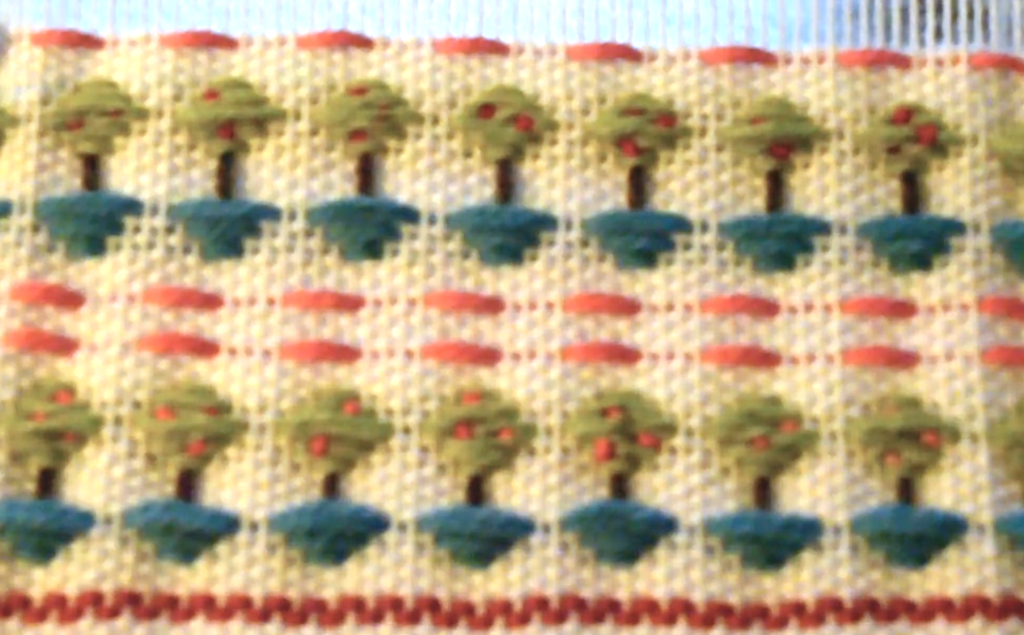
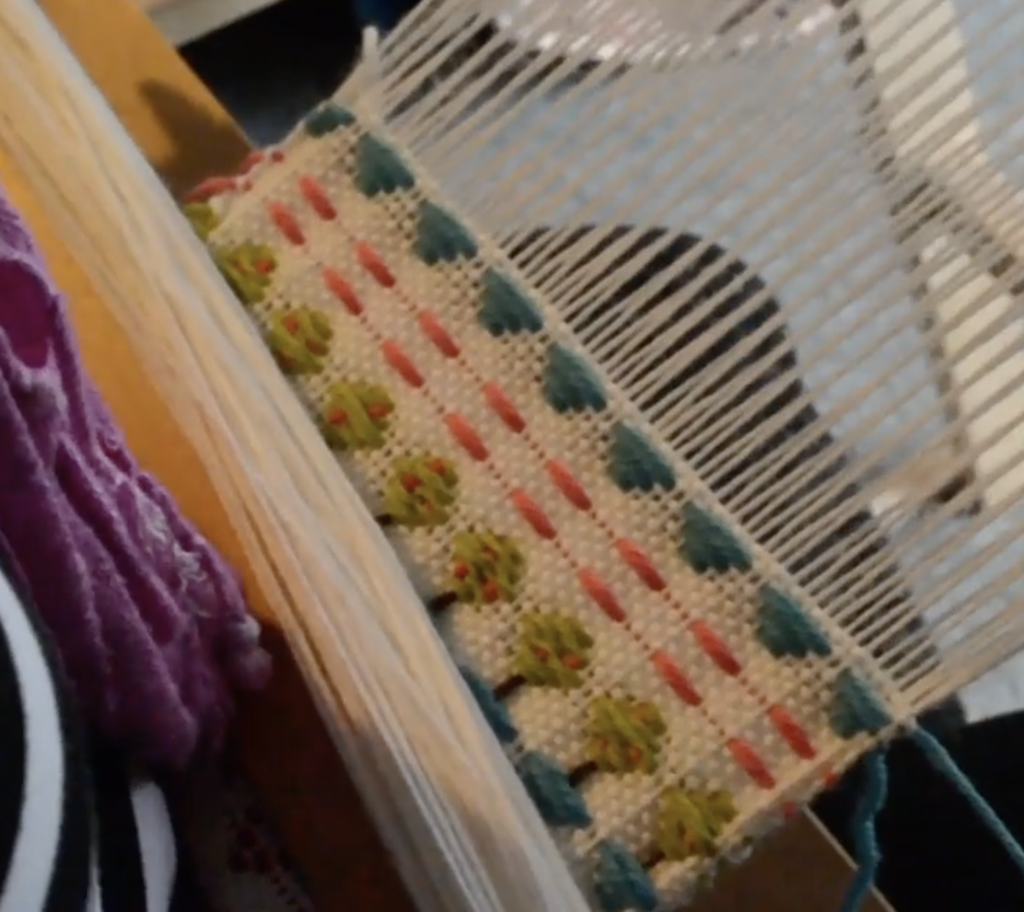
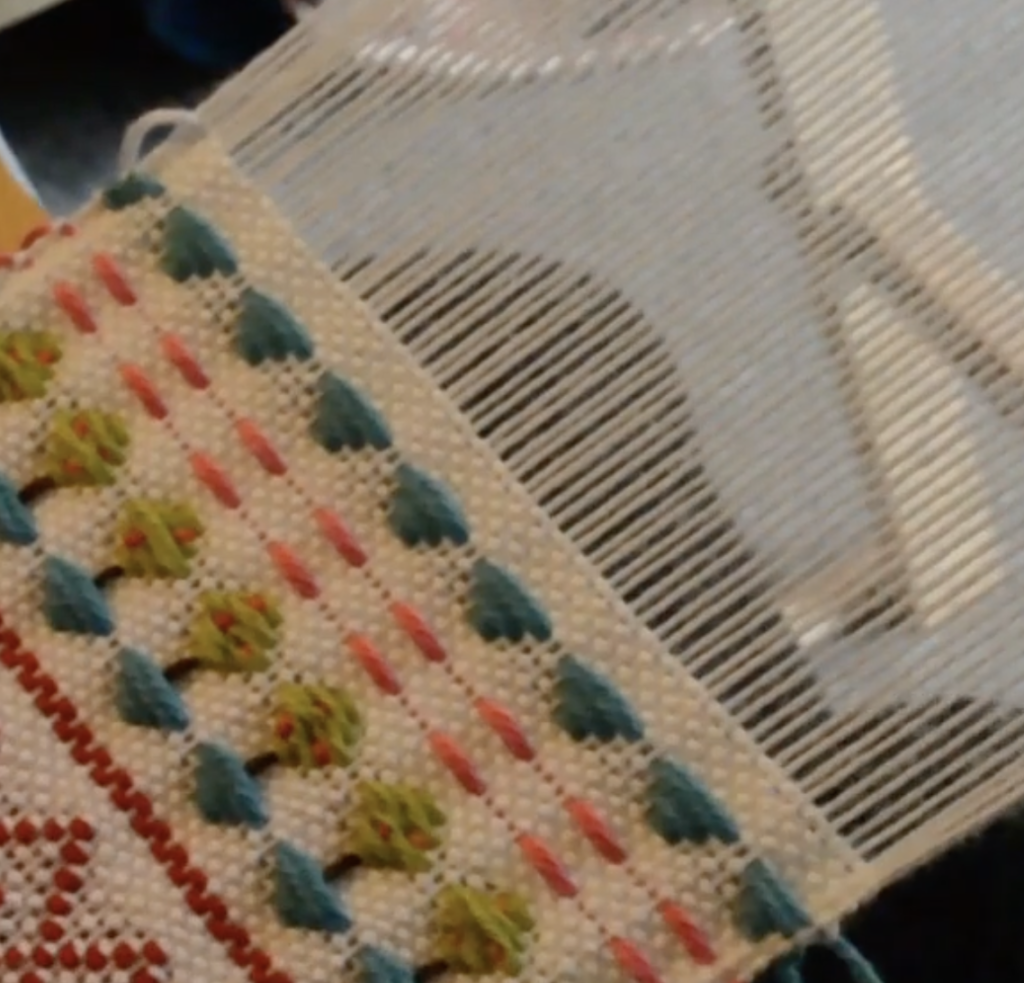
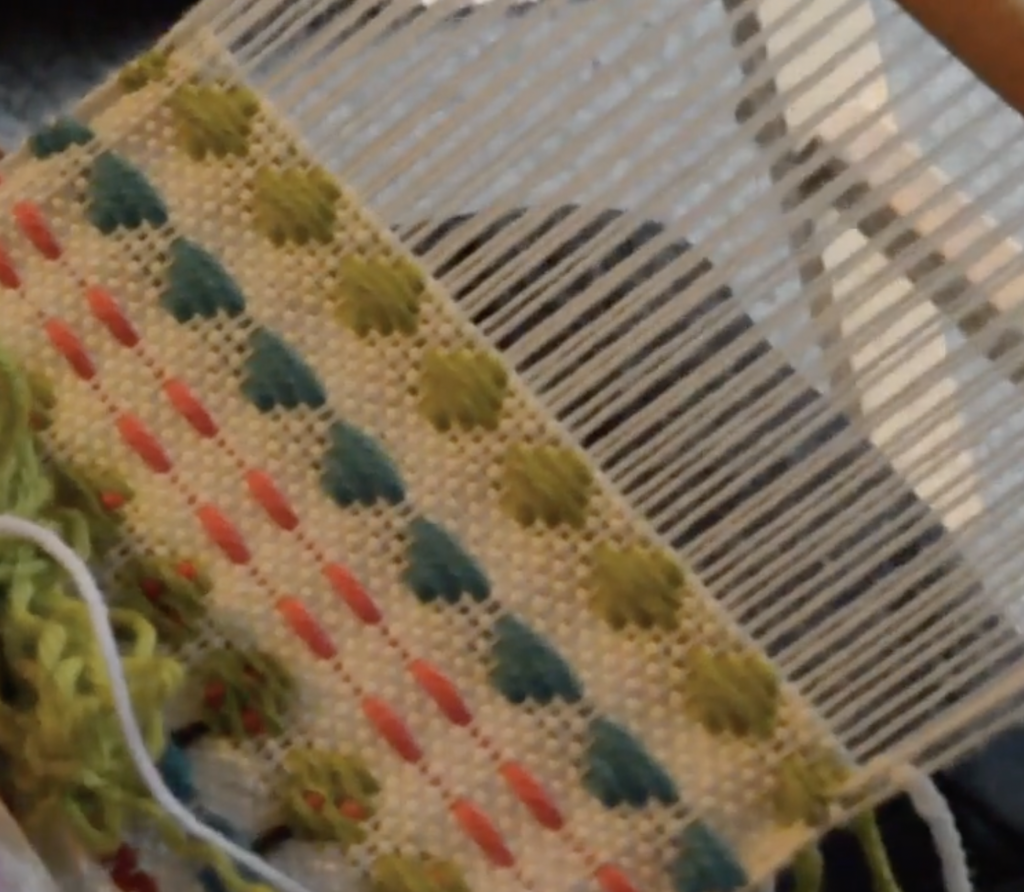
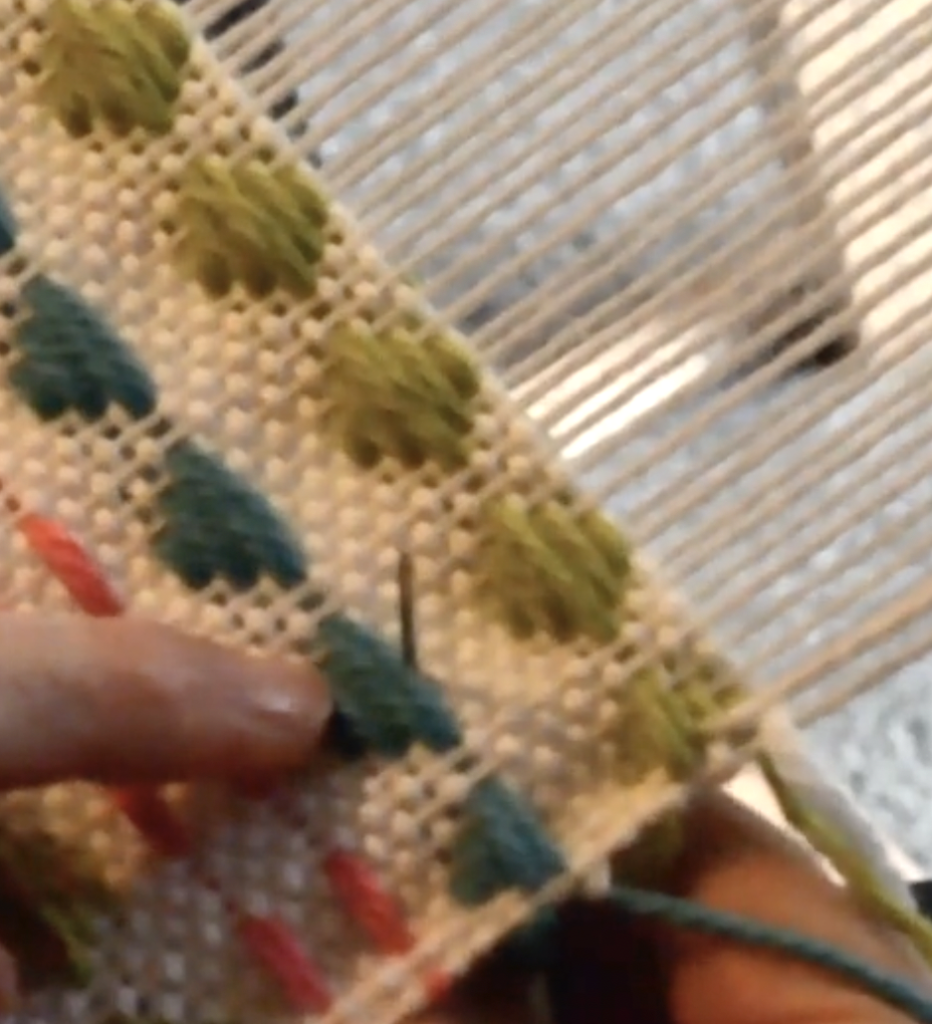
How to weave little trees on a rigid heddle loom

by Kelly 7 Comments

This is a project I’ve never shared here before but it’s so darn cute, I just know you will love it!

You may have seen some of my overshot style, “branoe” video tutorials on my Youtube channel before. The Snowmen and Reindeer are the most popular.

Well, today’s tutorial follows the exact same technique. You can use this technique on just about any loom, but this tutorial focuses on the rigid heddle loom. If you want to read more about this overshot technique, I’ve written the details for how it works in this post.

*This post contains affiliate links. For further information, please see my disclosure policy.

Here is what you will need to weave your own little trees in pots:

A rigid heddle loom (I used my 24″ but a Sampleit size is fine if you just want a small sample)

7.5 dent reed

A pick up stick wider than the width of your woven piece

Yarns-

There are no set yarns for this project, but I will share what worked well for me:

For the warp I used a light worsted/dk weight (Australian 8 ply) wool in white.

For the weft I used the same wool in a variety of colours. You will need one colour for your pots, brown for the trunk, green for the leaves, and then orange, red or yellow for the fruit (depending on whether you want orange, apple or lemon trees!)

I’m not including specific calculations or measurements for the piece, as this is adjustable and depends on what you’re weaving, but to give you a guide, my sampler was around 8″ width on the loom. It can be a good idea to wind on a 35 – 40″ warp and experiment with my other branoe/overshot tutorials.

You simply warp up and tie on as you would for plain weave. Then you’re ready to pick up.

You can find the pick up sequence PDF here:

Little-Trees-pick-up-sequenceDownload

Unlike other pick up, we leave the heddle in NEUTRAL and pick up the warp threads IN FRONT of the heddle.

You can begin by weaving some plain weave to support your pick up design and give contrast. There are nice little borders you can work as well, if you want to. The border that I have here in pink is just 4 up, 4 down but there are many variations you could do.

When you’re ready to begin weaving your pattern sequence, make sure you follow the pick up outlined in the PDF provided, starting with Row 1. Heddle in neutral, pick up in front of the heddle. Once all the threads are picked up across the warp, slide your pick up stick towards the heddle and place it on edge.

Pick up stick on edge

Your picked up threads will be propped up, changing the interlacement from plain weave. You can then bring in your pattern weft (whichever colour you’re using for the pots as designs are worked from the bottom up). I’m using a blue wool for my pots.

When your weft reaches the other side, take it around the edge warp thread and back into the shed, doubling your weft.

Take your pick up stick out of position and beat the doubled weft into place.

Follow this up with a plain weave pick in your background weft. Choose the plain weave shed (either up or down) that you were up to before you wove your first pattern pick. For me, that was the up position.

Each plain weave pick will be a single, not double weft.

Continue following the pick up and weaving sequence for the pots.

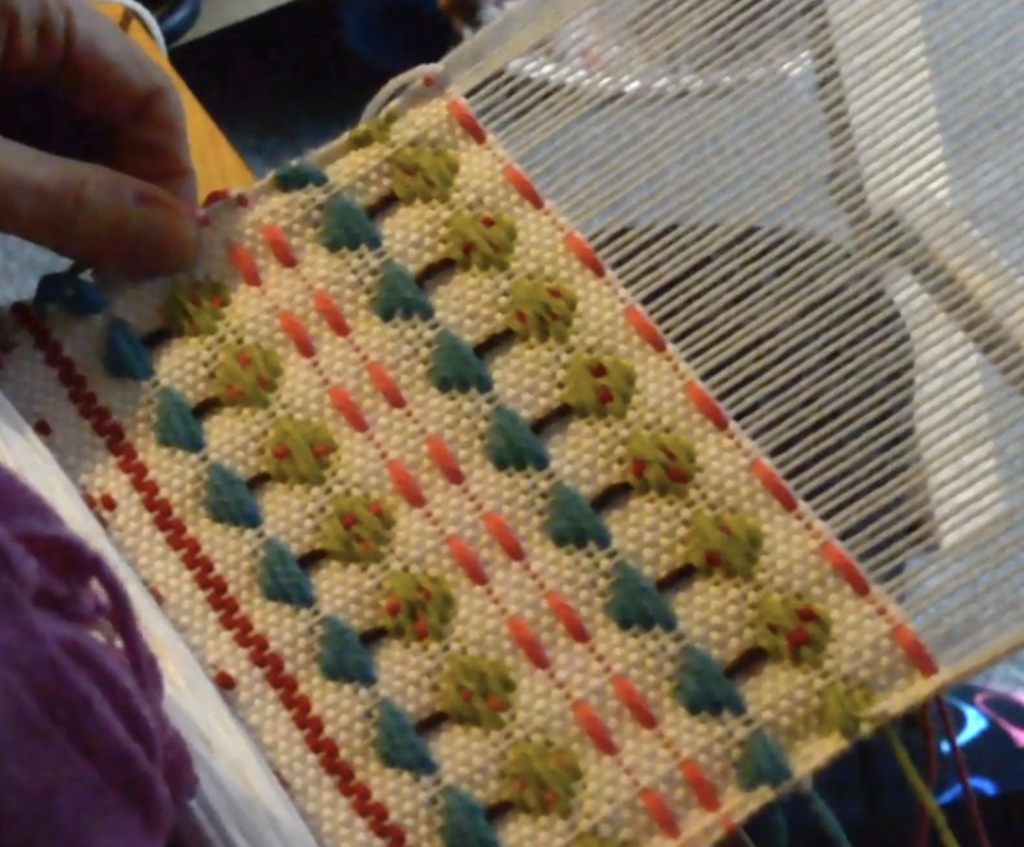
We follow up now with 6 picks of background weft in plain weave. This is because we need a surface to embroider the trunks onto. Weaving narrow trunks (and centering them to match the pots!) is quite difficult, so embroidering whilst the piece is on the loom is a much easier option.

Rather than embroidering right now, we instead move on to the pick up for the tree foliage.

That way, we have sturdy fabric to embroider onto and we can line up the trunks really nicely with the other design elements. So, we move onto step 6 of your pick up instructions.

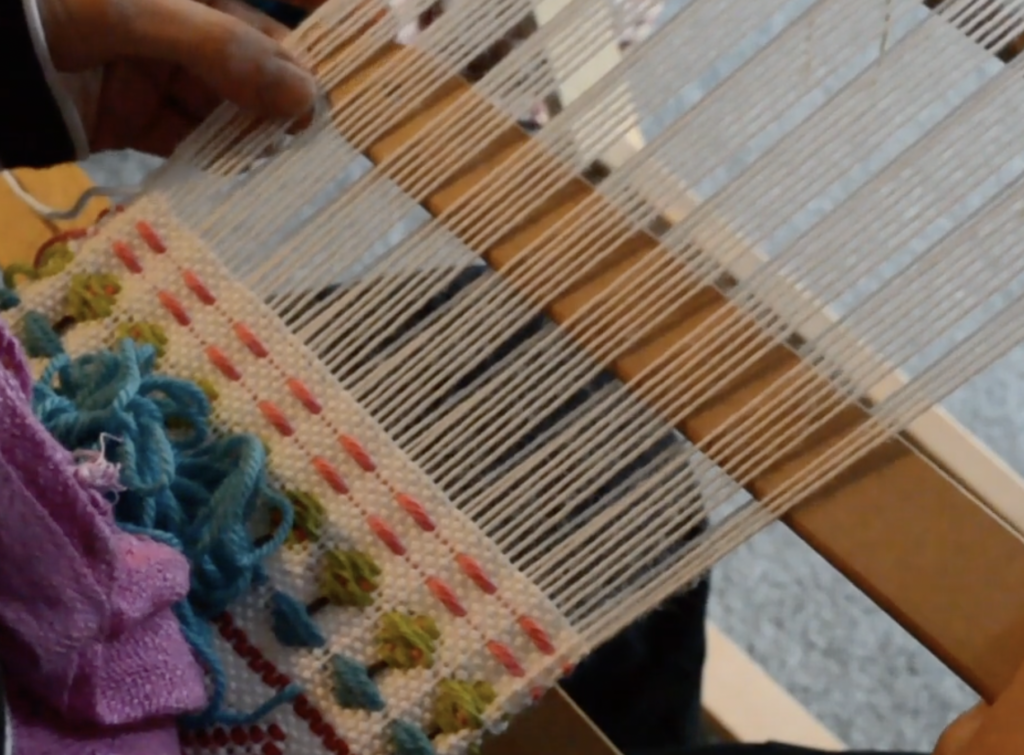
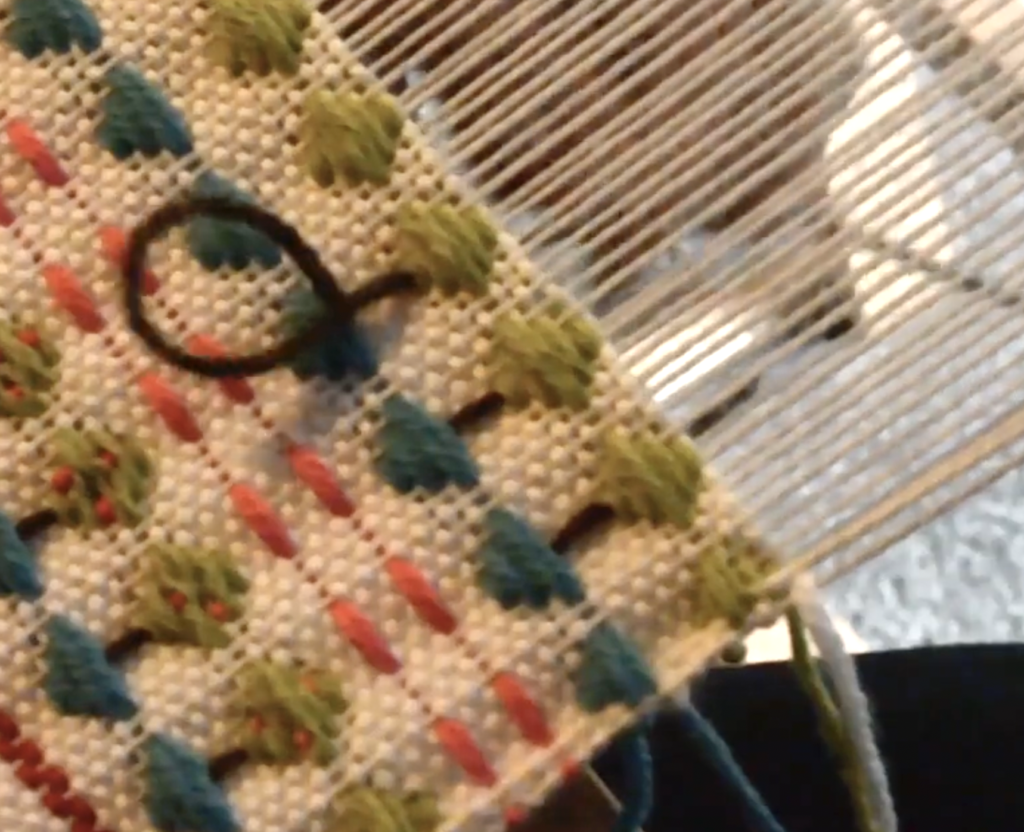
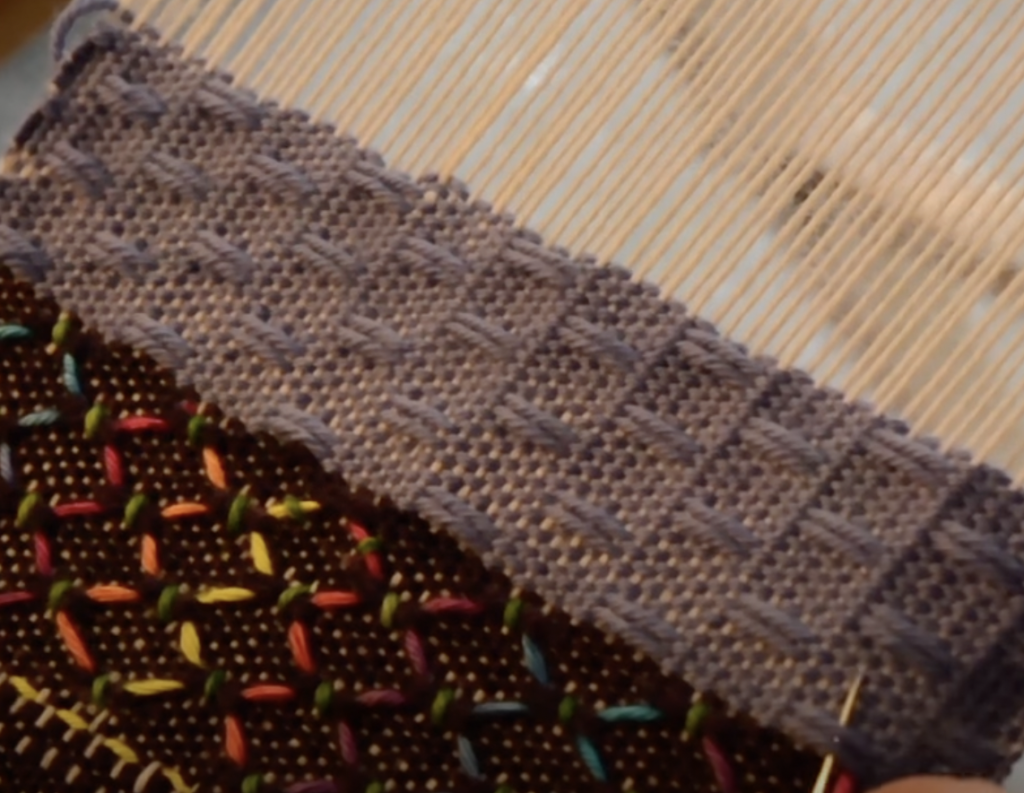
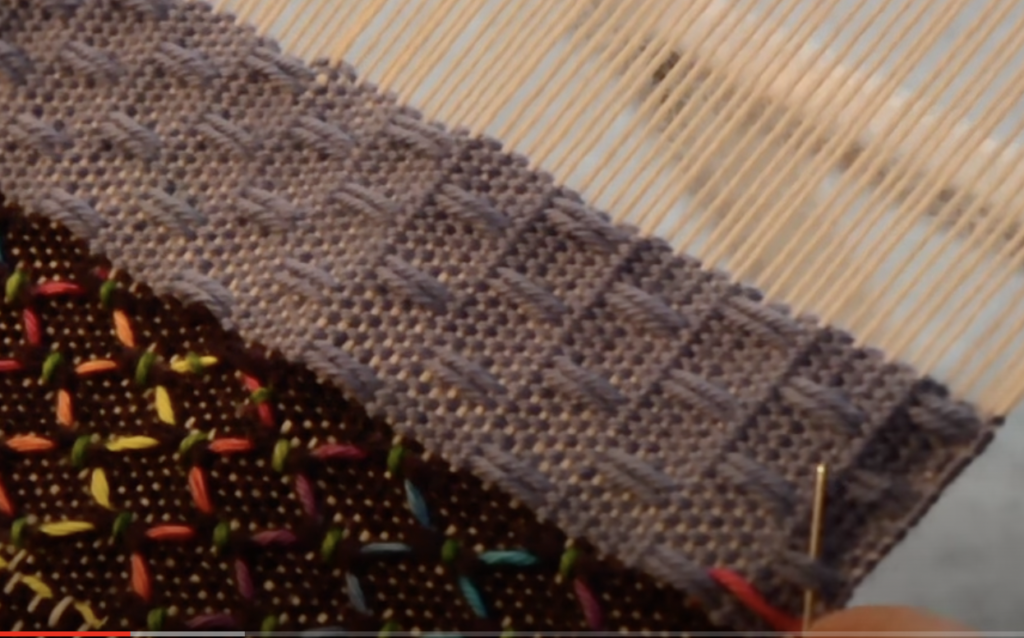
Continue following the sequence to form the tree foliage. The pattern weft for the foliage is also doubled. Don’t forget to weave a plain weave pick in between every pattern pick. Now we can thread a tapestry needle with some brown wool or embroidery floss to embroider the trunks.

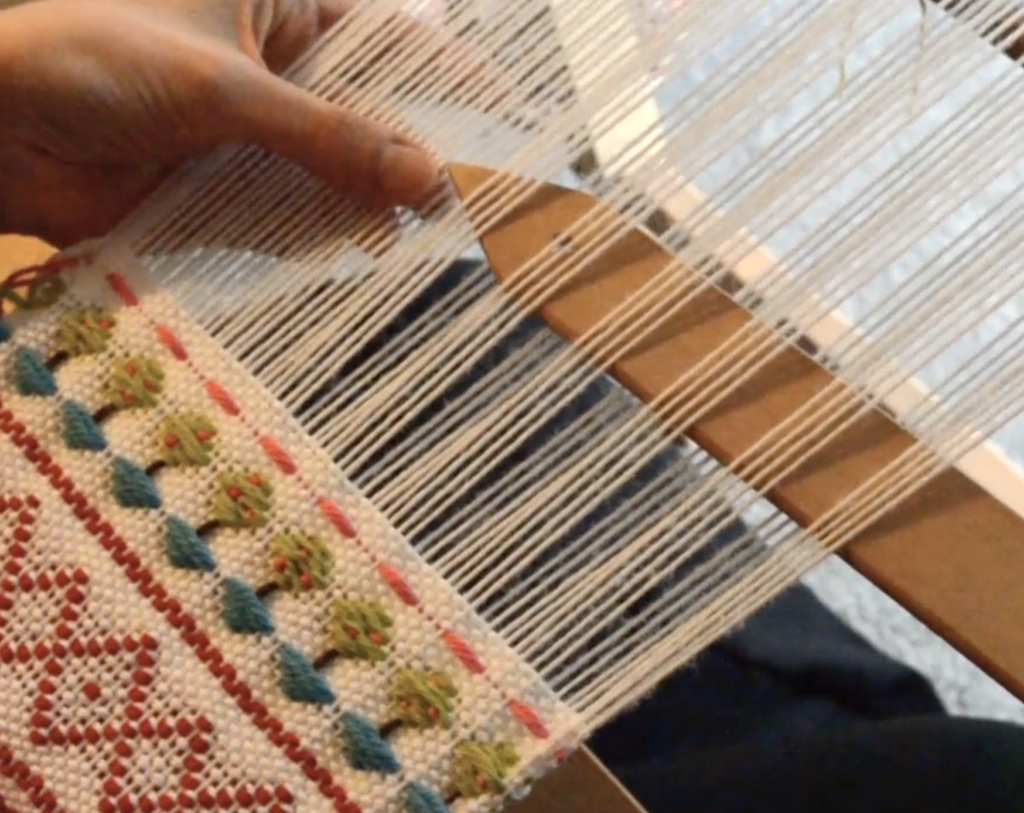
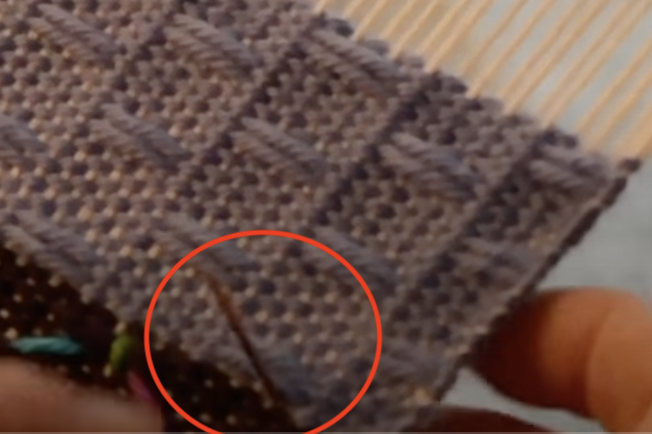
Knot your embroidery yarn to prevent it pulling through the fabric. Come up from the back of the fabric in the middle top of one of the pots, as shown.

Work a straight stitch to the bottom of the foliage. Take the needle down through the fabric and knot it off at the back, burying the tail in the back of the foliage. This prevents your from having super long threads at the back of the work. Knot the end of the yarn again to work the next trunks.

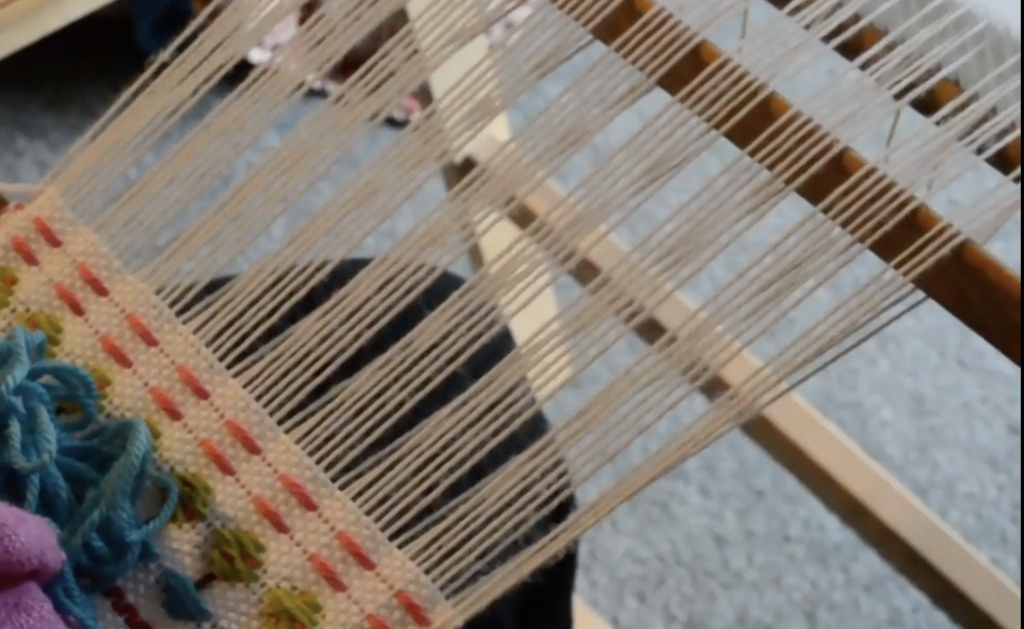
Once all your trunks are done, you can think about embroidering the fruit. I did this by threading up the colour I wanted and working French knots in the foliage – about 3 French knots for each tree.

If you would like to see the video version of this tutorial, including a graph chart for the design, it is available as a part of the Exploring Branoe class, available at the Online Weaving School.

I also have a low cost downloadable PDF ebooklet available. In this resource you will find written instructions for my free video tutorials on Youtube that use the Branoe technique, all collected and outlined for you in one place 😉

I hope you enjoyed this tutorial.

Until next time…

Happy Weaving!
Filed Under: Rigid heddle weaving, Rigid Heddle Weaving Patterns, Tutorials, Weaving Tagged With: little trees, rigid heddle weaving tutorial, tutorial

Surface embroidery on weft floats

by Kelly 12 Comments

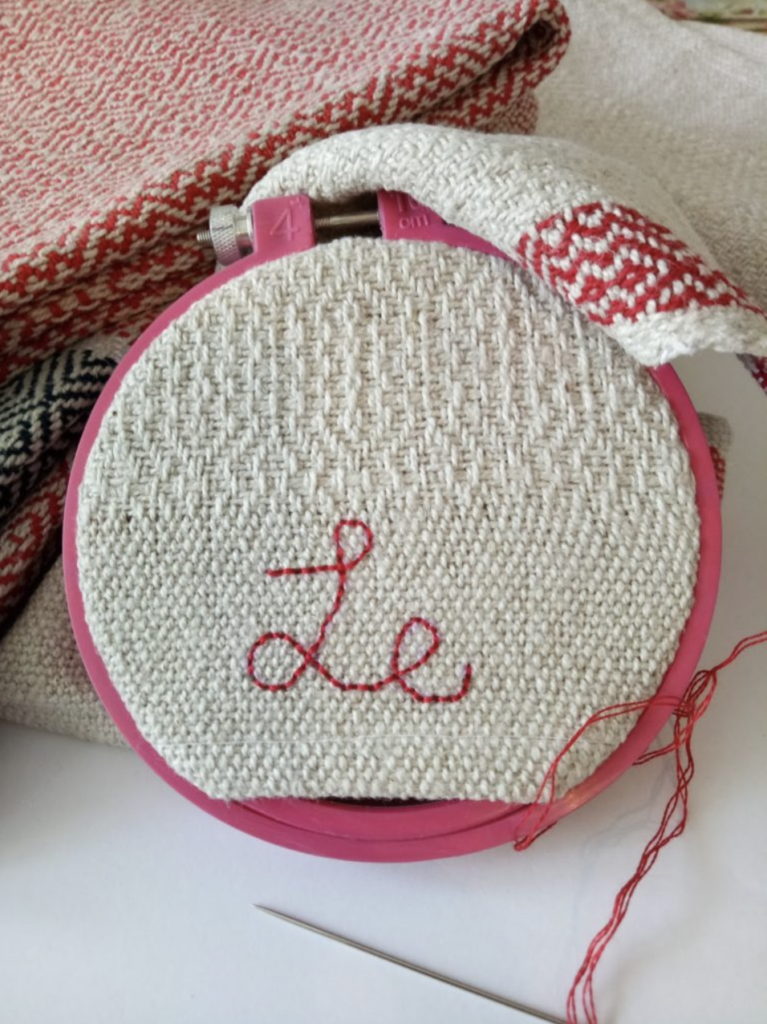
Embroidery was one of my first crafty loves and I still have a very soft spot for this beautiful art.

When my children were young I was very immersed in the world of embroidery. I loved it for several reasons:

  1. It costs next to nothing to get started, and at that time of life we had no extra money!
  2. It is incredibly portable and you don’t need a specific space to set up.
  3. I could easily pick it up and put it down, very important when you have little kids around.
  4. There are many styles of embroidery to explore.
  5. With a bit of practice, you can improve very quickly (like some other fibre arts I may have mentioned previously, wink wink 😉)

Besides the fact that that weaving kind of took over my life, I’ve also not spent much time doing embroidery in recent years due to the deterioration of my eyesight. I definitely took that for granted when I was younger and even though I now have reading glasses to wear, the clarity is not the same.

Like many of the arts and crafts I’ve enjoyed over my life, I’ve found that embroidery can be married beautifully with weaving, and in many different ways.

One example is my bread towel project from a couple of years ago. I wove the towels and then embroidered some “bread themed” text on them.

But if you feel that you can’t embroider a straight line to save yourself, that doesn’t mean you have to strike embroidery off your list completely.

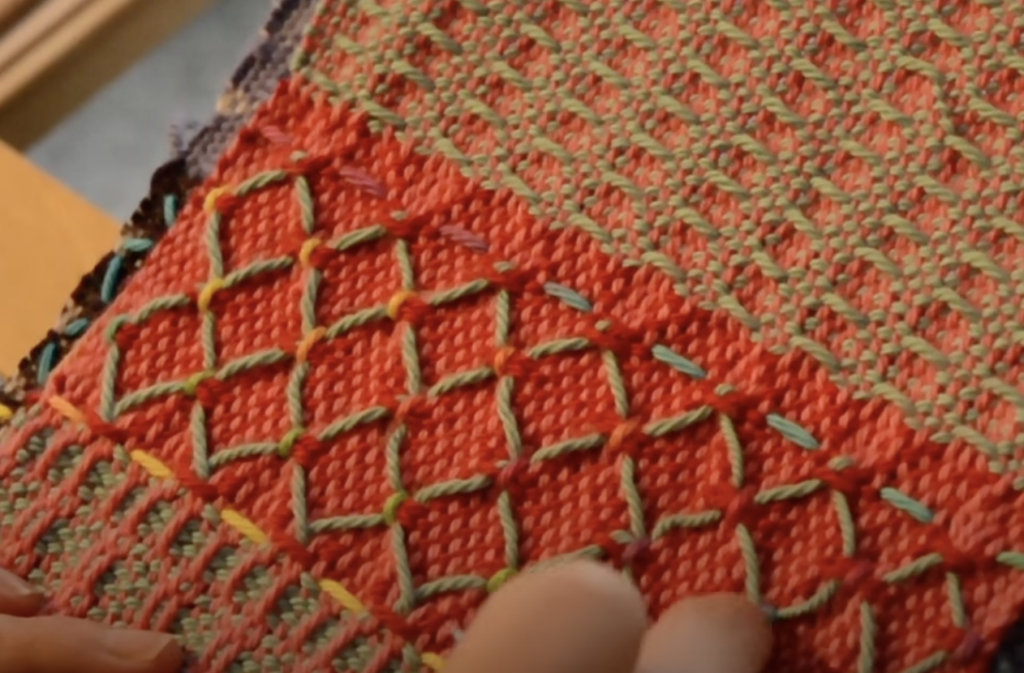
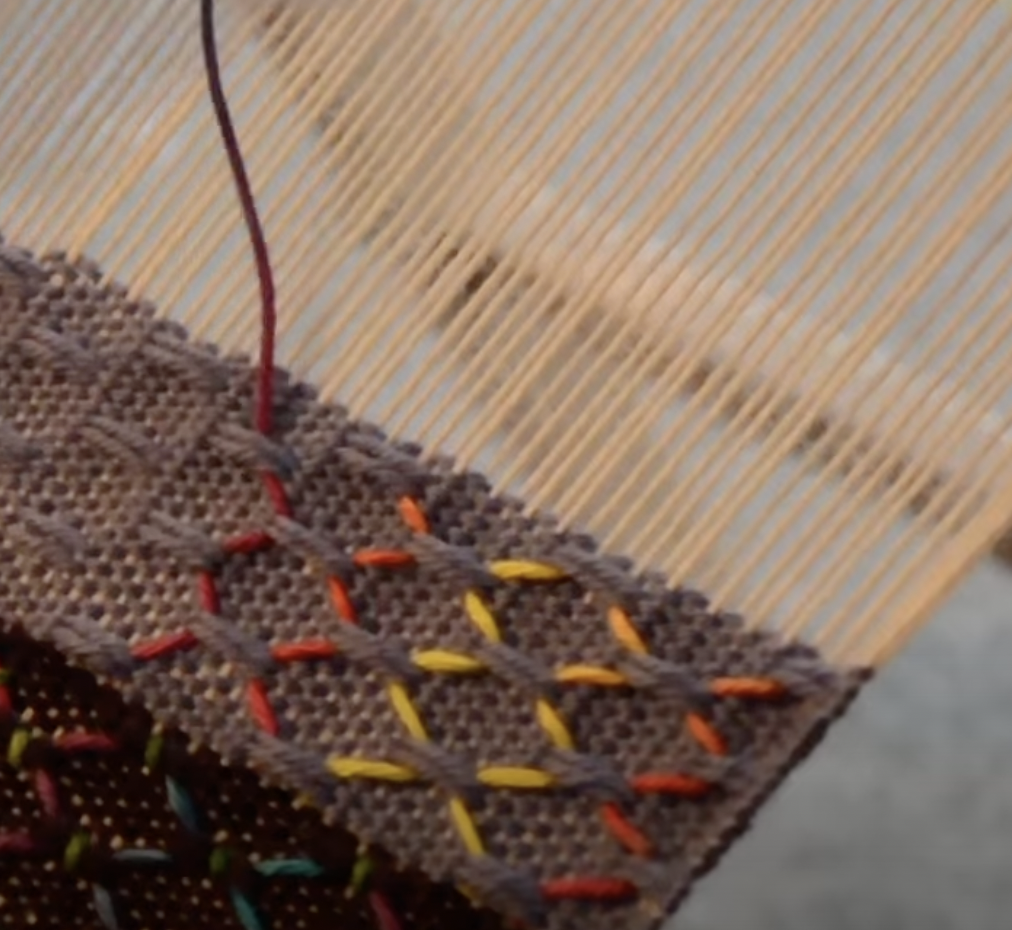
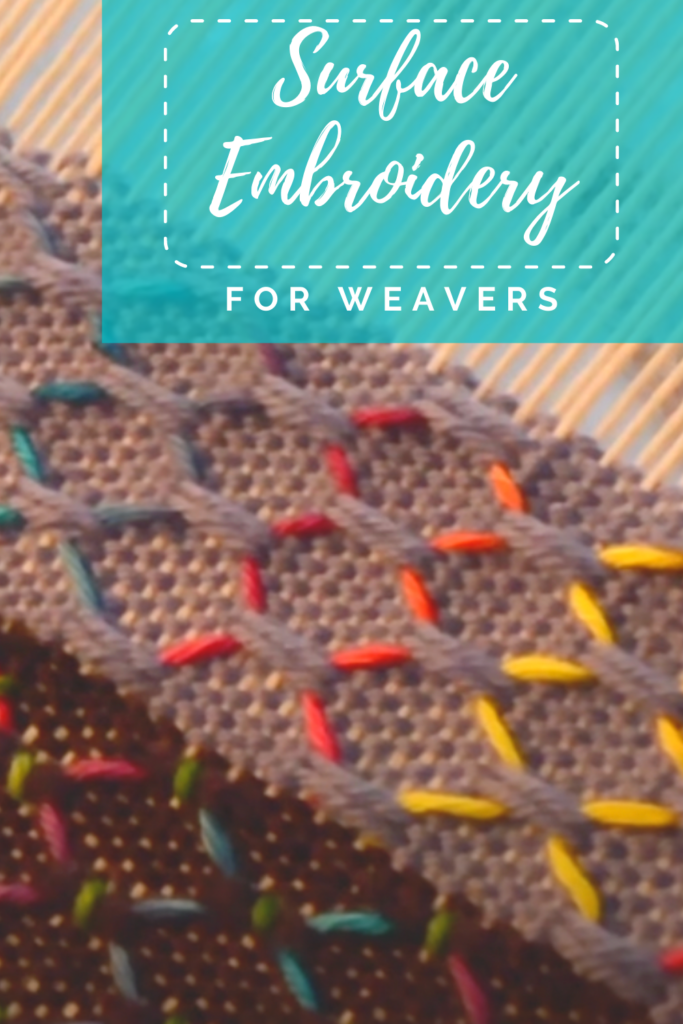
One time I was experimenting with some weft floats on my rigid heddle loom and thought to myself “these look nice, but if feels like something is missing” 🤔 I felt that I needed to introduce some more colour, and I just happened to have some lovely hand dyed rainbow yarn handy. A little while later, I had some gorgeous diamond shapes happening!

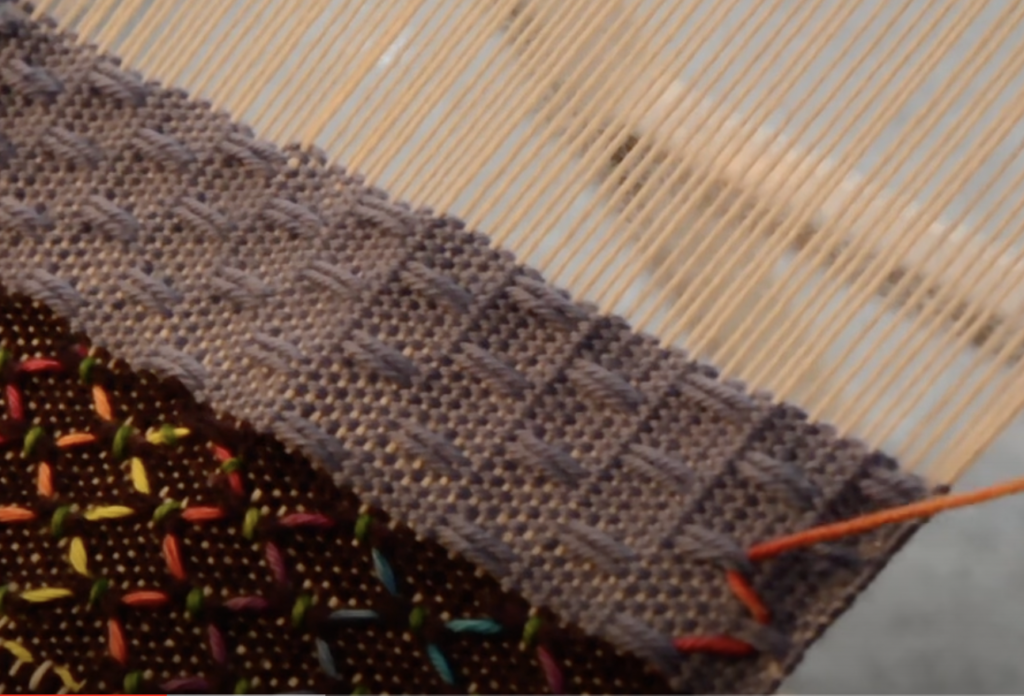
Surface Embroidery example

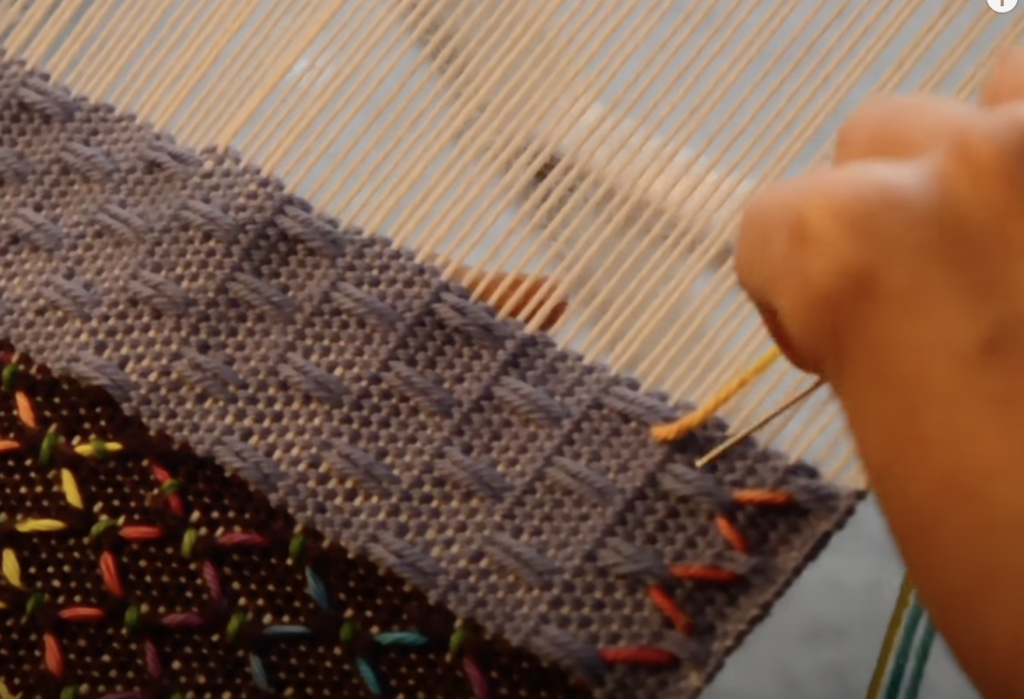
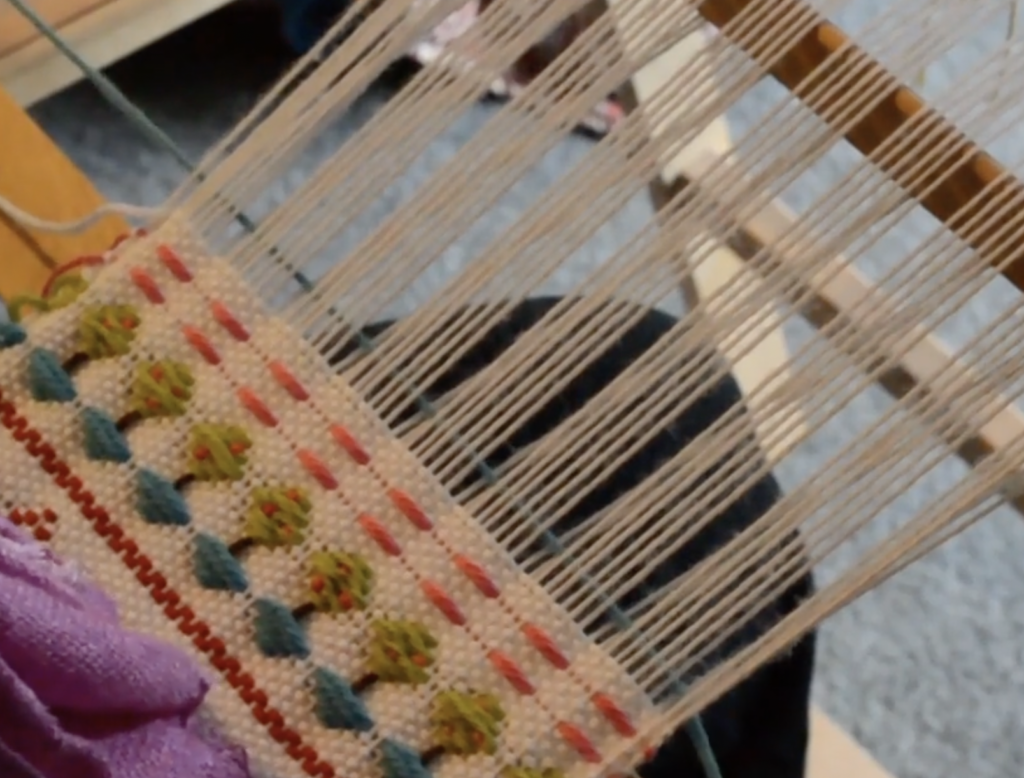
This technique is a surface embroidery, meaning that unlike the usual needle in and out from front through to back of the fabric, the embroidery yarn sits on top of the fabric and is incorporated by “tie downs” or anchors.

Today, I would love to show you how you can achieve this patterning with just a tapestry needle and some contrasting yarn.

Firstly, you will need to work some weft floats. These form the basis for your embroidery thread and gives it a path to travel. The weft float sequencing that I’m using for this tutorial is detailed in this video:

Start by threading your tapestry needle with a good, long length of your embroidery thread. You don’t need to specifically use embroidery floss (though that certainly looks lovely!) I used some light worsted/dk weight wool that was hand dyed and my warp was the same weight of wool, commercially dyed. I think ribbon would look lovely too.

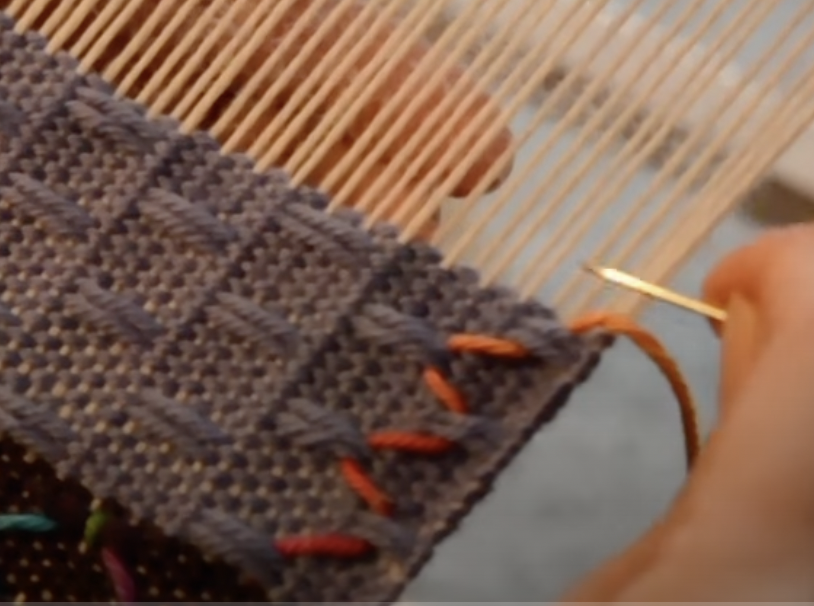
Knot the end of your yarn so it doesn’t pull through. Starting on the first horizontal row of weft floats,(the second row of floats from a vertical perspective) bring your needle through from the back, at the bottom right hand corner of the pair of floats.

Now, take the needle underneath the float pair but not into the fabric itself. Pull the yarn through.

Now take the needle to the pair of floats on the right, they are in a diagonal position from where we just were. Take the needle underneath this pair and pull through.

Now take the needle to the pair on the left diagonal, go underneath the floats and pull through. Starting to see a simple pattern here? We’re basically zig zagging the embroidery yarn back and forth between the weft floats. Pretty simple, huh? 😉

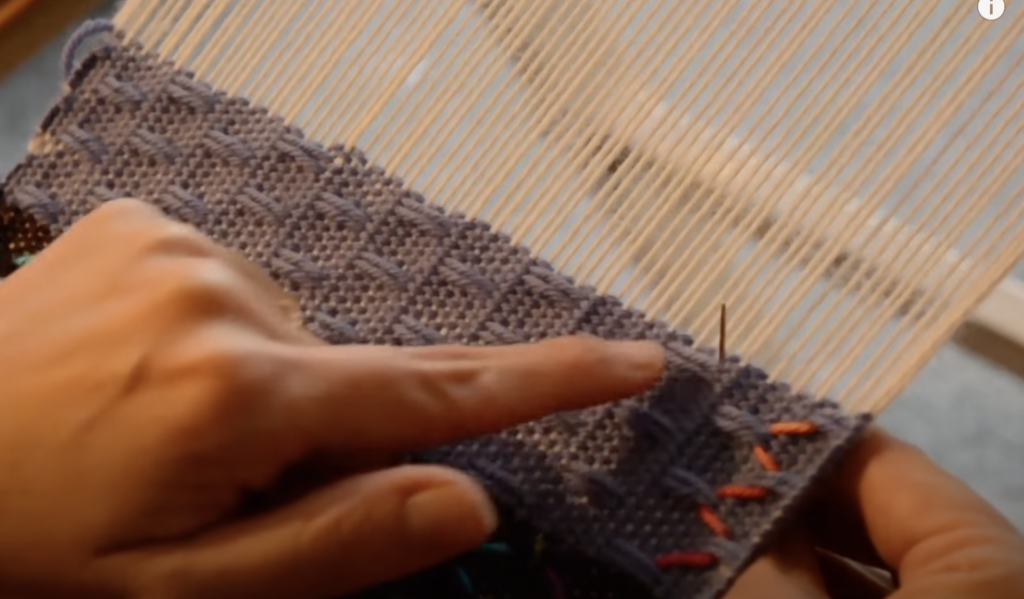
When you get to the top of the row and have no more weft floats to go to diagonally, take the needle down through the fabric to the back. Do this just underneath the top of the last floats you went through, so that it’s not visible. This is to help anchor and secure the row of stitching you’ve just completed.

At the top of the next vertical row of weft floats, bring your needle up through the fabric from the back. The needle should be positioned to the top right of the pair of floats, as shown in the photo above.

Instead of travelling upwards through the weft floats, the time we’re travelling down the vertical row. Take the needle underneath the top floats and pull through.

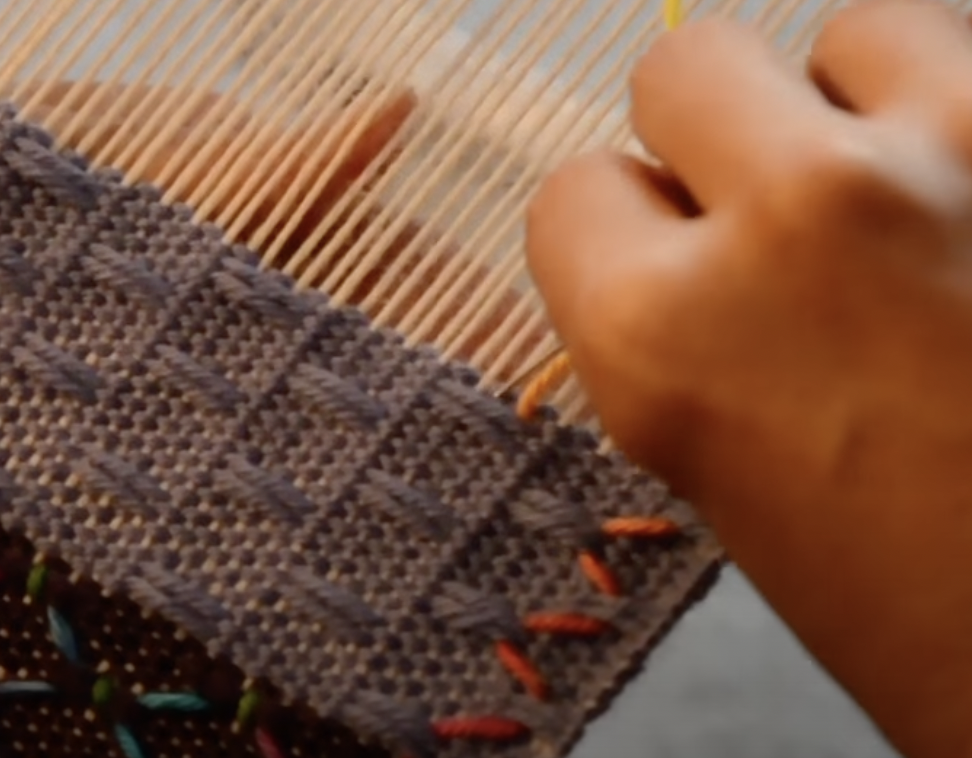
You may start to guess what comes next. Take the needle underneath the weft floats to the right, on the diagonal. Pull the yarn through. Continue in this fashion, zigzagging downwards until you reach the bottom. Remember to take the needle down through the fabric each time your finish a row, in order to anchor the thread and prepare for the next row.

Once you’ve practiced a couple of rows, you can speed up the process by taking the needle under 2 pairs at the same time. This makes it go much faster and is a natural progression from embroidering under one pair.

There are further variations on this theme that are possible. Experiment and see what you can come up with!

Would you like a free video tutorial so that you can see this surface embroidery in action? I already have that covered, check out my video on Youtube:

Don’t forget to like and subscribe, thank you!

I hope you enjoyed this tutorial. Let me know if you love this technique and intend to give it a try by leaving a comment below, I love to hear from you.

Other resources you may be interested in:

Troubleshooting loose slot threads

All about finger controlled techniques

Weave neat edges on the rigid heddle loom

How to weave clasped weft

Until next time…

Happy Weaving!
Filed Under: Free tutorial, Rigid heddle weaving, Rigid Heddle Weaving Patterns, Tutorials, Weaving Tagged With: embroidery for weavers, free tutorial, surface embroidery

What Are Finger Controlled Weaving Techniques?

by Kelly 6 Comments

Just when you thought you had tried everything in weaving, you discover there is more! Finger controlled techniques can add a whole other dimension to the way you’ve been weaving and offers new and exciting possibilities.

What are finger controlled techniques?

Also know as “finger manipulation weaving” or “hand manipulated weaving” , finger controlled techniques is a kind of umbrella term for a group of weaving techniques. It basically means that, rather than using just the shafts on your loom to control the threads and achieve patterning, you are also bringing your hands directly onto the warp to perform manipulations.

*This post contains affiliate links. For further information, please see my disclosure policy here.

Often the finger manipulations will involve using a tool of some sort to aid you in holding the pattern created. Some examples of tools used are pick up sticks, knitting needles, threading hooks and crochet hooks.

Grab my FREE ebook on Finger Controlled Weaving Techniques!

Why use finger controlled techniques?

There are many good reasons to introduce finger controlled techniques into your weaving.

  • It increases your pattern possibilities.
  • You can achieve patterns that may not typically be associated with traditional weaving.
  • You can weave a drastically different pattern to what you normally might.
  • It is an exciting, interesting and sometimes meditative way to weave.
  • It can be used in small sections or borders to accentuate a plain or other weave structure.
  • It can be incorporated seamlessly into any loom set up.
  • You don’t need extra shafts or a bunch of extra equipment to give it a try.
  • You can set up your loom for plain weave and introduce the finger techniques on the same warp.
  • The techniques are good for an adventurous beginner. Make sure you have a plain weave project or two under your belt first though.
  • There are many different types of techniques to try, all with different effect. And each one has variations!

Which kind of looms work for using these techniques?

That is the beauty of it! Most finger controlled techniques are worked at the front of the loom, on the warp directly in front of you. This means it’s suitable for rigid heddle looms, table looms and floor looms.

Popular Finger Controlled Weaves

Today I’m going to discuss the 3 most popular and well known finger controlled techniques in weaving:

✨ Brook’s Bouquet

✨ Leno

✨ Danish Medallions

Brook’s Bouquet

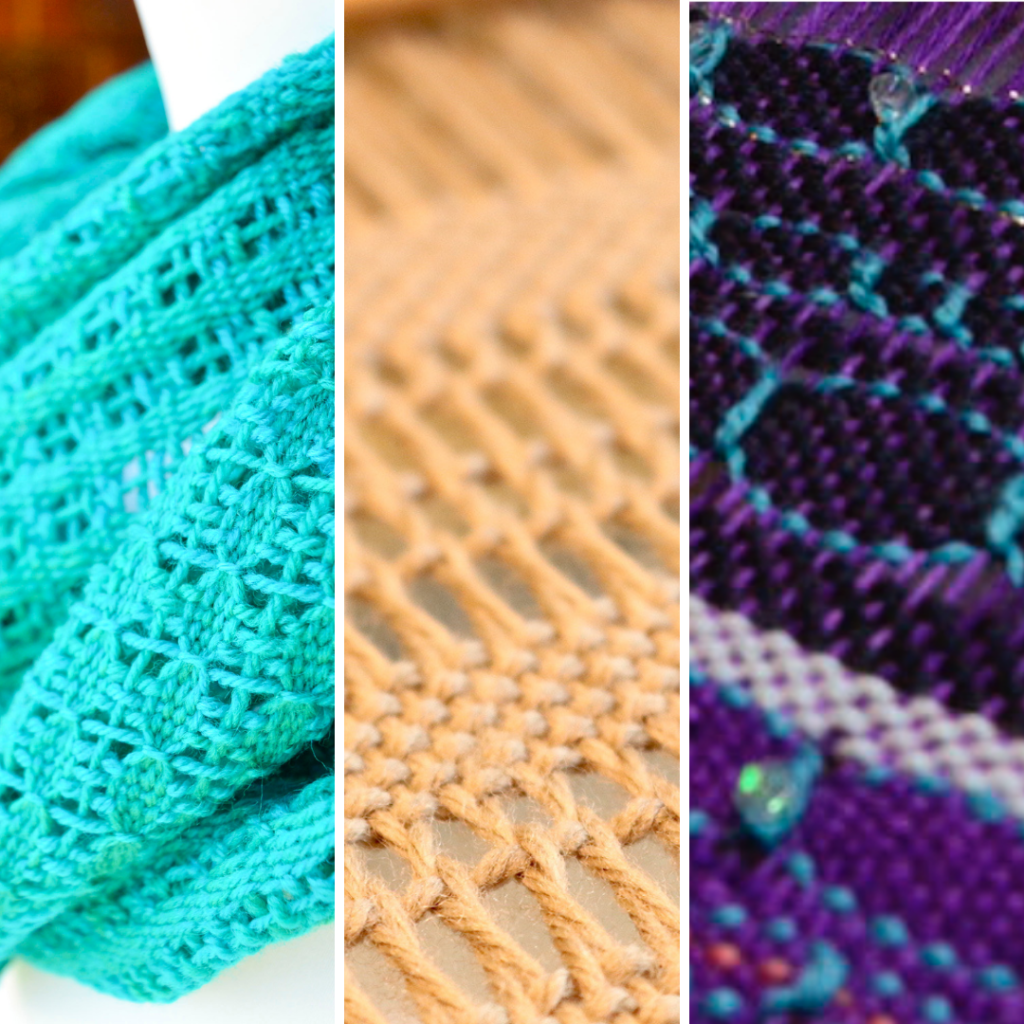
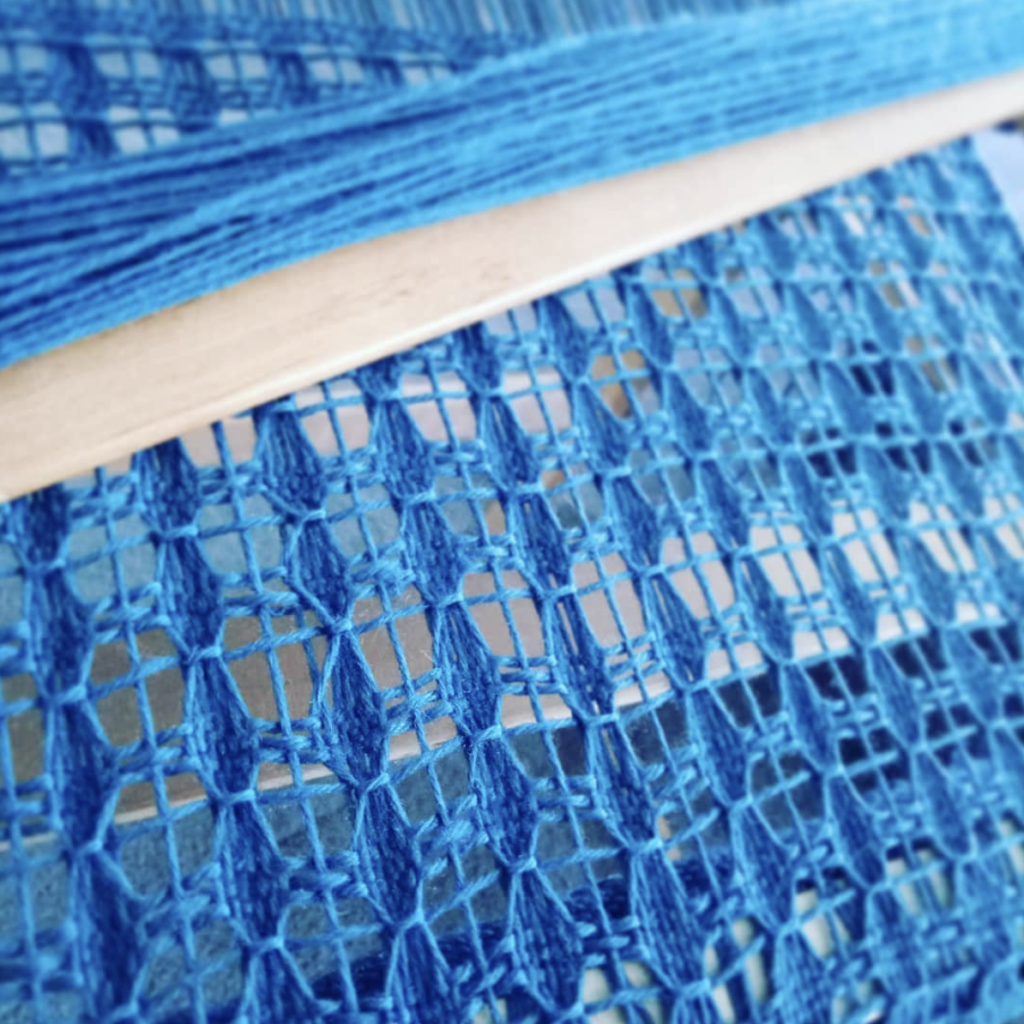
Brooks Bouquet was made popular by Marguerite Brooks when she wrote a book that included variations on this weave structure. You can see the “bouquet” component, where the yarn wraps around bunches of warp threads (the number of threads is adaptable) and pulls in tightly.

Reminiscent of lace knitting, the finished fabric also has some interesting qualities. Most of the time, woven fabric lacks “stretch” but using Brooks Bouquet produces a fabric with definite stretch. It is mildly open and airy, and yet has a beautiful and intricate pattern.

You don’t need any extra tools, just your stick shuttle (the same one you’re using for your weft) to pick up groups of threads in a repeat pattern and loop the yarn around the bunches as you go.

I love Brooks Bouquet in solid colours, using the same yarn for warp and weft, however I’ve seen some really beautiful pieces using variegated yarns too.

Brooks Bouquet Example

If you’re interested in trying it out but would like some step by step instructions, the Garden Path Scarf digital PDF download pattern is the perfect place to start. I have included lots of colour photos in this pattern as well as all the yarn and calculation details you need to complete a really beautiful scarf. I’ve woven two Garden Path scarves in merino yarn for myself and they are my go to for cold weather.

Leno

The next technique I want to share with you is Leno.

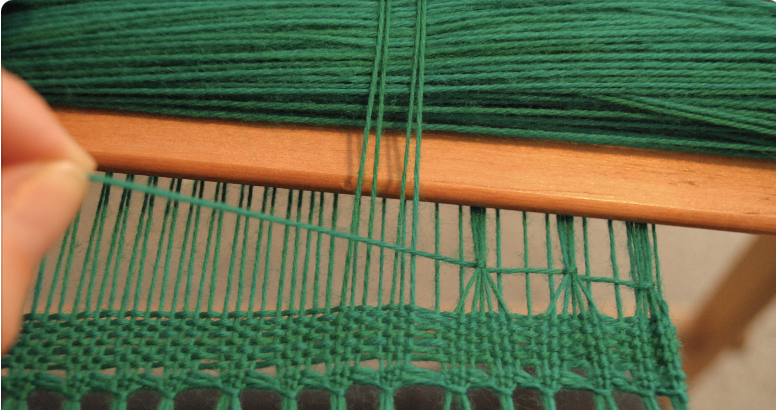
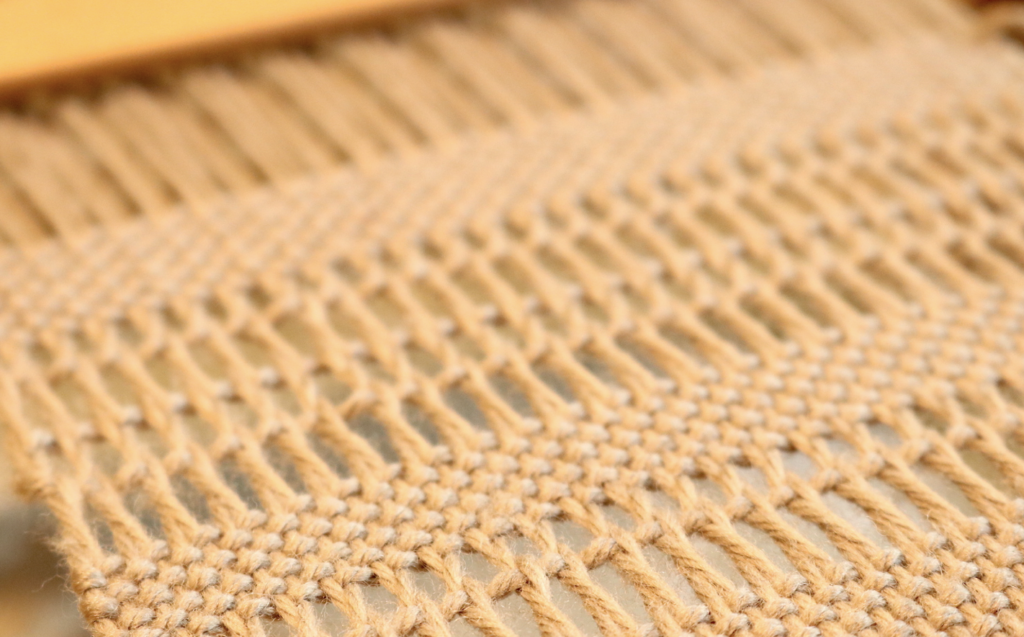
This also creates a light, airy fabric, but even more so than Brooks Bouquet. It is a very slow weave, as you twist threads using your fingers and a pick up stick and then hold the twists in place by beating in the weft thread.

Leno Example

Leno also has variations, for example, it can be woven on an open or closed shed. You can weave it in rows, with plain weave in between. You can weave Leno for the whole piece or just in border sections (it looks fantastic as bordering on a classic scarf or table runner).

If you like the look of this technique, I have good news for you! I have a complete tutorial on weaving Leno and it’s totally free. It is aimed towards rigid heddle weavers, but is completely adaptable to other looms as well. You can find that tutorial here.

Danish Medallions

That brings us to Danish Medallions.

Danish Medallions Example

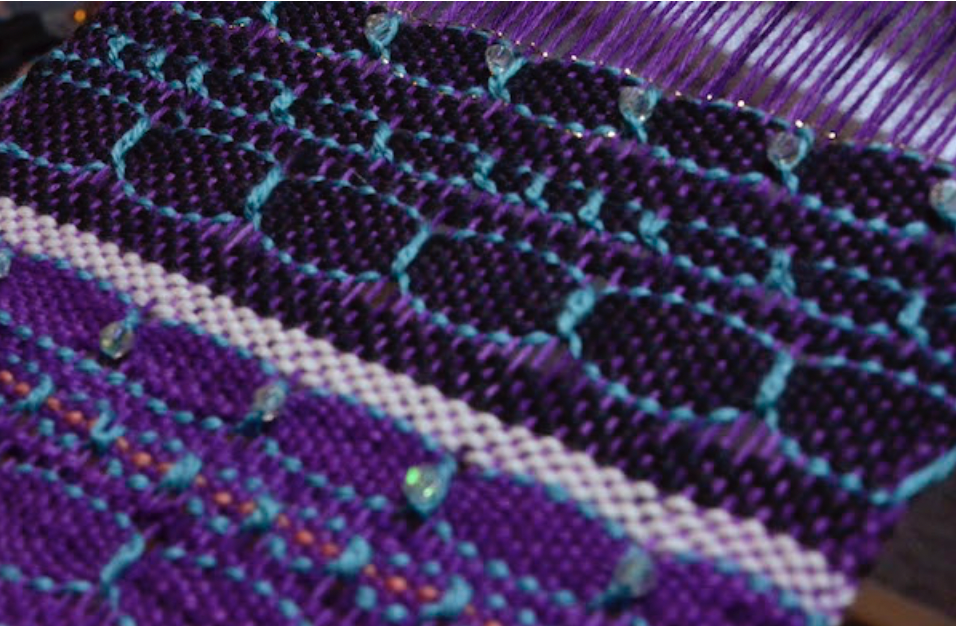
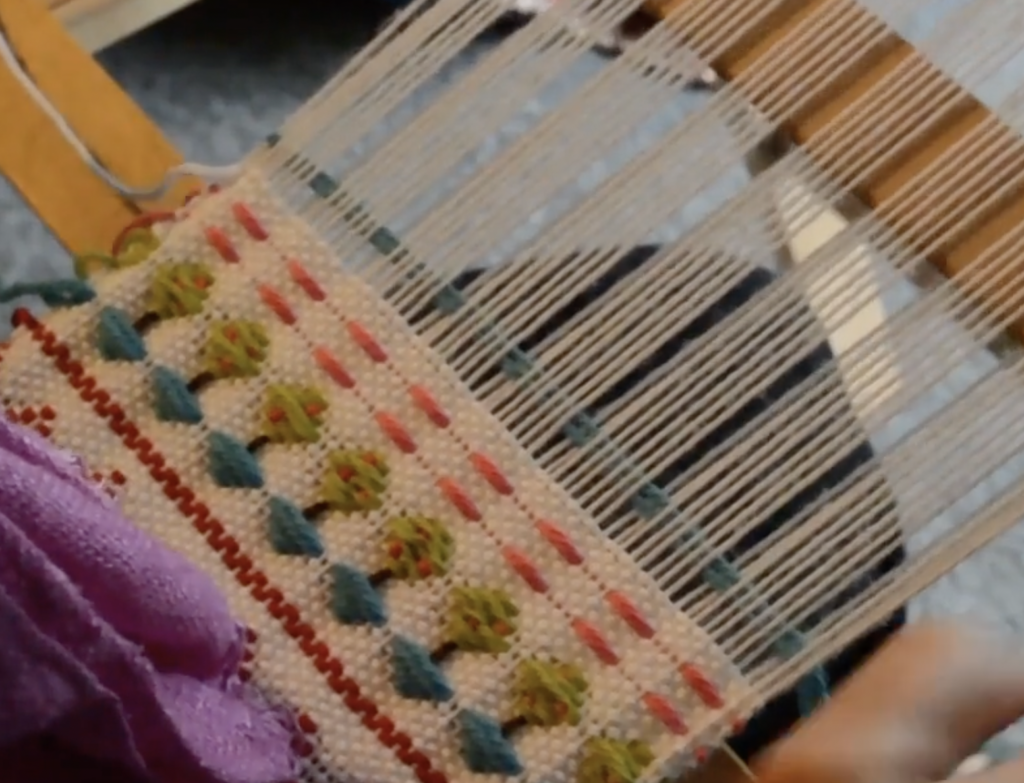
This is a highly decorative technique. I love to showcase strongly contrasting yarns to really make those medallions pop out of the piece. It is a really interesting and fun technique to work on your loom.

The basic idea is to run a contrasting weft thread through bands of plain weave in another colour. The width of this band of plain weave will partly determine how large your medallions will be. You then bring in your contrast colour weft, threaded on a tapestry needle (at least, that is how I like to do it).

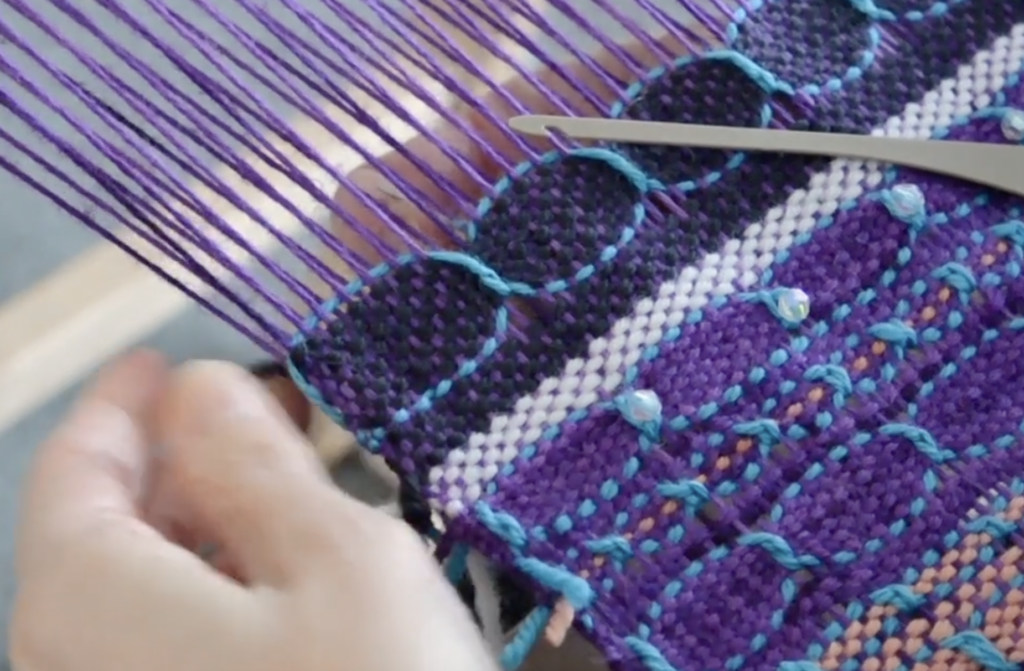
Using a crochet hook, or my preference, a double ended threading hook, you then hook this contrast yarn by taking the hook through the work at the previous contrast pick and pulling it though. This is where the tapestry needle comes in handy, as you can take it through the loop created.

Cinch up this loop and you have your first medallion. How tightly you cinch it will depend on the effect you want. A light cinch will give you medallions that seam to sit on the fabric with some minor gaps in between. A tight cinch will give you more separated looking medallions and will produce an airier fabric.

Both options look beautiful. You will notice in the sample above that I’ve also included beading between some medallions, just for fun. The Danish medallion technique lends itself beautifully to extra embellishments.

If you want to see this technique in action (because it’s so much easier to show it than to tell it) I have a very affordable online workshop that demonstrates both Danish Medallions and Leno, all in one place. Click here to check that out!

Try Finger Controlled Weaving Techniques!

I hope today’s post has given you a better understanding of finger-controlled weaving techniques and inspired you to try them for yourself.

A great way to explore these techniques is to put on a small sampler warp, thread it for plain weave, and experiment with each one in turn. As your confidence grows, try combining different techniques within the same project-you may be surprised by the beautiful textures and patterns you can create!

I’d love to hear about your experiences with finger-controlled weaving. Have you tried any of these techniques, or do you have a favourite? Let me know in the comments below!

Until next time…

Happy Weaving!
Filed Under: #weaveforme challenge, Finger controlled techniques, Rigid heddle weaving, Rigid Heddle Weaving Patterns, Weaving Tagged With: brooks bouquet, danish medallions, finger controlled techniques, leno, rigid heddle weaving, weaving

What can I weave on a small loom?

by Kelly 17 Comments

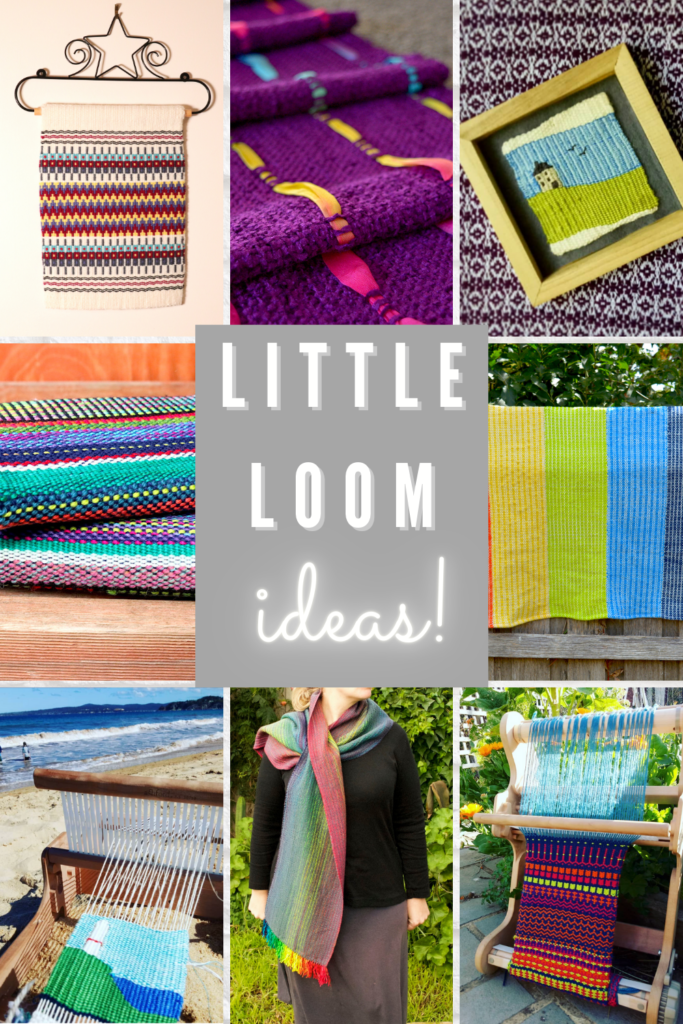
Small looms may be compact, but they’re full of creative potential! Whether you’re just starting out or looking for portable weaving ideas, there are so many possibilities! But you may wonder – What can I weave on a small loom?

From quick projects like bookmarks and mug rugs to more advanced pieces like scarves or artful wall hangings, a small loom is a wonderful way to explore weaving without needing a large space. In this post, we’ll look at inspiring project ideas to help you get the most out of your little loom.

Today I’m going to be talking specifically about the smallest rigid heddle looms available.

Why Choose a Smaller Loom?

There are many reasons why weavers opt for a smaller loom. Some of these may include:

  • Affordability – a small loom is also a smaller financial investment to get started with.
  • Portability – you can literally pick these little looms up with one hand and take them with you
  • Space – some people have very limited space for storing a loom.
  • Testing it out – a small loom is a great way to test out weaving to see if it’s something you really want to pursue.
Ashford Sampleit 10″ rigid heddle loom

*This post contains affiliate links. For further information, please see my disclosure policy.

Many small loom weavers will later upgrade to a larger loom. Or some, (like myself!) will purchase a smaller loom later on, in order to have an extra loom on hand or just for sampling new ideas and designs.

Let’s have a look at the small rigid heddle looms currently available for purchase:

Ashford Sampleit 10″ (also comes in a 16″ weaving width)

Kromski Presto 10″ (also comes in a 16″ weaving width)

Schacht Cricket 10″ (also comes in a 15″ weaving width)

Beka beginners rigid heddle loom, available in 4″ and 10″ weaving width

I’ve come up with a list of finished items you can weave on a little loom as some ideas for getting started:

Get Sampling!

The number one function that a smaller loom serves is to make samples. If you are one of those people who think that sampling is a waste of time and yarn, I get it – I used to be exactly the same. But, throughout my weaving journey I have learned the true value of sampling before committing to a project.

In some cases, its actually a false economy to not sample and that is because the sample teaches you what you should and shouldn’t do for that project. In short, it guarantees the success of your project!

Make Your Own Clothing

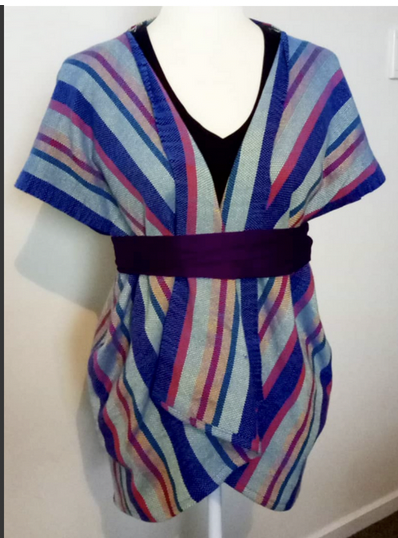
You can make garments, even with a small loom, with a bit of creative design. Strips of woven cloth can be seamed together in order to make larger pieces of fabric, which can then be cut and sewn into garments. People often have the idea that only large, drapey garments (like a ruana) can be sewn with hand woven fabric, but that is not so. All kinds of clothing, including fitted pieces can be made, with a bit of planning ahead of time to ensure you are weaving an appropriate weight of fabric, with appropriate yarns for the garment you want to make.

In my Rigid Heddle Garment making class, we weave and then sew a loose fitting, open front cardigan. The class is not specifically for small looms, but it is easy to see how you can build a garment by building panels to seam together. A woven fabric with vertical stripes incorporated into the design would be perfect for camouflaging seams.

The Clasped Warp Quechquemitl class is another example of panels sewn together to construct a beautiful garment. Again, the class is not specific to small looms but the weaver could opt to weave 4 panels to join rather than the 2 demonstrated in the class.

The most obvious garment choice for a little loom would have to be a scarf, as you don’t need a wide width and you can wind on a warp that is long enough for one or two scarves.

Produce Art

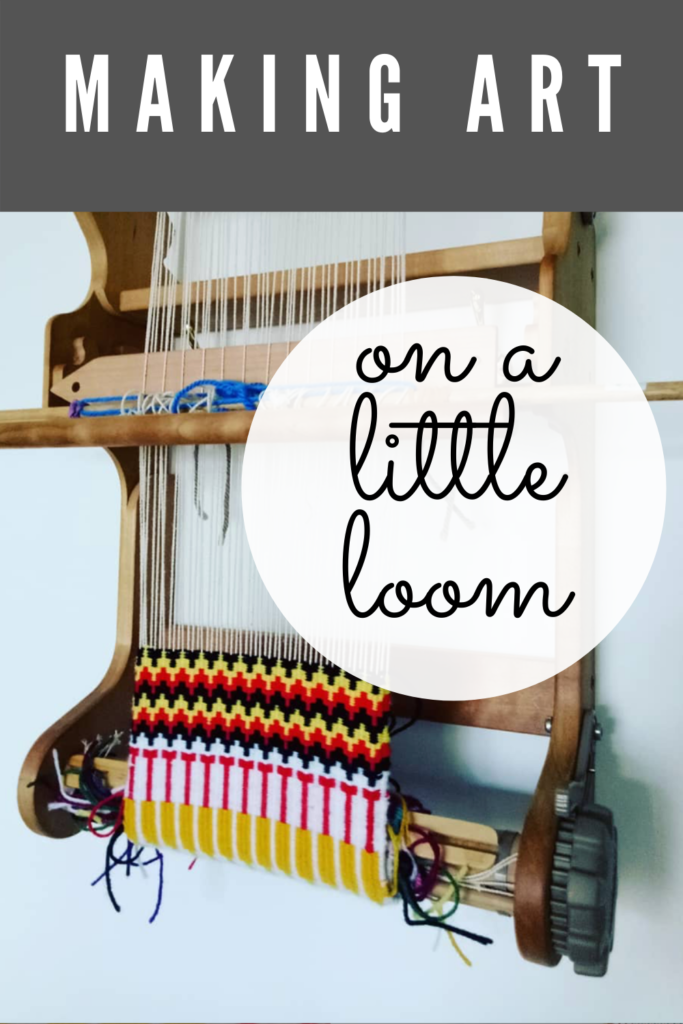
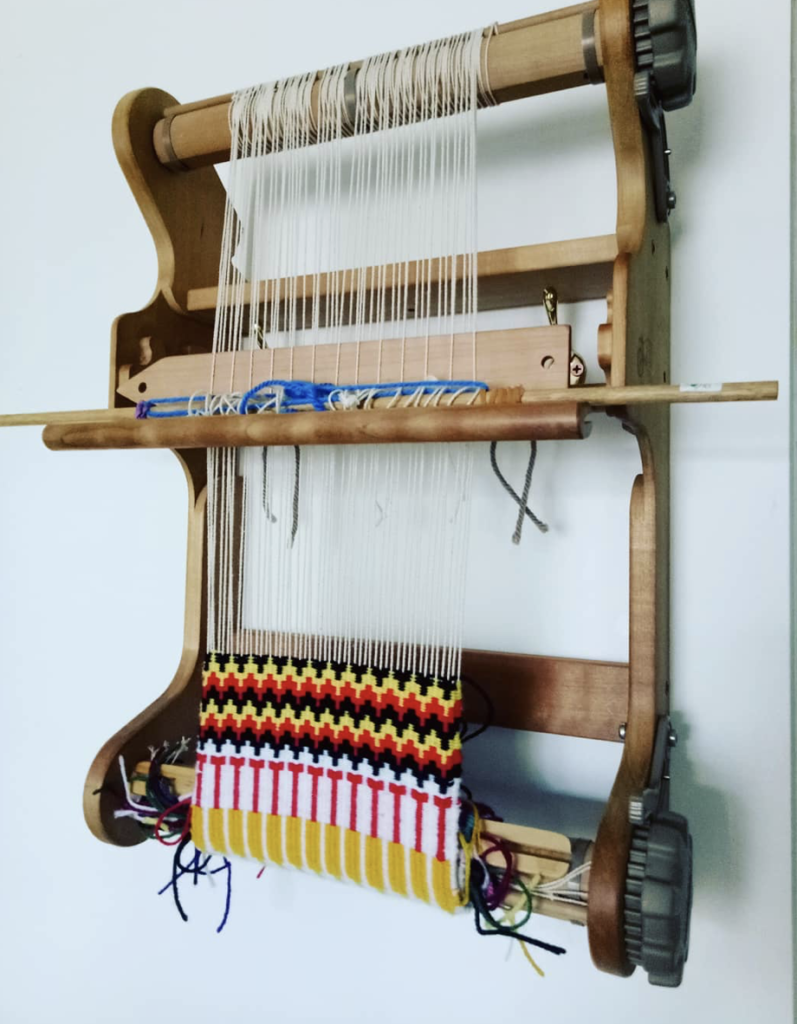
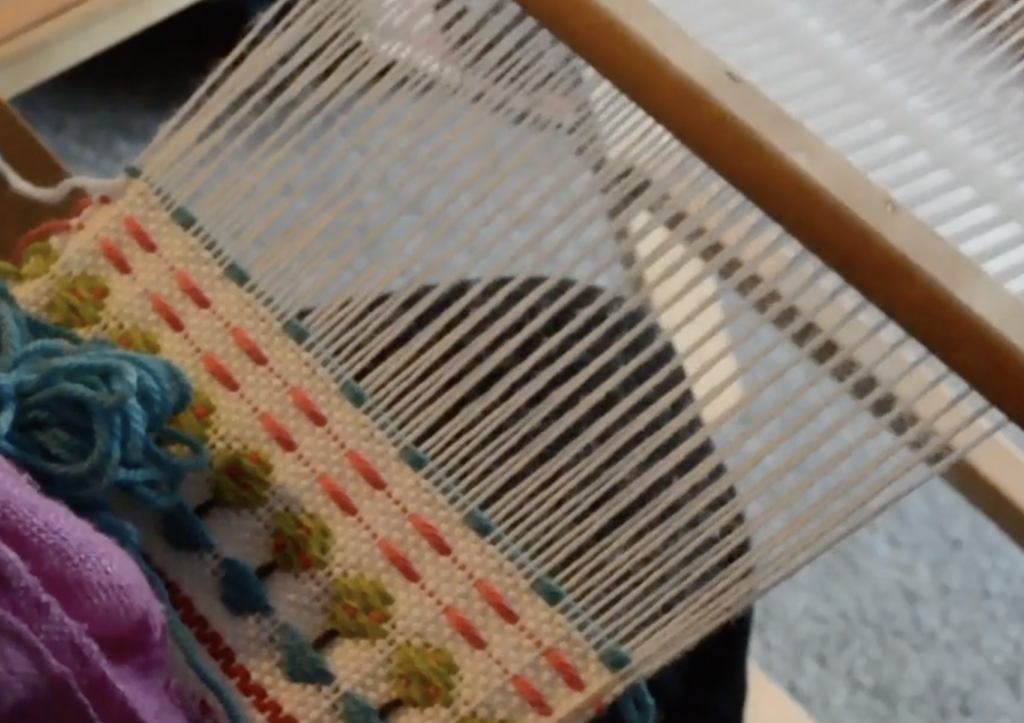
I have created a variety of art pieces on my 10″ Sampleit loom. A small loom is perfect for a petite sized wall hanging, tapestry or framed piece. I discovered an added bonus to my Sampleit for weaving art recently. When not in use, I store this loom by hanging it on the wall. I was working on some krokbragd recently and noticed when I hung the loom up for the day, that it was a perfect way to display the work on the wall while it’s being completed!

Another thing I have not yet done, but desperately want to, is to frame some of my smaller woven pieces. I love the way krokbragd looks in a beautiful frame.

Tapestry can also be woven on a little loom. You can see a few of my small tapestries in this post. I will freely admit that nowadays I weave tapestries almost exclusively on my Big Sister, but prior to the purchase of that loom I honed my tapestry weaving skills on my Sampleit. I even made a class about weaving Tapestry on a Rigid Heddle Loom!

Freestyle tapestries are great on a small rigid heddle, as they are more of an “anything goes” project. They can be very planned or completely unplanned. My Freestyle Tapestry series and Van Gogh Inspired Tapestry series are both great starting points for some inspiration.

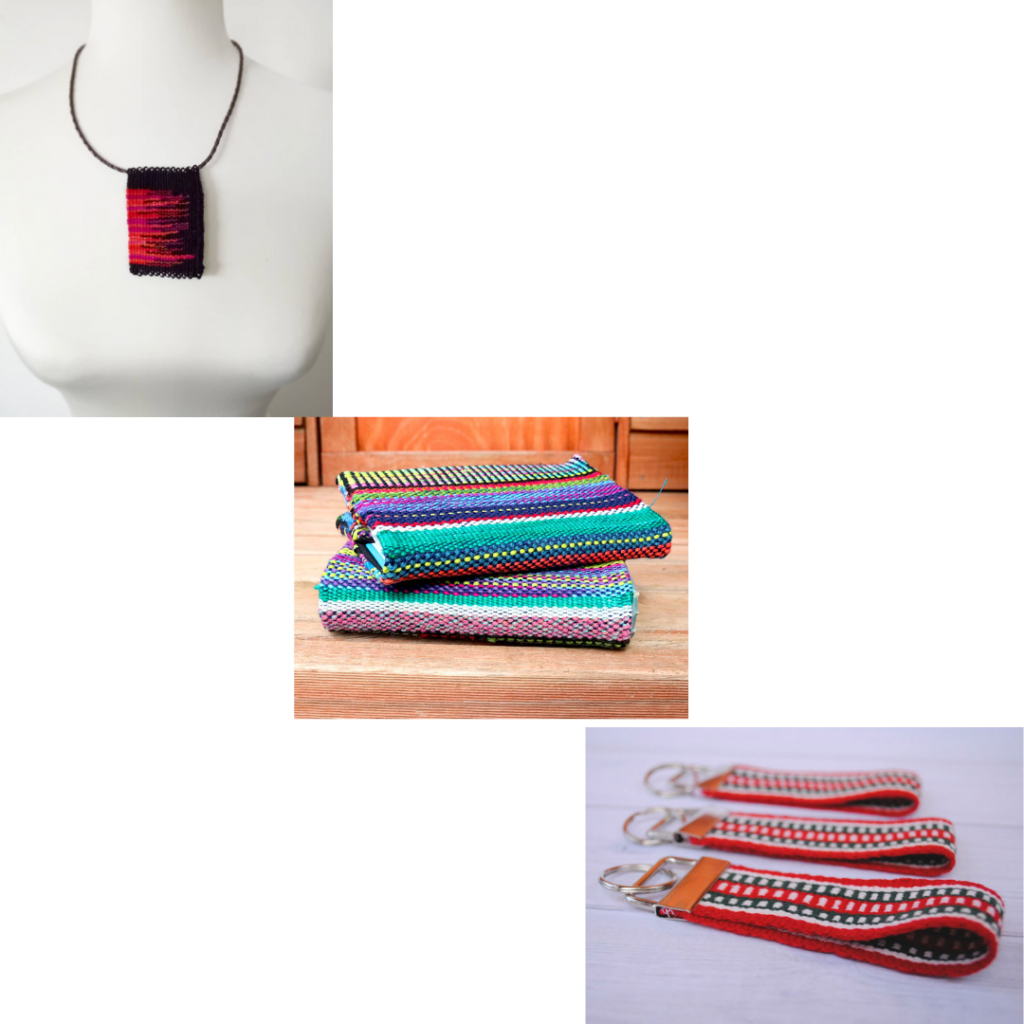
Craft Accessories and jewellery

You can weave some awesome gifts on your little loom. A bookmark is a quick project and a fantastic way to use up leftover yarn.

I wove a tapestry necklace on my tapestry loom, but the same could be done on a rigid heddle loom. A wrist cuff is a great small loom project and very straightforward to make.

I’m often asked if inkle bands can be woven on a rigid heddle. I have not done it myself, but I have seen bands woven by others. My advice would be – if you want to weave a lot of bands, make the investment in an inkle loom. They are quite affordable and they hold the amount of tension required for weaving really neat bands. Click here if you want to find out more about inkle weaving.

Notebook covers are fun and useful to weave. You can make them to fit your notebook, like I did for my Stashbuster Notebook tutorial series. You can also view that series here:

Some more accessory ideas could include:

A clutch, a purse or small bag, a phone case or wallet, glasses case, gadget case, pouches, or a drawstring bag.

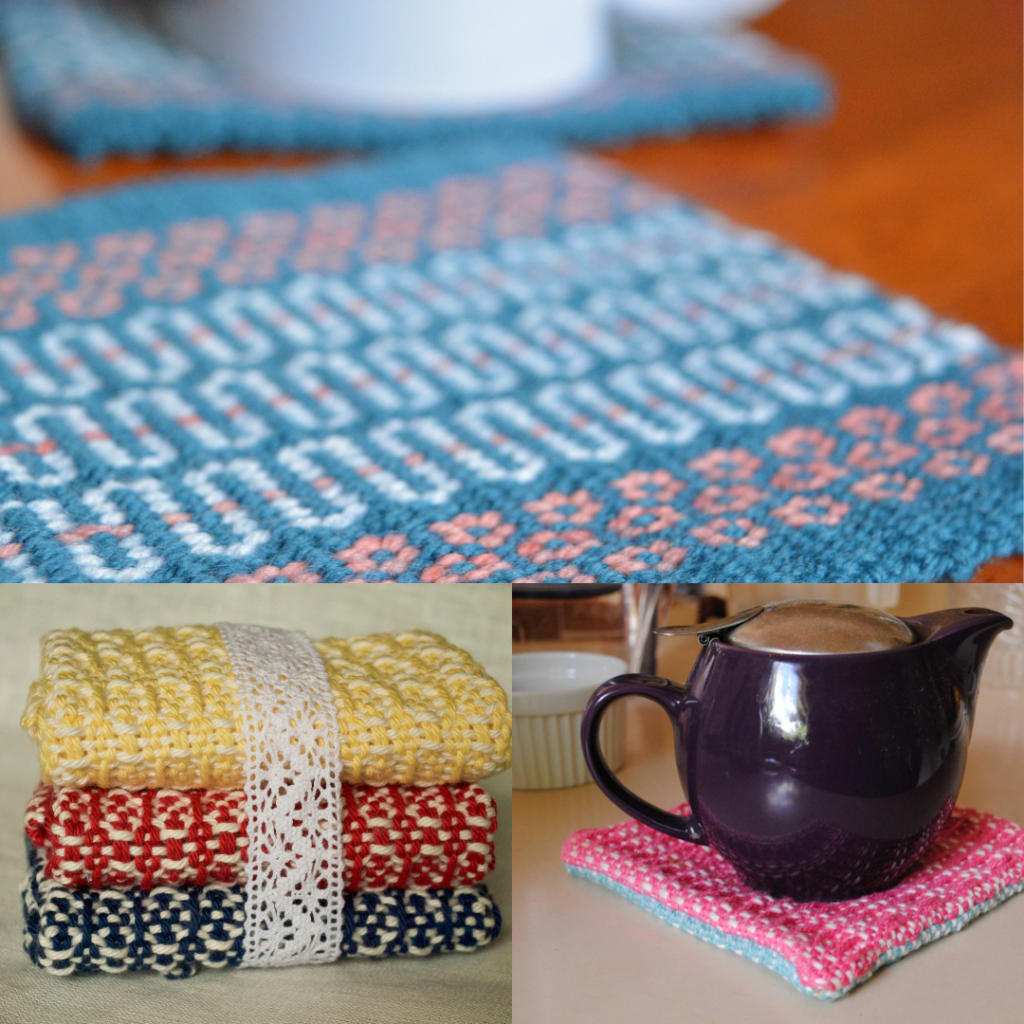
Get Into Homewares

The range of projects you could complete in this category really narrow down to how comfortable you are with seams in your finished piece (though I will mention double width weaving shortly!)

Small items could include kitchen cloths, drink coasters, mug rugs, small placemats, teapot rests, and napkins and pot plant or coffee mug holders.

If you don’t mind the idea of seaming pieces together, you can expand on this list of projects to include:

Cushions and pillows, kitchen towels, table runners, throws and blankets. My Rainbow Blanket project is the perfect of example of how seaming panels together to make a larger project can really work. It was woven entirely on my 10″ Sampleit loom. It is lap blanket sized, but could easily be expanded to become bed sized! I woven panels and hand seamed them together.

Weave For Children

Options for woven items for children could include little hats, vests, pants, baby blankets, toys and plushies.

Double Your Fun with Double Width Weaving!

I couldn’t possibly finish up without mentioning that you have the ability to weave double width on your rigid heddle loom. For my 10″ Sampleit, this means that instead of the 10″ weaving width available, I would have 20″ instead! Just to temper that statement, this doesn’t include draw in, so the actual finished piece would be narrower than 20″ – but you get the idea. Weaving double width is just that – you increase the width of your finished item to twice the size it would have been.

This is a great option to small loom weavers who do not have the option of upgrading to a larger loom but would love to weave larger items. Does double width weaving sound like some kind of sorcery to you? Well, it’s actually very practical and with the right steps, is very doable. I have some resources that can help you get started:

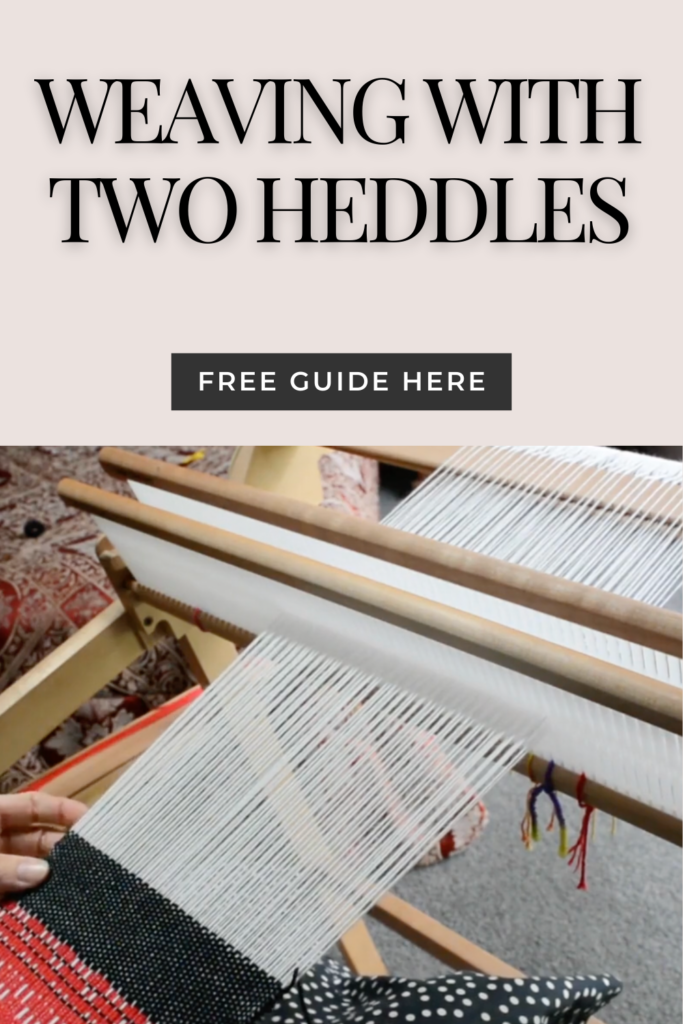
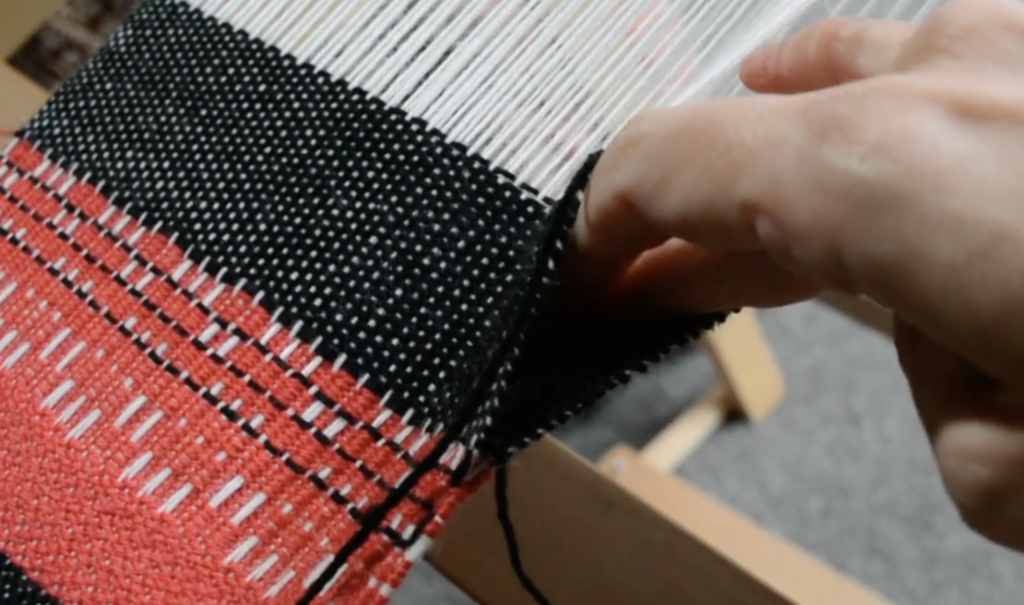
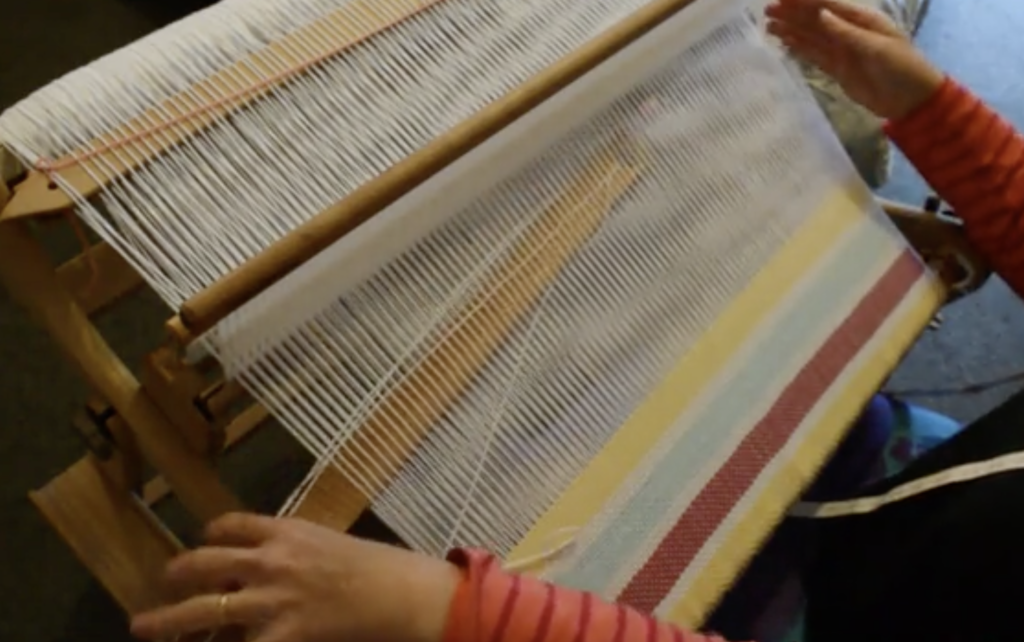
Weaving with Two Heddles Online Class

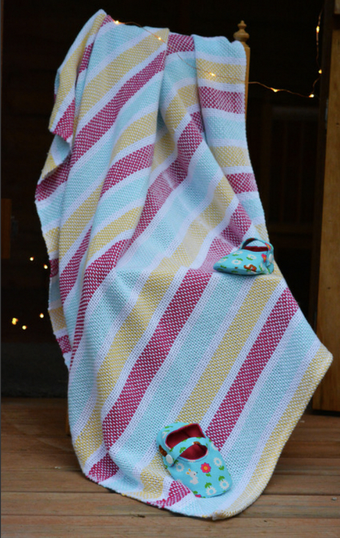
Doubleweave Baby Blanket Online Class

I’m sure I haven’t covered all the ideas that are possible on a smaller loom, so if you have any other thoughts for projects, please share with other readers in the comments below.

Until next time…

Happy Weaving!
Filed Under: Inspiration, Rigid heddle weaving, Rigid Heddle Weaving Patterns, Tapestry Weaving, Weaving Tagged With: little loom, small loom, small weaving projects

How To Fix a Weaving Float or Skipped Warp Thread

by Kelly 16 Comments

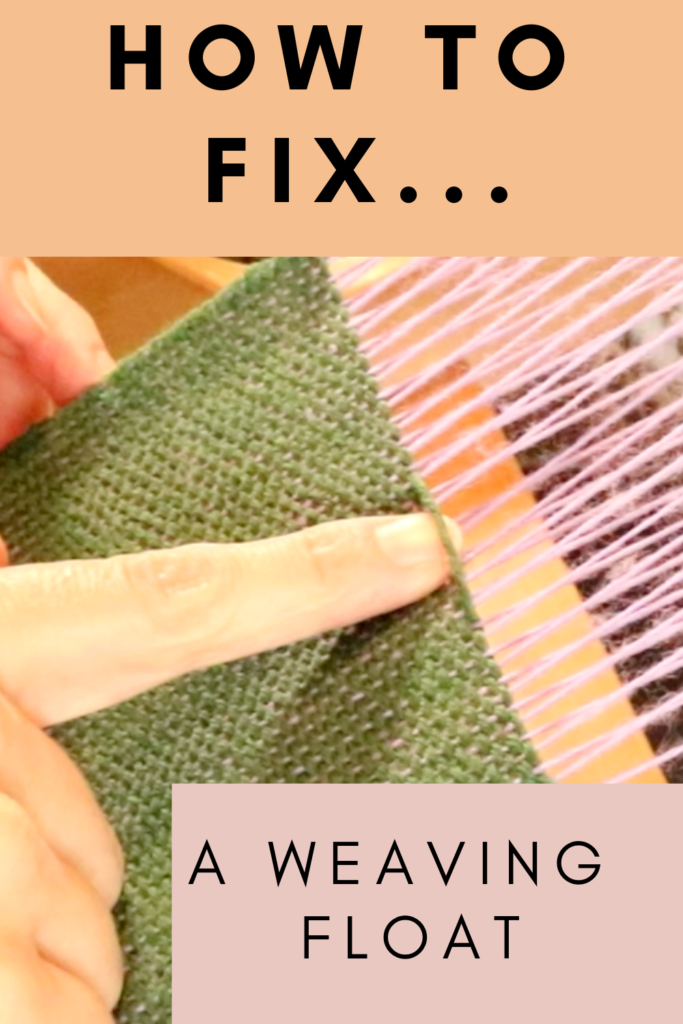
A “float” in weaving is a skipped warp thread or threads.

They usually occur at the back of the fabric and therefore are not noticed until you remove your piece from the loom.

While the discovery of a float can be disappointing for the weaver, thankfully they are fixable without too much trouble.

*This post contains affiliate links. For more information, please see my disclosure policy.

I’m using a plain weave sample, as it is the most straightforward to fix and so makes a suitable introduction to a weaver who hasn’t come across floats before. I’m weaving on my Sampleit Rigid Heddle Loom for the purposes of this tutorial, but floats can occur in any type of weaving.

We’re going to look at the three main culprits for a float happening in your weaving:

  • Loose or inconsistent warp tension
  • The angle of your shuttle as you enter the shed
  • Sticky threads

WARP TENSION

I know, I talk all the time about warp tension, but that is because it is SO important on so many levels to the success of your project. In relation to floats, a warp tension that is either too loose or has loose sections is a place for your shed to get messy. If your shed is not well tensioned and clean, that invites the potential for your shuttle to go over or under threads that it is not supposed to.

SHUTTLE ANGLE

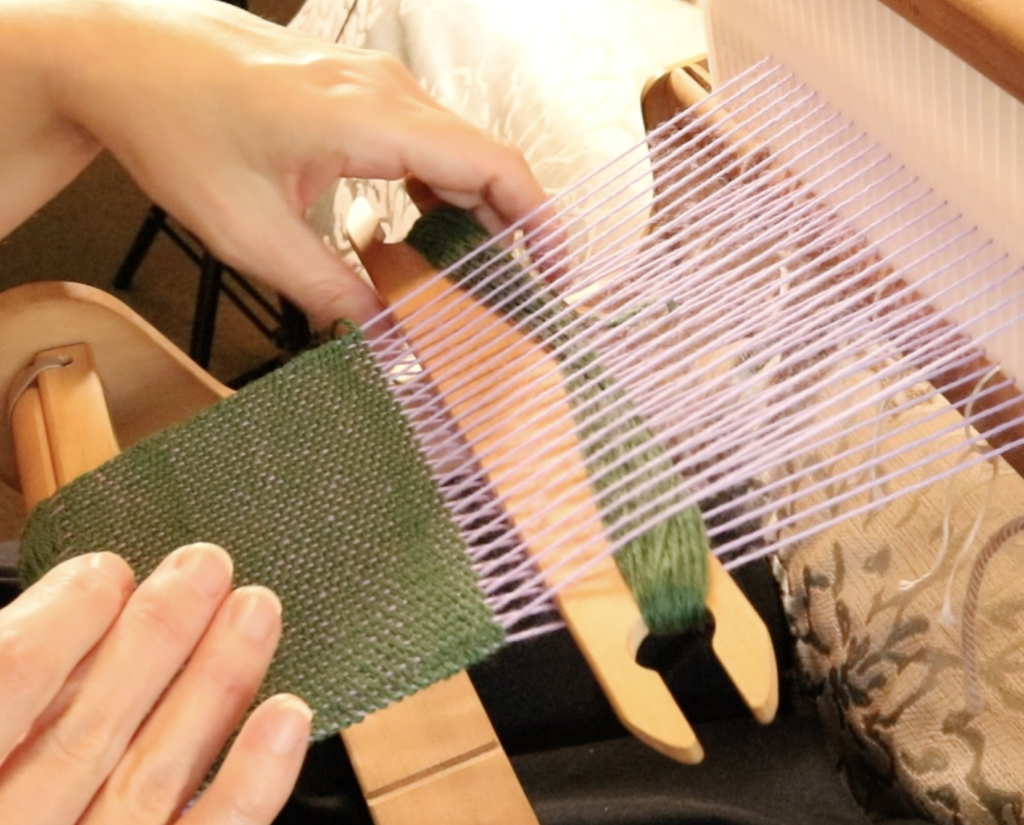
This relates pretty closely to my first point about warp tension, because if your shuttle is at a weird angle when it enters the shed, it may either snag on a warp thread or just skip over it entirely, and then you have yourself a float. Again, we want to aim for a clean shed that leaves no guess work about the path your shuttle should be taking.

A messy shed can cause floats!

STICKY YARN

This is a bit of a pet topic for me it seems, but once again, it has a huge impact on the success of your weaving. Sticky yarn will cause all sorts of trouble and floats are definitely one of them. If you want to know more about which yarns have the potential to give you a rather large headache, check out these posts:

  • 3 YARNS BEGINNER WEAVERS SHOULD NEVER USE
  • CHOOSING AND USING YARNS IN WEAVING

Tip for dealing with sticky yarns:

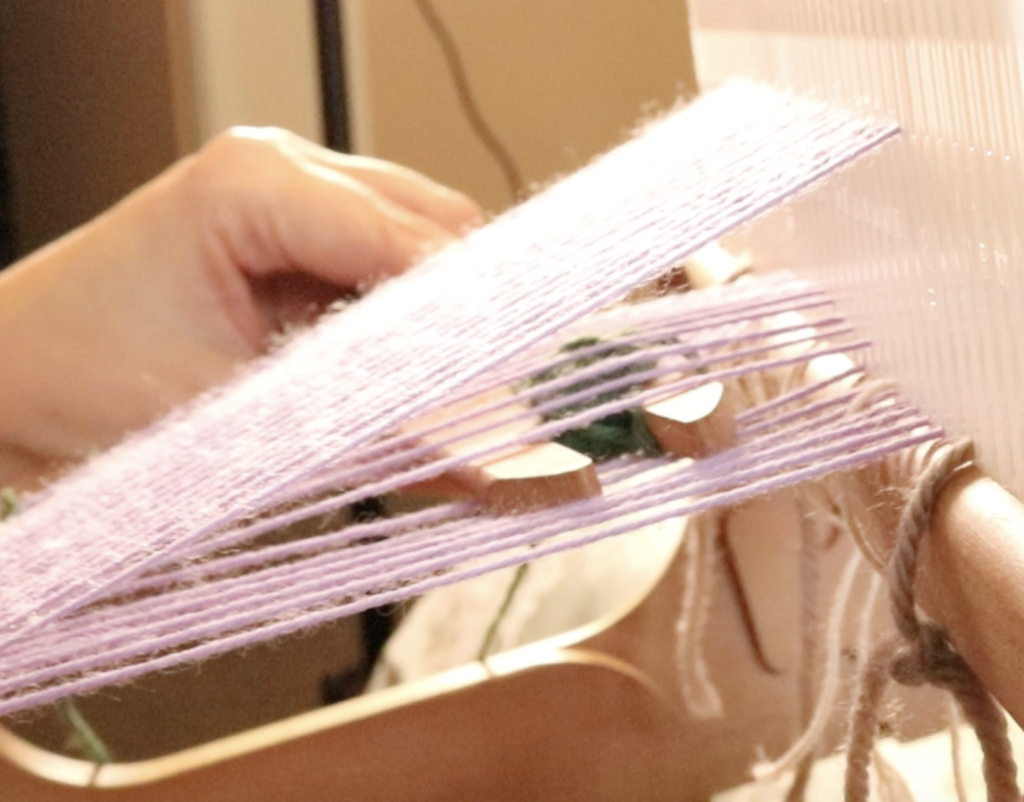
Use a spare pick up stick or shuttle to “clear” each new shed as you open it. This will force any threads that are sticking to one another back into their natural positions.

Now that we know the reasons why you might see floats occurring in your work, let’s get on to how to fix them!

*Note – Any float fixing should be done prior to wet finishing. If you have already wet finished but want to fix some floats, you can, the results just may not be quite as good.

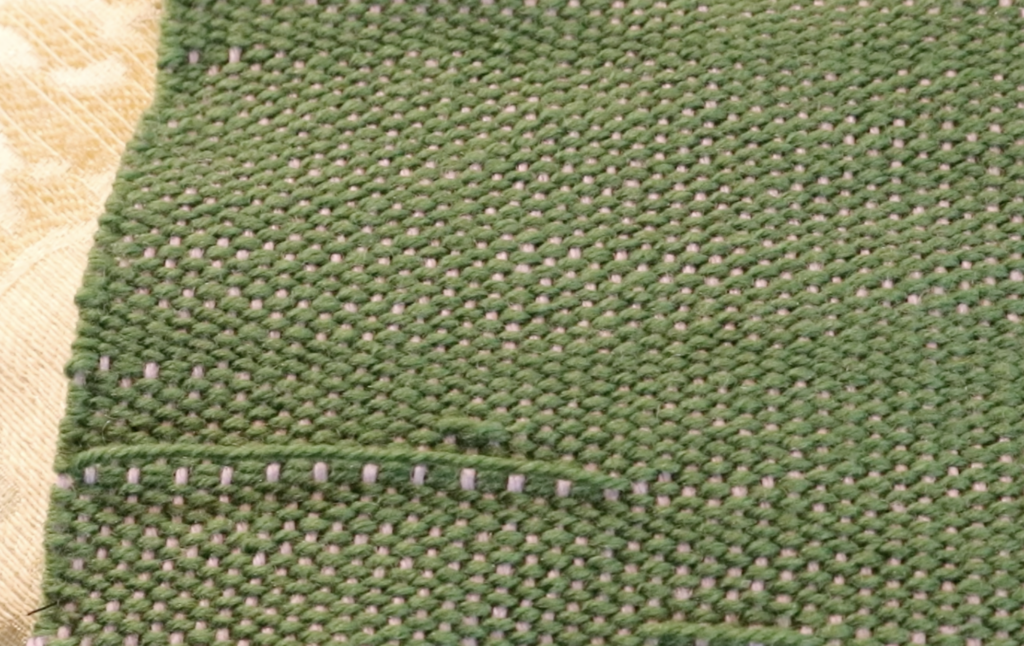
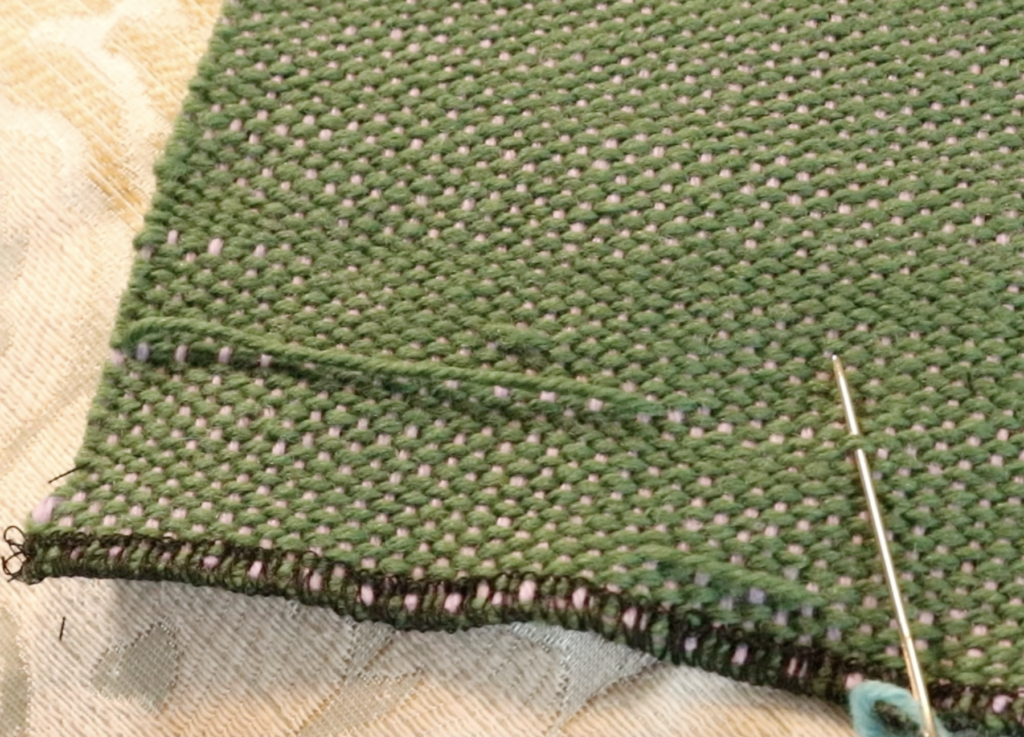
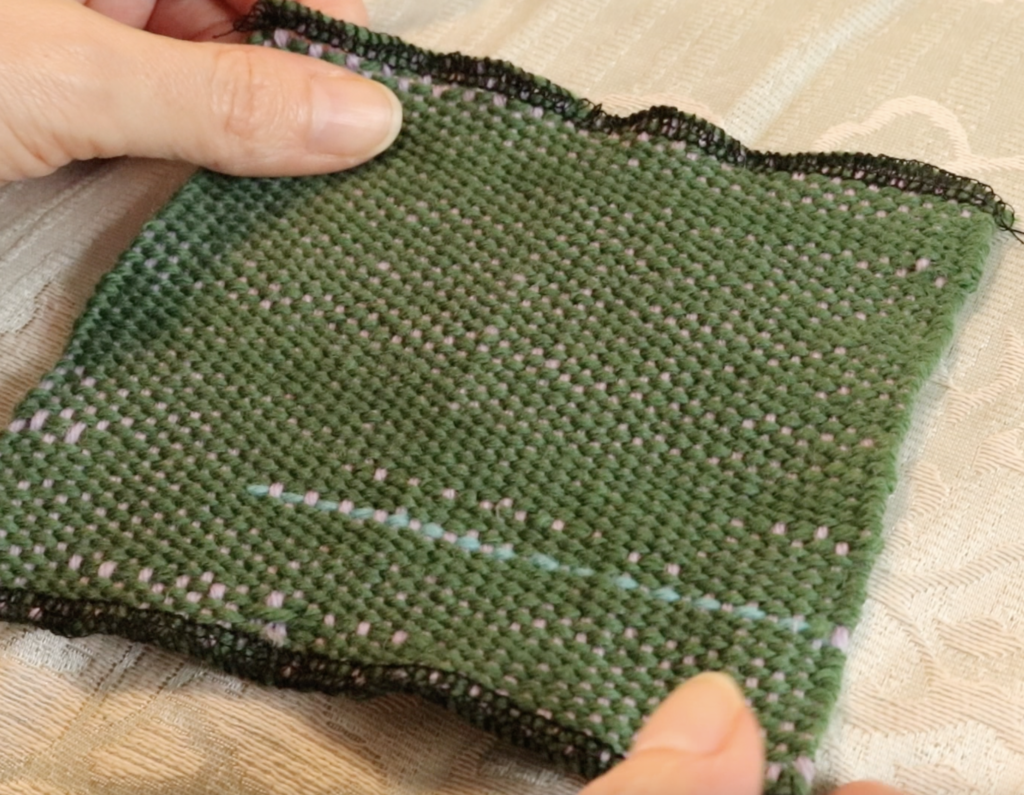
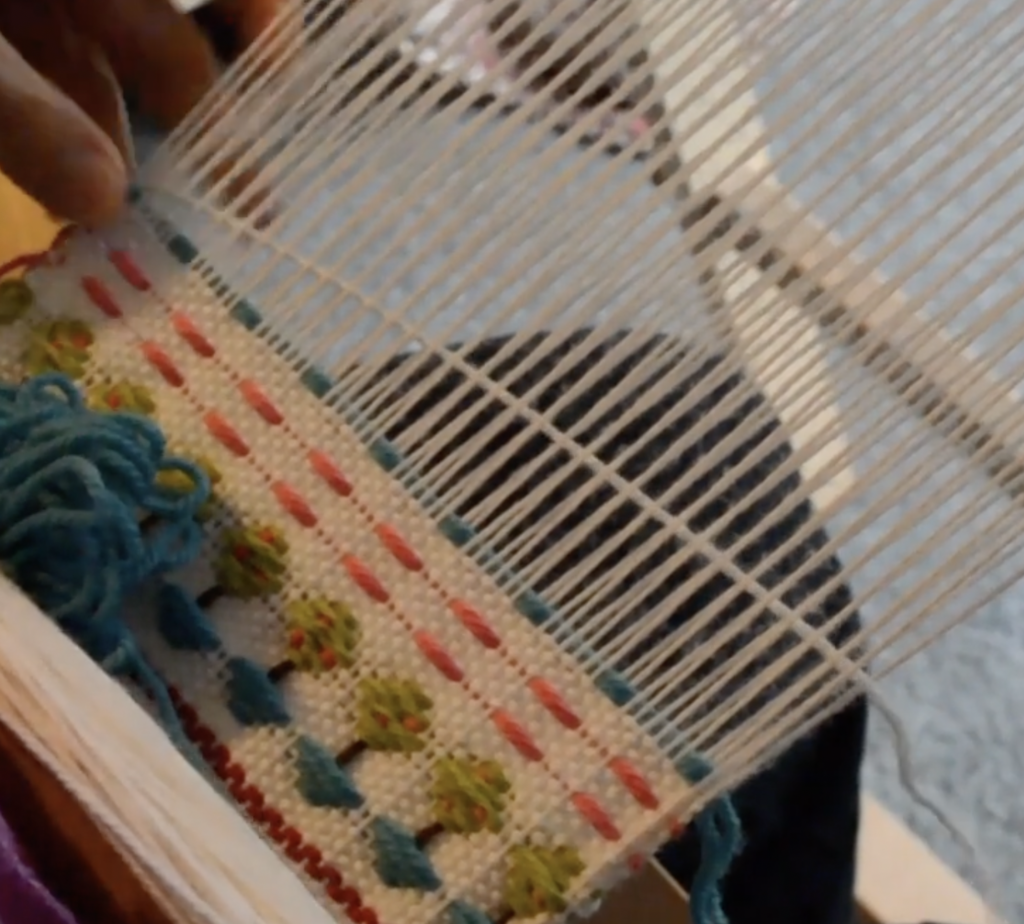
You will need a tapestry needle and a length of your weft yarn. I used a blue colour instead of my weft green, but only to make the tutorial super clear. You should use the exact same yarn in the exact same colour as your weft.

Normally, I would use my favourite tapestry needle, my Clover Bent Tip Needles, but as we are currently packing up our home to move, I couldn’t find them and just used an ordinary tapestry needle.

There is no need to knot the end of your threaded yarn.

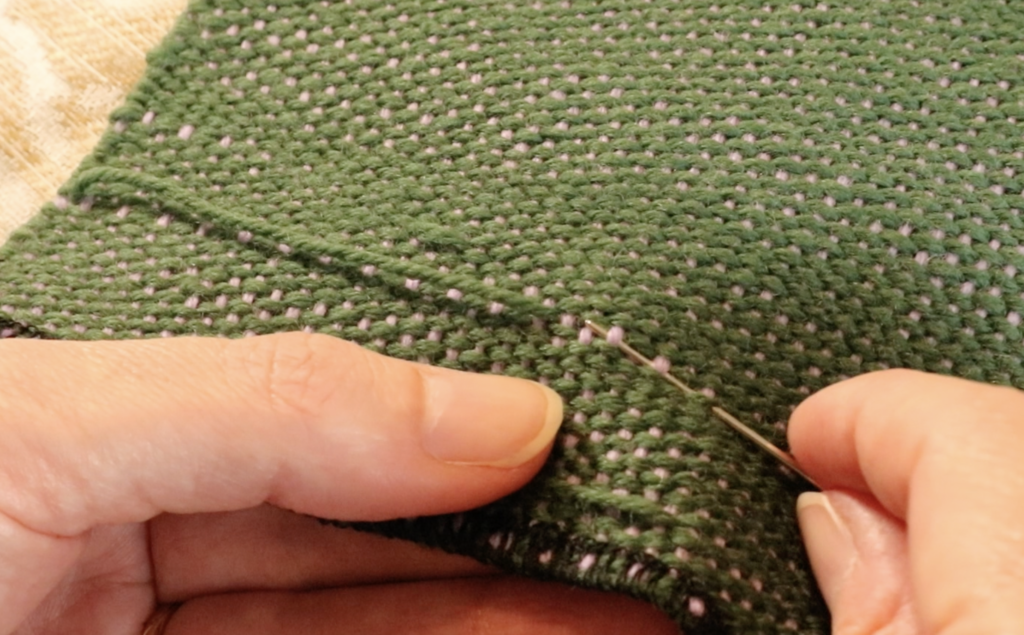
Begin by locating the path that your float yarn is travelling, around an inch away from the actual float. You can see that initially the yarn travels on the over/under path of plain weave, and then we have all those skipped threads where the weft strayed off course. We want to replace that section with a weft thread that is on course.

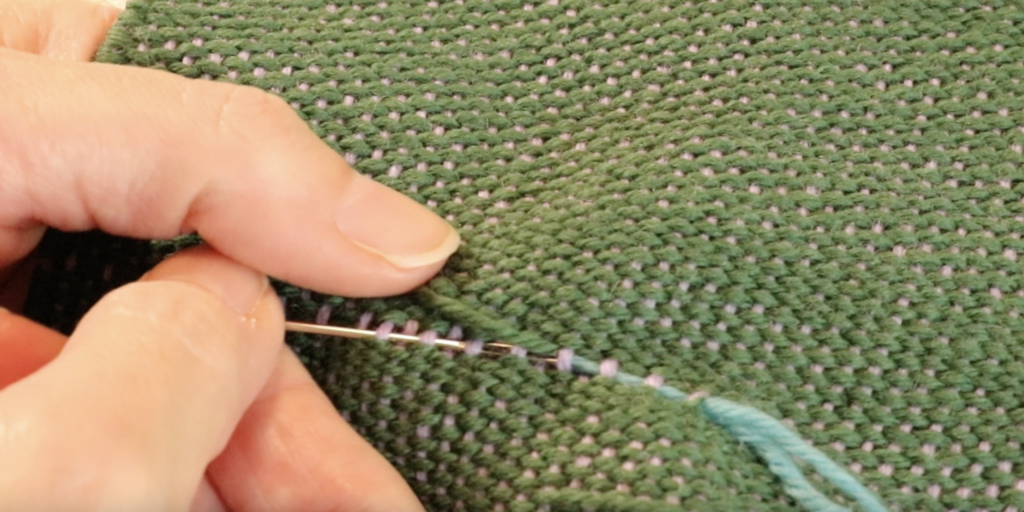
Next, we want to follow or mimic the exact same path that the weft was taking before it strayed off course. Keep your eyes on the correct weft thread and copy it exactly with your needle, right up to where the float begins.

When you run out of needle, pull your yarn through, but leave a tail of a couple of inches hanging out from where you began. Don’t cinch the thread up tightly, just pull it through so that it lays in place.

When you reach the float, push it aside so that you can see and continue following the over/under path based on where you were up to. Was your last thread under a warp thread? Then the next one should travel over – or vice versa. What you are doing now is placing the thread where it should have been in the thread, before the skipped threads happened.

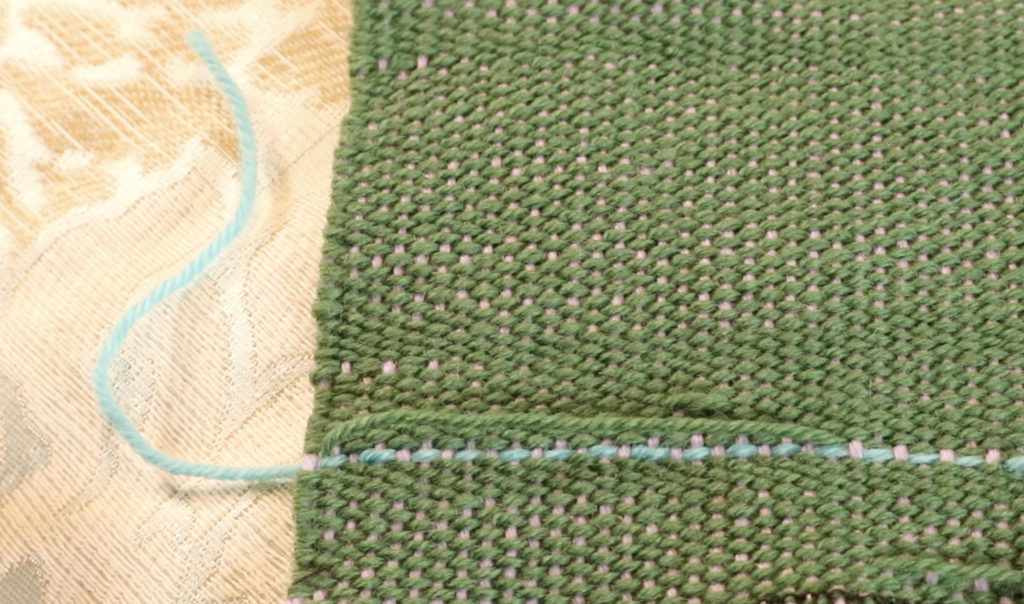
When you reach the end of the float, continue to needle weave for another inch or so. This picture is not the best example of this, as my float was close to the edge of the work. Whatever the case, continue needle weaving past the end of the float, then leave a tail of a couple of inches like you did at the beginning.

When you have repaired all your floats in this fashion, it’s time to wet finish. Do not cut your tails or floats at this point, leave it all just the way it is. Wet finish and dry completely.

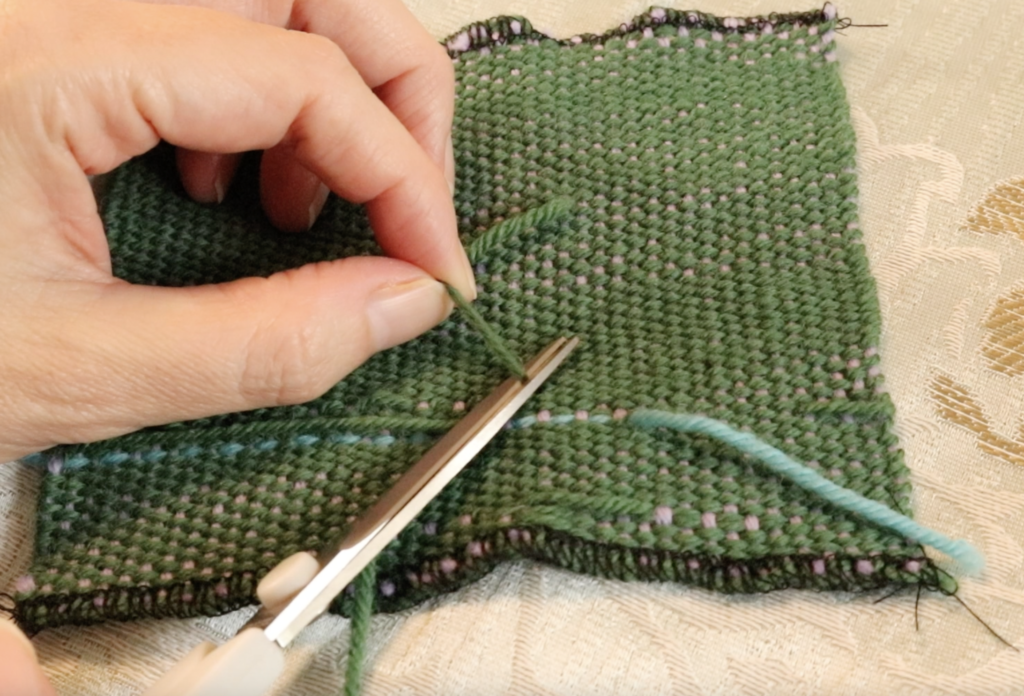
When your weaving is completely dry, it’s time to cut the tails. Use a small, sharp pair of scissors and cut close to the fabric, being very careful not to cut the fabric itself! You can also cut the floats at this point, in the same way you cut the tails.

And that’s it, floats are fixed. I left one float in place over at the left edge for comparison.

If you would like to see this tutorial in a step by step video format, please visit my Youtube channel.

Until next time…

Happy Weaving!
Filed Under: Free tutorial, Online Weaving School, Rigid heddle weaving, Sewing, Tutorials, Weaving, Yarn Tagged With: fixing floats, how to fix a float in weaving, weaving floats

Can you weave plain weave on krokbragd threading?

by Kelly 9 Comments

My answer to this question is: “Yes… but are you sure you want to?”

There are times when you’re weaving krokbragd and you want to have a little area of just plain colour, whether it’s to break up a busy design or as a border section.

*This post contains affiliate links. For more information, please see my disclosure policy.

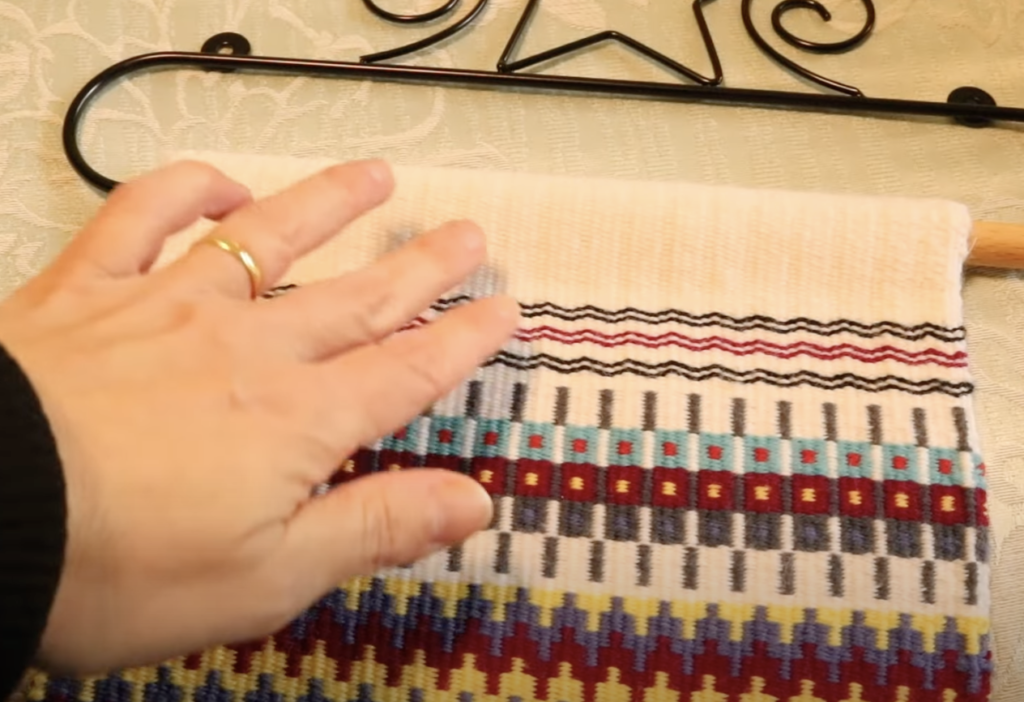
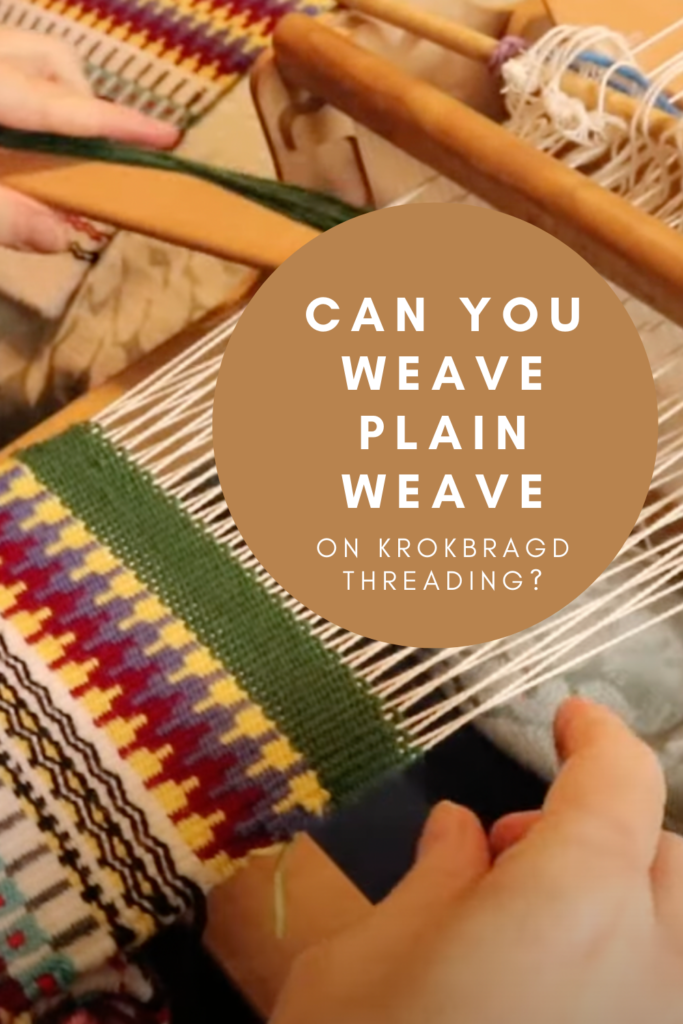
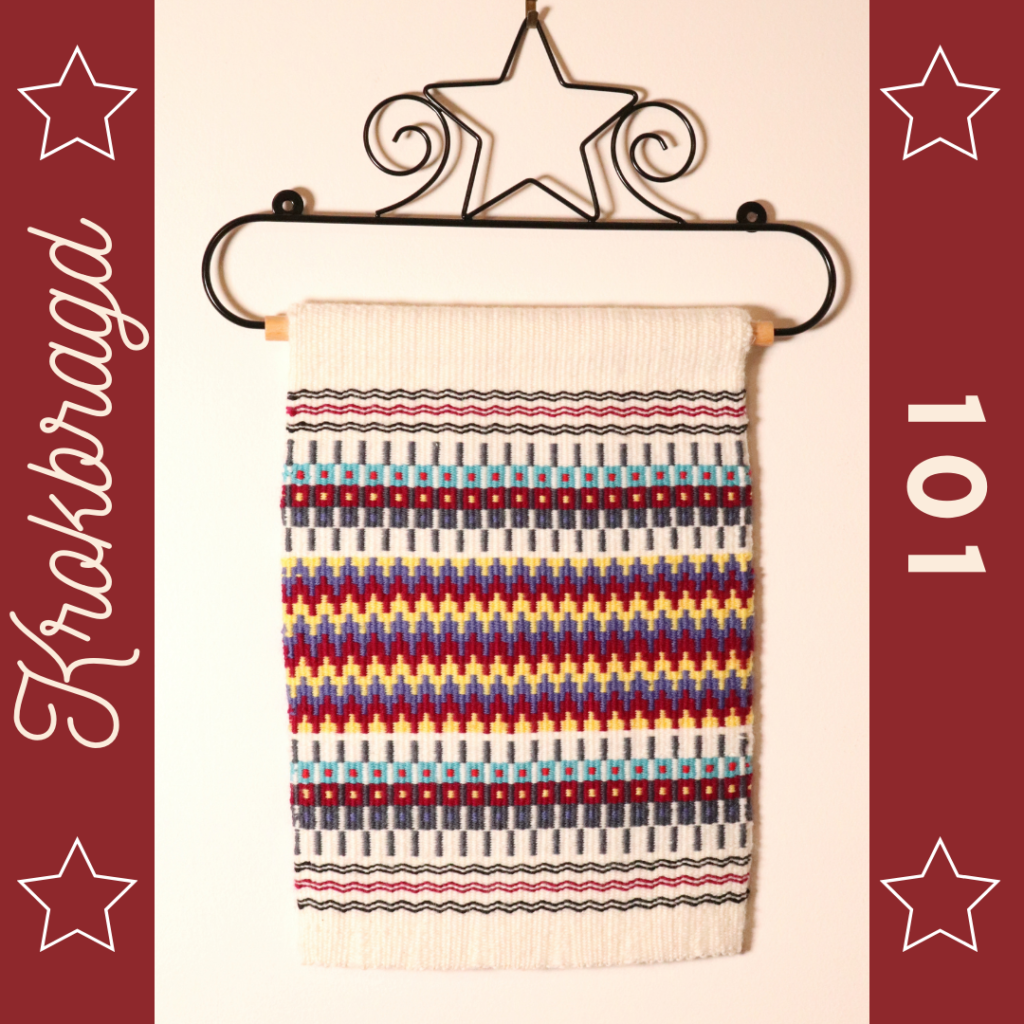
My wallhanging piece pictured above has some larger bands of solid white at the top and the bottom to act as borders. The top section was also woven in order to fold over and form the sleeve for my quilt hanger.

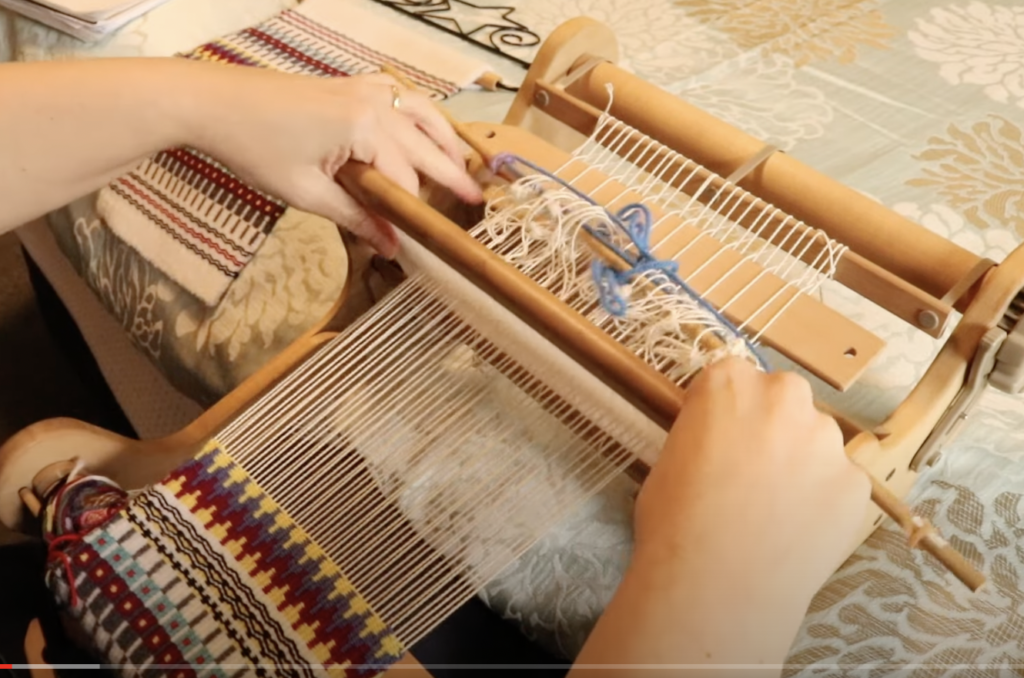
You might naturally think that for weaving a solid band of colour, you would choose plain weave. If you have your rigid heddle loom set up with a single heddle, heddle rod and pick up stick, plain weave is easy.

Single heddle, heddle rod and pick up stick loom setup

All you have to do to achieve plain weave on this setup is:

  1. Heddle up
  2. Heddle down

However, plain weave is definitely not the best option (in my opinion) and I’m going to tell you why.

Plain weave is a balanced weave

By it’s very nature, the amount of warp showing compared to the amount of weft showing is equal, ie. balanced! Now, consider the very weft faced krokbragd you have been weaving all this time. The weft completely covers the warp so that all you see is the colours of the weft forming patterns. If you suddenly throw a band of plain weave in there, it’s not going to match up so well with the krokbragd.

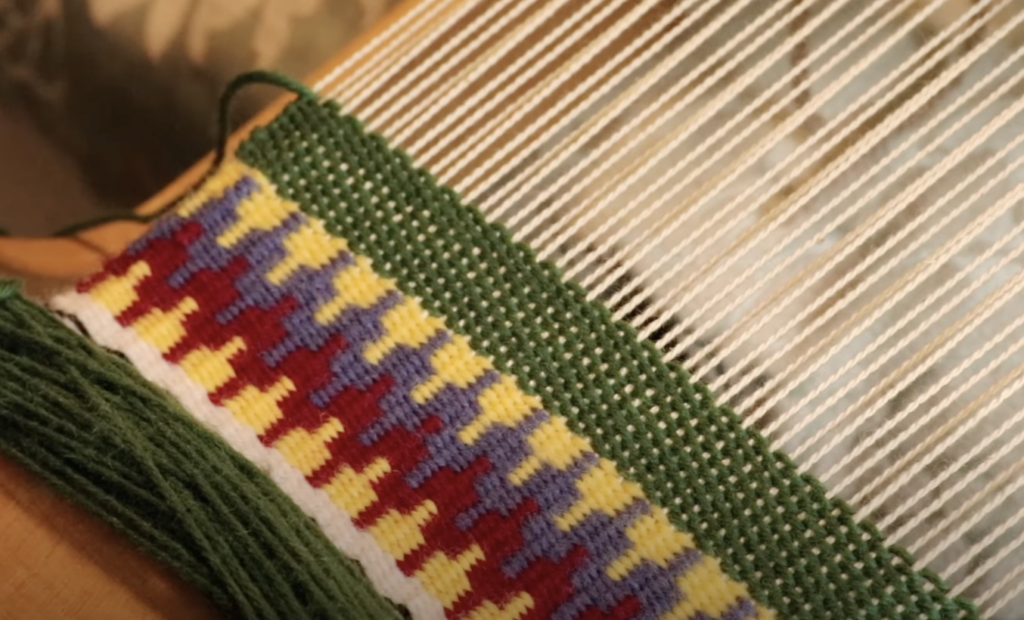
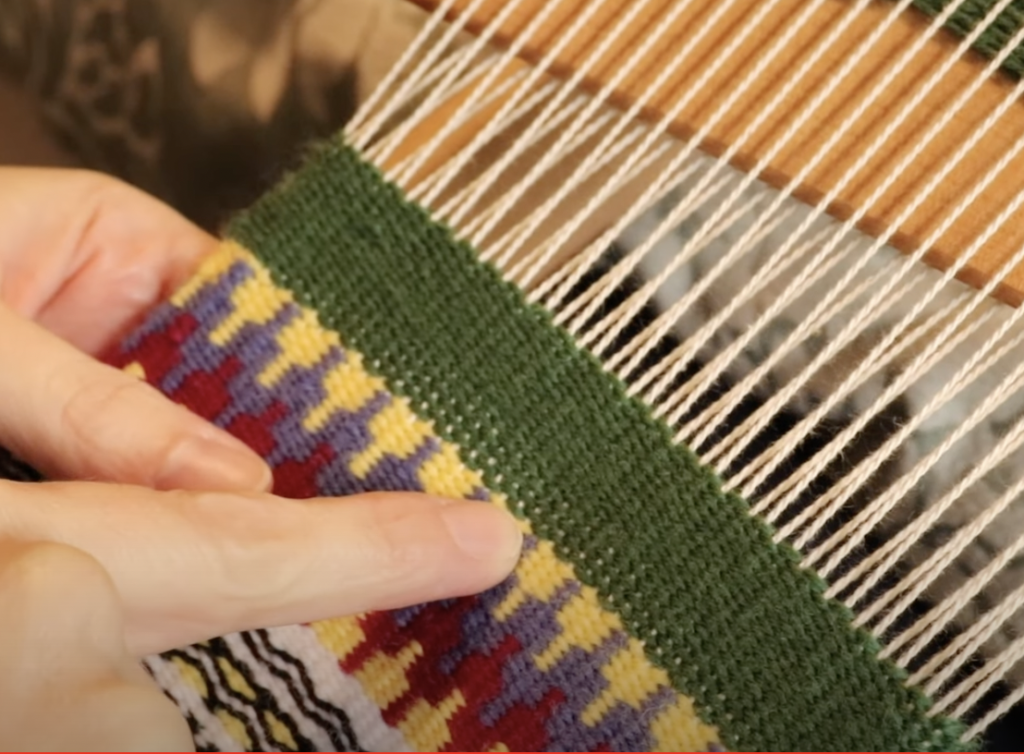
Compare the band of green plain weave just woven with the rest of the krokbragd underneath. See the problem?

The warp is showing through, and considering we have spent the rest of the piece carefully beating down the weft to cover the warp, the plain weave now sticks out like a sore thumb! If the entire piece was plain weave, it would be desired that the warp is showing through at the same rate as the weft, but not for krokbragd.

Plain weave is a lighter weave structure

It’s not only the visual aspect of the plain weave that is different to the krokbragd either. Weft faced fabrics are generally quite stiff and dense. There is a great difference in texture between the two weave structures on this piece, with the plain weave section being thin and light.

Changing the weave structures changes your edges

This difference in weight of the woven piece affects the fabric in other ways too. Krokbragd has more draw in than plain weave, so suddenly my edges are no longer consistent and look slightly bulgy in the plain weave section.

So, how do we solve this problem?

Thankfully the answer is extremely simple. All you have to do is keep weaving krokbragd!

Just use the solid colour that you want for your band of colour and move through the 3 step krokbragd weaving sequence. Don’t change your colour until you have the desired amount of weaving.

You can now compare the two sections of weaving in green – the part where the warp is showing is the plain weave and the more uniform looking part on top is the krokbragd. Also, because the green krokbragd follows the previous weave structure, it looks much more uniform and “like it belongs” there.

If you want to learn more about weaving krokbragd on your rigid heddle loom, check out my Krokbragd 101 online course.

If you would like to view this blog post in video format, please view here:

I hope you enjoyed this article! Perhaps it gave you some new ideas for krokbragd design? Or perhaps it has inspired you to give krokbragd a try? Let me know in the comments section below!

P.S. Have you seen the share buttons at the top of this post? You can easily share this article to Pinterest, Facebook or via email with one click. The more shares, the more weavers I can help! Thank you!

Until next time…

Happy Weaving!
Filed Under: Krokbragd, Neat edges, Online Weaving School, Rigid heddle weaving, Rigid Heddle Weaving Patterns, Tutorials, Weaving Tagged With: krokbragd, plainweave, rigid heddle weaving

How to weave neat edges on the rigid heddle loom

by Kelly 9 Comments

Nearly a decade ago, I took a leap and uploaded my very first YouTube video: How to Weave Neat Edges on the Rigid Heddle Loom. Using my son’s old camcorder (surprisingly, the footage still holds up!), I shared a simple yet essential weaving tip. My son even stepped in as editor, complete with some charmingly cheesy background music! 😄

*This post contains affiliate links. For more information, please see my disclosure policy.

The Video That Started It All

You could say that this is the video that started it all for me. And to be really dramatic, I could say that there would be no Online Weaving School without this first video. Because, regardless of my fears and zero expectations, people actually watched the video. Then they asked for more.

I never did write a blog post to compliment that video, and there are tips and tricks that I want to point out as important, especially for beginner weavers. So here we go, one blog post, coming up!

Tip One: Tension

I do go on about this a bit, but that is only because it is SO CRUCIAL!! If your warp is either too loose or too tight, you are going to meet with trouble when you start weaving. Let’s look at too loose first.

Too loose!

This is an example of too loose. If you push up underneath the warp or push down on top and it’s like your hands are on a trampoline that has lost it’s zing, you’re too loose. A too loose tension will result in too loose edges, and even if you employ the techniques I discuss in the video, it’s only going to help a certain amount. When your weft travels around the edge warp threads, it naturally wants to draw in that warp thread a little as it travels to the other side.

That is normal and natural as the weft takes it’s path back and forth across the warp. But, it should not be an excessive amount and it should be consistent. I’m going to talk about consistency more in a moment.

One way to know if your warp is way too loose, is your heddle won’t like to stay in position when you place it there. In the up position, it may fall, in the down position it may just hang there. Doesn’t that sound sad?

So, if your edges seem too loose, try advancing your warp a little.

Then there is the opposite problem, your tension is too tight.

An easy way to know if this is your problem is that you have to wrestle with the heddle to get it into the up position. Not good for your poor old warp which my repay you by snapping a thread. Not good for your loom either, which is only designed to hold a certain amount of tension before damage can occur.

When your tension is too tight, you will also get problems at the edges. They may start to curl upwards as you weave the weft and the warp tries to deal with all that tension. This will also cause the dreaded “smile” from your weaving. It sounds like a good thing to have your weaving smile, but trust me, it ain’t smiling because it’s happy! It will be hard to beat, so your fell line could end up uneven. I can always tell a “too tight” warp because the weft at the edges looks unsettled and unhappy. Not consistent and cruisy.

In between “too tight” and “too loose” tension is “inconsistent tension”. I feel that this is even worse than the previous two, because at least they can be remedied easily by adjusting warp tension.

Inconsistent warp tension usually occurs in the warping process. Perhaps you have warped independently, you’ve grabbed the warp with one hand to roll it on, but you haven’t paid enough attention to the middle part of the warp. It then rolls on looser than the rest. What you finish up with when you start warping is a loose middle and too tight edges. Aaaagh! Not fun. At all. And, once again, a sure recipe for whacky edges.

If you have ongoing warp tension issues and find that frustrating, I highly recommend a beginner’s class like my Woe to Go – Beginner Rigid Heddle Weaving.

Tip Two: Winding Your Stick Shuttle

The way in which you wind yarn onto your stick shuttle will affect your edges. I like to use a figure 8 to wind my shuttle yarn, as it creates a flow, meaning the yarn feeds off the shuttle without snagging or pulling unnecessarily. This, in turn, means a smoother weave and no sudden catching or pulling in of the edge threads due to yarn getting stuck on the shuttle.

If you need to see the figure 8 method of loading your stick shuttle, you can watch here:

Tip 3: Weft Angle

When you take your weft picks through, you want to ensure that you angle it before beating. If you’re a beginner, a 45 degree angle is good, and for more experienced weavers, around 25 – 30 degrees is fine. Doing this helps with your edges because it gives the weft room to settle into place, rather than being dragged into a tight spot that feels un-natural. And now I’m talking as though the yarn has feelings, but that is what happens to you if you work with it for long enough 😆

Tip 4: Pinching Technique

I think that maybe, out of all the things I’ve shared with others about weaving, this one may have been the most helpful to the greatest number of people. It really does make that much difference.

Let’s go over the steps to my pinching technique:

I’ve taken the weft through, I’m angling it, and then I’m bringing my pointer finger into the shed to feel the weft as it travels around the edge of the warp thread.

Then, I’m placing my thumb on top so that the weft yarn, along with the warp thread are wedged or “pinched”. This gives me a really good tactile sense of how the weft is behaving at the edge warp. Perhaps it needs tightening up, or perhaps it needs loosening. I place some tension on the weft yarn with the opposite hand to help it settle in.

The last step of the process is to give that weft tail that is sitting up on the right hand side a little tug to help it settle into place before the next pick.

If you practice this technique for a while, you will learn what the yarn is telling you (oops, there I go again!) and how you should proceed.

More Resources For You

If you enjoyed this tutorial, you may want to check out the huge variety of classes I have on offer in my Online Weaving School. There are many rigid heddle classes, from beginner to advanced. If you purchase a membership, you also gain access to the private member’s group – a fantastic community of like minded weavers and support team. I hope to see you there!

I have a bunch of other posts and videos on weaving neat edges, as it’s a problem that pops up so often. Isn’t it good to know that there is something you can do about it?

Help! My edges are wonky!

Troubleshooting loose slot threads

Going around the edges

Try this trick for neater edges

Lifeline selvedge technique

Yet another neat edges tutorial

Thank you for visiting, and be sure to leave me a comment down below.

Until next time…

Happy Weaving!
Filed Under: Neat edges, Online Weaving School, Rigid heddle weaving, Tutorials, Weaving Tagged With: neat edges, rigid heddle weaving tutorial

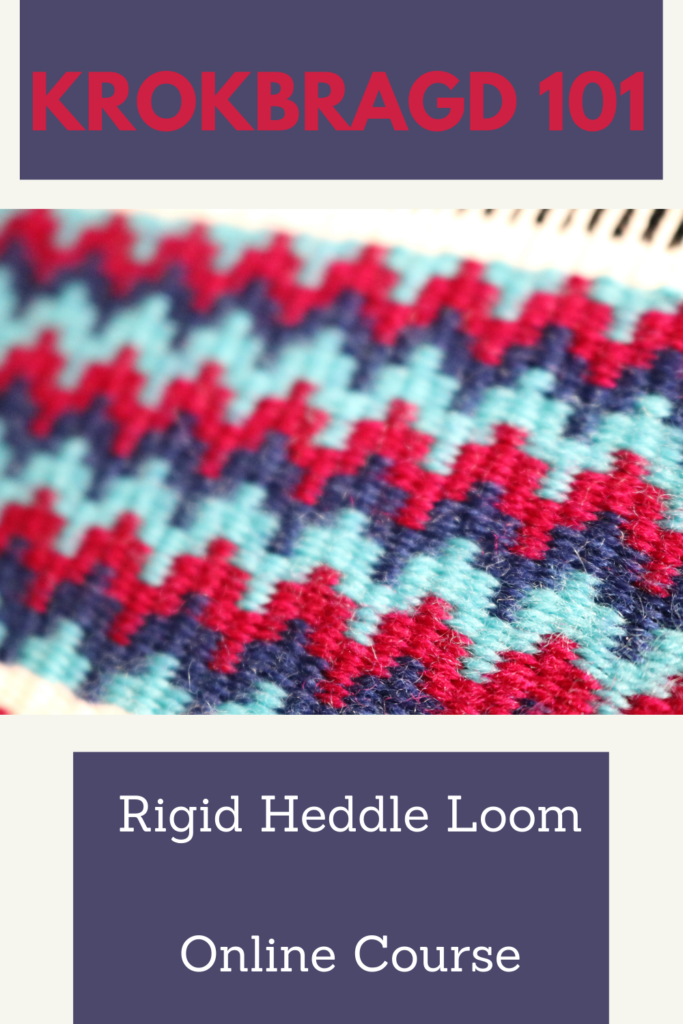
Krokbragd 101 Online Course

by Kelly 13 Comments

It’s been in my mind for a long time to make a complete “from start to finish” style rigid heddle krokbragd class to add to my Online Weaving School.

My krokbragd videos on Youtube are some of my most popular videos, but many of you have asked me for more. Considering krokbragd is one of my favourite weave structures, I am more than happy to oblige!

*This post contains affiliate links. Please see my disclosure policy for further information.

My aim for this course is to introduce newer weavers to this fabulous weave structure, but also to help more seasoned weavers learn and enjoy weaving krokbragd. I provide two different loom set ups to accommodate for personal preferences, for the equipment you may have on hand and as an additional learning experience.

The first section is a sampler woven with a single heddle, a pick up stick and a heddle rod. This is how you will see me weaving krokbragd in my Youtube videos.

The second section is the exact same sampler, but woven using two heddles of the same size.

The student can choose to either weave the sampler twice, practicing both methods of setting up the loom, or weaving the sampler once, choosing the set up method they prefer.

Whichever set up method you choose, step by step instructions are provided.

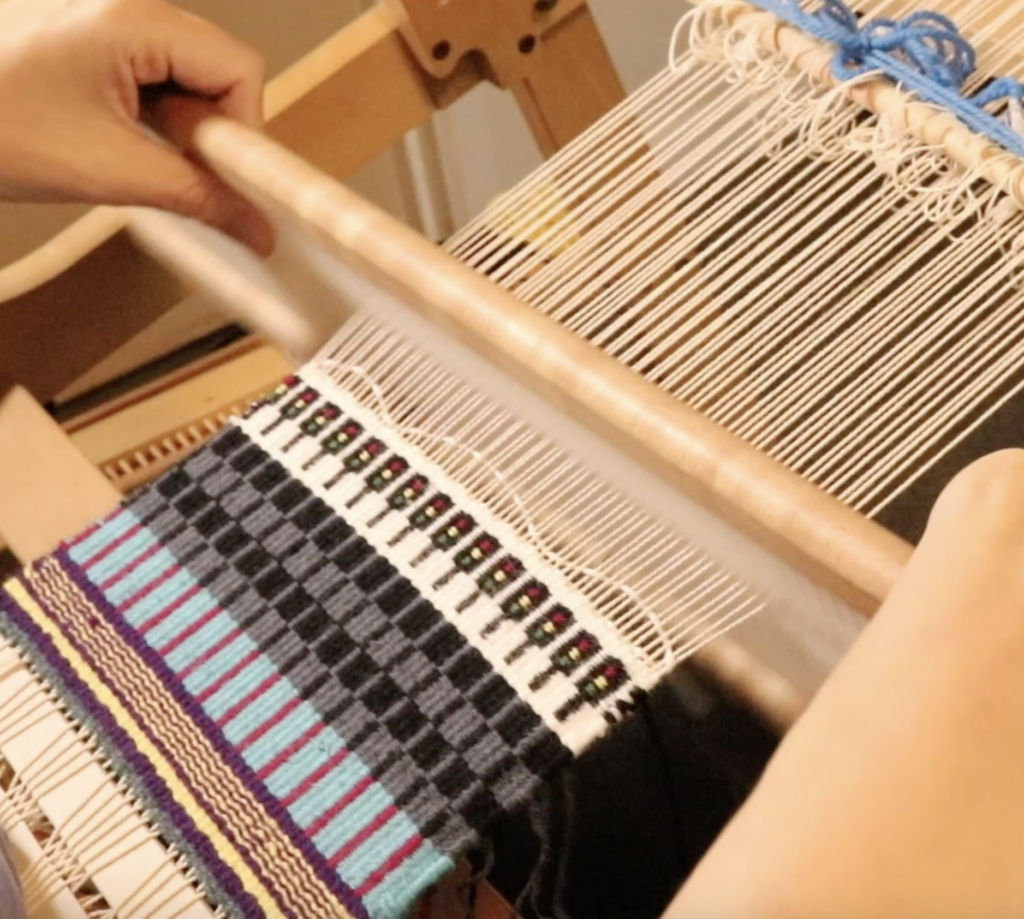
In the sampler we learn to weave some really fun and beautiful designs, including:

  • Columns
  • Squares
  • Stripes
  • Flowers
  • Flame point, and even
  • Traffic lights!

You then have the space and freedom to practice these designs on the same warp or to try some of your own designs!

In this course we will be looking at common krokbragd issues like beating tension, appropriate yarns, colour and neat selvedges.

There will be additional visual threading diagrams as well as the video demonstrations.

The course culminates in a final project which will be a beautiful, one of a kind wall hanging. I have always wanted to weave a krokbragd wall hanging as an artistic feature for my home and I can’t wait to share this project with all of you!

Krokbragd is so fun, relaxing and rewarding, I just know you are going to LOVE this course!

Gold members of the Online Weaving School have early access to the course as it is being made and uploaded. If you are a Gold member, go to your curriculum list and look for “Krokbragd 101” under “K”. Alternatively, click here for the direct link.

This course will become available to other members upon the release date. It will also be available for single, non member purchase.

This class is now open and can be purchased here.

If you are interested in krokbragd and want to know more prior to the course opening, I have a lot of free resources for you! Start with this post for more information.

Until next time…

Happy Weaving!
Filed Under: Krokbragd, Online Weaving School, Rigid heddle weaving, Rigid Heddle Weaving Patterns, Weaving Tagged With: krokbragd, krokbragdweaving

How to read a rigid heddle weaving draft

by Kelly 26 Comments

Most of the time when you are weaving on a rigid heddle loom and following instructions, there will be written notes for how to weave a pattern.

For example, in any of my rigid heddle classes you will see threading instructions, telling you which holes and slots to thread, including colour order wherever it’s applicable. You will see any extra instructions for using pick up sticks if they are being used. All these things will be shown and often written in a file with step by step text instructions.

*This post contains affiliate links. For further information please visit my disclosure policy.

But, what about weaving drafts? Weaving drafts are not something that a rigid heddle weaver needs to know, because, as I mentioned above, most weaving patterns or classes for rigid heddle will have written instructions and won’t even mention a weaving draft.

However, learning to read a basic weaving draft can be really useful for two main reasons:

  1. It helps you to gain an understanding of how your rigid heddle loom actually operates. You will discover this in a moment as we go through how to read a plain weave draft and how it translates to your RH loom.

2. Many rigid heddle weavers choose to venture into multi shaft weaving – either by adapting their rigid heddle loom or by purchasing a table or floor loom. Knowing how to read a draft is invaluable to the weaver who aims to weave with more than two shafts at some stage.

Today, we’re going to look at a simple plain weave, two shaft weaving draft. I chose to help you learn about a two shaft draft because I want you to focus first on learning the basic layout of a non complicated weaving draft, and also because a rigid heddle loom is a two shaft loom.

You can see that I opted for bright and contrasting colours so that you can distinctly see the pattern. Personally, I would probably not choose these colours for a project, but some of you may love them! 😬

This is the most typical layout for a weaving draft, but if it is an older draft you are looking at, the information may be in different places, for example, the line of numbers I have at the top may be at the bottom instead.

Alright, let’s get into the nitty gritty by learning the different parts of the draft and what they mean, starting at the top.

The top section circled in red is the threading. For plain weave on a rigid heddle loom we use two shafts and these are represented by the numbers 1 and 2 that repeat across. The threading section is a horizontal bar on the draft, but indicates the vertical purple warp threads. You can think of these numbers as being like the vertical threads of your warp.

You can think of the holes on your heddle as shaft 1 (number 1 in the threading section) and the slots on your heddle as shaft 2 (number 2 in the threading section).

To find the start of the threading section, we read from right to left, beginning in the first box in the right hand corner, which is a number 1.

Also note the colour that appears above the number 1, which in this case is purple.

This tells me that my first thread for my warp is a purple thread that will be threaded in a hole. The second will be in a slot. Then a hole, then a slot, and so on.

This would be an easy warp as there are no warp colour changes.

Next I want to discuss the tie up box.

When using a multi shaft loom, you need to know which shafts need to be tied up to which treadles, this is where the tie up box in the top right corner of the draft comes in.

The circles you can see in the box match up with either number one or two on the threading section, indicating which shafts are to be used. The circle usually means that the tie up is for a rising shed loom. An “X” will often mean the tie up is for a sinking shed loom.

See how the first circle in the tie up box lines up with the shaft 1 threads in the threading section?
And circle 2 from the treadling box lines up with shaft 2 threads in the threading section.

How is this relevant to the rigid heddle weaver, considering we don’t have to tie up treadles?

It simply shows us which shafts need to be engaged in order to weave the pattern. If we thread our shaft 1 in the heddle holes and shaft 2 in the heddle slots, as described earlier, we don’t need to do anything else (like tie up treadles) in order to start weaving those shafts. The warping and threading of the heddle is all the preparation we need.

The long, vertical box to the right of the draft is the treadling section. The box is vertical, but indicates the horizontal part of your weaving, which is the weft. My weft is yellow, and this is indicated by the yellow box next to each number.

Again, as rigid heddle weavers, we don’t “treadle” but we do manipulate our heddle in order to open shafts, and this box gives us the correct order we need to use to weave the pattern.

On the rigid heddle, we operate the heddle for plain weave by either lifting it into the up position or placing it in the down position.

When you lift your heddle up, have a look at what is happening with the threads. All the hole threads are lifted up, and the slot threads stay down. The space in between the two layers of threads is our shed.

Now, when you place your heddle down, the opposite occurs – all the slot threads pop up and the hole threads stay down. This creates a second, different shed. In that case:

Heddle up = Shaft 1 engaged

Heddle down = Shaft 2 engaged

So, we understand that the heddle just goes up and down and that makes our 2 shafts. But let’s look more closely at the draft to ensure that we can visually follow the changing of shafts.

We start reading the treadling (or order of shafts) in the first box that appears under the tie up box. The treadling sequence will not always be indicated by numbers, there may be a filled box, a diagonal slash or similar.

Also, some drafts will use numbers to indicate how many times you are going to weave a certain pick. But, because we are just alternating between shafts 1 and 2, I have used the numbers 1 and 2 underneath the circles.

For this draft, the first number is on the left, underneath the circle that indicates shaft 1. For the RH weaver, shaft 1 means hole threads, which means heddle up.

When you have woven your shaft 1 pick you will then change to the next shed by following along to the next number in the next line down. It is a number 2 and so for the RH weaver, that means the down shed.

After weaving this shed, you then follow to the next row down, which is a shaft 1. And so on.

The last part of the weaving draft is the drawdown.

The drawdown is essentially a diagram of the fabric you will weave. It provides you with a visual representation of what your pattern might look like.

Naturally, elements such as your sett and chosen yarns can vary the look of the cloth greatly, so your finished piece will not necessarily look just like the drawdown. It shows the interlacement of your thread colours.

With our plain weave, checkerboard pattern you can easily see that the alternating colours in each row of purple, yellow, purple, yellow represent our warp and weft colours, and also our shafts one and two.

If you would like to use this draft, as well as the fabric view, to print out, I have made a printable PDF for you, which you can download below:

Plain-weave-draftDownload

If you would also like to see this post in video format, please visit my Youtube channel:

If you are interested in knowing more about reading weaving drafts, I have two members only classes at my Online Weaving School.

Introduction to reading weaving drafts

Reading a 2 shaft plaid draft for rigid heddle weavers

I hope this was helpful to you. Questions and comments are welcome, I love to hear from you!

Until next time…

Happy Weaving!
Filed Under: Rigid heddle weaving, Rigid Heddle Weaving Patterns, Weaving Tagged With: rigid heddle weaving tutorial, weaving draft

  • « Go to Previous Page
  • Page 1
  • Interim pages omitted …
  • Page 5
  • Page 6
  • Page 7
  • Page 8
  • Page 9
  • Interim pages omitted …
  • Page 16
  • Go to Next Page »

Primary Sidebar

About Kelly Casanova

Join Kindred Creatives!
Hand crafted boat shuttles

Categories

Archives

Meta

  • Log in
  • Entries feed
  • Comments feed
  • WordPress.org

Copyright © 2026 Kelly Casanova Weaving Lessons on the Foodie Pro Theme