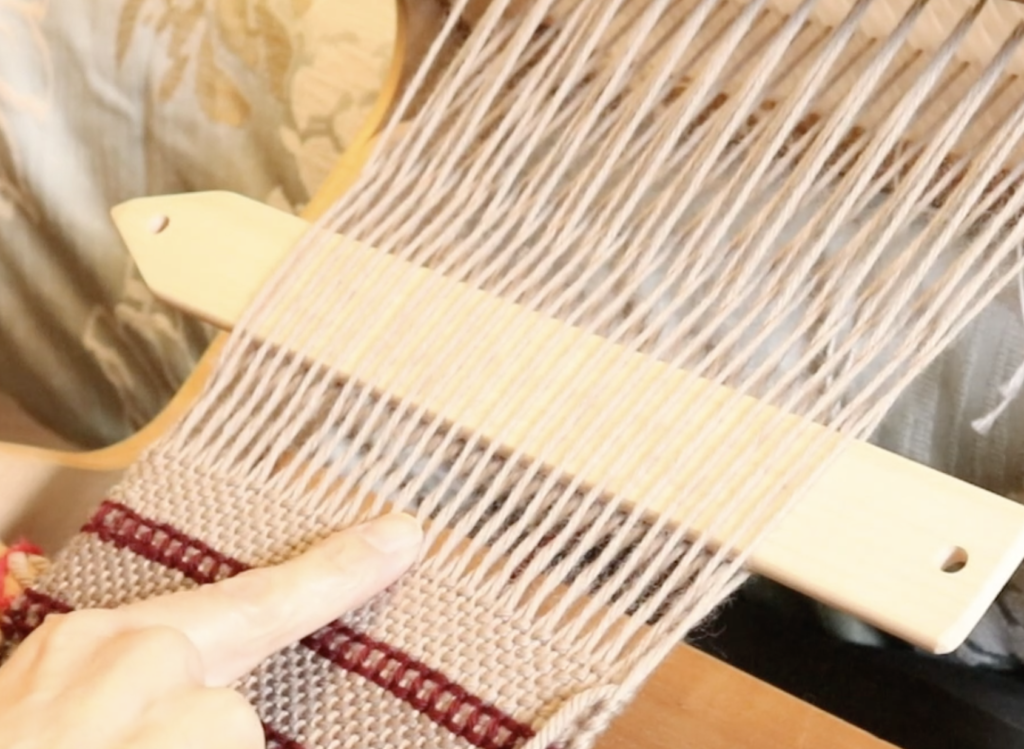
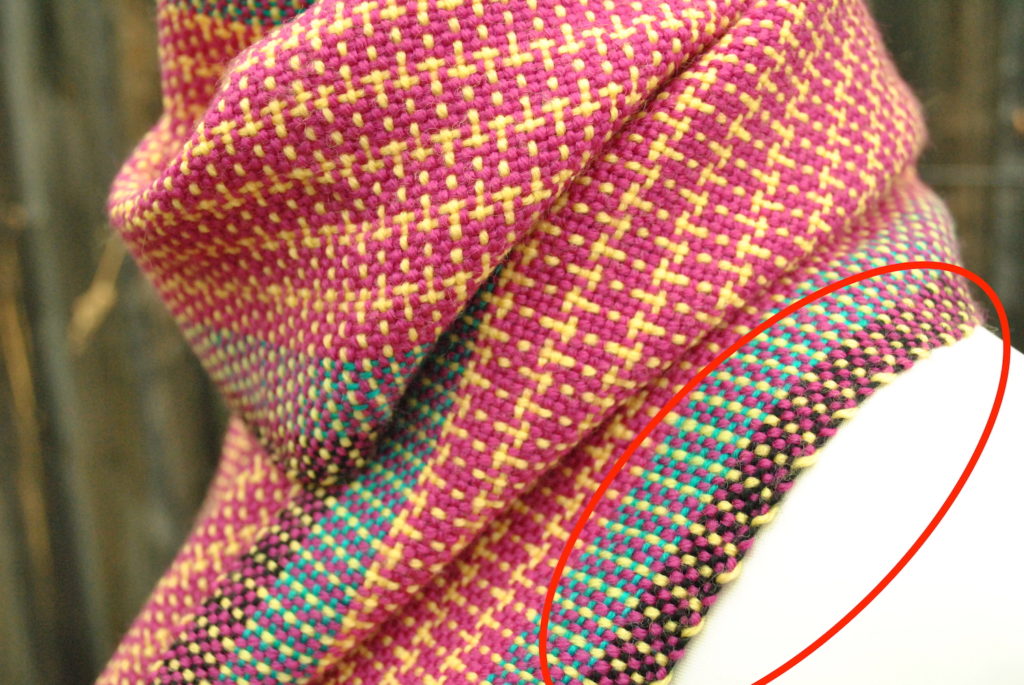
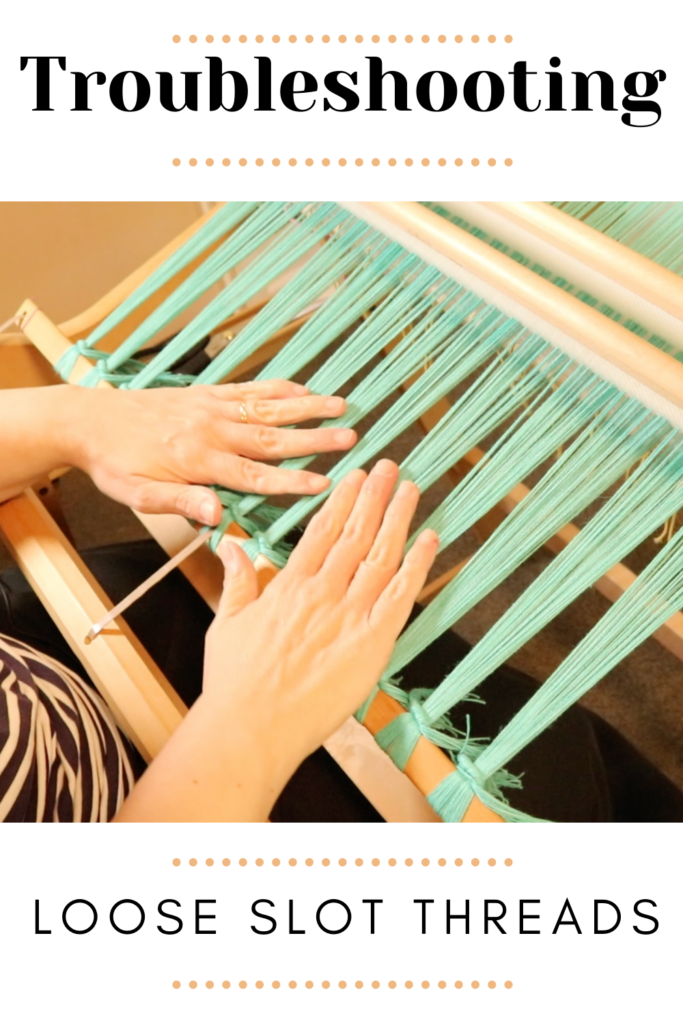
Loose slot threads when weaving on a rigid heddle loom are very common. The fact is that a rigid heddle loom just does not hold the same amount of tension as a floor or table loom.
This means that the rigid heddle weaver can run into a bit of bother when warping up with fine, rigid weaving yarns. An 8/2 cotton is a floor loom weaver’s dream but can be quite a challenge on the rigid heddle.
*This post contains affiliate links. For further information, please view my disclosure policy.
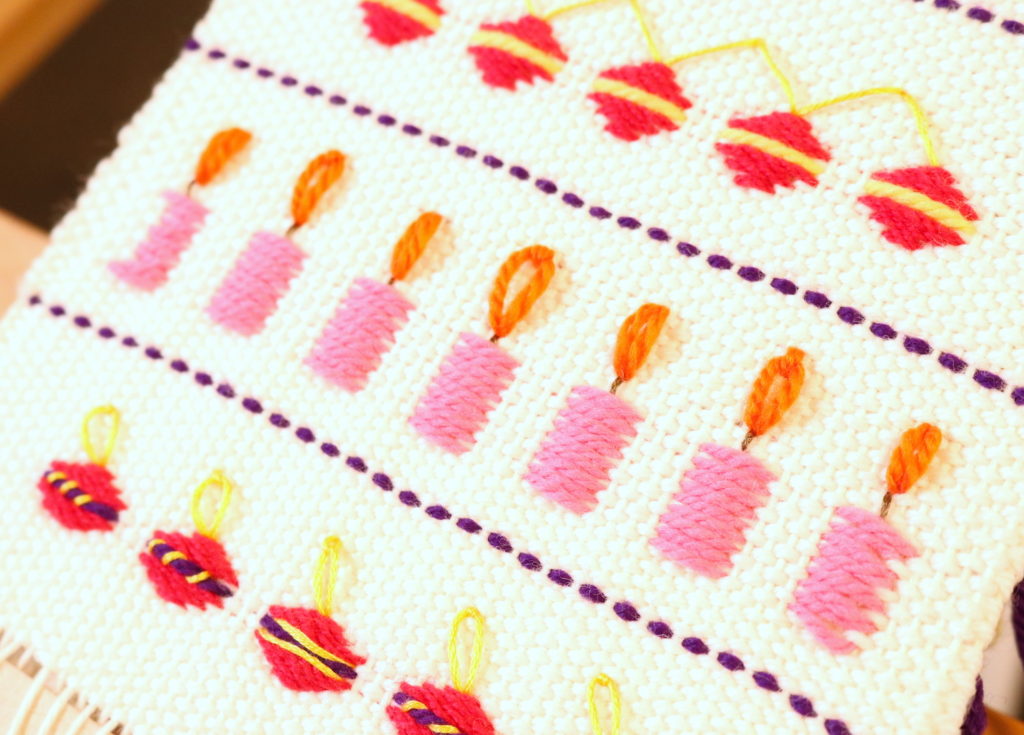
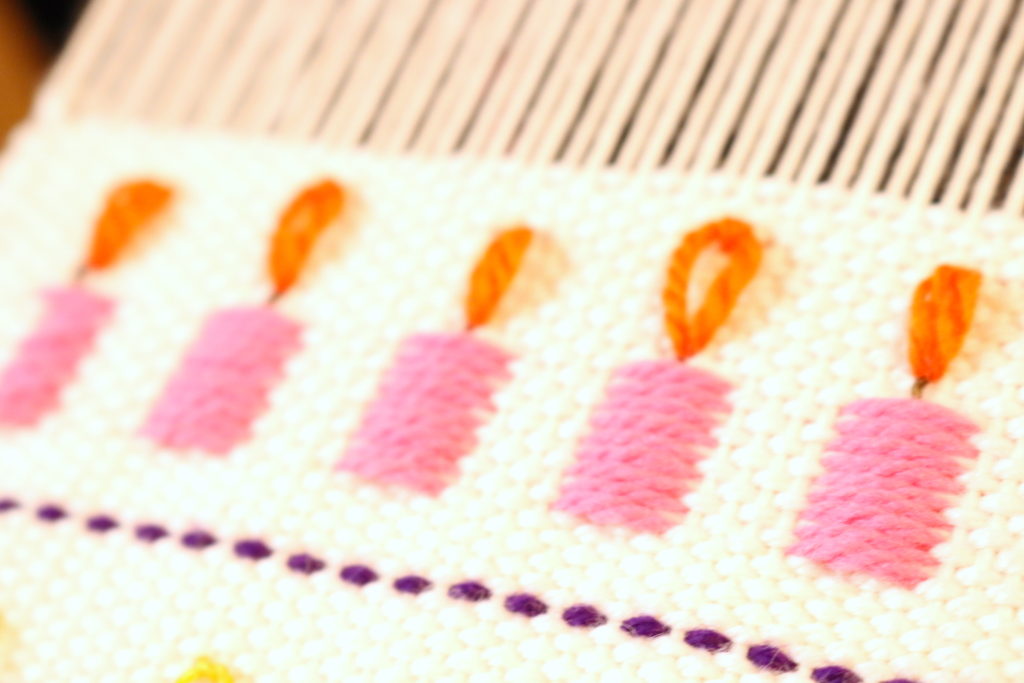
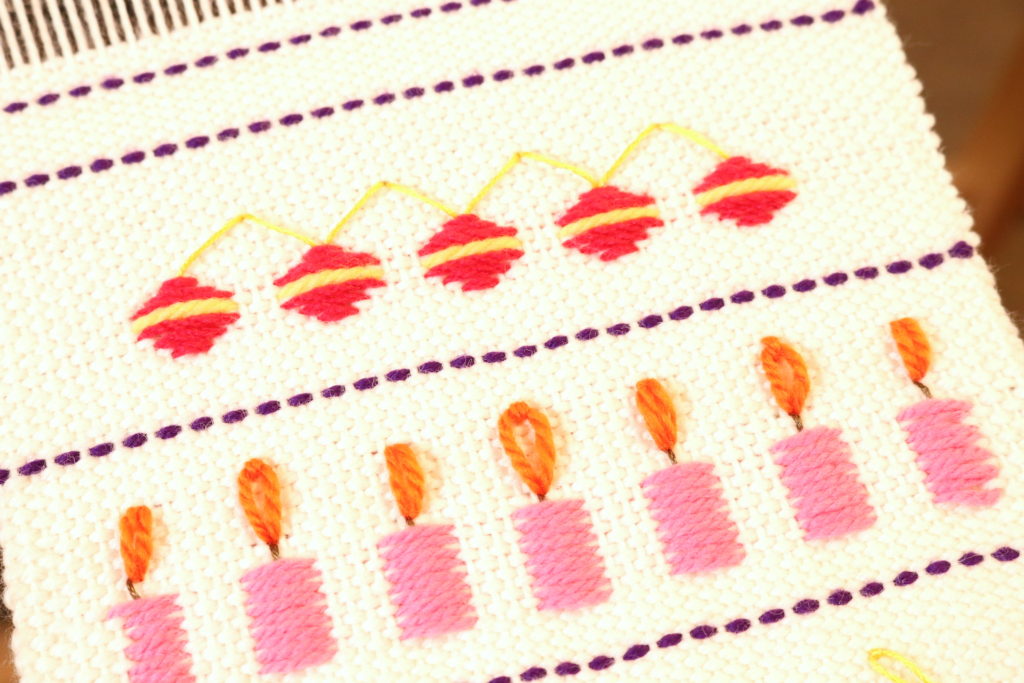
Knitting yarns or slightly thicker weaving yarns with some elasticity work beautifully on a rigid heddle loom, as they don’t need a lot of tension and are very forgiving.
How do I know if my tension is good enough?
This can be a personal preference, but there are certainly a few guidelines for knowing whether your tension is suitable or not:
Too loose
Your warp threads bunch in between weft picks (rows)
You have floats or skipped warp threads often
Your stick shuttle keeps snagging on warp threads as you enter the sheds
Your heddle doesn’t click easily into the up or down shed
Too tight
You struggle to get your heddle/s into the up position
You have warp threads breaking
You feel a lot of resistance when trying to beat
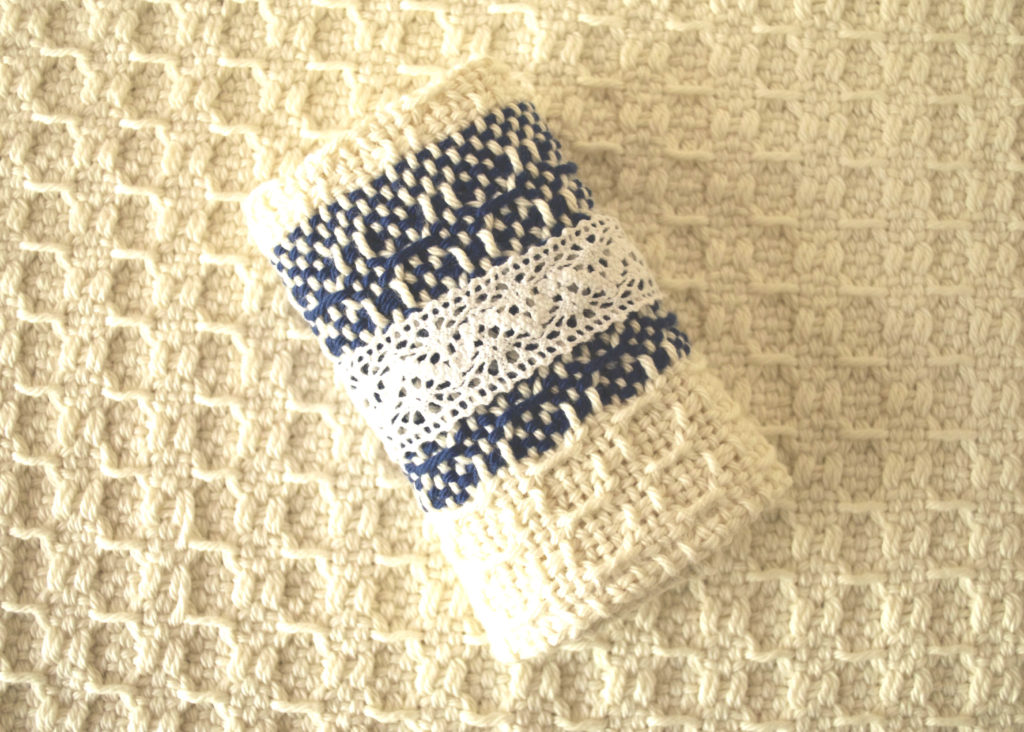
Does this mean that rigid heddle weavers should not weave with weaving yarns? Not at all! There are too many wonderful weaving yarns in a massive variety of colours out there to try! With the right approach and strategies, all yarns can be used successfully.
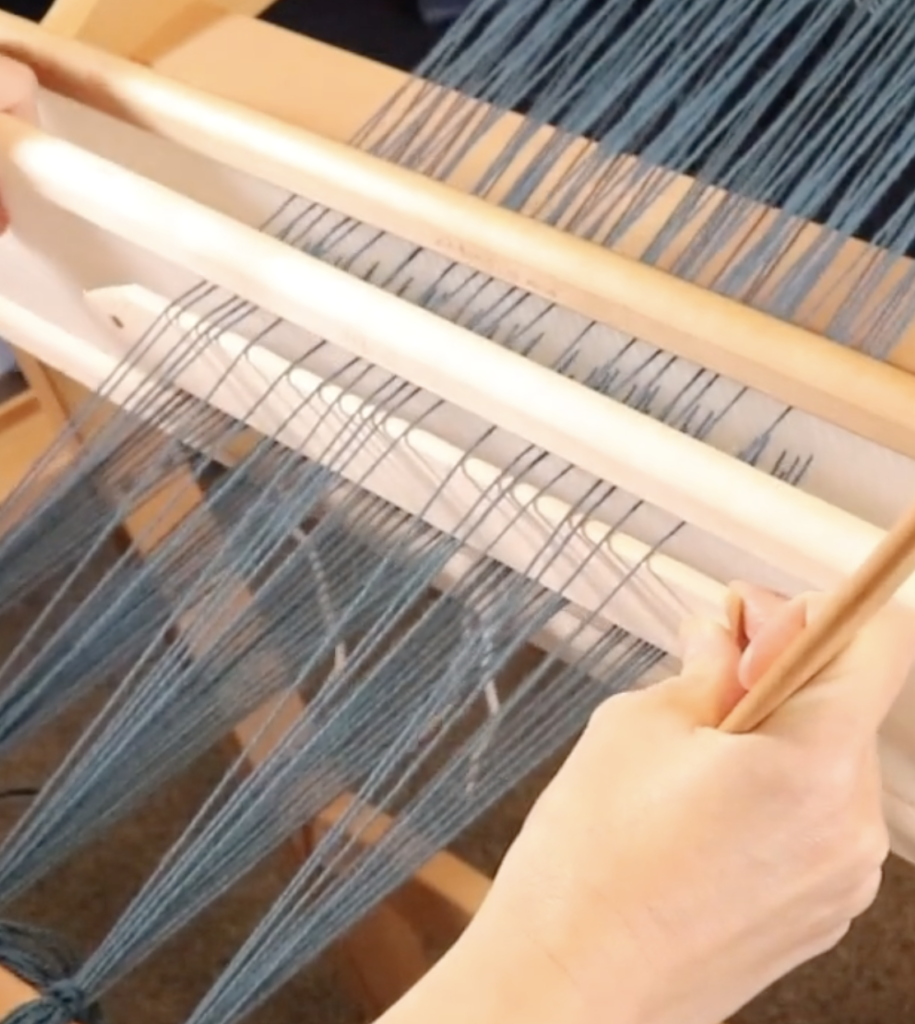
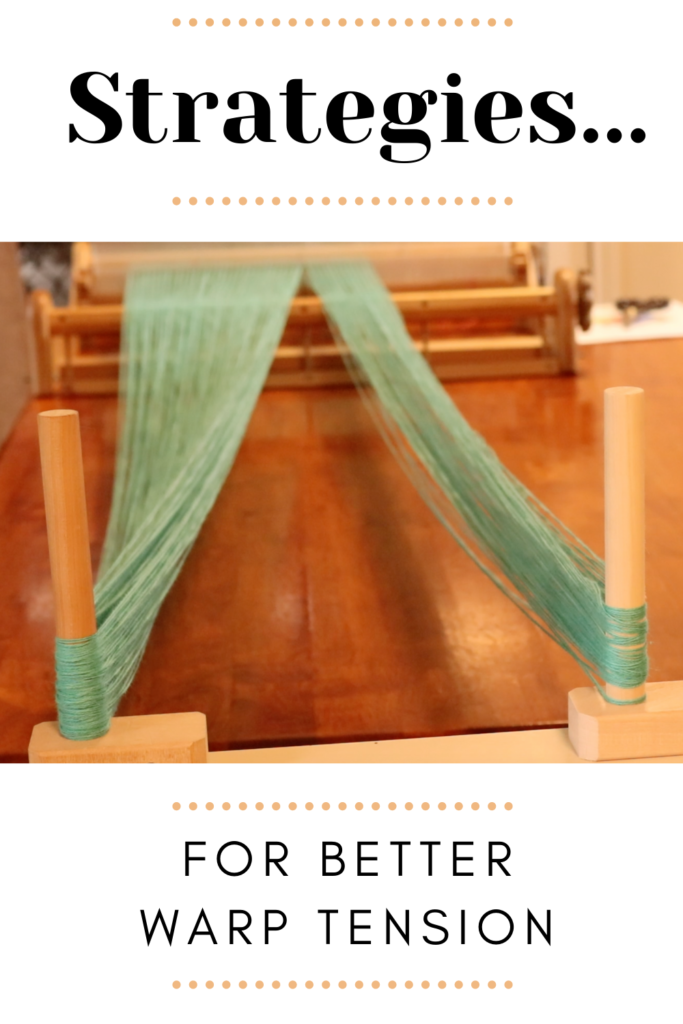
1. Getting the warp right
The warping the loom stage is the most crucial time to get that tension as good as you can. Not as tight as you can, necessarily, but even, consistent and firm. When I have a good warping experience, I just know that the project is going to go smoothly.
There are a few key strategies for getting good tension during the warping process. I talk about it in this webinar but I also want to mention some of them here:
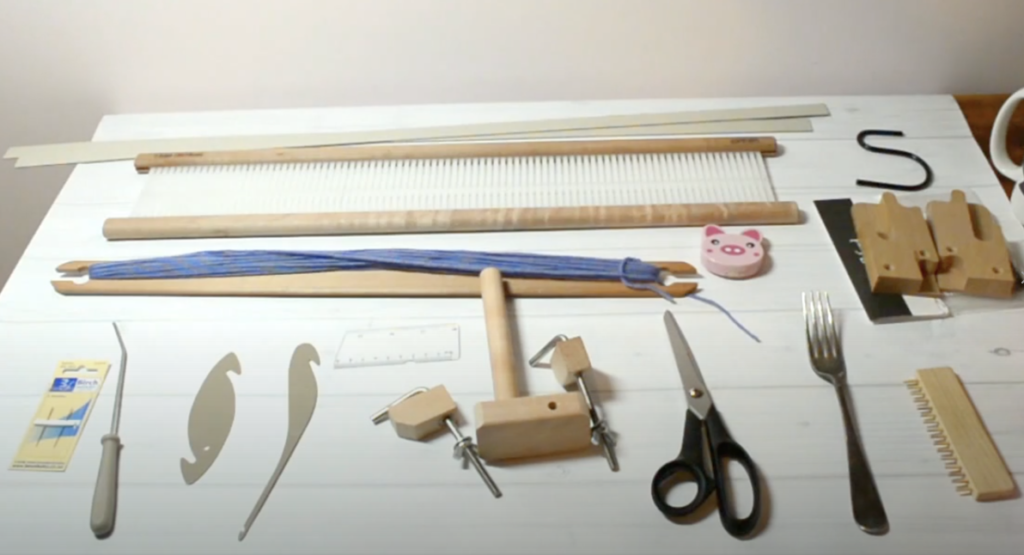
- Have someone help you. Your helper can hold on to the end of the warp, providing great tension, while you focus on standing behind the loom and winding on.
- Pack the back beam as you roll on. You can use cardboard or wooden sticks/ separators, a roll of thick paper, a blind or a drawer liner. My personal favourite here is the roll of paper which you can cut to size if needed. 125 gsm is a good weight.
- For a wider warp, use more than one warping peg. This helps distribute the threads over the width of the loom in a more practical way and is more economical, as threads don’t have to travel as far to loop around just one peg.
- Take your time. Extra time spent in warping is well worth the investment. Remember – good warp = happy weaving experience 😄
- Pay particular attention to the middle of the warp while rolling on, particularly if warping independently. The middle is the most likely place to lose tension and get saggy threads.
2. Consider a shorter warp
A rigid heddle loom can take quite a lot of length in a warp, but I haven’t found a long warp to be best practice. If I have the opportunity, I will break a warp into smaller increments where possible.
This doesn’t bother me, because the rigid heddle is so quick to warp for more simple projects, so it doesn’t take much extra time. I find that the longer my warp on the rigid heddle, the harder it is to keep a good tension for the duration of the warp.
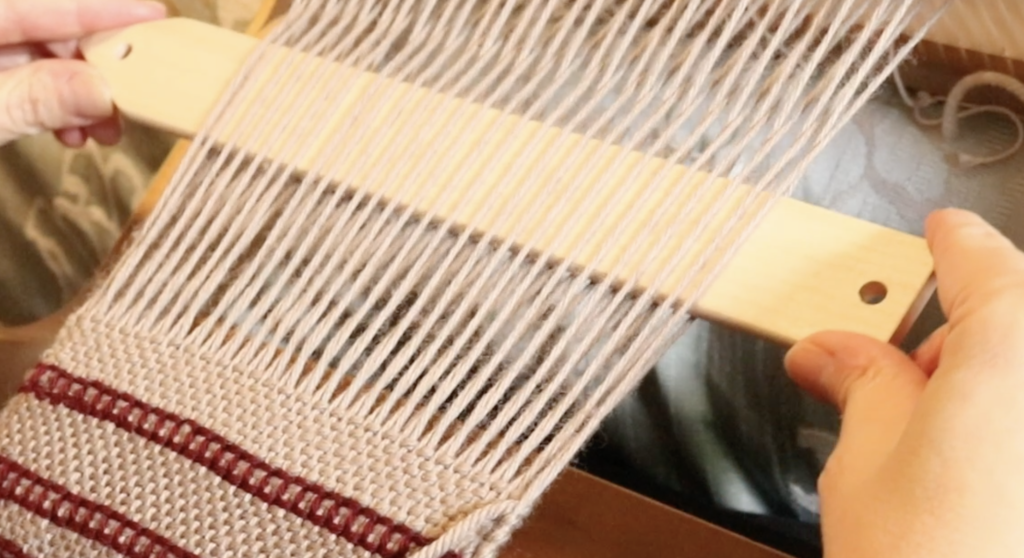
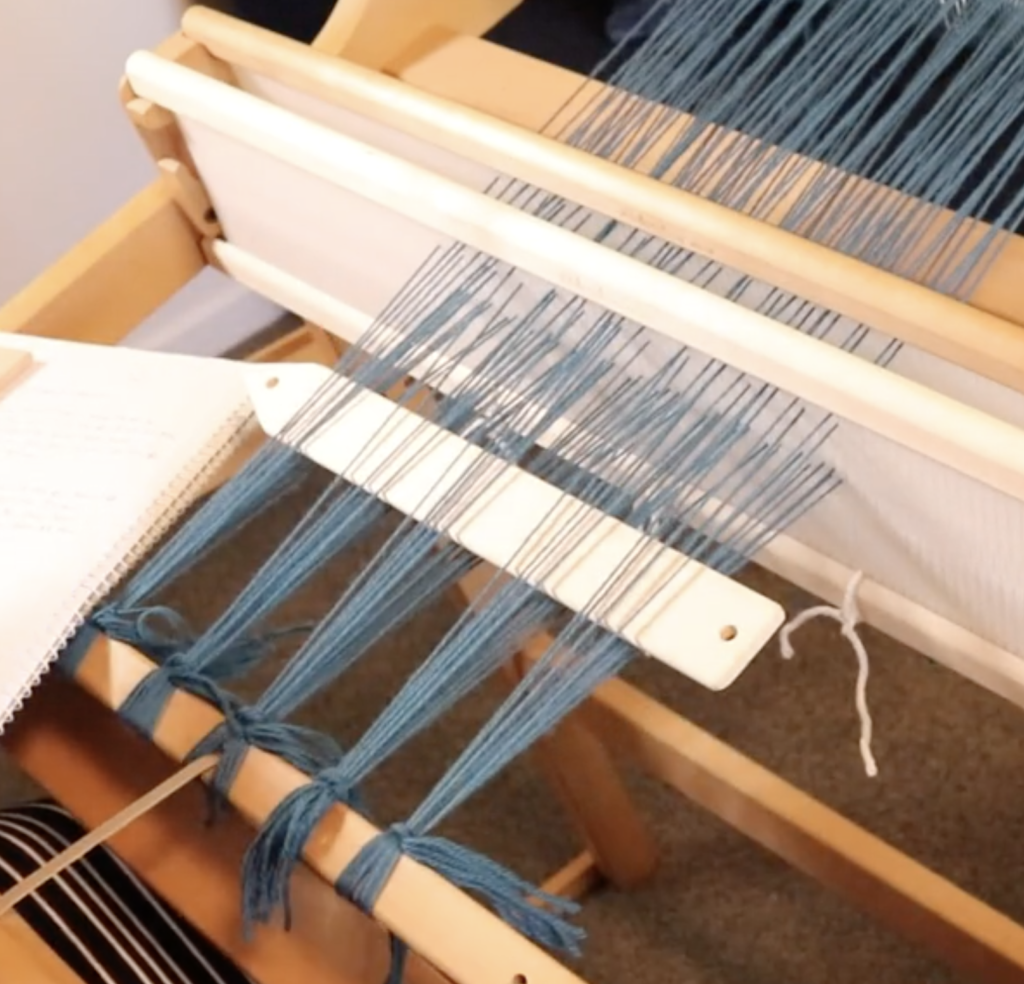
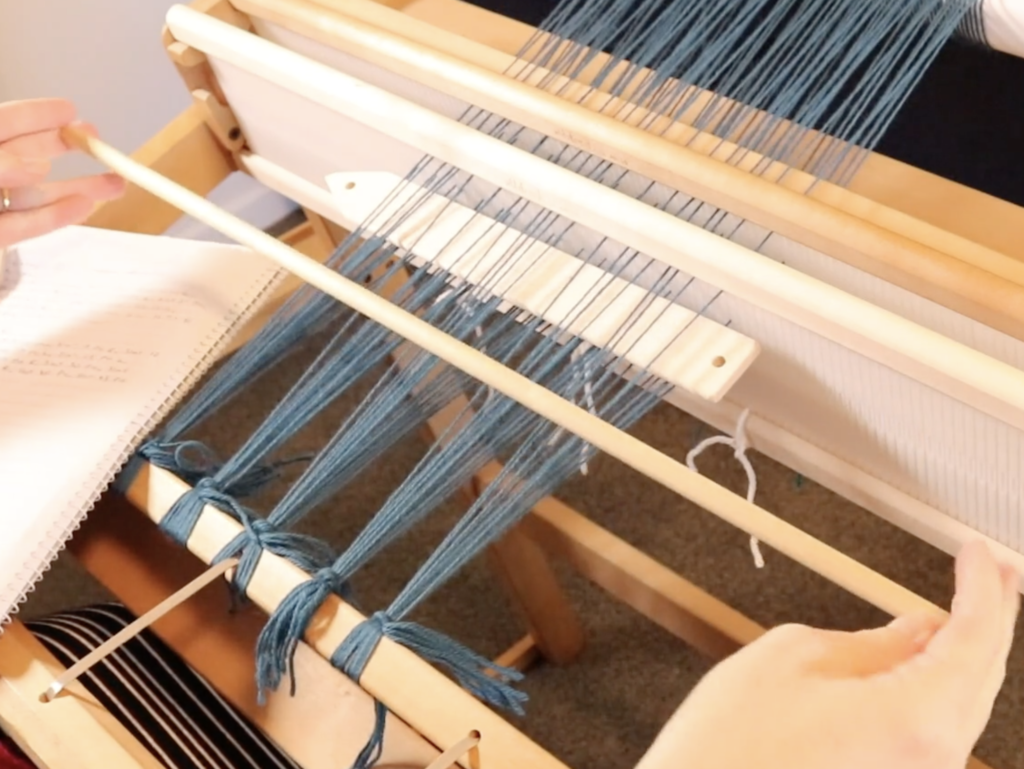
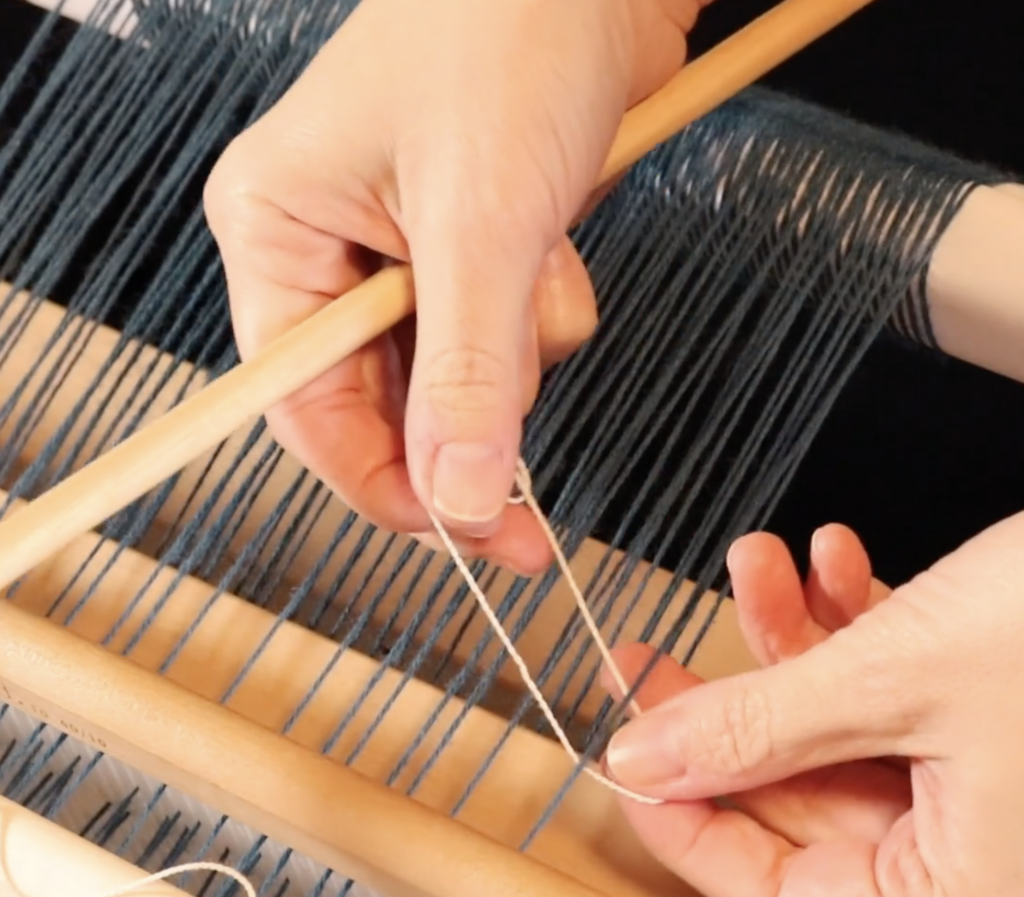
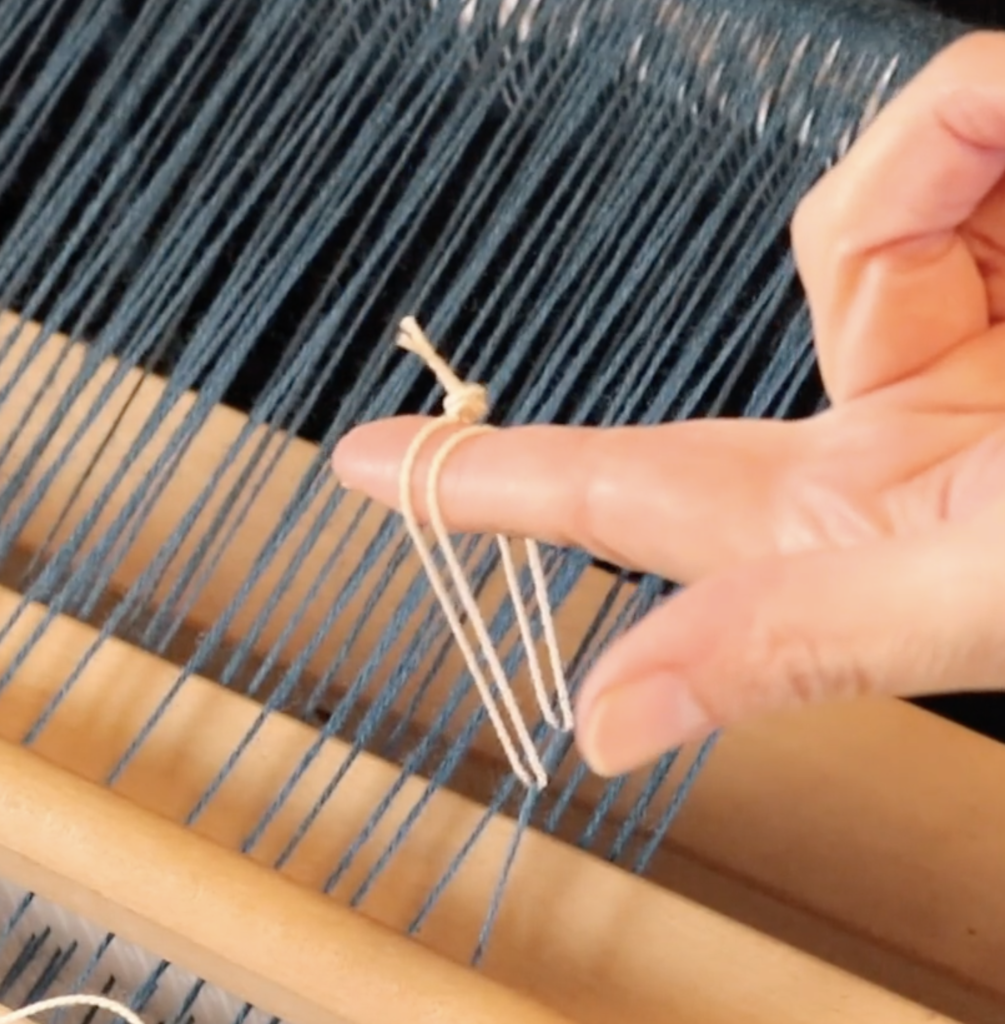
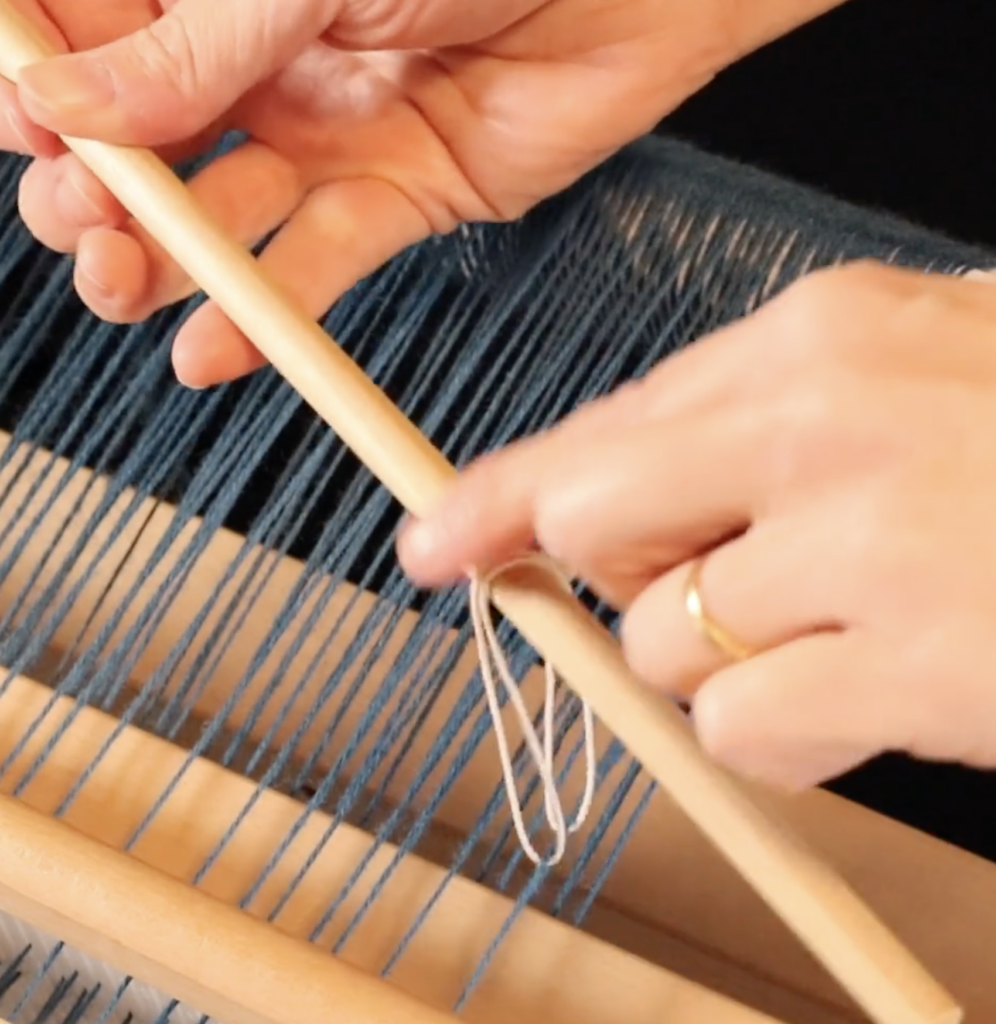
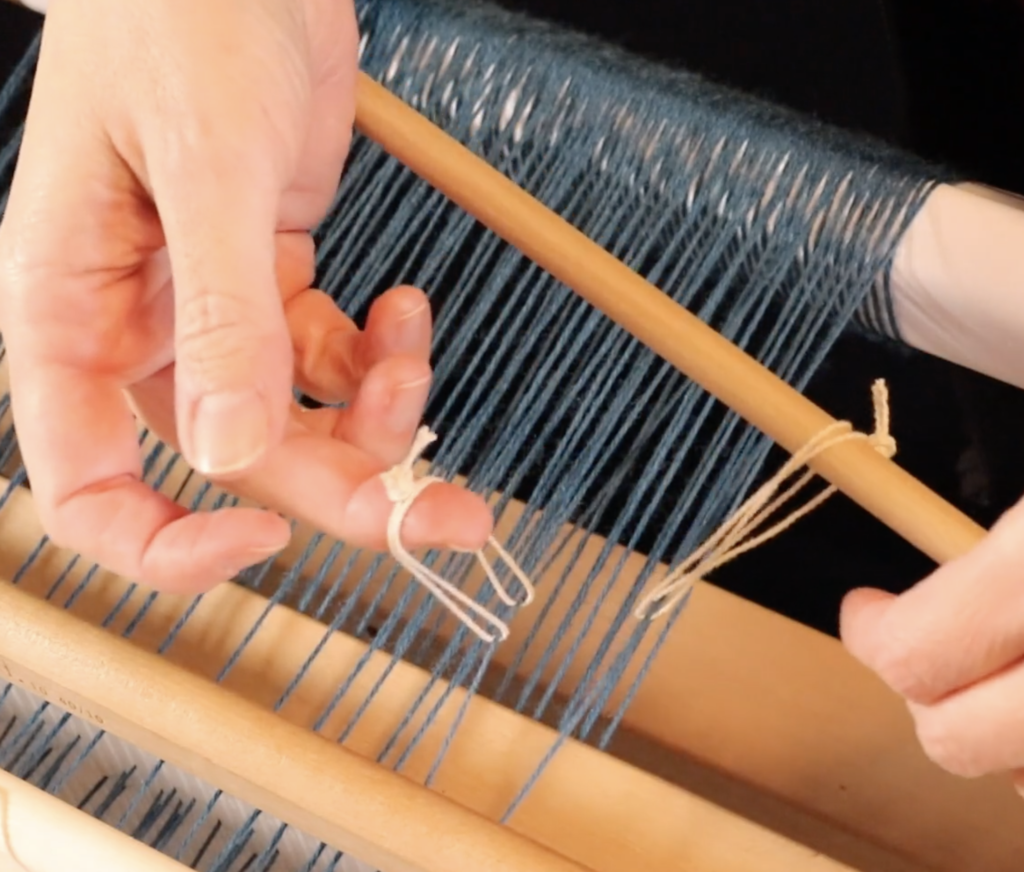
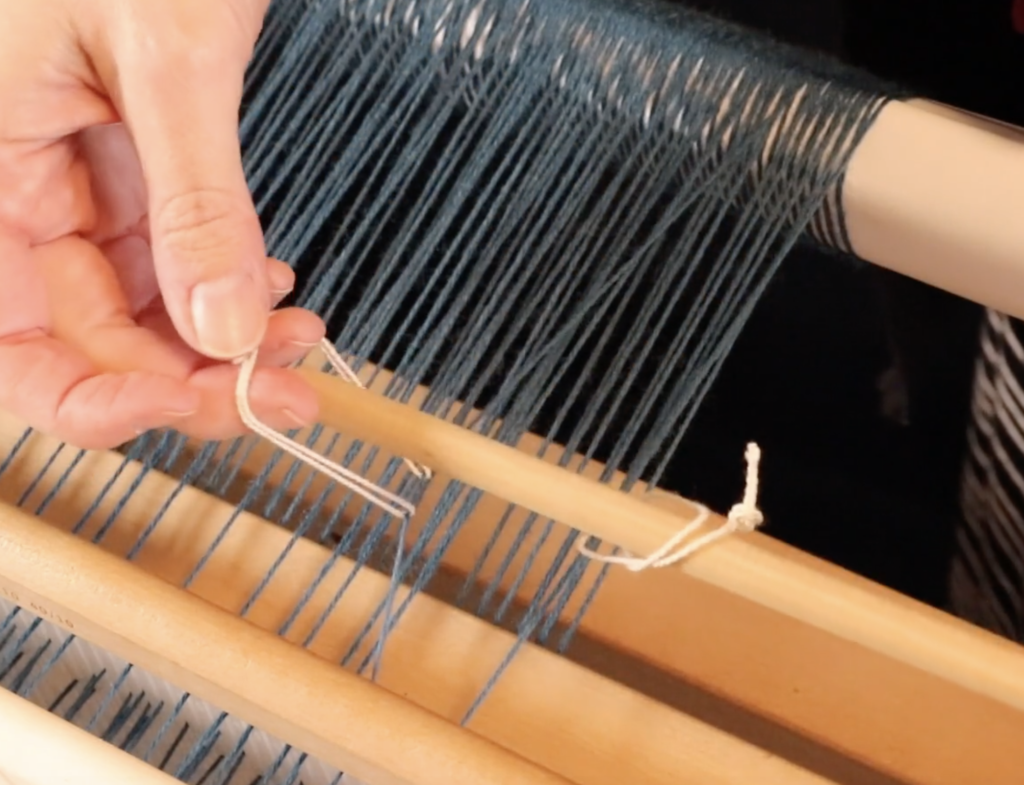
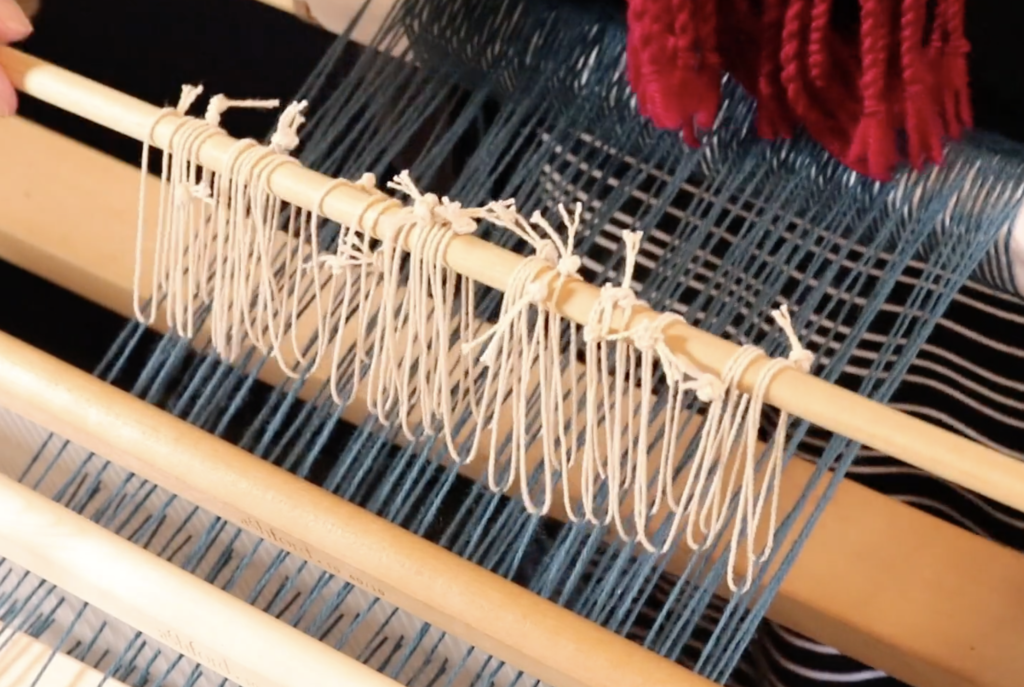
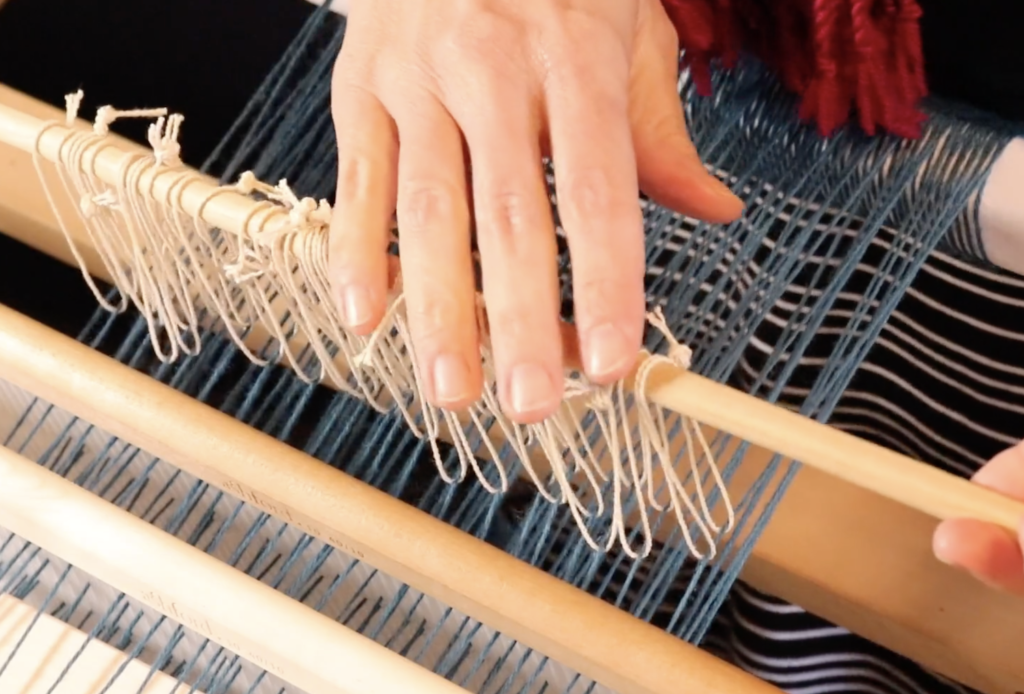
3. The tie on
The tying on step is also important for your overall tension. Whether you tie directly on to the apron rod (as I do 99% of the time) or lash on, this step is another opportunity to “get it right” before beginning weaving.
Once again, I don’t aim for really tight tension when tying on, but I do aim for the best consistency I can manage. This means going over the tied on threads once, twice, thrice if needed so that they all feel about the same.
I gauge this tension by bouncing my hand across the warp (like a trampoline!) Any bunch of threads that feel much looser than others will get a re-tighten.
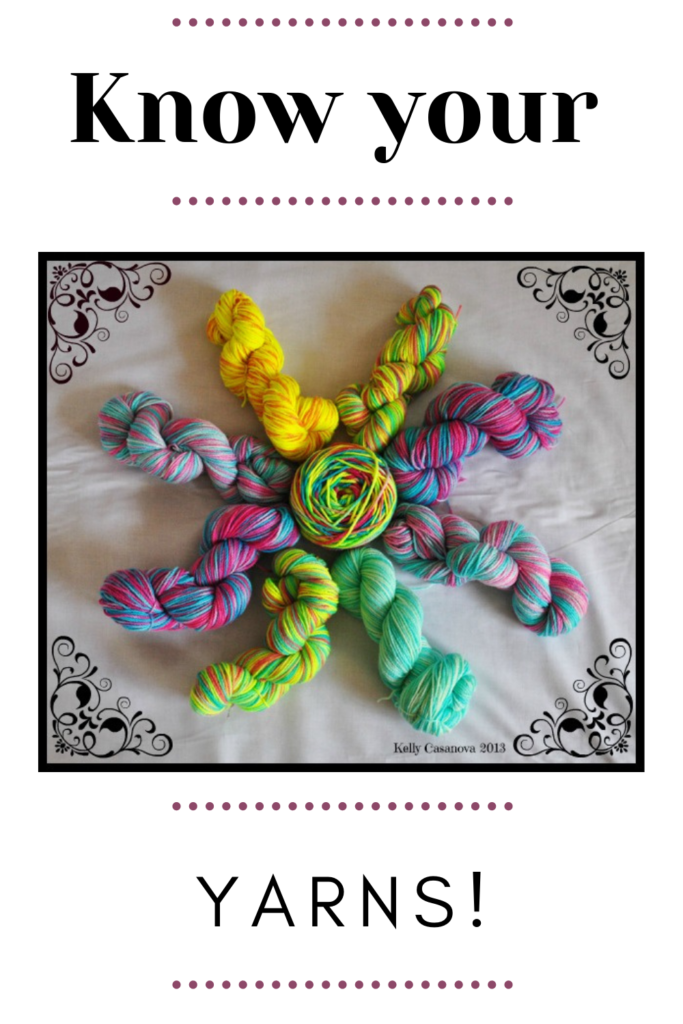
4. Know your yarns
There are certain threads that are harder to tension due to their inelastic structure. I already mentioned 8/2 cotton, but many plant based or cellulose fibres (cotton, linen, hemp, etc) are quite rigid and easier to weave with a higher level of tension. Animal fibres or protein fibres (wool, alpaca, etc) generally have a little more stretch.
There are certain threads that are harder to tension due to their inelastic structure. I already mentioned 8/2 cotton, but many plant based or cellulose fibres (cotton, linen, hemp, etc) are quite rigid and easier to weave with a higher level of tension. Animal fibres or protein fibres (wool, alpaca, etc) generally have a little more stretch.
The amount of twist, number of ply and thickness or weight can also effect how rigid a yarn is. It helps to know your yarns – to sample yarns you’r unsure of and accustom yourself to all their particulars.
If you need a little more guidance with yarns, I have some resources that will help:
Choosing and using yarns in weaving
What is a superwash wool yarn?
3 yarns beginner weavers should never use!
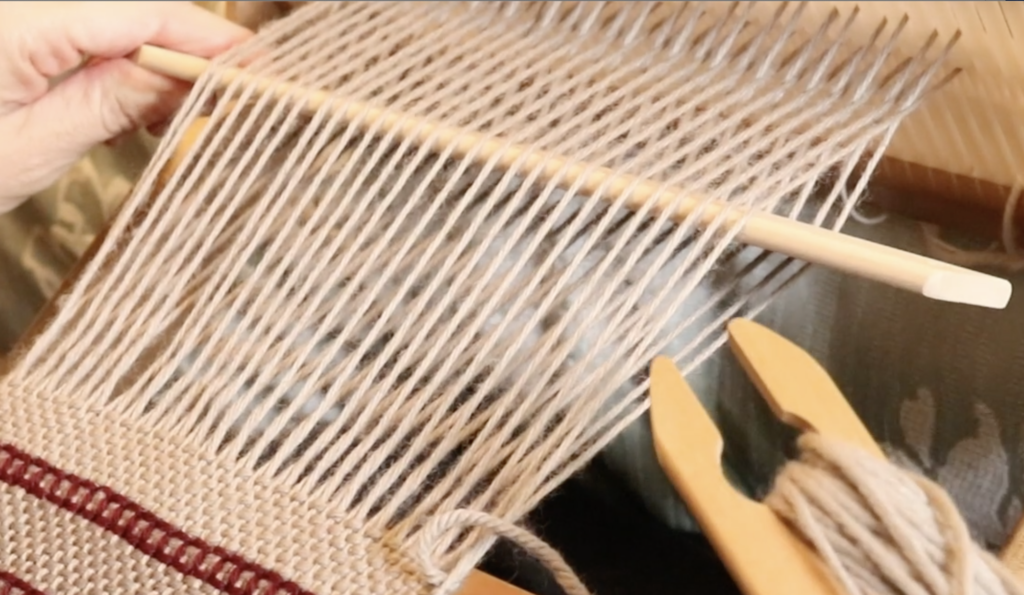
5. Stuff it!
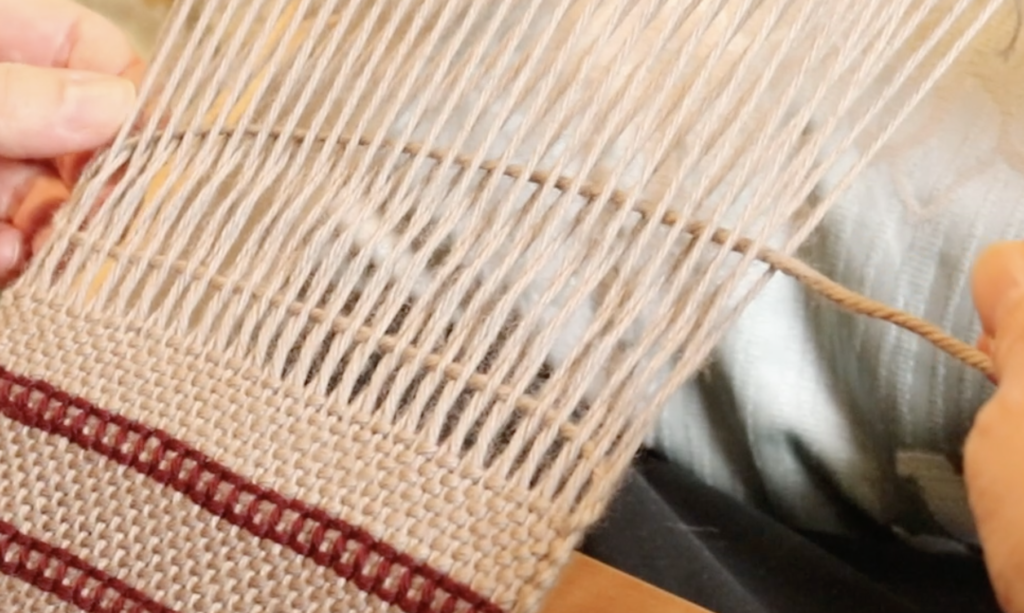
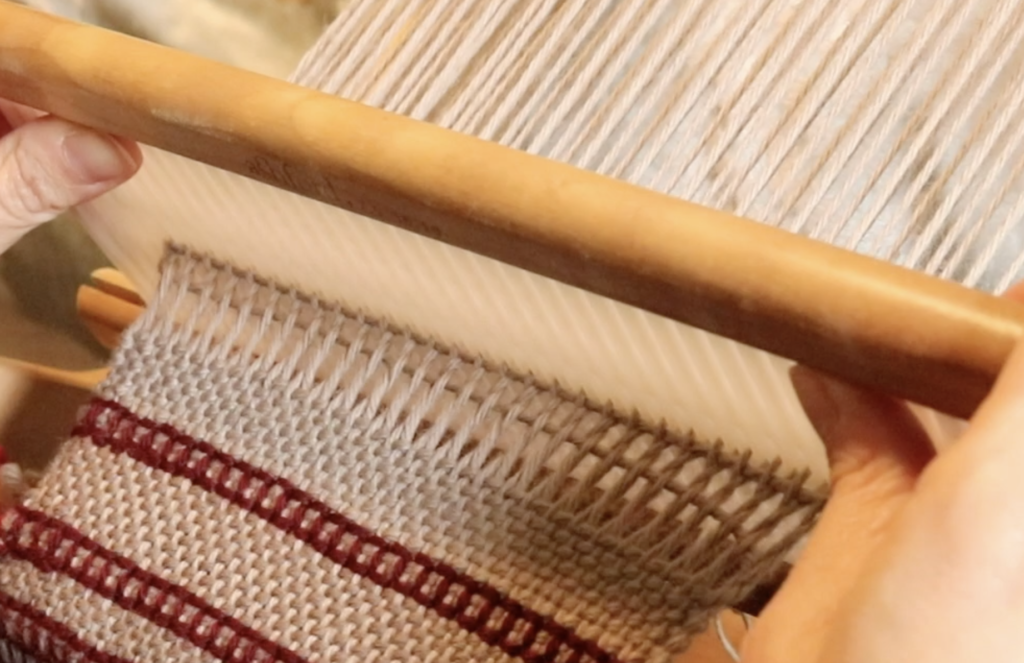
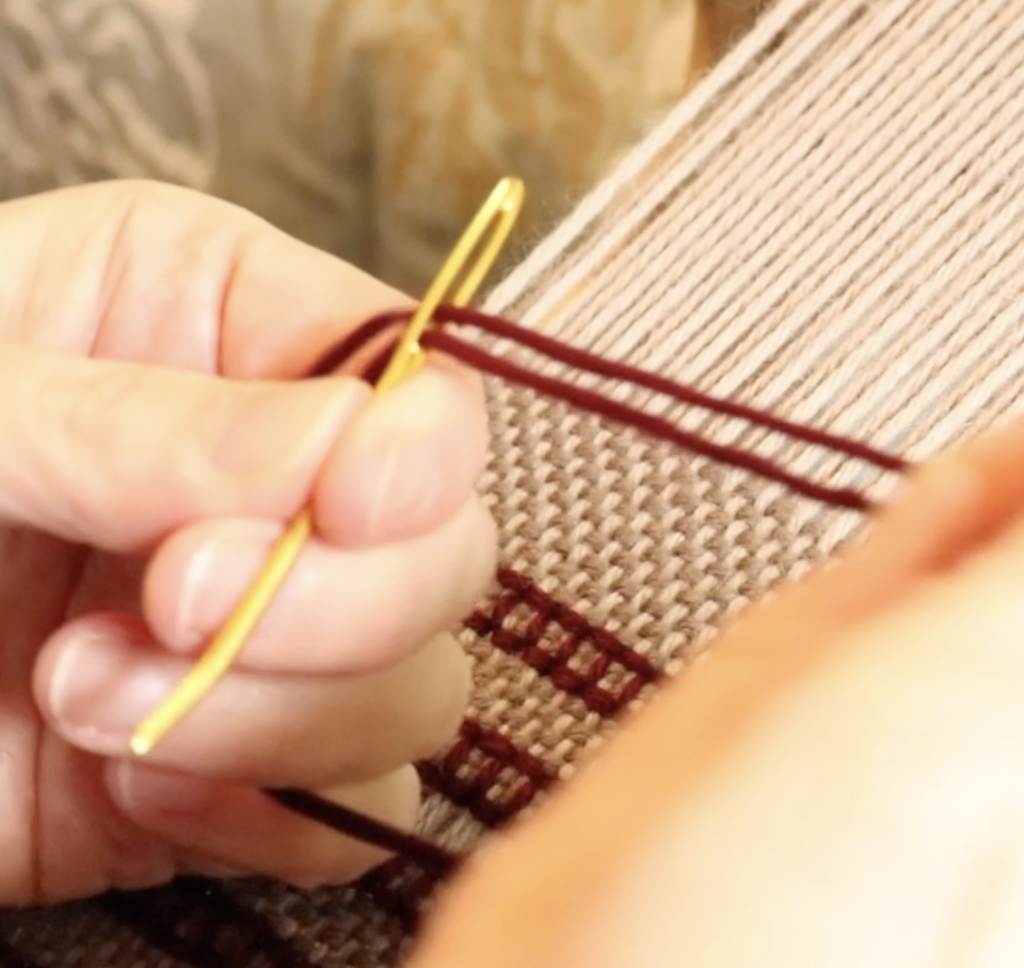
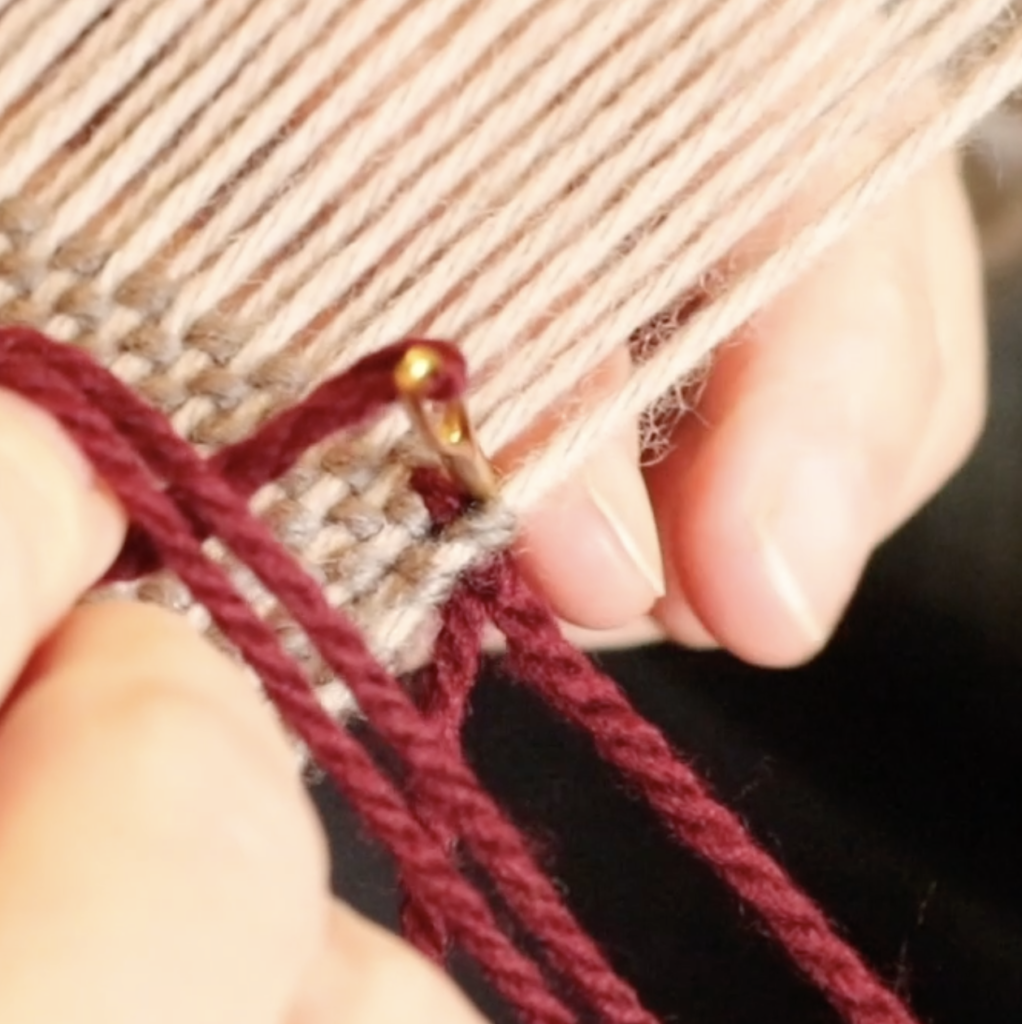
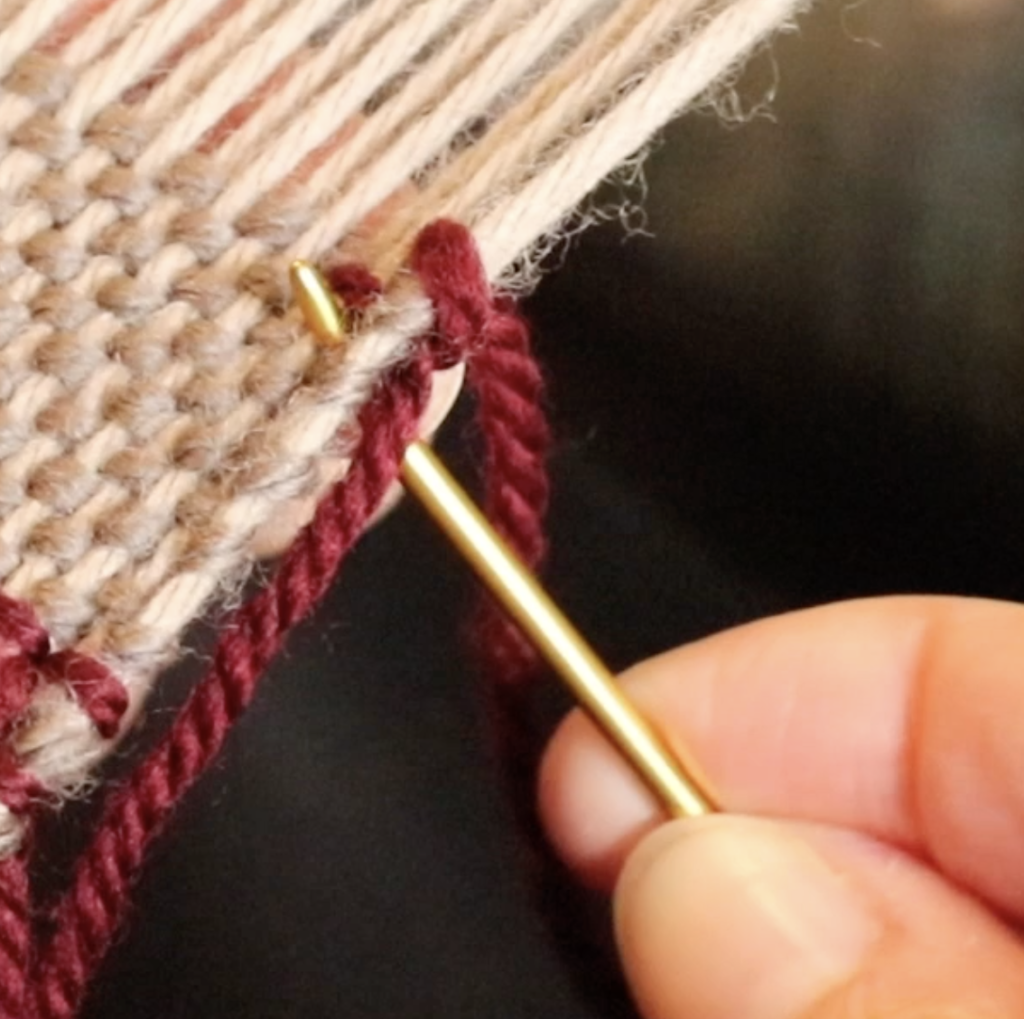
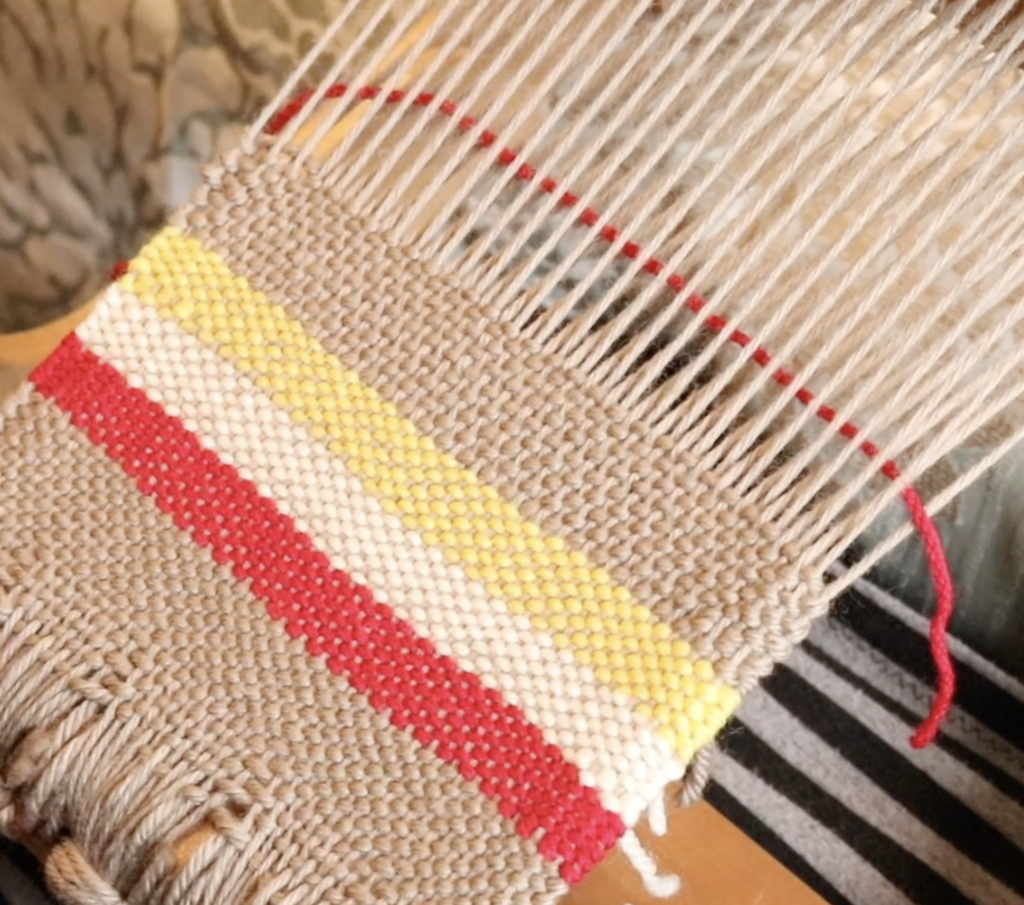
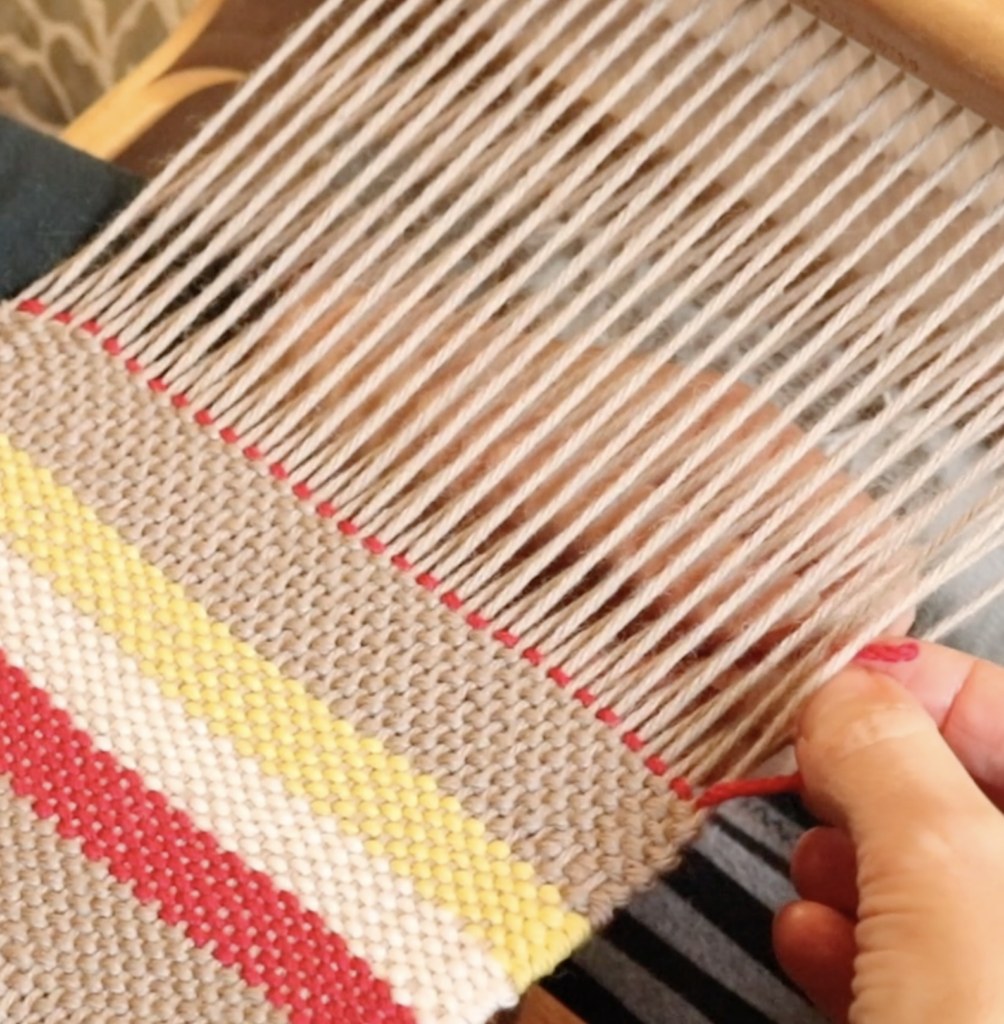
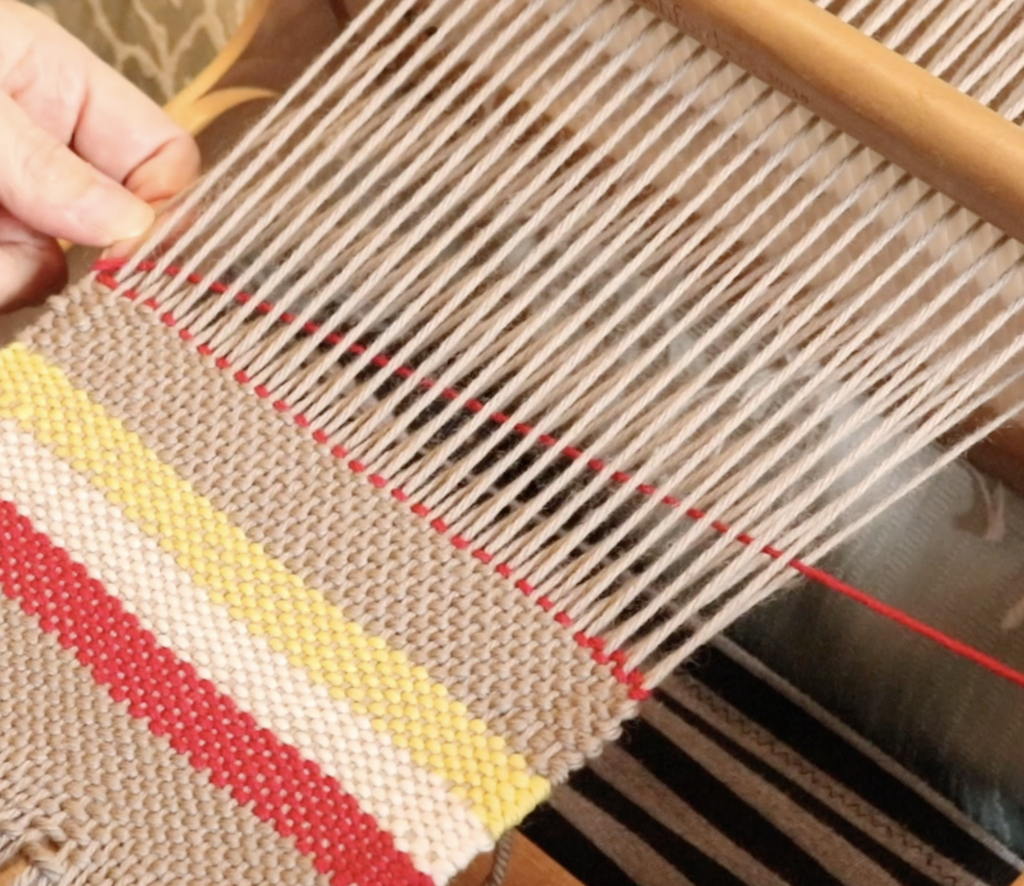
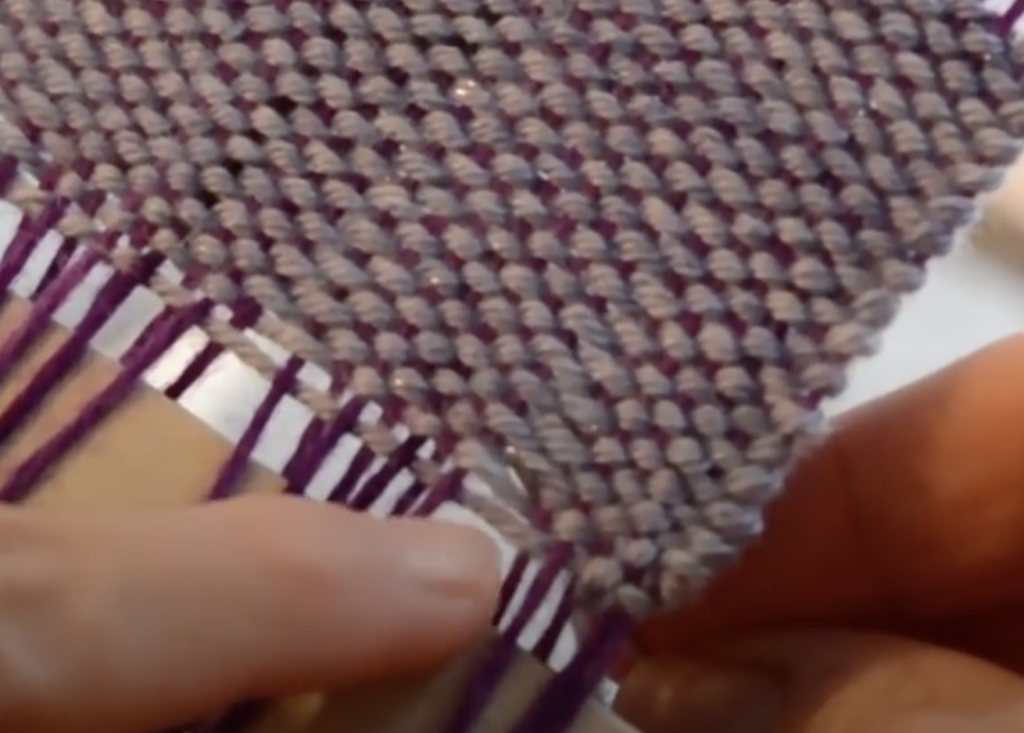
Packing, stuffing and wedging your back and front beams will always help with tension. If, despite your best efforts, your warp is just not tensioned well enough then start packing! You can use stiff paper, cardboard, sticks (either separators or pick up sticks) or whatever else you can come up with that works, to wedge under or between your warp at the beams.
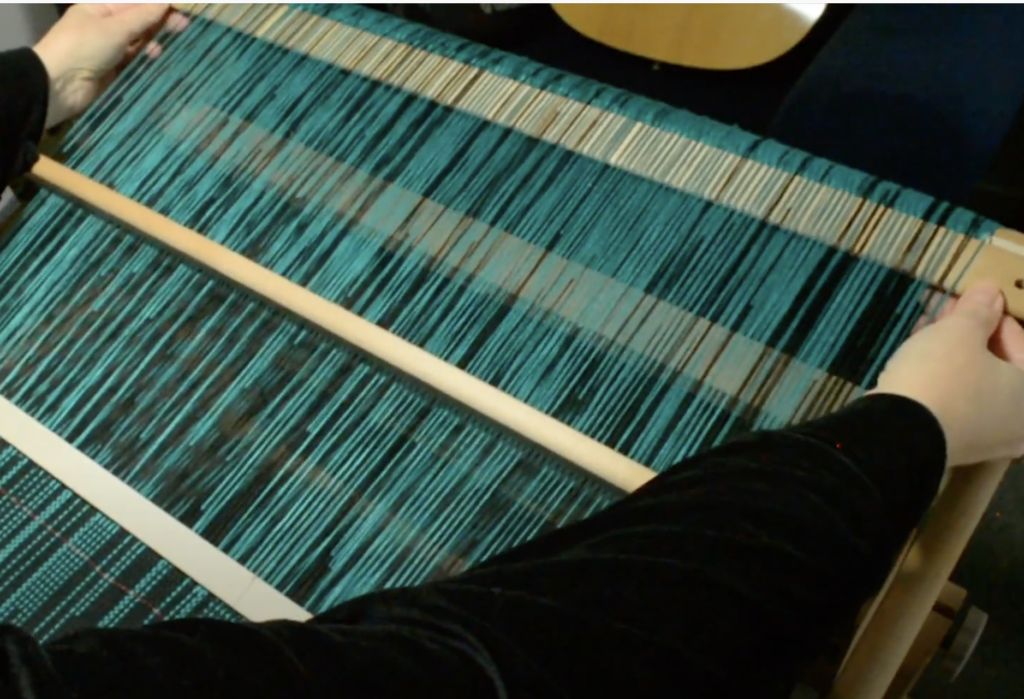
When advancing your warp, start packing the front beam. This will prevent the knots from the apron rod from sticking into your weaving as it rolls around them beam (which can damage or distort your weaving and mess with your tension) and provide overall better tension each time you advance.
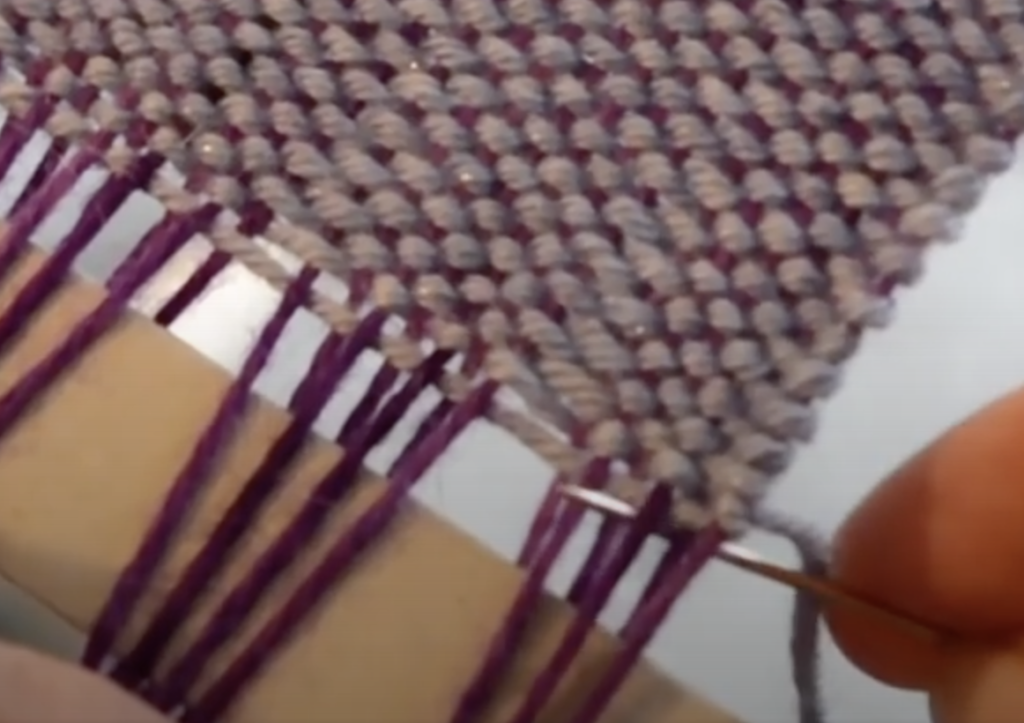
You can insert a pick up stick or something similar into a shed that is giving you particular trouble (usually the down shed) and slide it to the back beam. Push it right back so that it becomes wedged between the thread layers and tightens that shed for you.
You can also wedge something directly under the warp at the back beam to increase overall tension. To see this in action, watch this video, which also includes additional tips for working with fine threads:
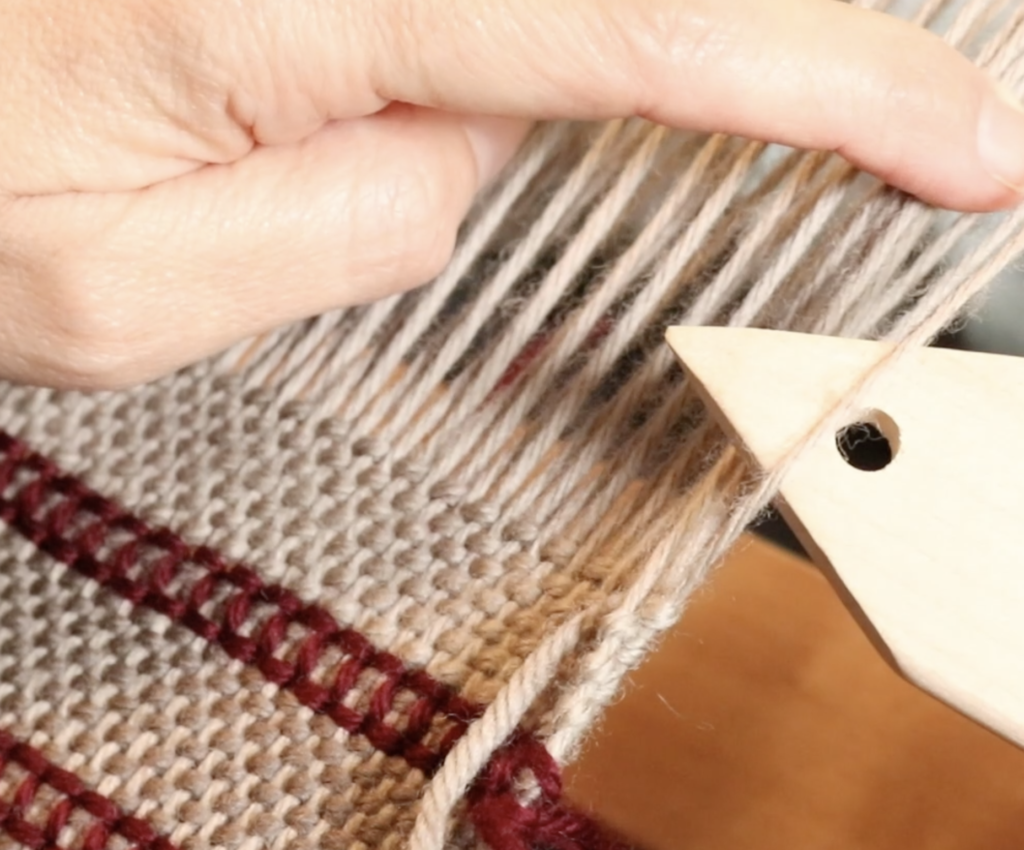
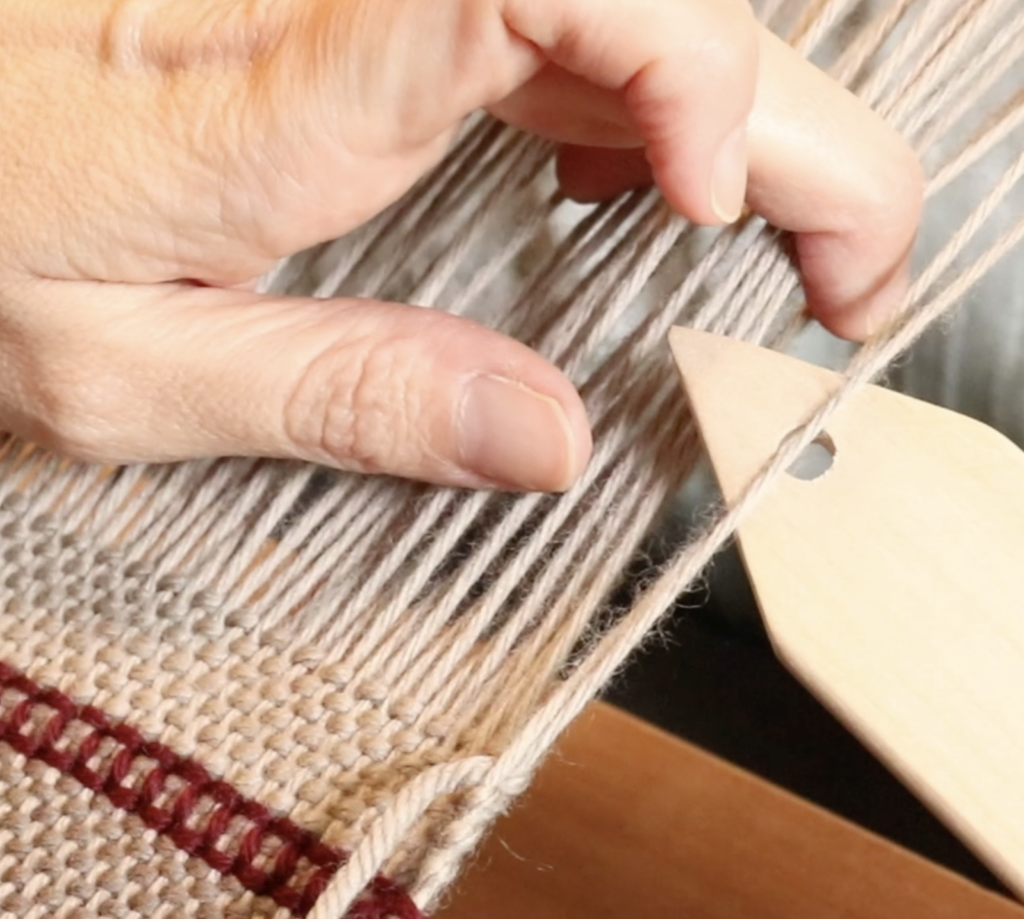
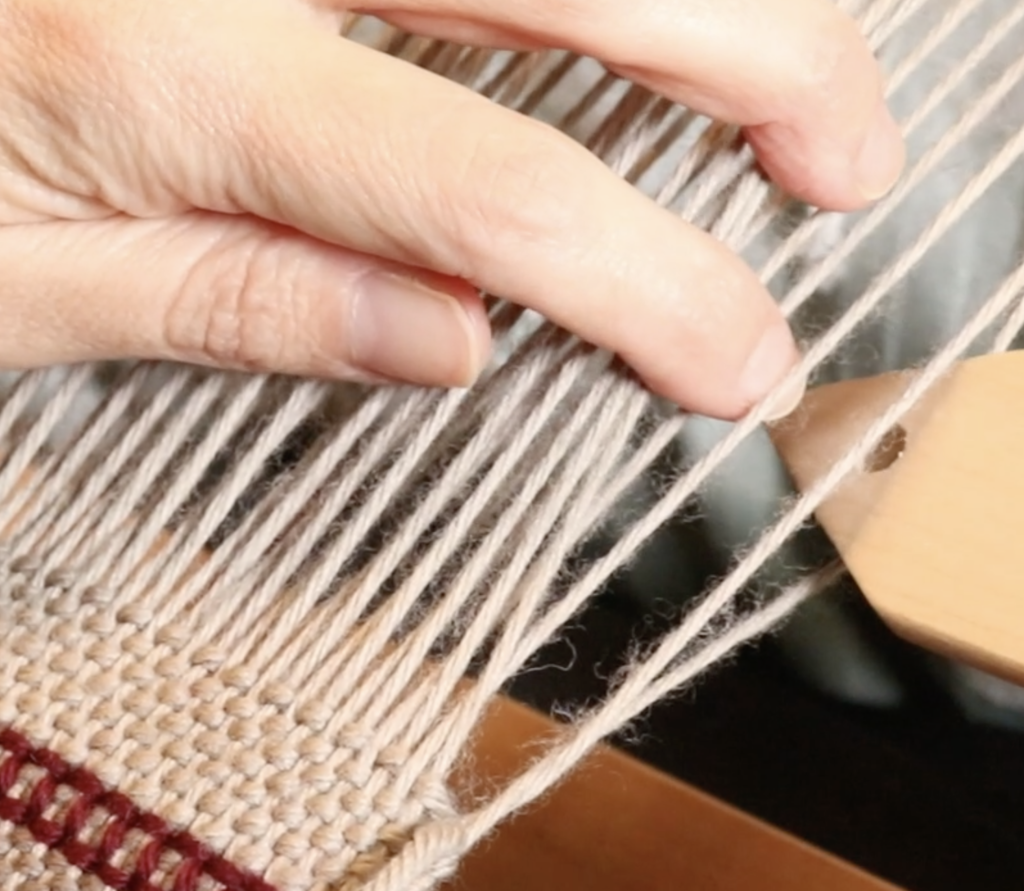
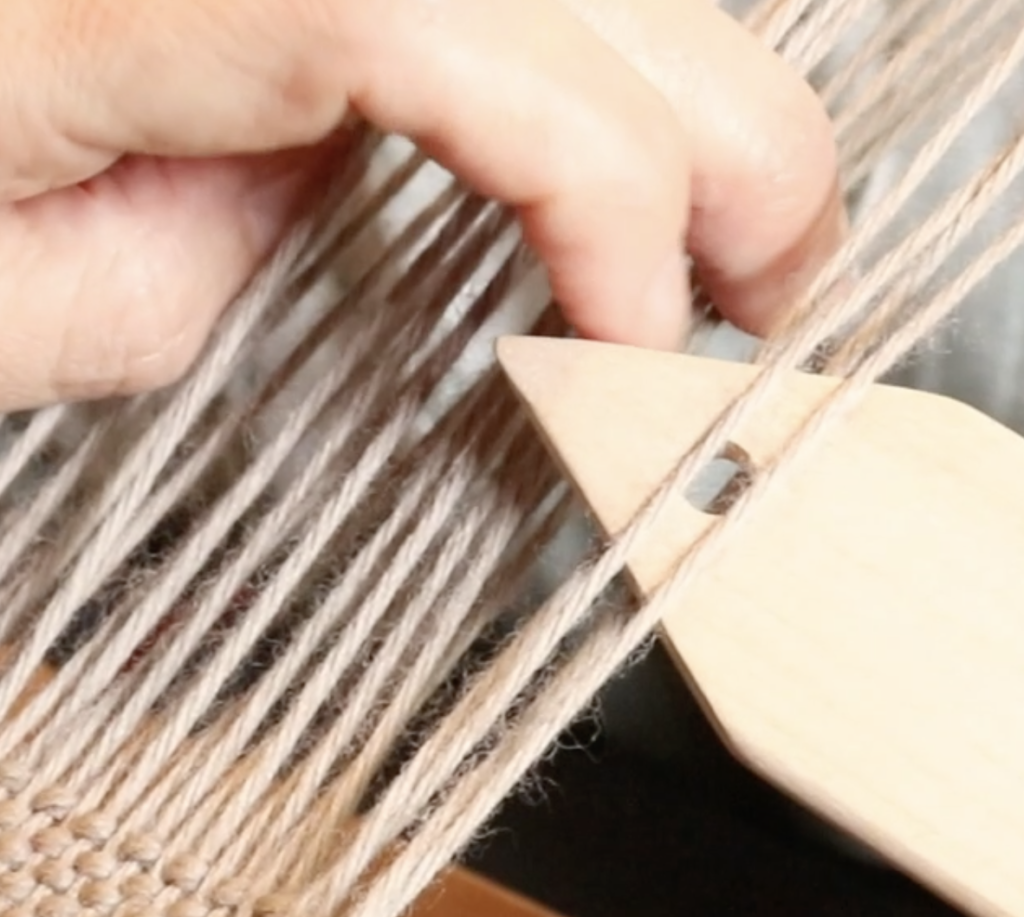
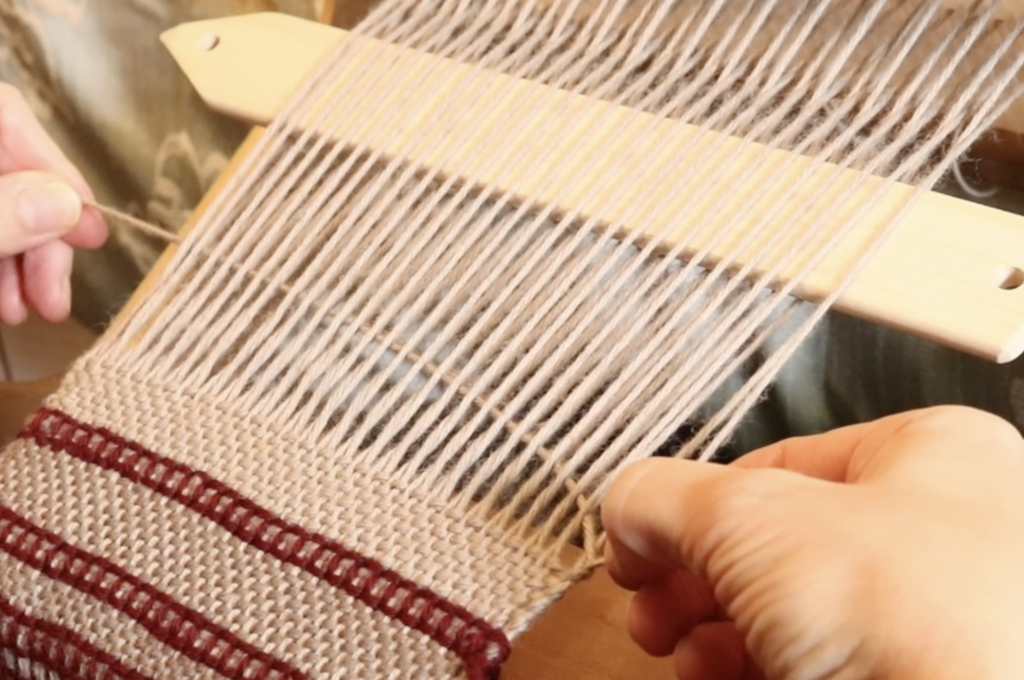
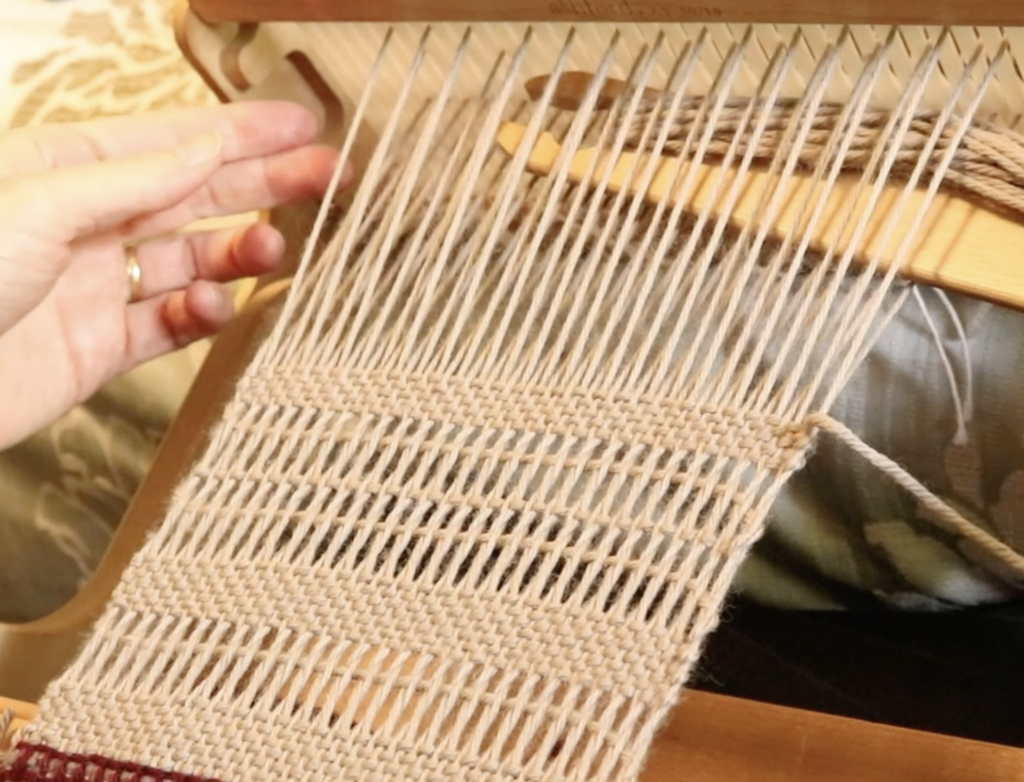
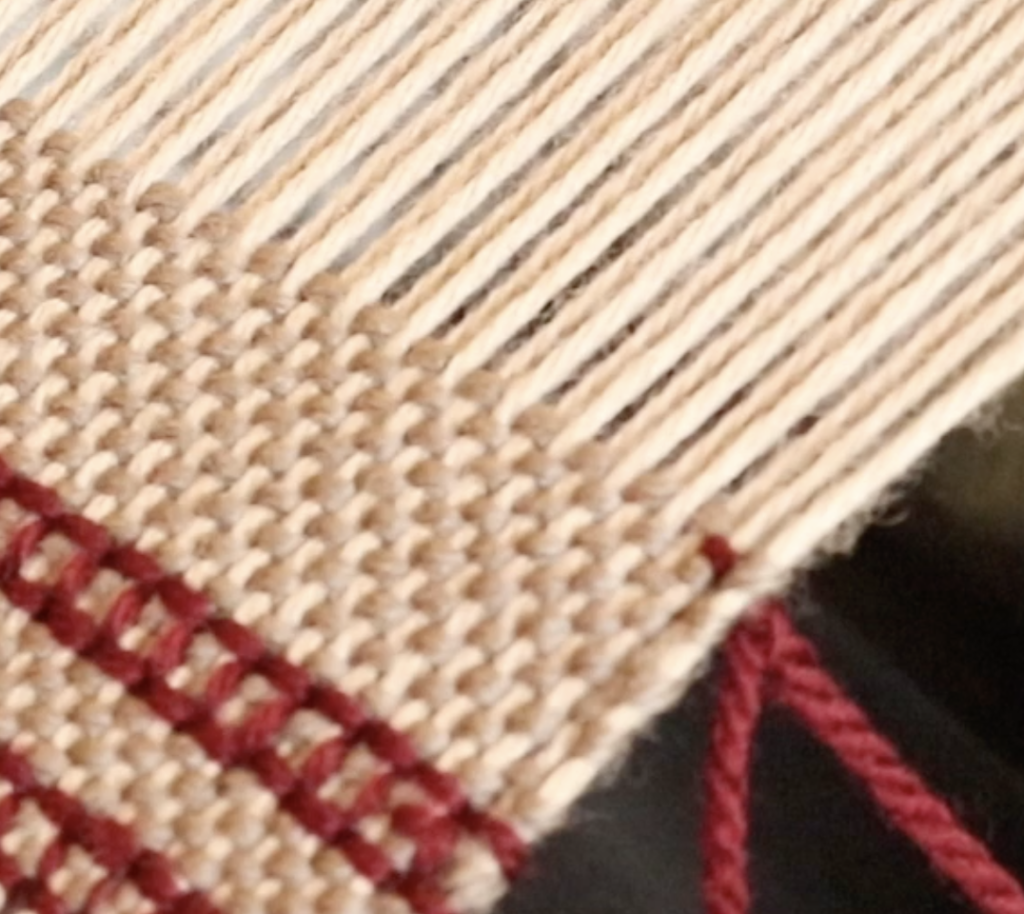
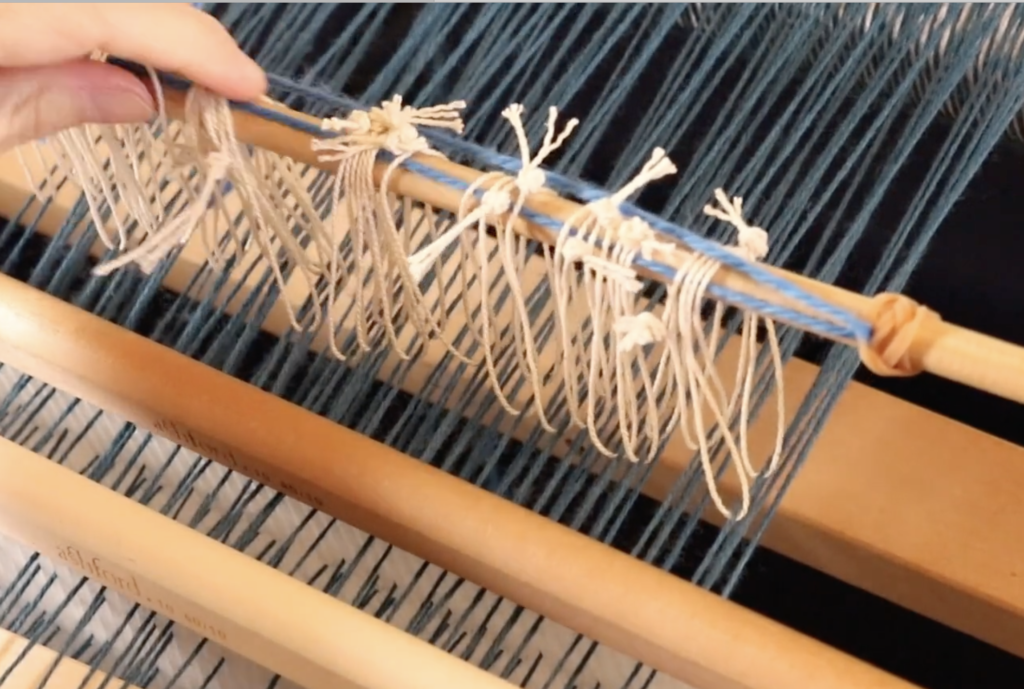
6. One sided looseness
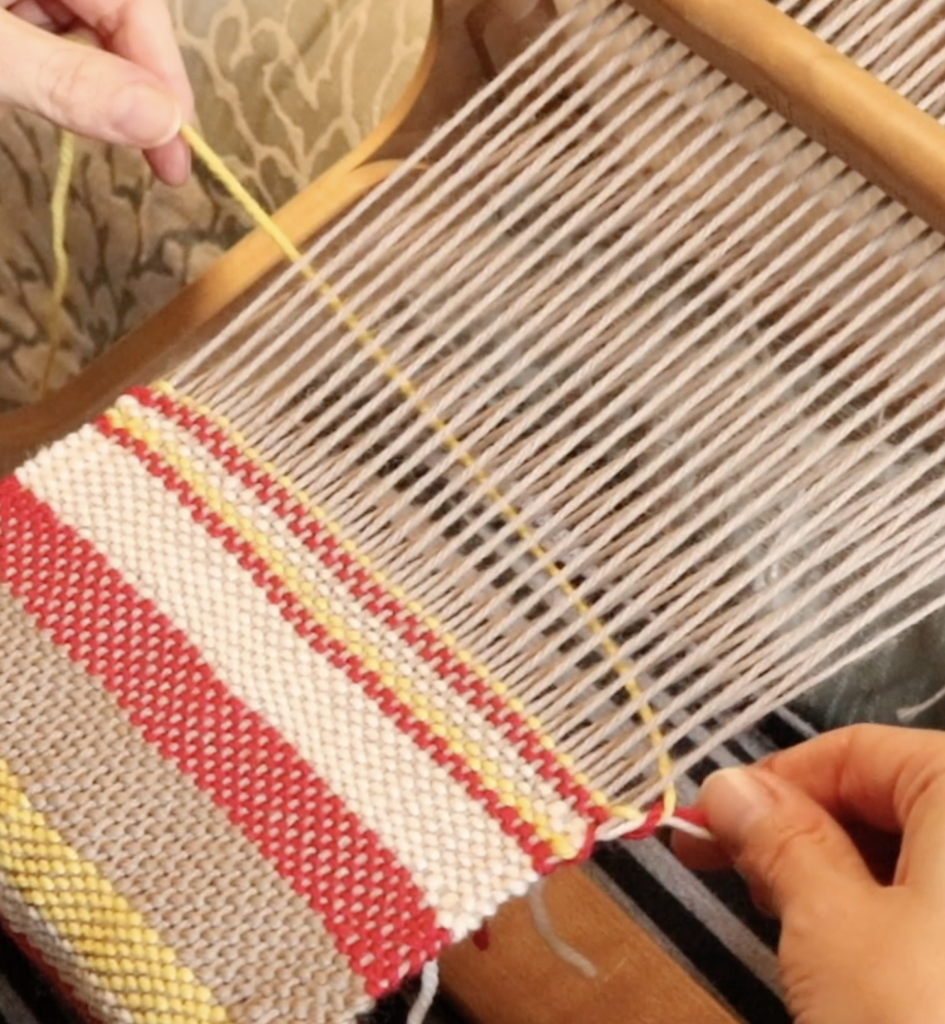
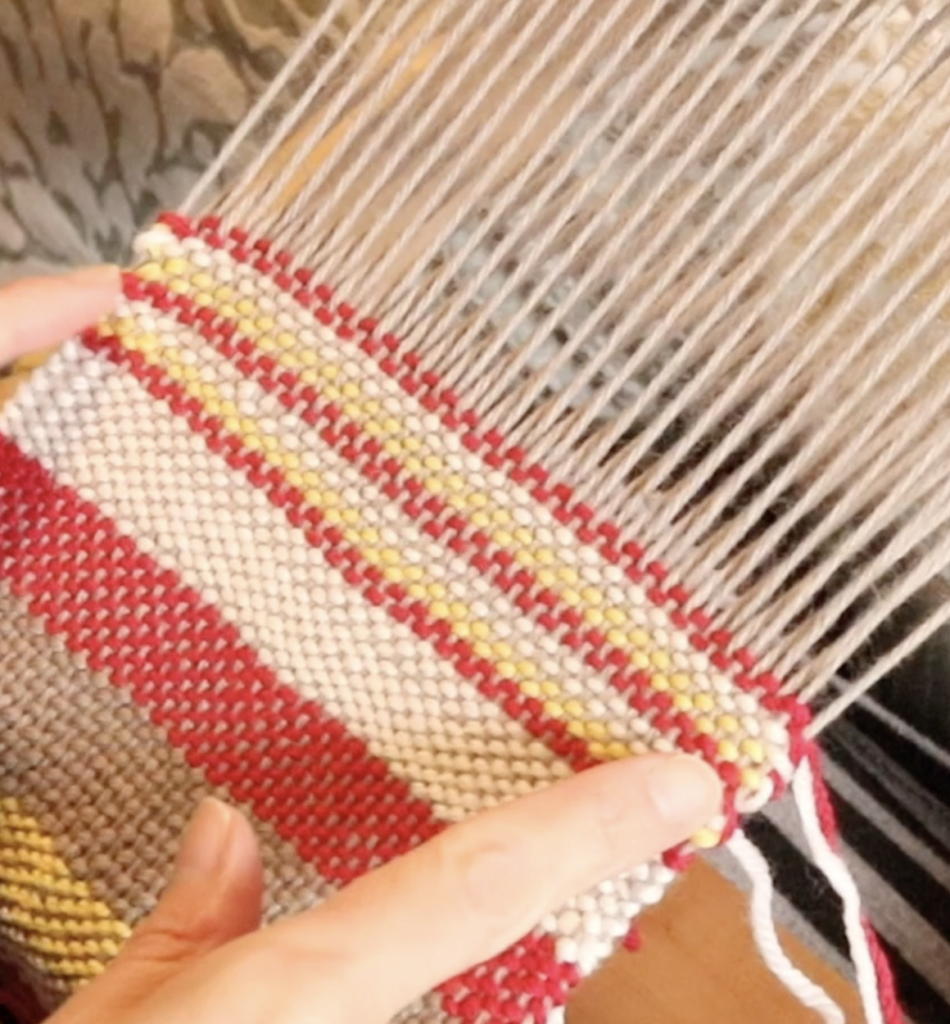
Perhaps your loose tension problem is at the selvedge? To be more specific, one selvedge is fine while the other is loose? You end up with neat edges on one side and not so great edges on the opposite side.
If you want generally to improve the neatness of your edges, check out this post for more resources.
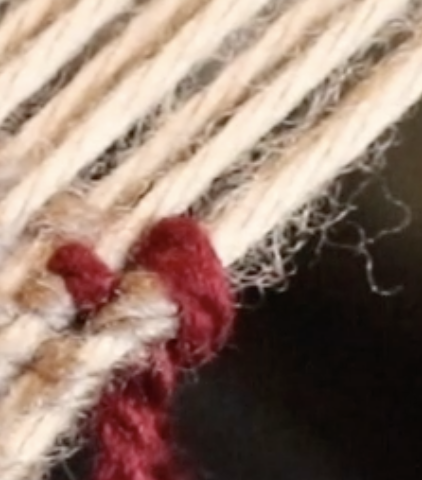
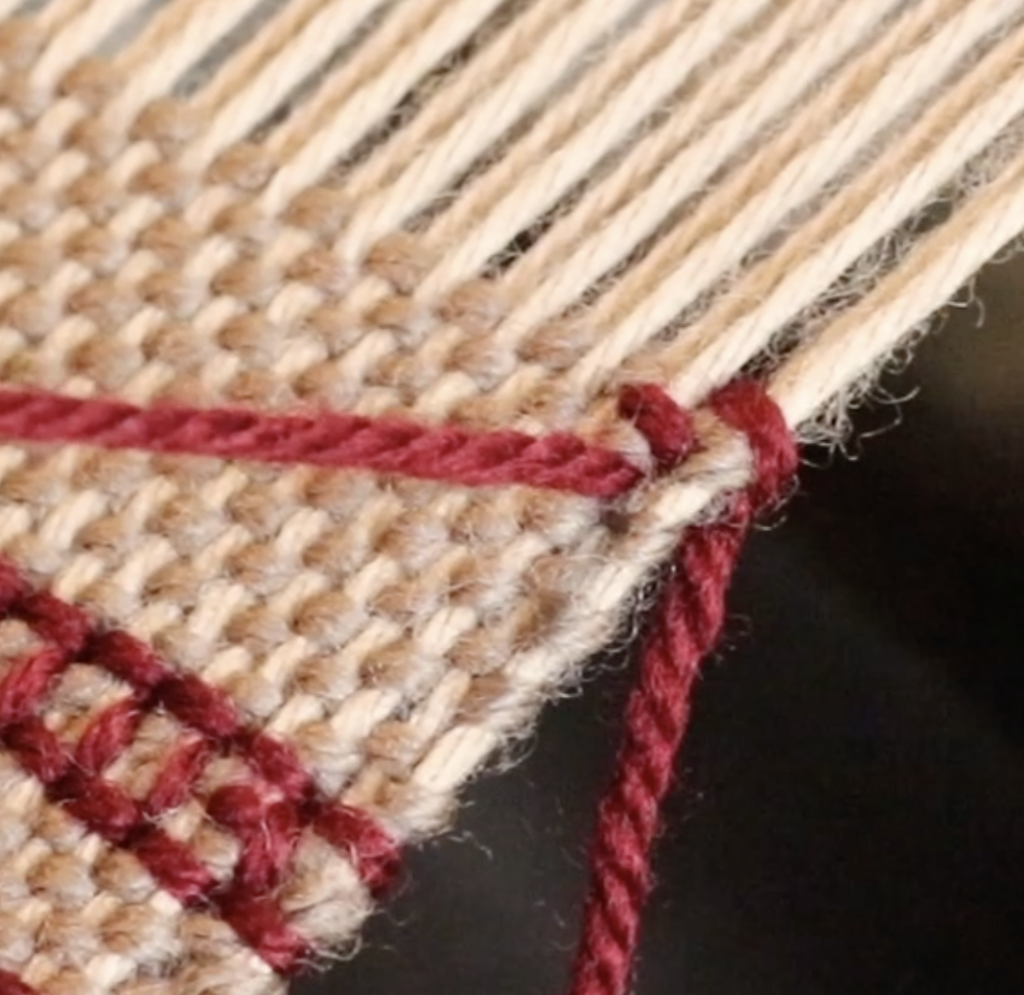
One thing you can try in this instance is to begin and finish threading in a hole. When we thread for plain weave, we usually thread one thread in a hole, one in a slot, and so on. Most of the time we are threading an even number of threads.
But for this technique, we thread an uneven number of ends on purpose, so that the last thread gets threaded through a hole. The reasoning behind this technique is twofold. Firstly, the threads are threaded in holes, which hold better tension than the slots. Secondly, the outermost threads will be under the same or similar tension (both being in holes) so the results of your woven edges should be more similar looking.
If that sounds confusing, check out this video where I show you how to thread both selvedge threads in holes and you will see how simple it is:
7. Warping in down shed
As a disclaimer, I have not tried this technique, I have only heard about it. The idea is that it’s the down (slot) sheds that have looser tension, so warping your loom with the heddle in the down shed potentially tightens the slot thread tension. If you decide to give this a go, I would be interested to know how it turns out for you!
I hope this article was useful to you. As always, questions and comments are welcome, please leave them down below! ⤵
Until next time…
Happy Weaving!