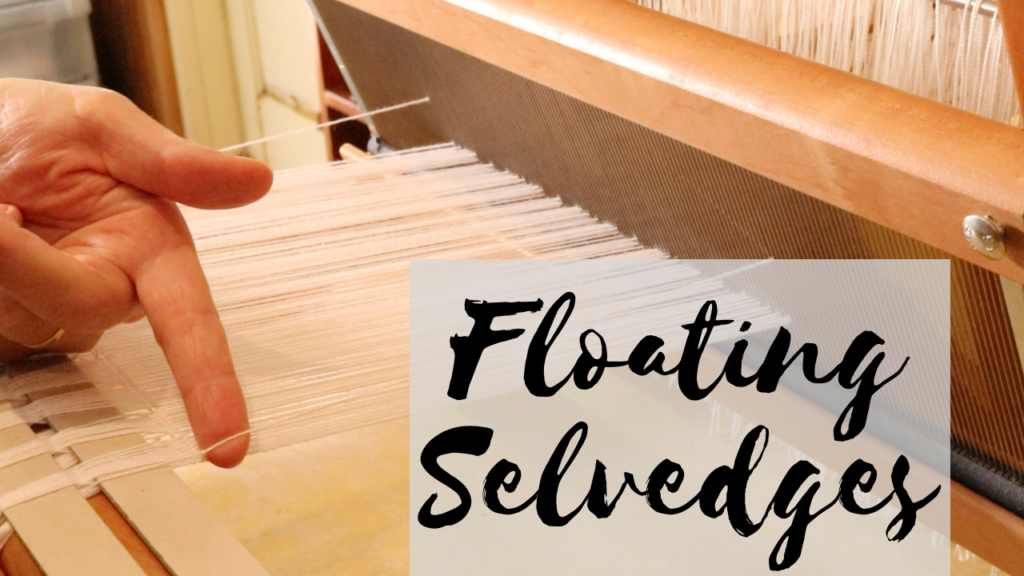
If you’ve been weaving for a little while now it’s very likely that you’ve come across the term “floating selvedge”.
What is a floating selvedge?
Floating selvedges (FS) are used on either side of a warp and are replacement threads for the original edge warp threads. This may lead you to wonder why you would want or need to replace your edge threads?
When weaving a simple plain weave, the interlacement of weft and warp doesn’t change. You alternate between the two plain weave sheds and the weft thread always naturally wraps around the outer most warp threads.
*This post contains affiliate links. Please see my disclosure policy for more information.
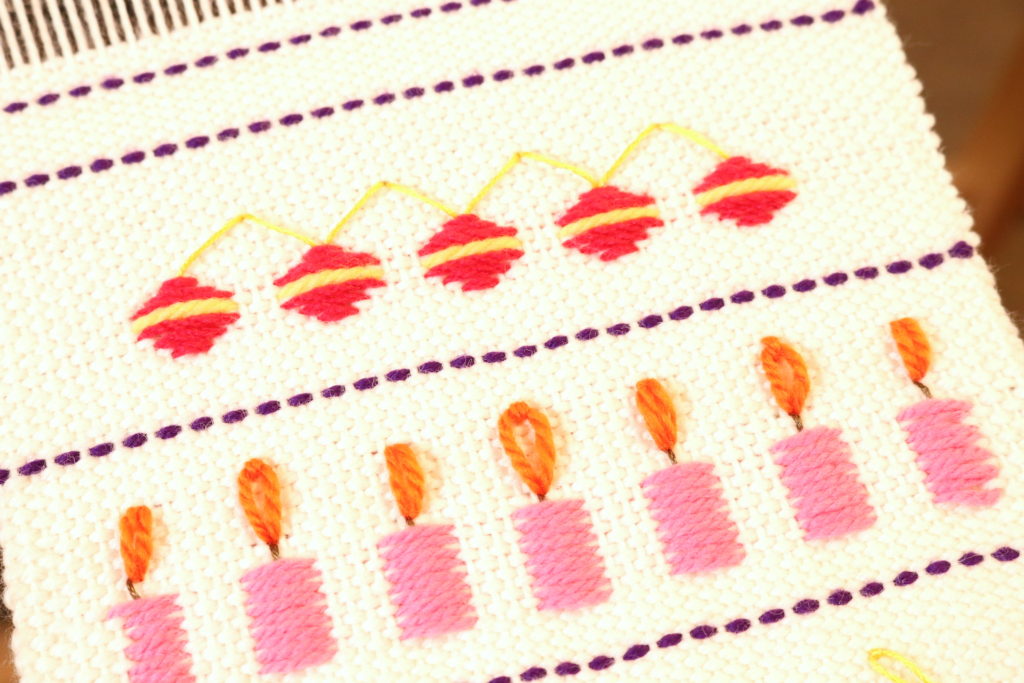
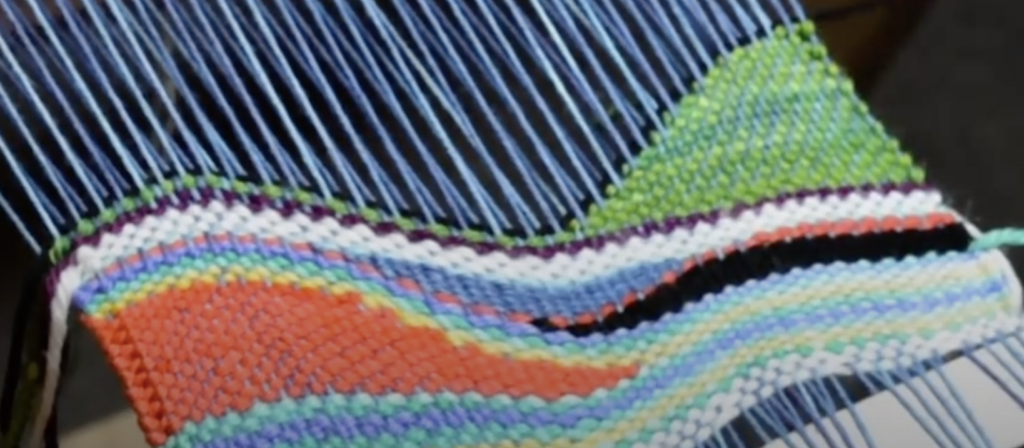
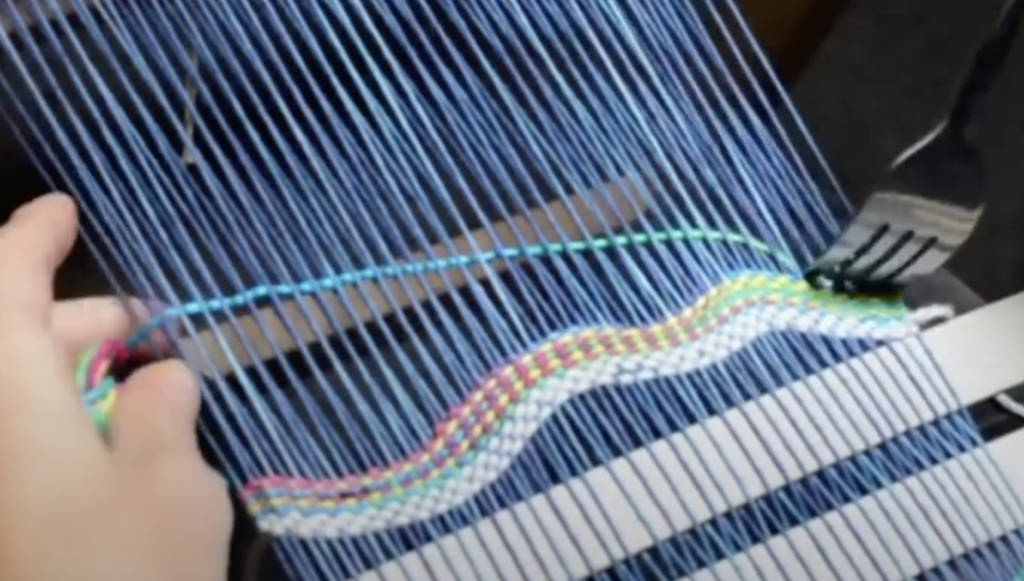
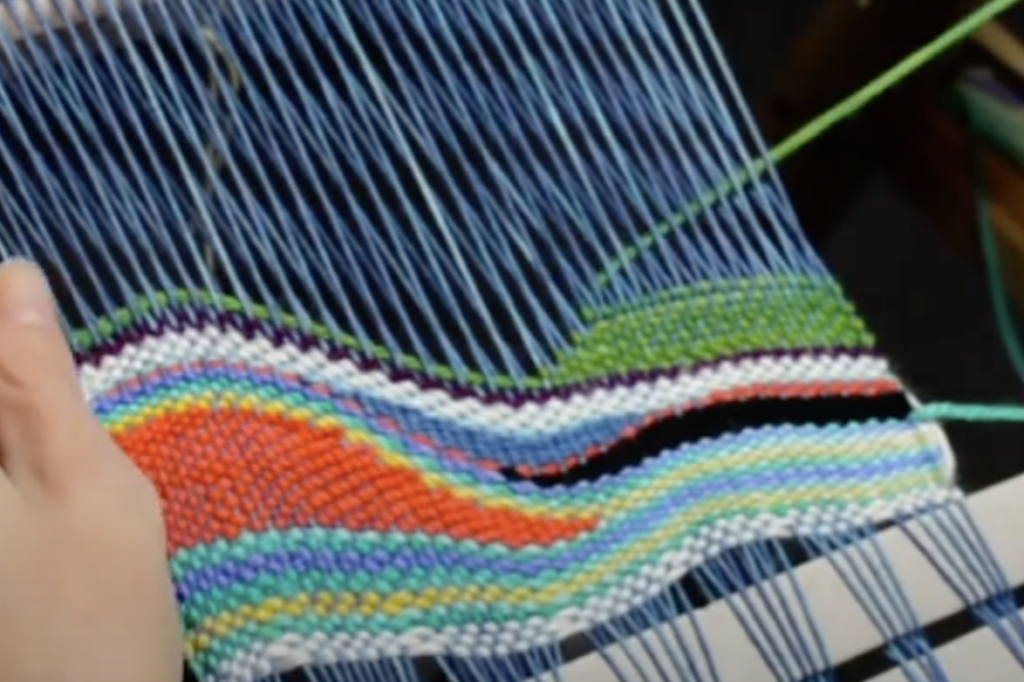
But when you are weaving something other than plain weave, you will often find that the weft skips the outer warp thread – either in every shed or, more likely just in certain sheds. If you don’t do anything to combat this problem, the result will be messy edges and a cloth that lacks integrity at the selvedges.
Now, there is a manual method you can use to prevent this from happening, but I find it easy to install floating selvedges and I also love the neat edge finish this gives me.
How does the floating selvedge work?
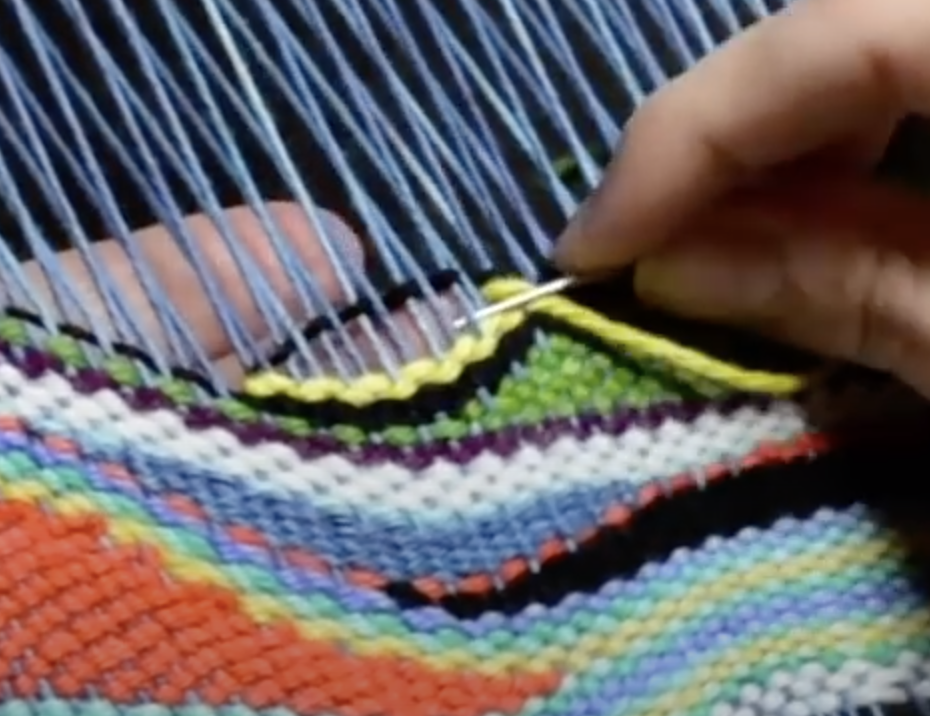
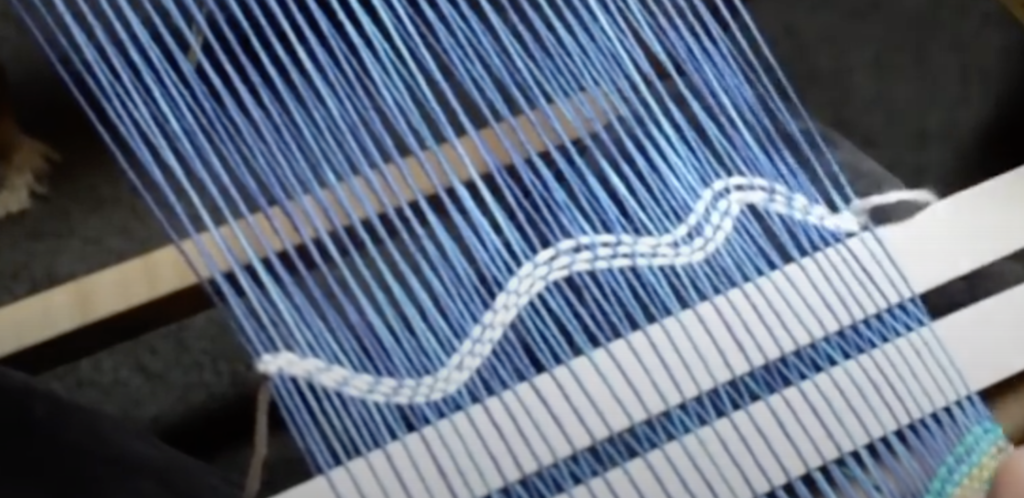
A floating selvedge will provide you with an unchanging edge thread, unlike your natural edge thread that may change according to the pattern, or the way you have threaded your loom. The path of the weft thread is determined by your action with the shuttle when you begin weaving, ensuring that every edge warp thread (now your floating selvedge) is wrapped with weft yarn.
When we install floating selvedges, they are usually not a part of the original warp. They are always threaded into an empty slot next to the last naturally occurring warp thread. This makes them independent of your warp and pattern, and means that we can adapt them to our own purposes.
Although floating selvedges are not necessarily a part of the original warp, they do become a part of the finished woven piece – they are not removed afterwards.
For this reason, it’s important to choose a colour that will blend well with the project. If I am weaving my piece with just one, solid coloured weft, I will choose that same yarn and colour for my floating selvedges.
If I am going to be changing the weft colour multiple times within that one piece, I will choose the same yarn and colour as my warp.
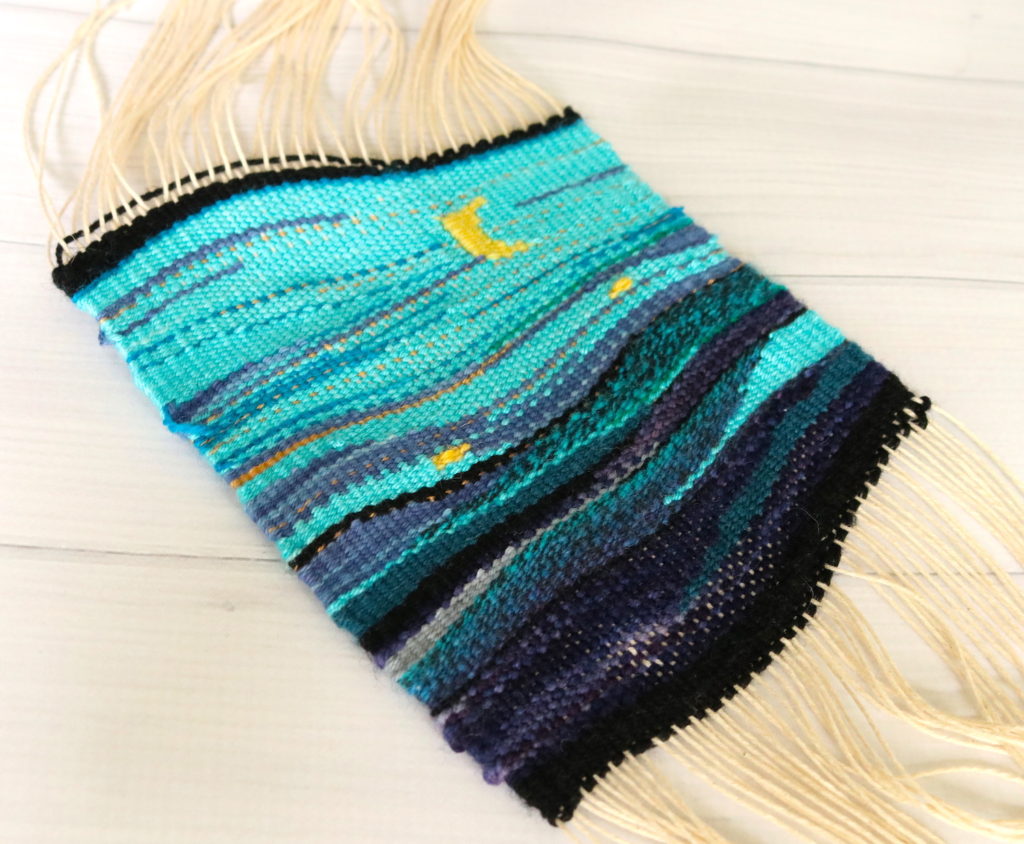
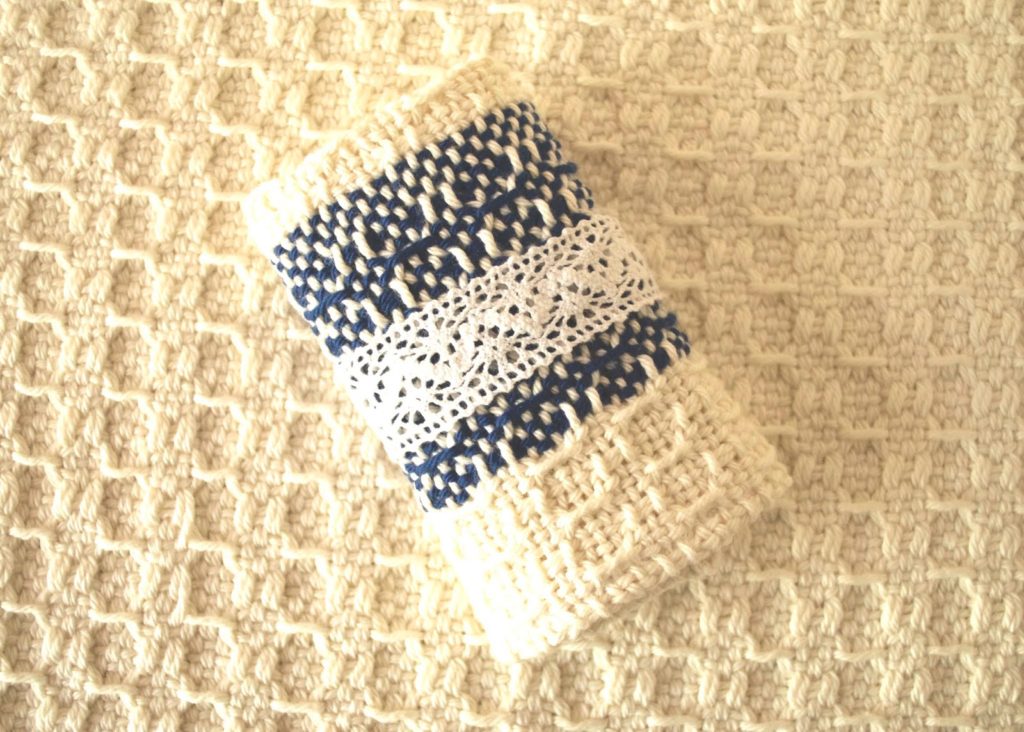
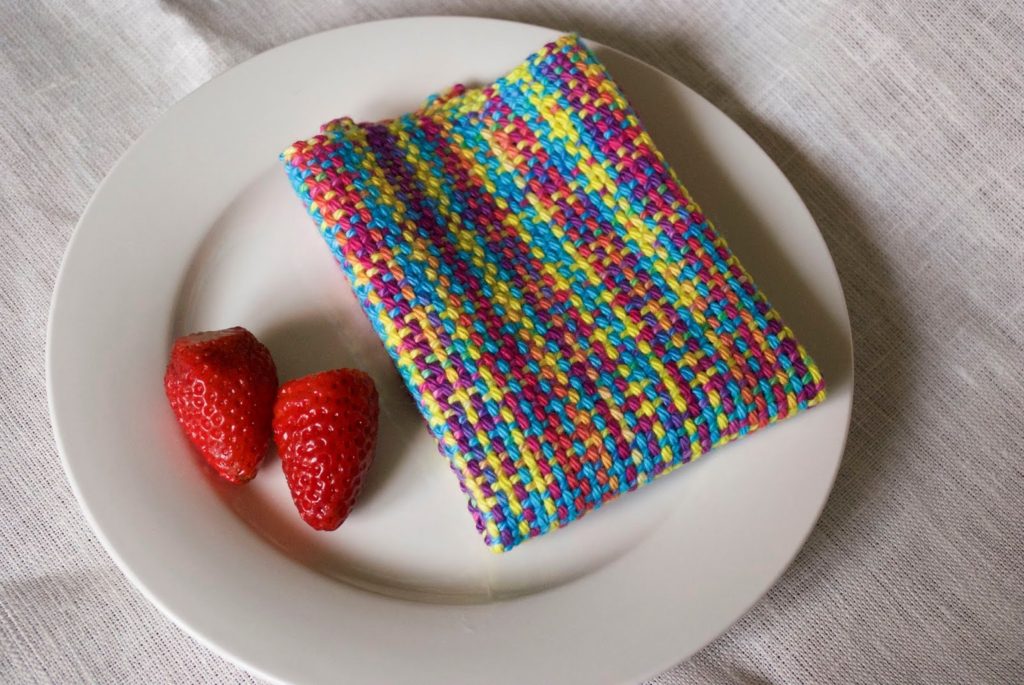
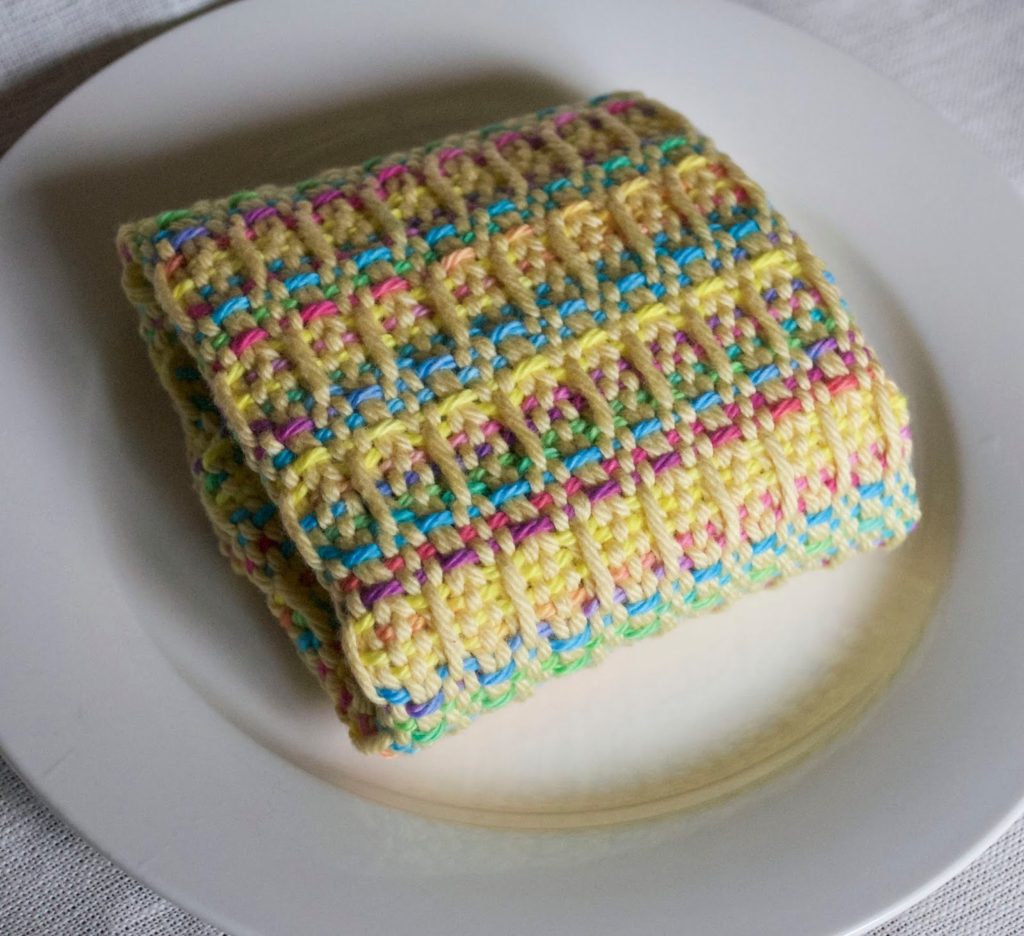
The idea is that, once your piece is off the loom and finished, you won’t be able to tell that there was a floating selvedge introduced (other than the fact that your edges will look really nice!)
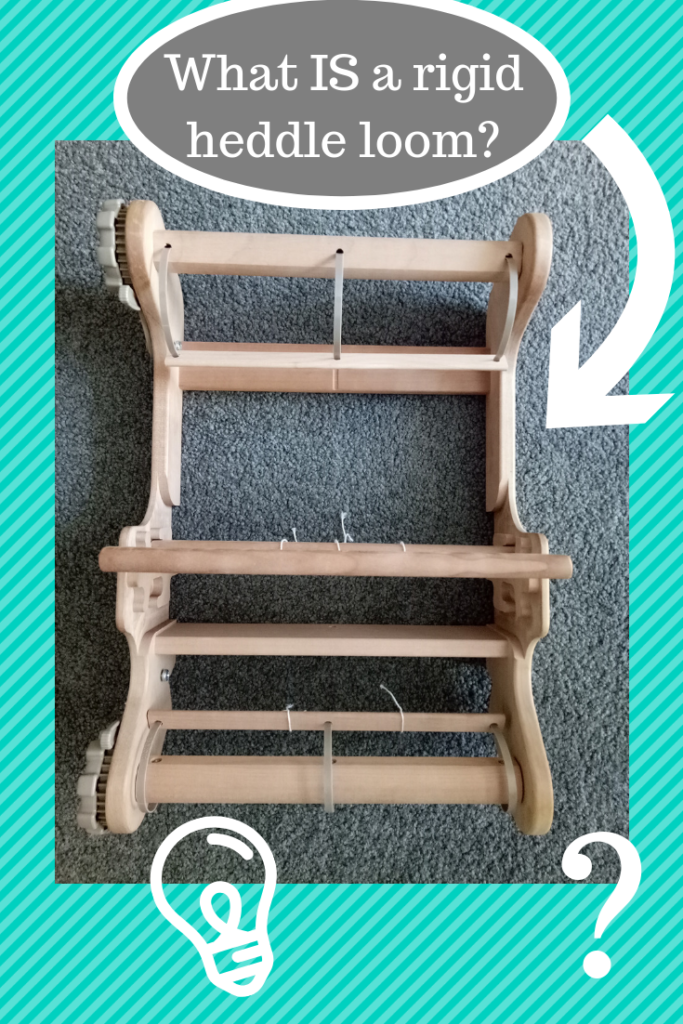
Can you use a floating selvedge on any loom?
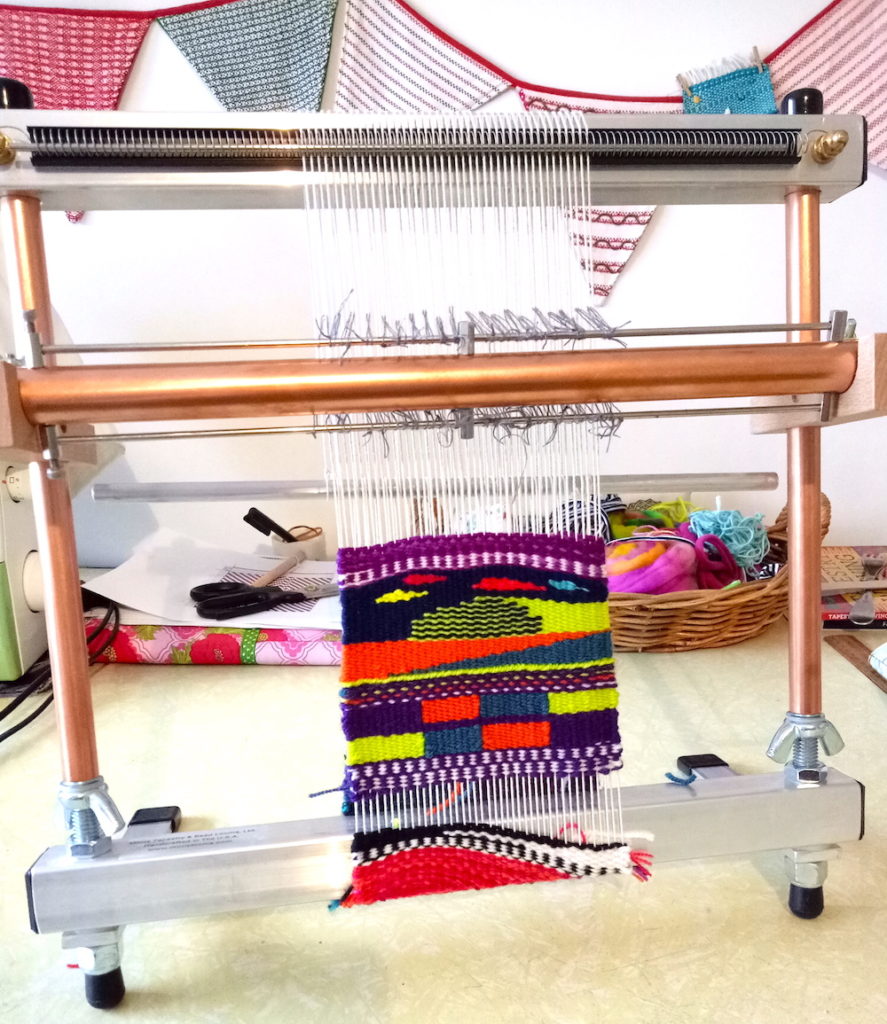
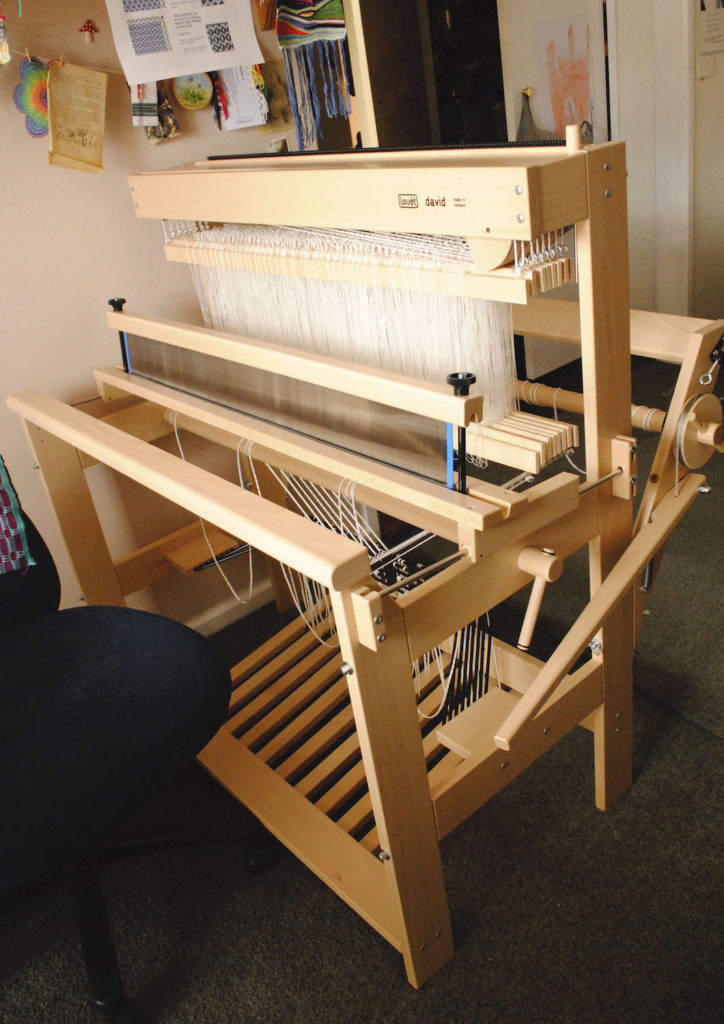
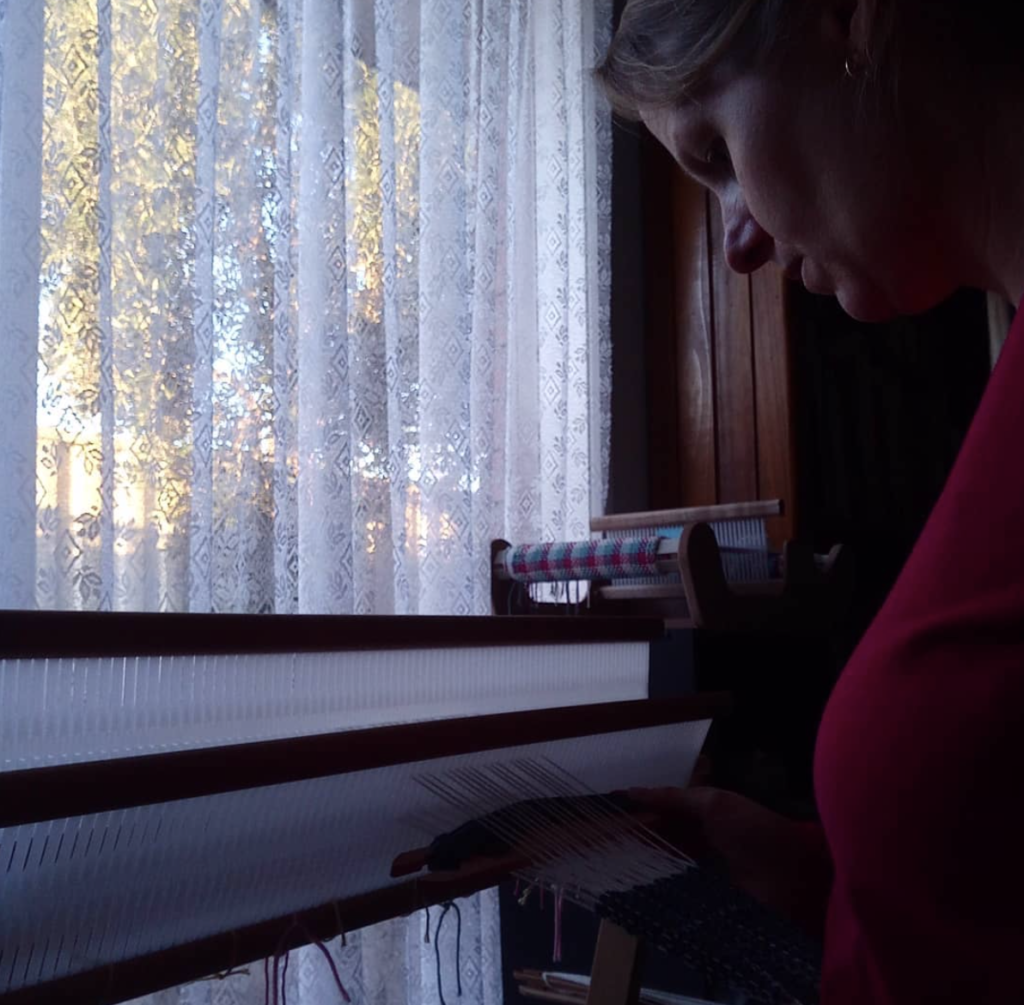
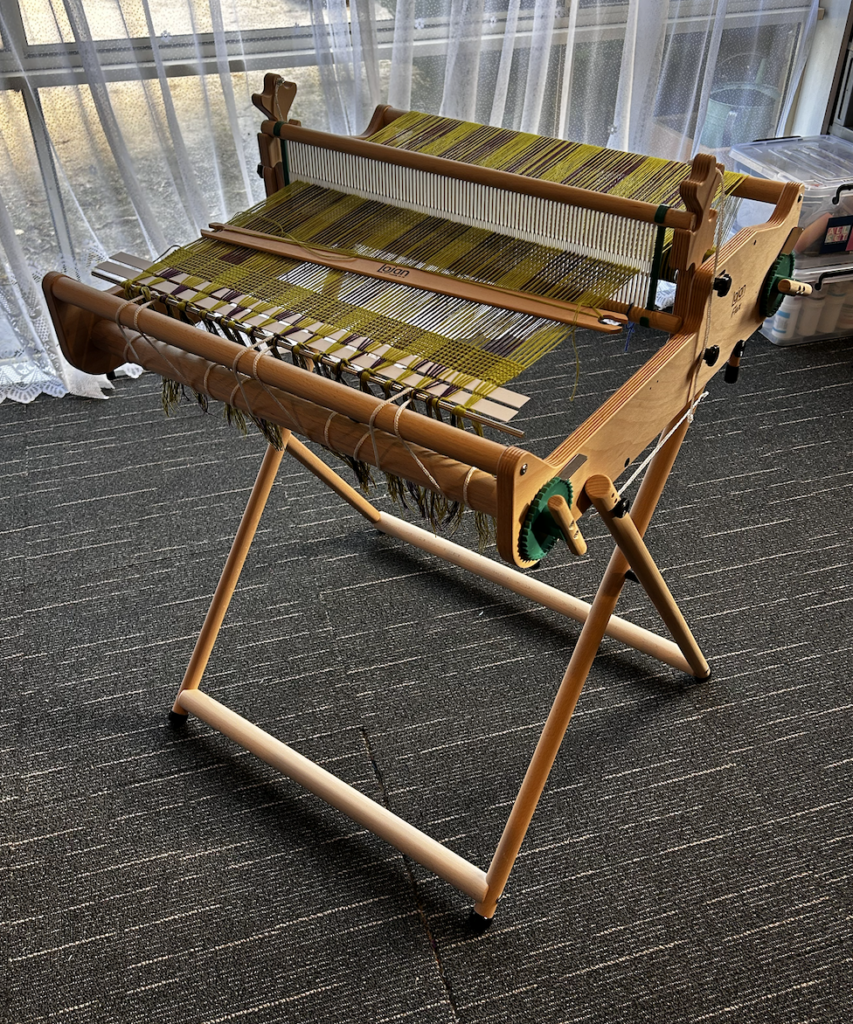
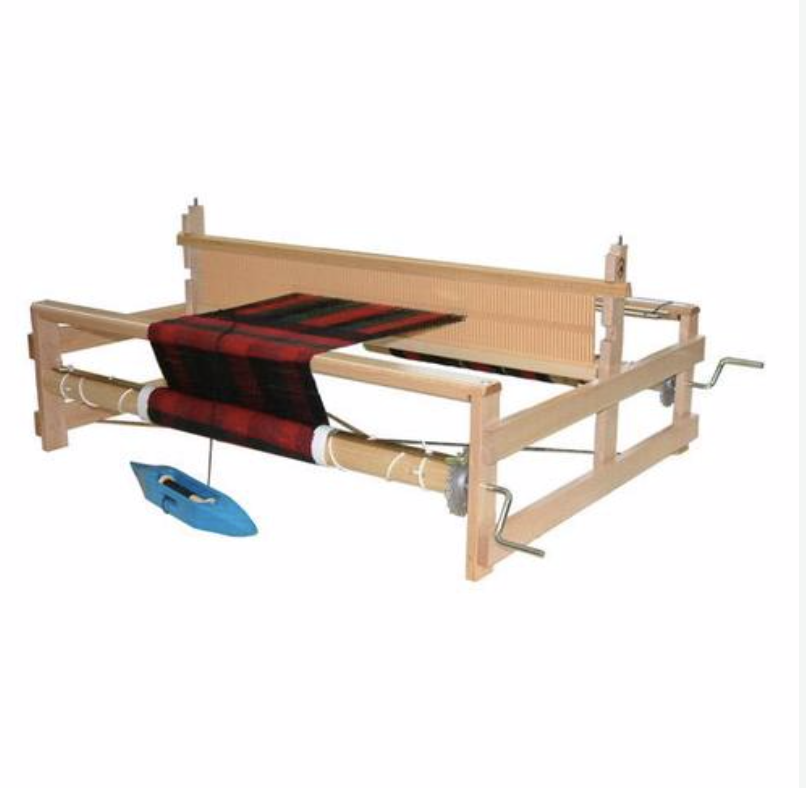
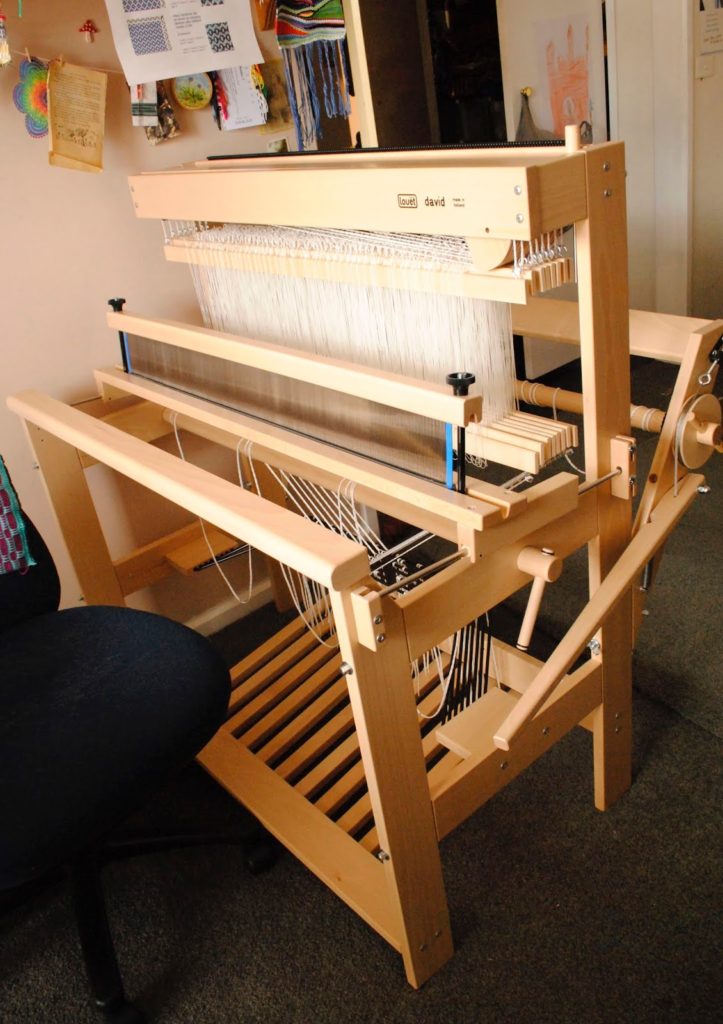
Pretty much. I use them mostly on my floor loom and table loom, and on my rigid heddle loom if I’m weaving something other than plain weave.
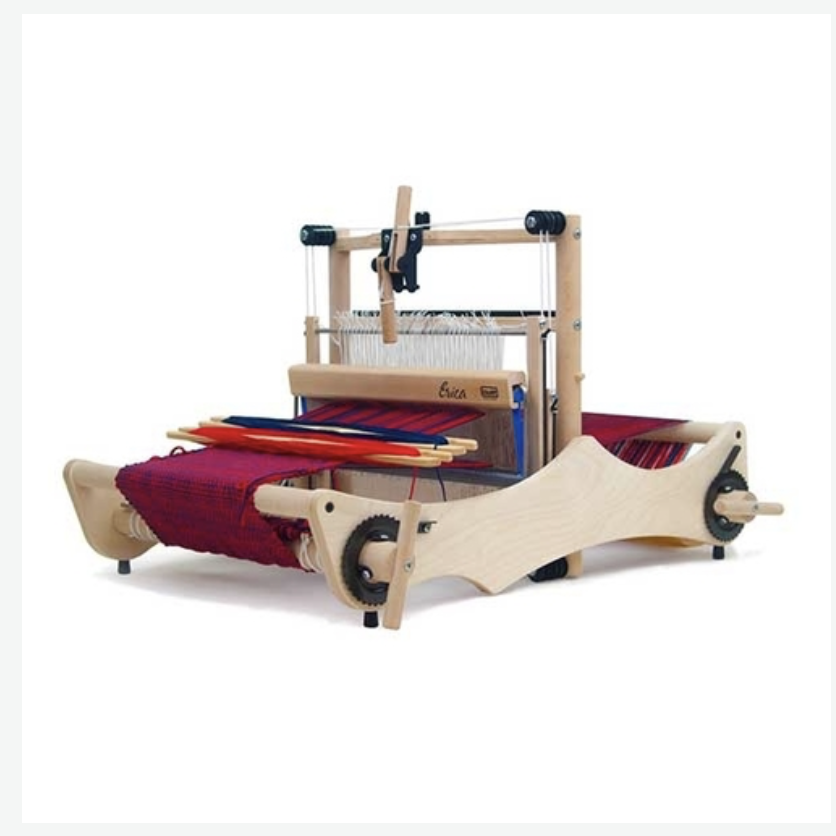
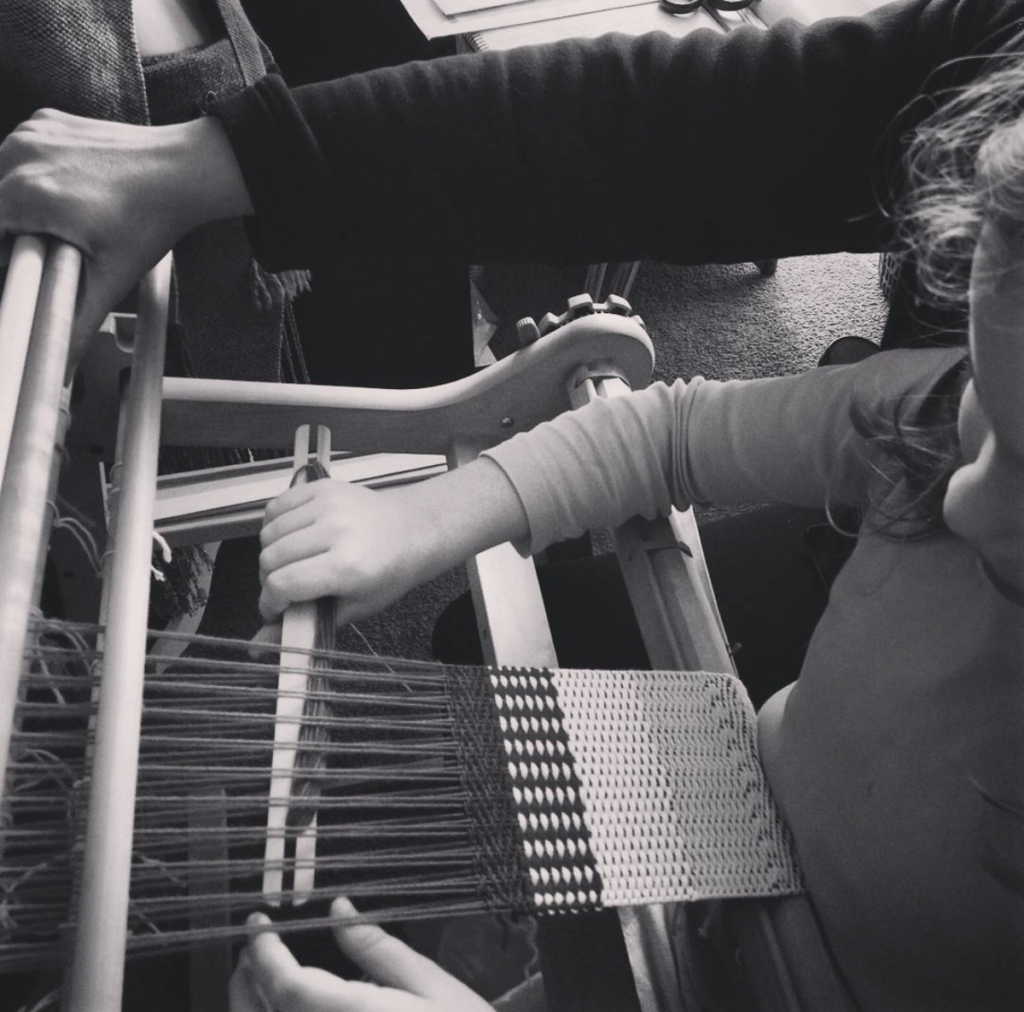
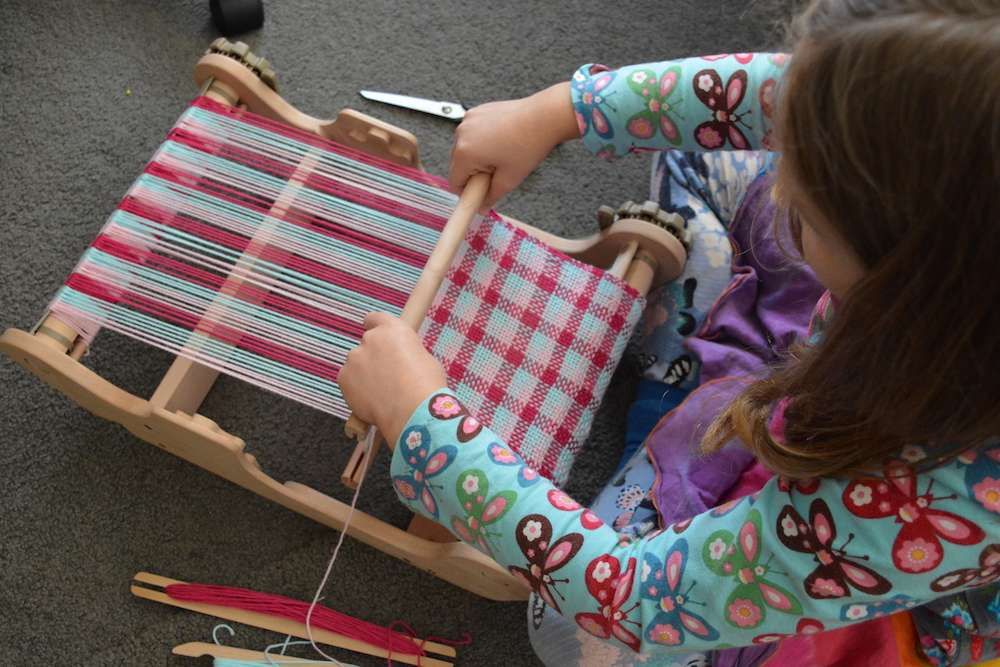
Today’s tutorial is specifically for the rigid heddle loom. Scroll to the end of this post to find a video tutorial specifically for table loom floating selvedges.
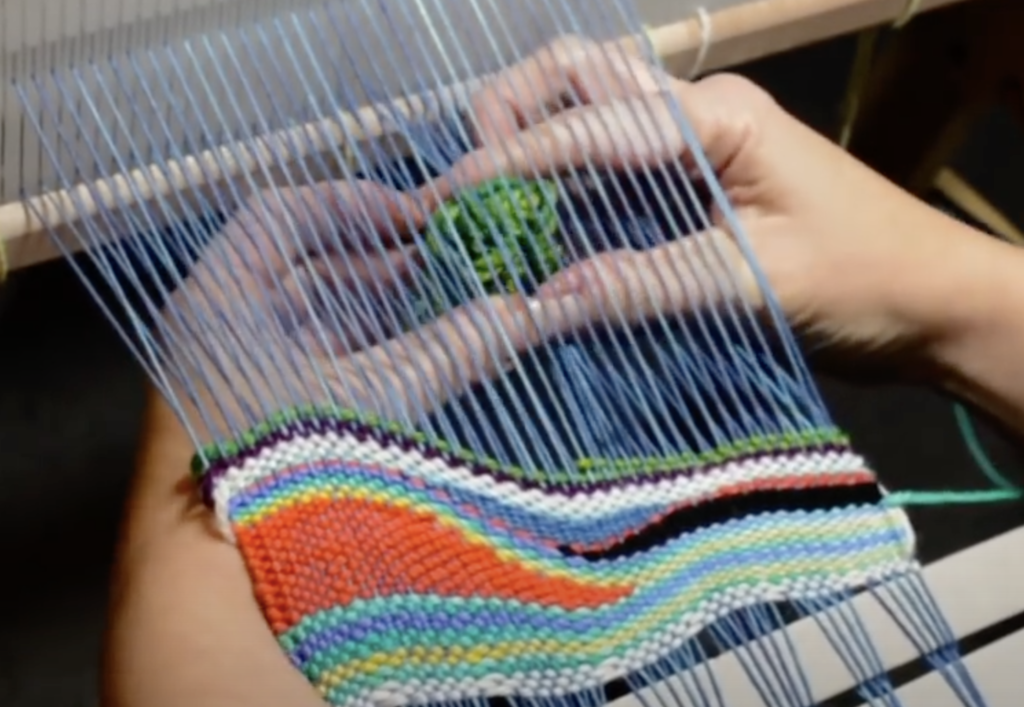
I like to install my floating selvedges when the warp is all tied on and I’m almost ready to weave.
The photos from this tutorial are taken from my member’s only Floating Selvedges on a Rigid Heddle Loom class.
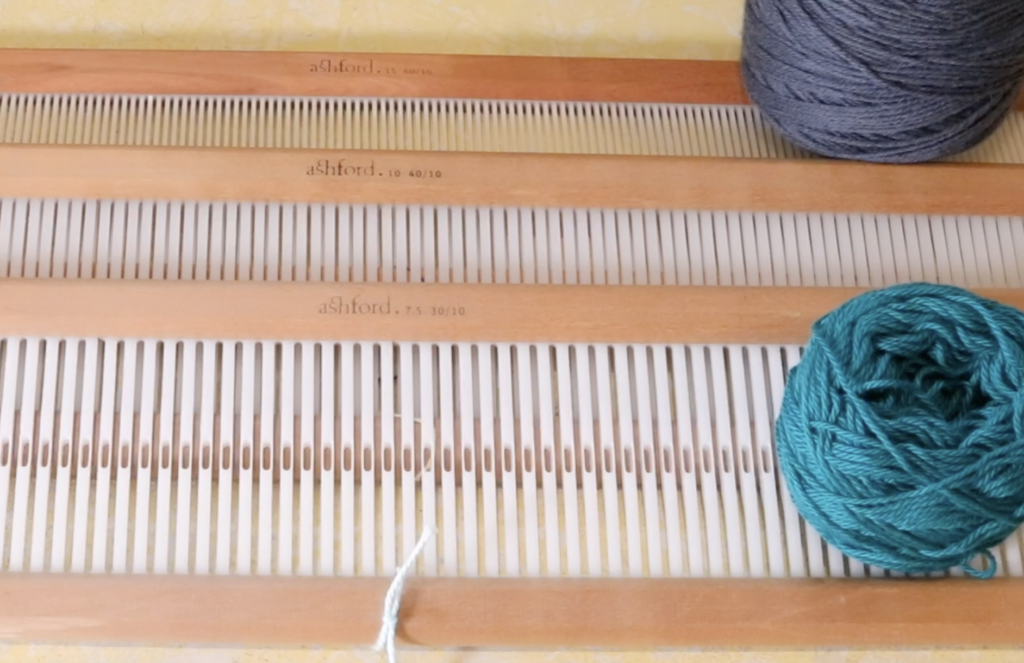
I most often use the same yarn for my floating selvedges as I use for my weft. So, in the example above, I will be using a white weft.
I don’t do this every time though. If I am weaving a project where I intend to have multiple and frequent weft colour changes, I will use the same yarn that I used for warp for my floating selvedges.
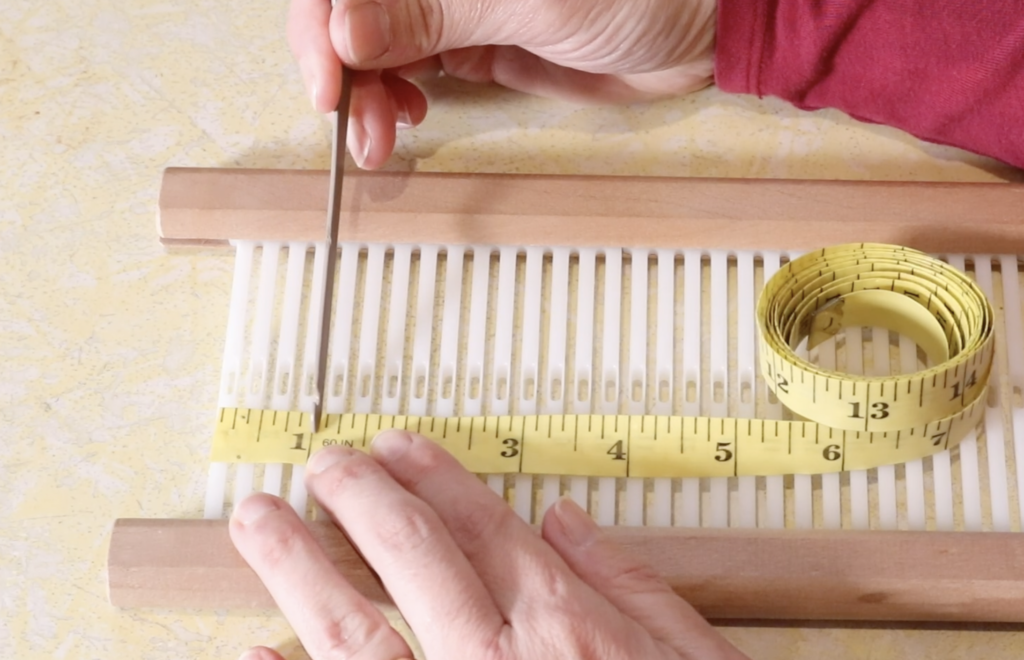
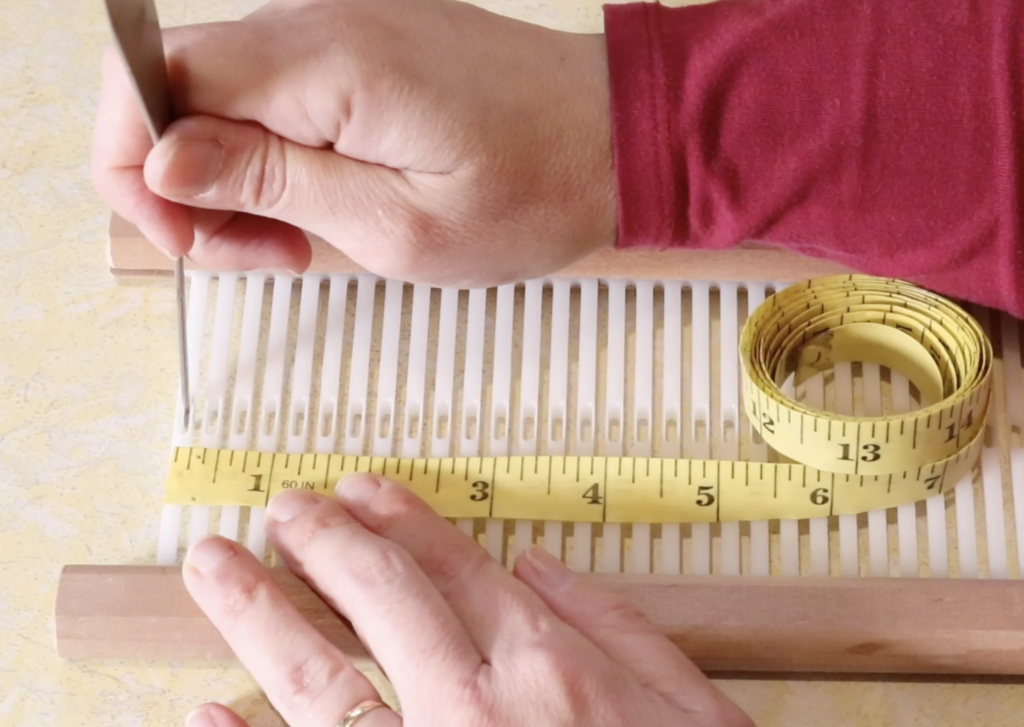
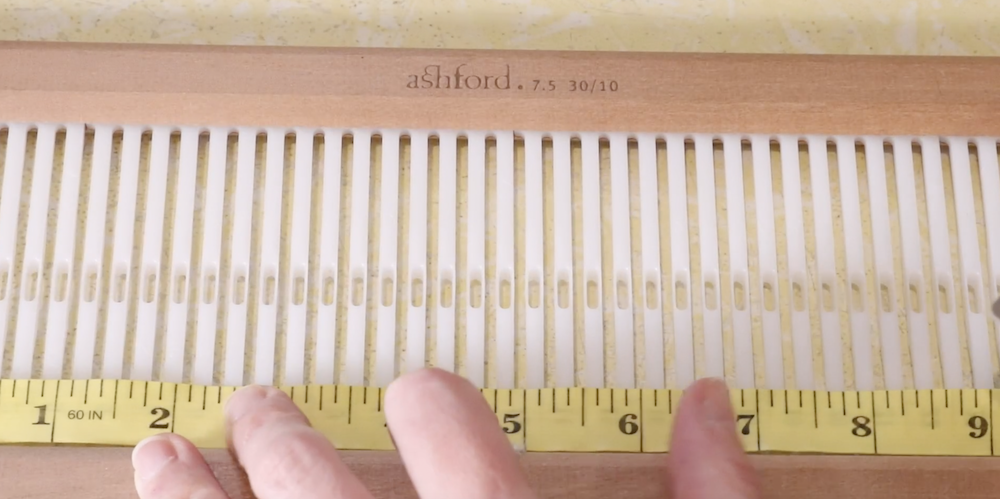
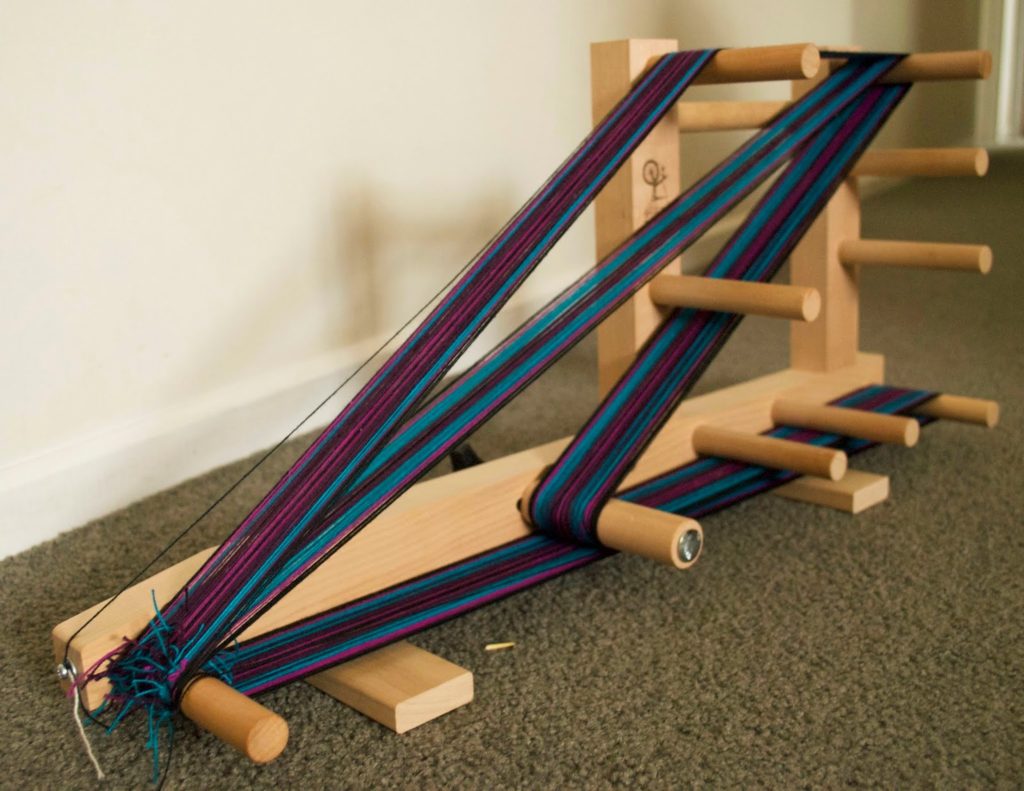
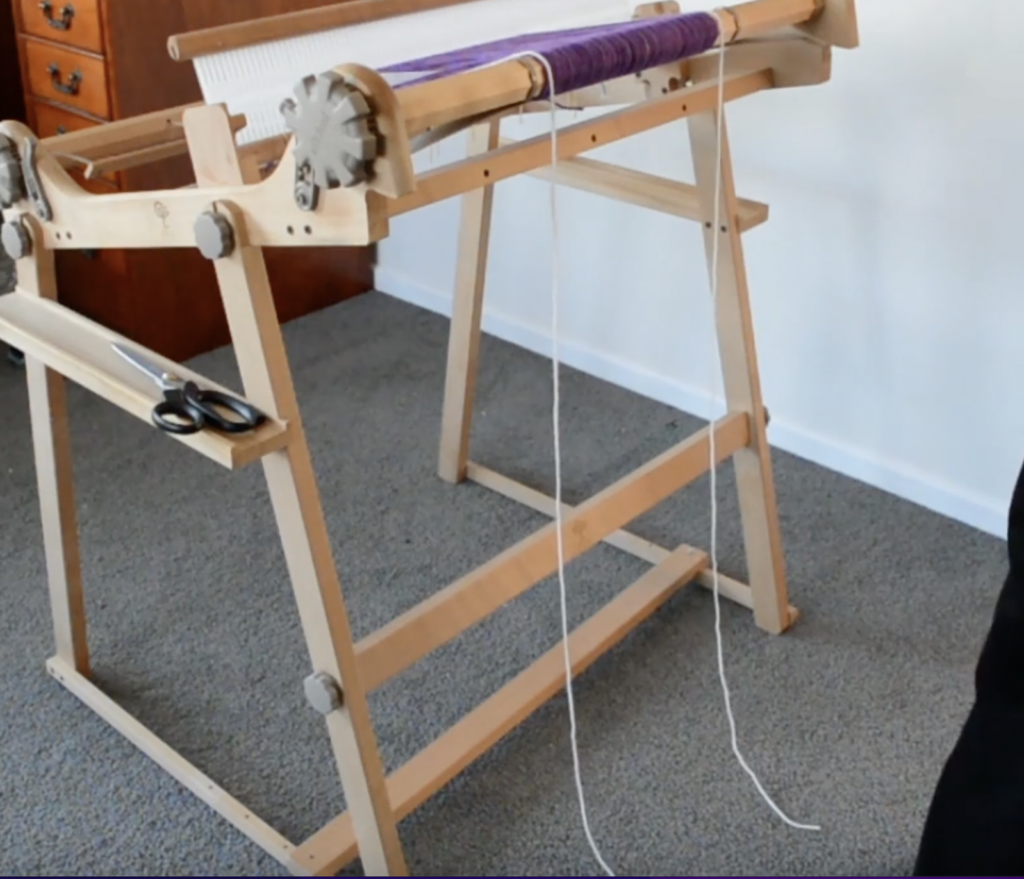
Step 1. is to measure out a length of yarn that is similar to the length of your warp. A little more is fine, a little less is not so great, as then you may have to install the floating selvedges again in the same project. It’s doable, but preferable to have a little more than you need so you don’t run out.
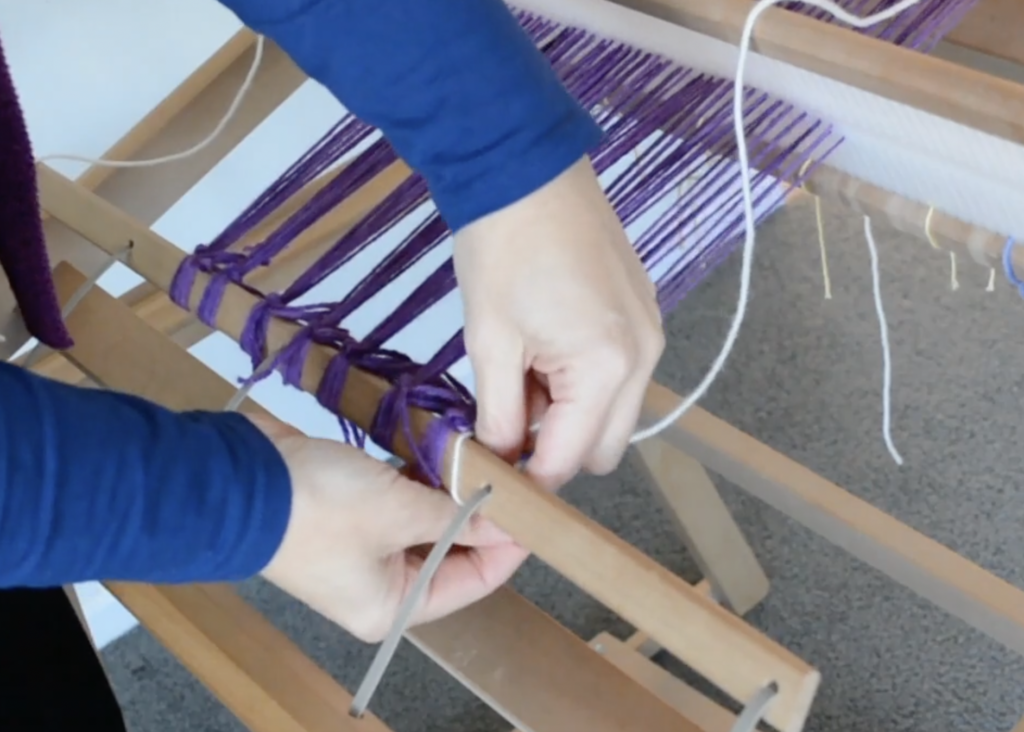
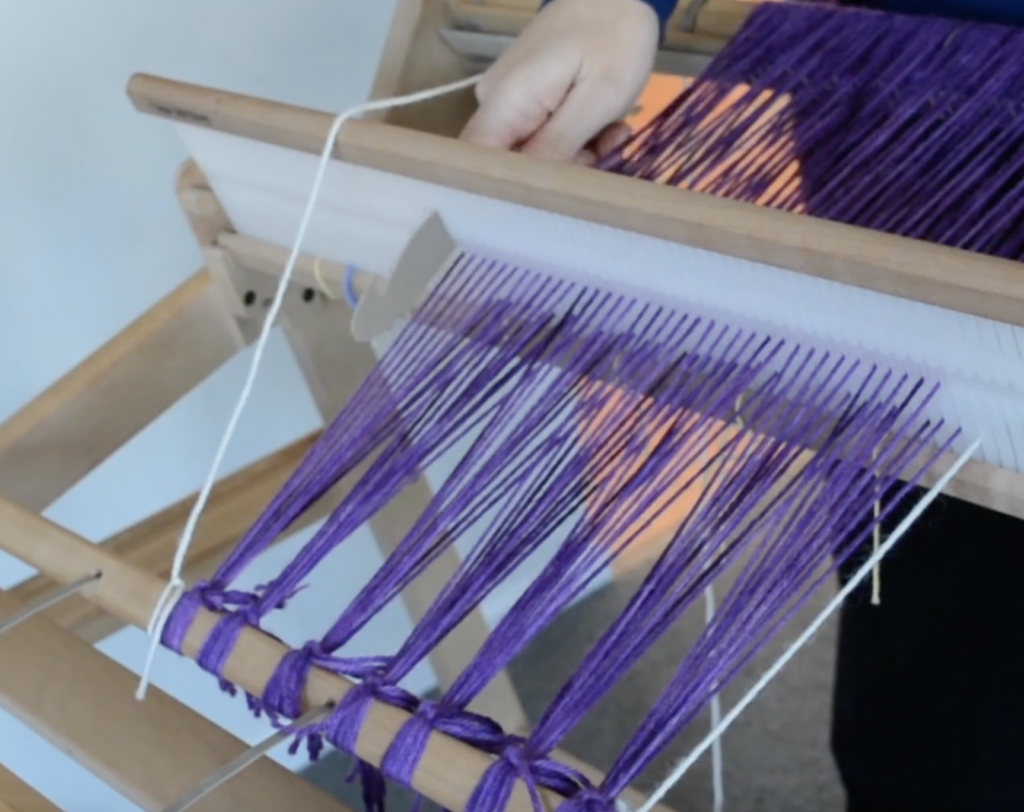
Cut your length of yarn and tie one end in a secure, double knot to the front apron rod on one side of the warp. It makes no difference whether you do the right or left side first.
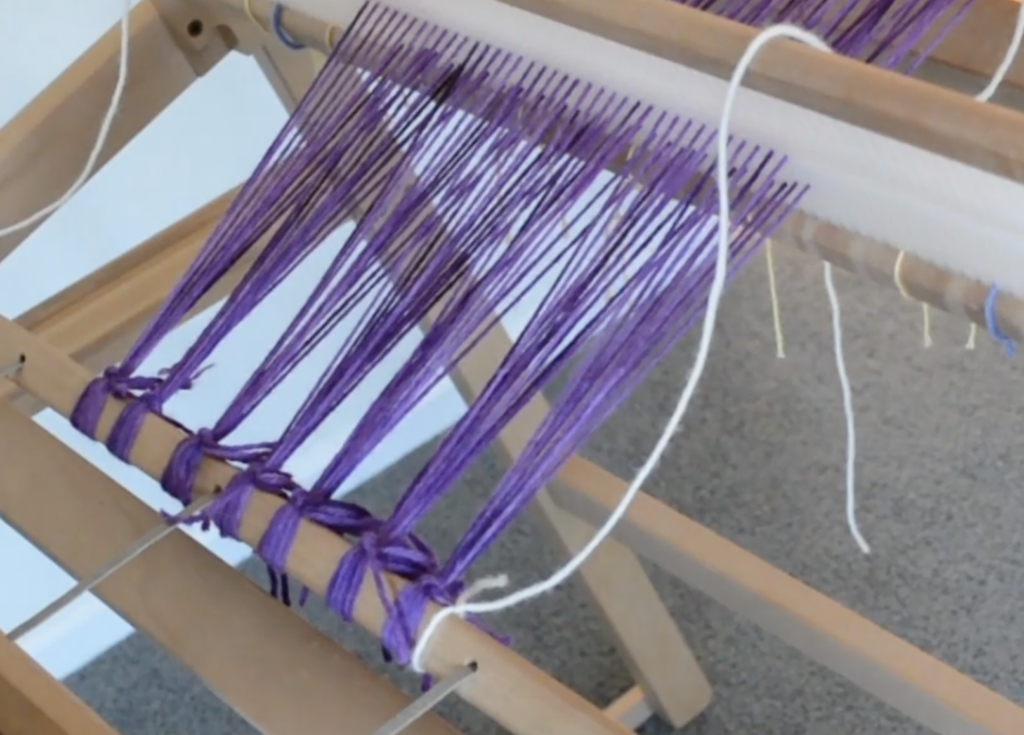
Drape the tied yarn over the top of the heddle. It doesn’t really matter what position the heddle is in at this point, but it make sense to have it in the neutral or resting position.
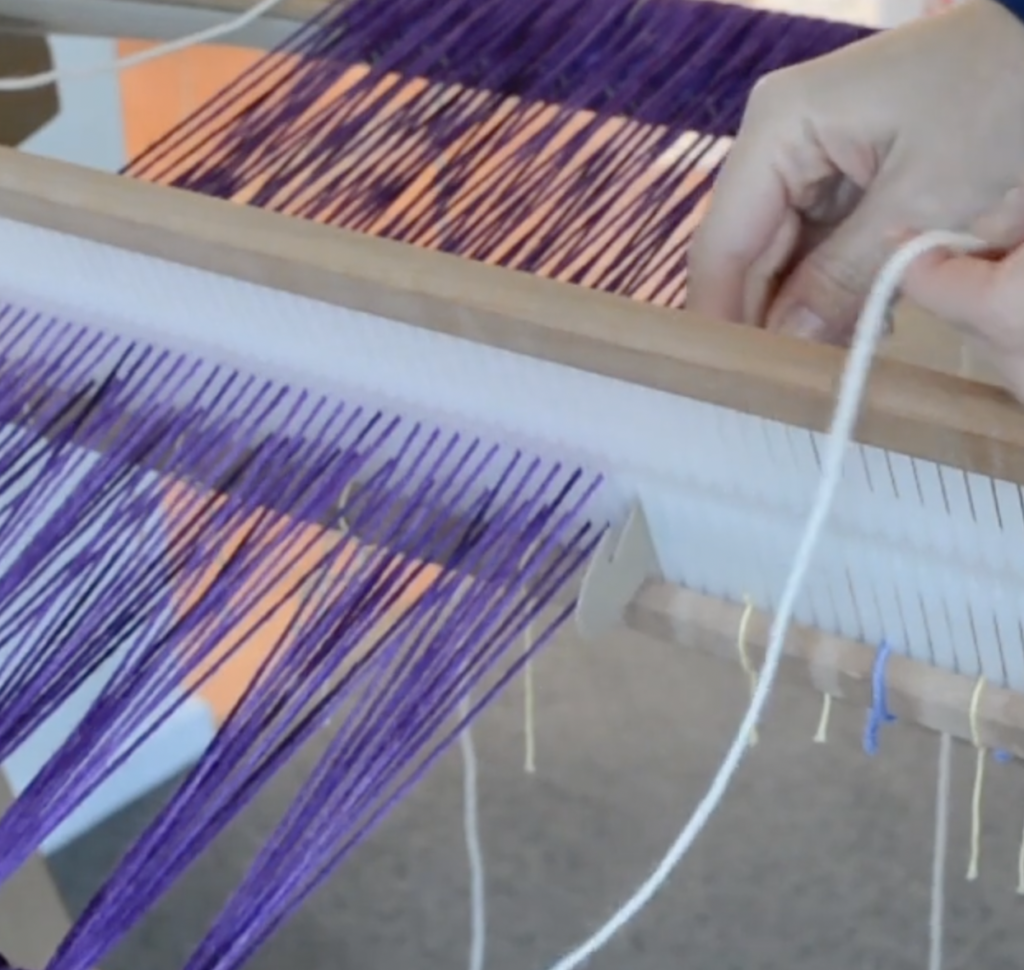
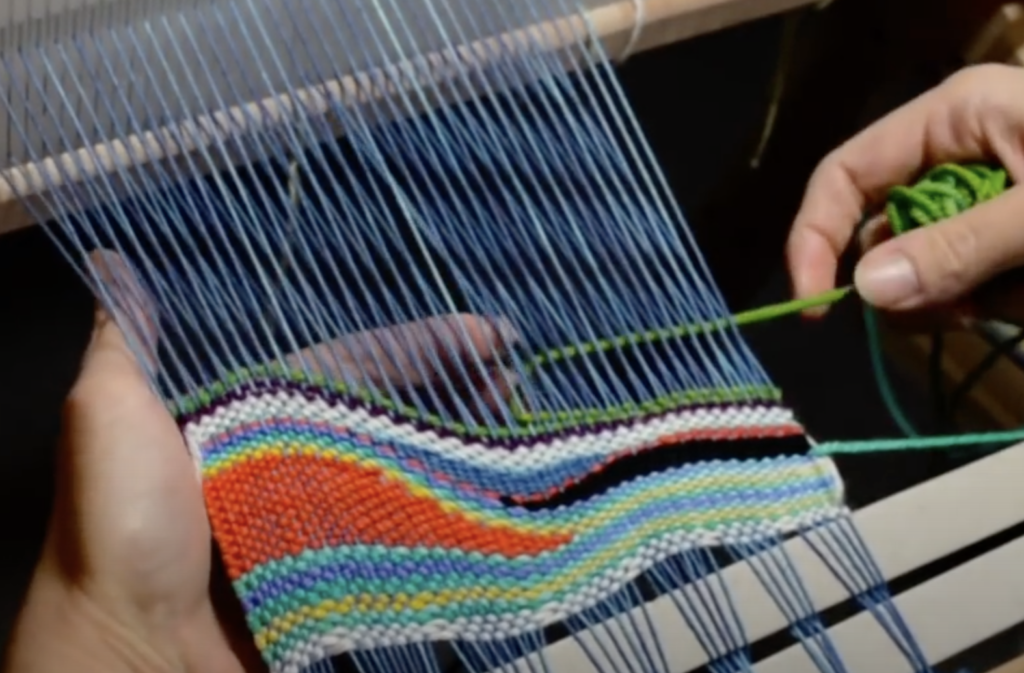
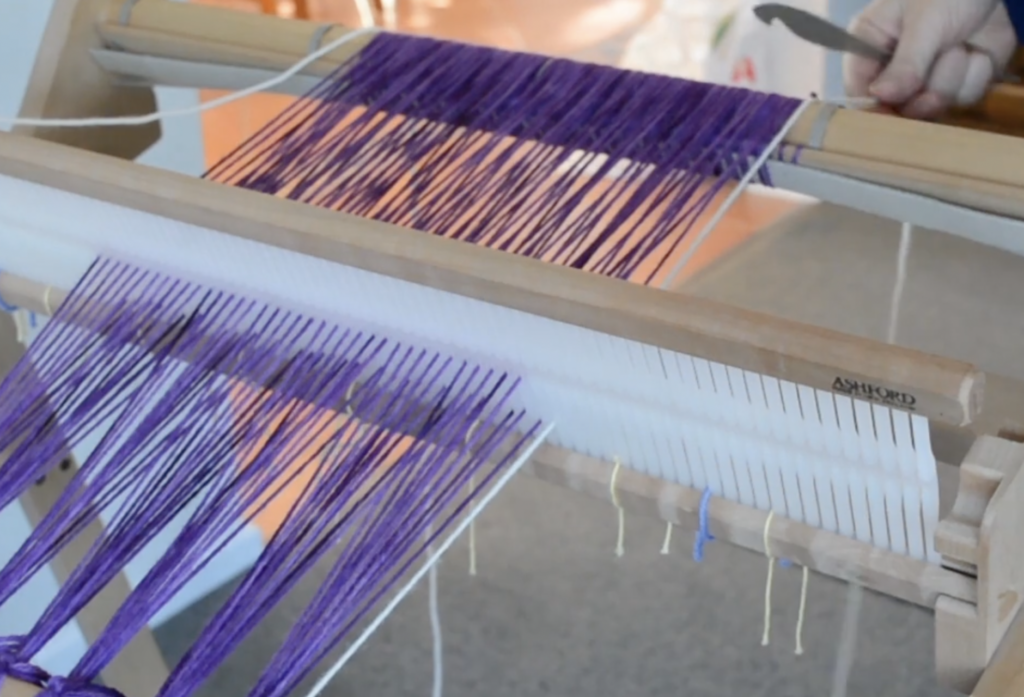
Find the next slot, next to your outer most edge warp thread that is empty. This is the slot you will thread your yarn through. Having the floating selvedges in a slot makes them a “free agent” that we can then manipulate in the weaving process to ensure that our edges are always wrapped with a weft thread.
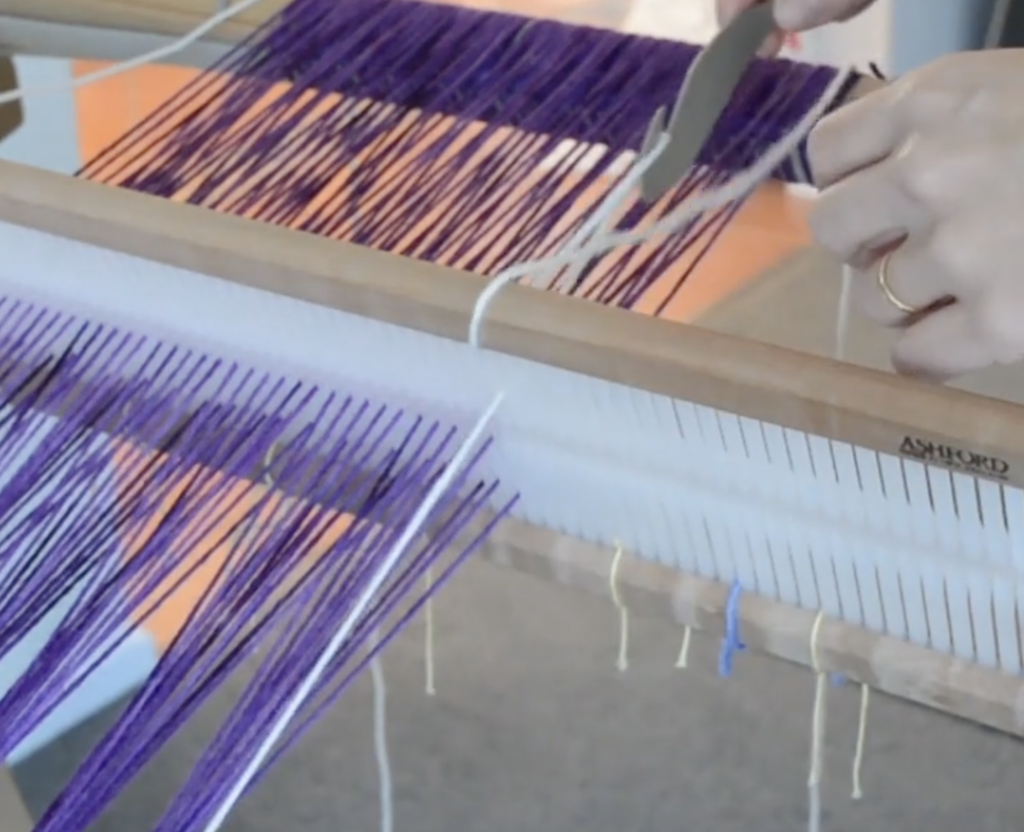
Pull the thread right through the slot and over the back beam and leave it hanging.
Now repeat the exact same steps on the opposite side of the warp.
Now you have two threads in slots on either side of your warp and they are ready to be weighted. If you don’t weight them, they won’t work, they need to be under tension!
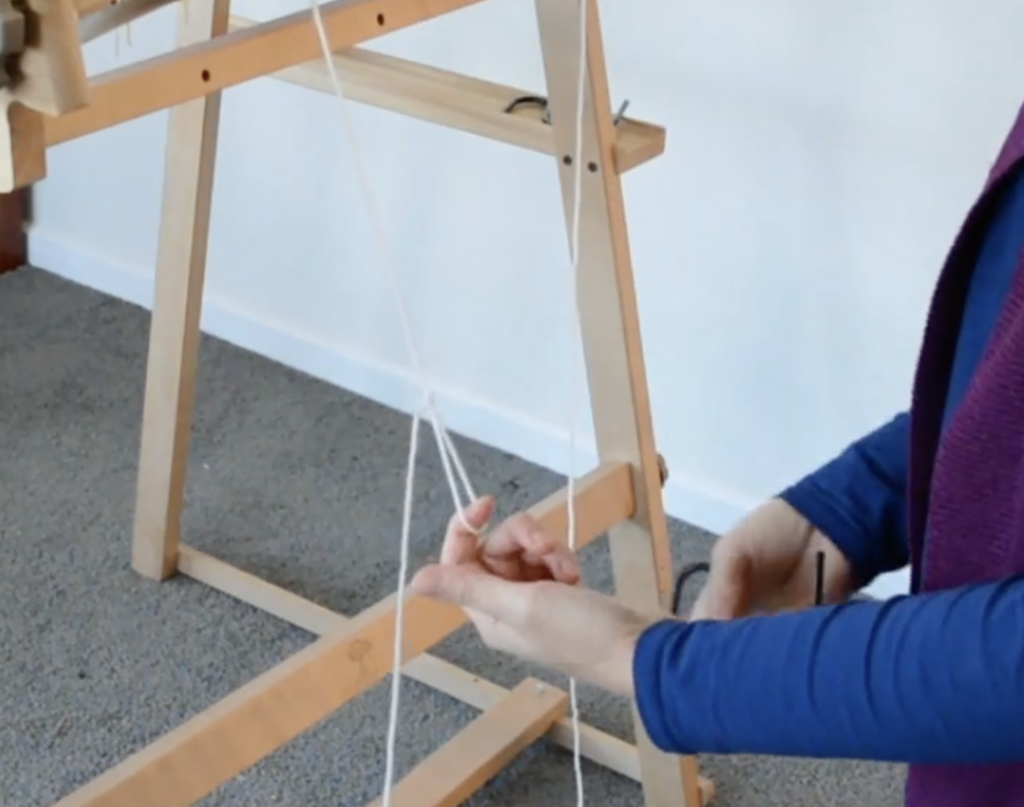
Make a slip knot in the hanging thread. You can do this half way down, or further towards the floor, the main thing is that the weights are not resting on the floor, you want them to dangle and place tension on the thread.
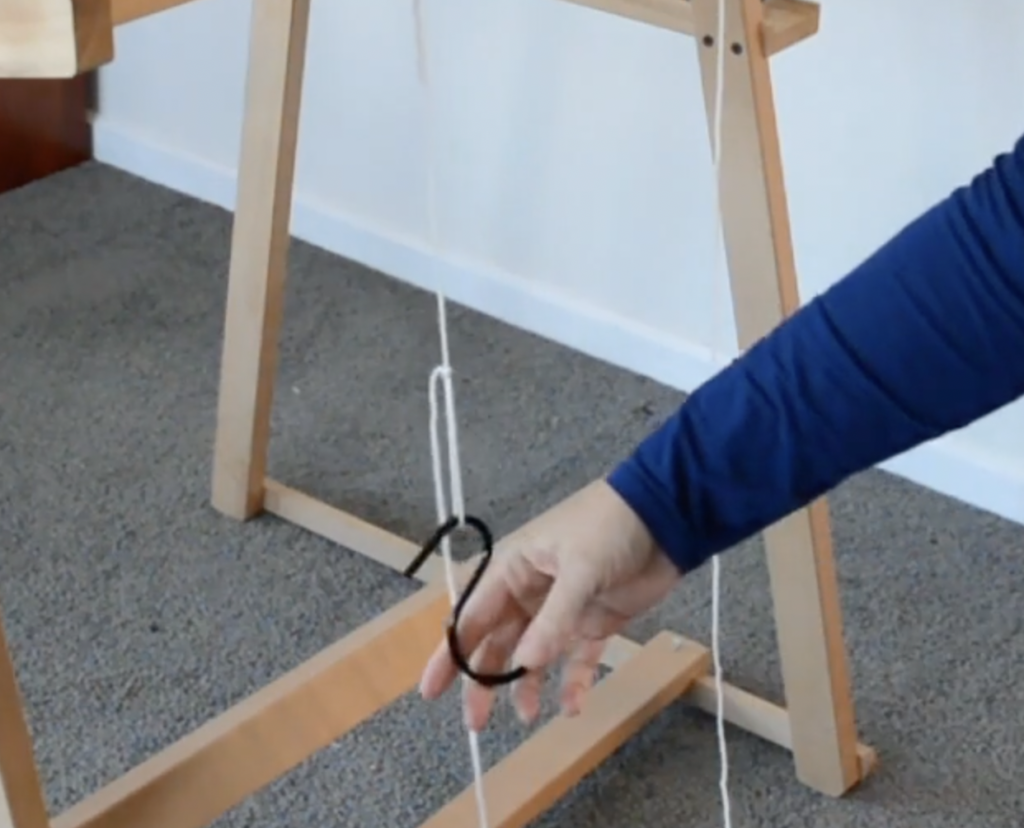
Place an “S” hook or something similar through the loop of the slip knot and allow it to hang. You can tighten up the slip knot to prevent your hook from jumping out of the loop. I have a bunch of S hooks, they are so handy for tensioning broken or loose threads and I always use them on my floating selvedges.
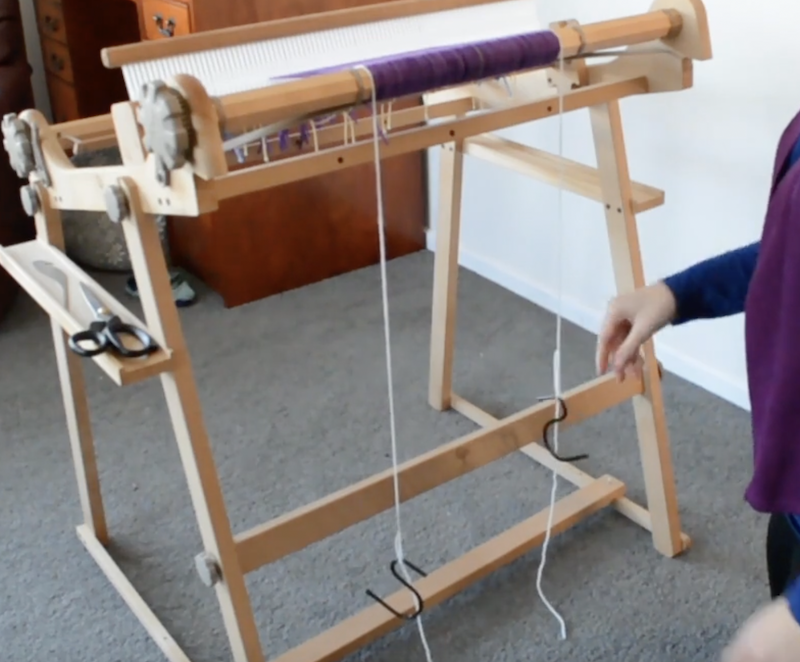
Do the same for the other floating selvedge thread, and you’re ready to start weaving!
As a side note – this method is not the only way to install floating selvedges. Some weavers prefer to allow for the additional two threads when calculating the warp, and then roll the FS on with the rest of the warp. They would then thread the FS threads through an empty slot rather than threading as part of the pattern.
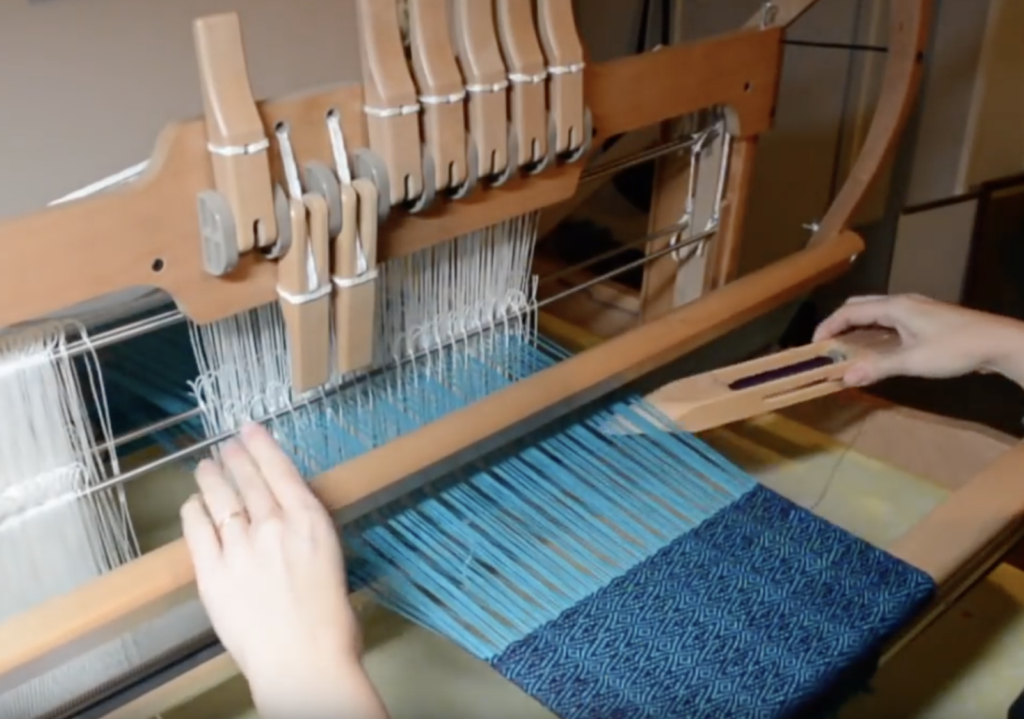
If you’re interested in knowing more about floating selvedges and viewing a tutorial for installing them on a table loom, please view this video:
In the next post I will have a tutorial for how to actually use the floating selvedges when weaving, so look out for that one.
Until next time…
Happy Weaving!