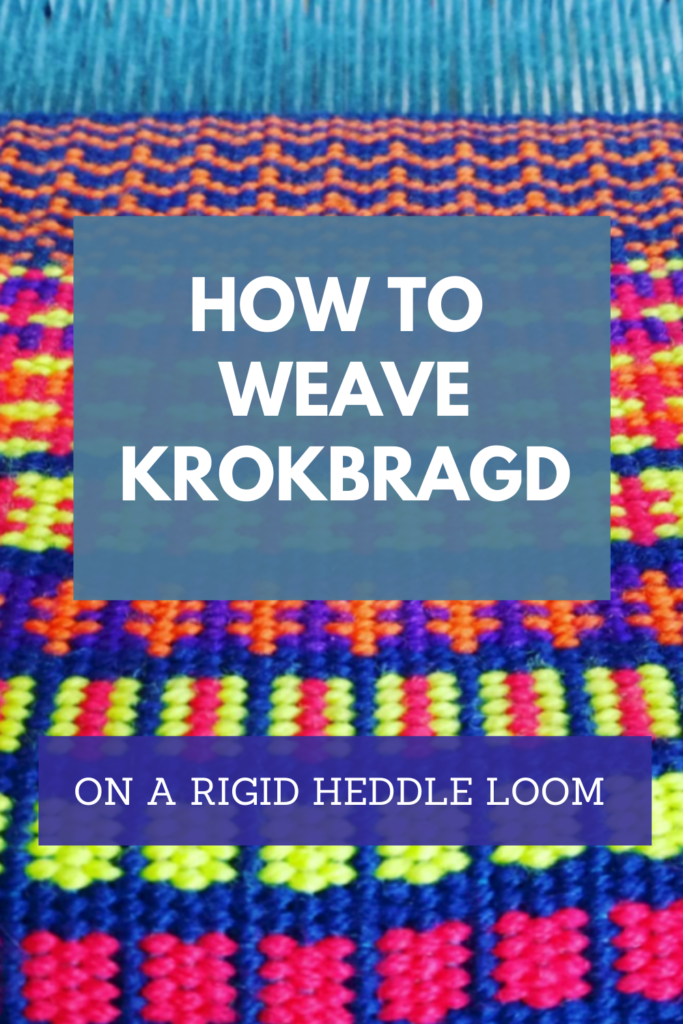
Krokbragd weaving has captivated my weaving heart and mind ever since I first laid eyes on it. So, what is it krokbragd? And how is it pronounced?!
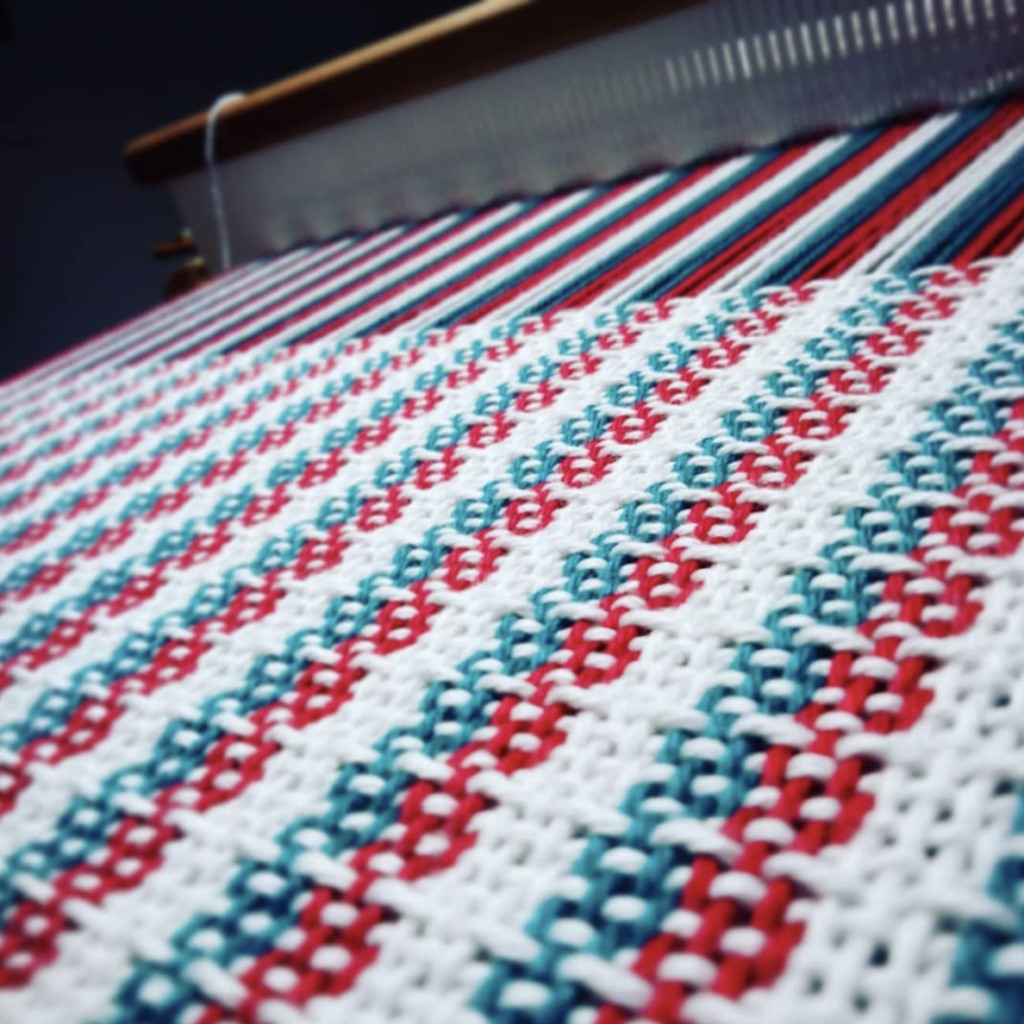
Krokbragd is a twill weave structure that has Scandinavian origins. It is woven on 3 shafts and is weft faced (meaning the weft is dominant, covering most of the warp). It is pronounced “croak-brod”, or sometimes “croak- brog” or “croak bra-rg”, “crok -brog” or “crok – brag”. Clear as mud? 😂
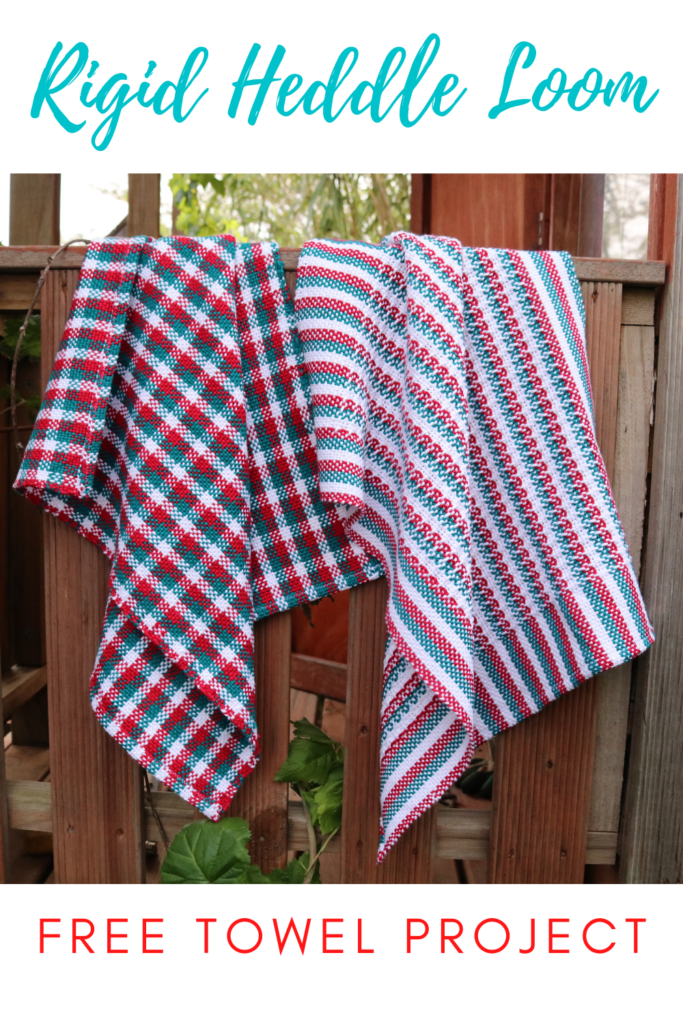
I was thrilled when I discovered years ago that krokbragd could be easily woven on my rigid heddle loom. The idea of weaving this colourful, detailed cloth without having to use a bunch of shafts and without having to purchase extra tools was very appealing to me.
*This post contains affiliate links. Please see my disclosure policy for further information.
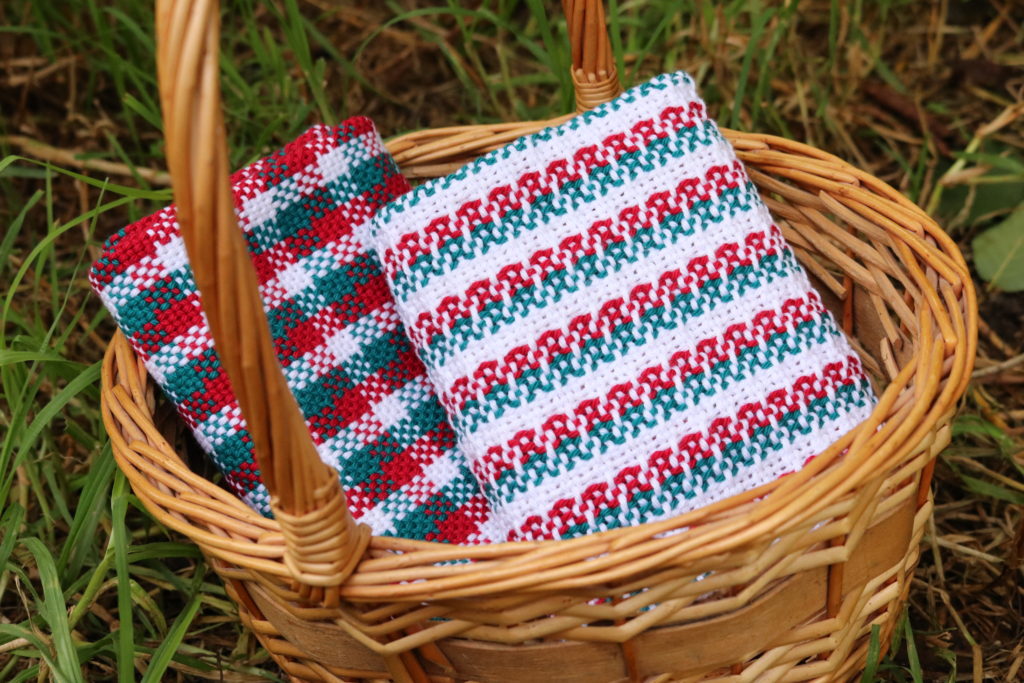
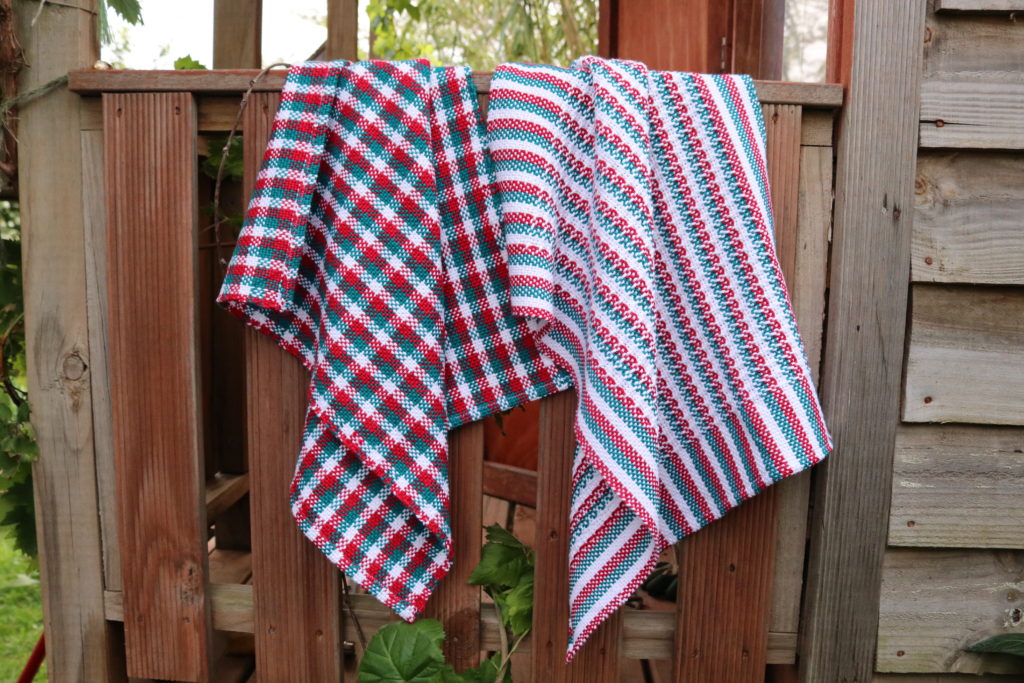
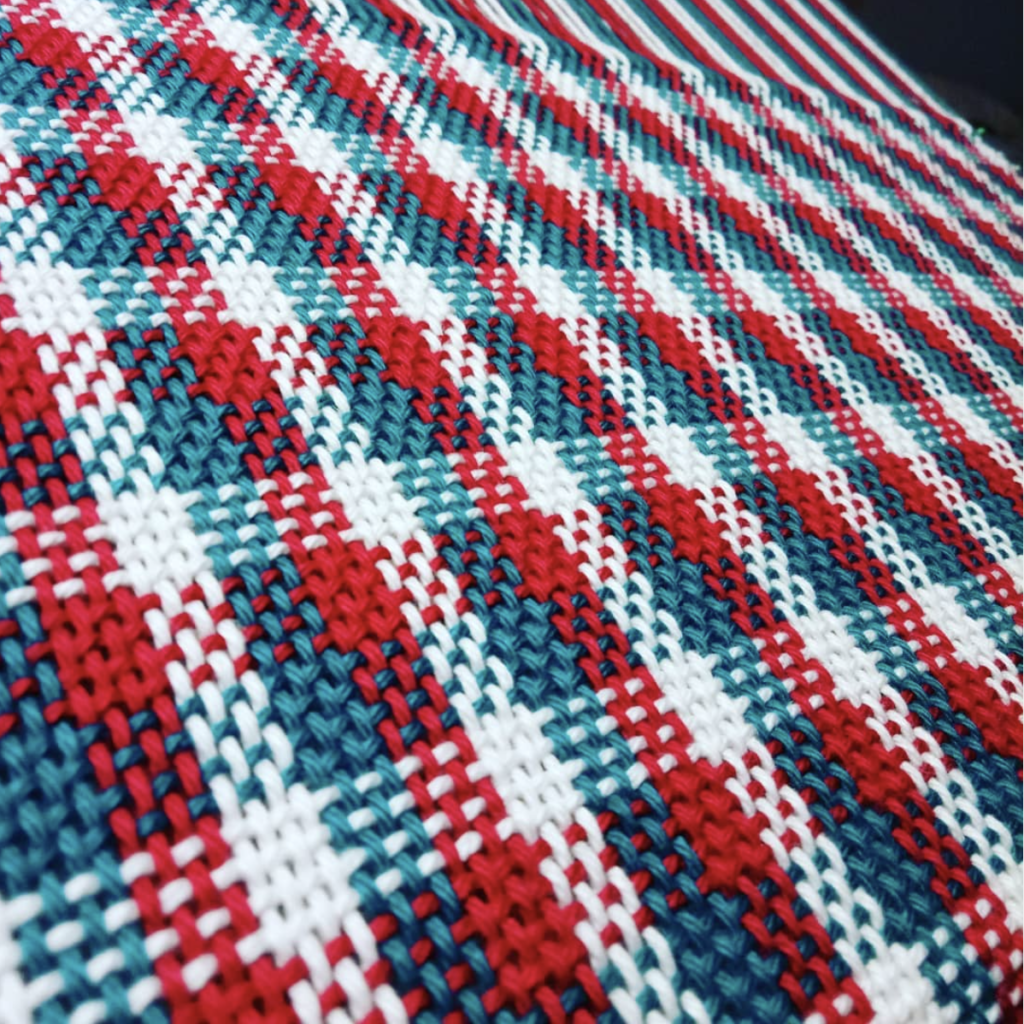
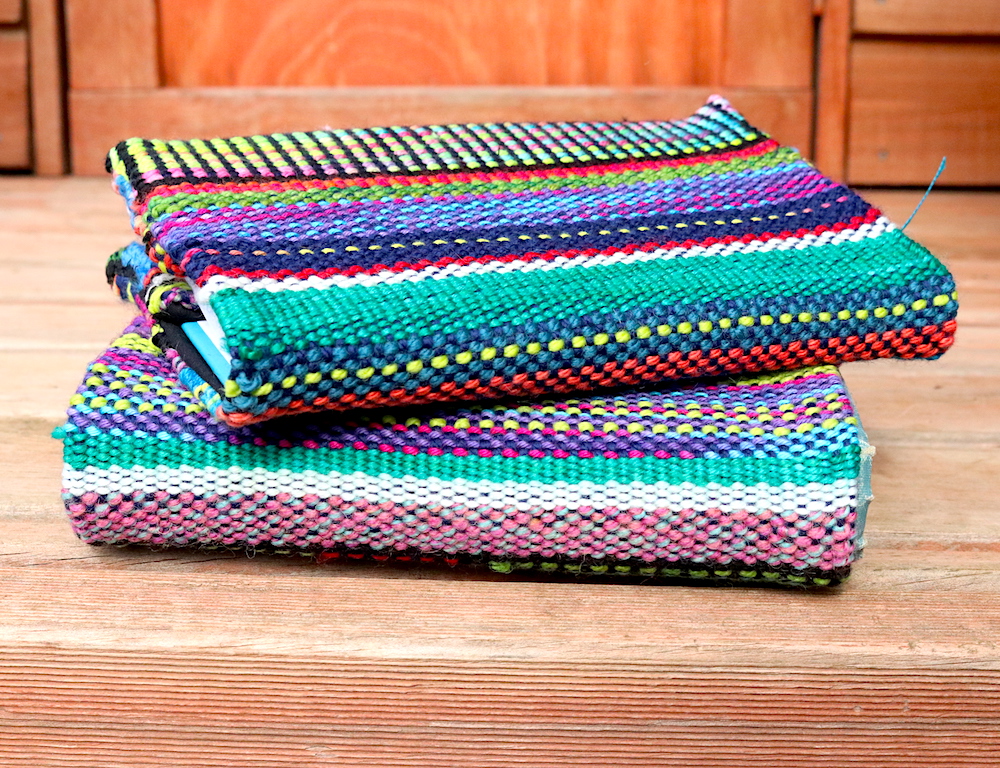
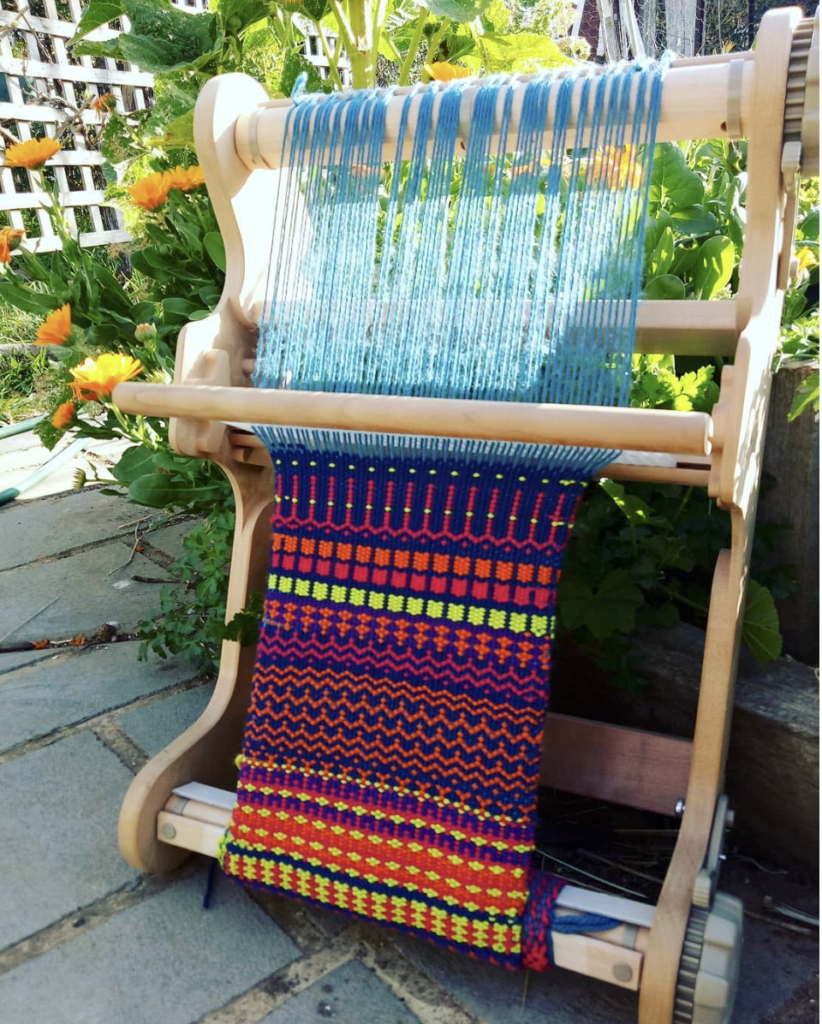
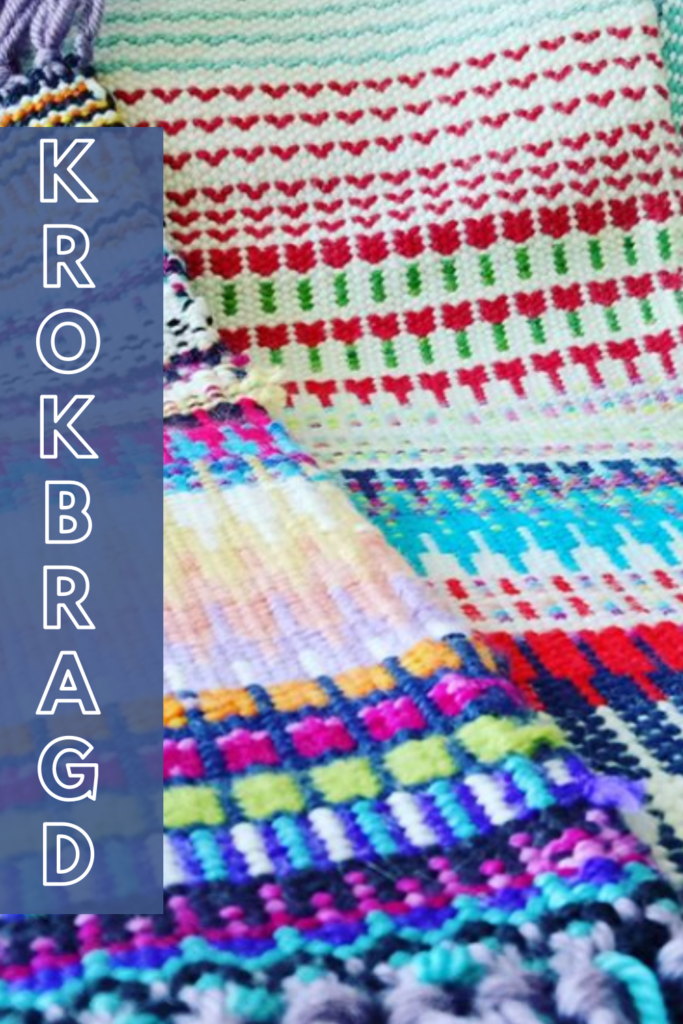
This weave structure produces bold and colourful patterns. These patterns can be built into little pictures as well. The weaving sequence has three simple steps and does not change, so the patterns are formed by changing colours. It’s quite magical!
The more you experiment with krokbragd, the more you feel that the possibilities are really endless. Choosing contrasting colours is one of the keys to success, as this keeps the patterns distinct. Another important consideration is to ensure your warp yarn is thinner than your weft yarn to ensure good coverage. The aim is to not have any warp yarn showing at all.
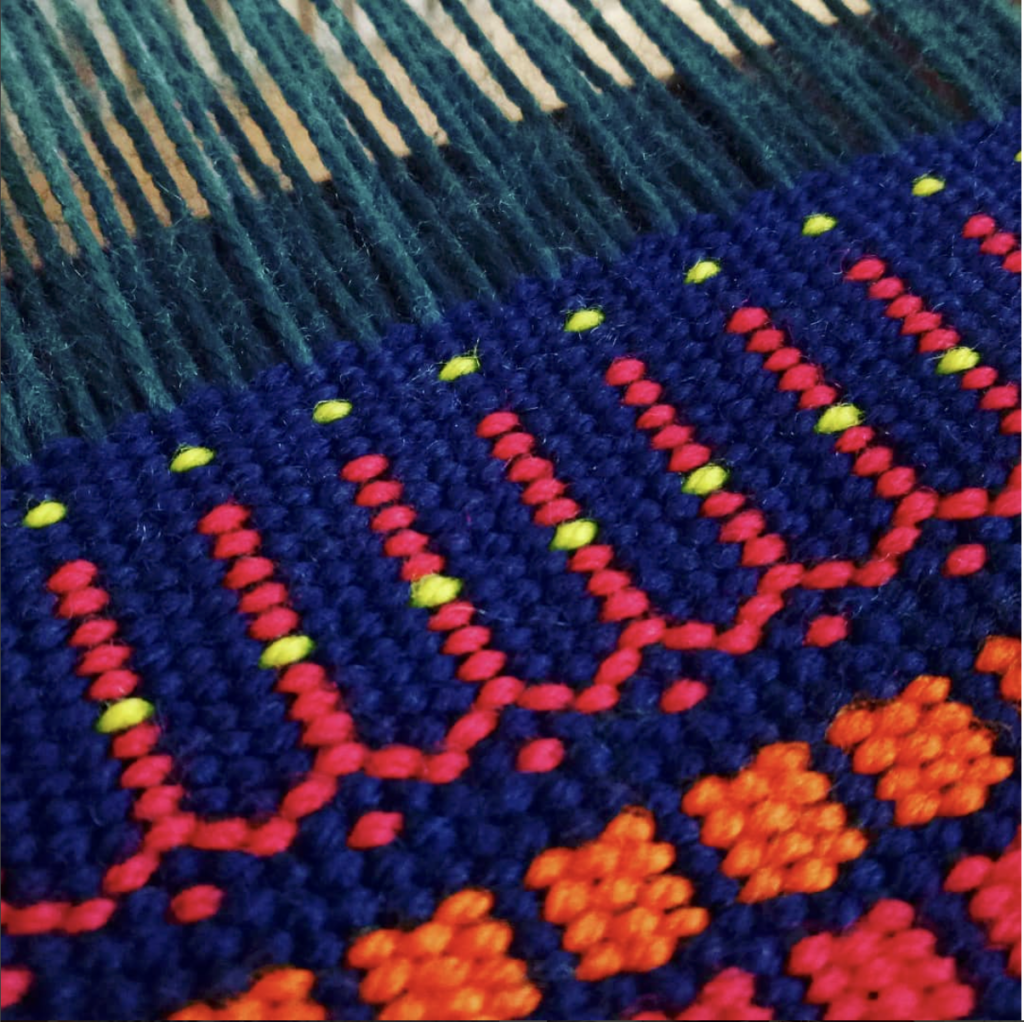
Because the weft is packed in, krokbragd produces a dense, heavy fabric. Historically, in Scandinavia, items with this structure were mainly heavy duty pieces such as chair and travel cushions as well as for warmth in the form of bed coverings. It was also used artistically, mainly for wallhangings. It is likely that some wallhangings served a double purpose of keeping the home more cosy, as hangings were sometimes used as door coverings to keep out cold draughts.
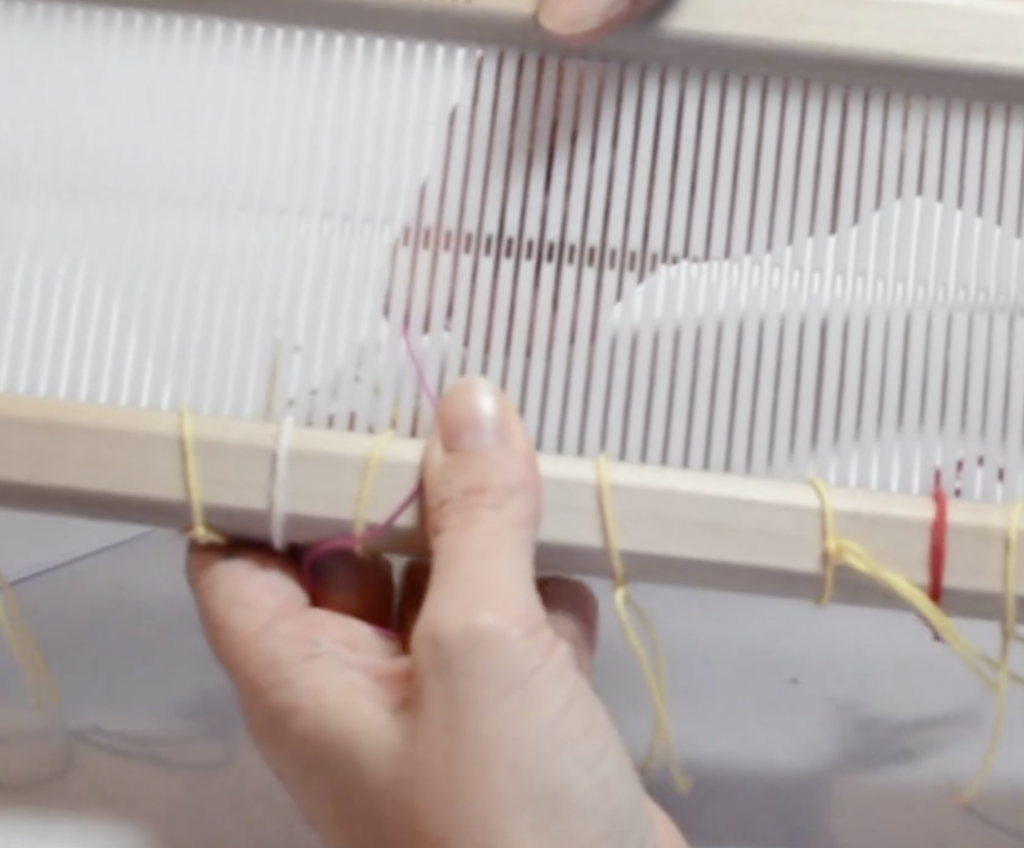
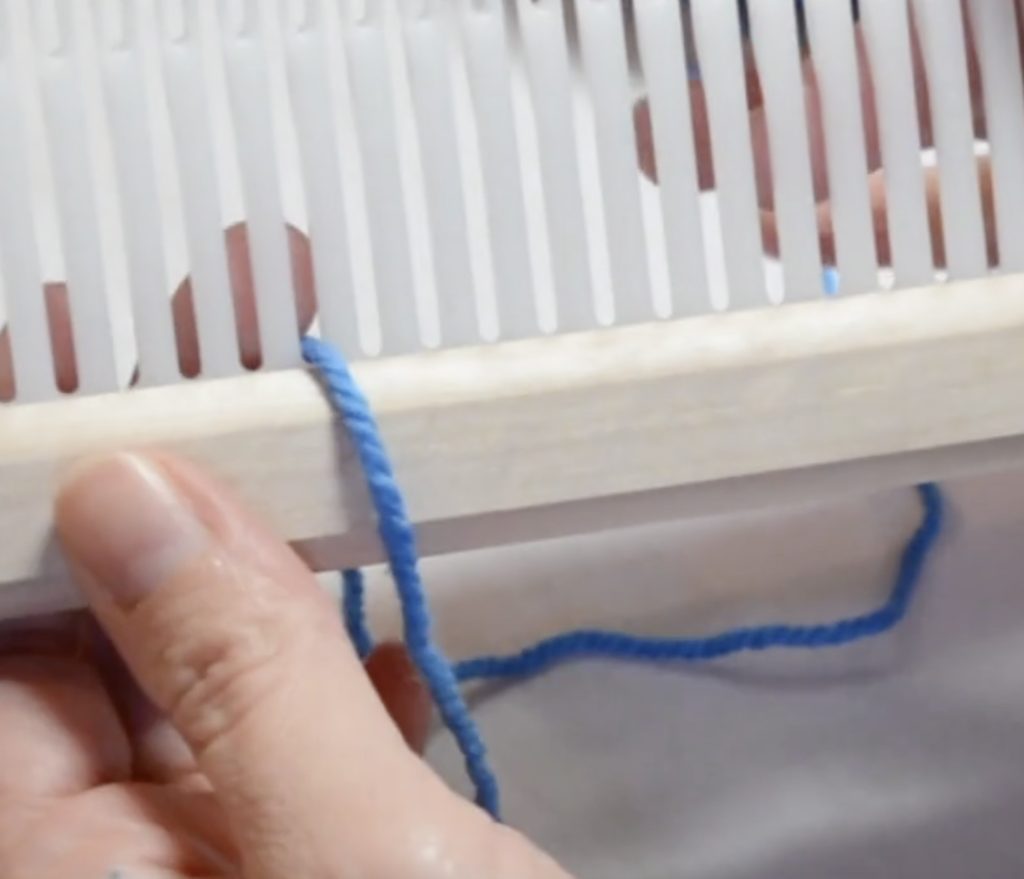
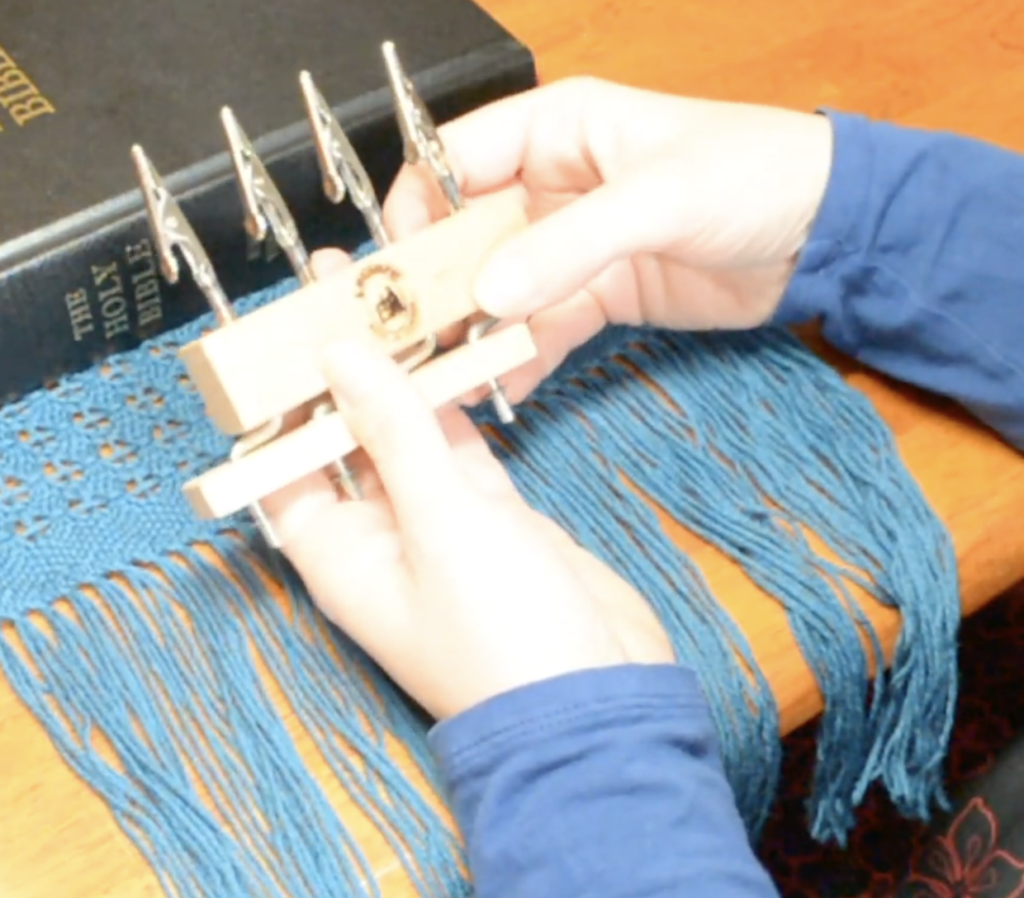
Once your rigid heddle loom is set up and threaded for krokbragd (which can be done either with a single heddle, pick up stick and heddle rod OR with two heddles), the same three step sequence is woven over and over, the only thing that changes is your weft colours. This is how you build patterns, by altering the colours. Three rows of weft passes equals one completed krokbragd sequence.
Let me give an example:
If I weave my 3 pick sequence in just one colour (lets say blue), I will have a solid row of blue once I’ve packed the weft down with my tapestry beater. The instructions would look like this: (“B” stands for blue)
- B,B,B x 1
If in my next sequence I introduce another colour, I will start building a pattern: (“Y” stands for yellow)
- B,B,Y x 1
Even better than trying to explain how it works is to show you how it works. This free beginner video will show you how to get started, give you the information you need to set up your loom and then give a basic krokbragd pattern for you to try-
Once you’ve mastered the basics, you can move on to some more adventurous, but still fairly simple patterning, like these little birds-
And one of my favourites, tulips!-
Once you have been through these videos you can start to design some of your own krokbragd pieces. There are a couple of ways to do this – either on the loom, as you are weaving or as a separate design, either on graph paper or using weaving software. I like both methods for different reasons!
Designing on the loom is very intuitive and relaxing, You can write down the colour changes as you go, that way if you find a design you love you can revisit it later because you have the instructions ready to go.
Designing off loom is also very beneficial. It allows you to plan out very specific designs to try on the loom. If this concept interests you, I recommend Debby Greenlaw’s book Krokbragd – How to Design and Weave, which I reviewed in this post.
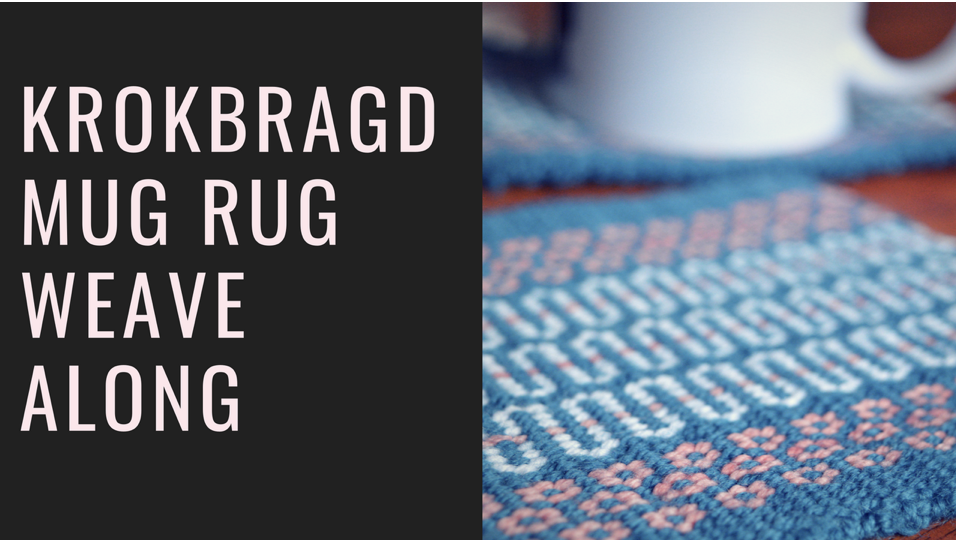
Over at my Online Weaving School, there are three krokbragd classes available. The first one, is the Krokbragd Mug Rug Weave along, which is available to members only. This is a great class that provides instructions for different threading methods, so you can choose to use pick up sticks and a heddle rod or instead use two heddles.
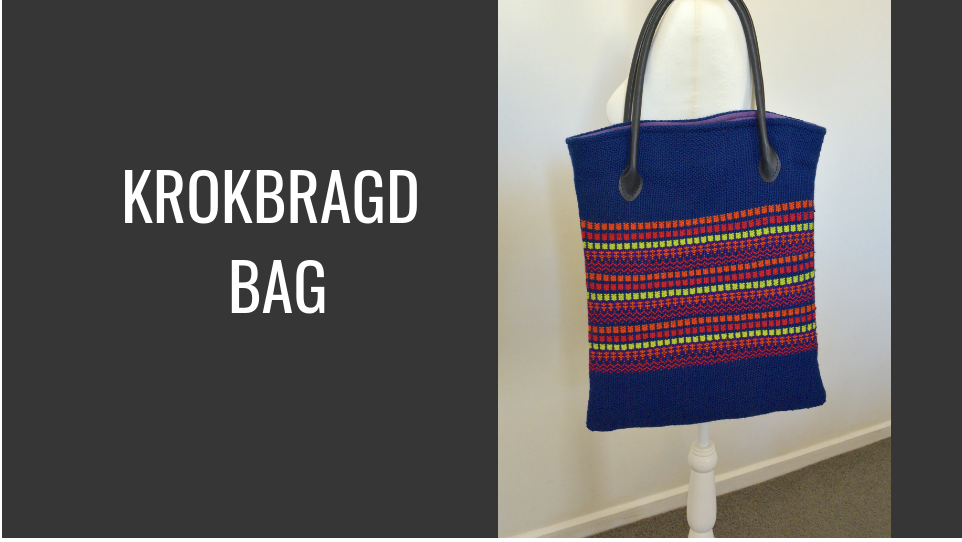
Then there is the Krokbragd Bag, which is a gorgeously fun and functional project. This class uses two heddles to achieve the three shafts, which is not as difficult as it sounds! You can see a roundup of some of student’s beautiful pieces from this class in this post.
And thirdly, my newest offering is Krokbragd 101, which is an “all you need” comprehensive course to get you weaving beautiful krokbragd.
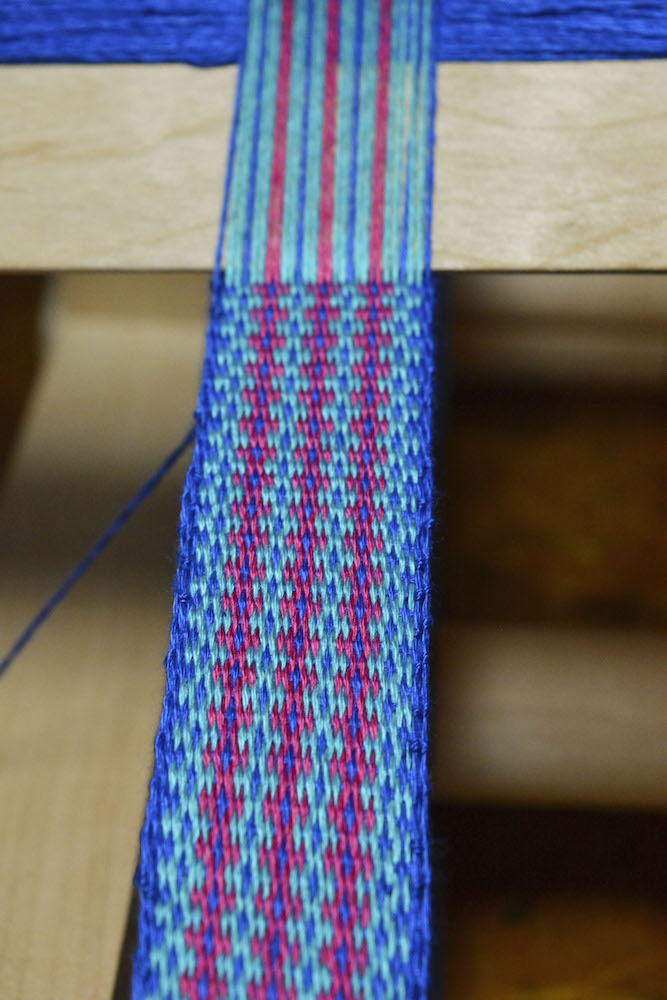
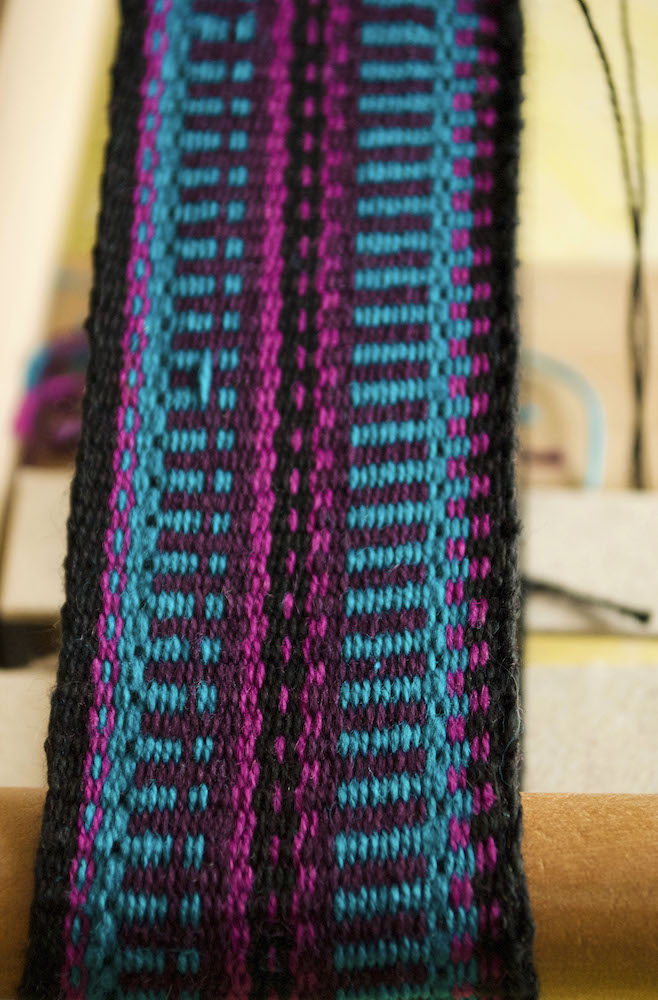
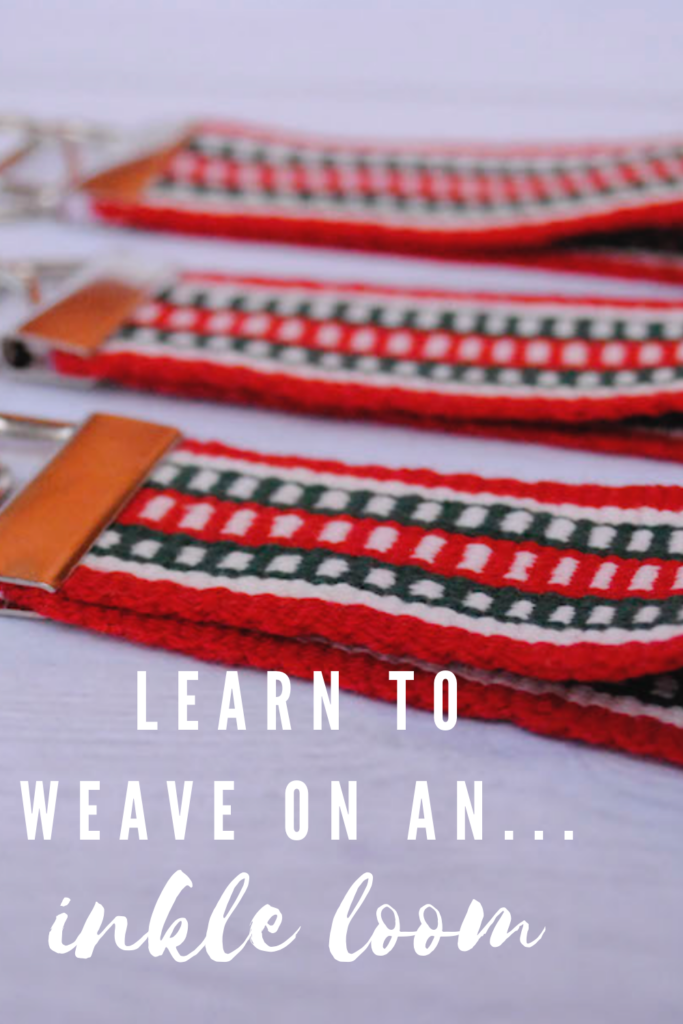
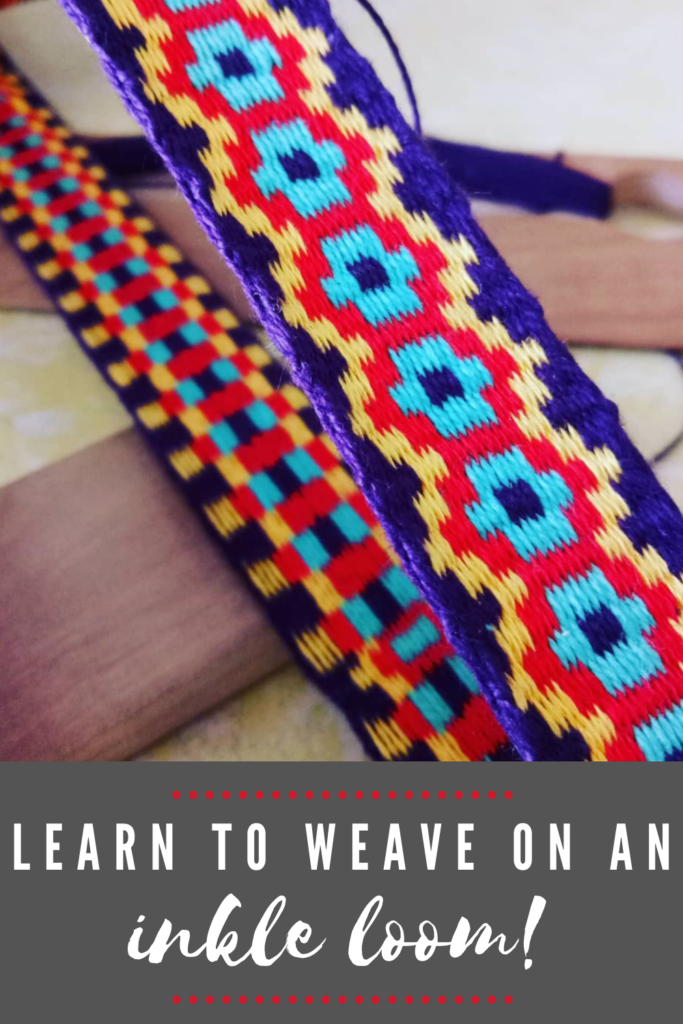
Krokbragd can even be woven on an inkle loom by turning the warp faced draft into a weft faced draft. I wrote about a Krokbragd inkle band I wove in this post.
Krokbragd is such a captivating and addictive weave structure, I hope you will love it as much as I do. If you have any questions or comments, please leave them down below, I love to hear from you!
Until next time…
Happy Weaving!