• Skip to main content
  • Skip to primary sidebar

Kelly Casanova Weaving Lessons

  • Hi! I’m Kelly!
    • Disclosure
  • Online Weaving School Class Index
    • Common account issues
    • Common technical issues
    • What do I get with a membership?
  • New to rigid heddle weaving? Start here!
    • Never heard of the rigid heddle loom?
    • How to weave neat edges on the rigid heddle loom
    • Rigid heddle weaving
    • Rigid Heddle Weaving Patterns
  • Patterns
  • Subscribe

Weaving

Tote Bag Weave Along Lesson 1

by Kelly 13 Comments

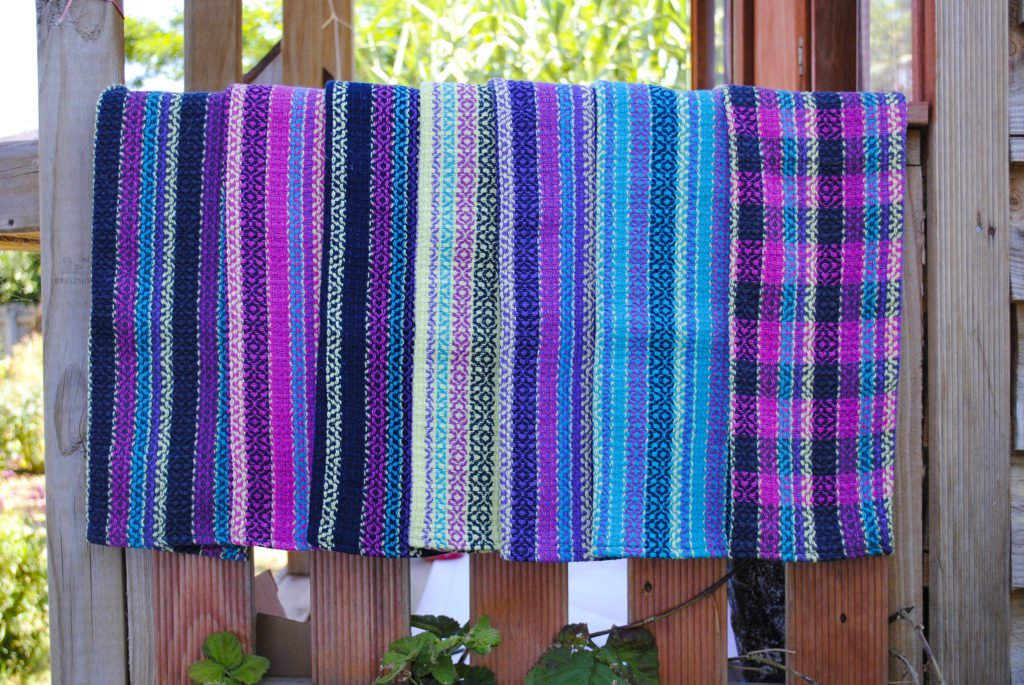
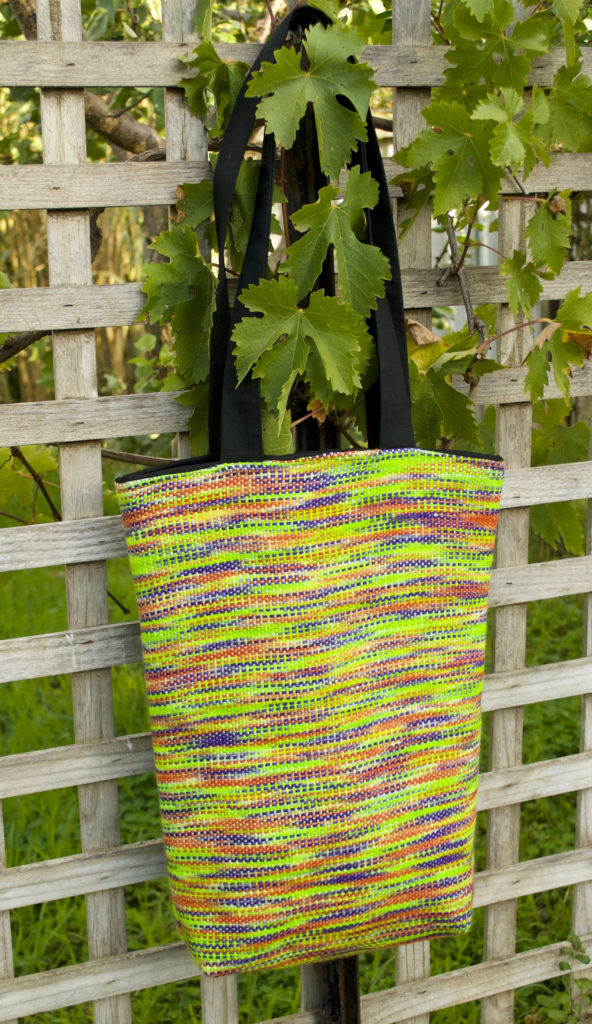
It is almost 3 years since I first posted my Tote Bag Weave Along series on Youtube. It has been my most popular series ever, and I’ve been thrilled to see so many bags woven by others!

I’ve wanted to add extra functionality to the series for those who desire it, and that is what I’ll be doing here over the next couple of posts. I will be giving yarn details and help, printable PDF’s, as well as some step by steps for some sections of making the bag.

I’m beginning with the materials list that you can now download and print out.

totebagweavealongmaterialslistDownload

OK, lets get into some extra details and questions you may have from the list.

*This post contains affiliate links, meaning if you click and purchase on the link’s given, I receive small commission at no extra cost to you 😉

Do I need to have a 24″ or 60cm rigid heddle loom?

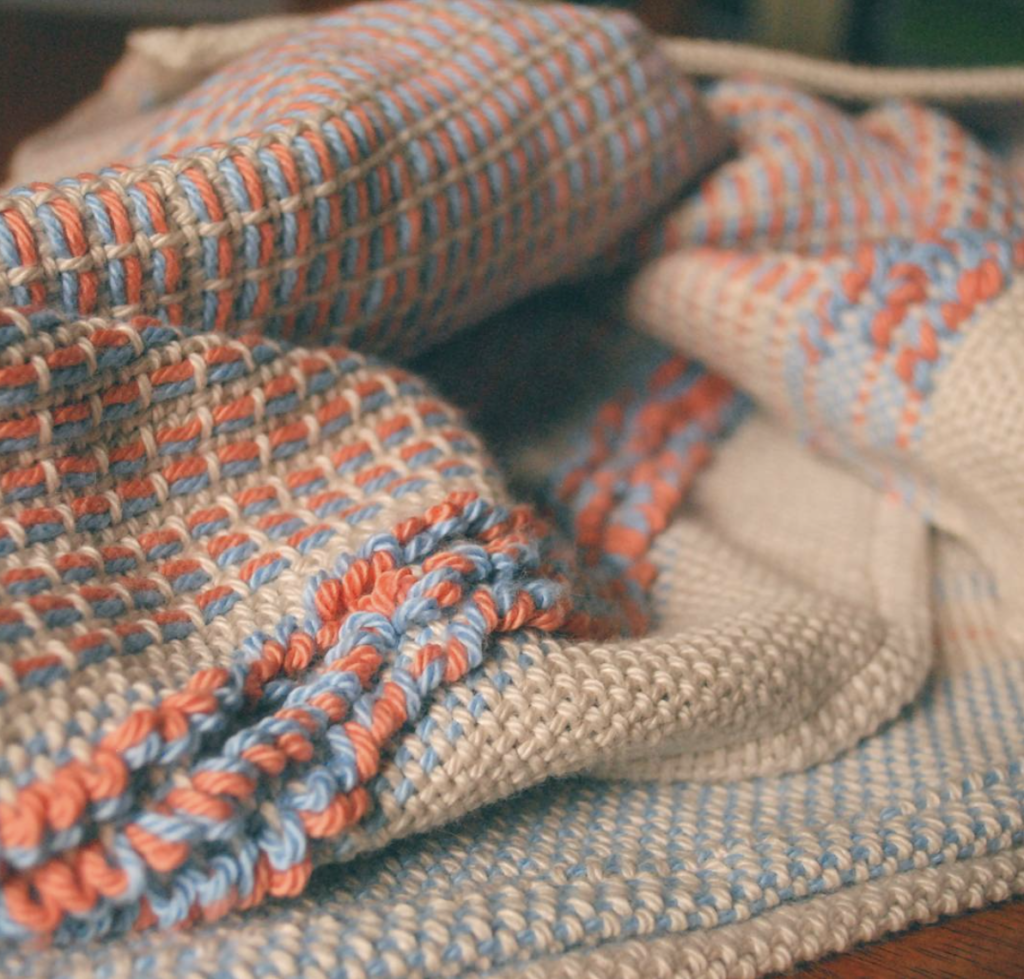
Not necessarily! Although weaving the bag in one piece is the easiest option, it’s not the only way. If, for example, you had a Sampleit loom, you could weave 2 panels, 10″ wide and sew them together for each bag panel you need. (So that would be 4 panels you would weave for one bag). You could even make a design feature of your panels by weaving the wefts in different colours so that each side of your bag would contrast. Where there’s a will there’s a way!

Do I need to sew the handles myself?

Nope. You have other options for the handles too. If you have an inkle loom, you could weave them yourself, in either matching or contrasting colours. You can also purchase ready made handles and these come in a huge variety nowadays. You can choose from metal, acrylic, wood, rattan, and faux leather, to name a few!

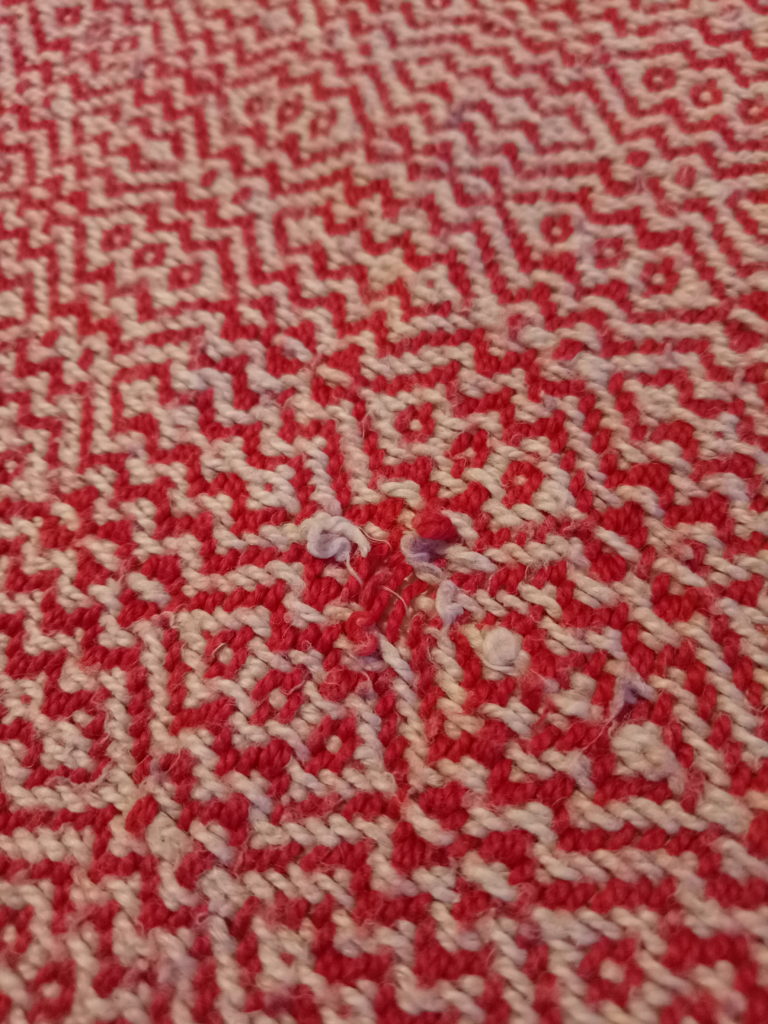
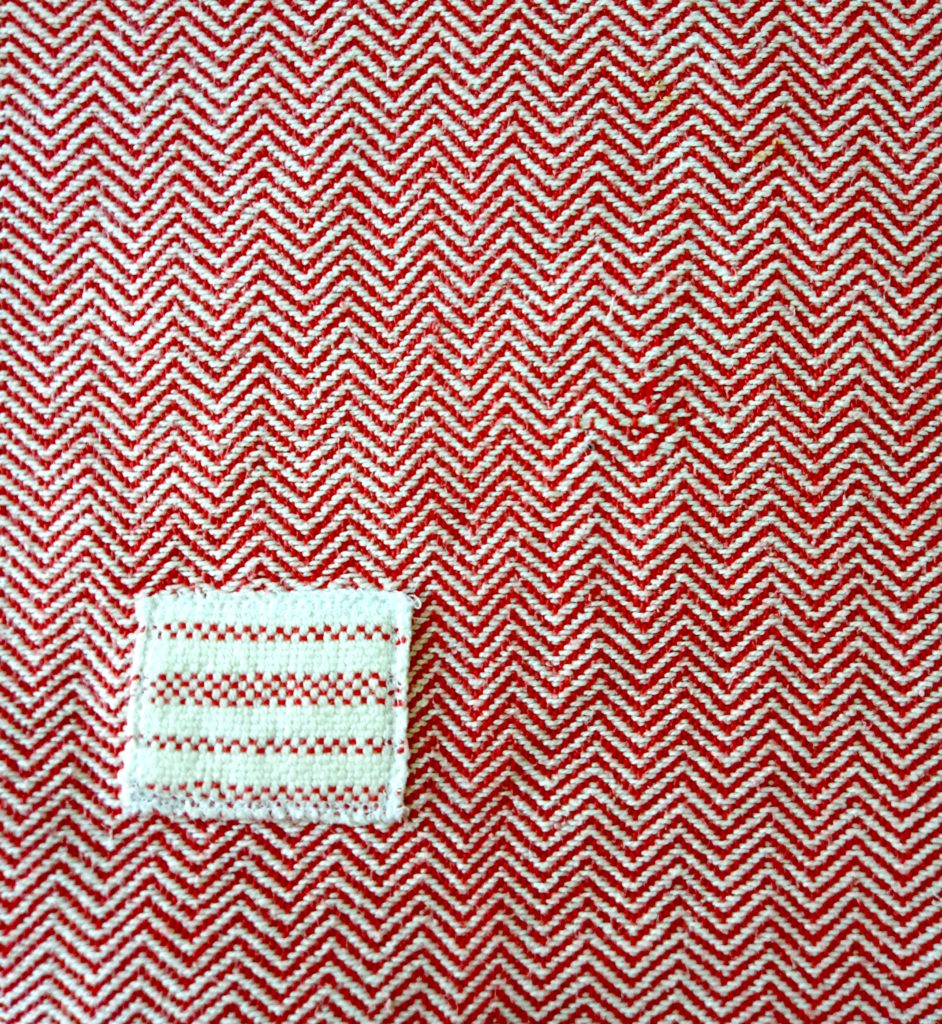
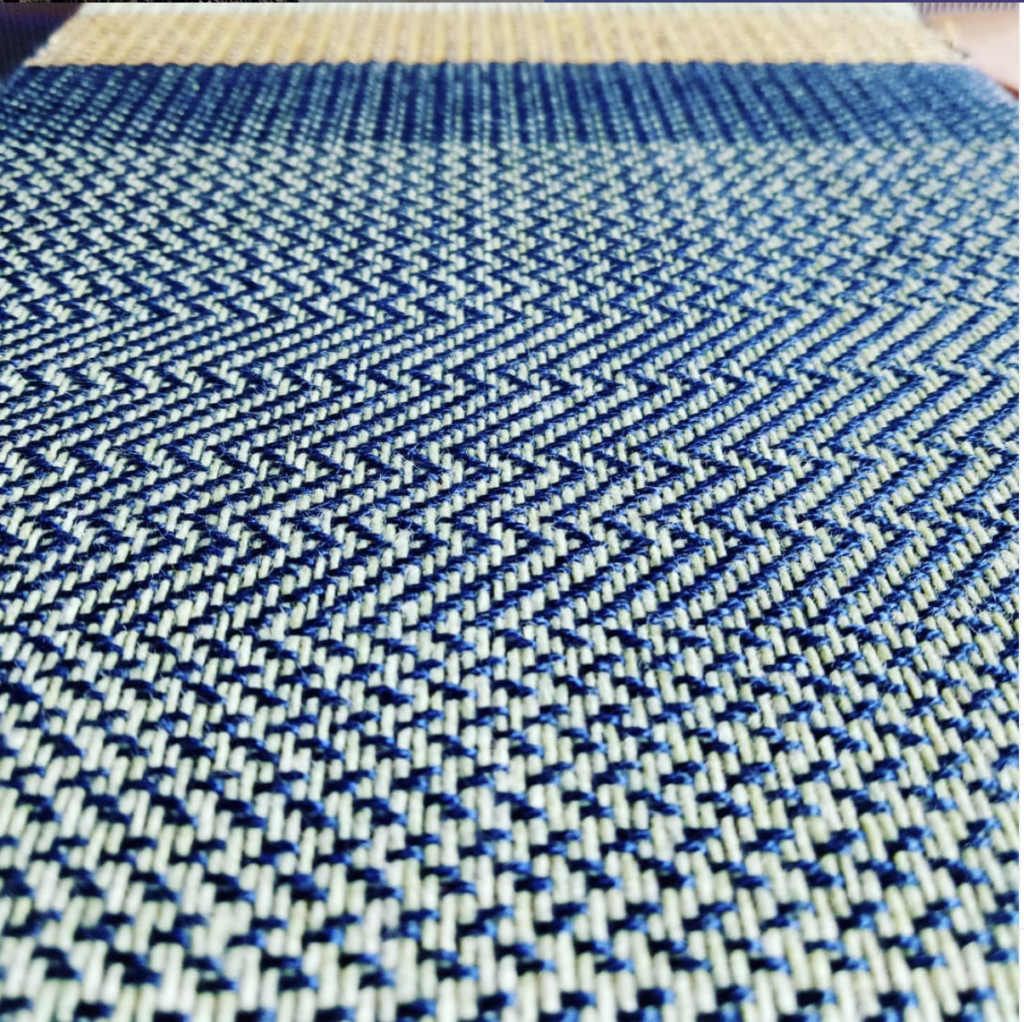
I can’t get Australian 8 ply merino – what are my other choices?

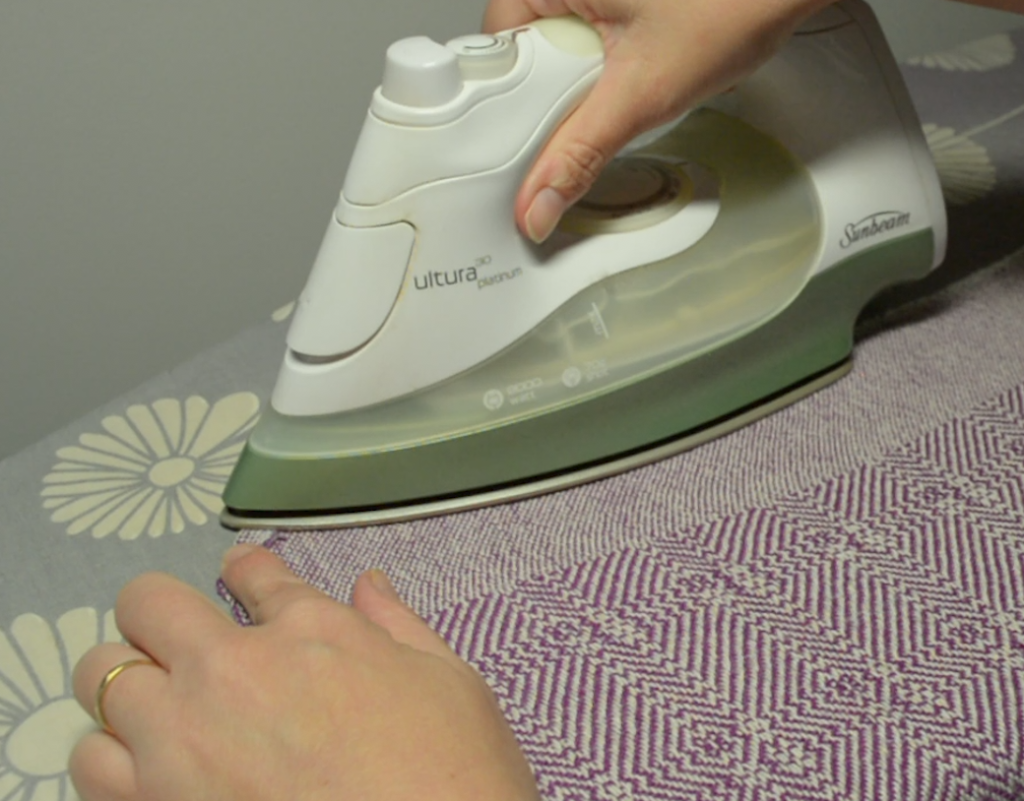
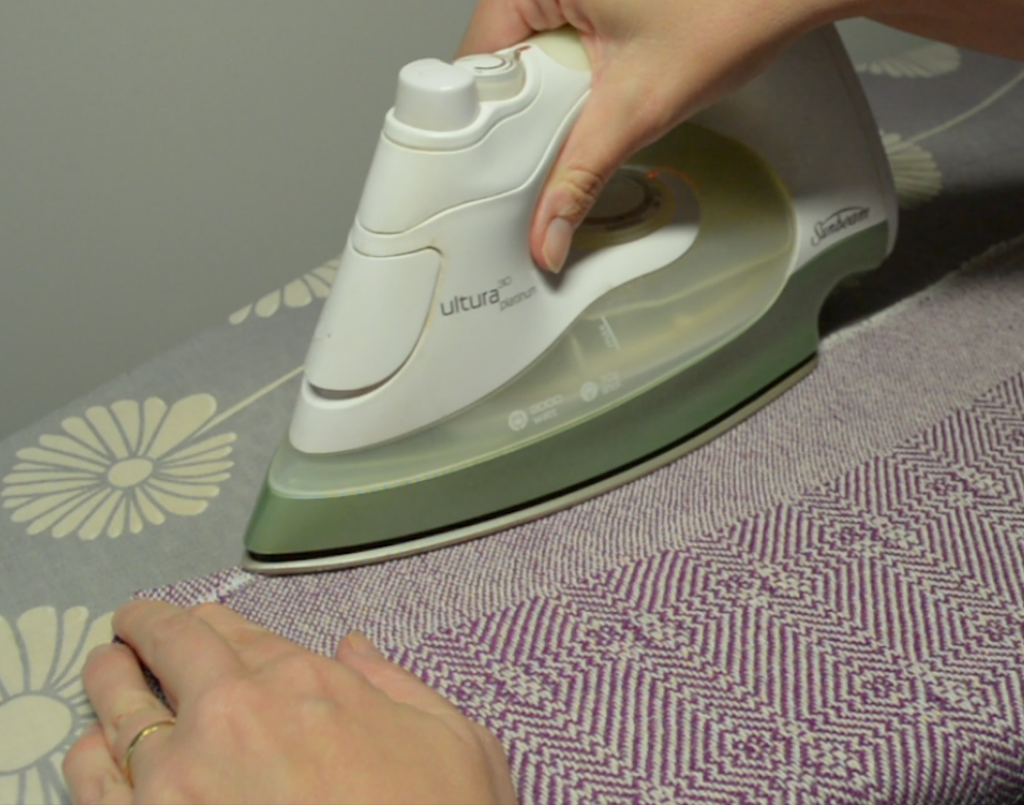
There are many yarns you can substitute with and you don’t have to use wool. Cotton, acrylic, bamboo and others can be used too. One world of caution though. When you iron on your interfacing, your chosen yarn needs to be able to take the heat without being scorched. Cotton or superwash wool are good choices.

Here are some suggestions for you:

Lily Sugar n Cream is a range of cottons that come in the most gorgeous colours and varieties. Their variegated cottons are wonderful and they even have curated colour packs! Cascade Ultra Pima is another possibility.

For wool, you have Cascade Superwash, Patons Classic, Carlton Merino and so many more. Yarnsub.com is an excellent resource for checking and comparing yarns.

Do I have to line my bag?

No, but it does give a really nice, more professional looking finish.

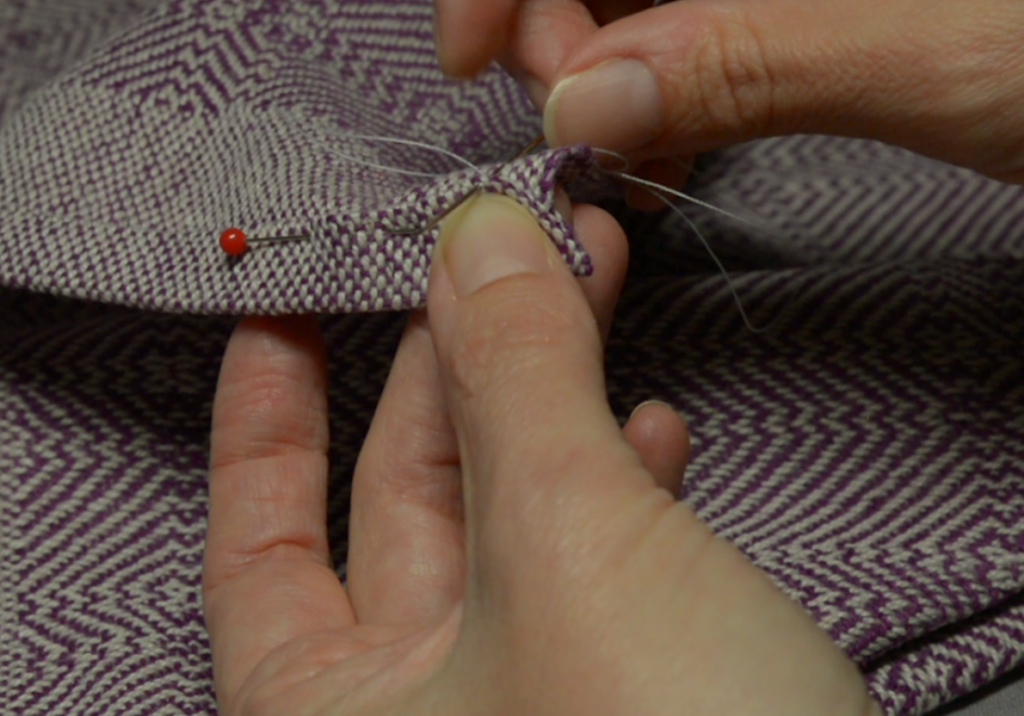
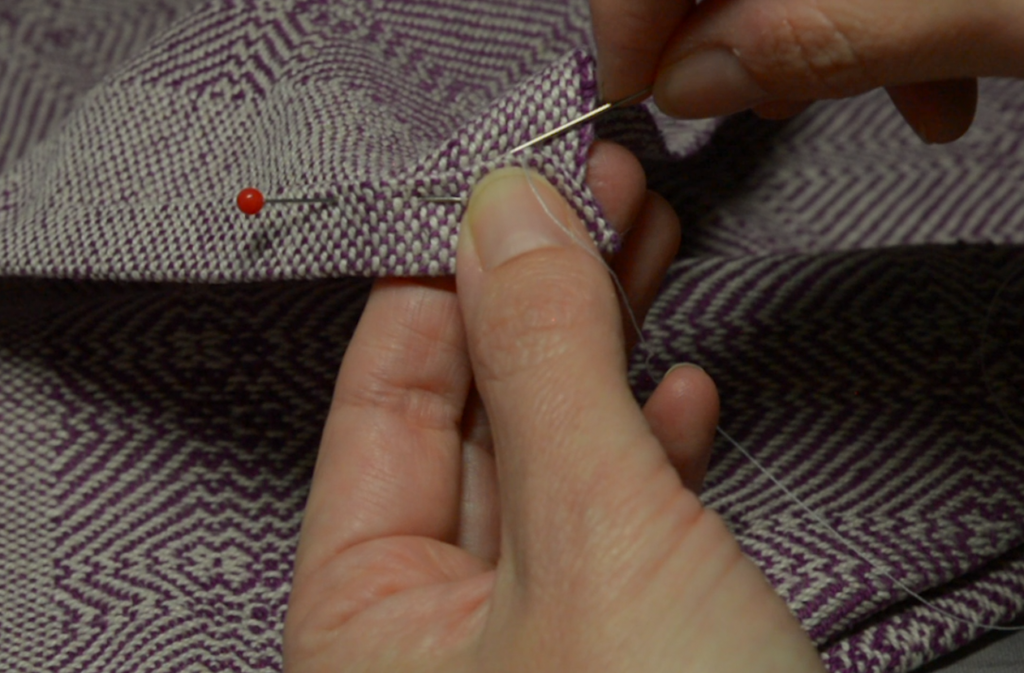
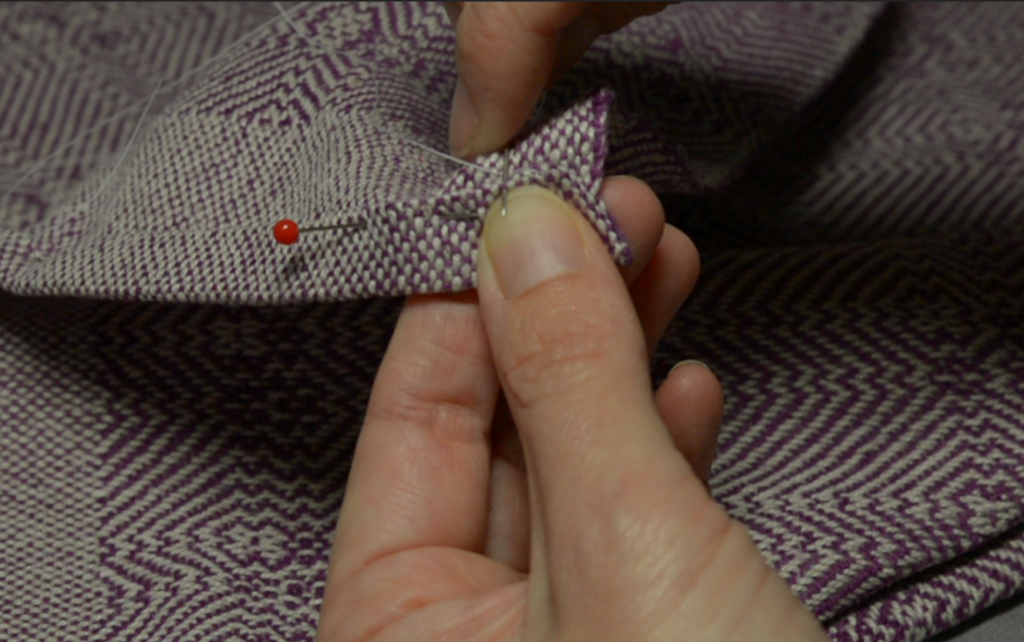
Do I need to use a sewing machine?

Technically, you could hand stitch this whole project, but that is not something I would do! If you decide to, make sure your stitches are small and strong, a bag needs to be hard wearing. Whether sewing on a machine or by hand you should always use a good quality thread like my favourite, Gutermann. Cheap thread is cheap for a reason!

Next time we will go through some of the steps for the project. If I have missed anything or if you have questions about the materials, please let me know in the comments. Also, please let me know if offering the series in this format is helpful to you.

In the meantime, if you want to take a look over the Tote Bag Weave Along video series, you can start with the introduction video below.

If you have any questions about the project or anything from this post, please let me know in the comments!

Until next time…

Happy Weaving!

Filed Under: Rigid heddle weaving, Sewing, Tutorials, Weaving Tagged With: rigid heddle weaving, rigid heddle weaving tutorial, tote bag, weave along

How to Use Pick-Up Sticks

by Kelly 24 Comments

Pick-up sticks can be a game-changer for rigid heddle weaving. These simple tools expand your loom’s capabilities, allowing you to create intricate patterns beyond plain weave. Whether you’re a beginner or looking to elevate your skills, this guide will help you understand how to use pick-up sticks effectively.

A rigid heddle loom has 2 shafts, essentially the hole threads and the slot threads. These 2 shafts allow you to work plain weave, which is a perfectly lovely weave structure on it’s own, but most weavers will begin with plain weave and then want to increase their own skills and their loom’s capabilities.

*This post contains affiliate links, which means that if you click a link and purchase, I will receive a small commission at no extra cost to you.

This is where pick up sticks enter and shine. Basically, they are simple, flat and smooth lengths of wood. You pick up warp threads and operate the stick/s from behind the heddle/reed. Your pick up sticks need to be longer than the width of your project, or they won’t hold the picked up threads. For my 24″ rigid heddle loom I use 24″ pick up sticks. I can use these same sticks whether my project is narrow or full loom width.

Incorporate one pick up stick and you can weave on 3 shafts. Incorporate two pick up sticks and you can weave on 4 shafts. And you can keep going from there, although you will probably want to learn about installing heddle rods to increase time efficiency. I happen to have a video showing you how to do that:

If that is a bit much for you at the moment, you can run with the knowledge that pick up sticks allow you to weave pretty patterns!

One of the rules of picking up warp threads with a stick is that your heddle needs to be in the “down” position. The threads we want to pick up must be slot threads, as the hole threads are already committed and are therefore inflexible.

Trying to pick up hole threads would be like trying to pick up the same threads twice! The slot threads are normally our shaft 2 threads and when we place the heddle in down position, they are raised.

Because we push our pick up stick/s to the back when not in use and they lay flat between the warp threads, they do not hinder you from being able to still operate shaft 2, as well as an additional shaft when the stick is engaged.

But I don’t think that you need to understand any of the above in order to use one or two pick up sticks, I certainly didn’t know what I was doing when I started with them. I just played around and liked what I saw and you can do the same!

Even if you are using a written pattern, you still don’t need a lot of understanding to follow them. If you see the instructions “1 up, 1 down” for your pick up, it simply means 1 warp thread will sit on top of the pick up stick, the next will sit underneath it and this will repeat across the warp.

Pick up sampler

The instructions for the actual weaving will be a little different, but easy to follow. Here is a simple weaving sequence as an example:

  1. Up (heddle up)
  2. Down (heddle down)
  3. Up, pick up stick (heddle up and slide pick up stick behind the heddle, leaving flat).

If you want to see pick up sticks and examples of pick up patterns demonstrated, watch my free Youtube video:

If you’re interested in exploring pick up in the form of a project, I can help! My Kitchen Cloths on a rigid heddle loom project is available as an online class.

In my Etsy shop, you will find my Lux Hand Towels pattern, which also uses pick up.

Lux Hand Towels

Oh, and let’s not forget the free pattern you receive when you sign up to my email list, the Moroccan Dream Scarf, which is easy enough for beginner pick up stick adventurists and can look so varied, depending on the yarn and colours you decide on.

The Moroccan Dream Scarf

I have some really cool pick up patterns for free, along with a video tutorial in this post.

I’m quite sure that you will be interested in taking a look at my Pick Up Stick Playlist on Youtube:

I also have a comprehensive course, Pick Up Perfection, available for purchase. If you have a membership to the Online Weaving School, this class is included for free.

I hope this has helped you to understand how pick up sticks can be utilised in your weaving. If this post has been useful to you or if you have any questions, please leave me a comment, I love to hear from you 😊

Until next time…

Happy Weaving!

Filed Under: Rigid heddle weaving, Tutorials, Weaving Tagged With: how to use pick up sticks, how to weave patterns, pick up sticks, rigid heddle weaving, rigid heddle weaving tutorial, tutorial

Pinwheels on a rigid heddle loom!

by Kelly 15 Comments

Pinwheels are a bit of an ultimate goal for some of us rigid heddle weavers. I’ve often heard it said that it was a picture of another weaver’s pinwheel project that first excited the interest of some to the rigid heddle loom.

I’ve had many requests for a pinwheels class over the past couple of years, so I finally knuckled down, and as a result “Pinwheels for the Rigid Heddle Loom” is now available.

*This post contains an affiliate link. For further information, please view my disclosure policy.

I really enjoyed making this class, as it’s always a thrill to introduce my students to a project that I know just naturally has the “WOW!” factor in abundance.

Pinwheels can be woven on either 8 or 4 shafts, and are essentially a twill draft combined with colour and weave to produce something really impressive, but not all that difficult. You have to love that!

For this class, I chose to weave on 4 shafts (for obvious reasons – 4 shafts is way more achievable on a rigid heddle loom than 8!) using a single heddle/reed and 3 heddle rods. The set up is a little time intensive, but very comparative to the time it would take to set up on a multi shaft loom. And once you start weaving, you are more than rewarded for your efforts.

The class demonstrates a Table Topper project (rather like a table centrepiece) but also provides all the calculations for a table runner, if that is your preference. I chose my colours (Latte and Peacock) to co-ordinate with my dining room curtains, which are a greyish coffee colour.

It is important with pinwheels to choose colours that are harmonious yet have enough contrast – you want those pinwheels to pop out at you!

Before undertaking this class, I highly suggest that you complete the “Converting Pattern Drafts to the Rigid Heddle Loom” to gain a good understanding of setting up your loom according to traditional pattern drafts. The Pinwheels class would then build on that knowledge and demonstrate that there are several ways to achieve the same result.

This class is available as a part of any membership to my Online Weaving School, or can be purchased as a single class.

Until next time….

Happy Pinwheel Weaving!

Filed Under: Online Weaving School, Pinwheels, Rigid heddle weaving, Weaving Tagged With: newclass, onlinelearning, pinwheels, rigidheddleweaving

What is the sett in weaving?

by Kelly 2 Comments

Perhaps one of the most confusing terms to newer weavers is the sett.

What is the sett and why does it matter?

Well, I’ve made a video explaining the basics and narrowing it down in an easy to understand format, so please take a few moments to watch that.


You will usually see the sett referred to as “ends per inch” or “epi”. When obtaining a measurement or calculation to determine your sett, you are figuring out the spacing between your warp threads.

The spacing is important because it affects the end result of your weaving. For example, if I have some really thick yarn that I’m using as warp, and I space it (or sett it) too closely together, I may end up with a fabric that is more like cardboard! If that is the effect you are going for, great – but if not, you need to understand why it happened.

*This post contains affiliate links. This means that if you click the link and purchase, I receive a small commission at no extra cost to you.

So, let’s take a look at how you can determine sett. Once again, I have a video that demonstrates the simple process. All you need is some yarn and an inch ruler!

The beauty of this inch ruler wrap test is that it works with whatever yarn you have. Some weaving threads have a recommended sett when you buy them, but you may not remember or have lost the information. No problem, you can figure it out for yourself.

If you are a rigid heddle weaver and have a good collection of different sized heddles/reeds it is very easy to transfer your calculated sett to the loom – you just choose the heddle/reed that is close or exactly the same as your figure.

Let’s have a look at an example. The yarn I used in the video is an Australian 8 ply (light worsted/ dk). When I wrapped it for an inch, I found that I could wrap the yarn 14 times. Dividing this figure in half gives me the correct sett for a balance plain weave. 14 divided by 2 = 7. My sett would be 7. I don’t have a 7 dent heddle/reed, so I would choose my 7.5 dent. An 8 dent would also be fine.

So, for every weave structure, I divide my wraps in half?

No.

The rules change when the weave structure changes. Plain weave is a balanced interlacement of warp and weft threads. One over, one under, one over and so on. But when it comes to twill, the weft yarn travels differently. It has to travel over more warp threads, so it has further to go. Therefore, when determining sett for twill, we use a different tactic.

Twill is generally sett 2/3 closer than plain weave. For those of us who are not strong on mathematics (hello!) it can be easiest to follow a simple formula. Instead of dividing our wraps per inch in half, we multiply by 0.67.

Let’s use our earlier example with the same yarn to figure out a sett for twill instead of plain weave. Remember that we wrapped the yarn for an inch and got 14 wraps? We take that 14 and multiply it by 0.67. 14 X 0.67 = 9.38. Now I need to make a decision – there is no heddle/reed with a 9.38 dent! So, I choose the closest, which would be a 10 dent.

Are these figures sett in stone? (Pun intended!)
No, they don’t have to be! You can make decisions based on your project as well. Lets say I’m using an 8/2 cotton that would normally be sett between 18 and 24 ends per inch. I want to weave some kitchen towels in plain weave. Experience tells me that a suitable sett would be 20epi, I would double my ends in a 10 dent heddle/reed. Or I could use 2 x 10 dent heddles to double the sett. Experience also tells me that if I use single and not doubled threads as weft, that will be a very pleasing result for the type of towels I prefer.
 
BUT, if I want to use that same 8/2 cotton for weaving a tote bag I need to put my thinking cap on. Knowing that my towel calculations give me a lovely soft but durable fabric, I’m thinking for a tote bag I’m going to want a sturdier fabric. After some consideration and perhaps working a sample, I may decide that my bag fabric will be sett at 24 epi and my weft will be doubled this time.


Sampling is always an excellent idea. It will leave you with no doubts about your project, or it may strike you with the realisation that you need to research and perhaps sample further.

You will get to a point (as all experienced weavers do eventually) of knowing your favourite yarns, projects and the sett you need to use. For a great deal of my projects these days, I don’t calculate the sett formally, it just becomes intuitive. If I buy a new yarn that I’ve never used or undertake a weave structure I haven’t tried, then I will go back to basics and calculate more carefully.

I hope this article has helped you to wrap (oops, there goes another pun!) your head around the whole idea of sett and why it is necessary in weaving.

If you feel you want to know more or are interested in delving further in, I have a great short class What do all the Numbers Mean and how do they apply to a Rigid Heddle Loom?

This class goes into the numbers that you see on your weaving thread cones and what they actually mean. It includes two printable yarn charts. One is specifically for weaving yarns and the other for knitting yarns.

Each chart gives you a list of common sizes of yarn and recommended setts, name conversions where necessary, recommended heddle/reed sizes and suggested related projects. It’s well worth a look and is the type of class you can refer back to again and again.

I also have the Weaver’s Toolkit Ebooklet available. This is a 22 page ebook for rigid heddle weavers. It includes many helpful resources like yarn conversion charts, sett explanations and recommendations, weaving yarn sizes and so much more. You can read more about the booklet in this post or you can purchase it from my Etsy shop.

Well, that’s all for today friends, until next time…

Happy Weaving!

Filed Under: Free tutorial, Tutorials, Weaving, Yarn Tagged With: ends per inch, sett

DIY Gentle Soak Recipe for your handwovens!

by Kelly 35 Comments

As weavers, we spend so. much. time on planning, preparing, then actually weaving a finished piece.

And it doesn’t stop there, because after all, a piece is not finished until it’s finished!

After choosing how we are going to finish our ends by either stitching, sewing or at least securing, we then come to…

THE WET FINISH!

But hey, it’s actually a pretty simple process and doesn’t take all that much time or effort. The really hard part is waiting for the piece to dry!

*This post contains affiliate links, meaning that if you click on a link and purchase, I receive a small commission at no extra cost to you.

I think it’s rather fitting then, that after all that hard work, we should finish off with as much love and care that we started with. That’s why I wanted to share my Gentle Soak Recipe with you today!

You can make it yourself, it’s economical as you only use a small portion for each woven piece, and best of all it feels luxurious to use – almost like a little treat to the weaver at the end of a project.

THE RECIPE

Dr Woods Baby Mild Castile Soap

Essential oil (optional) of your choice.

Glass bottle with a dispenser or glass cruet with stopper. I ordered some glass dispenser bottles, but when they got lost in the mail I ended up finding a cruet in a kitchen supplies store and used that instead.

THE METHOD

I pour the Castile soap into my 150ml (5oz) bottle until half full. To this I add my essential oil, approximately 15 drops depending on the strength of oil I’m using. I stir this around with a wooden skewer until I feel it’s well blended, then top up the rest of the bottle with more Castile soap, stirring again. Store with the lid in place.

Some essential oil blend suggestions:

There are so many lovely oils that can be used alone (you know how much I love the simplicity of lavender!)

Other oils that work beautifully as singles are peppermint, rose absolute and rose geranium.

If you want to try making some of your own blends, there are kits available where oils that go well together are sold in a pack. You can also buy already blended oils, taking the guess work out of it for you.

Oh, and if you don’t want to add your own oils, the Dr Woods Castile soaps also come in peppermint, lavender, and tea tree.

Don’t like essential oils? Just use the pure baby castile, which has no added scent on it’s own.

WHY DO I NEED TO WET FINISH?

Sometimes, removing a project from the loom and having a good look and feel of it for the first time can be a bit disappointing! It may feel stiff, rough, and look, well… a bit lacklustre!

Enter the magic of the wet finish!

Allowing the project to soak in warm water with a mild detergent enables all those lovely fibres you have spent so much time and care to weave take in the water, plumping them up to maximum level and allowing them to bloom. Then, as the fabric dries, all those fibres settle into their rightful place and live happily ever after.

If you cut your fabric when it is still in loom state (prior to wet finishing) you will notice a dramatic difference to cutting it afterwards. The threads will want to spring apart, they are not settled in place yet.

Wet finishing also causes your fabric to shrink slightly (how much depends on the fibre). This is another important step in the finishing process.

An interesting experiment is to photograph your before and after wet finished fabrics. The difference can be quite amazing!

HOW TO USE THE GENTLE SOAK TO WET FINISH

I have used this gentle soak recipe with both plant and animal fibres. I have made a video tutorial on the wet finishing process so that you can see how easy and non stressful it all is:

Here are the step by step instructions:

  1. Place a squirt (around 1 teaspoon per item) of the gentle soak liquid into a sink or container that you intend to wash the item in.

2. Run enough warm water into the sink or container to enable your item to be covered.

3. Place your item into the water, gently pressing to submerge. Continue gently pressing until the item takes on enough water to sink down.

4. Leave the item, without agitating for at least an hour.

5. Gently rinse the item in just warm water briefly.

6. Using a clean, folded towel, press the excess water out of your item.

7. Lay the item flat and in the shade until totally dry.

Now, there are exceptions to these rules, as mentioned in the video. For example, I wash cotton kitchen towels in a hot machine wash. Not all projects need to be dried flat – sometimes I will hang the piece depending on what it is. If I have a piece that may be misshapen by being hung, I will dry it flat.

Thanks for reading, I hope this was helpful to you.

Until next time…

Happy Weaving!

Filed Under: Health and home, Weaving Tagged With: gentle soak recipe, wet finishing

Krokbragd – How to Design and Weave, Book Review

by Kelly 22 Comments

I had been following along the writing of this book for some time, so I was thrilled to see it published and available.

*This post is not sponsored, however it does contain affiliate links, which means if you click and buy I receive a small commission at no extra cost to you.

You all know of my love affair with the Scandinavian weave structure Krokbragd, so a brand new 2019 publication devoted to it was something I had to jump on right away!

I always get this funny feeling when a new weaving book arrives on my doorstep. It’s a mixture of excitement and apprehension. Will this book change my life? Will this book be a total waste of money? Will this be a valuable addition to my weaving library or will it be relegated to the charity bin?

Well, I can assure you that Krokbragd: How to Design and Weave by Debby Greenlaw is not in the least disappointing and is, in fact, very impressive!

It seems that the author Debby is a lady after my own heart, having traded suburban life for a more creative and simple existence in the country, surrounded by animals and weaving.

The book starts out with a historical overview of Krokbragd and other Scandinavian weaving techniques, including beautiful historical pictorial examples. It then goes on to cover threading and treadling options, explanations of the structure, drafts, yarns and weaving options.

This book is so comprehensive, so affordable and there is no fluff or overkill. Just the style I love! I admit that much of what is written and taught in the book is not new to me, but it certainly gave me food for thought on a few levels.

Firstly, the threading variations that I have not yet tried, for example, threading over rose path instead of the usual single point 3 shaft I use.

Secondly, the drafting and designing section. This part is so invaluable! I have always had trouble designing Krokbragd off the loom and usually design as I’m weaving. As krokbragd is weft faced and woven over 3 picks which condense to make a single row, I find it hard to get my head around what a design will look like before I weave it. Debby’s chapter on design has given me some new ideas for how I could better go about designing off the loom, which would allow me to plan my projects more effectively.

But, to be honest, what I love most about this book is that as you read, you feel you are talking to a weaving friend, not someone who has been weaving since forever ago and wants you to know that they know infinitely more about weaving than you do! (Have you ever had someone come across like that in a book?!) It is obvious that Debby has written this book out of a love of weaving and a joy of sharing.

Krokbragd: How to Design and Weave is available as a physical, soft cover book or as a Kindle download.

*Since the completion and publication, Debby has discovered some errors. As a course and pattern writer, I know how easily this can happen and how frustrating it is. If you have purchased the book, you can go to the “Errata PDF” at the bottom of this page to access amendments. Debby is also working with Amazon, where her book is being sold, to determine the best way forward with this issue.

Trust me, if you love Krokbragd, you want this book for your weaving library!

If you’re as interested in Krokbragd as I am, here are some of my past blog posts for you to take a peek at:

I deleted my last post and wrote about Krokbragd instead

New Krokbragd Bag Class

Krokbragd Mug Rug Weave Along

What is Krokbragd?

Krokbragd Weave Along Round Up

Plus I have a bunch of Youtube videos on the topic:

Krokbragd Playlist

And a couple of classes over at my Online Weaving School:

Krokbragd Bag Class

Krokbragd Mug Rug Weave Along

Let me know your thoughts on Debby’s book if you already have it or if you decide to purchase, I would love to know if it has inspired you too.

Thanks for reading dear Weavers, until next time…

Happy Weaving!

Filed Under: Reviews, Weaving Tagged With: book reviews, krokbragd

Hand Woven Tapestry Necklace

by Kelly 8 Comments

I completed 4 towels on my floor loom for the April #weaveforme challenge, but considering they were for a class as well, I did feel like I had cheated just a little.

*This post contains some affiliate links, which means that if you click and purchase, I receive a small commission at no extra cost to you.

So, I decided that I needed another project that was exclusively for me. I’ve been keen to start another project on my tapestry loom and thought it could be fun to weave a necklace or two. This is entirely different from my usual, often very practical projects.

I had a few hiccups to begin with. I wanted to use up some Appleton’s Crewel Embroidery Wool in a lovely range of colours that I had leftover from a crewel project long ago. This is a very thin and light wool.

I warped at 18epi with the same Ashford Tapestry Warp thread I have been using for all my tapestry work. Warping all went according to plan and I was ready to weave.

When I started weaving, however, I did not like what I saw! The wool is so thin that even though I beat down very hard, the warp thread still showed. It looked ugly! Now I had to put my thinking cap on and make some decisions. If I used a thicker weft, I was concerned that the 18epi would end up being too close. I wondered if I would be able to change the spring at the top of the loom that spaces the warp, in order to change the epi.

The Appleton wool. This was after beating really hard!

I loosened off the tension and went for it. I took off the 18epi spring and placed a 12epi spring on instead. Then I carefully rearranged all of those warp threads into their new spaces. This presented me with a new problem. My warp, now that the threads were space further apart was way too wide for the necklace project I wanted to weave!

Out came the thinking cap again (it received more use than normal on this particular day). I found that if I divided the warp in half, that would be just the right width for a necklace. Plus, that would allow me to weave 2 necklace panels simultaneously. Bingo!

The warp divided in half.

On one panel (left in the photo above) I used hatching with 2 contrasting wools – one solid black and the other a hand dyed variegated of similar weights.

The second panel used a worsted weight wool in dark purple and the same hand dyed as the other. The purple yarn was quite a bit heavier than the hand dyed, I dealt with that problem by doing extra rows on the middle panel to build it up at the same rate as the dark purple. These rectangular shapes are not joined, I used this technique because I wanted clean lines.

I was able to weave both panels at once, which worked out really well. My original intention was to continue to weave additional panels for extra necklaces, but I really wanted to complete the April challenge before too much of May had passed, plus I had other projects mounting up that needed to be started, so I decided to finish up and just do the two.

Finishing the fringes and making into a necklace.

I decided to use hemstitching and a tapestry braiding finish (I’ll have a video tutorial for that soon) to finish the fringes. At the bottom of the hemstitched hatched panel, I wove the fringe back into the work. I took the fringe at the top, placed my faux leather necklace on top, and began weaving the fringes individually back into the work, looping the fringe threads around and encasing the necklace band as I went.

I wasn’t sure if this would secure the panel onto the band with enough strength, but now that I’m finished it is surprisingly hardy and doesn’t move.

The fringe looped over the necklace and woven back in to the fabric.


Once all the fringes were woven in securely, I snipped them off close to the fabric. The back of the necklace doesn’t show, but if I was worried about it, I could have sewn on a piece of felt the same size as the panel to cover the back.

I have not yet finished the other panel, but I’m so glad to have completed another project for the April #weaveforme challenge. The challenge was so popular that I would love to run it again next year. What do you think?

If you would prefer to watch this post and see a bit of a demonstration of the actual weaving, here you go!

And, if you have an interest in learning more about tapestry weaving on a rigid heddle loom, I have a class that will teach you all the basics and get you on your way.

I hope you all enjoyed following along with this project and reading and watching about it.

Until next time…

Happy Weaving!

Filed Under: #weaveforme challenge, Tapestry Weaving, Tutorials, Weaving Tagged With: #weaveforme, mirrixlooms, tapestry necklace, tapestry weaving

How to hand hem your hand wovens

by Kelly 4 Comments

Hand hemming. It just sounds good, doesn’t it? It takes you back to the days when time was spent stitching with a needle and thread. Quiet, meditative, and artfully skilled.

I’ll be the first to admit that most of my hand woven pieces are hemmed on my sewing machine, due to a lack of time and a love of convenience. But, I do enjoy stitching with a needle and thread at least occasionally, and it does provide a different finish to a machine stitch.

*This post contains some affiliate links, which means if you click on the link and purchase, I receive a very small commission at no extra cost to you.

If you are more interested in hemming your hand wovens on a sewing machine, this post has got you covered. The initial steps are the same, whether you are hemming by hand or machine.

Begin by laying out your washed or wet finished and dried piece. Fold in the corners (“dog ears”) and iron down on the cotton setting of your iron.

Next you begin to fold down the edge that was previously serged or zigzag stitched and press with the iron.

Now we make another fold, a little bigger than the last and press that down as well. Place pins along the fold to help hold it in place during the stitching process.

If you need more details on these steps, this post is more step by step.

Now we are ready to stitch. Use a needle (not a tapestry, you need a sharp point for this task) and a length of good quality sewing thread (I always use Gutermann Sew All Thread) and knot the end of the thread. Slightly lift the edge corner of one of your hems. In this space you will begin your thread and lodge your know to make it invisible.

Take your needle into the base cloth and pull through to lodge the knot. Fold the hem back in place so that the thread is wedged between the hem and the base cloth.

Take the needle into the fold of the hem, close to the corner and close to the edge of the fold. Pull the thread through.

Now, take the needle back to the base cloth, horizontal to the fold. Pick up one or two threads, very close to the fold of the hem, but not on it. This is the fabric underneath the hem. Pull through.

Now, take the thread vertically through the fold of the hem once again. Pull through, and return to the base cloth to repeat these steps.

Once you are proficient at this, you may want to eliminate one step of the process by combining the two stitches into one action. It is best if you watch the video to learn to do that, it is much easier to show and tell!

Finish up by knotting the thread and burying it into the cloth, using your needle. Cut off any loose ends. Give your hem/s a quick press and they’re good to go!

So, what is your preference? Hand hemming or machine? Let me know by leaving a comment!

Do you like the towel I’m hemming in the photos? It is one of 4 towels from my Floor Loom Weaving sequel class. It’s almost finished, won’t be long now! Make sure you’re on my email list to receive notification of when it goes live.

I hope you enjoyed today’s tutorial and until next time…

Happy Weaving!

Filed Under: Sewing, Tutorials, Weaving Tagged With: hand hem, hemming, how to hand hem, needle and thread, tutorial

Darn it! Mending hand woven towels.

by Kelly Leave a Comment


It’s bound to happen. That moment when you realise there is a little or large or even gaping hole in one of your hand wovens.

I love using my hand woven towels in the kitchen. I mean, if you’re spending a lot of time doing menial tasks ie. dishes, you might as well be doing it with something special and beautiful.

We don’t have a dishwasher, and with 6 family members we tend to wash and dry a lot of dishes every day.

The first time it happened, I may have gasped, my eyes may have goggled a little and my head may have drooped. Just for a moment. But, one thing you learn through being a parent is to not be too precious about your material possessions. It’s likely they will get broken or damaged at some point. I would still rather use things than have them sit in a drawer somewhere.

Towel 1 was the worst with one large hole and one small hole.

So, anyway, two of my not very old, fairly recently finished hand woven towels had, shall we diplomatically say, “person inflicted holes”? Likely pierced by a sharp knife in the act of drying it?

I began contemplating what could be done about the said holes and I thought of the wonderful old art of darning, something our Grandmother’s did all the time and my own mother avoided like the plague. Needless to say, this art was not passed on to me. But, since having children, I’ve done my fair share of mending clothes with usually passable results.

Towel 2 was in better shape with just one smaller hole.

The trick with handwovens is to try to trace the original path that the broken or snapped threads took. Easier to do if you have a good understanding of the weave structure you used, but you can still get on alright by observing the threads that are still intact.

Once you’ve observed the pattern of the threads and determined how many warp threads and how many weft threads are broken, you can start tracking where these threads should have been and try to follow their original path.

*This post contains affiliate links, meaning if you click on one of these links and purchase, I receive a small percentage of the sale at no extra cost to you.

Using a needle (I used a tapestry needle) and matching the original threads as closely as possible, (I wasn’t able to do this as I had run out of the original threads, but I found some pretty good matches amongst my stash) start your thread 1 -2 inches out from the hole. Doing this also usually allows you to follow the path of the original thread up until it reaches the hole where it is broken.

It doesn’t matter whether you start weaving in warp of weft threads first. After you have woven through and past the hole (hopefully in a pattern very similar to the one that was broken) you continue to follow the pattern with the needle for another inch or two out the other side. Leave tails hanging out from where you began and finished.

This technique worked really well for my smaller holes. Although I didn’t get an exact copy of the original pattern, I was able to replace the broken threads in a way that didn’t look terrible!

Not perfect, but not too shabby!

For the gaping hole I needed to try something else. Subtle mending was not going to suffice for this one, there were many severed warp and weft threads and the gap was wide. I tried. I really did. But it was ugly – perhaps uglier than before I started trying to replace the threads.

At this point I decided to embrace the “Visible Mending” movement. I didn’t have any matching fabric, having woven just this one towel with those particular threads and structure. I hunted in my scraps and samples pile and came out with a couple of pieces that were acceptable – at least they had the same colours!

I cut out the patch sizes I needed – one for each side of the hole and serged the borders of each piece. I used the wonderful sewer’s helper Heat n Bond to attach a patch to either side of the hole. When cool, I machine zigzagged around the edges. Not perfect, but at least I don’t have to look at my botched mending job anymore and the towel is functional in my kitchen once again!


Once I completed the surgeries, I put the towels through a hot (60 degrees celsius) machine wash, dried and ironed. I cut all the tails (including the original leftover broken threads) as close to the fabric as possible, without cutting the actual fabric. Don’t accidentally snip too close and undo all your hard work!

Oh, and in case you’re wondering, I’m very grateful to have children who wash and dry dishes for me, even if there are occasional accidents!

Until next time….

Happy Weaving!

Filed Under: 4 shaft weaving, Sewing, Weaving Tagged With: darning, floor loom weaving, kitchen towels, mending, towels

4 shaft weaving and sampling

by Kelly Leave a Comment

This week I’ve been working on the sequel to my Introduction to Floor Loom weaving class.


This class will focus on 4 shaft weaving and begins with an optional sampler. I always felt that a sampler was a waste of time and effort, but I have definitely changed my ways! I do a lot of sampling, particularly now that I use a lot of my own designs and need to see and feel how the fabric is going to be before I put it out there to my students. Since I realised what a fantastic learning tool sampling can be, I always recommend it to my students. It can pretty much make or break a project!


Plus, when you’re finished with a sample, you can either cut it up and use it for small project, or keep it to refer back to. Either way, it’s useful!

The next part of the class will move onto 4 shaft kitchen towels,  which I designed. Each towel is a little different but equally lovely. 
We will weave 4 towels all together.


Here is a sample of the first towel, isn’t it gorgeous? 
The towels tie in happily with my #weaveforme plans for April,  as I will be keeping them for my kitchen 😊

If you’re interested in the next floor loom weaving class, make sure you are signed up to my email list for announcements and special offers. Instagram is also a great place to keep up with what I’m doing.

Do you have plans for your #weaveforme project yet? I’d love to hear about it!


Filed Under: 4 shaft weaving, Weaving Tagged With: #weaveforme, floor loom weaving, Kelly casanova weaving lessons, sampling, weaving

  • « Go to Previous Page
  • Page 1
  • Interim pages omitted …
  • Page 20
  • Page 21
  • Page 22
  • Page 23
  • Page 24
  • Page 25
  • Go to Next Page »

Primary Sidebar

Hand crafted boat shuttles

Categories

Archives

Meta

  • Log in
  • Entries feed
  • Comments feed
  • WordPress.org

Copyright © 2025 Kelly Casanova Weaving Lessons on the Foodie Pro Theme