Copyright is a big issue in the online craft/creative world. It is often unclear to consumers what their responsibilities are.
The popularity of the internet has made it even more difficult for creators to protect their original work. Often, there is an assumption that because it’s on the internet, it can be used however you wish.
This is far from the truth, and you can find yourself in some pretty hot water if don’t do your research and infringe on copyright. I think a lot of people misuse original material unwittingly, they don’t intend any offence but rather just don’t understand the implications.
There are a lot of grey areas but today I’m going to take you through the basics of copyright – what it is, what your responsibilities are and good copyright etiquette.
What is copyright?
The dictionary definition of copyright is:
“The exclusive and assignable legal right, given to the originator for a fixed number of years, to print, publish, perform, film, or record literary, artistic, or musical material.”
Let’s break that down into layman’s terms to determine how it affects us as creatives.
Basically, as a creator of original artistic material, (in my case, online classes, original pattern designs, blog articles) I have the right to legally dictate how those materials are used.
At a consumer level, copyright is about you or me, as the consumer or purchaser of original products, must abide by the wishes of the creator as to how the products are used.
Let me give you a crystal clear example, using my own work:
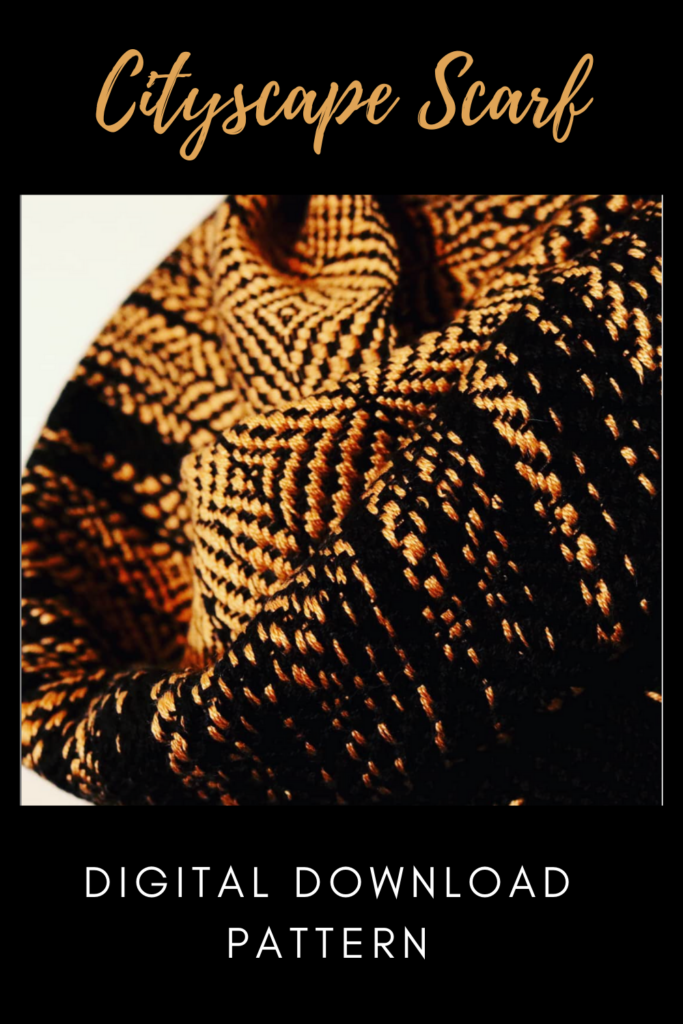
When you purchase a pattern from my Etsy shop, you will see a © symbol on the front page. This is like a little declaration of mine, to say that this is my original work.
On the last page of my pattern, there may be terms of use included. This may look something like:
“You are permitted to sell your items made using this pattern, providing you credit Kelly Casanova as the designer. This pattern may not be copied or reproduced in any way”.
This kind of language helps me to legally protect my original design work from theft and misuse.
So, now let’s cover what your responsibilities as the consumer are, specifically in weaving:
In regards to weaving someone else’s design, you cannot take it for granted that you have permission from the designer to use the design however you wish.
All designers are different, and just because I allow the sale of items made by following one of my patterns, it won’t be the same for all designers, and that is the exclusive right of the designer to make those decisions.
Like my own designs, often designers will actually say within the pattern something like:
“Personal use only. You may not resell this pattern or design in any way”. That would be pretty clear that you cannot use that design to sell.
Or you may see something like- “Licensing available for limited number of items you may sell from this pattern. Please contact the designer for further information”.
This would indicate that yes, you may sell some items from the design you purchased, but to do so you must additionally purchase a licence from the designer and agree to their conditions.
If you’re in doubt, or if there is no real information included with the pattern, always contact the designer, never just assume that you can sell the piece or you may land yourself in hot water.
What about using an idea from a book?
It is fine to learn a technique from a book or a class and then use that it one of your own projects to sell. It is not OK to copy a project from a book and sell the item as your own. The rights for the project belong to the book author. Again, you can try contacting the author if you need clarification.
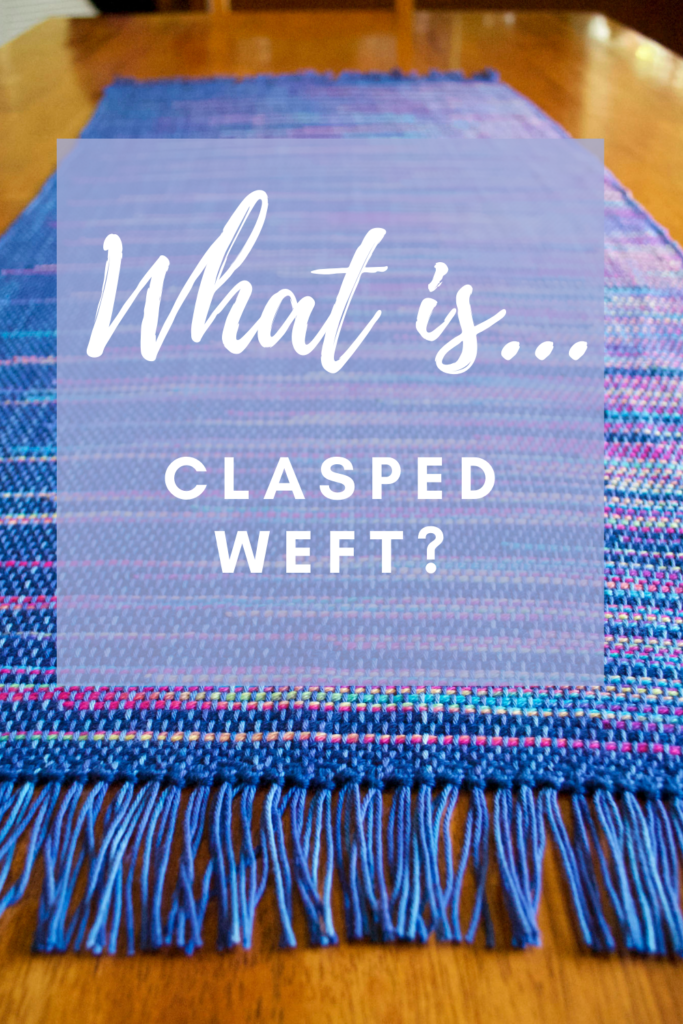
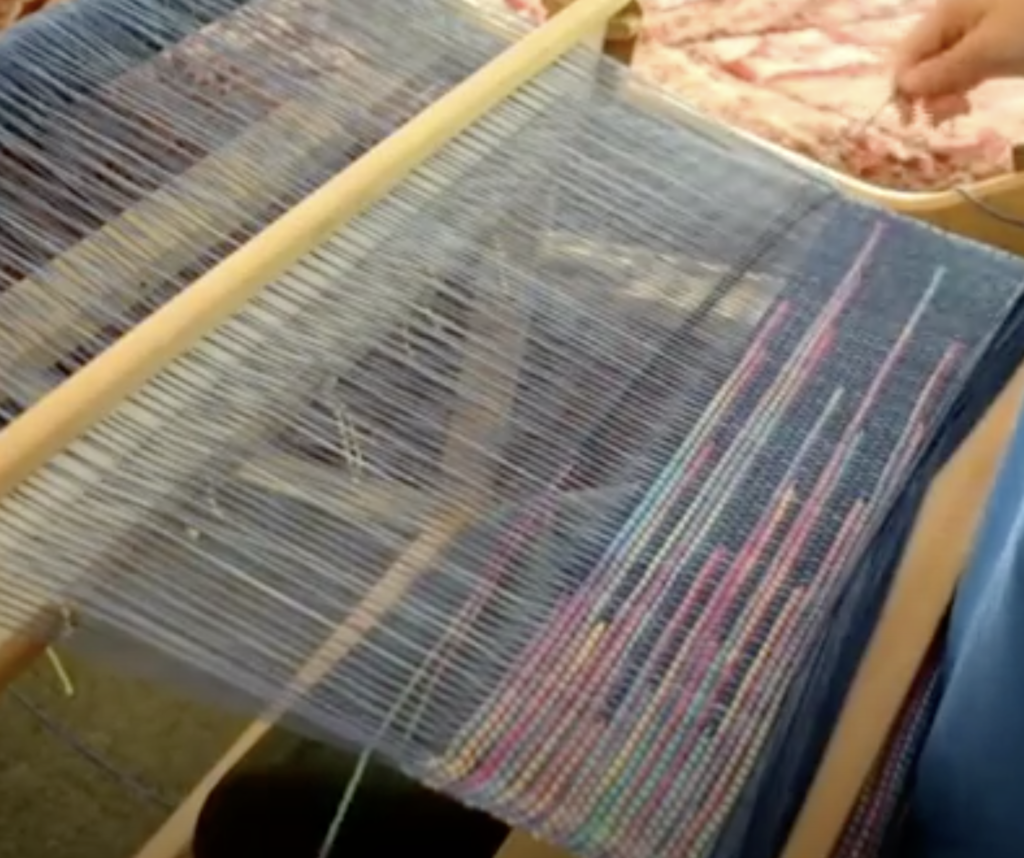
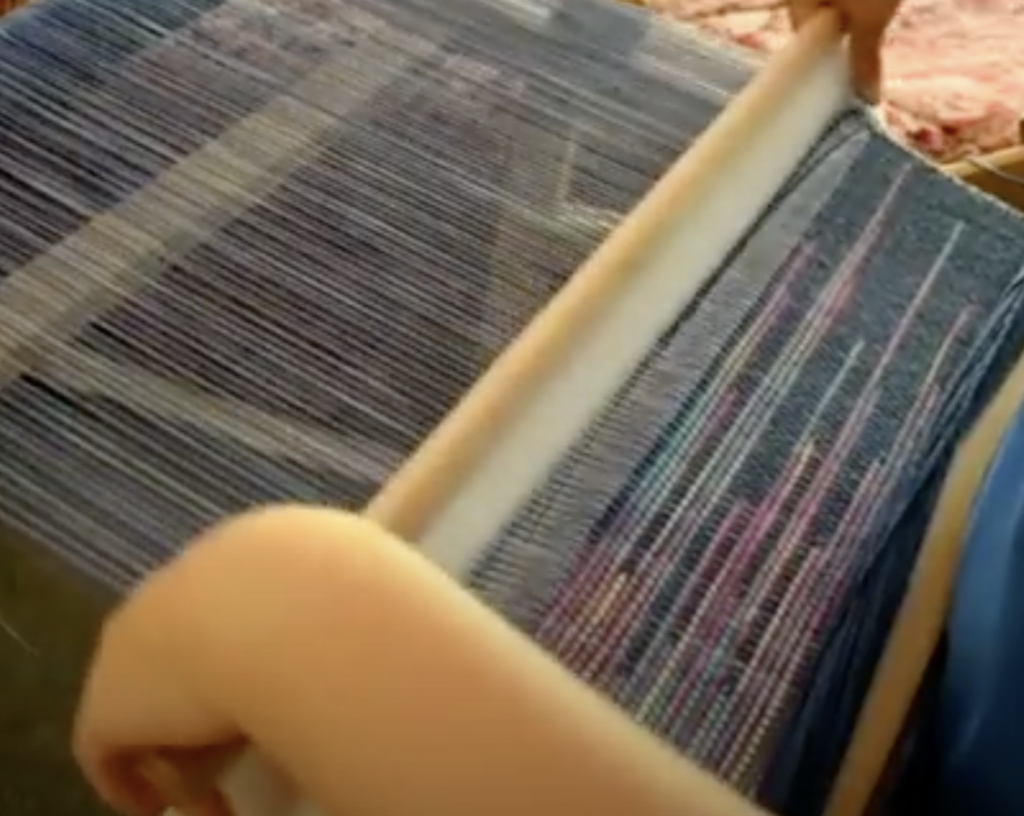
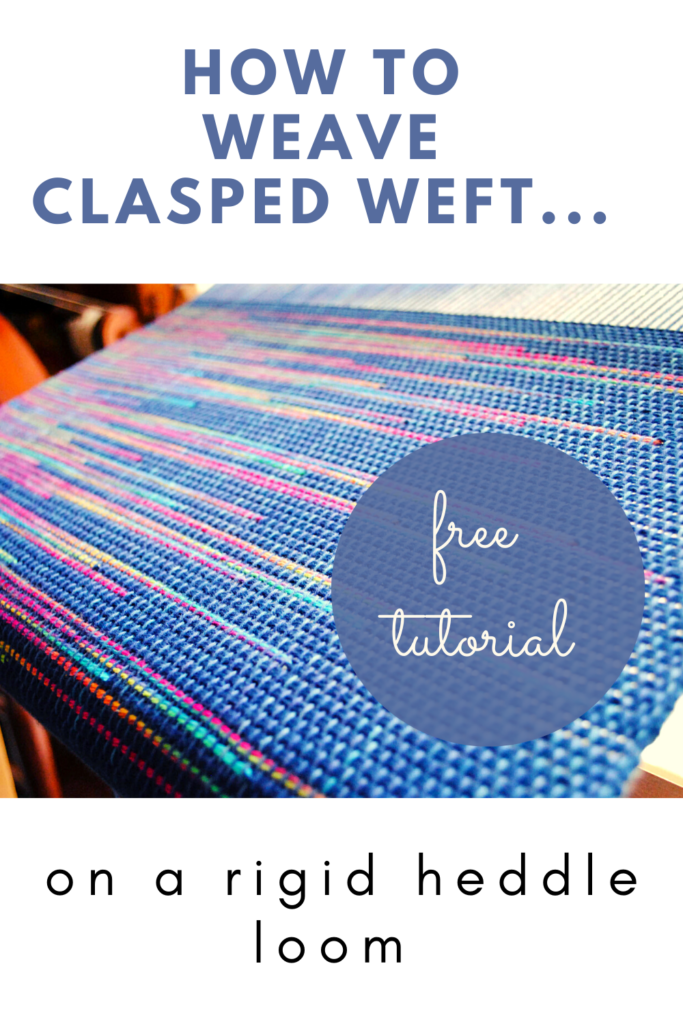
An example of using a technique would be that you watch my Youtube video on clasped weft. It is not a project video, just the technique. You then decide that you are going to make a clasped weft scarf to sell. You choose the yarns, colours etc and make it how you want to. You then don’t need to credit anyone except yourself as the maker because you have used a technique that you’ve learned.
In weaving, we learn techniques, use very old weaving drafts and ideas and then we go and put our own spin on it. There are many techniques that I use that I figured out for myself – does that mean they have not already been done? Not likely!
You can’t copyright or trademark a weaving technique unless you can prove you came up with it yourself and it hasn’t been done before. That would be very rare these days.
But projects, finished items are another thing – you can’t just go out and copy designer’s projects to sell unless you meet all the conditions already mentioned.
Bear in mind also, that if you receive permission for one project, that is not a blanket statement – you also need permission for any other designs from that designer.
One thing that I expressly want to point out because it is so important, is that when you purchase from a designer or creator, you are supporting them financially. You are paying for a product, and that provides income and possibly wages for more than one person.
To copy somebody else’s original work and sell it as your own is stealing. To reproduce a pattern and use it for your own gain without permission is stealing. To “find” a design on the internet and use it for your own financial gain, without permission, is stealing.
I think you catch my drift. If you do not follow copyright requirements, you are taking income from someone who has put in the hard work and time to produce it. You are taking income from that designer’s family.
Not only that, if you infringe on a designer’s rights, they are entitled to instigate legal action against you. And no one wants that!
I could talk about this all day, it’s such a broad issue and to some questions there are not clear answers. That is where it is so important to refer to the individual to be sure.
My best advice is to be cautious, respectful and do your research. If you have anything to add to the conversation, I would love to hear from you in the comments below.
Until next time…
Happy Weaving!
Kelly