The Wash Your Hands Towels have been such a successful project.
Weavers from all over the world, most of them in some form of lockdown at the time, took up the challenge to weave some beautiful towels.
*This post contains affiliate links. Please see my disclosure policy for further information.
If this is the first time you have come across this project, you can read all about it in this post.
Basically, I wanted to share a free rigid heddle project to help weavers re-focus and occupy themselves in a positive way during the beginning of the pandemic, when none of us really knew what to expect or how it was going to pan out.
When brainstorming for a project, everywhere I turned I was hearing “wash your hands” and that became my inspiration for the towels.
It was also important that the project be easy enough for beginners but lovely enough to interest more seasoned weavers. It was thrilling to see that weavers of all different levels threw themselves so enthusiastically into this project – and that 3 months later towels are still being produced thick and fast!
Almost every day I’m seeing a new set of towels shared on social media. Many of them are so varied and in a myriad of colour ways.
Some weavers have chosen to follow my instructions exactly, others have changed the colours, and some have merely used my towels as inspiration and put their own spin on the design. I love them all!
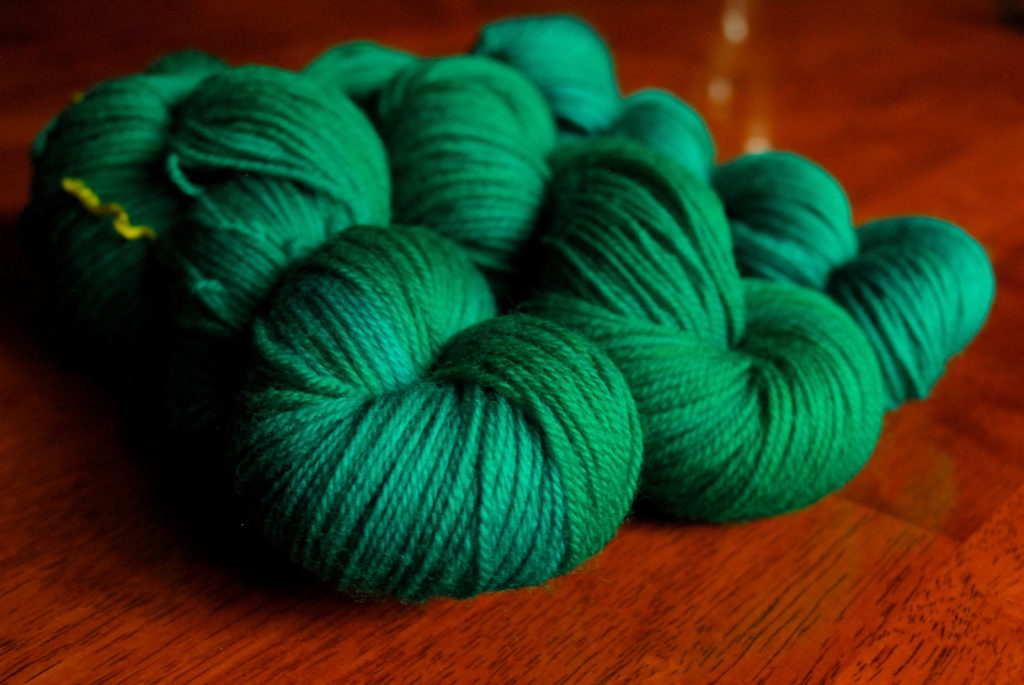
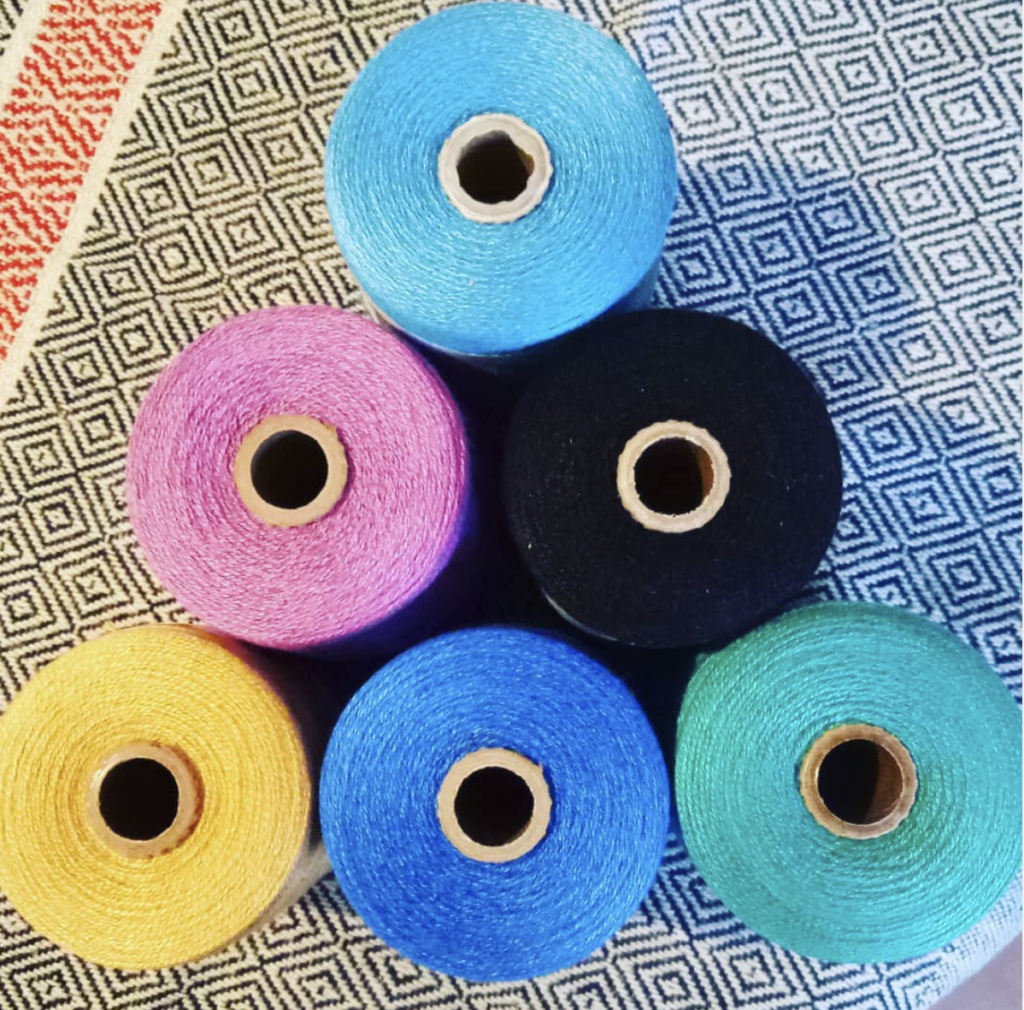
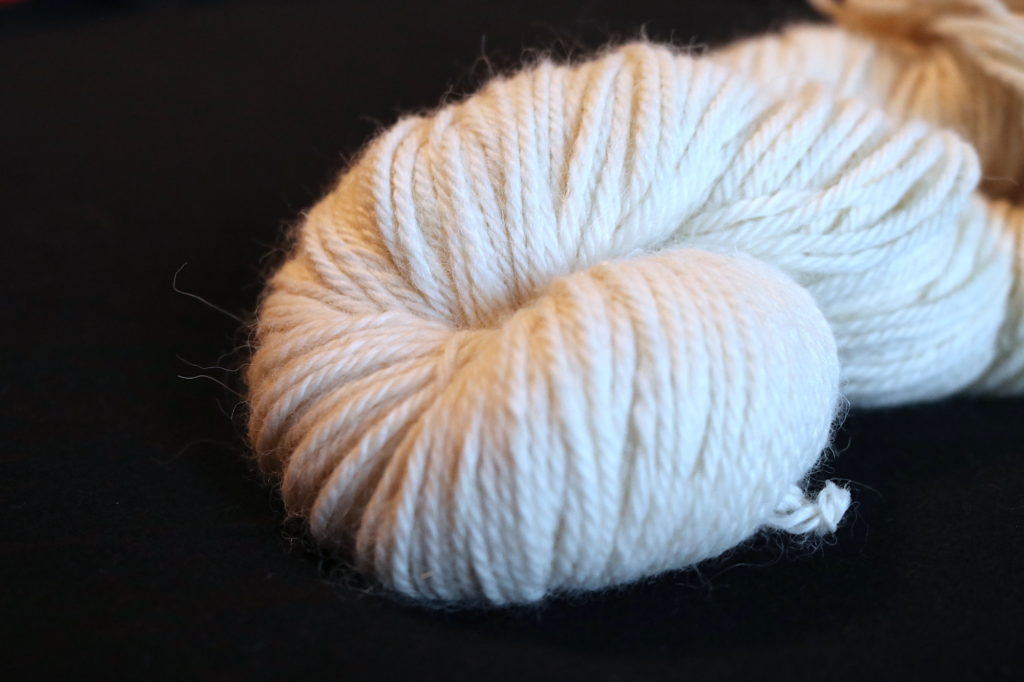
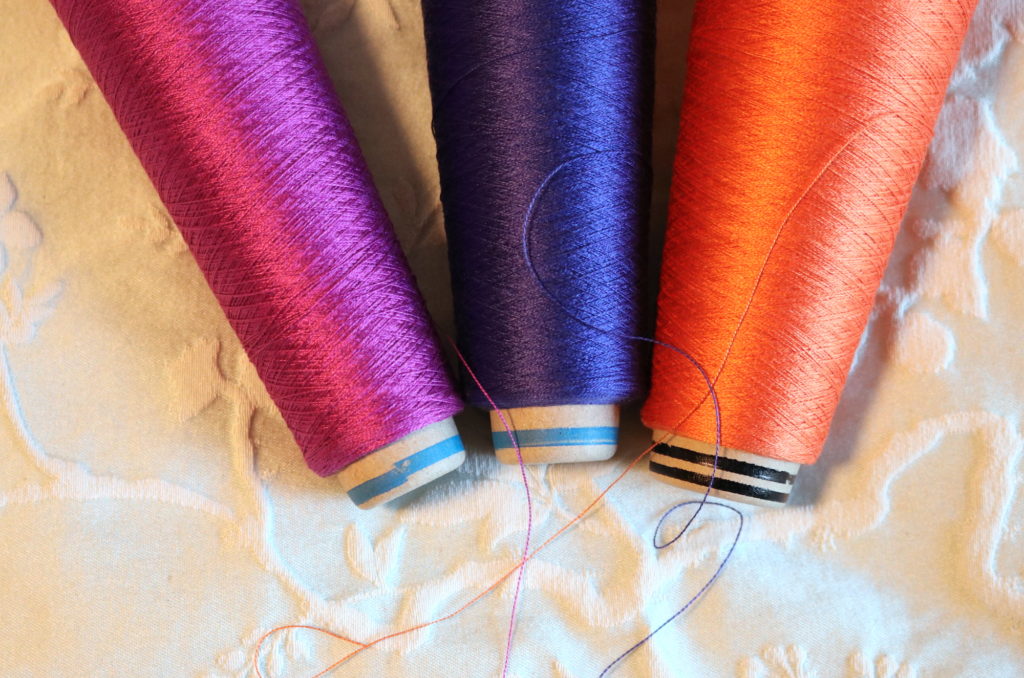
One of the yarns I recommend for these towels is Sugar n Cream but I’ve also been hearing really good things about I love this Cotton! It’s not readily available here so I haven’t tried it, but from all reports it’s a really lovely yarn and suitable for this project.
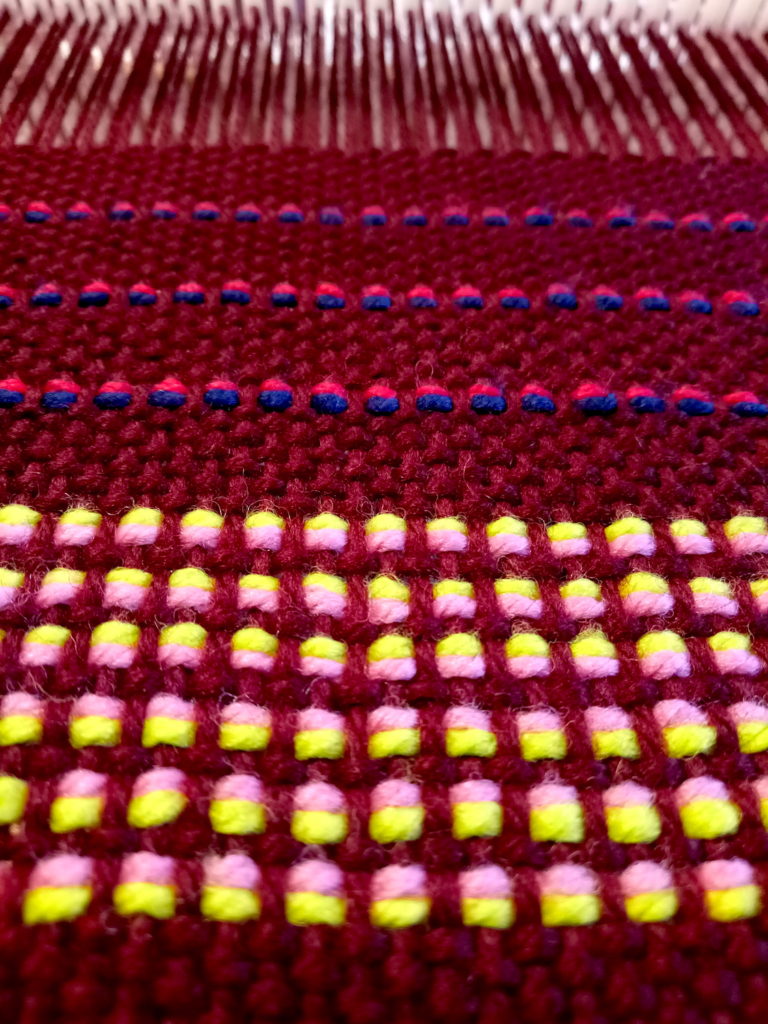
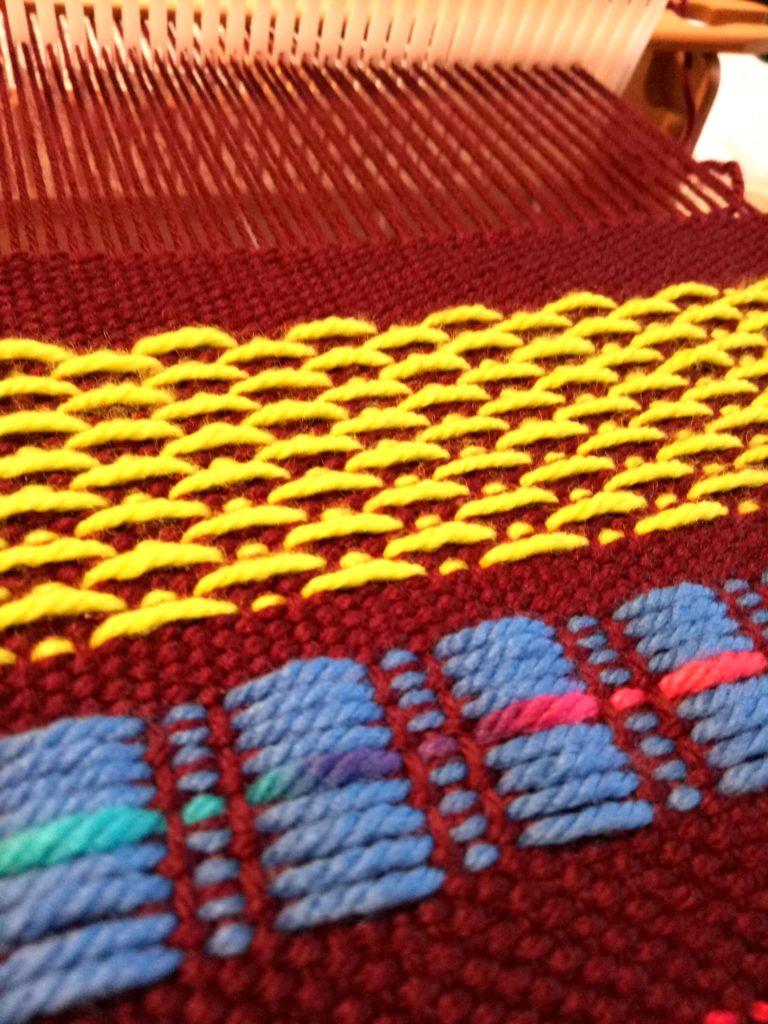
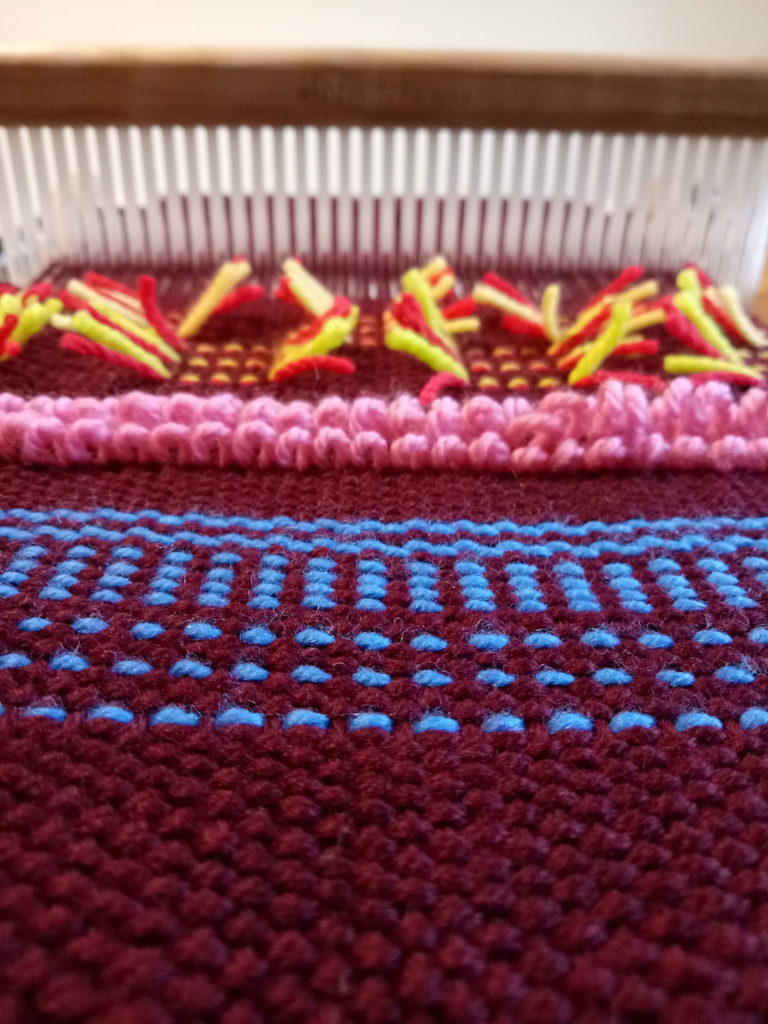
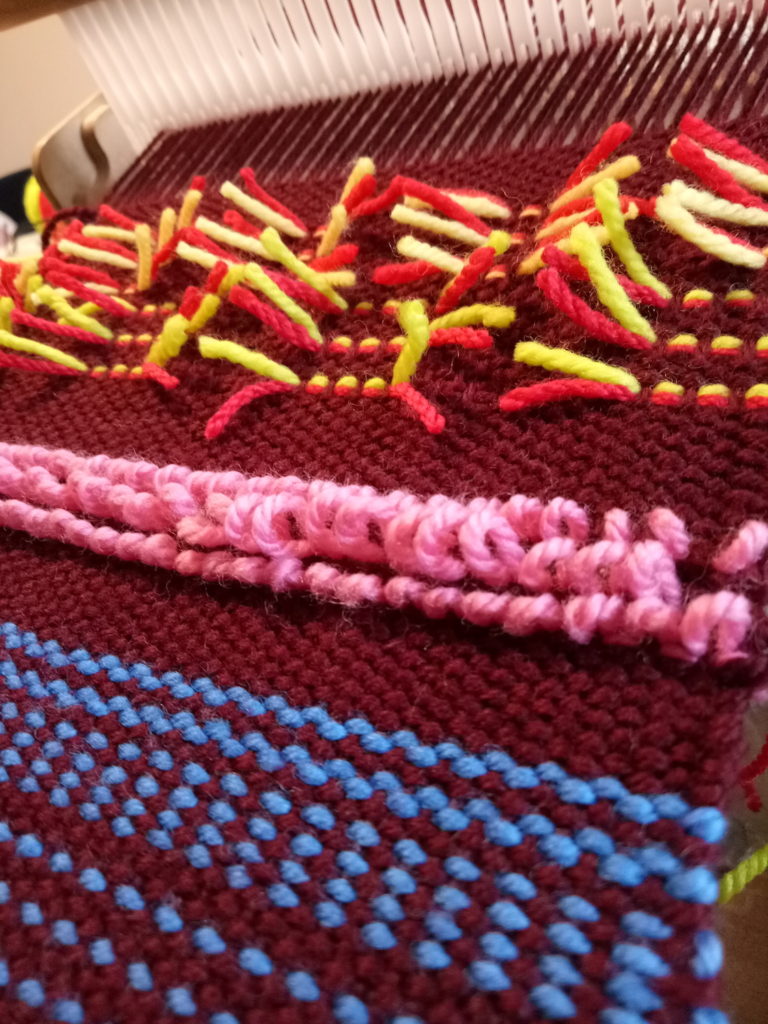
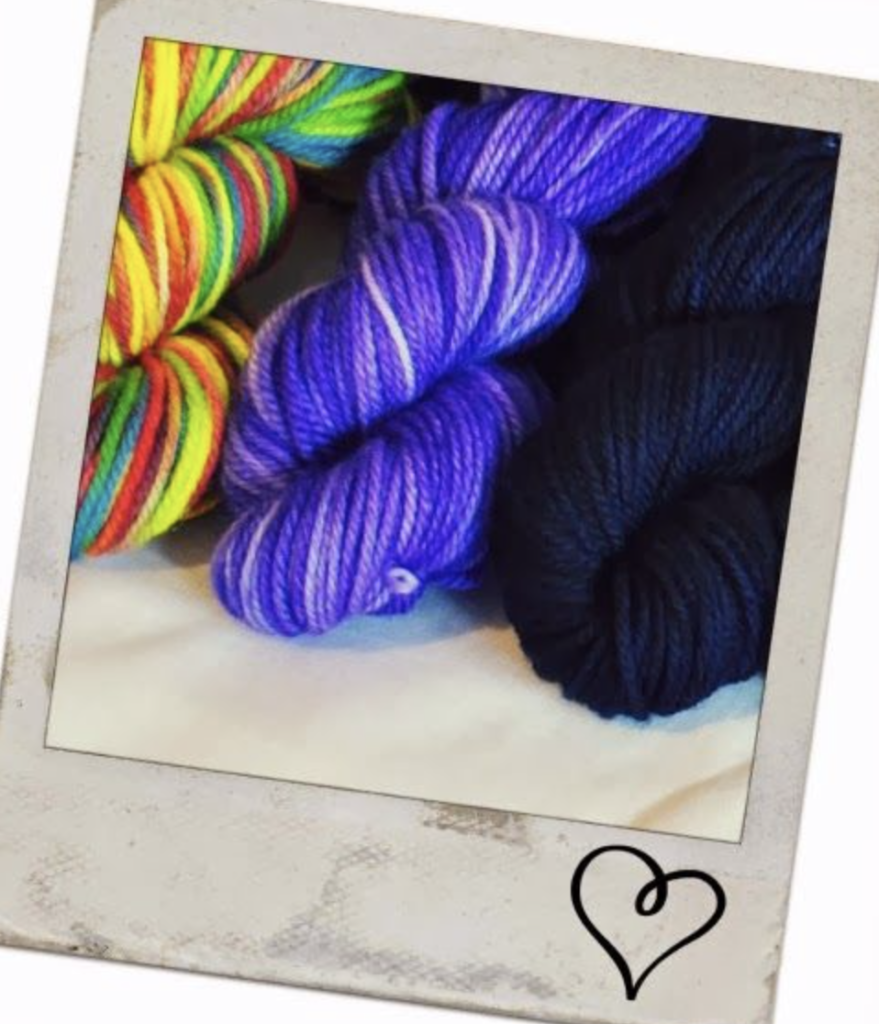
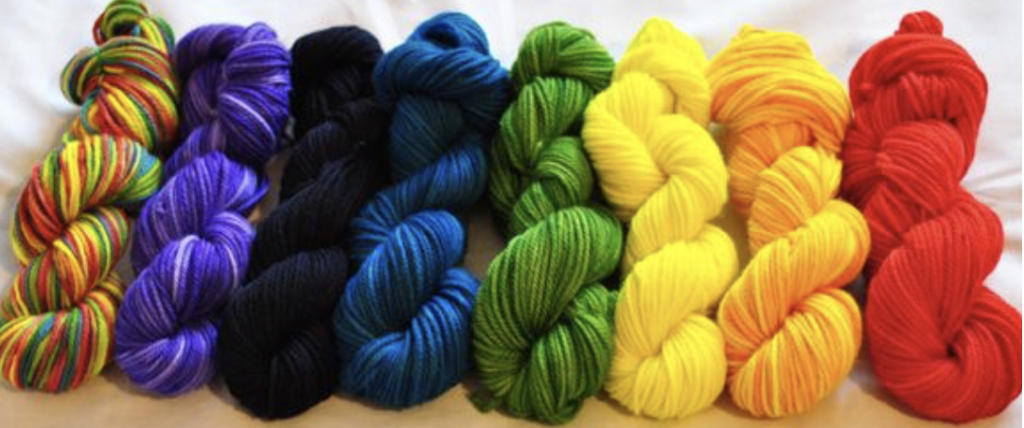
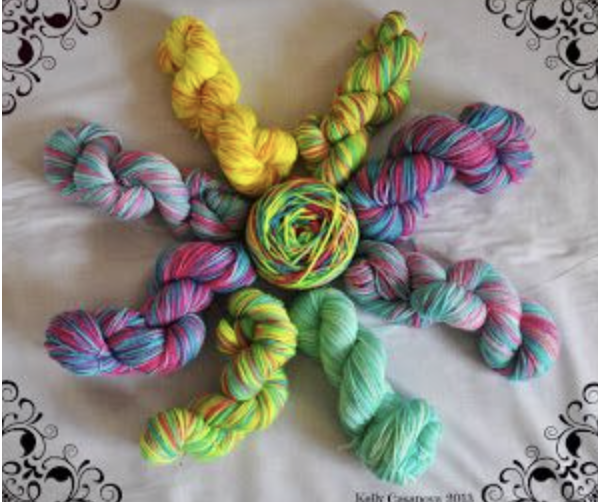
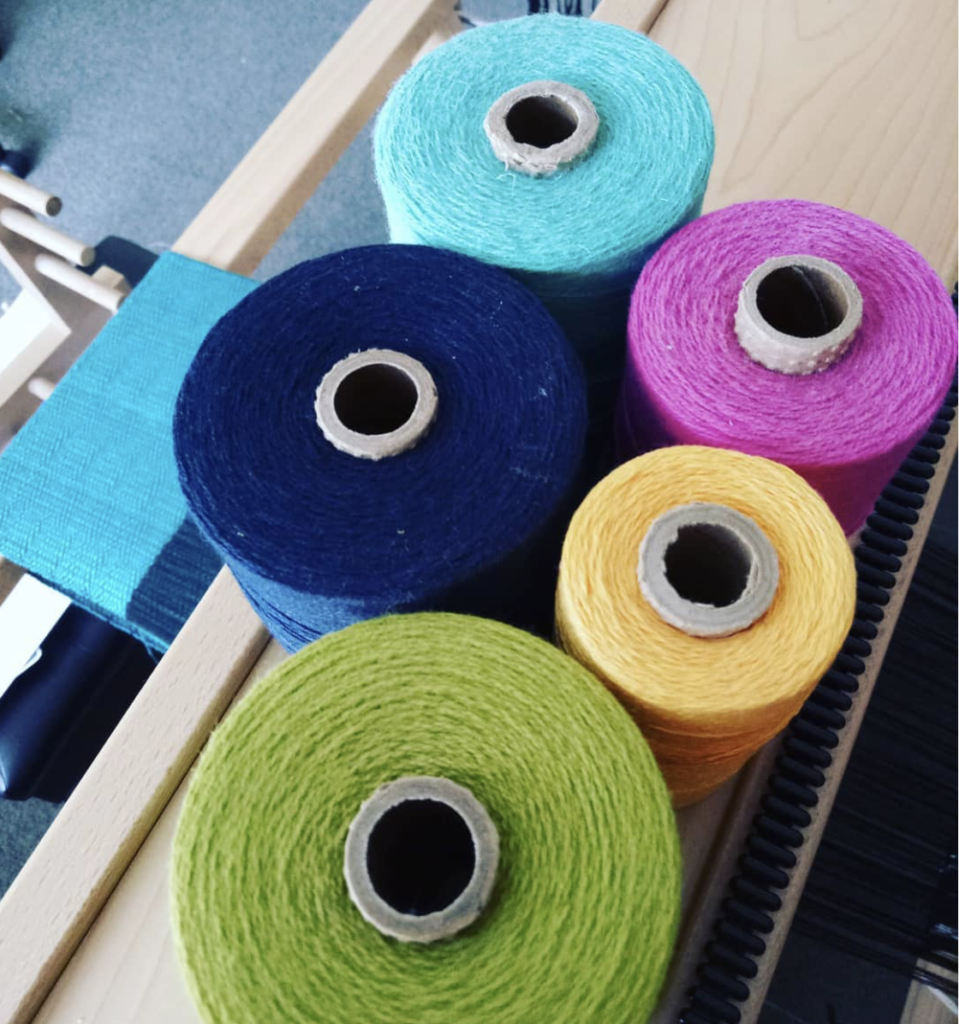
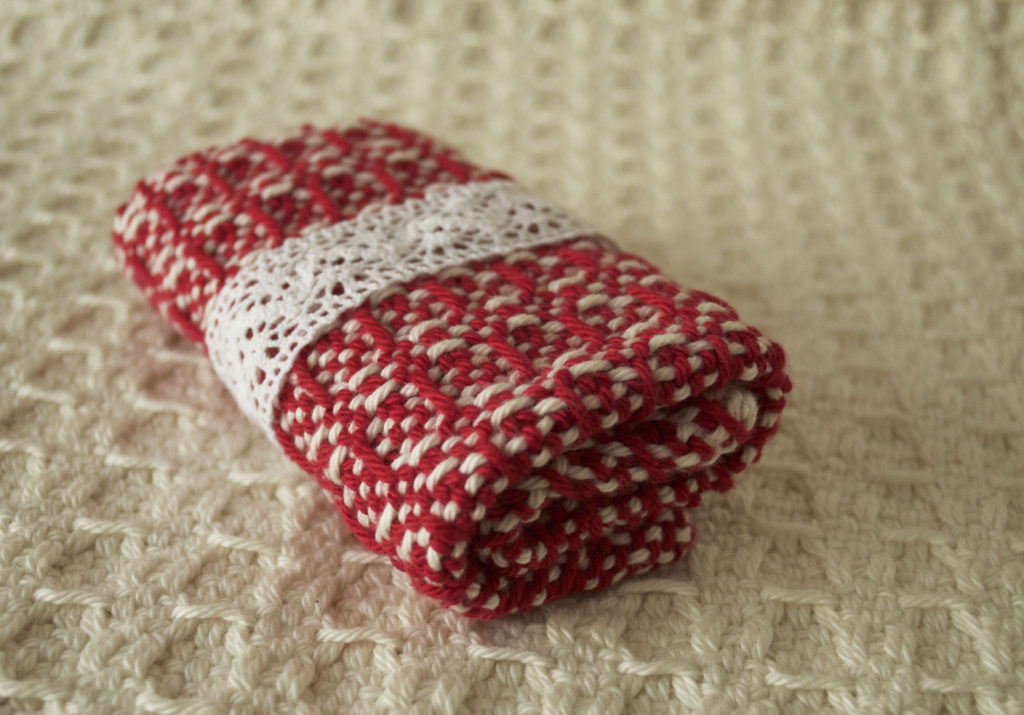
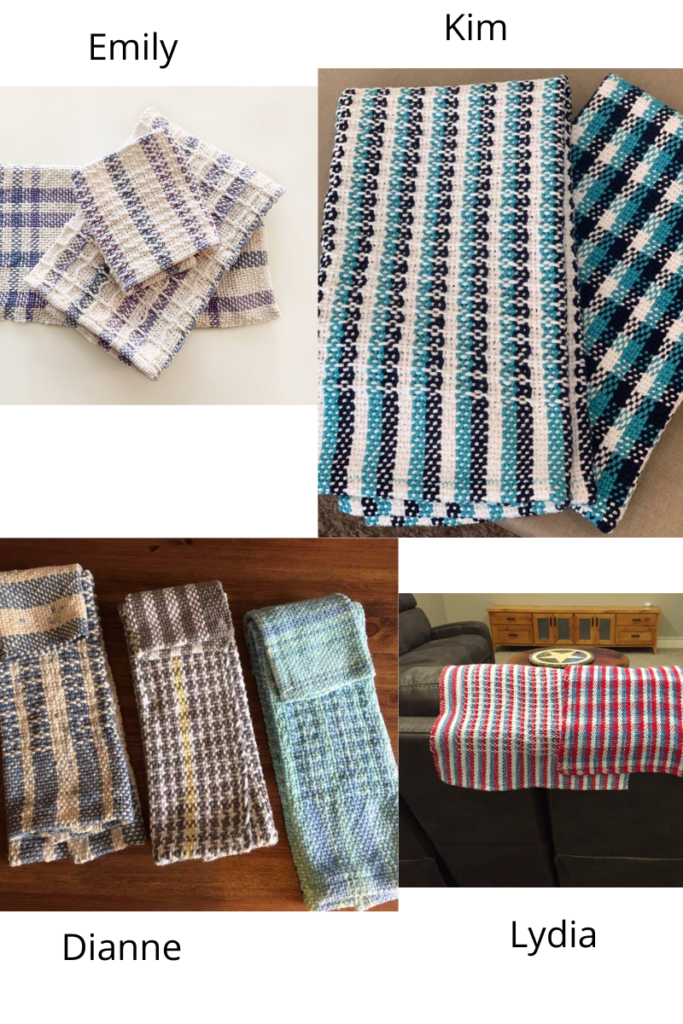
I wanted to create another space to showcase at least some of the towels in a gallery:
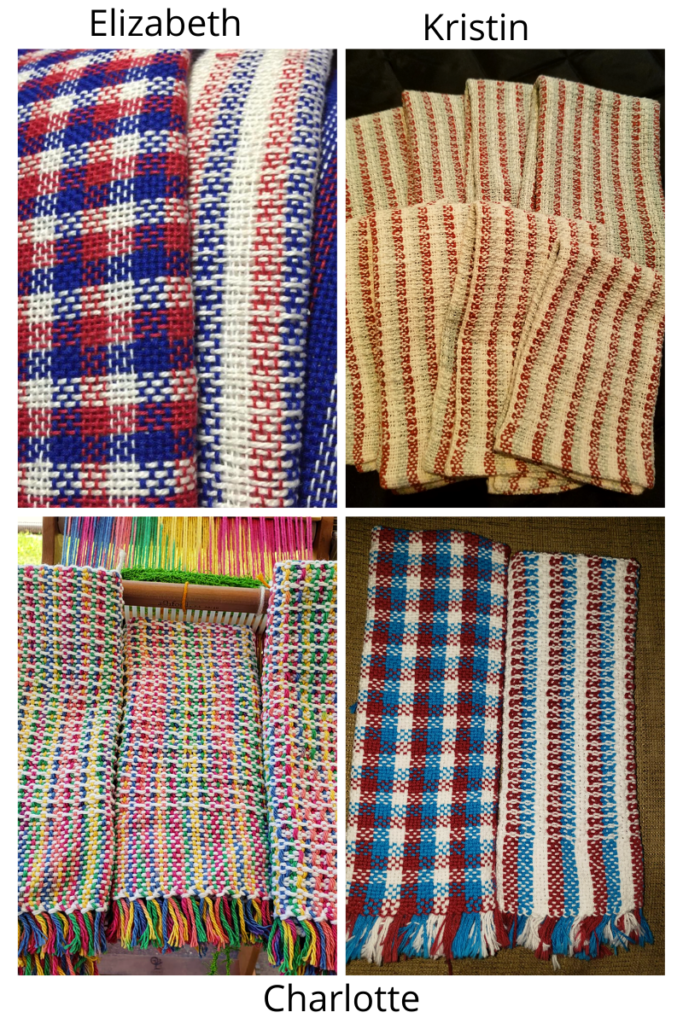
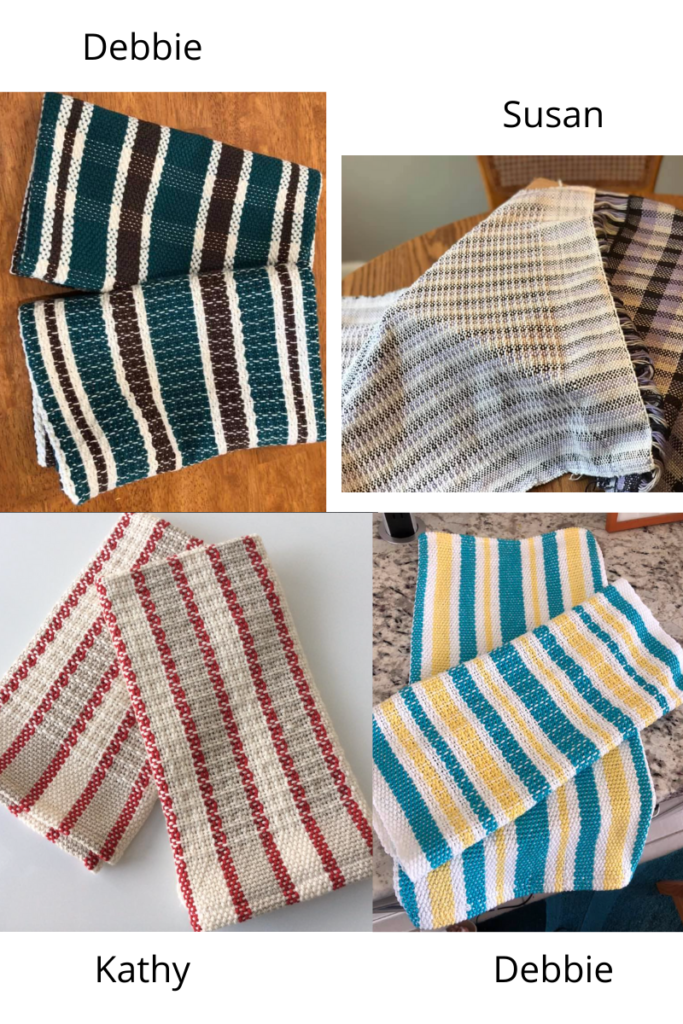
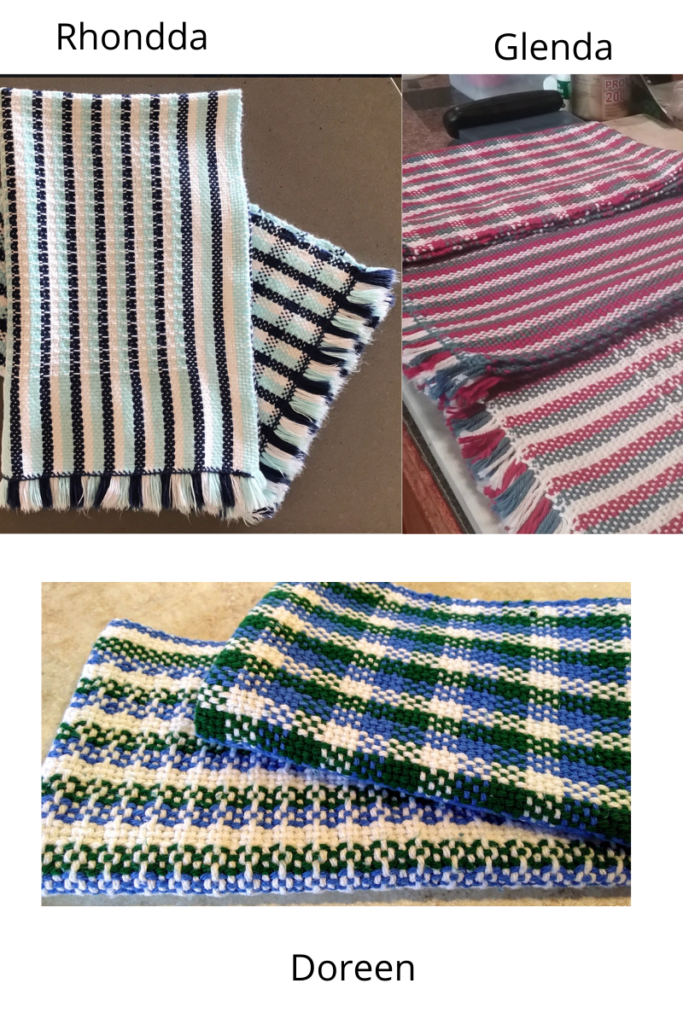

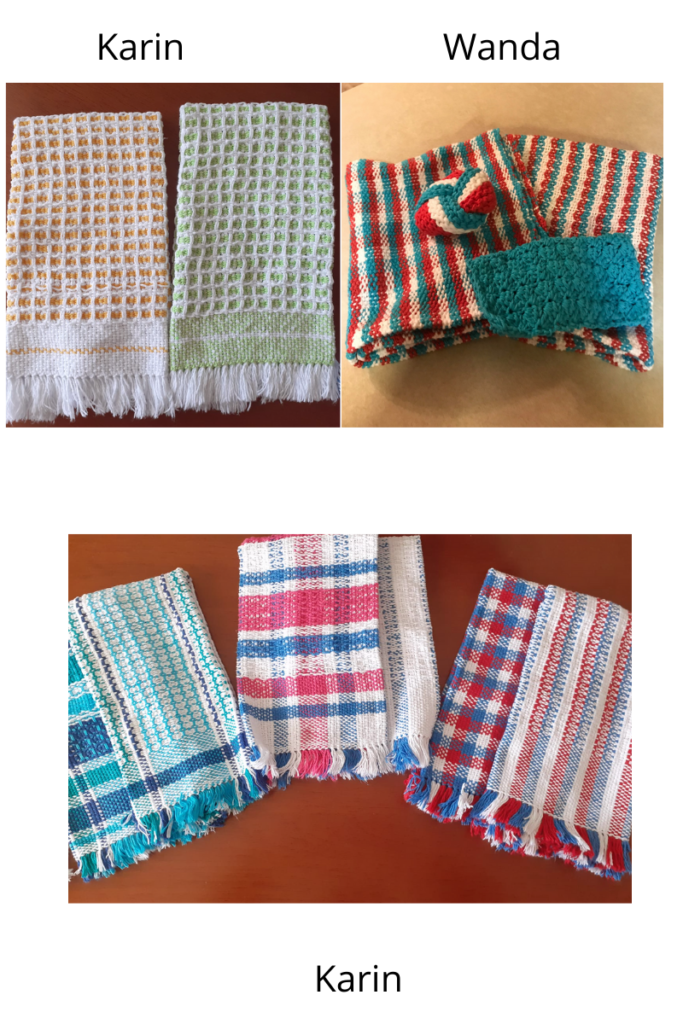
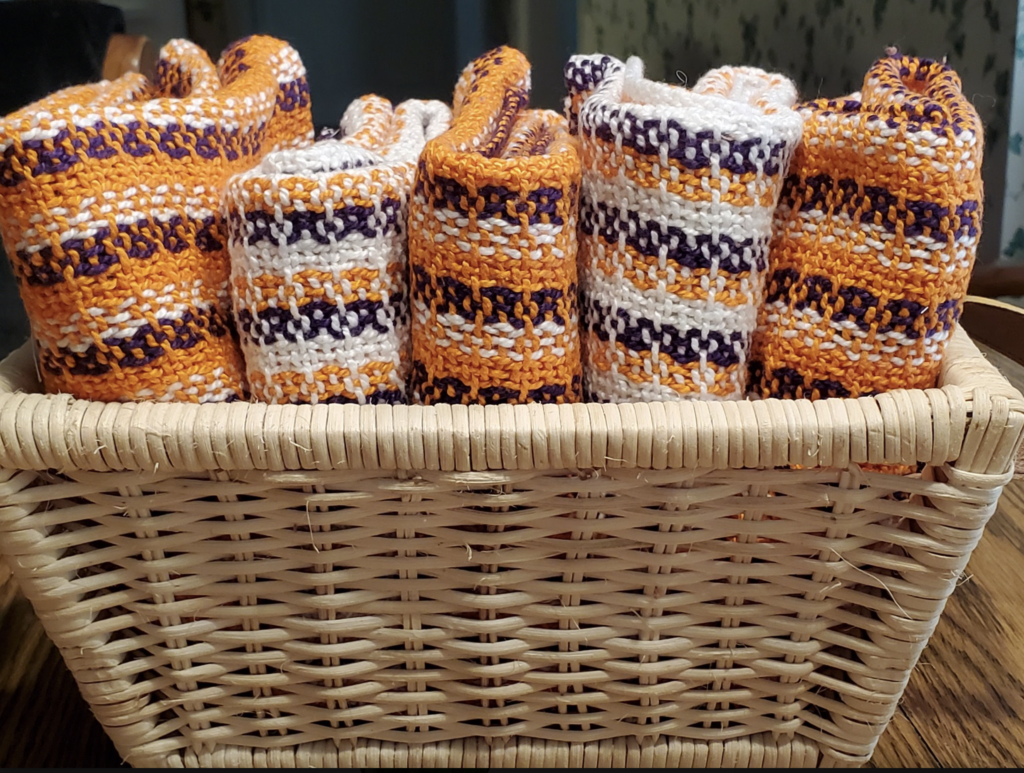
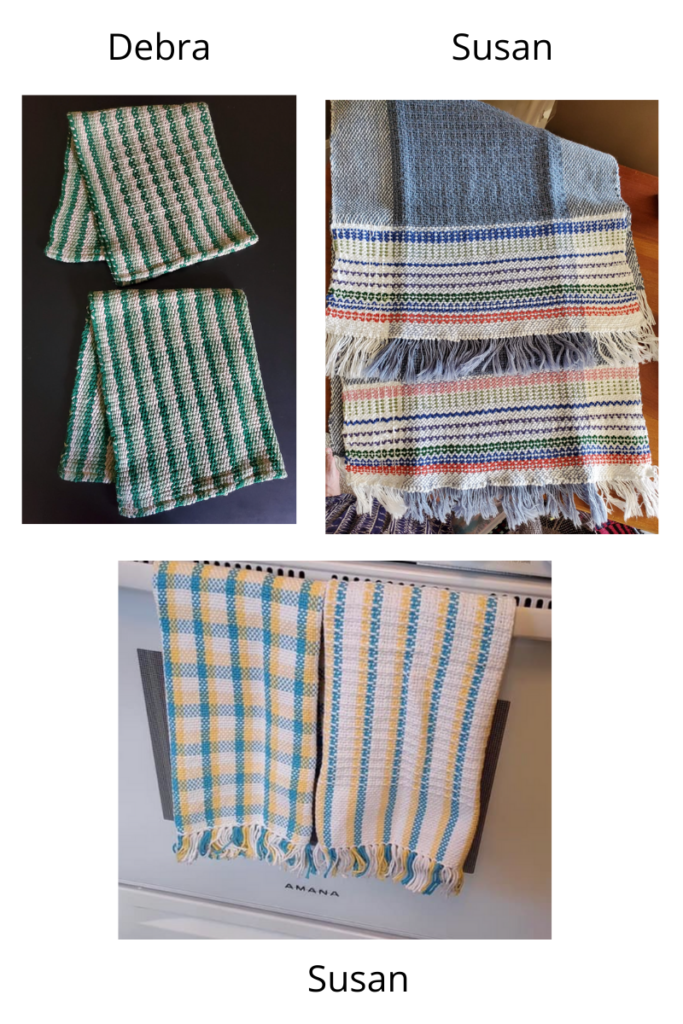
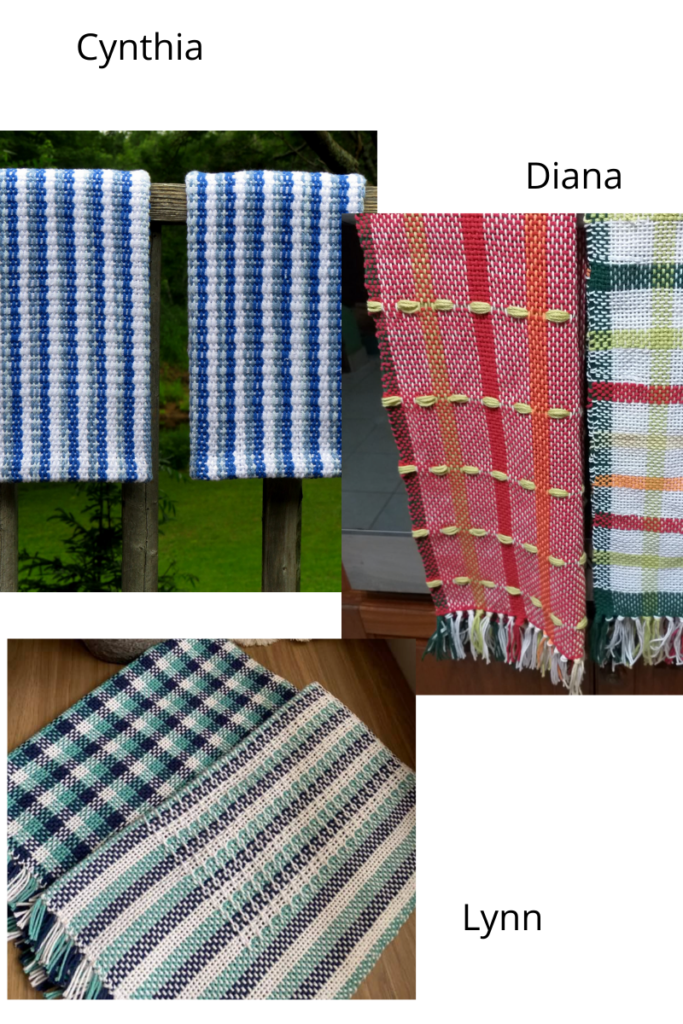
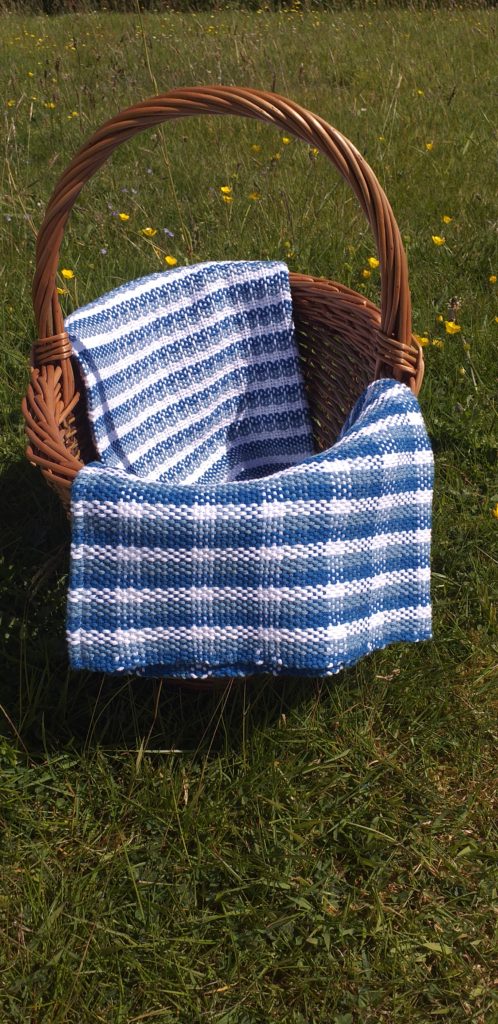
I hope this gallery of gorgeousness inspires you to weave a set of Wash Your Hands Towels too!
Make sure you visit this post for the printable PDF, materials list and video class links.
This free class is also available at my Online Weaving School.
Until next time…
Happy Weaving!