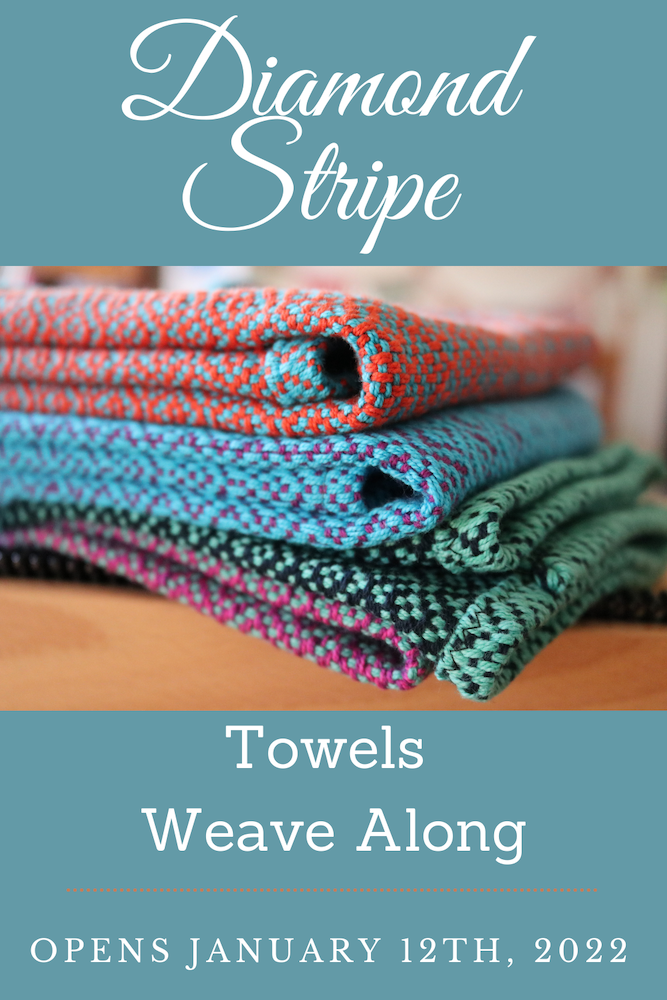
The Diamond Stripe Towel Weave Along is a very popular project that usually runs in January.
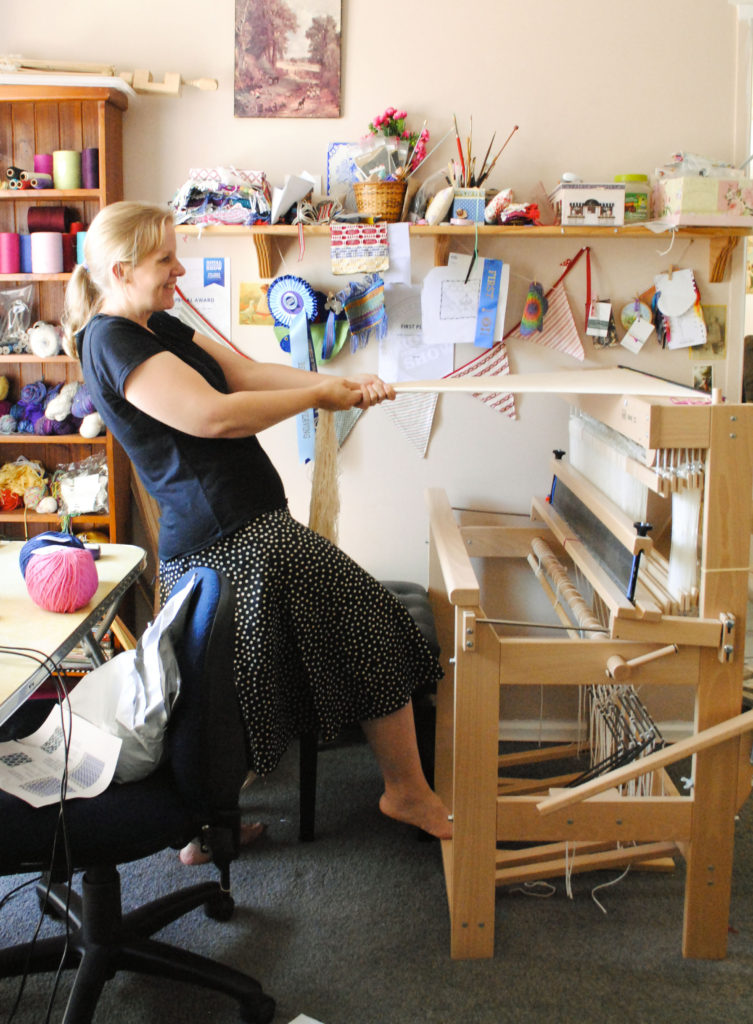
My Diamond Stripe Towel pattern has been such a popular seller that many buyers requested a video series as well. I love running weave alongs as they are so much fun and foster a huge amount of enthusiasm.
January is usually the perfect time, after the hustle and bustle of Christmas and New Year’s have died down and weaving folks are looking to settle in with a new project.
This year enrolments will open on January 15th (Australian calendar).
This post contains affiliate links. Please see my disclosure policy for further information.
Let’s go through some questions I know may be springing to mind for you.
So, how will the weave along work?
All participants will need to purchase the pattern to join in. The pattern is available here as a digital download and can be purchased anytime in the lead up to the weave along.
For those who are members of my Online Weaving School, participation in the weave along is free (but the pattern needs to be purchased separately.)
For non members, there will be a small purchase fee of $5USD to join in to the weave along, in addition to the purchase of the pattern.
Can you tell me about the pattern?
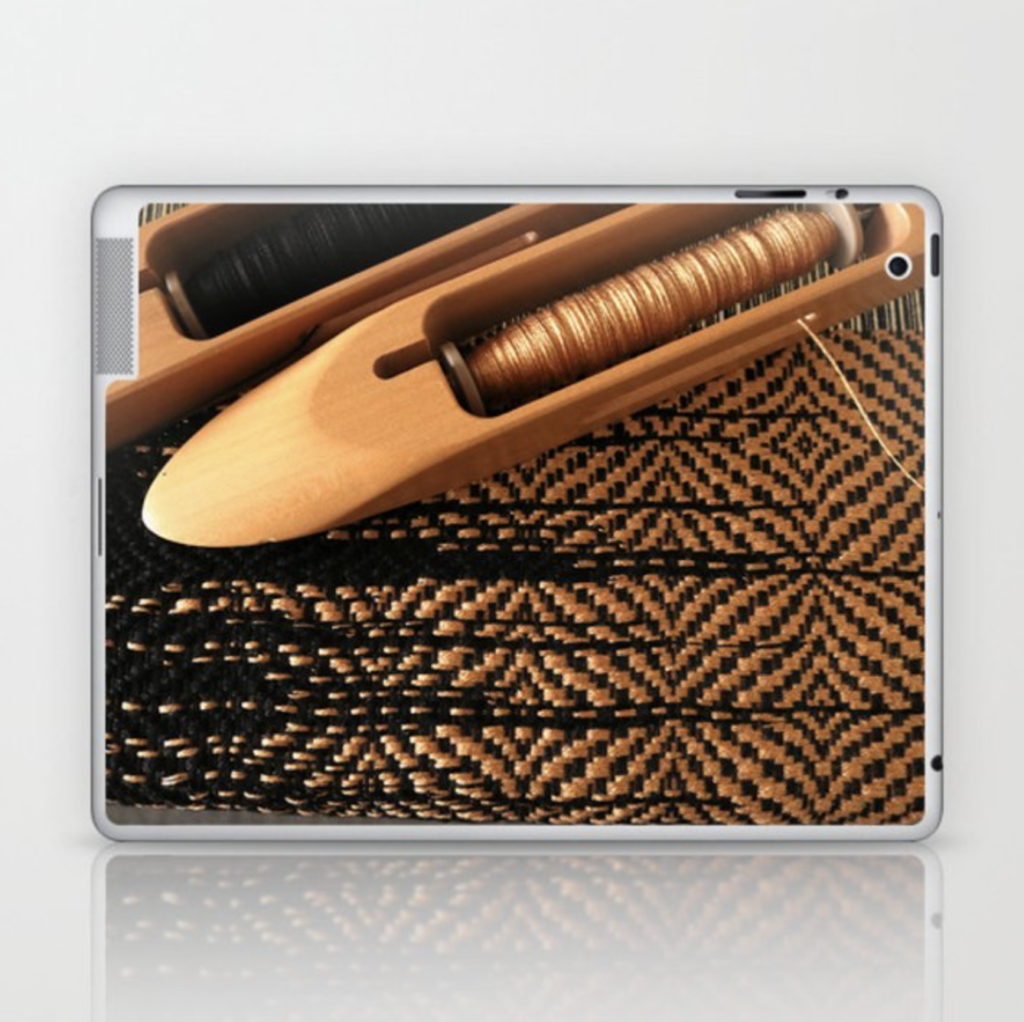
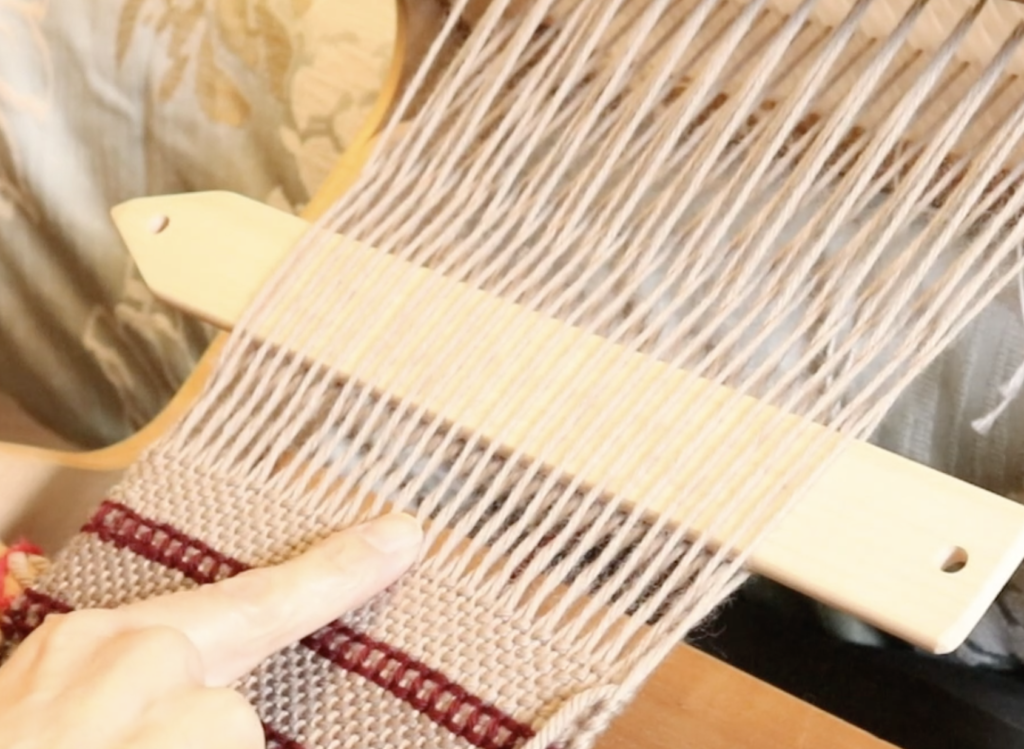
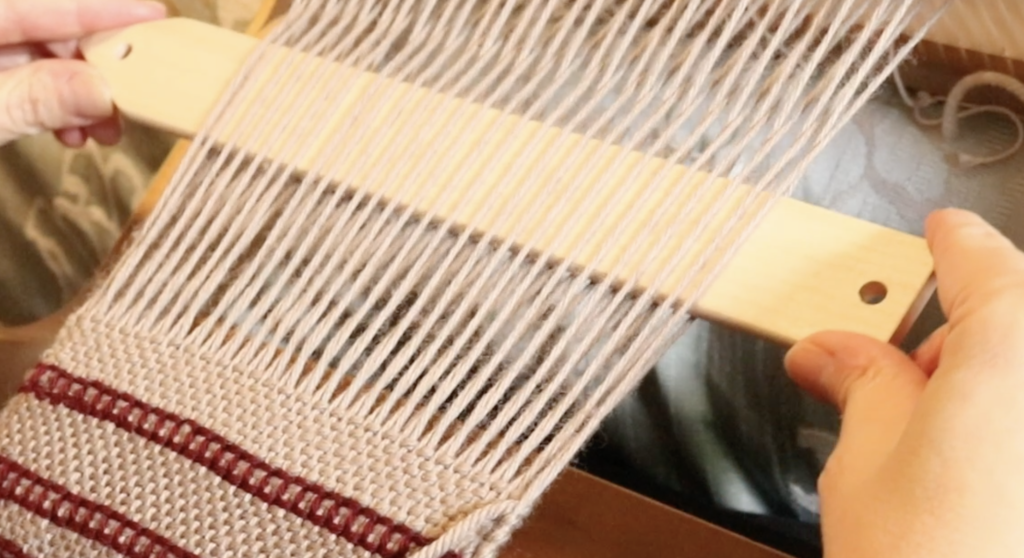
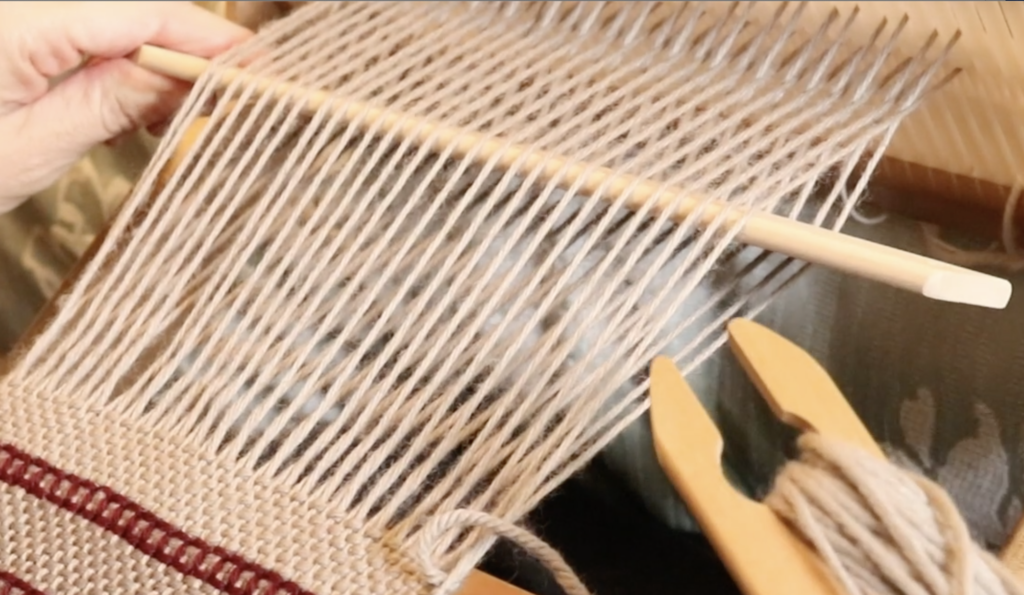
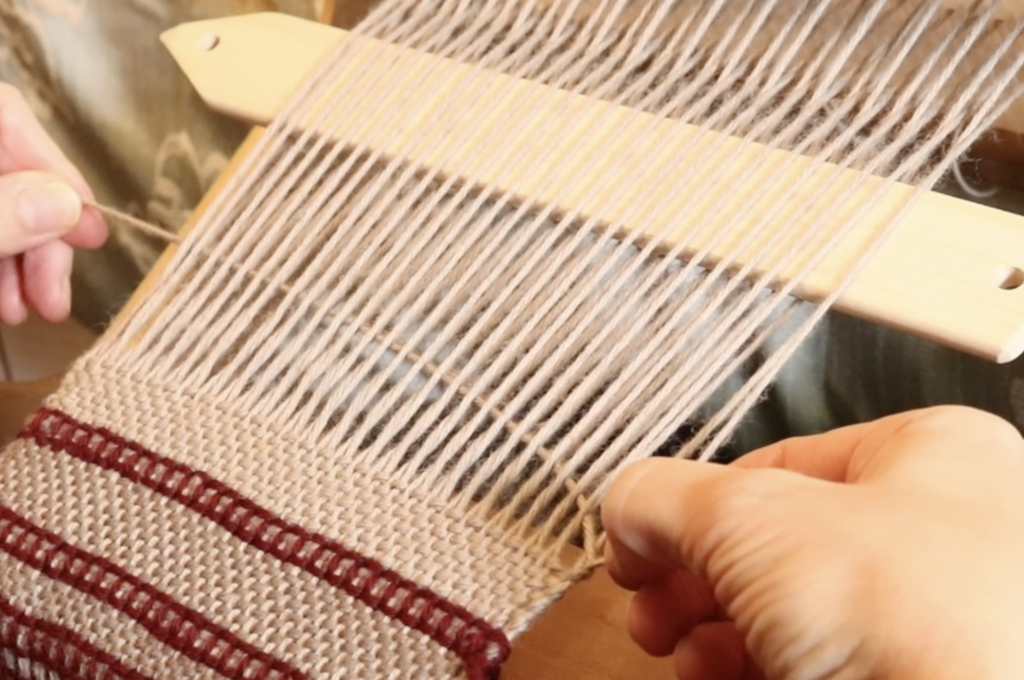
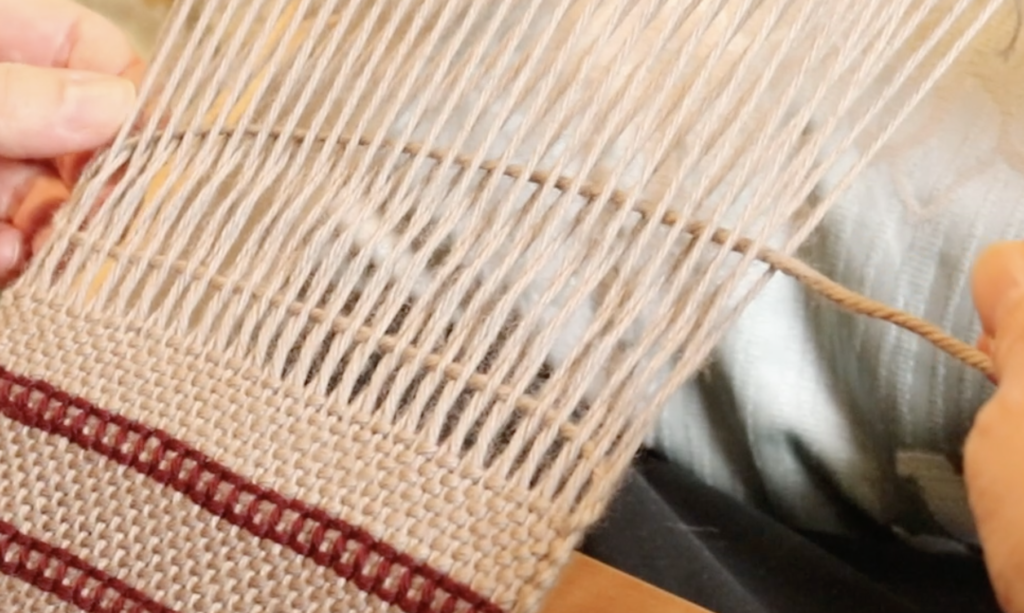
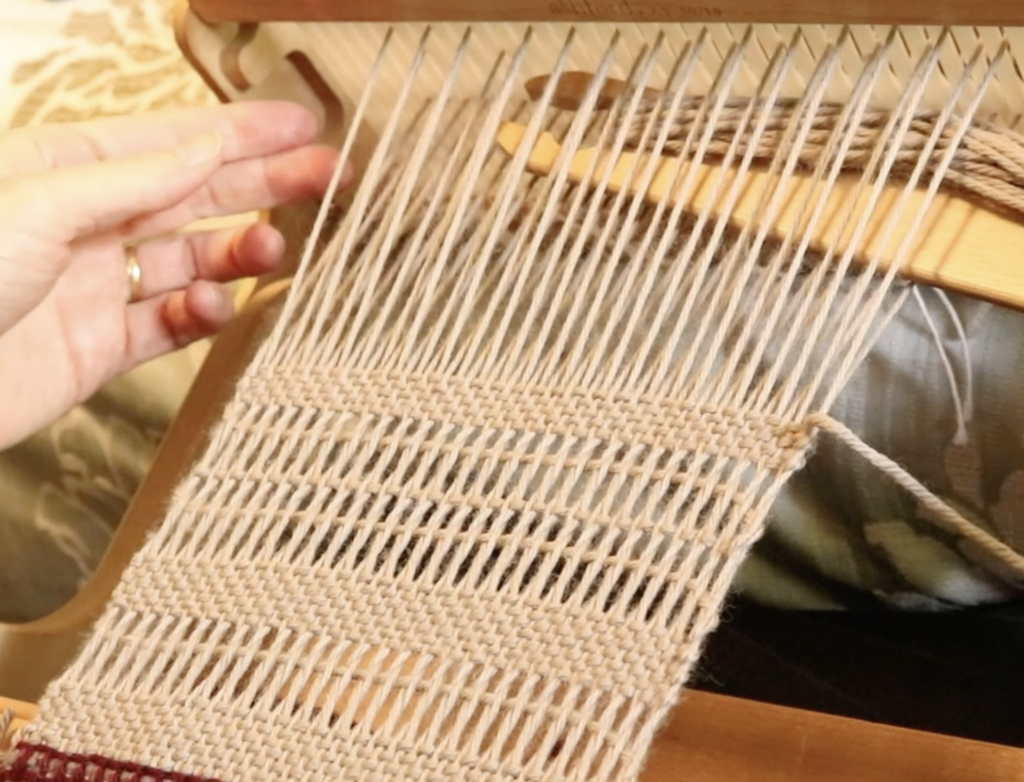
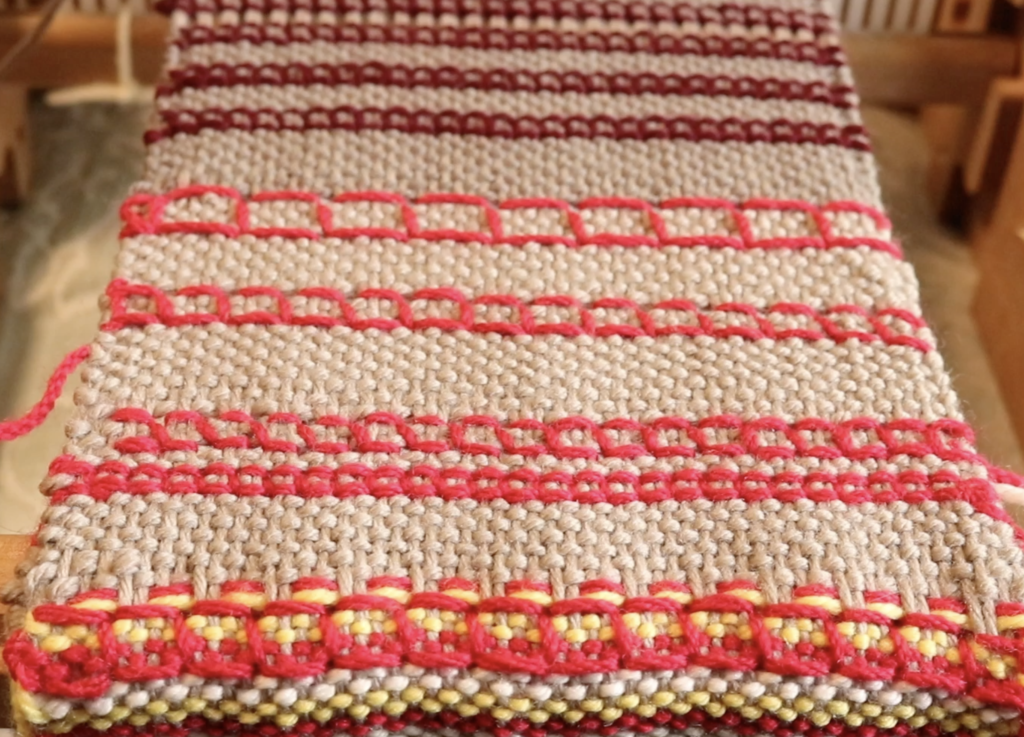
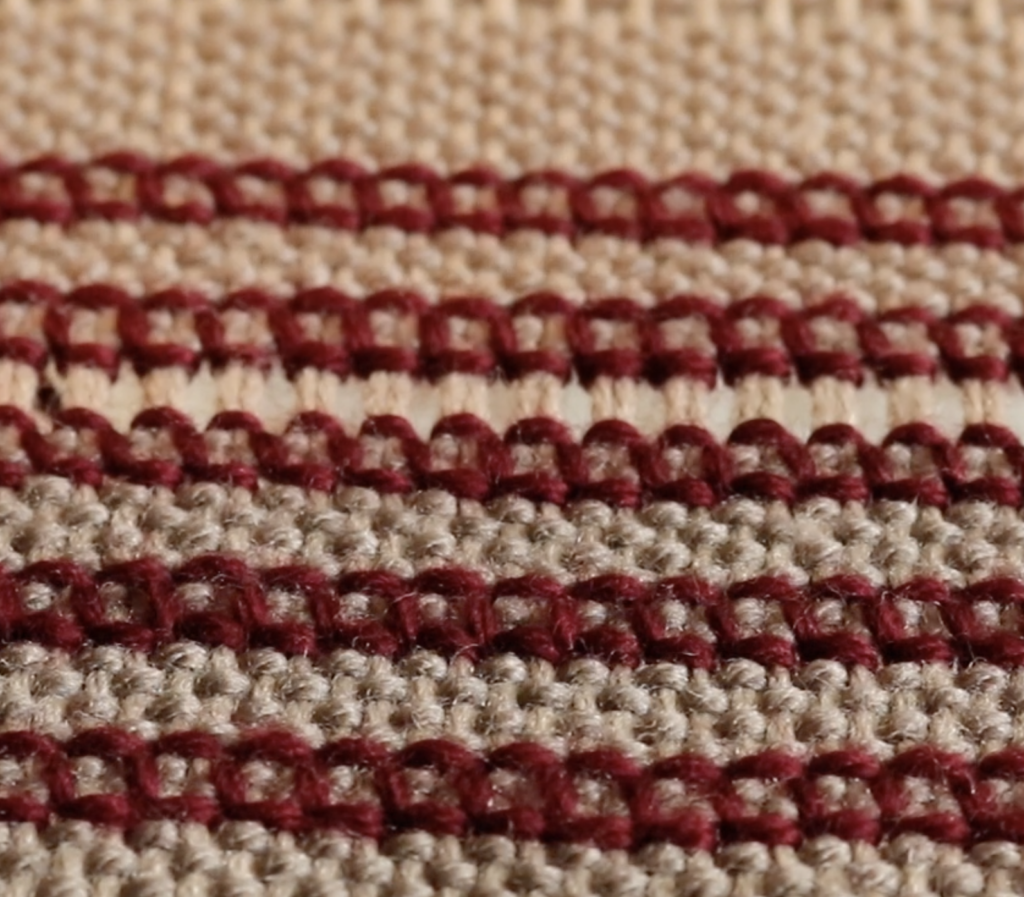
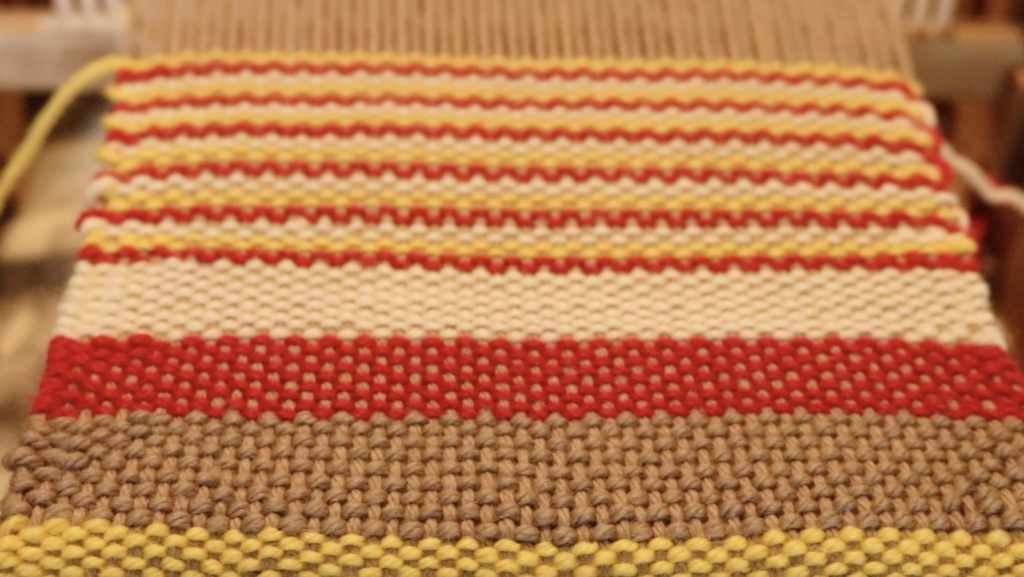
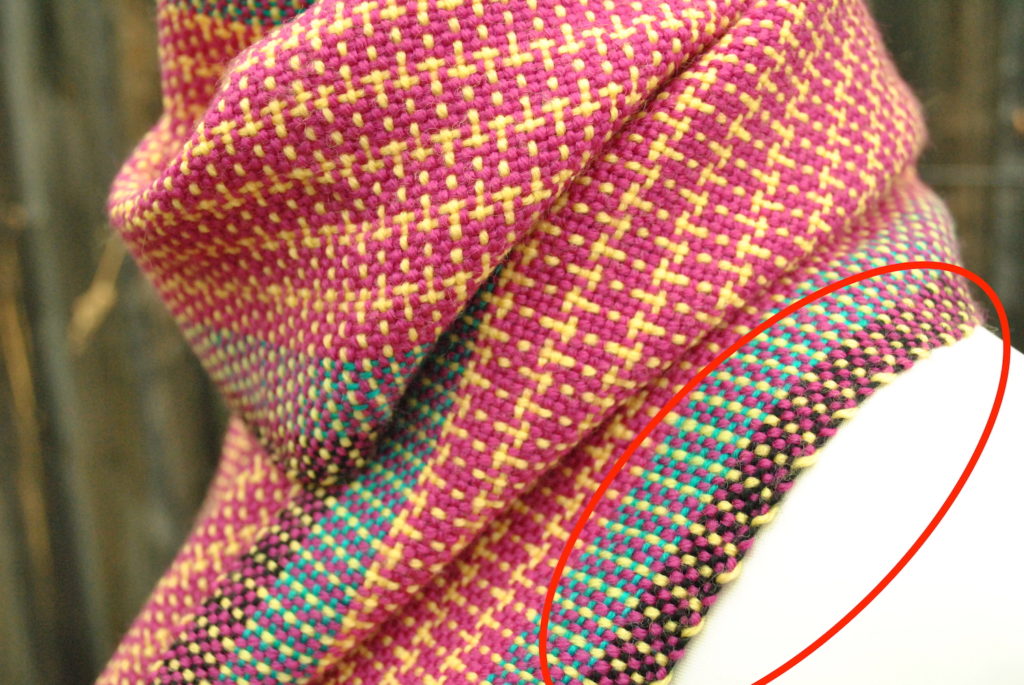
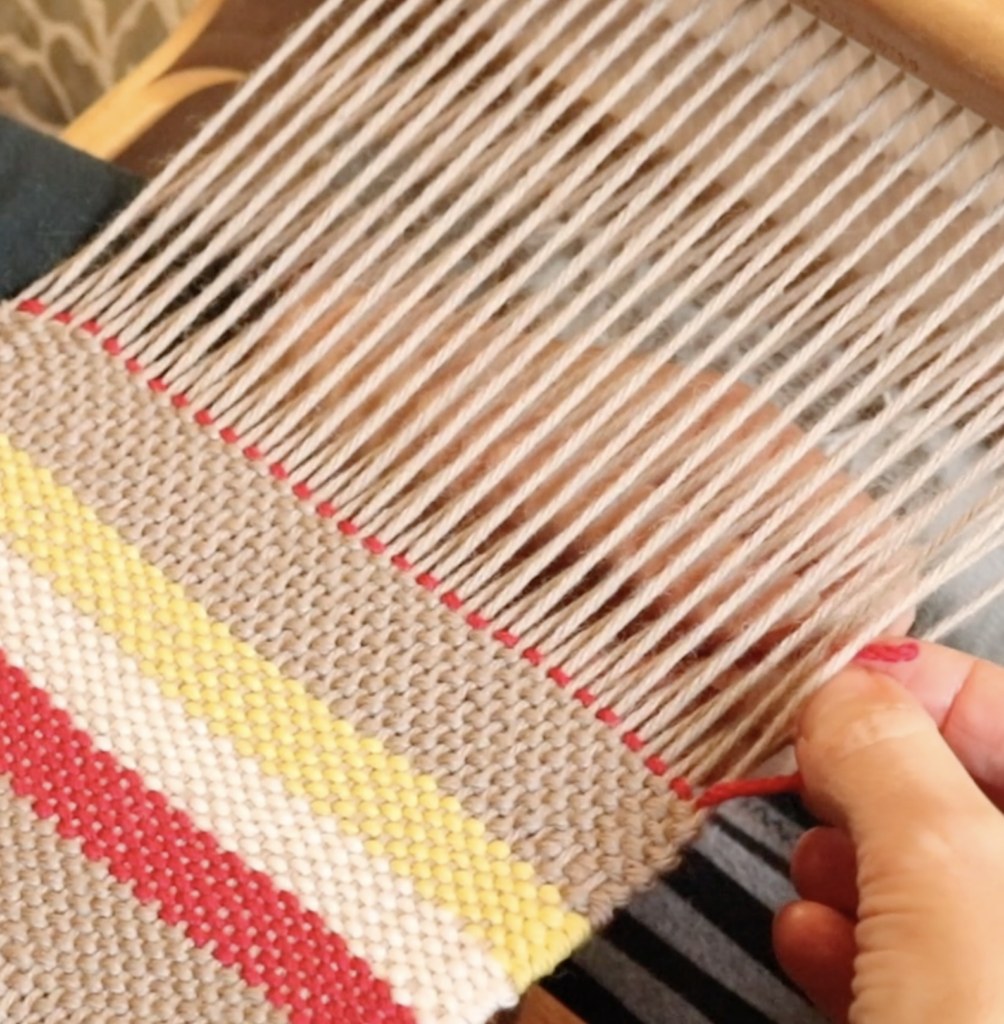
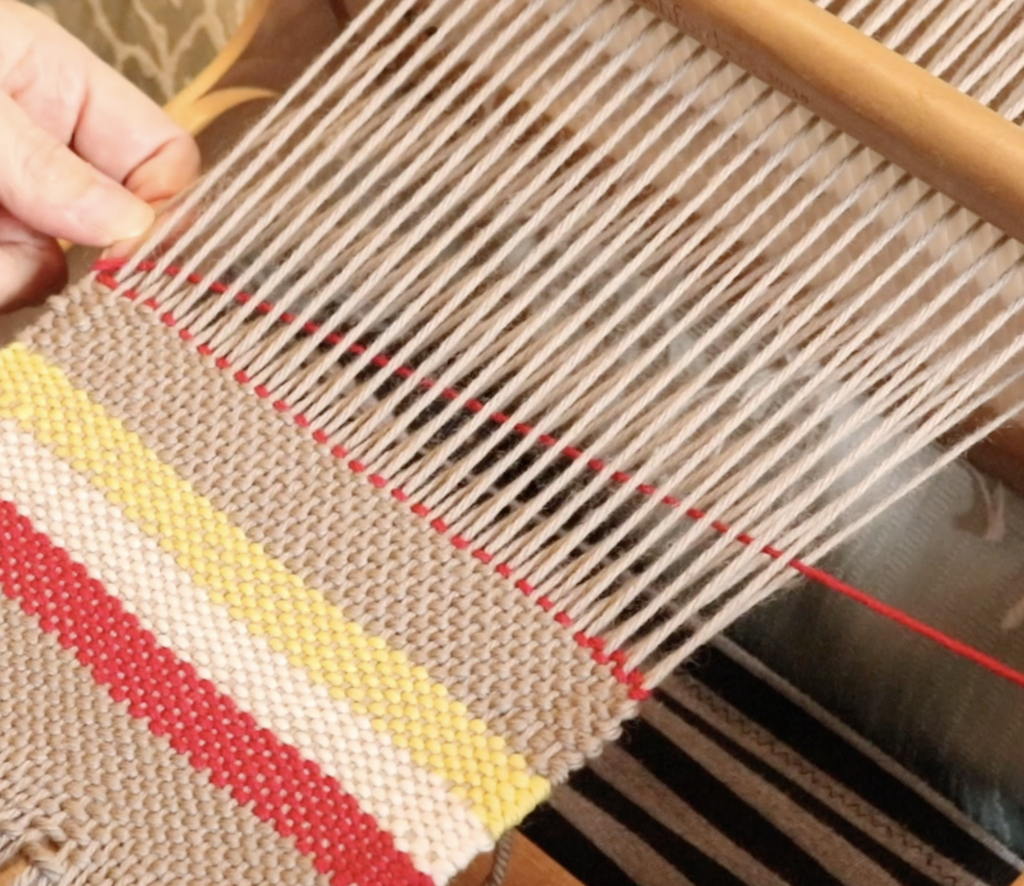
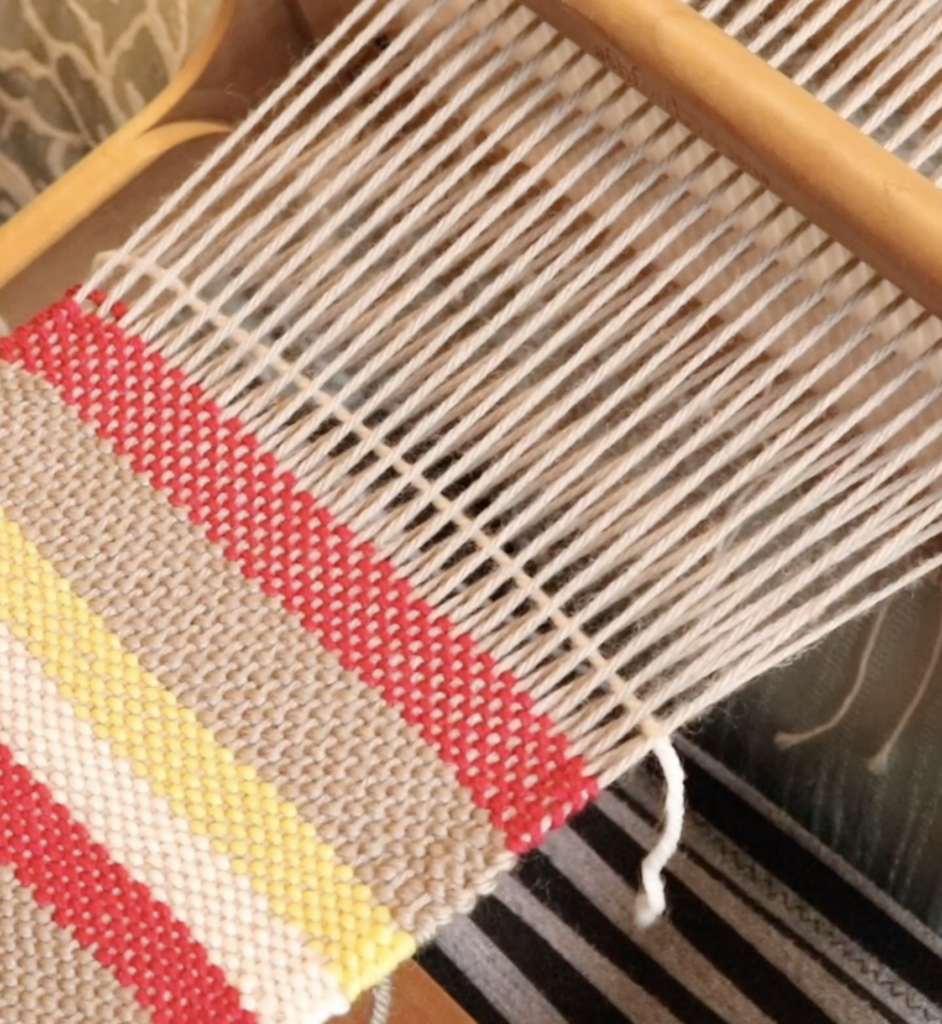
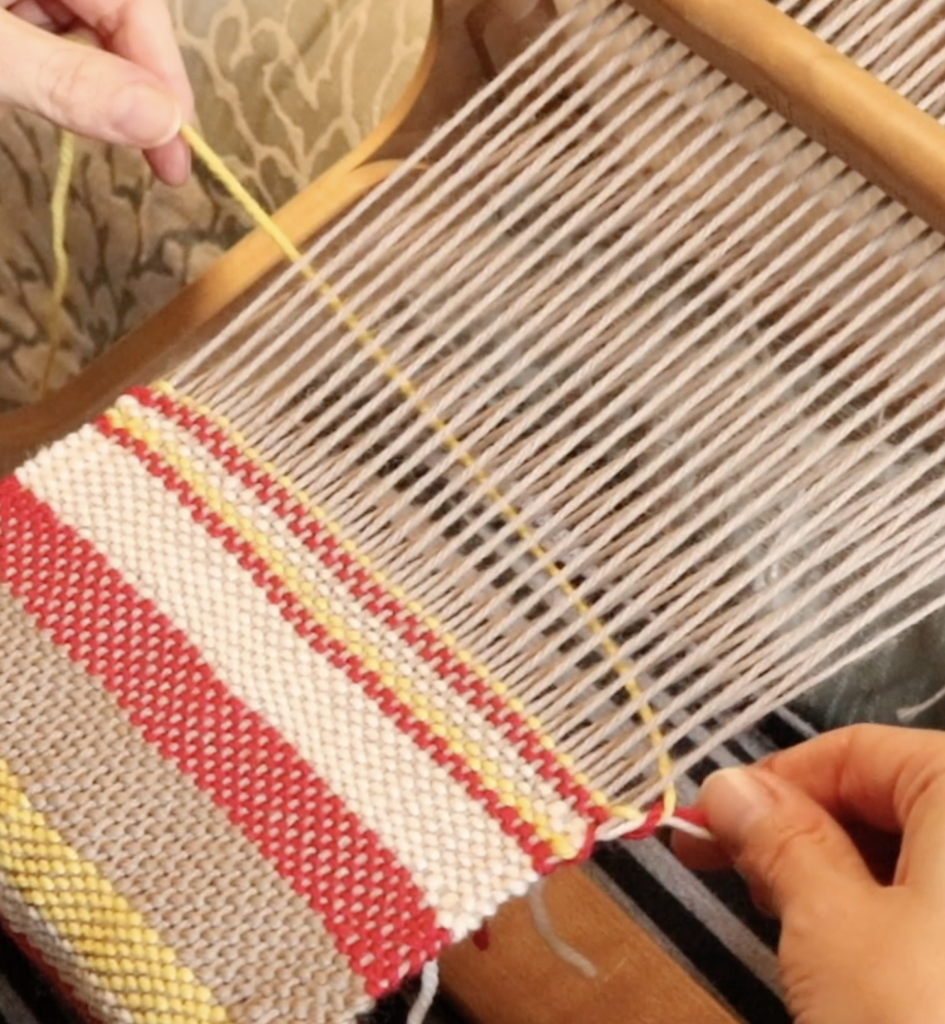
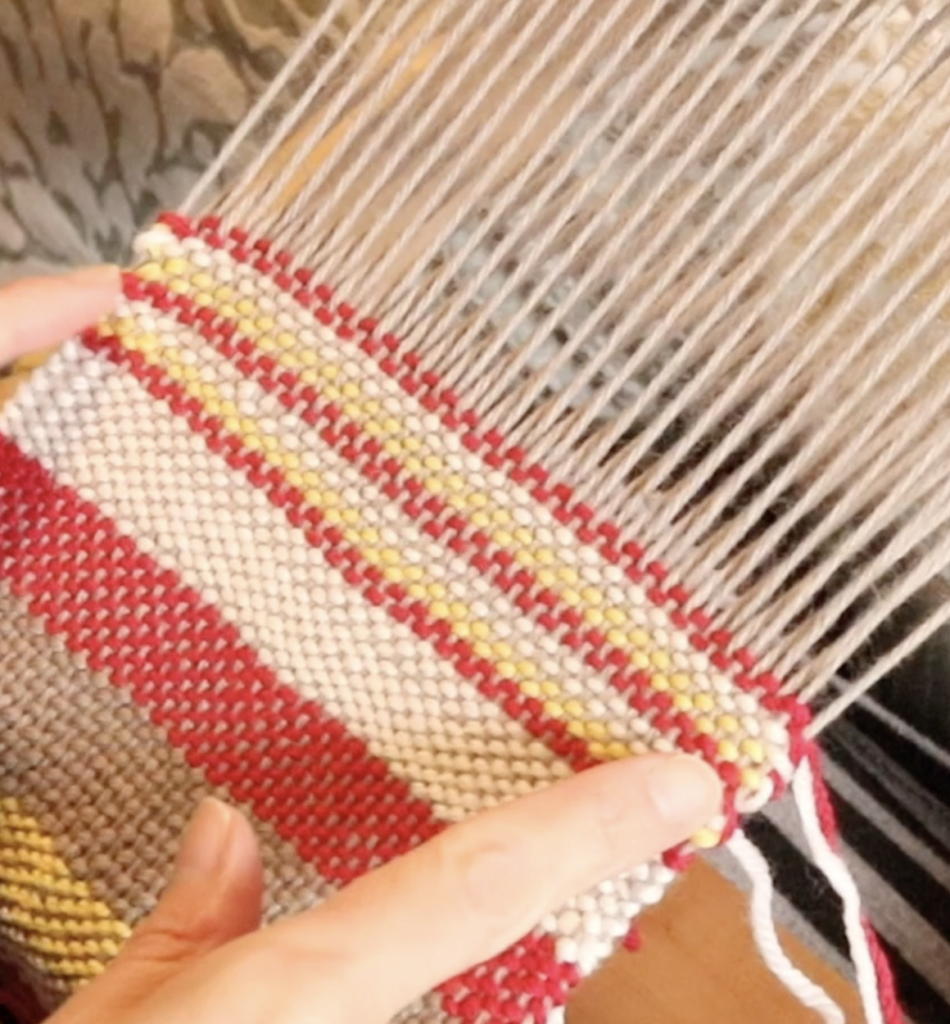
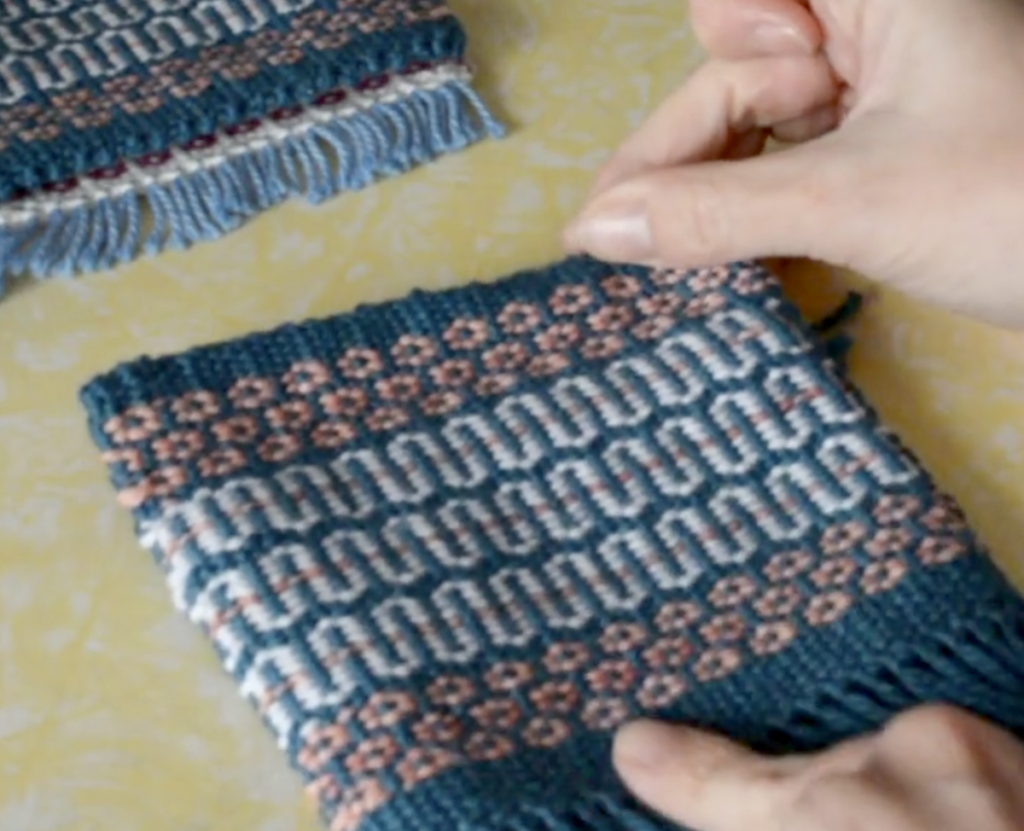
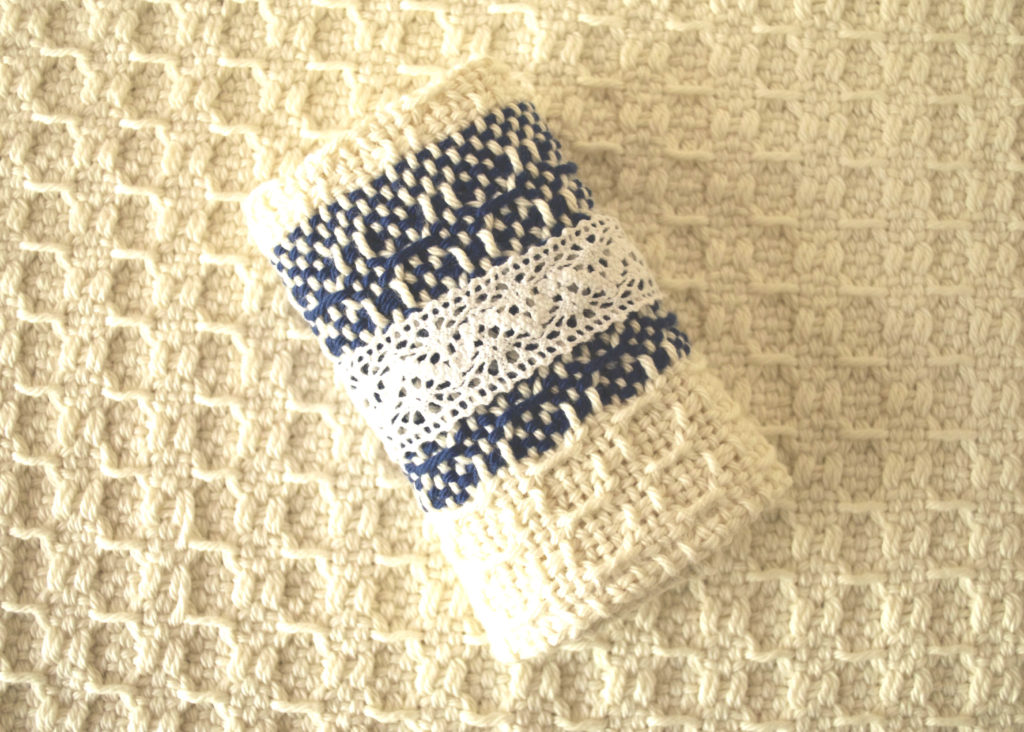
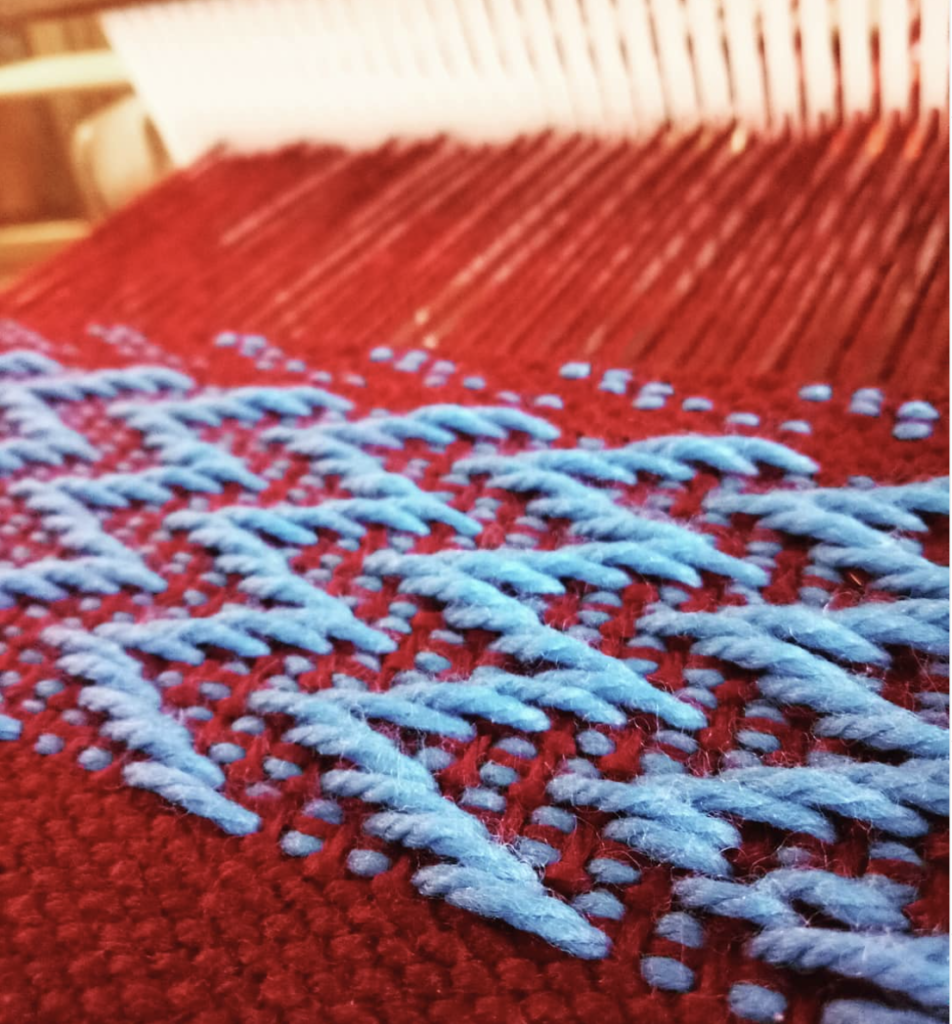
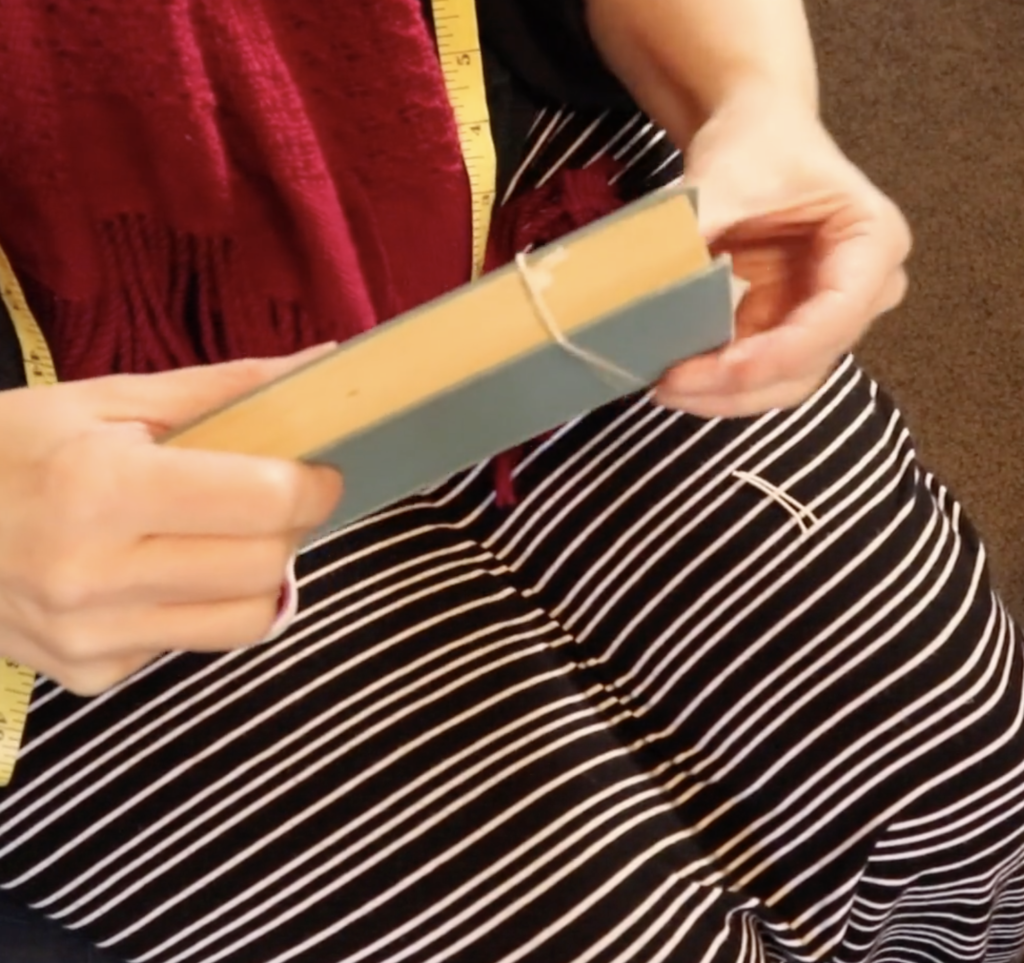
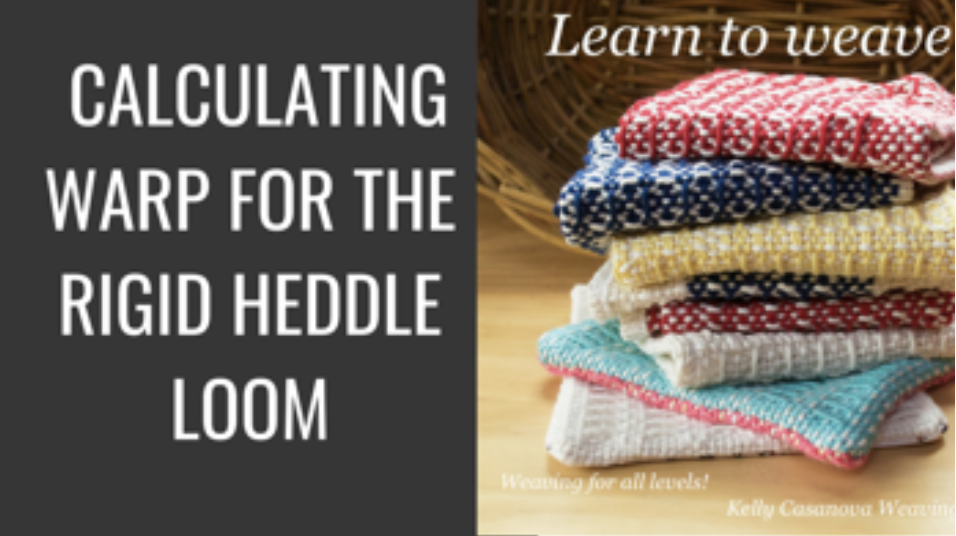
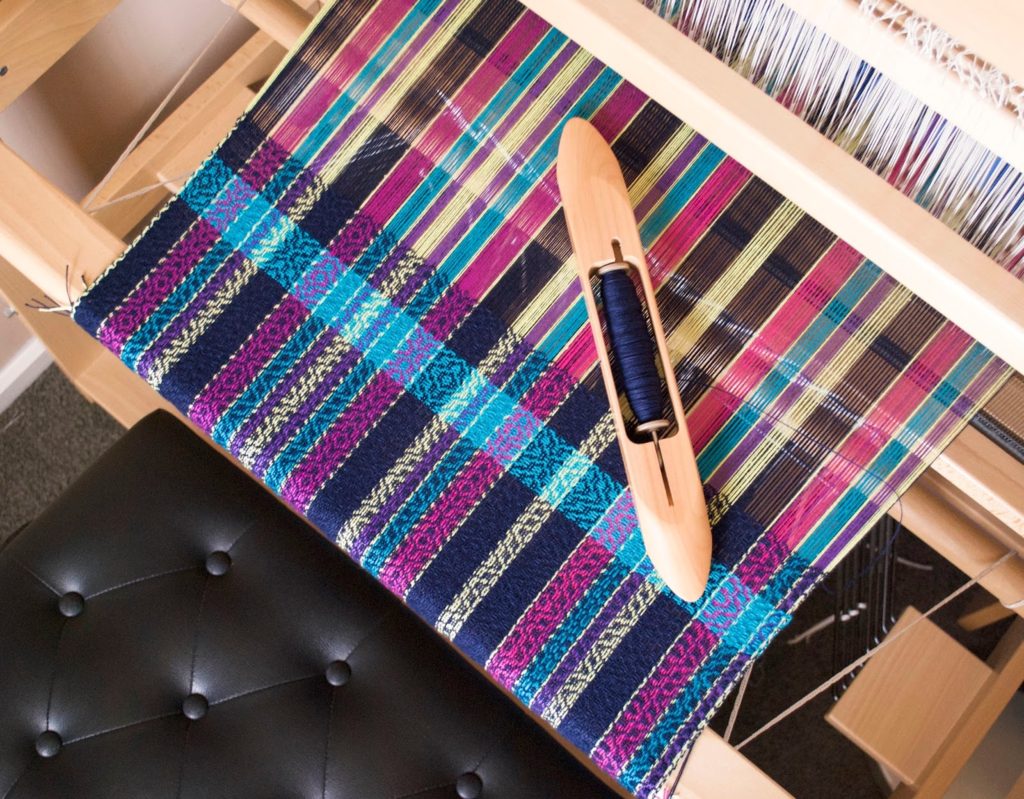
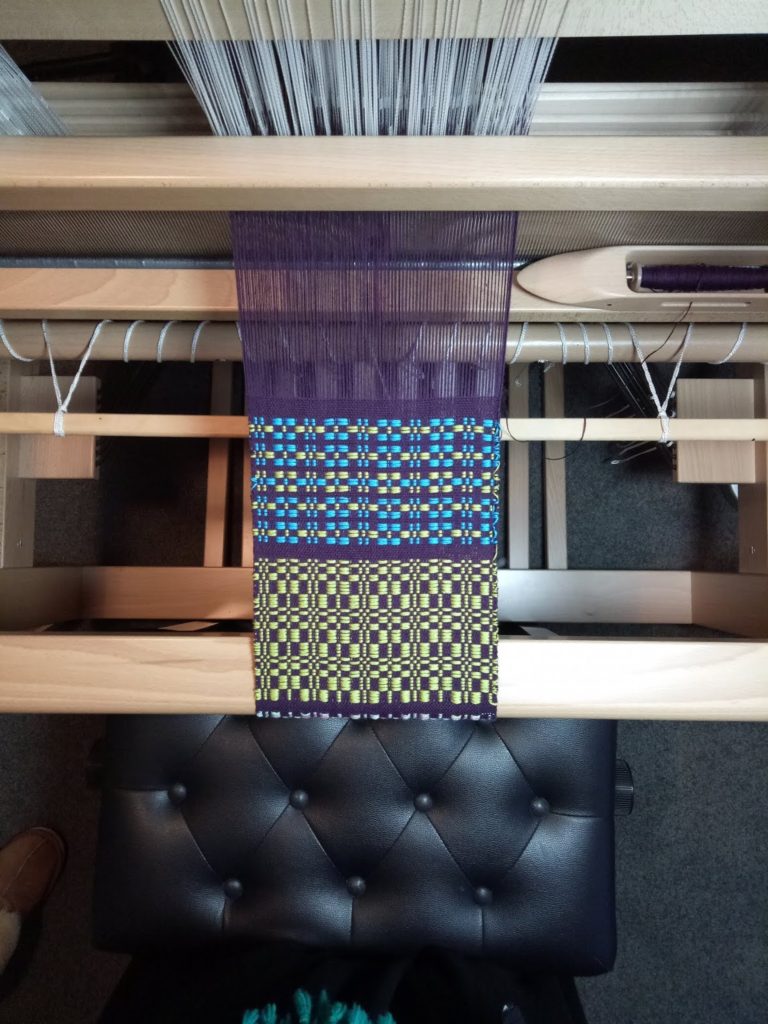
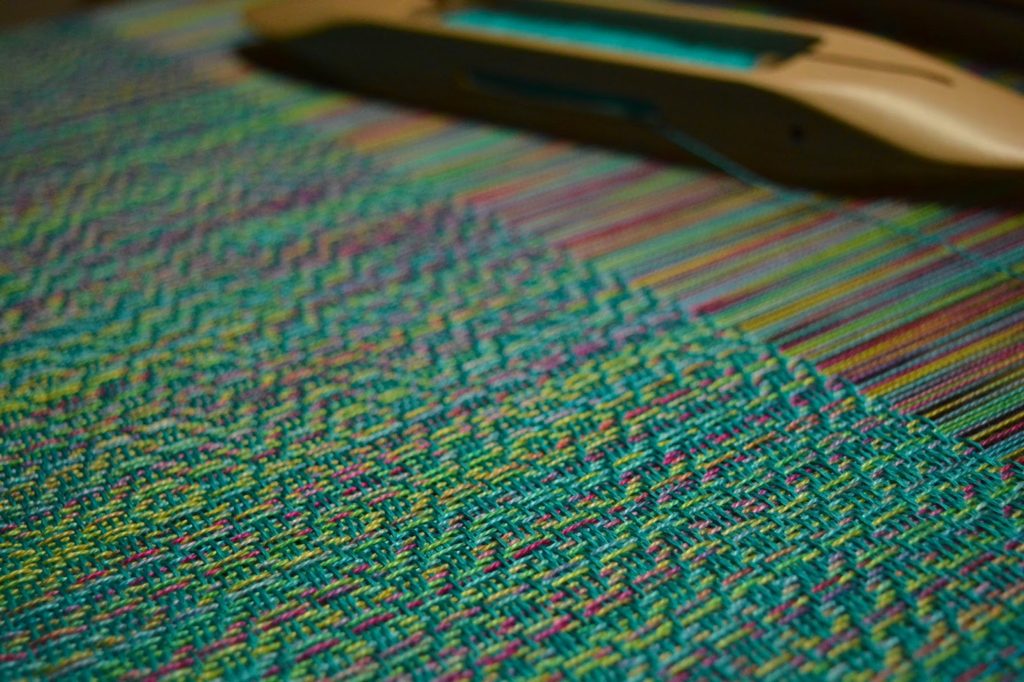
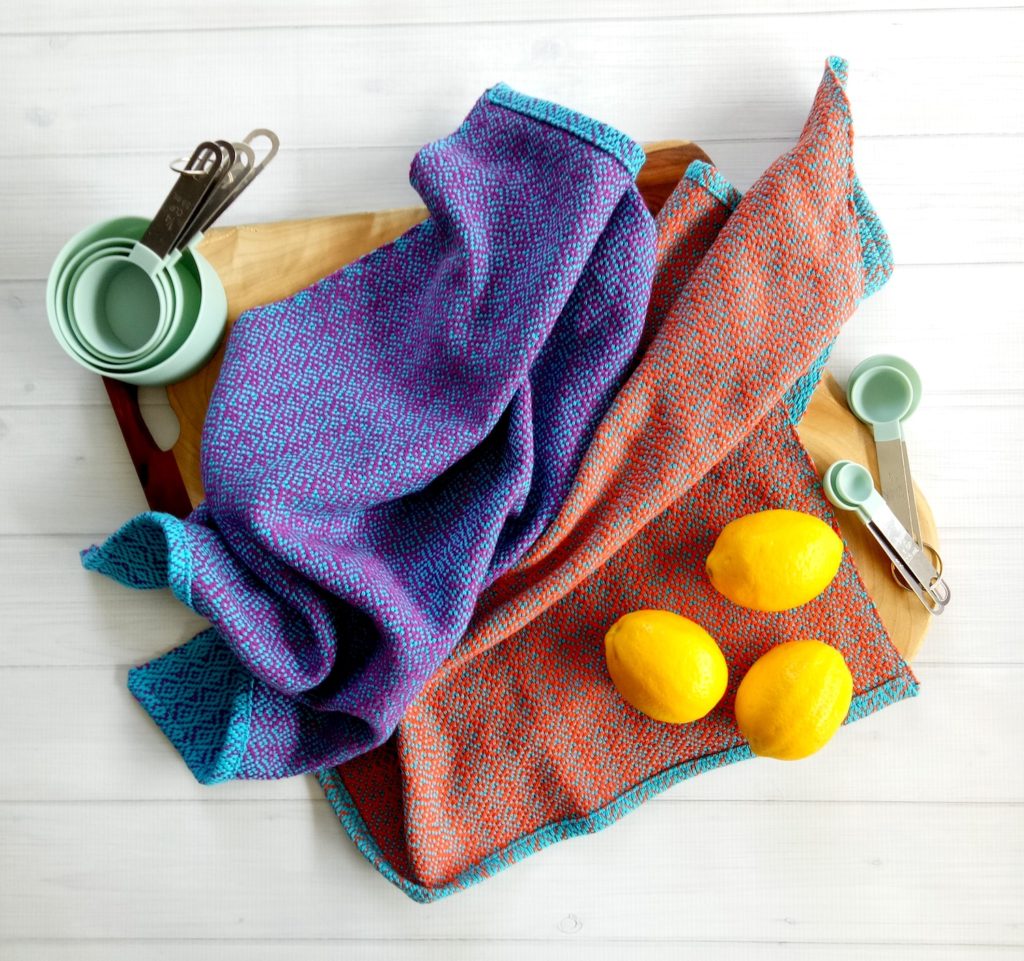
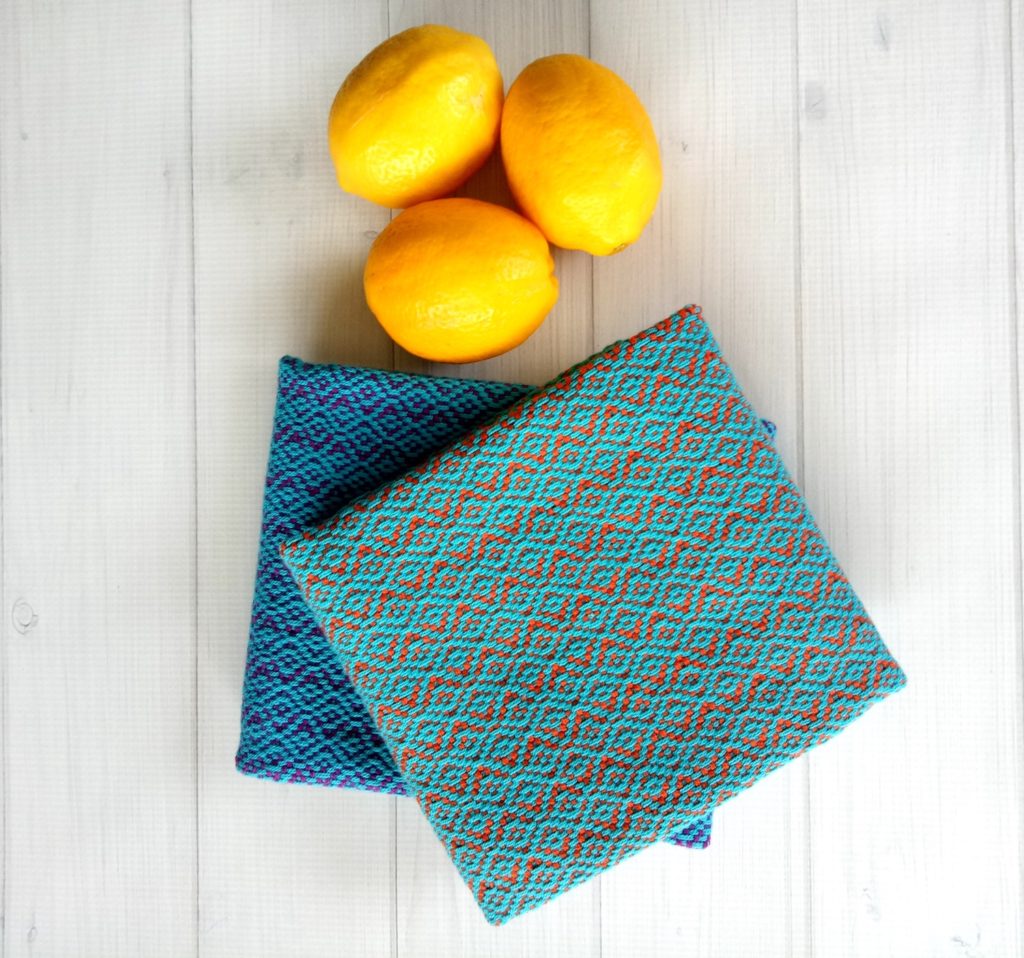
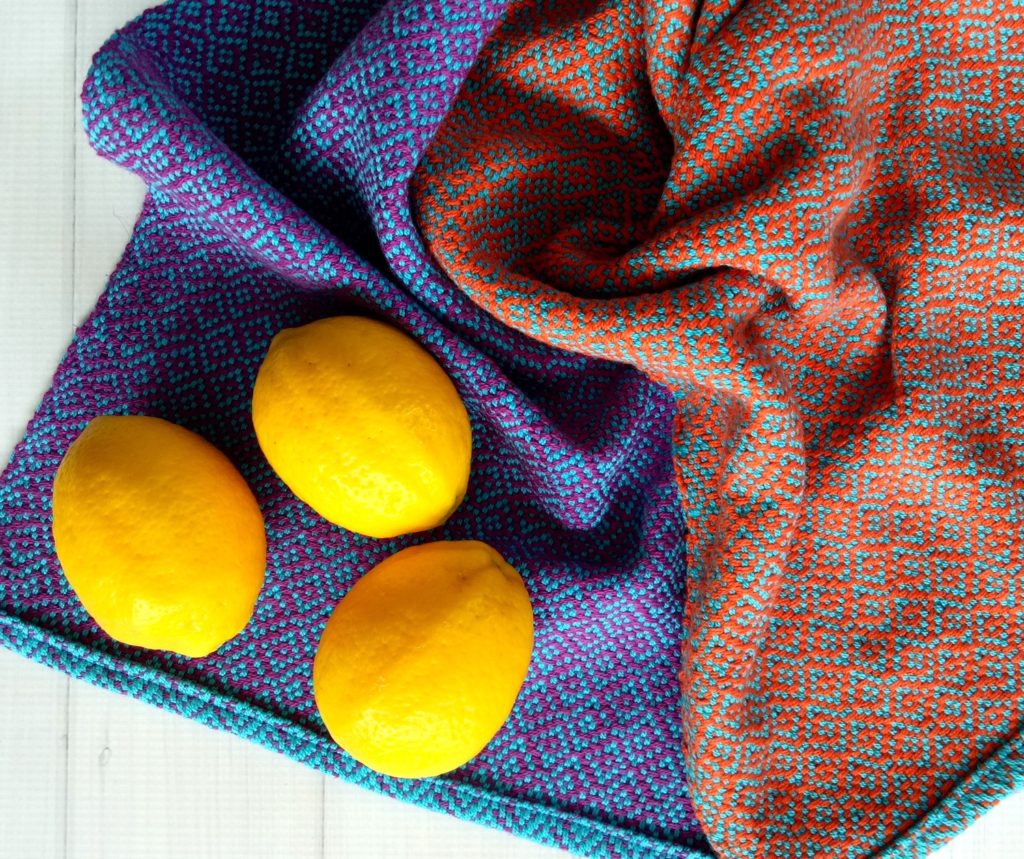
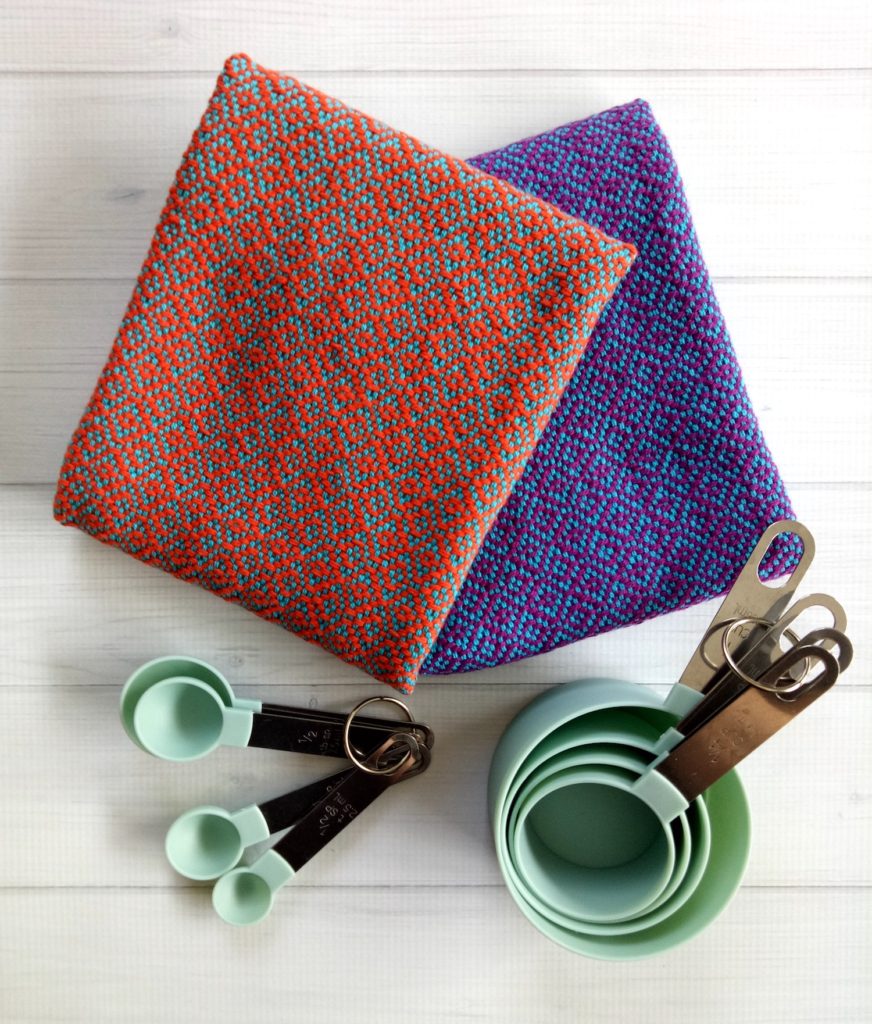
The pattern is for weaving two kitchen (tea) towels on one warp. We use two heddles to weave the pattern, and both towels are the same apart from the weft colour. The design is reversible and looks wonderful on both sides.
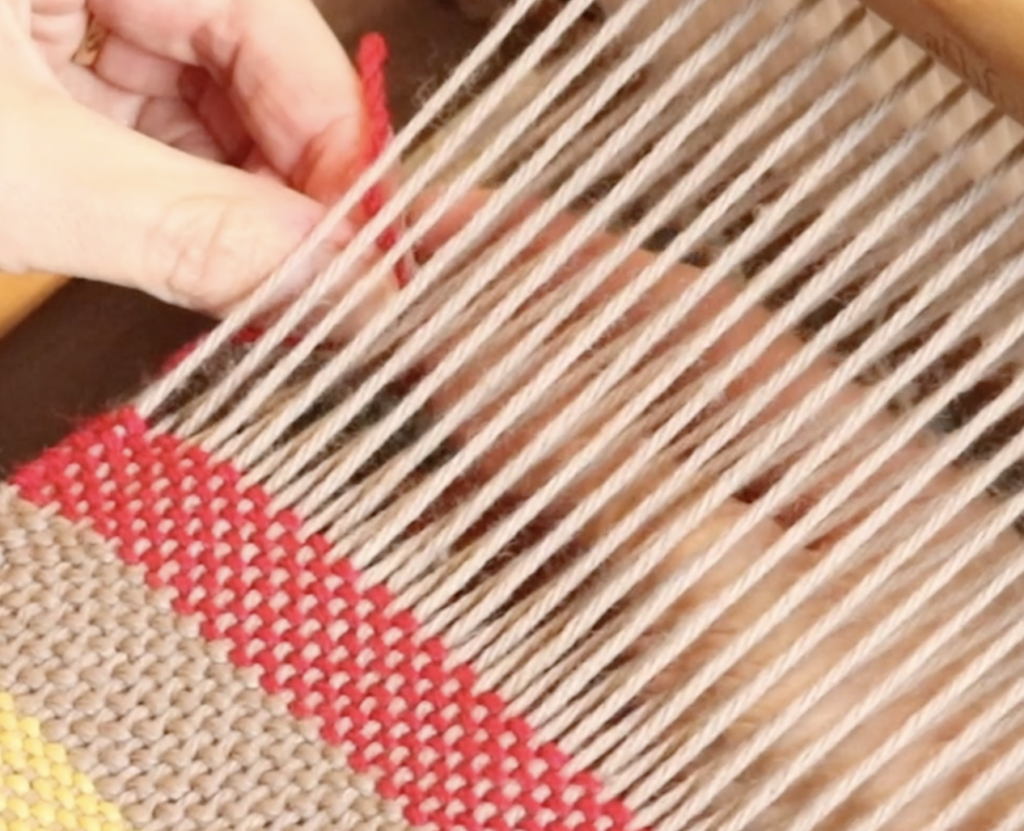
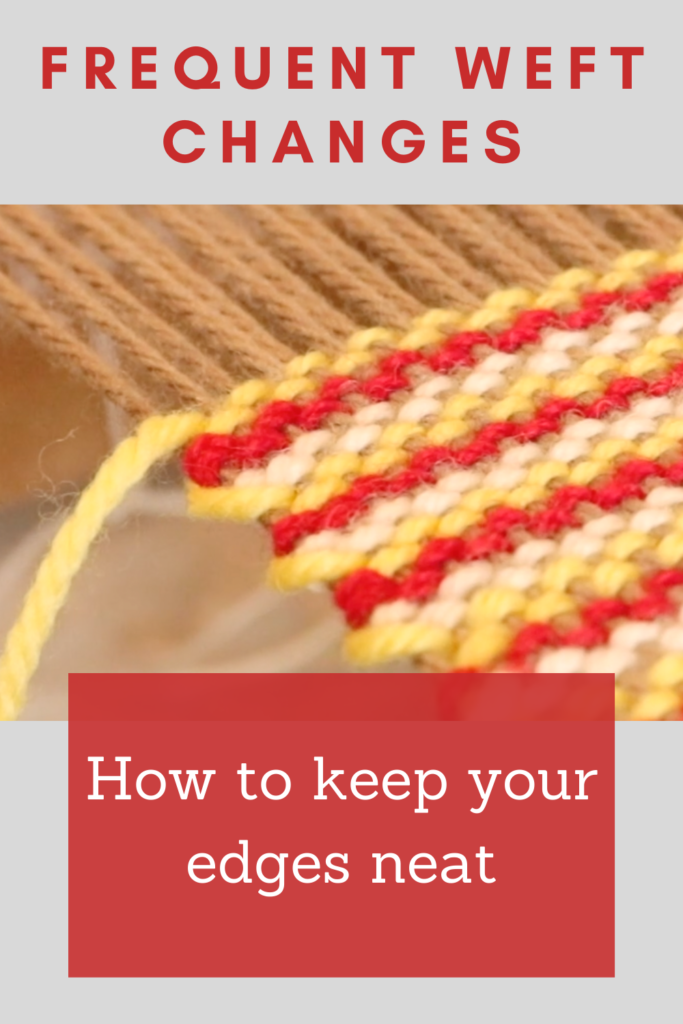
I find that using bright and strongly contrasting colours works really well and shows up the diamonds beautifully – but of course, as the weaver you can choose whatever colours you wish.
What level of weaver will this project be suitable for?
If you have never woven with two heddles before, I highly recommend that you first go through my Weaving with Two Heddles class. This will give you the knowledge, practice and confidence to leap right into the weave along.
Some weavers will be able to follow the weave along just fine with the videos and the pattern – others may find the introduction of two heddles in a project a bit overwhelming. In the Two Heddles class you weave a sampler and explore all the different things you can achieve with two heddles before you ever commit to a project.
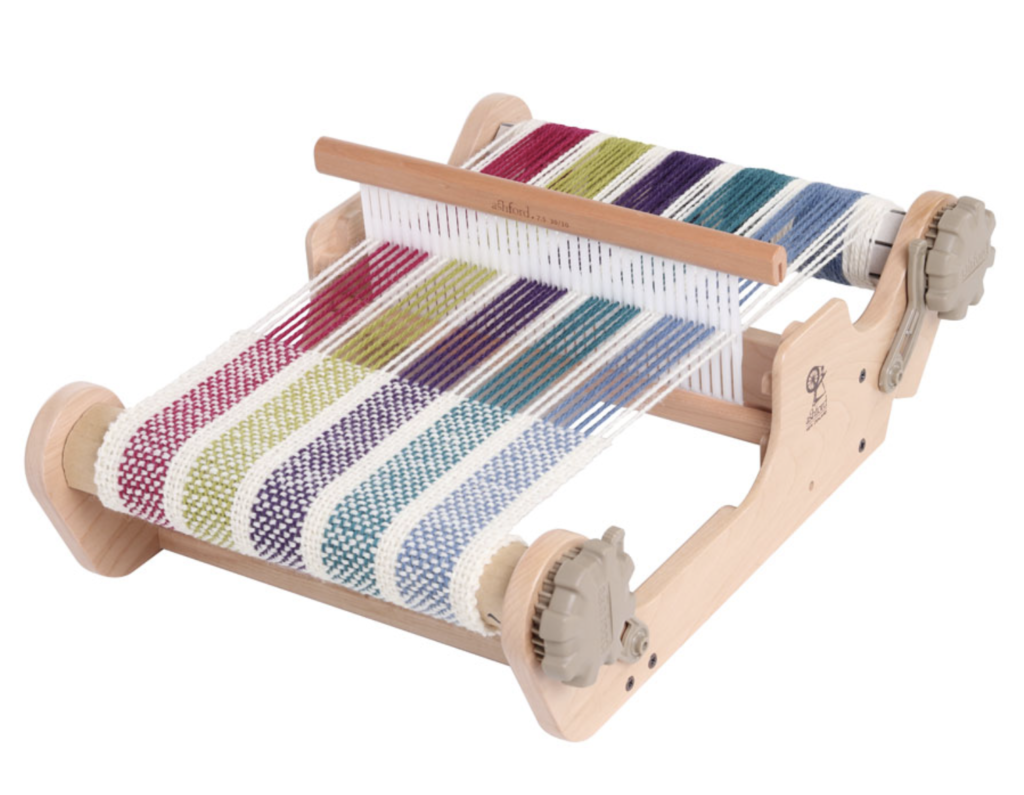
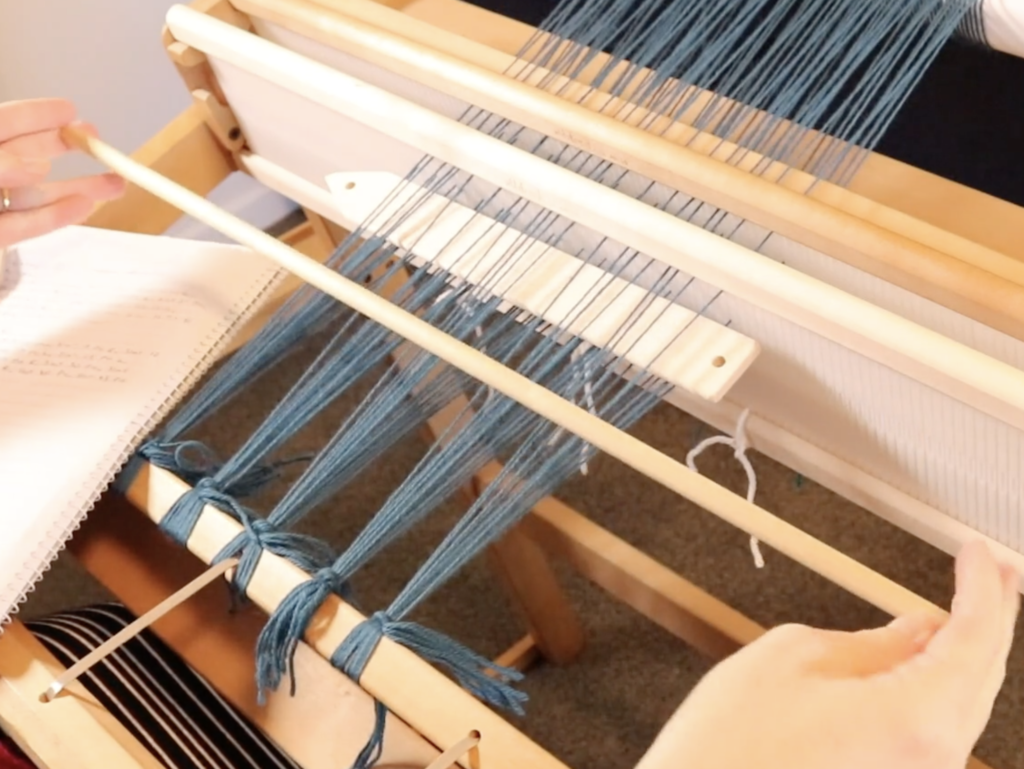
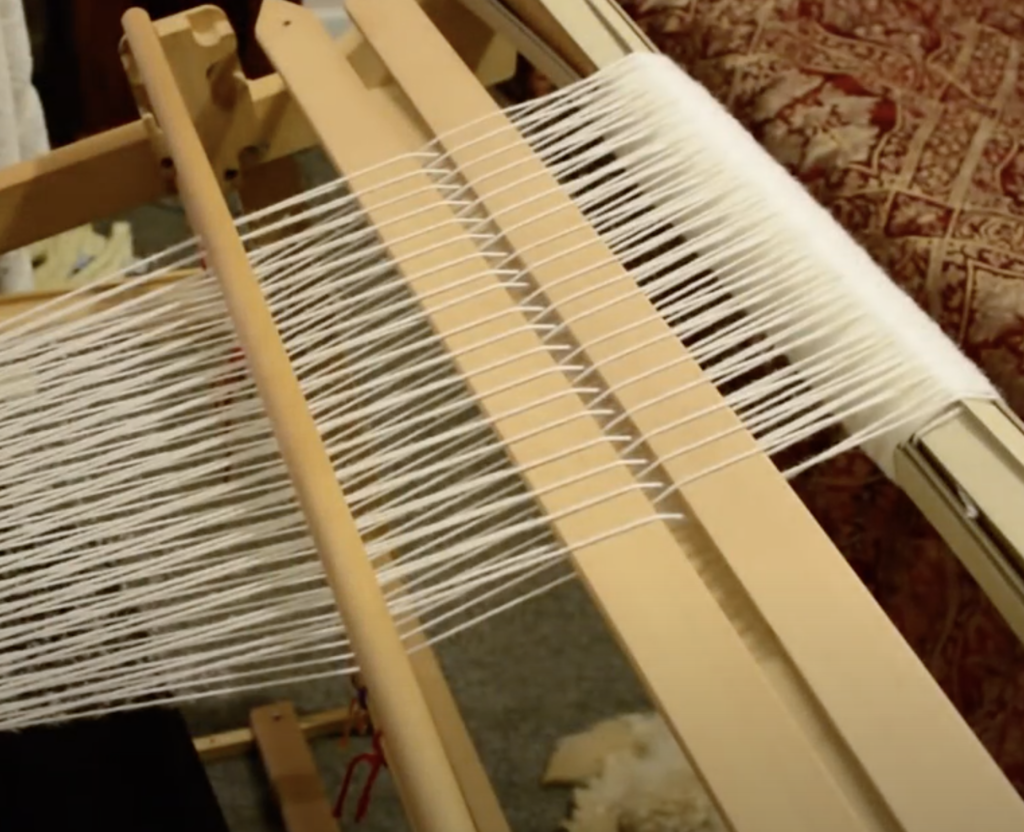
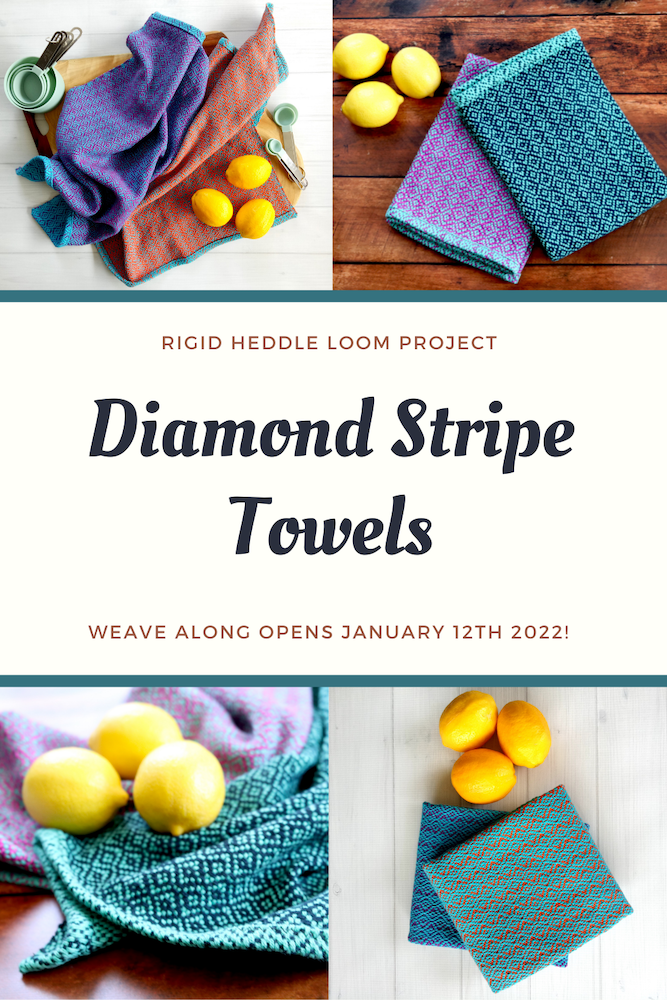
What kind of loom will I need to participate?
You will need a rigid heddle loom with a 20″ weaving width. Yes, you can make skinnier towels on a smaller loom if that is what you’re working with, but obviously they will be a little different to mine.
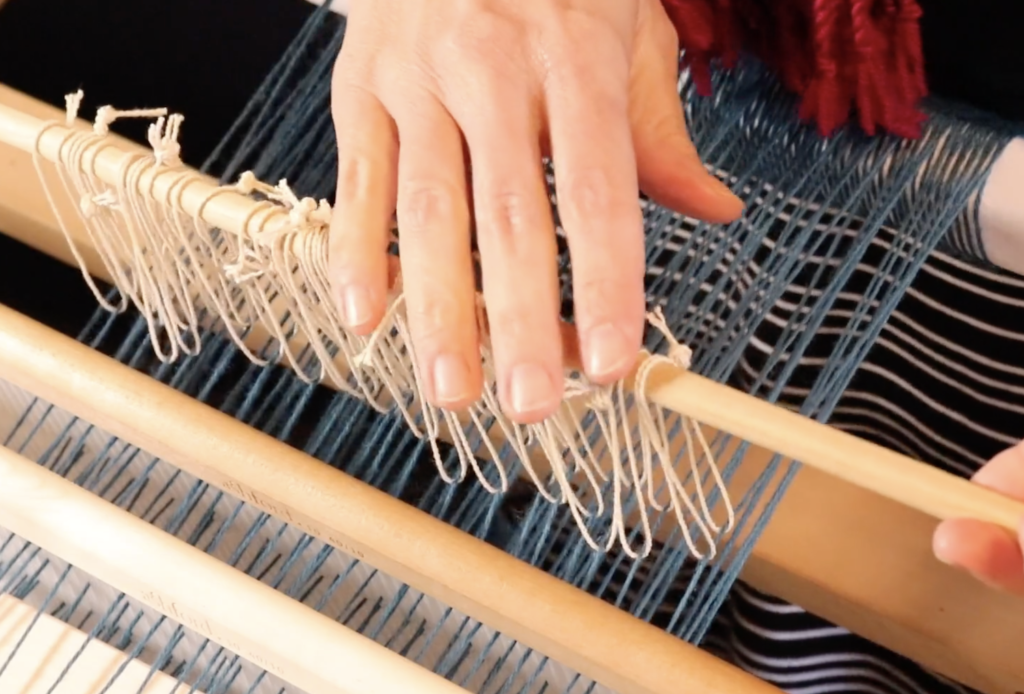
What other tools will be needed?
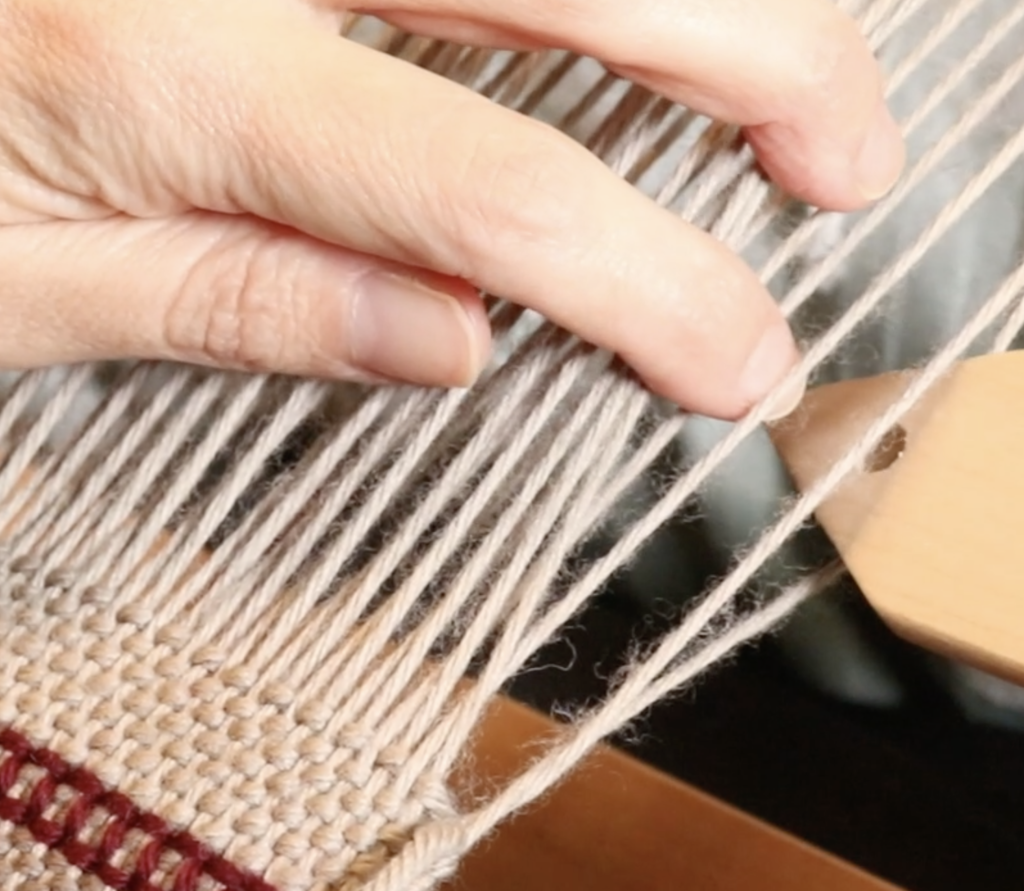
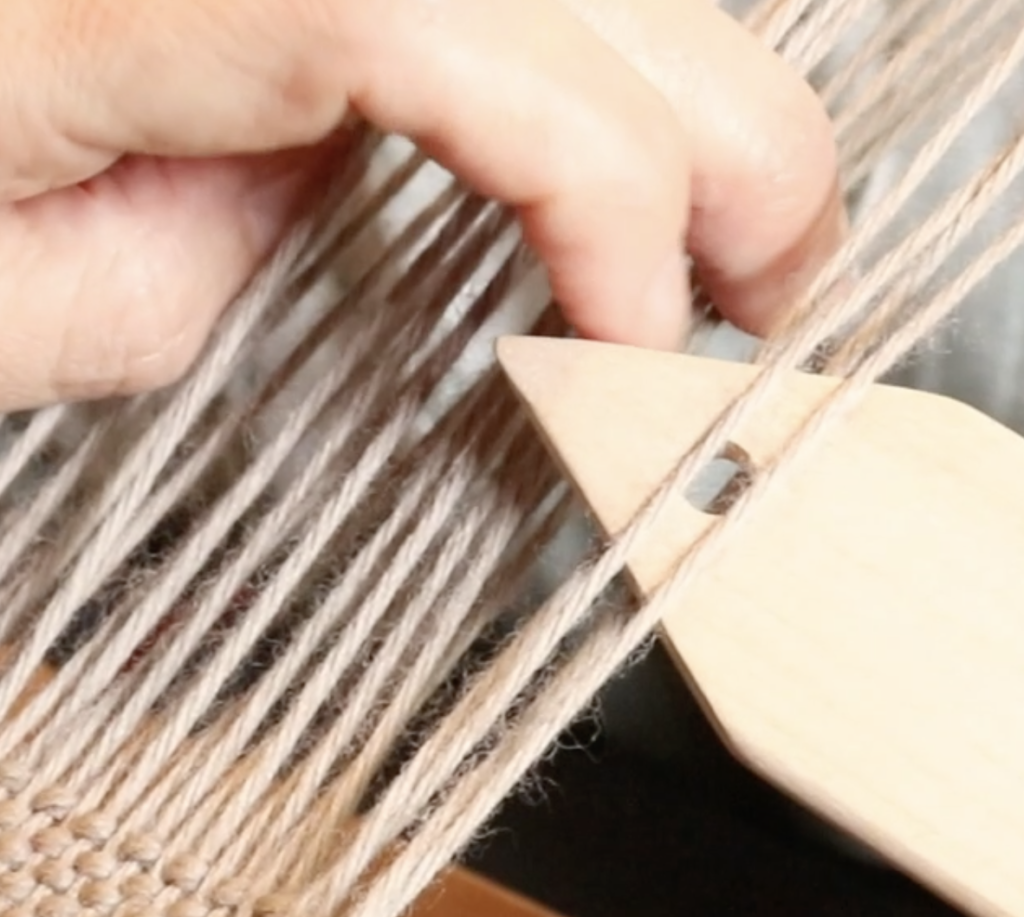
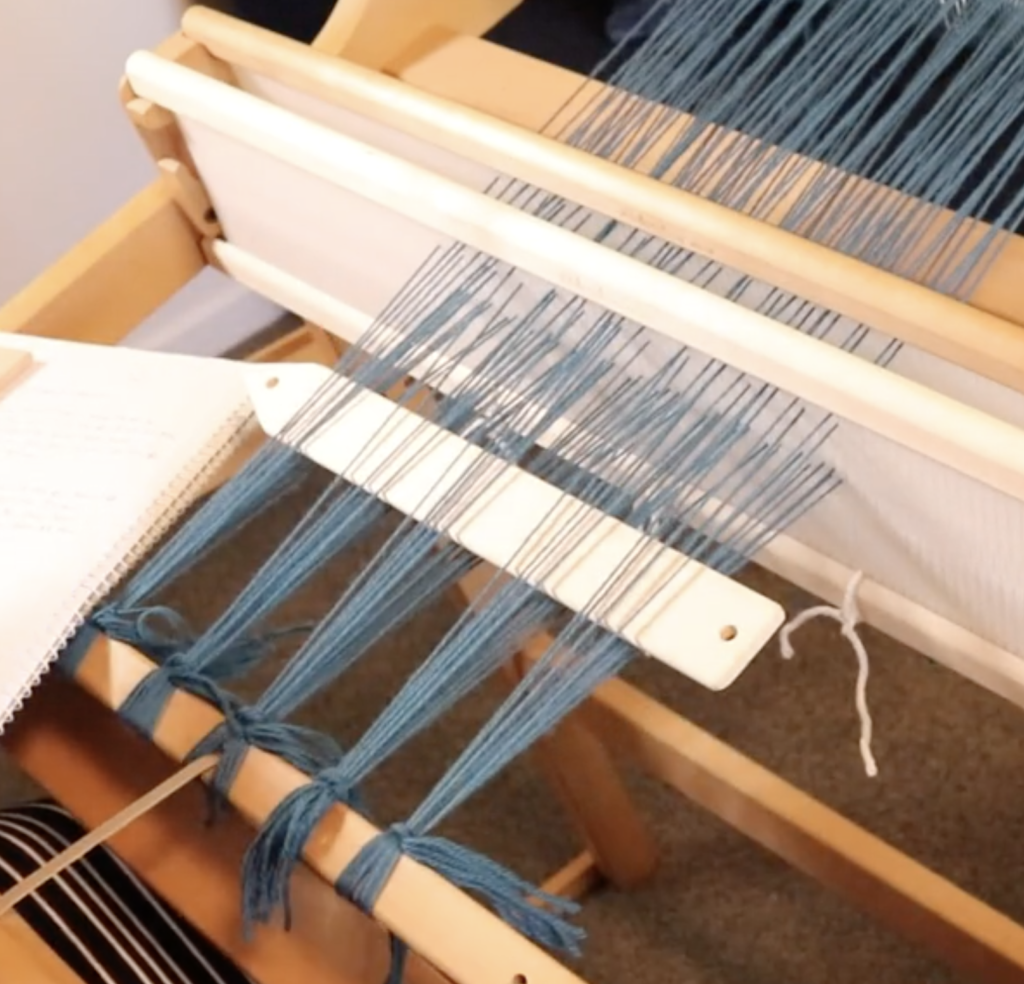
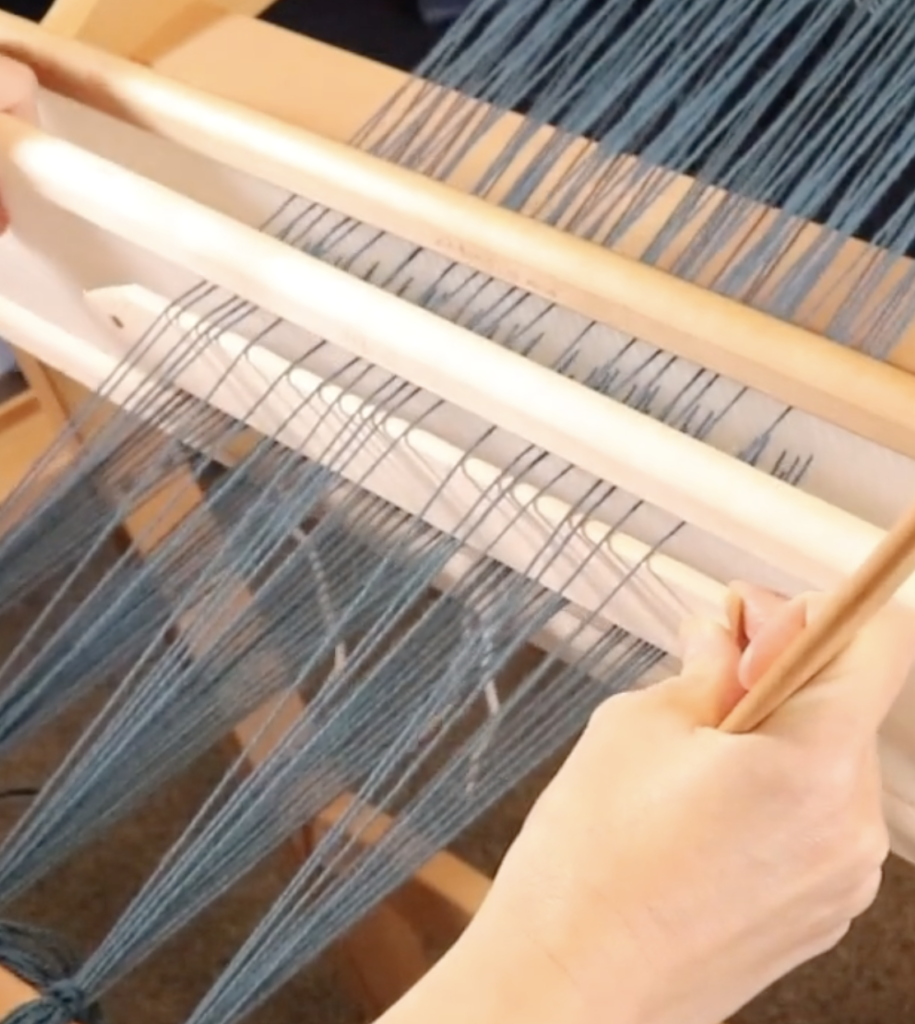
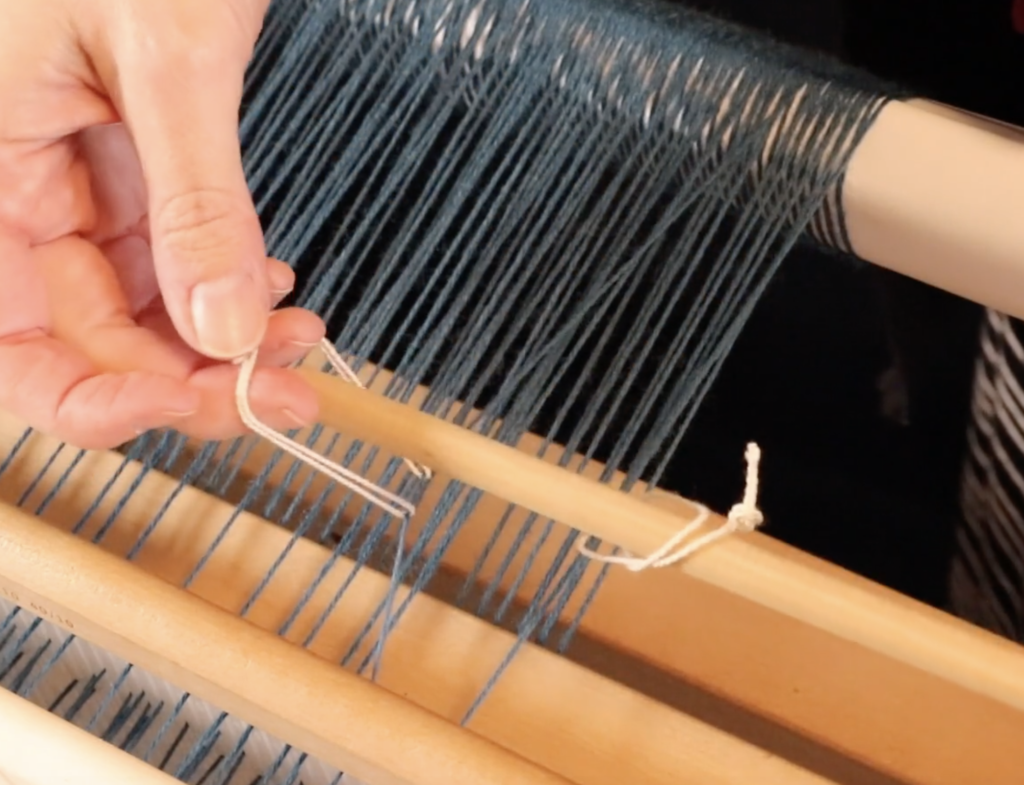
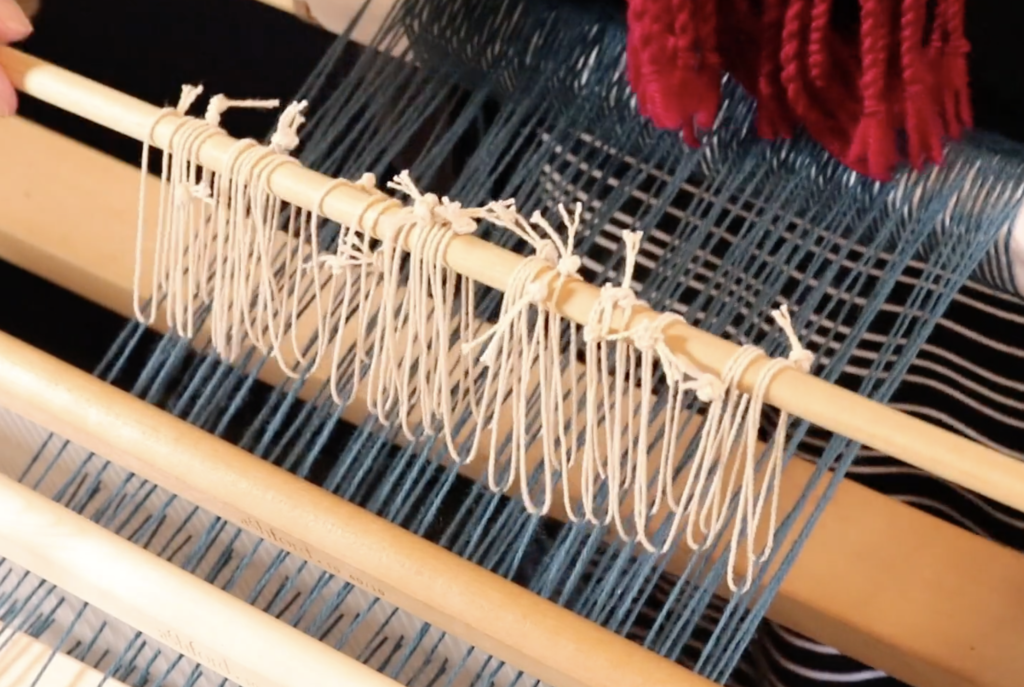
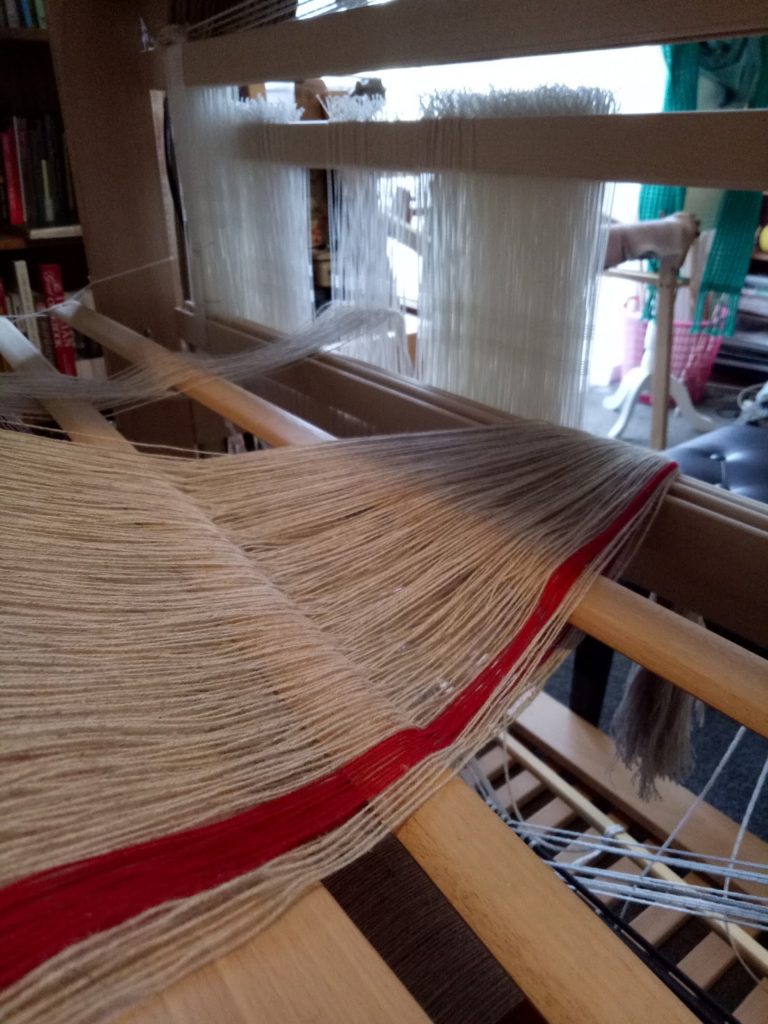
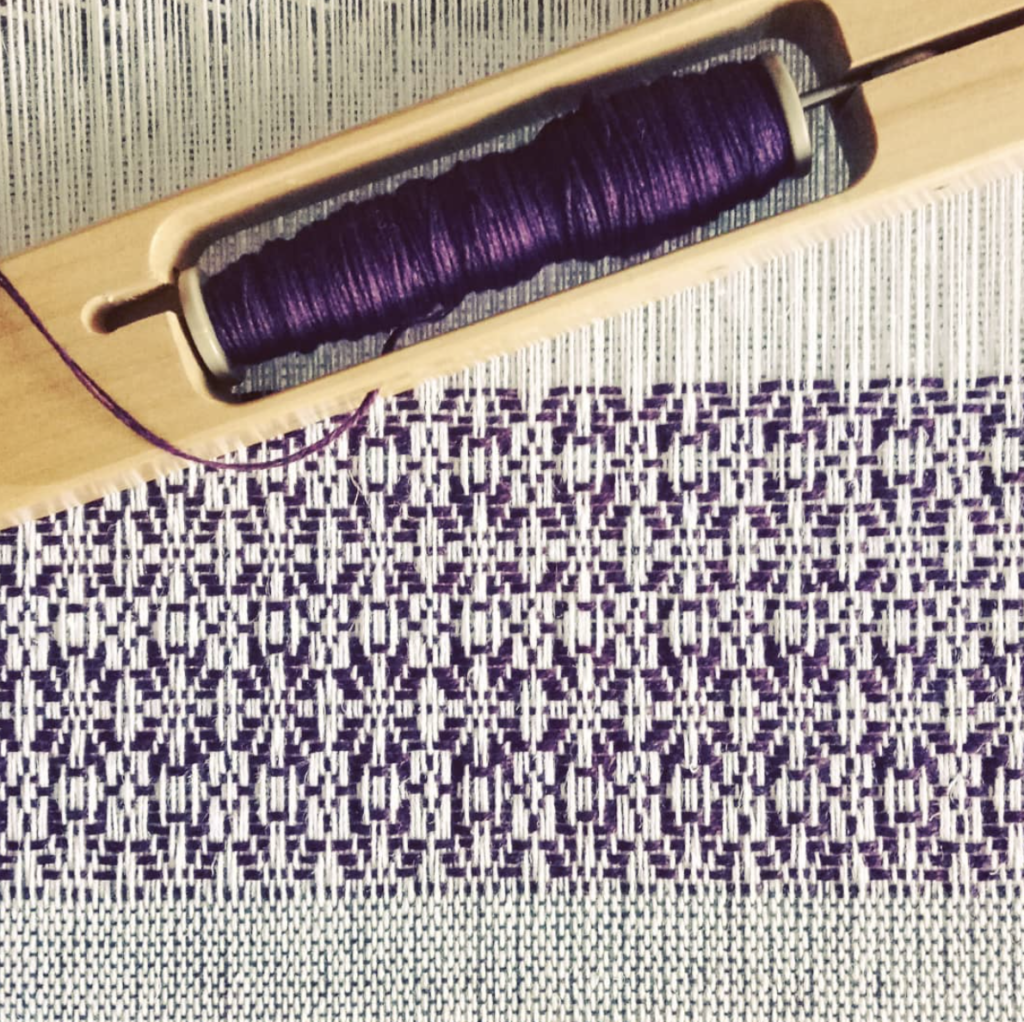
As I mentioned, we will be weaving on two heddles. Yes, you can weave these towels on one heddle with heddle rods, but I will not be providing instructions on how to do that.
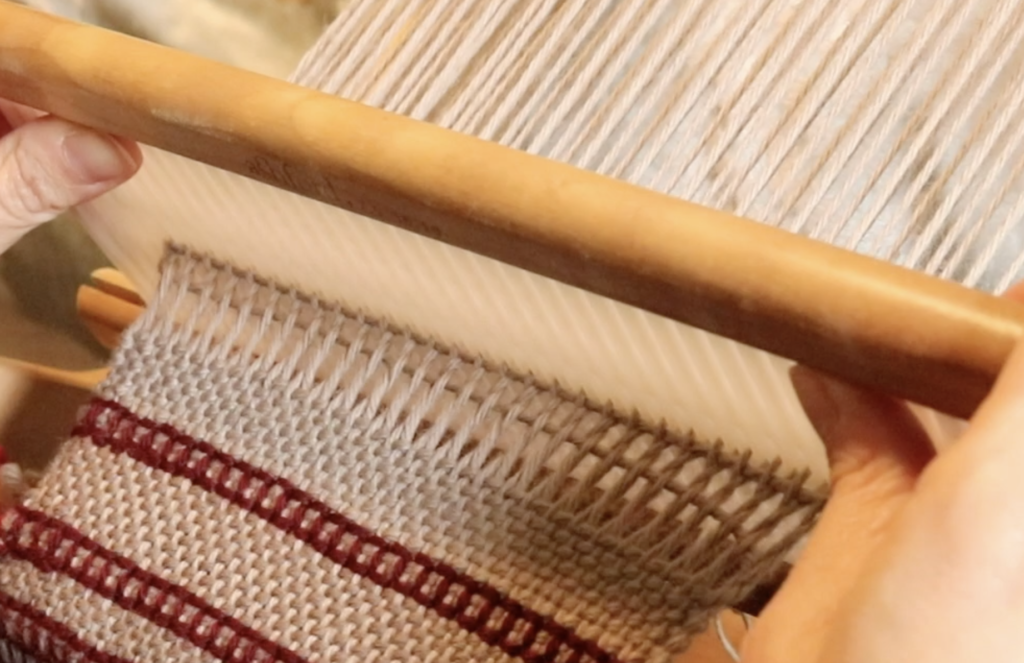
I have used 2 x 12.5 dent heddles. Yes, you can use 2 x 10 dent if that is what you have, your sett would just be a little looser than mine.
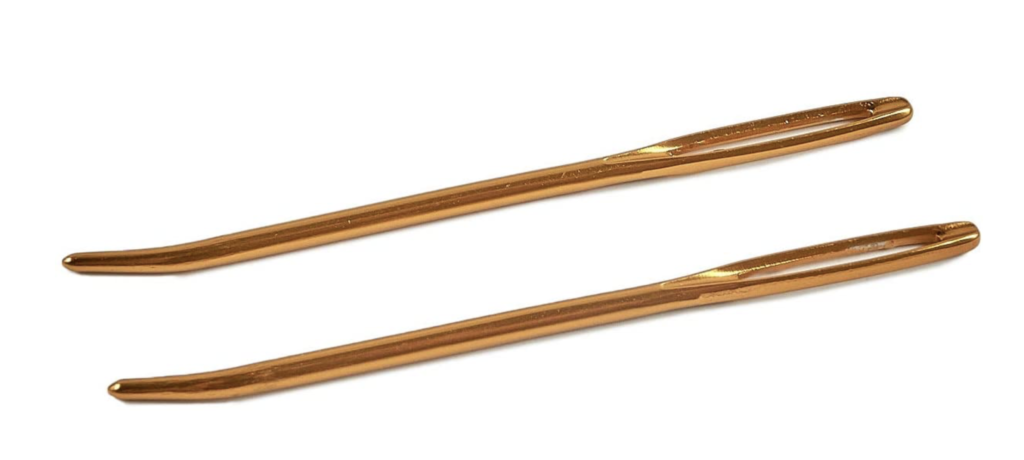
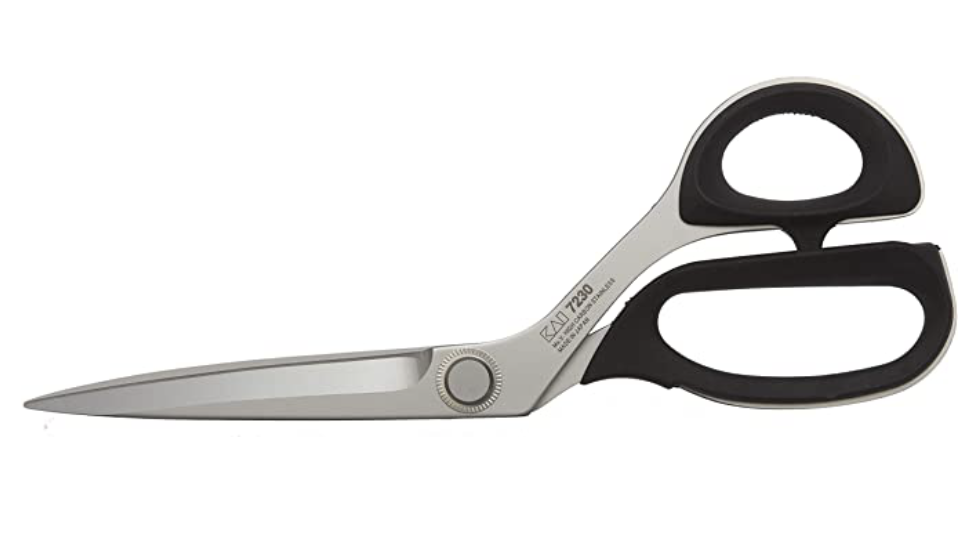
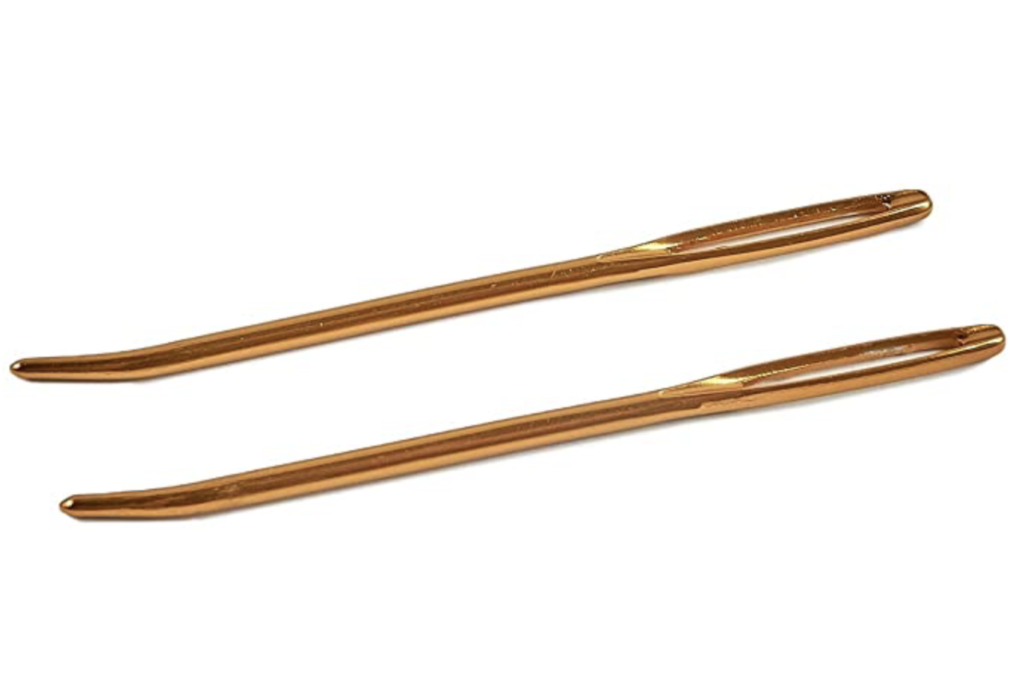
You will need a stick shuttle, threading and reed hook, scissors, etc.
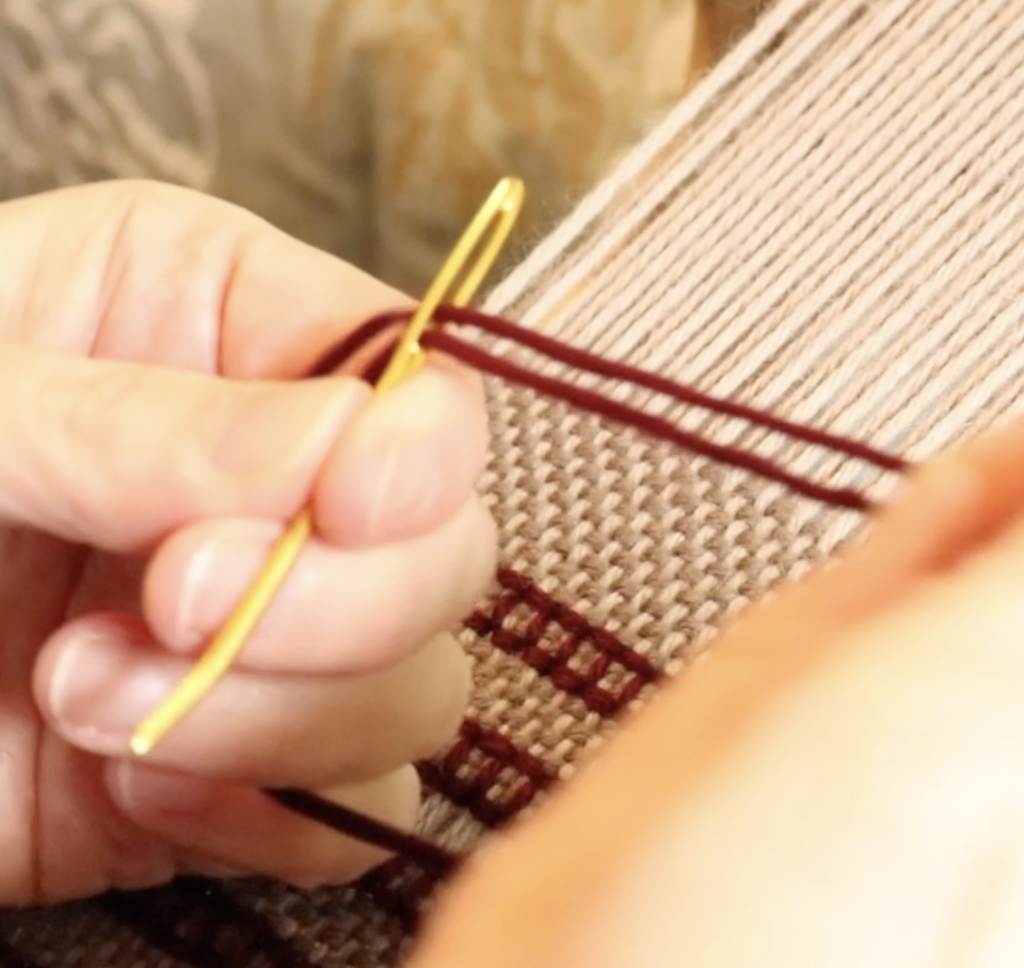
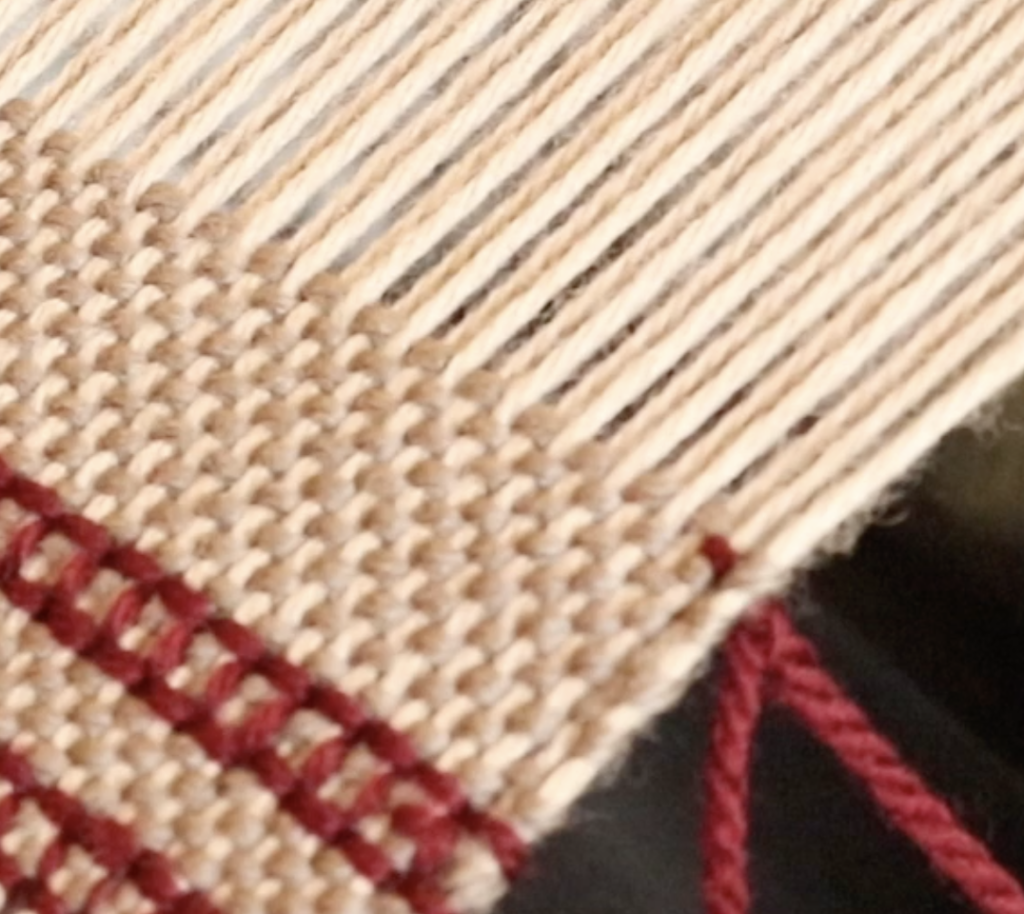
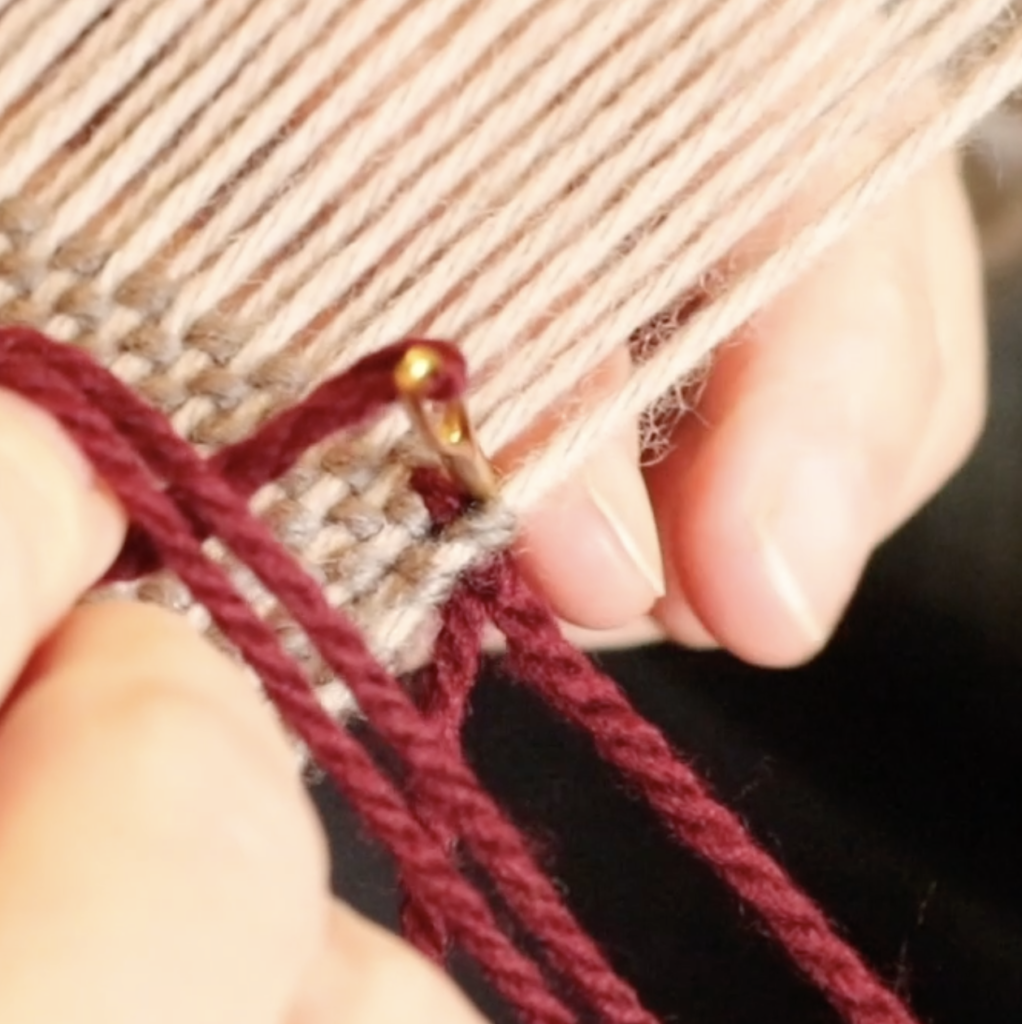
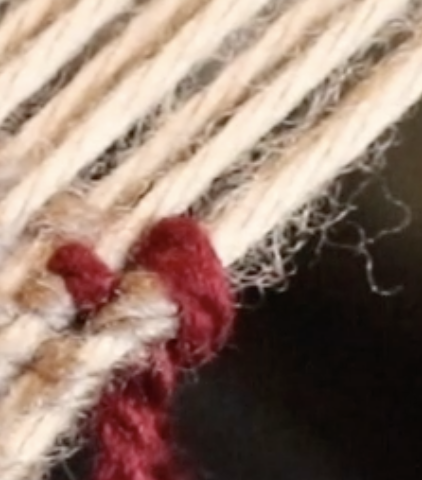
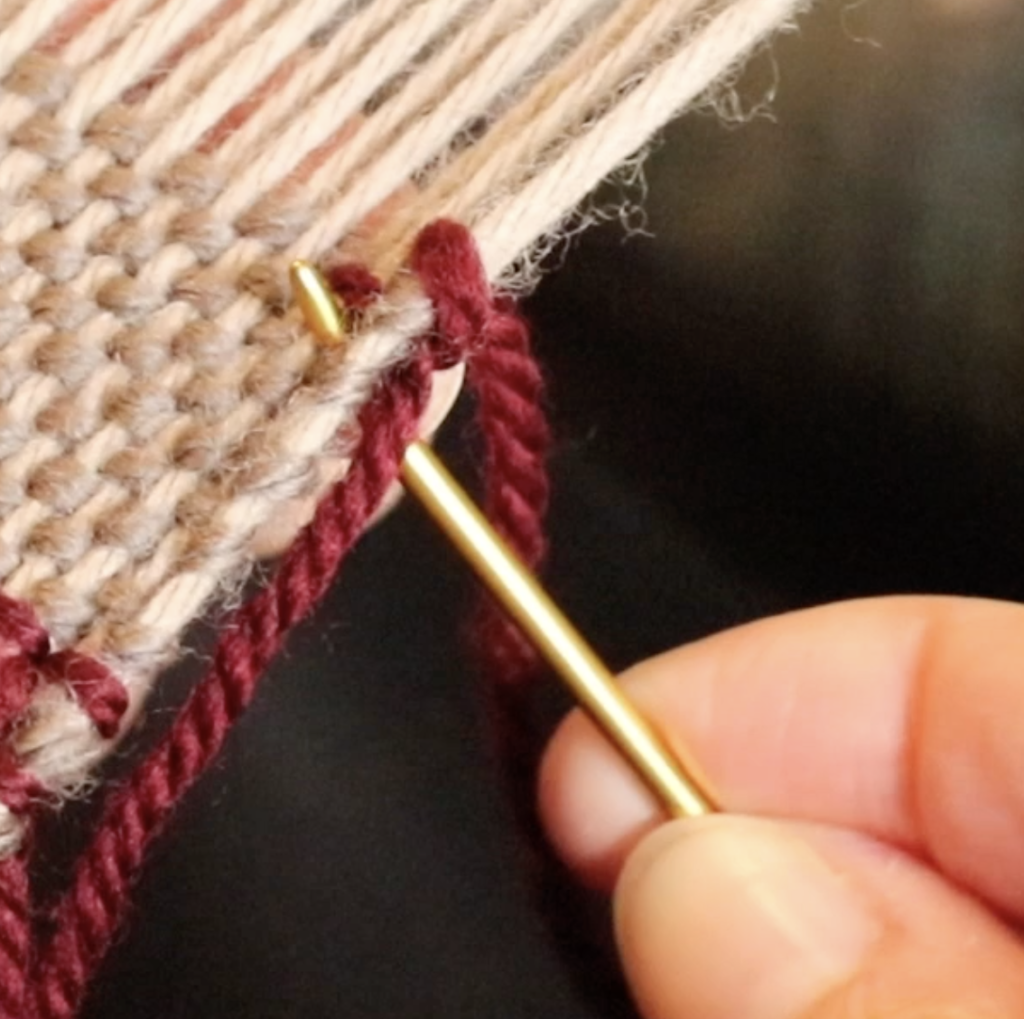
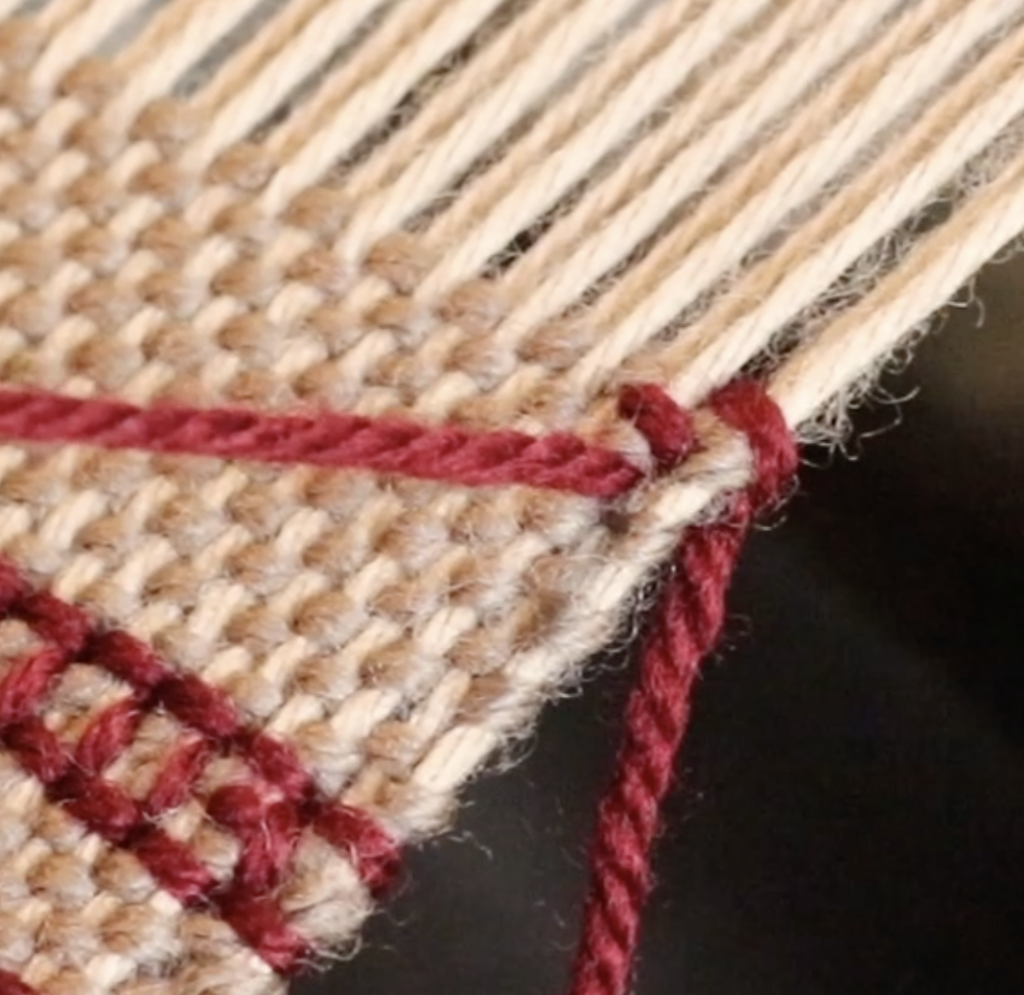
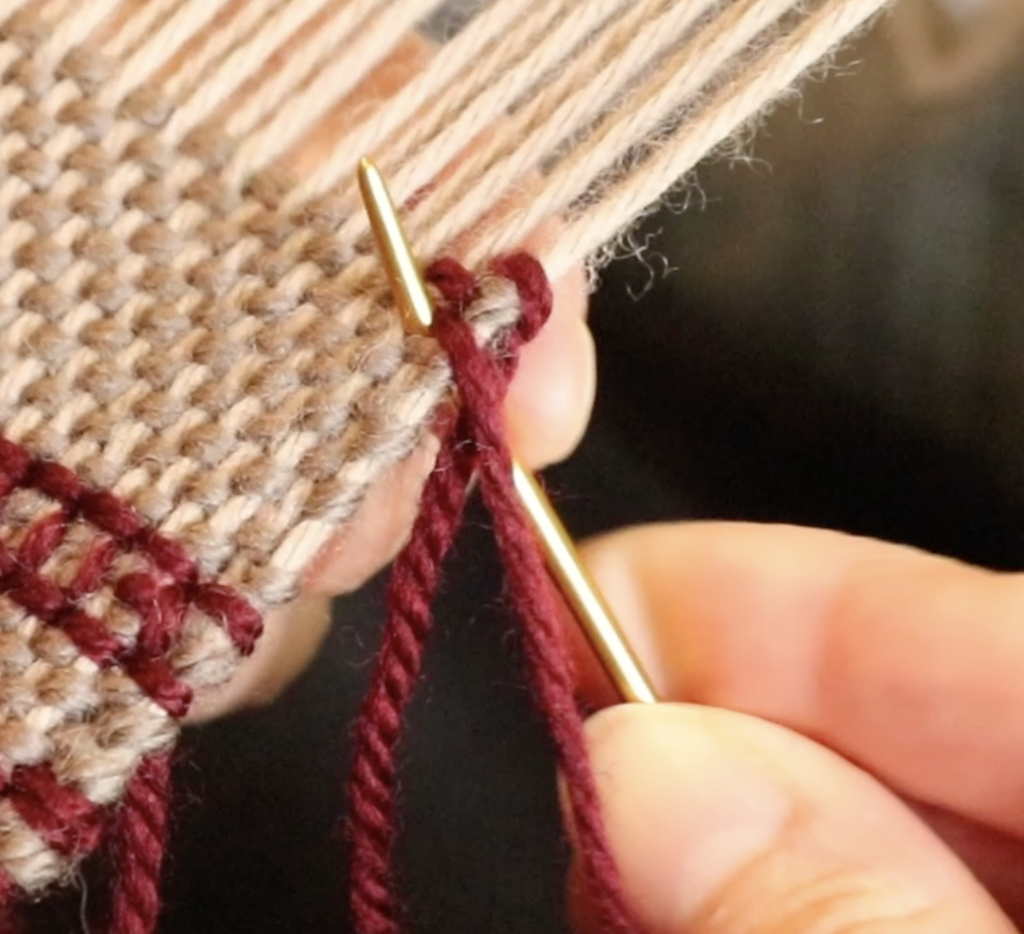
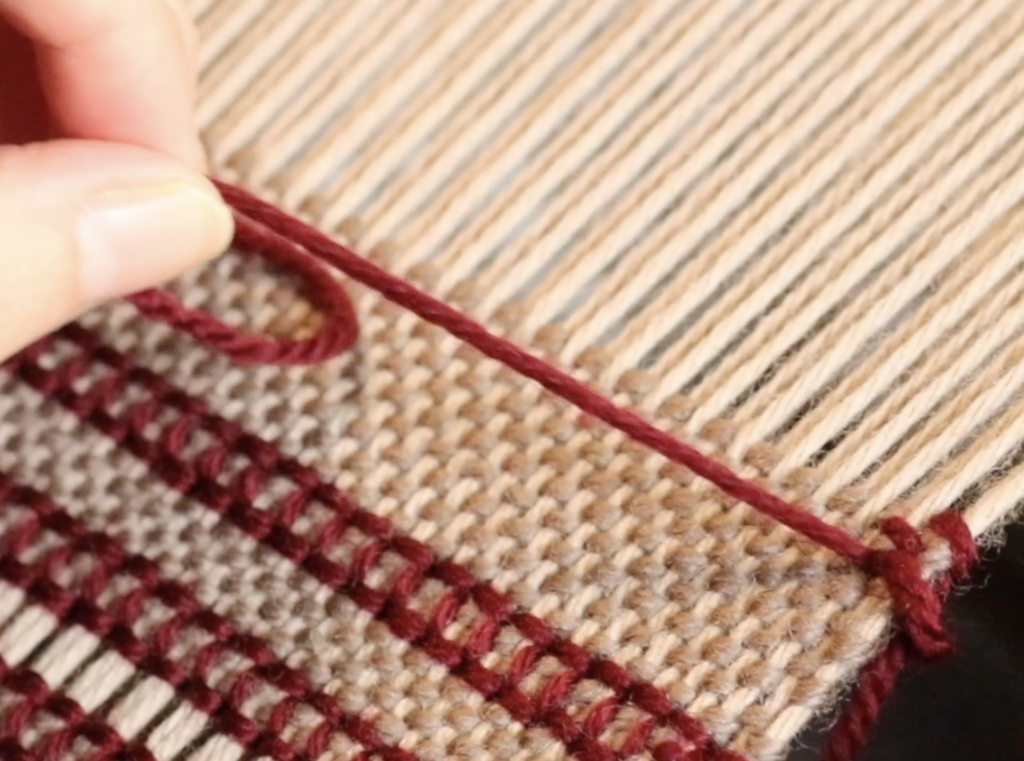
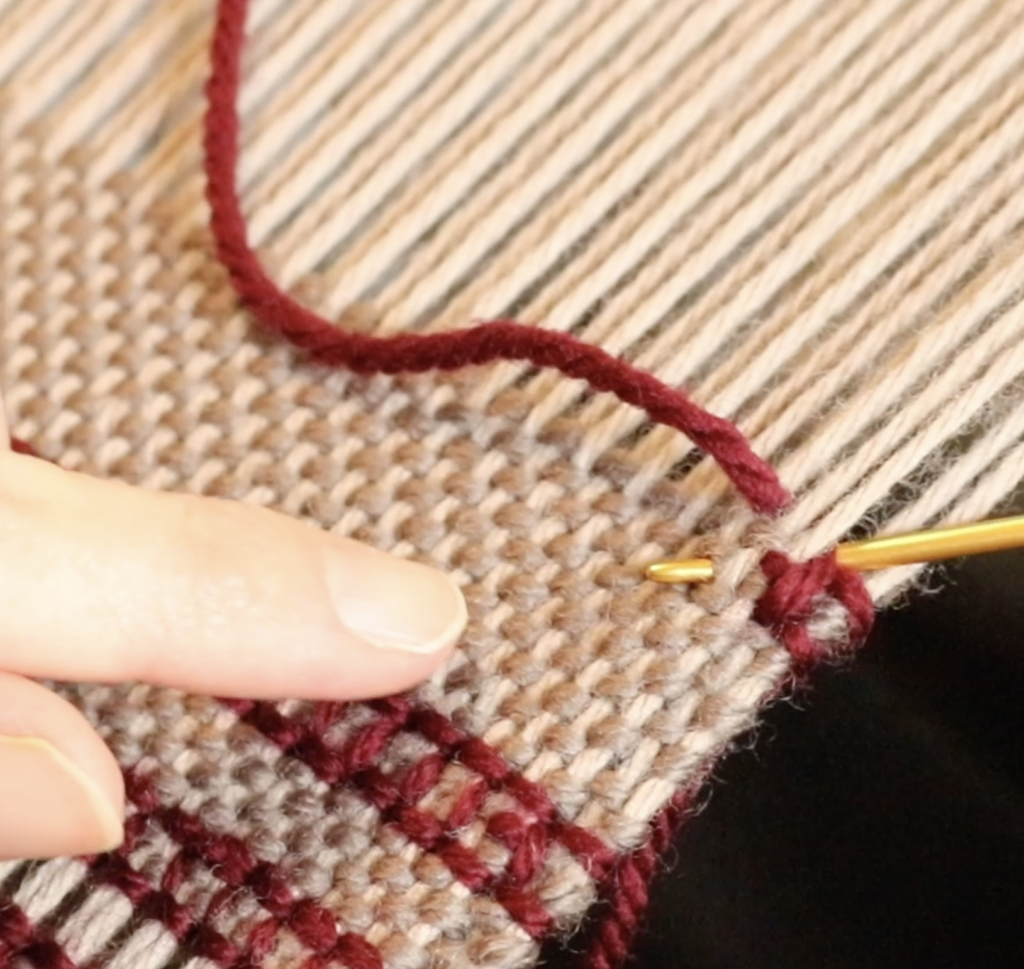
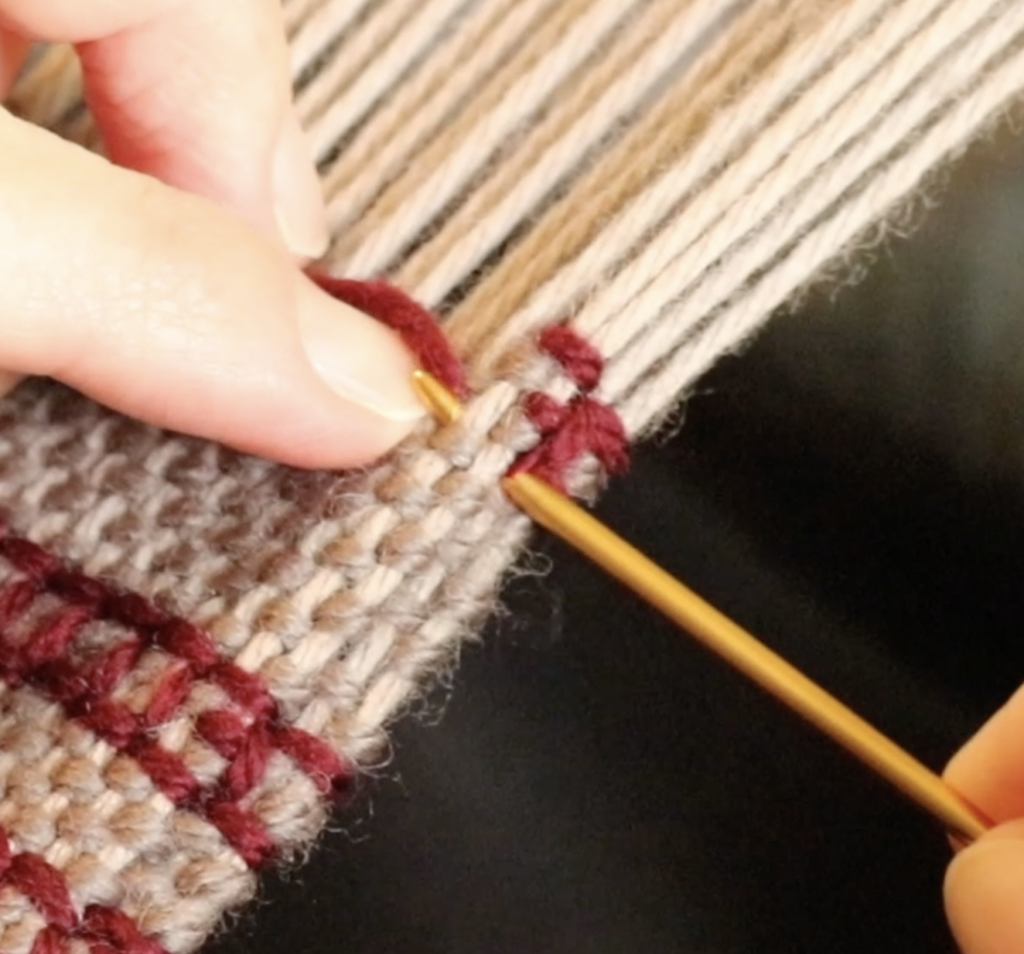
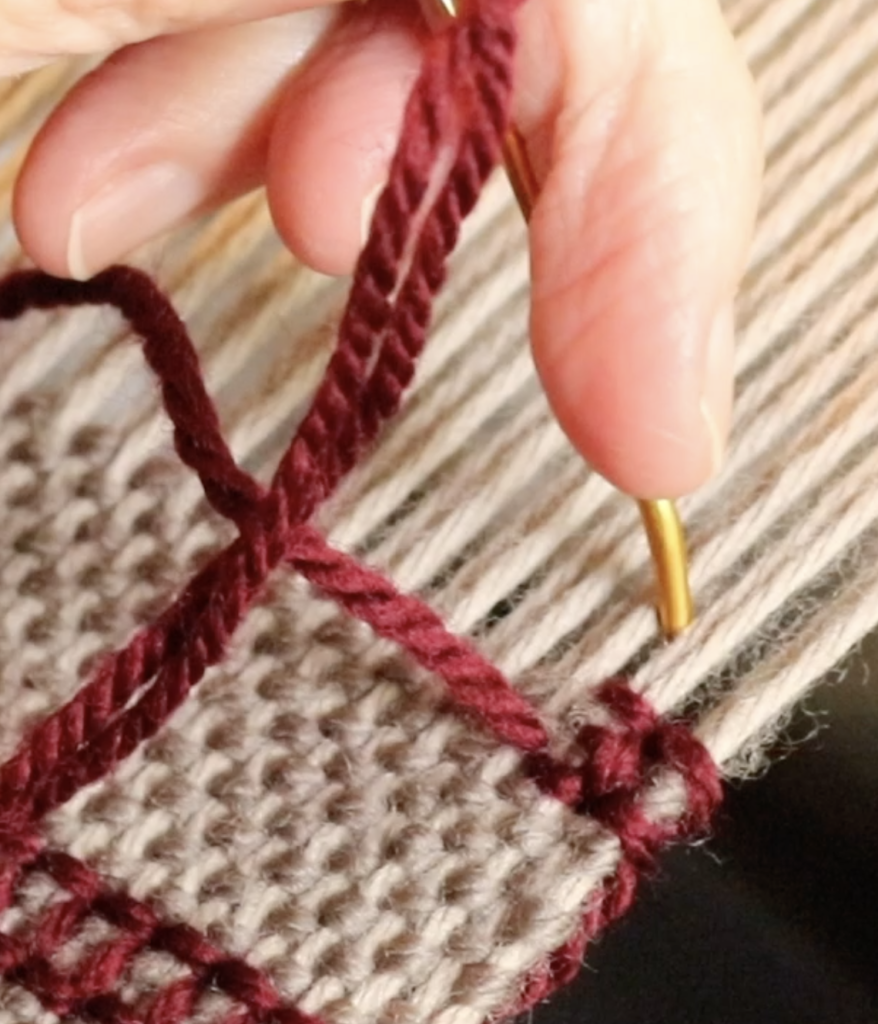
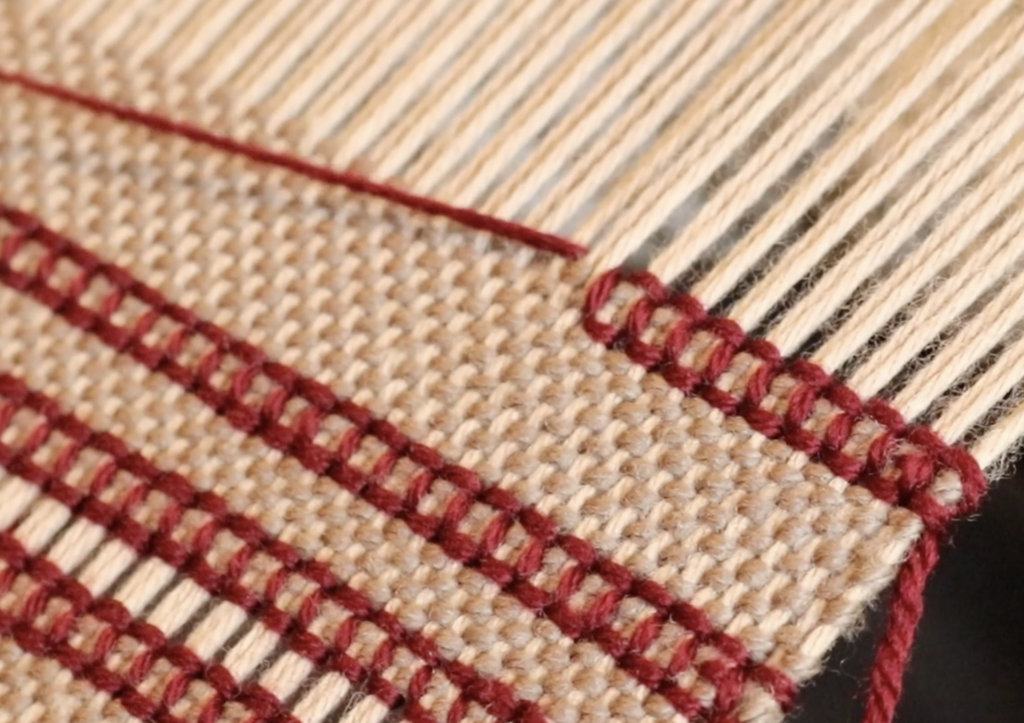
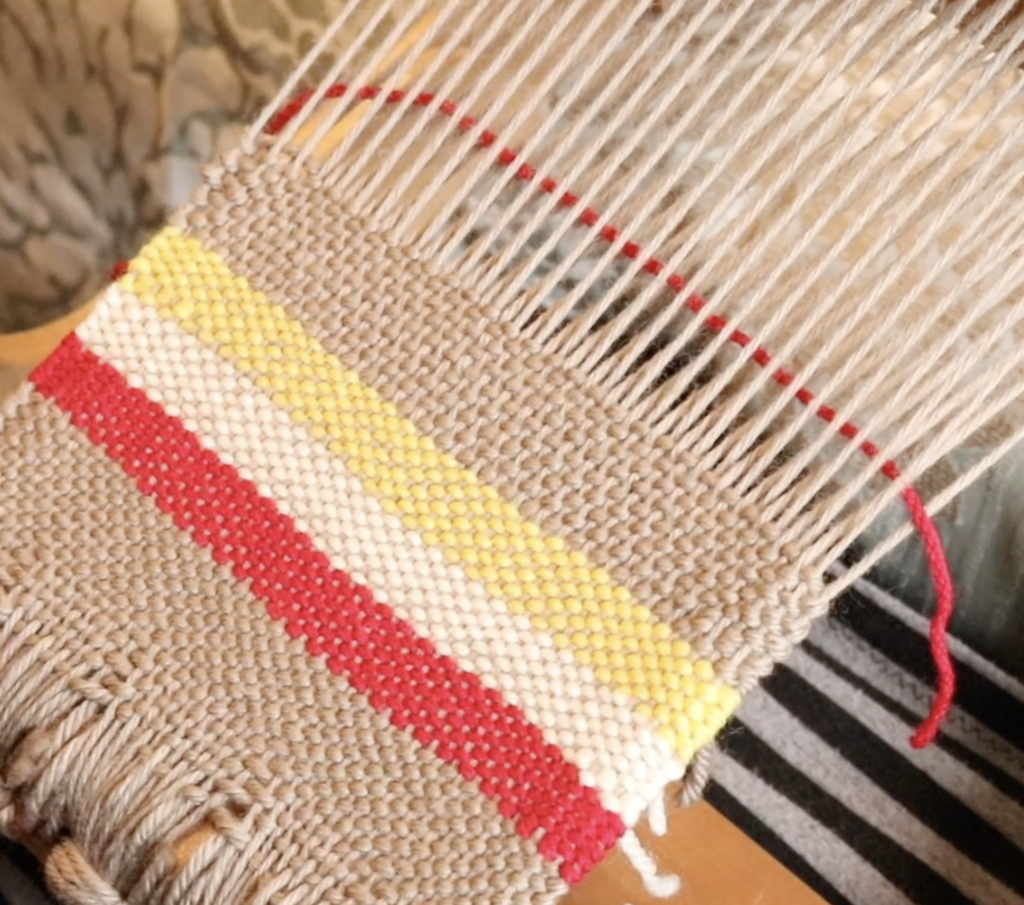
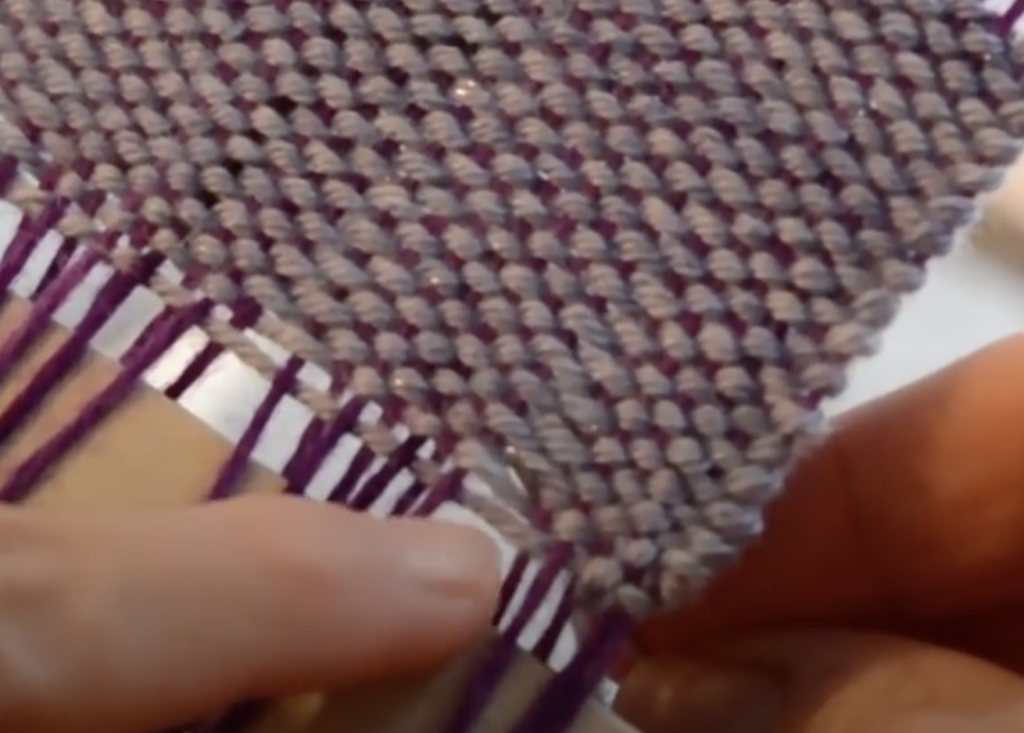
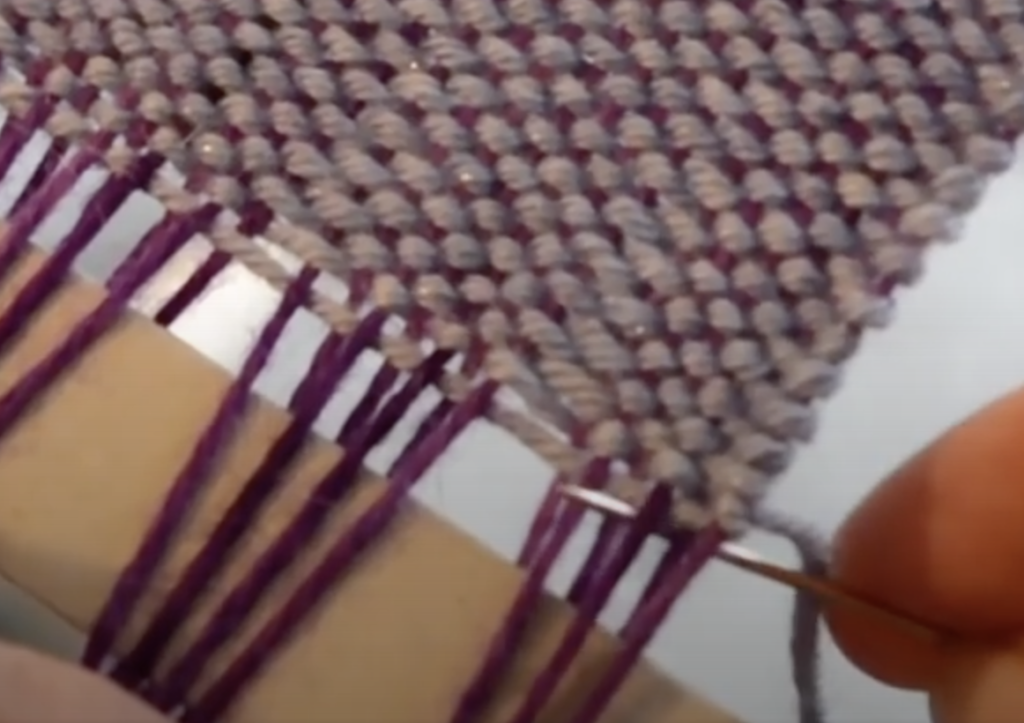
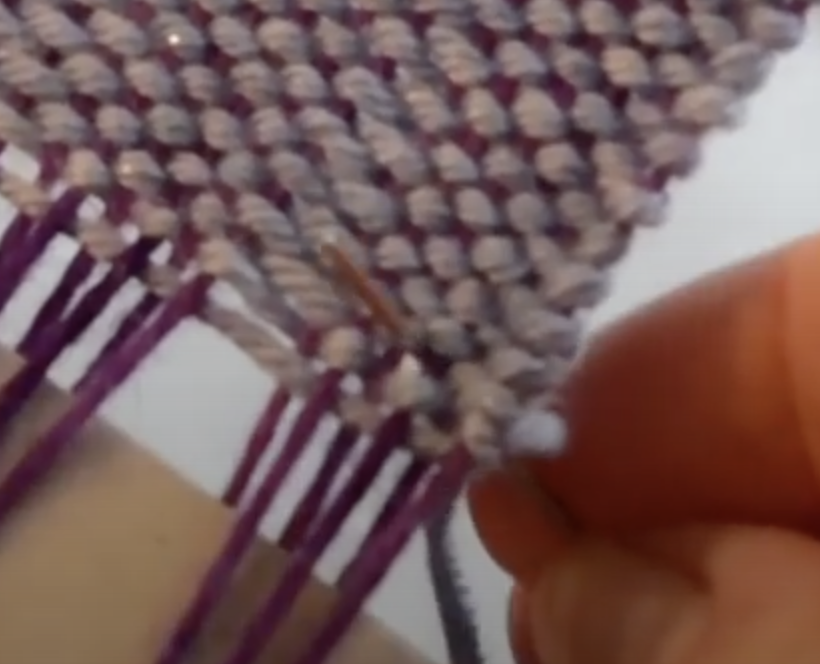
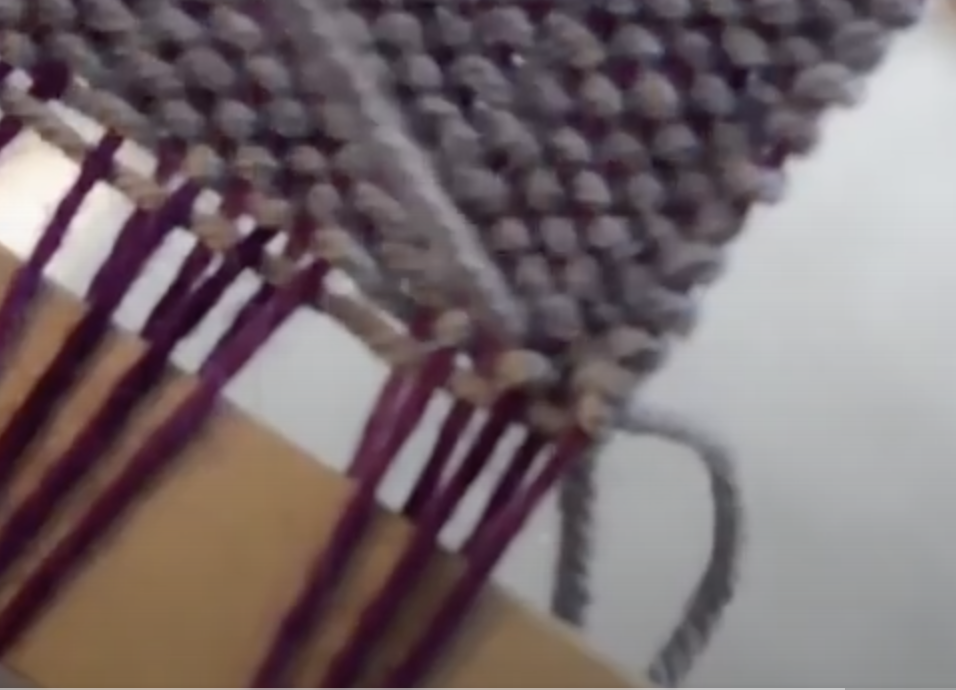
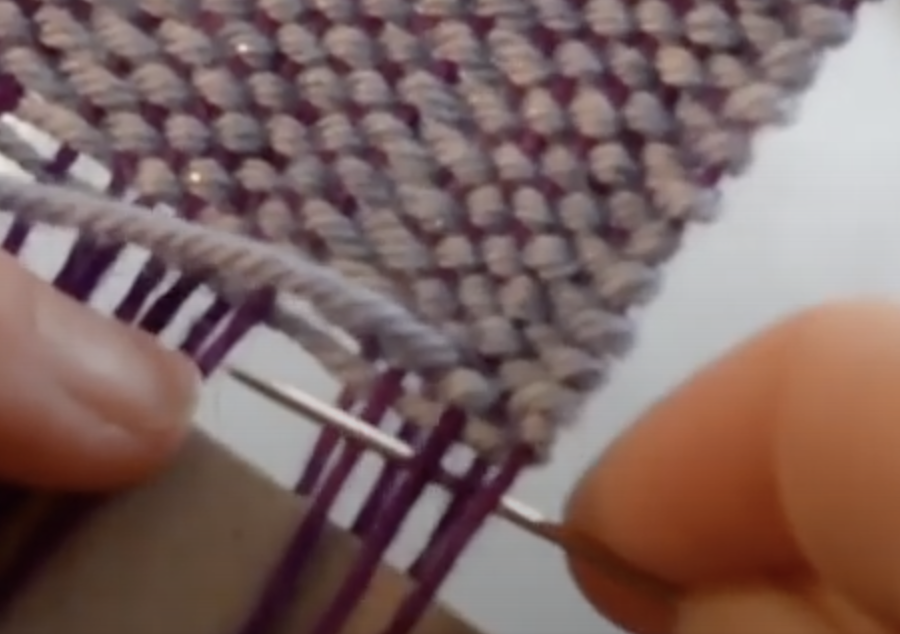
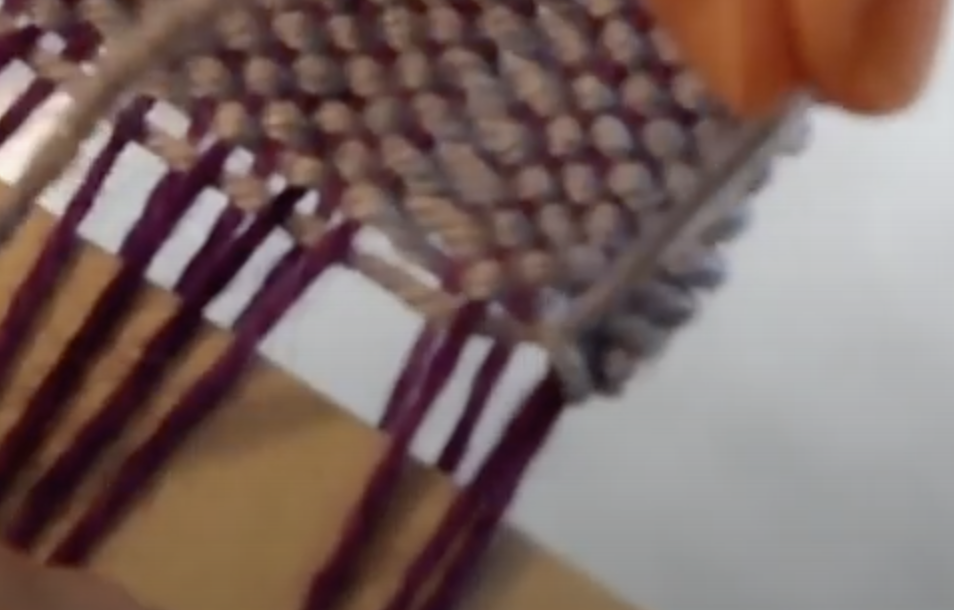
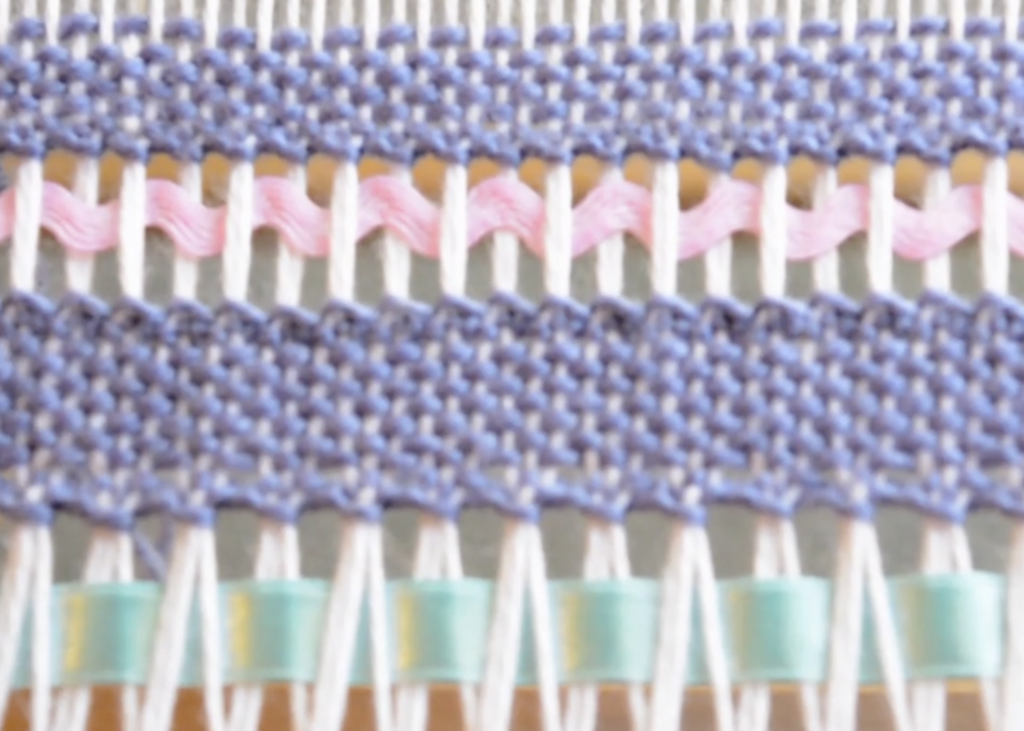
I use a serger and a sewing machine to hem my towels and will be showing how to do this in the weave along. My preference for kitchen towels is to not have a fringe. I understand however, that not everyone has a sewing machine and knows how to use it, so hemstitch with a short fringe is perfectly acceptable.
I only have a 16″ rigid heddle loom. Can I still participate?
Yes! I have provided some helpful instructions to assist those with a smaller loom.
I already have 2 x 10 dent heddles. Do I need to purchase the 12.5 dents to participate?
No. I’m a big fan of using what you have on hand and not making unnecessary purchases. I will be providing some helpful details for adjusting the numbers to suit 10 dent heddles.
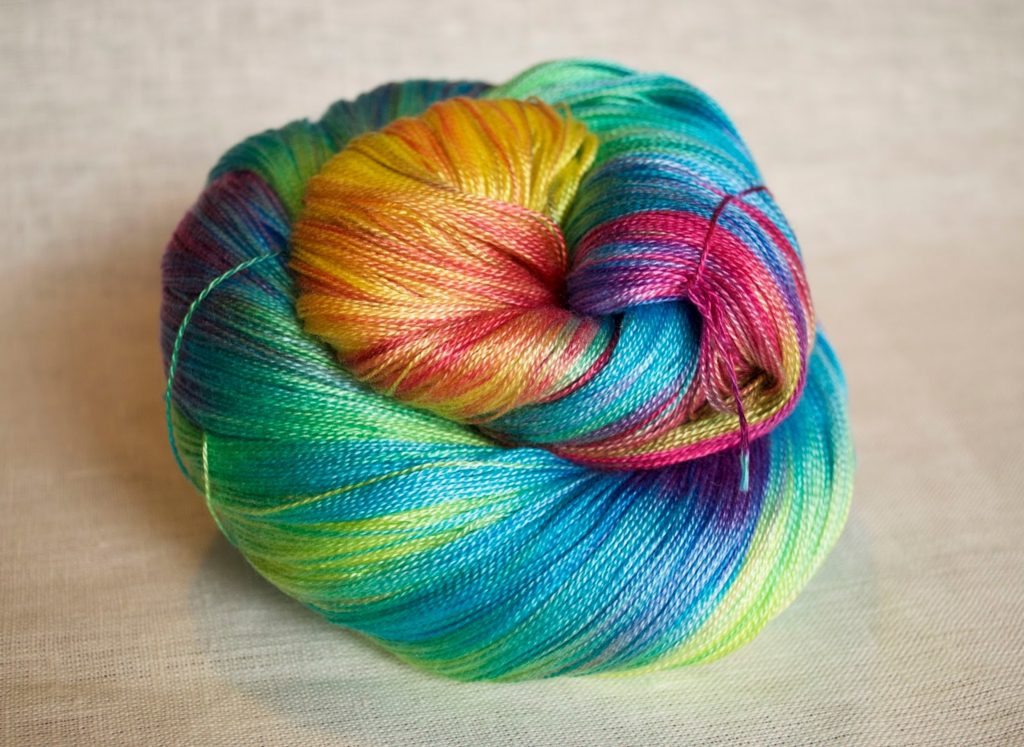
What yarns will I need?
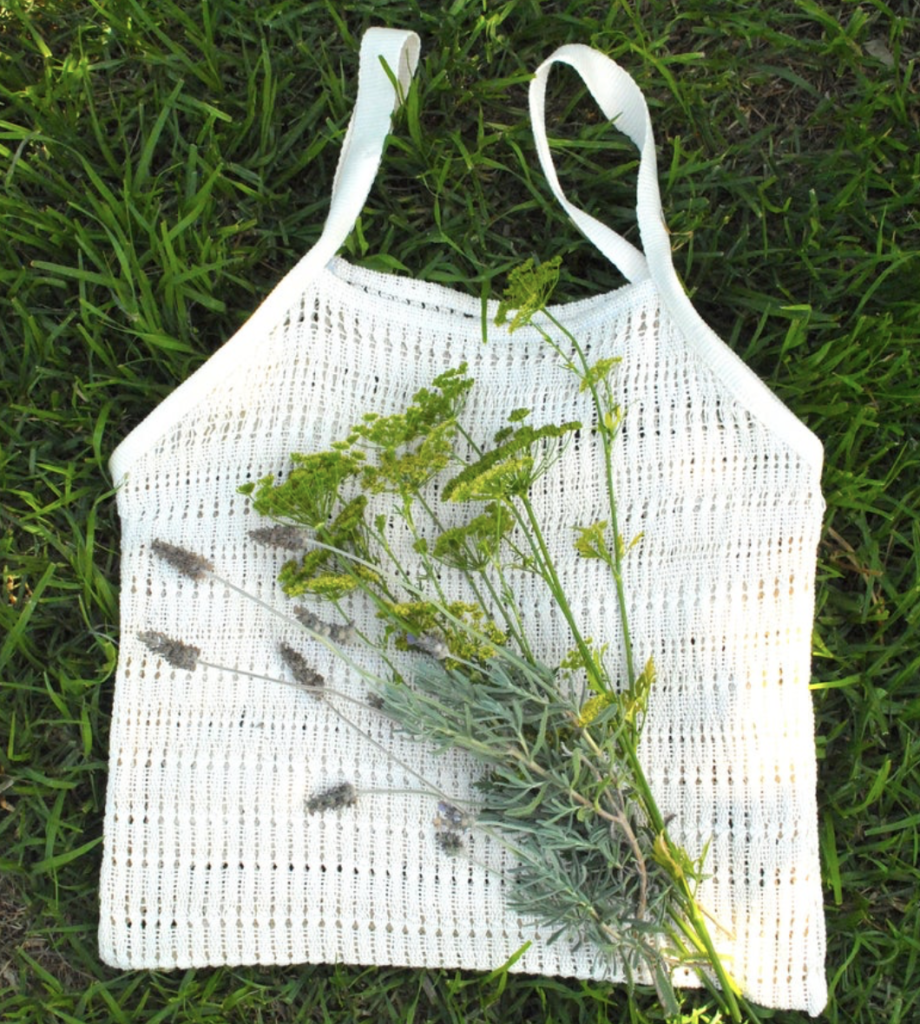
The full yarn details and amounts are provided when you purchase the pattern, but you will want to use plant based fibre for kitchen towels. Here are a couple of my favourites for kitchen towels:
Can I weave these towels with 8/4 cotton?
Yes, you can! In fact, in last year’s weave along, I updated the content to include a supplementary section for those who wish to use 8/4 instead of 8/2 cotton.
I highly recommend that you use 12 or 12.5 or even 15 dent heddles, if you have them. I feel that 10 dent heddles would be a bit looser than I would like for this size of cotton.
You can also double 8/2 cotton in the weft if you like. More information on this is available in the class. Here are the yarns I used:
Will there be a deadline for completing the weave along?
Enrolments will be open to non members for several days before closing and commencing the class. Members will be able to access the class permanently, as long as their membership is active.
Once you are enrolled, there is no time limit on completion of the class. It is always fun to weave along with all the other enrolees so you can share progress photos and troubleshoot, but the choice is yours.
So, what if I’m away when the weave along starts, can I still participate?
Yes, you can still participate, but if you are a non member you will need to enrol in the class within that opening window. Members can enrol anytime.
Where will the weave along take place?
At my Online Weaving School. Weaving School members will undergo automatic enrolment and non members will be able to purchase the weave along as a separate class.
If you already have an account with my weaving school, it will be quick and easy for you to join in the weave along. If you don’t have an account, I recommend that you make one (this is free) so that you are ready and familiar with the site when the weave along begins. I also have a short, free class on using the site if you need that extra input.
There is also a weave along community group on Facebook, and the link to join that group is contained within the weave along course.
How will I know when the weave along is released?
You will need to be on my mailing list, where I’ll be giving updates and reminders in during the time leading up to the weave along. If you are already on my mailing list, all you have to do is open my emails when they arrive in your inbox.
If you need to purchase materials for this weave along, I recommend the following suppliers:
I participated in the last weave along, can I join in this one as well?
Absolutely, I would love to have you back! If you have an active membership at the time the Weave Along is running, you can jump in and participate. If you purchased the class as a single purchase when the weave along was last open, you can also just jump back in.
I hope this post has you super excited about joining in to the weave along!
This year there will also be some fun giveaways in the Facebook group 😉
Please do leave any additional questions you may have in the comments sections so that I can address them for you.
Until next time…
Happy Weaving!