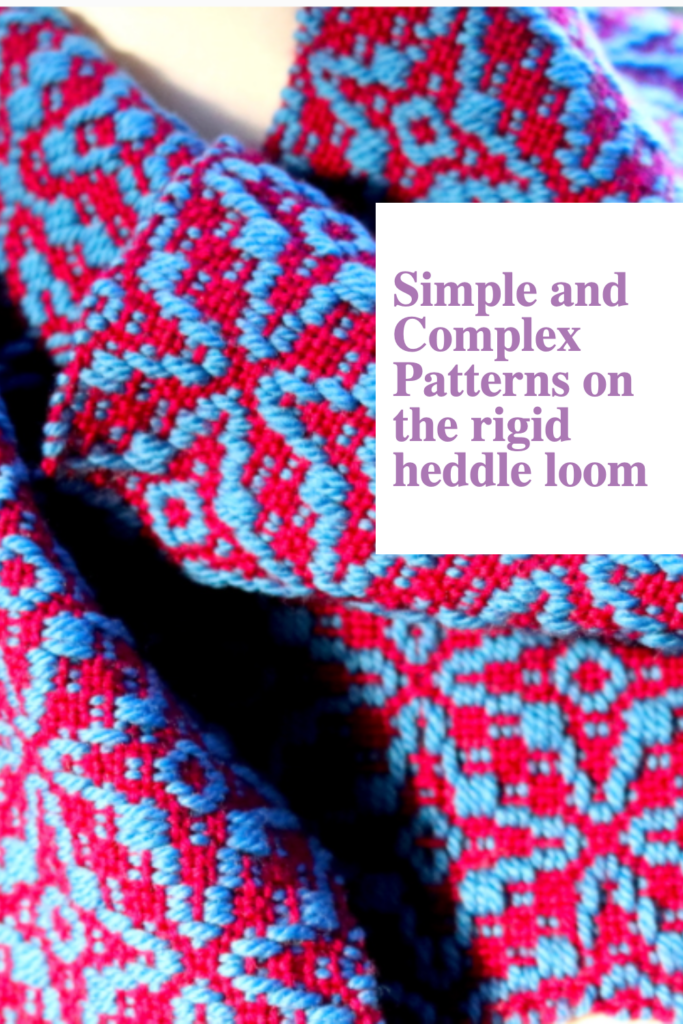
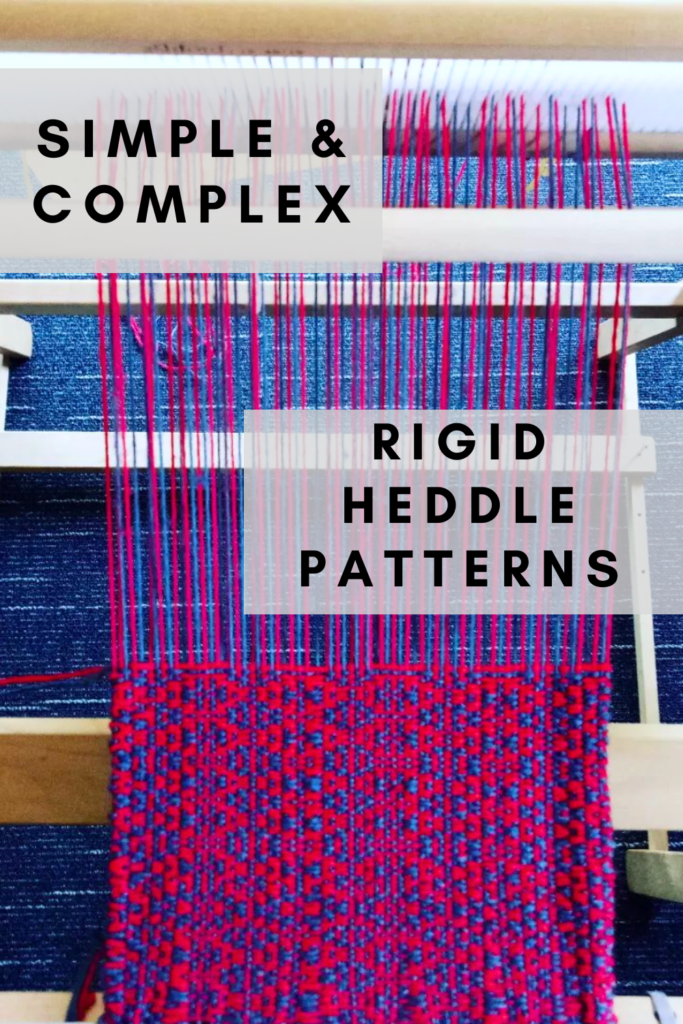
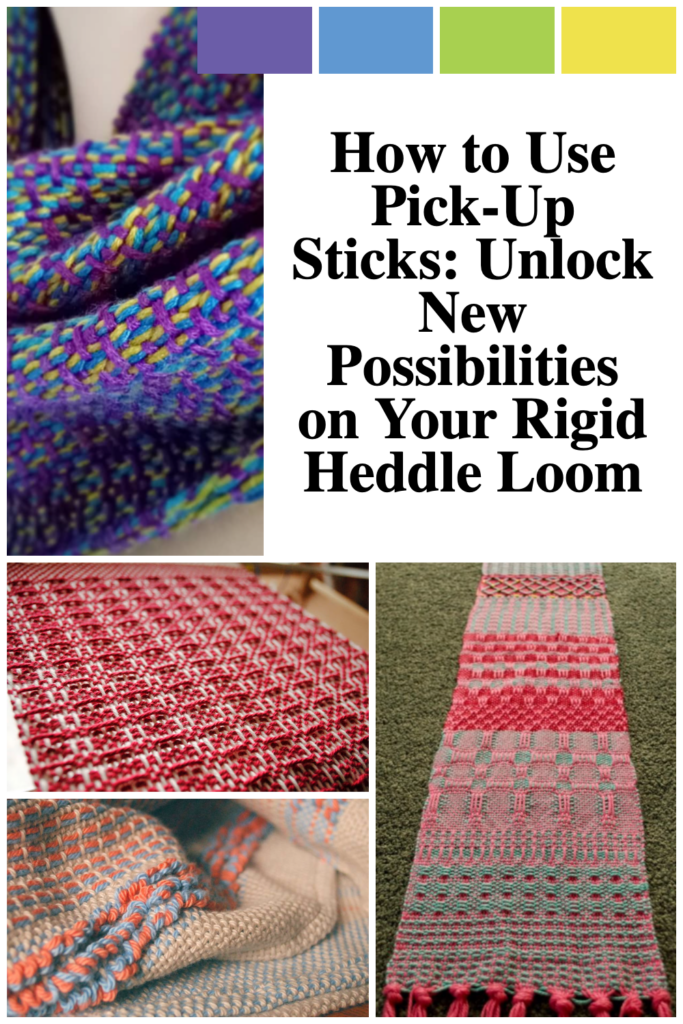
Pick-up sticks are a game-changer for rigid heddle weaving. These simple tools expand your loom’s capabilities, allowing you to create intricate patterns beyond plain weave. Whether you’re a beginner or looking to elevate your skills, this guide will help you understand how to use pick-up sticks effectively.
What Are Pick-Up Sticks?
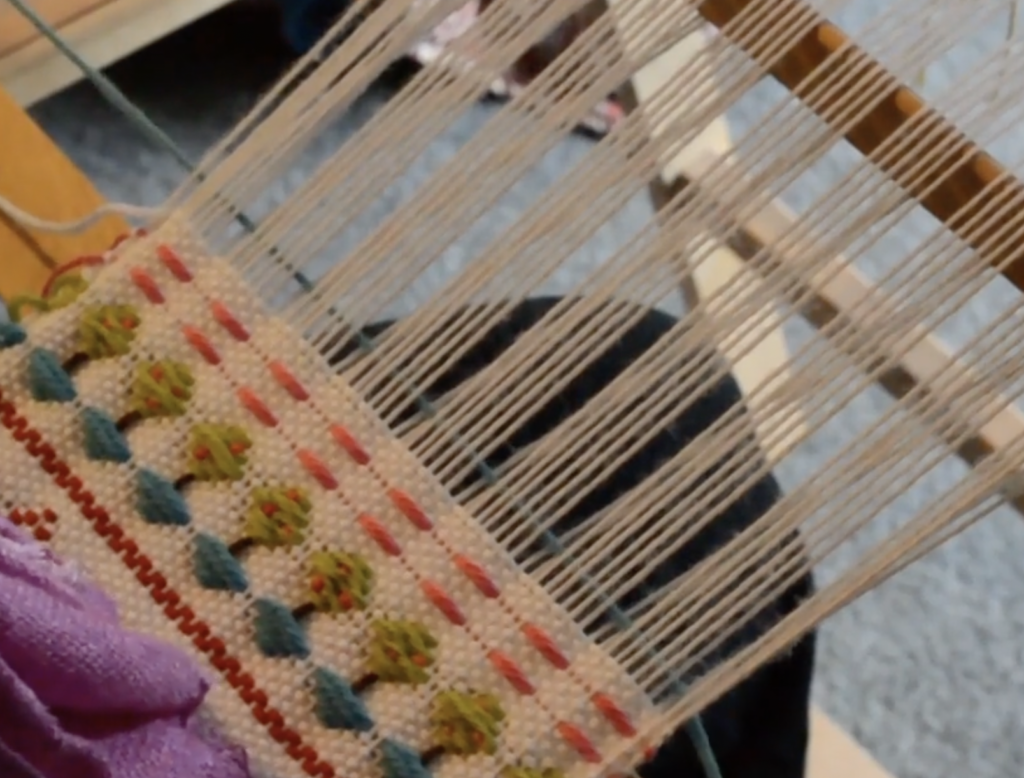
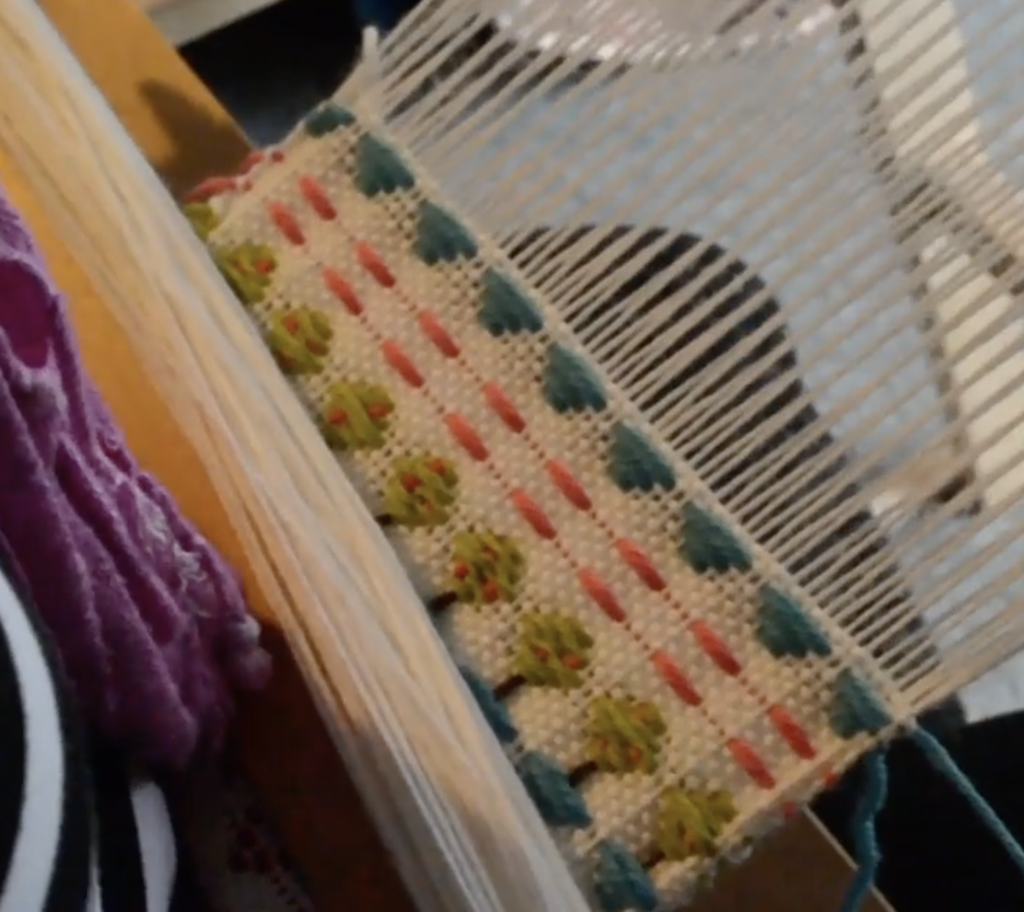
Pick-up sticks are flat, smooth lengths of wood designed to manipulate warp threads on your loom. They allow you to create patterns that mimic the capabilities of multi-shaft looms without adding complex equipment.
On a rigid heddle loom, the warp is divided into two “shafts”—slot threads and hole threads. By incorporating pick-up sticks, you can manipulate the slot threads to create additional “shafts,” opening up a world of pattern possibilities.
Why Use Pick-Up Sticks?
- Expand Your Weaving Capabilities:
- One pick-up stick = 3 shafts.
- Two pick-up sticks = 4 shafts.
- Add more for even greater complexity!
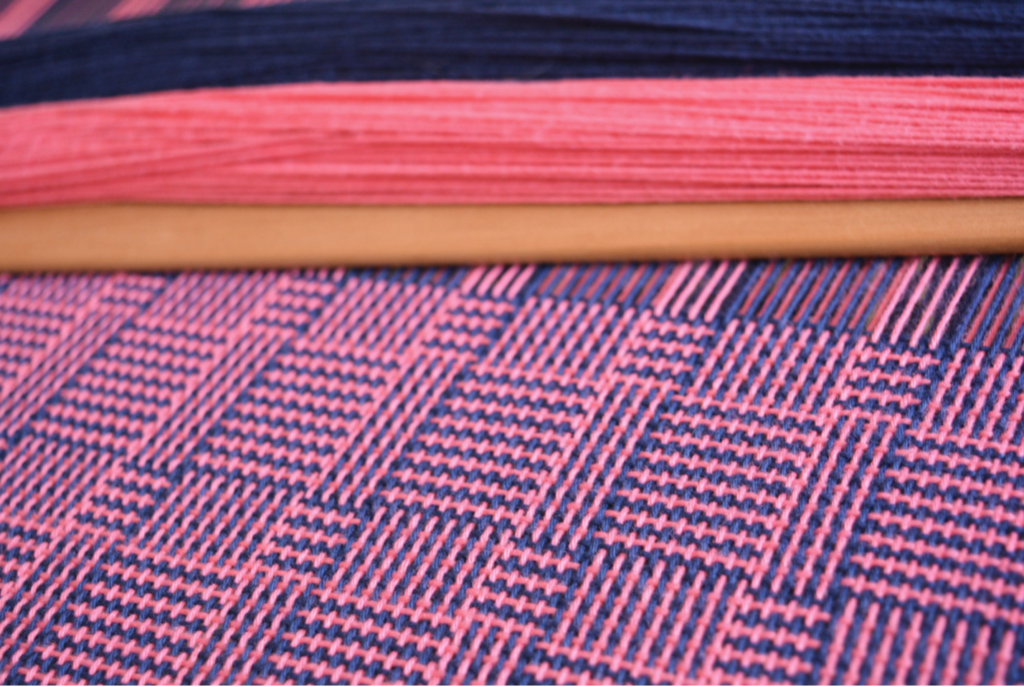
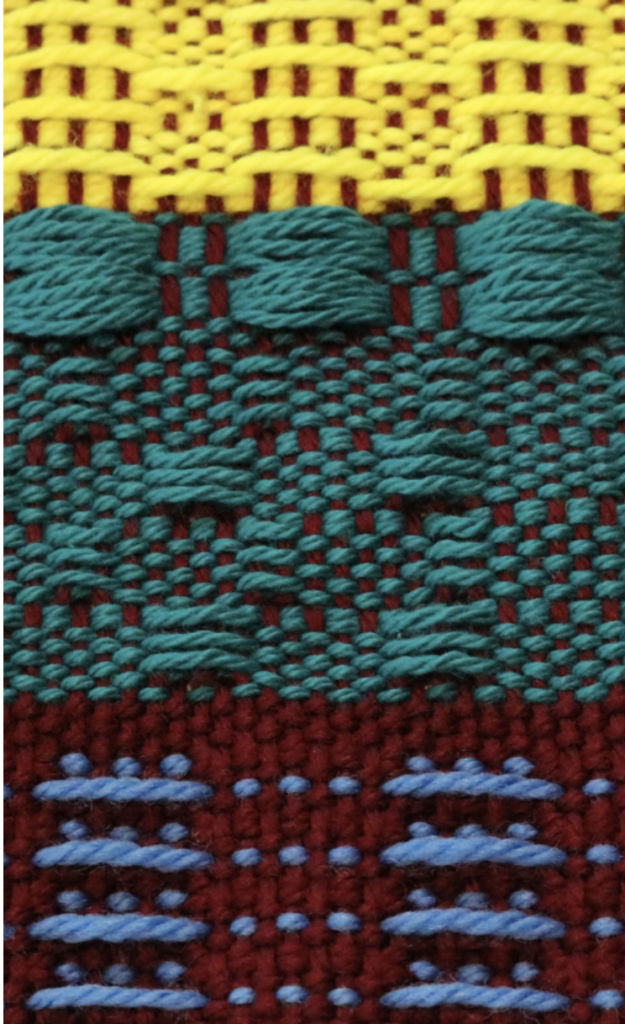
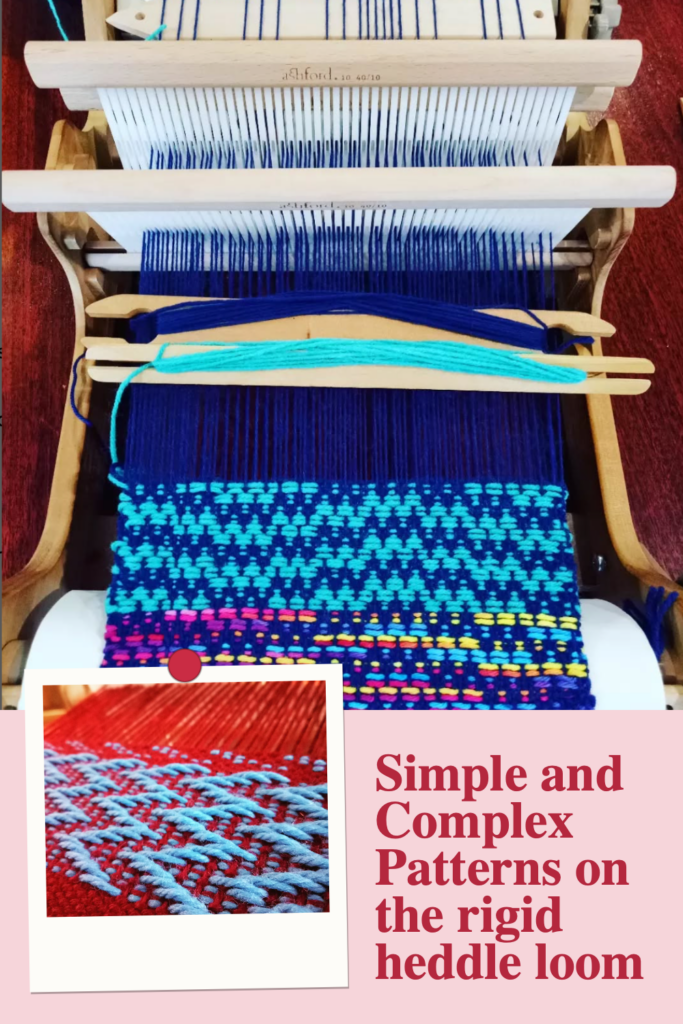
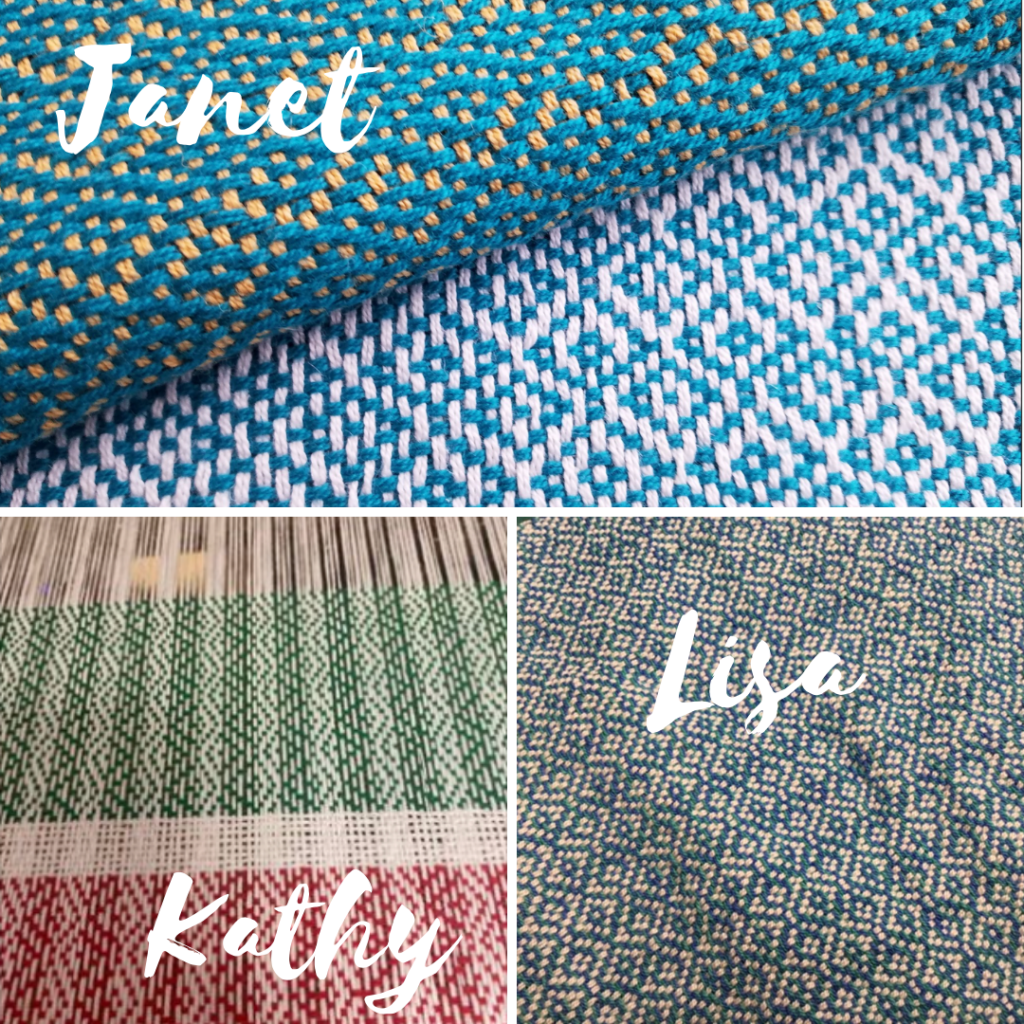
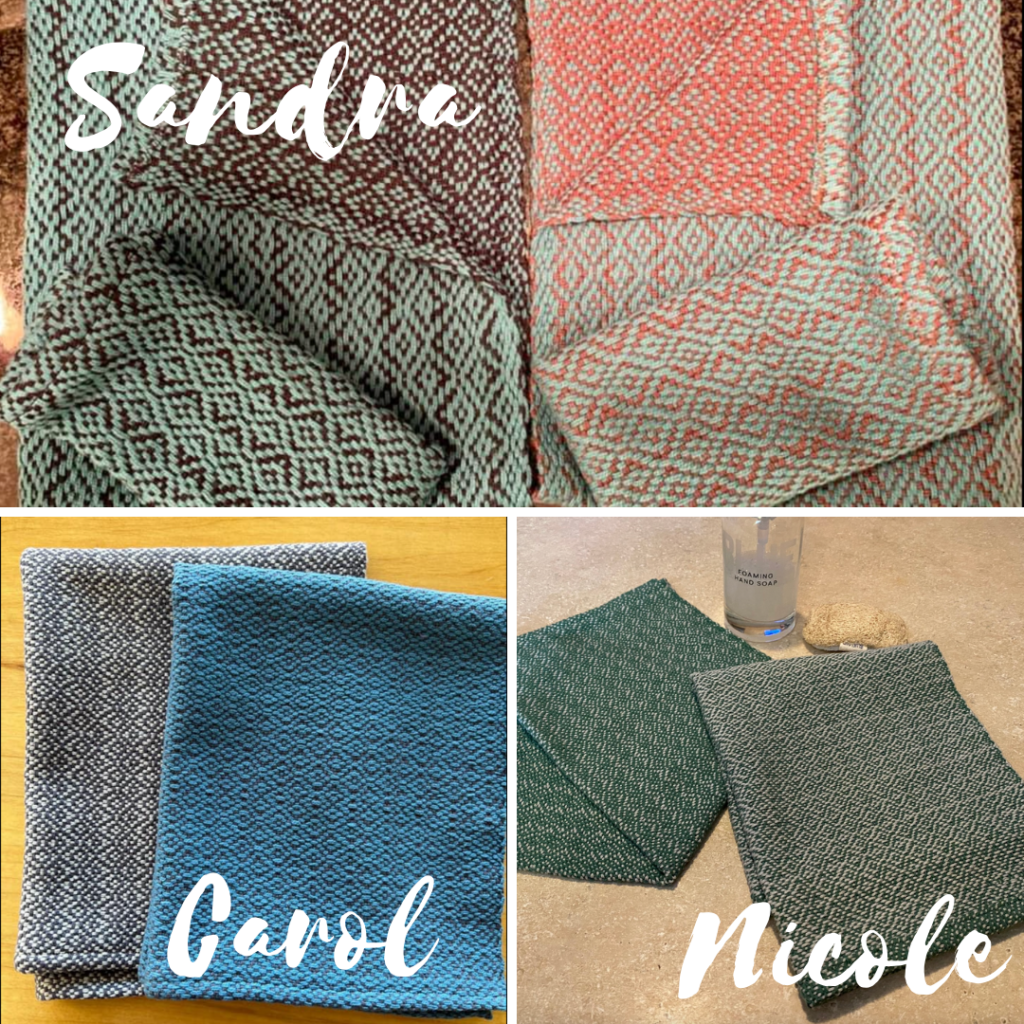
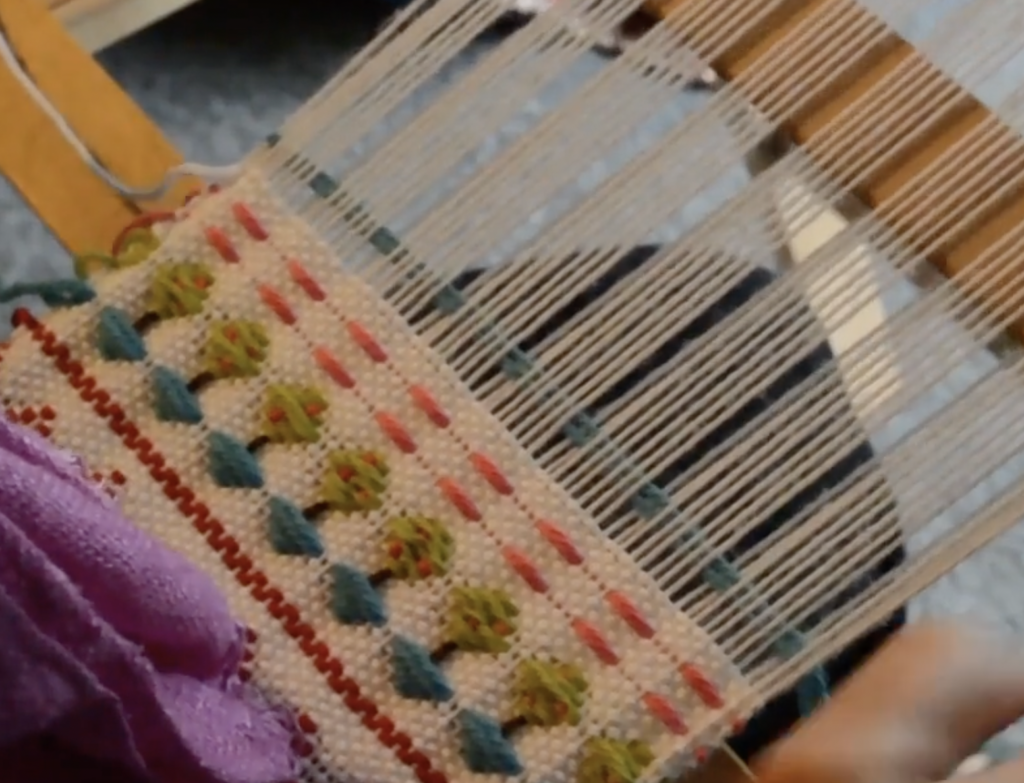
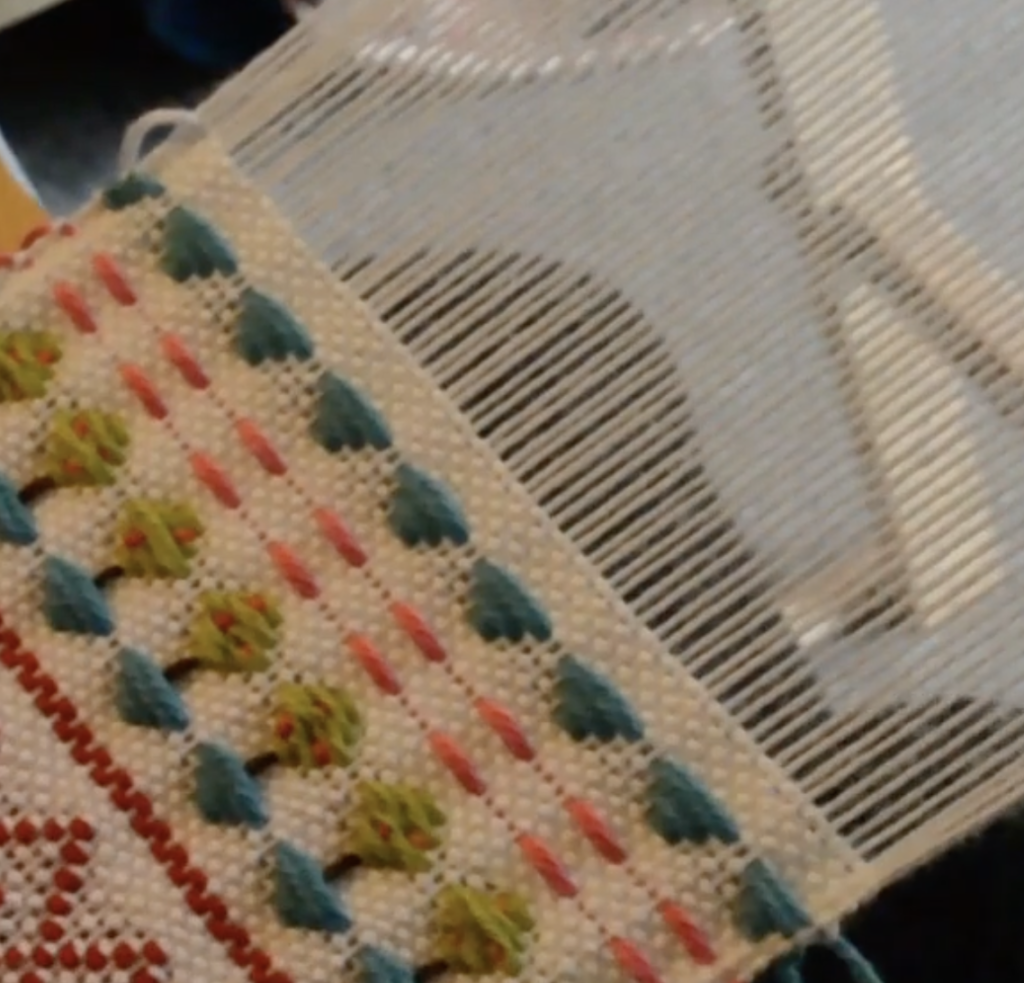
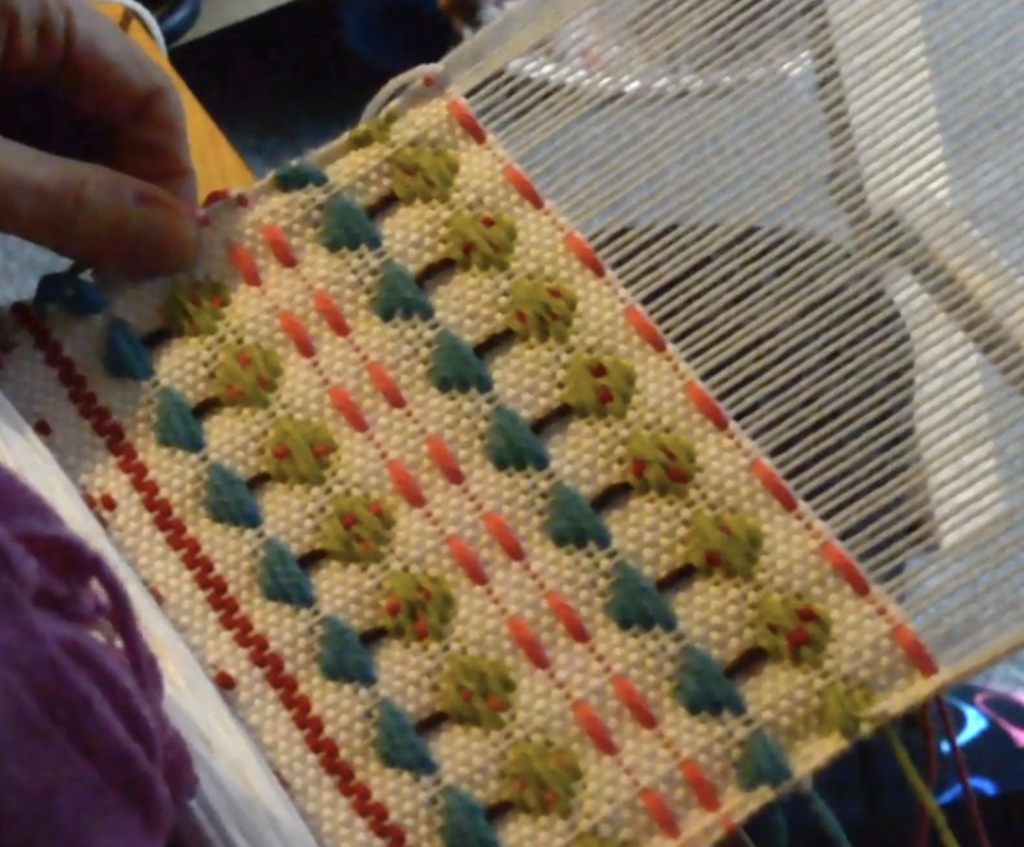
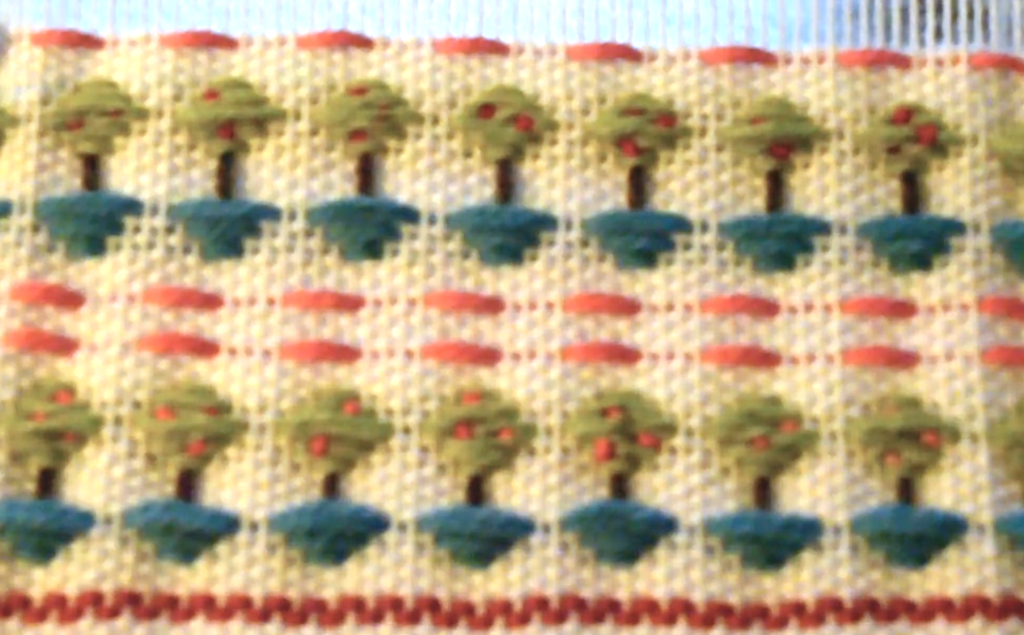
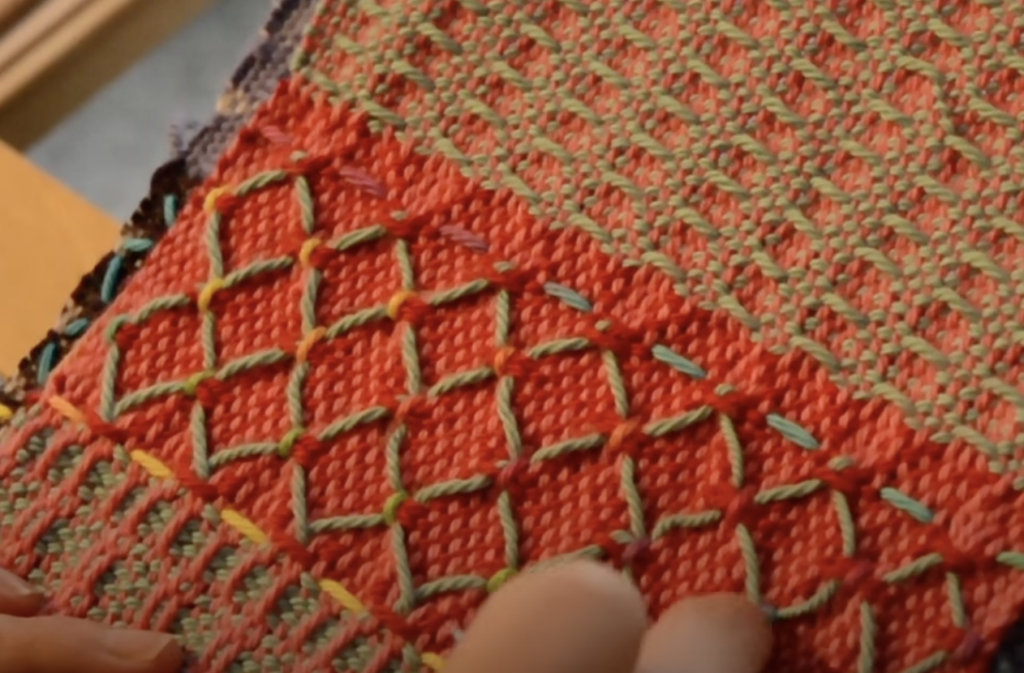
- Create Beautiful Patterns:
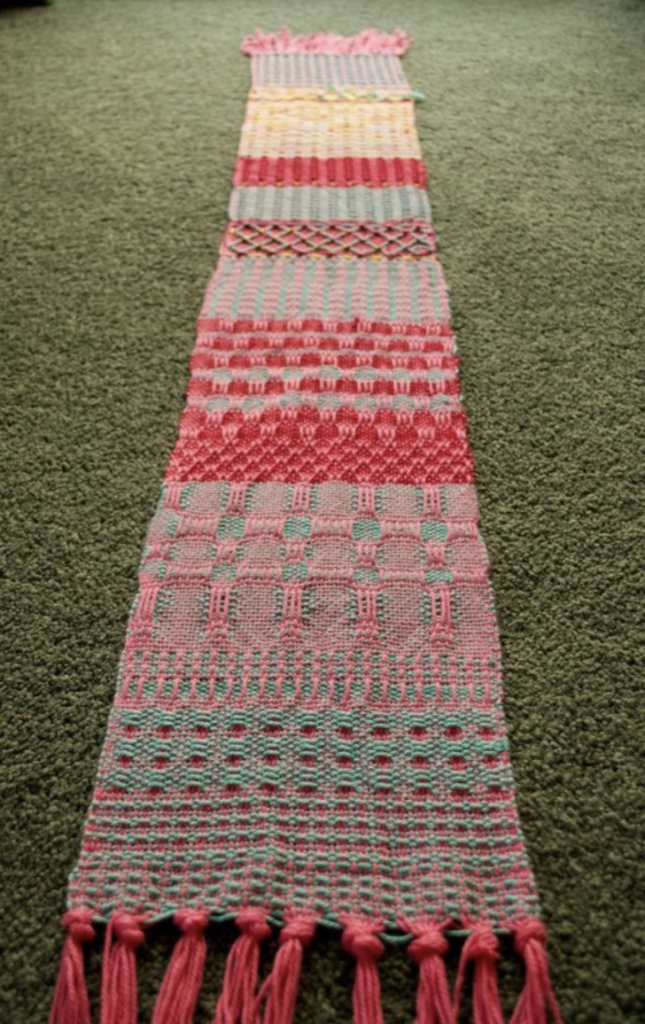
From simple designs to intricate motifs, pick-up sticks make it possible to weave beyond plain weave. - Learn, Experiment and have Fun:
They’re an excellent way to play, experiment, and grow as a weaver.
How to Use Pick-Up Sticks
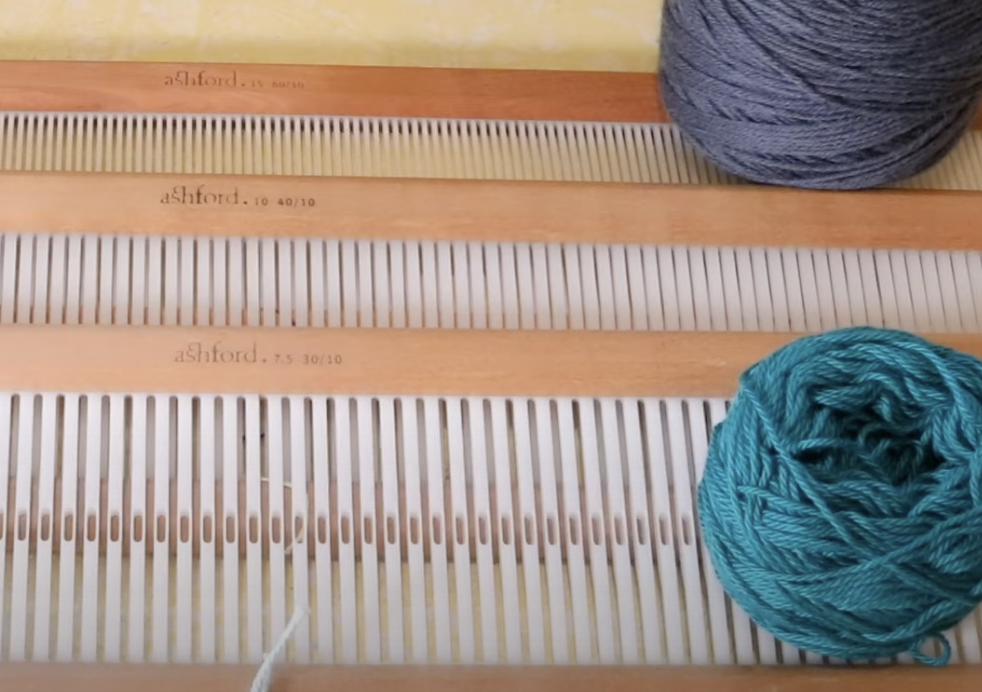
Tools You’ll Need:
- Pick-up sticks: Slightly longer than the width of your warp.
- Rigid heddle loom: Set up for plain weave.
Step-by-Step Guide:
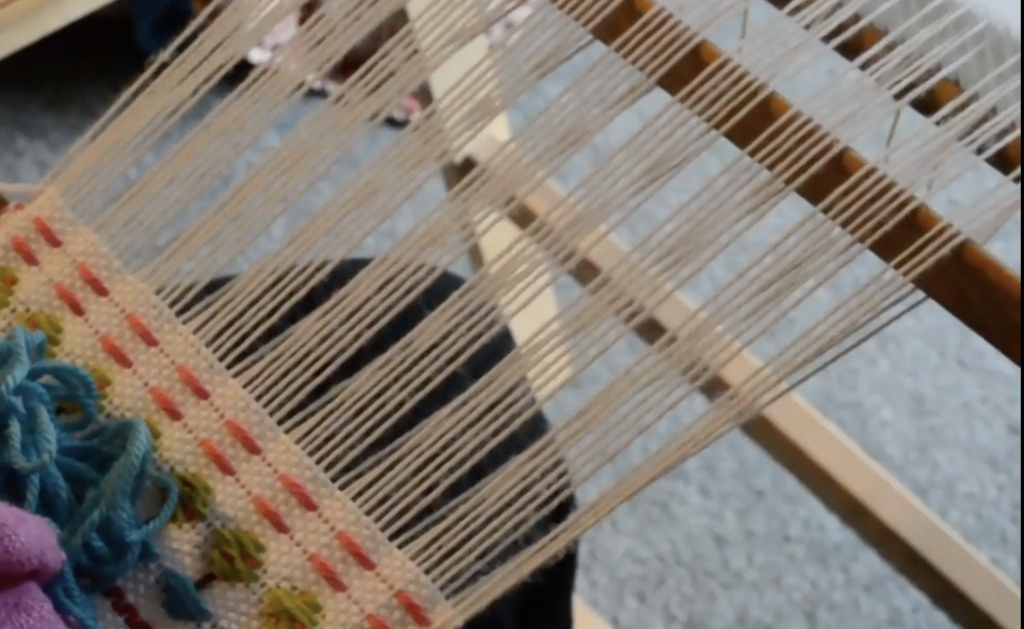
- Start with the Heddle in the Down Position:
- This raises the slot threads (shaft 2), making them easier to pick up.
- The hole threads (shaft 1) remain fixed and cannot be manipulated.
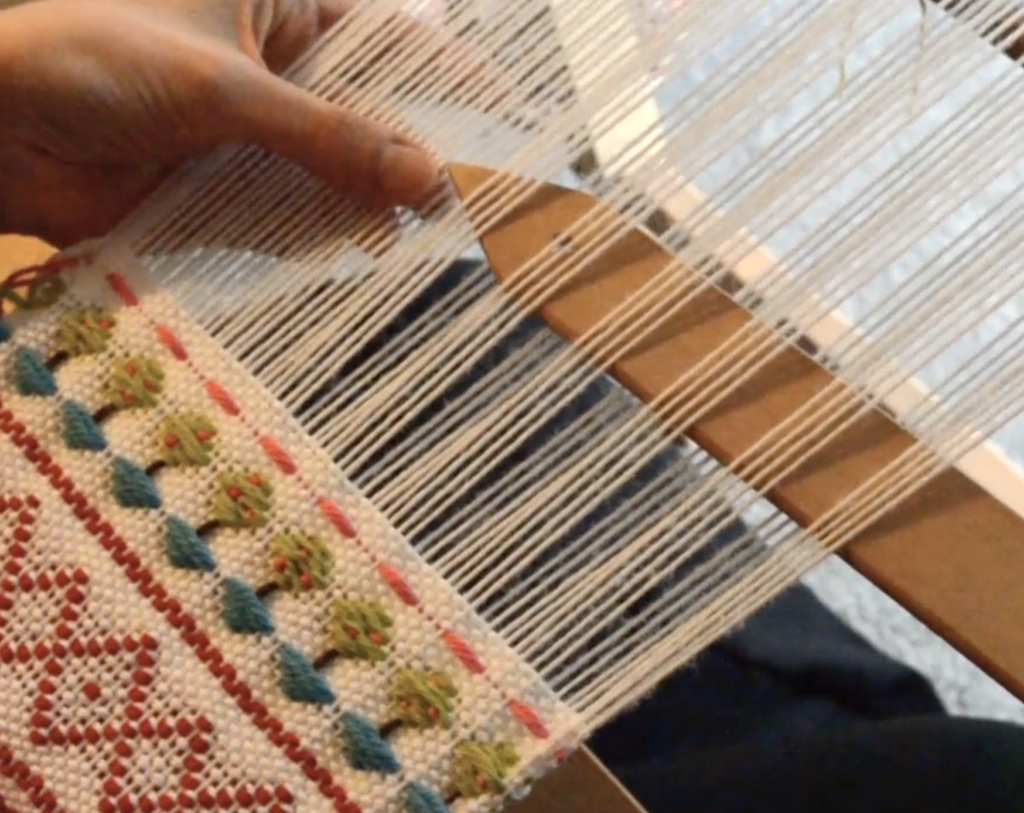
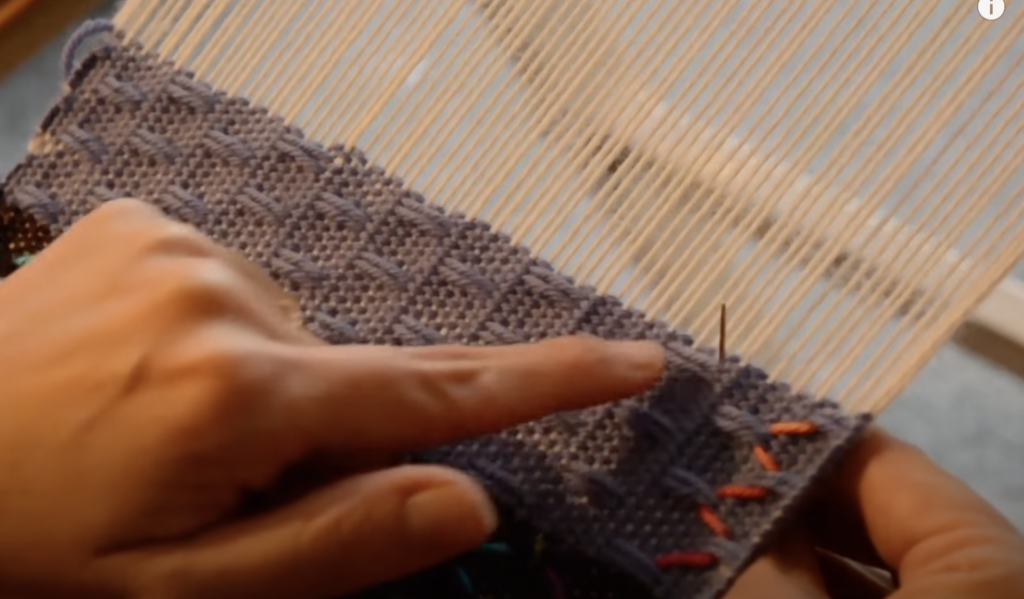
- Pick Up Warp Threads:
- Slide your pick-up stick under the threads you want to manipulate.
- For basic patterns, follow a “1 up, 1 down” sequence (alternate threads over and under the stick).
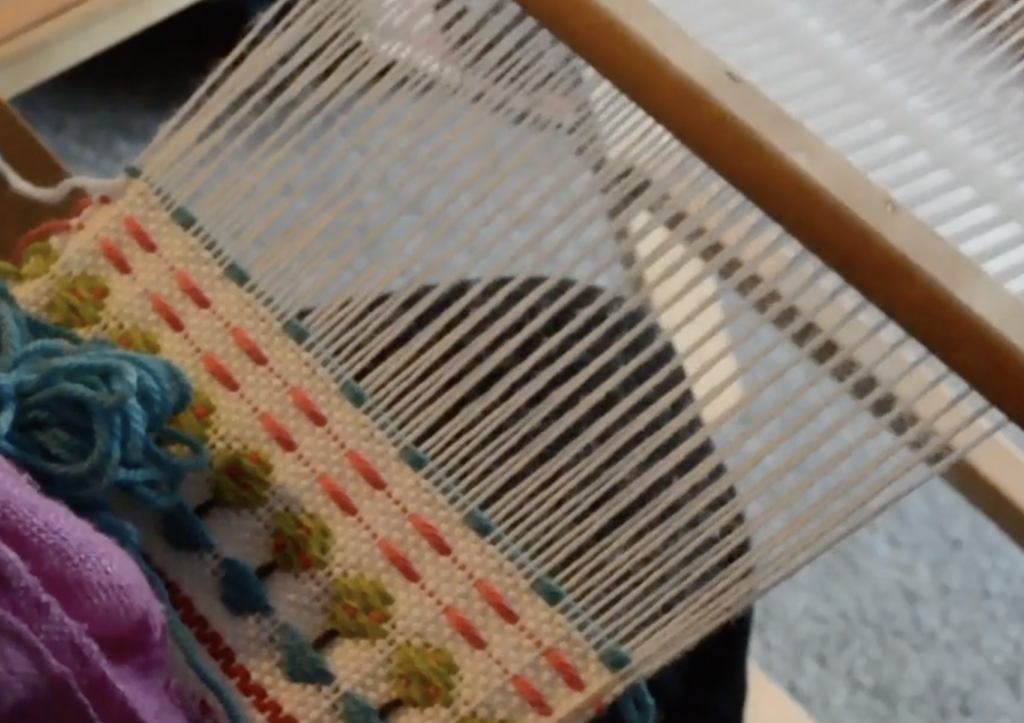
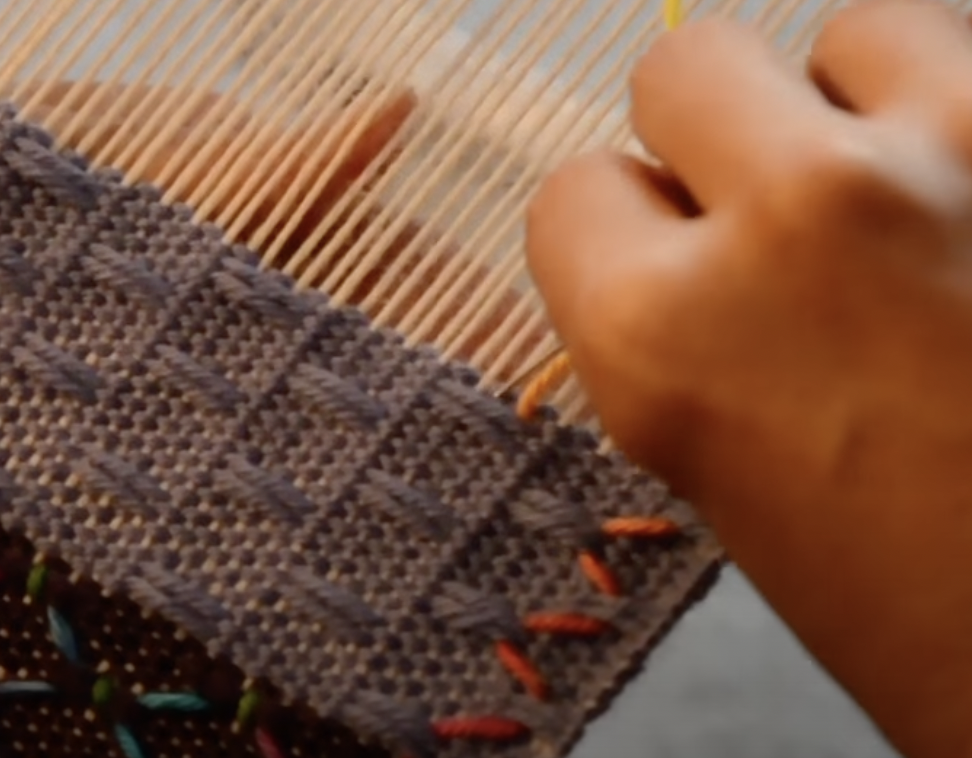
- Position the Pick-Up Stick:
- Push the stick to the back of your loom when not in use. It will rest flat between the warp threads without interfering with your weaving.
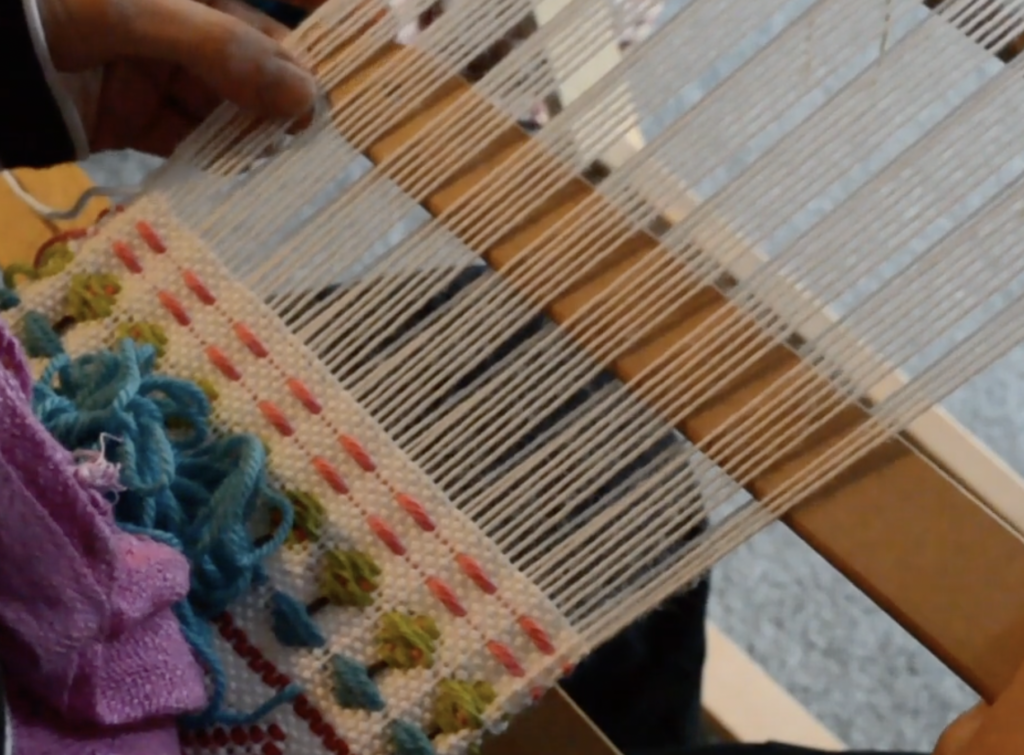
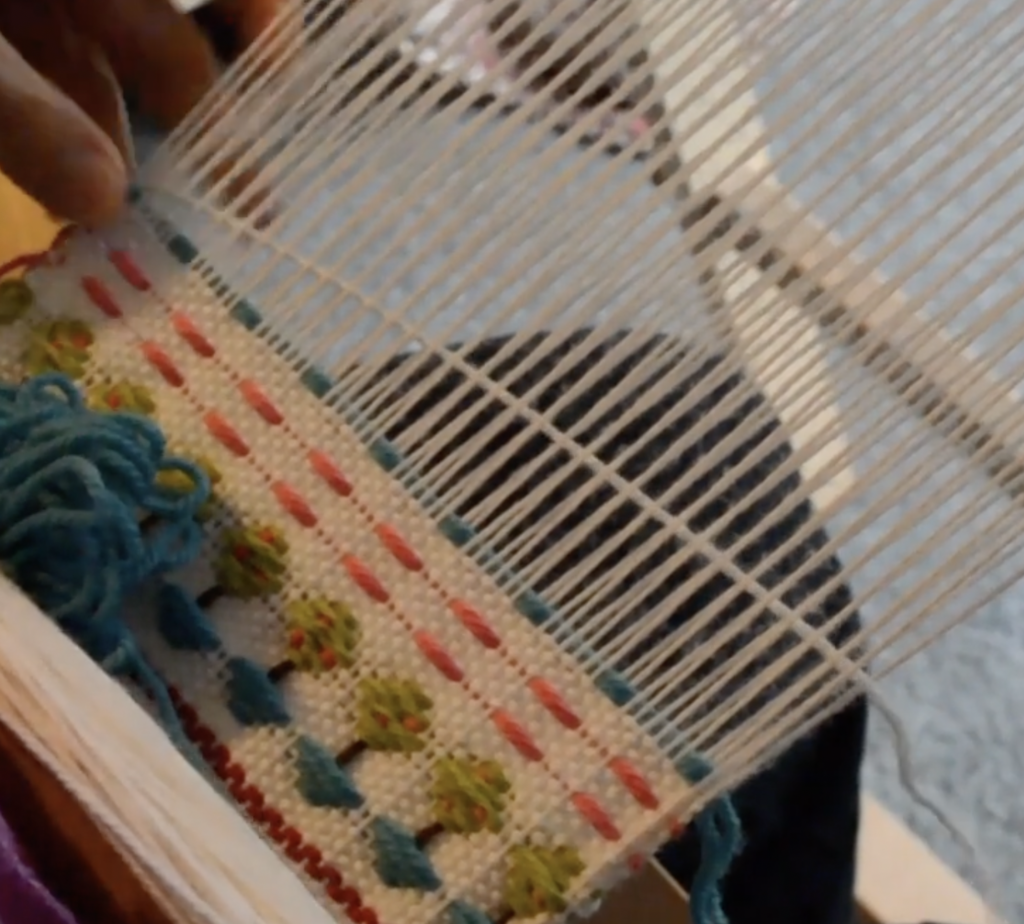
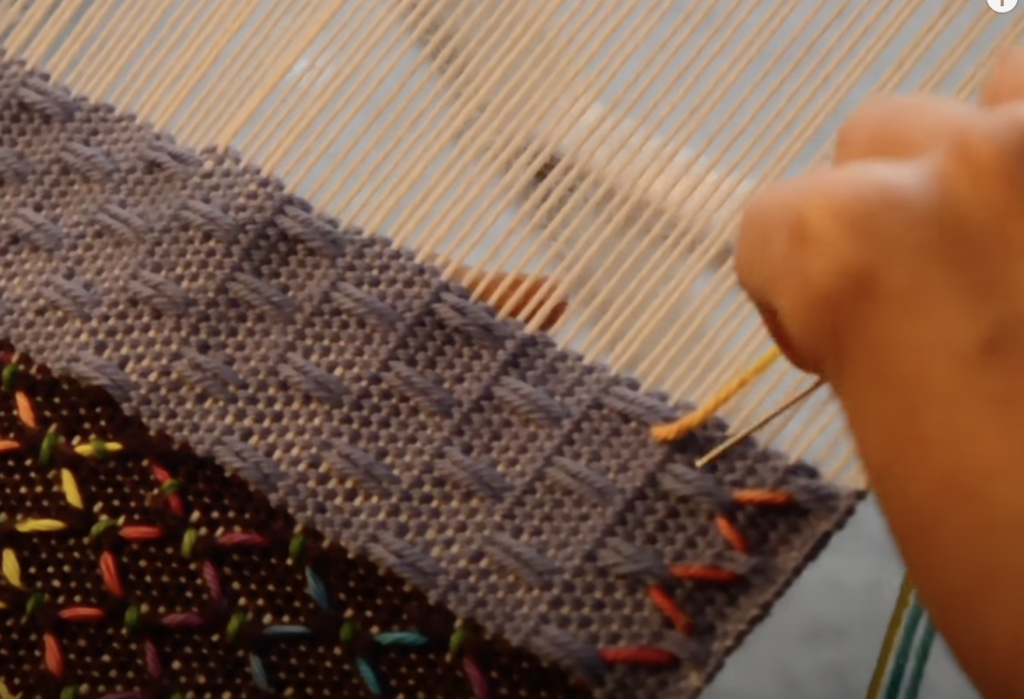
- Engage the Pick-Up Stick:
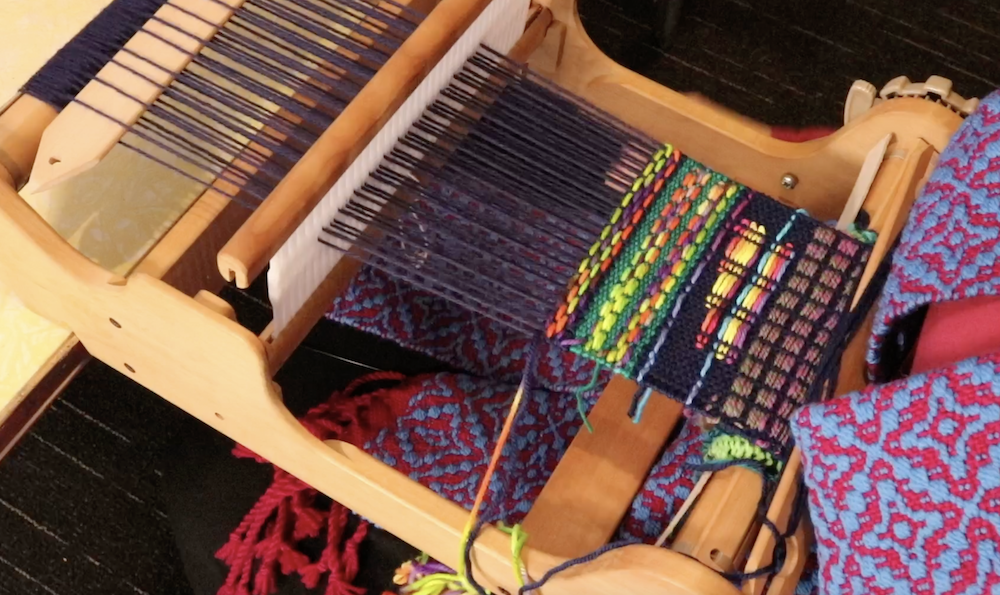
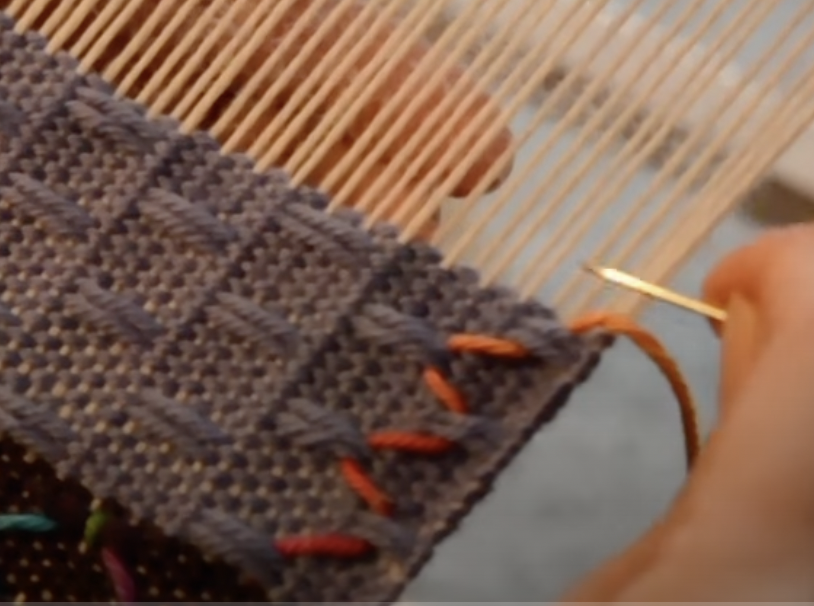
- When ready to weave a pick-up pattern, bring the stick forward, turn it on its edge, and pass your shuttle through the shed.
Here is a simple weaving sequence as an example:
- Up (heddle up)
- Down (heddle down)
- Up, pick up stick (heddle up and slide pick up stick behind the heddle, leaving flat).

Tips for Beginners
- Experiment Freely: Don’t worry about understanding all the technical details at first. Play with different sequences and see how the patterns emerge.
- Follow Patterns: Written instructions like “1 up, 1 down” are straightforward and a great way to learn.
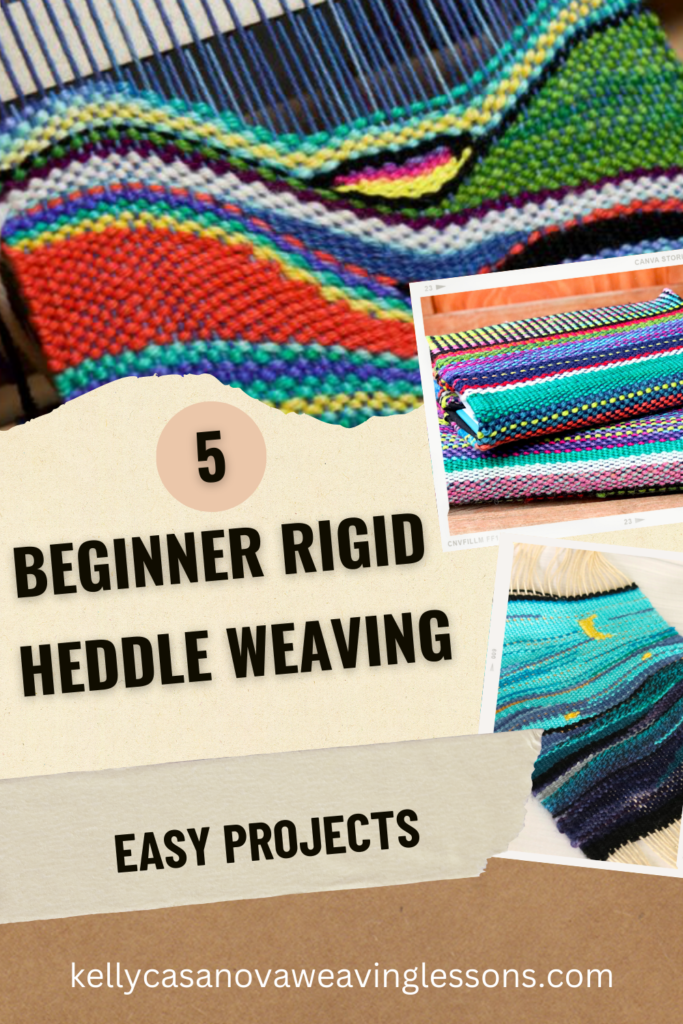
- Start with Simple Projects: Try my Wash Your Hands Towel Set Project or Lux Hand Towels pattern for guided practice.
Explore More Pick-Up Stick Resources
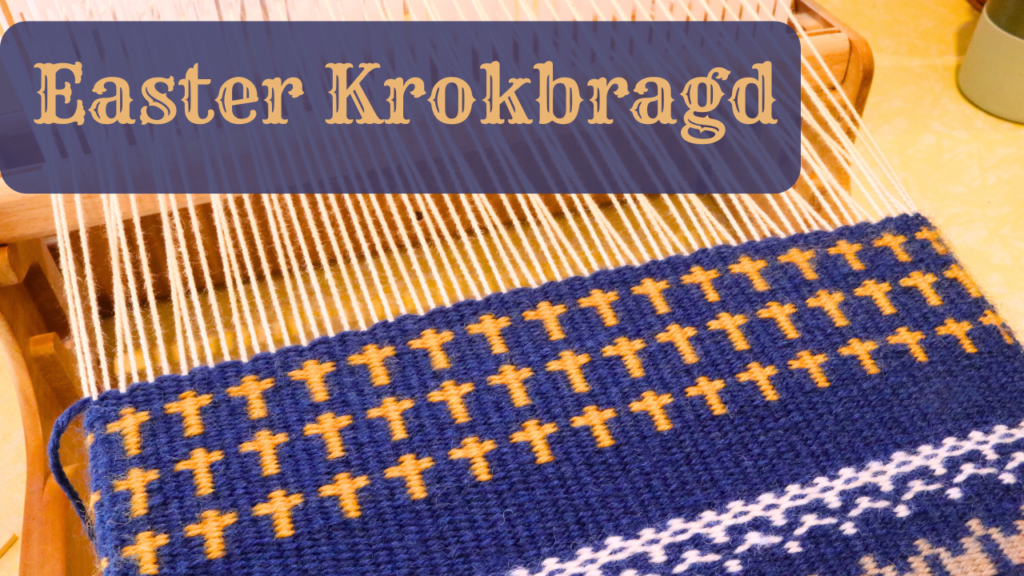
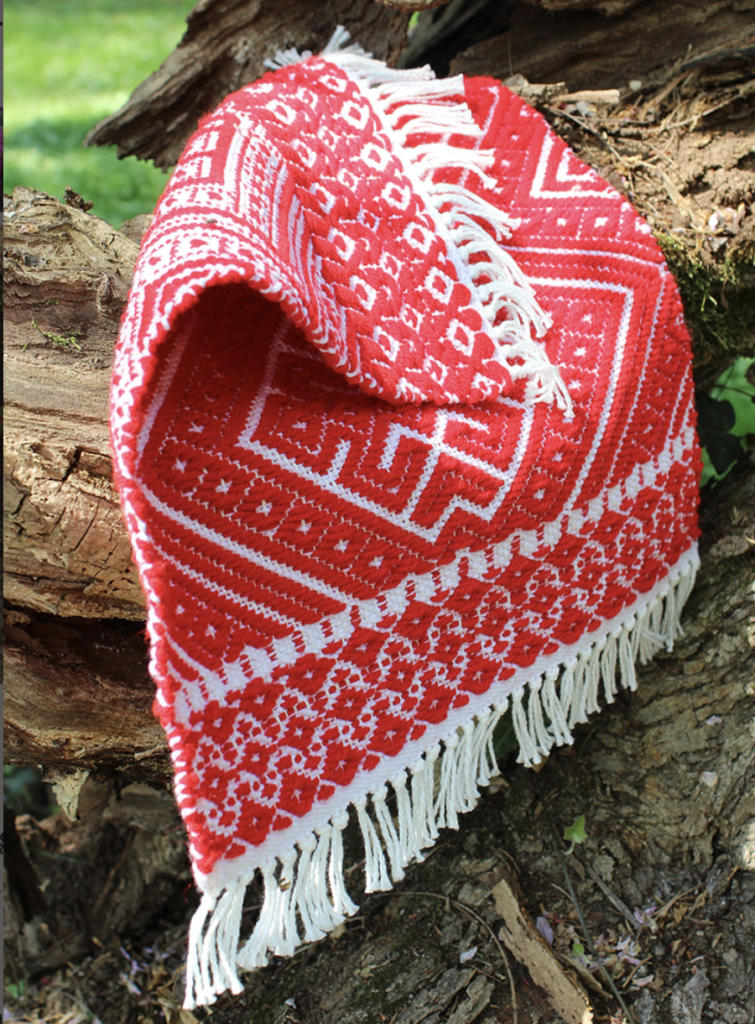
- Free Patterns: Sign up for my email list and receive the beginner-friendly Moroccan Dream Scarf pattern.
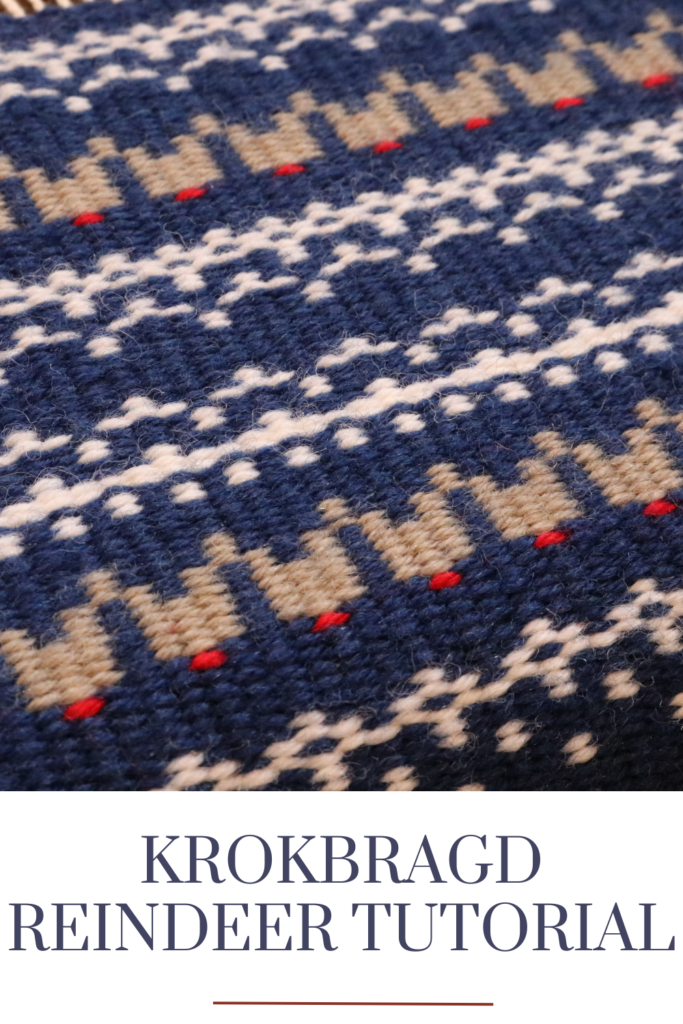
- Video Tutorials: Watch my Pick-Up Stick Playlist on YouTube for step-by-step instructions.
- Courses: Dive deeper with my Pick Up Perfection course, included free with an Online Weaving School membership or available as a single purchase class.
Would you like this guide in a printable format? How about an 11 page printable guide with 5 additional pick up patterns for you to try? Check out this low cost printable here ⬇️
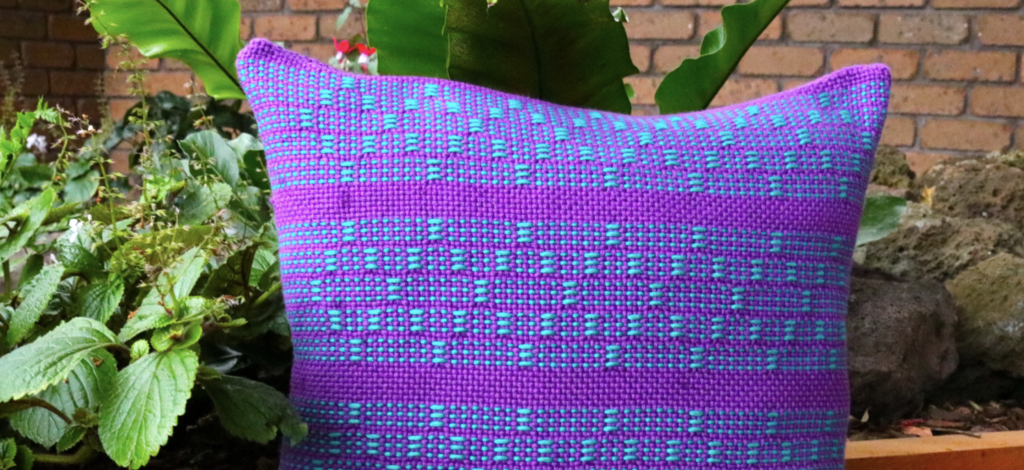
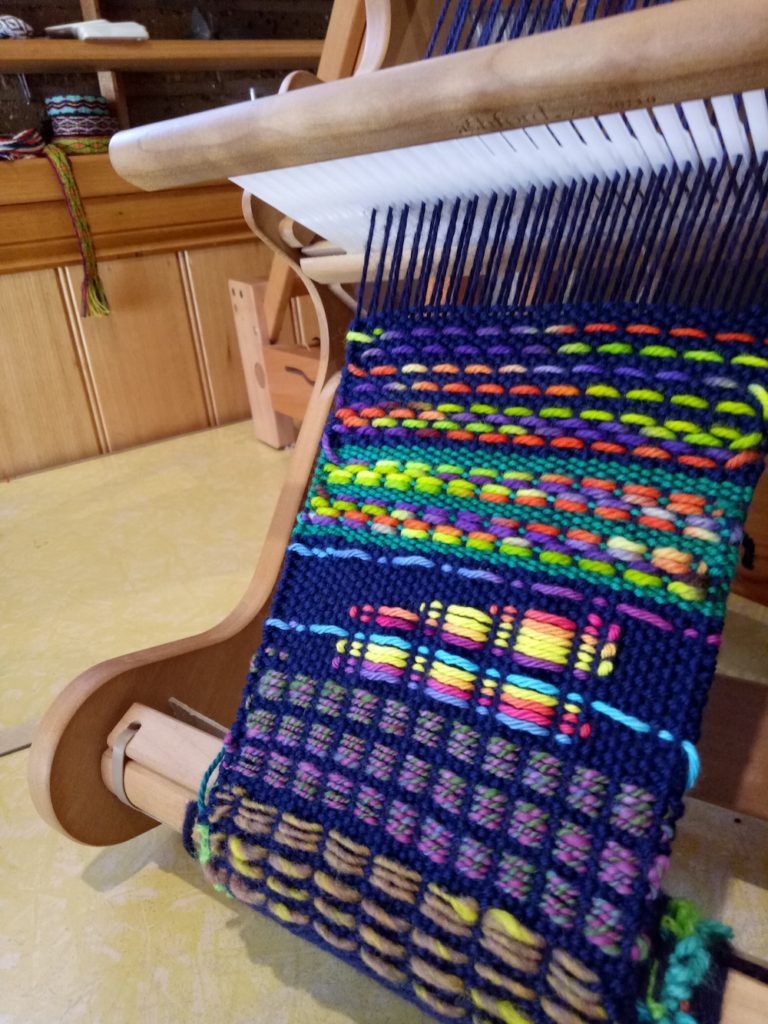
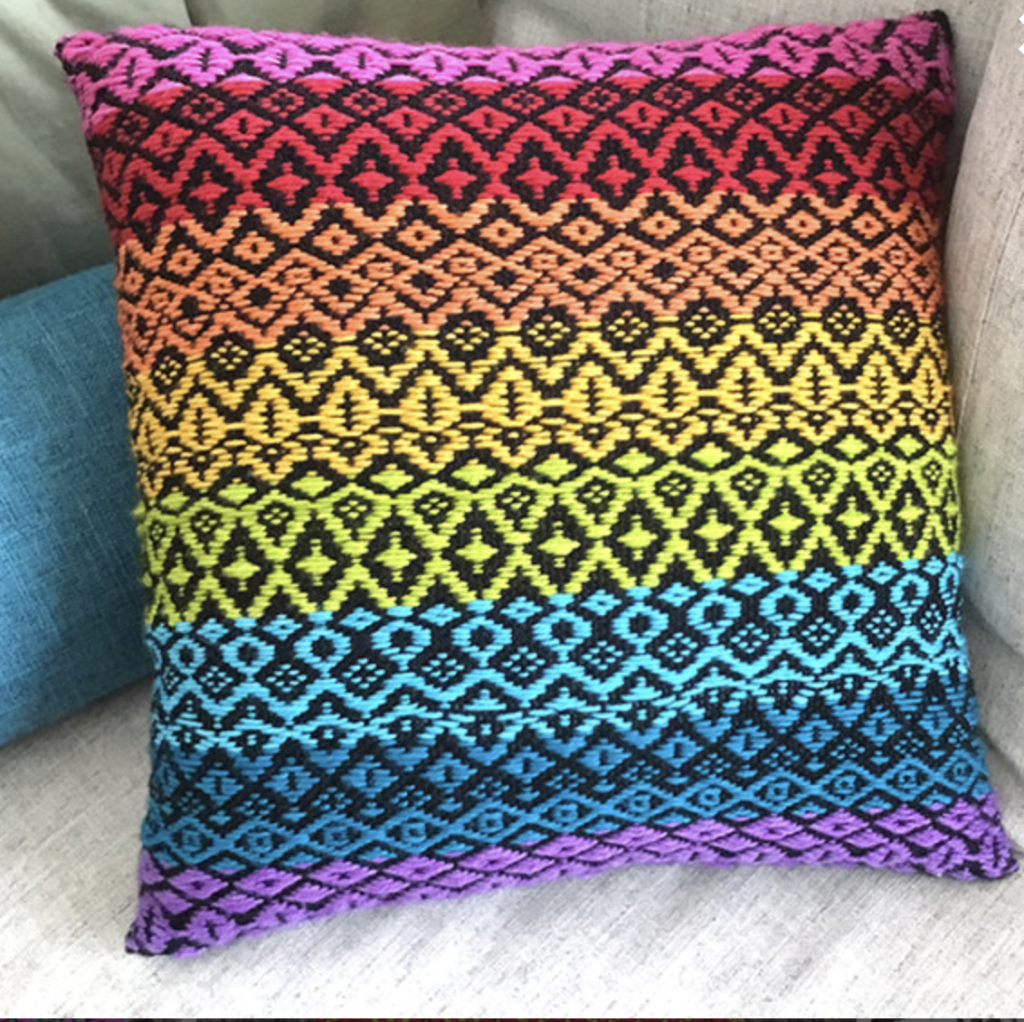
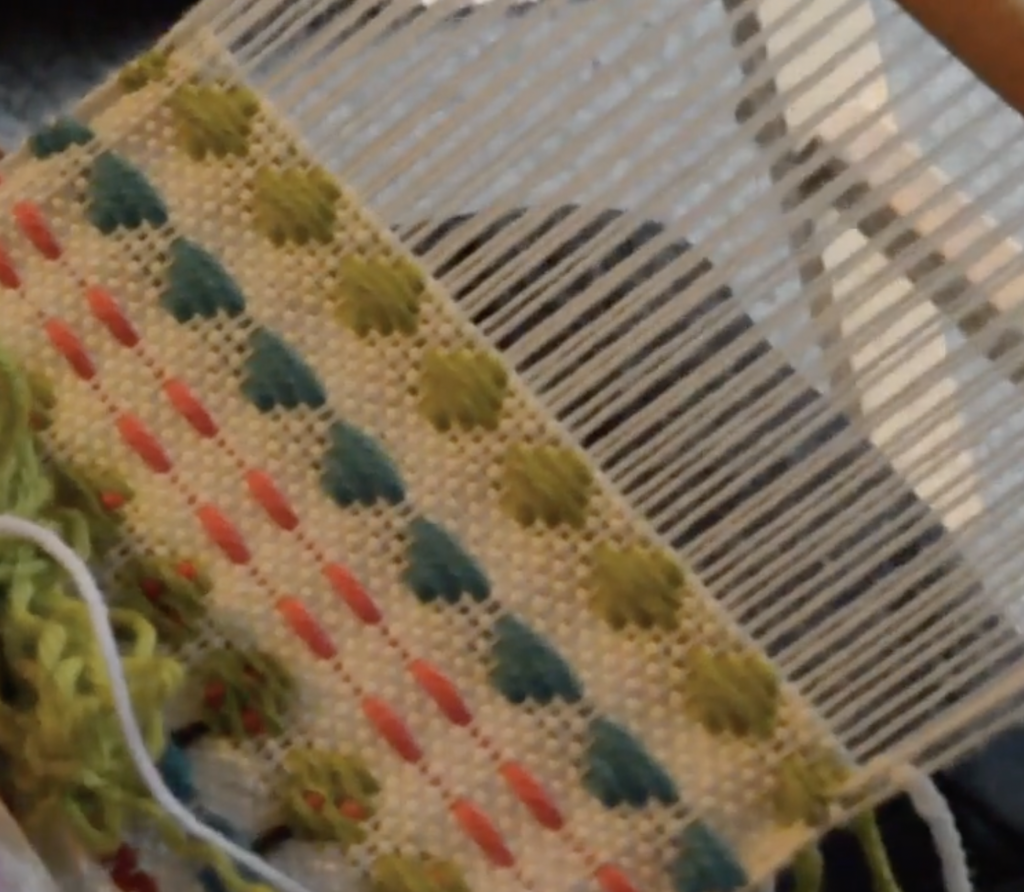
Why You’ll Love Pick-Up Stick Weaving
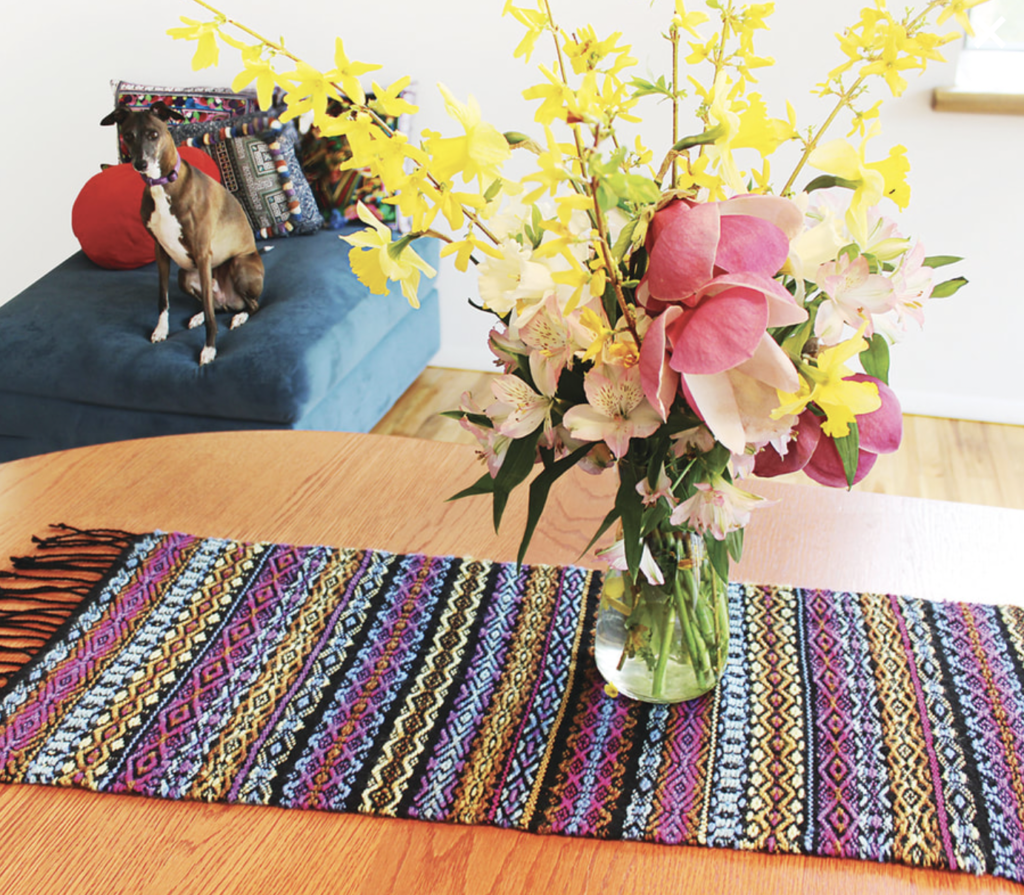
Pick-up sticks let you unlock the full potential of your rigid heddle loom. Whether you’re weaving a simple scarf or an absorbent kitchen towel, these tools are a must-have for any weaver.
If this guide has been helpful or if you have questions, leave a comment below—I’d love to hear from you!
Until next time…
Happy Weaving!
*This post contains affiliate links. For further information please view my disclosure policy.